Virtual/Online Learning Plan
We will have an Art 1 Assignment a week and these assignments will be submitted to our canvas site
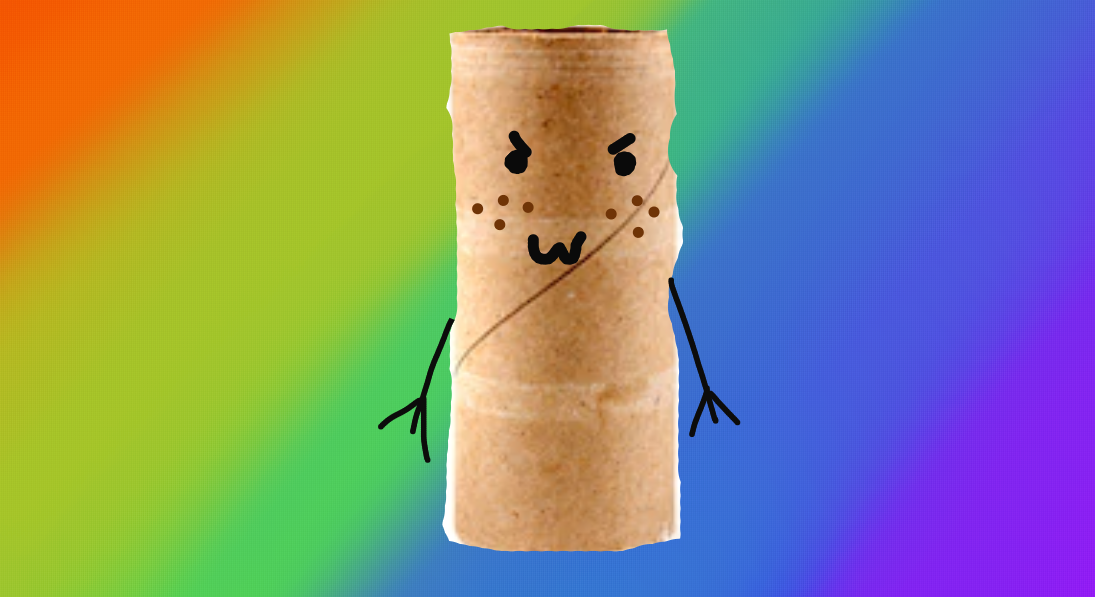
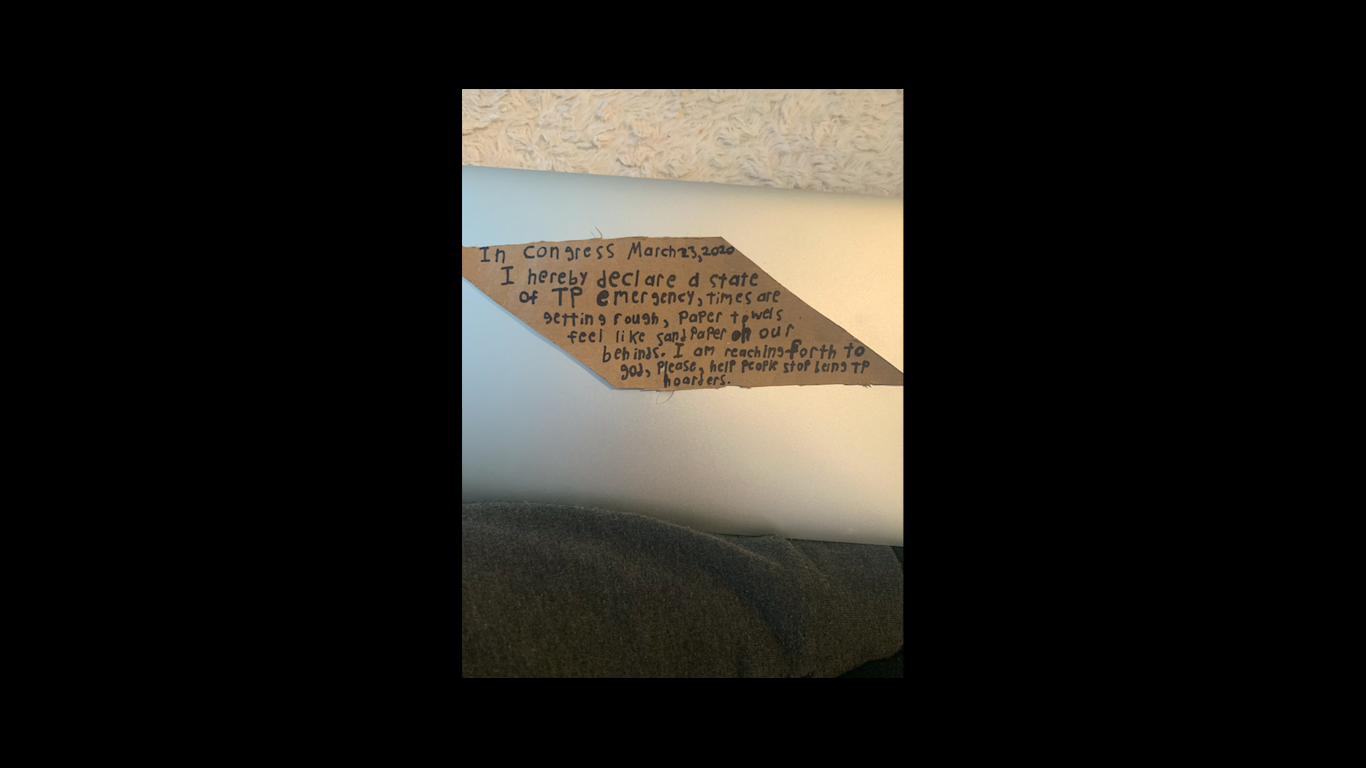
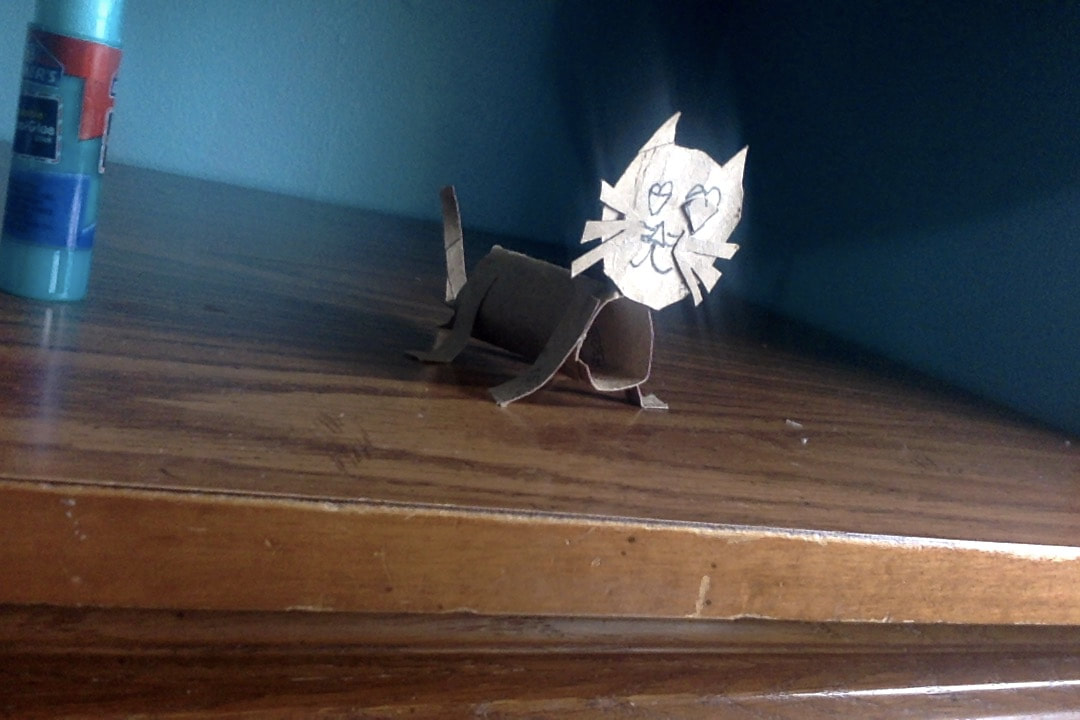
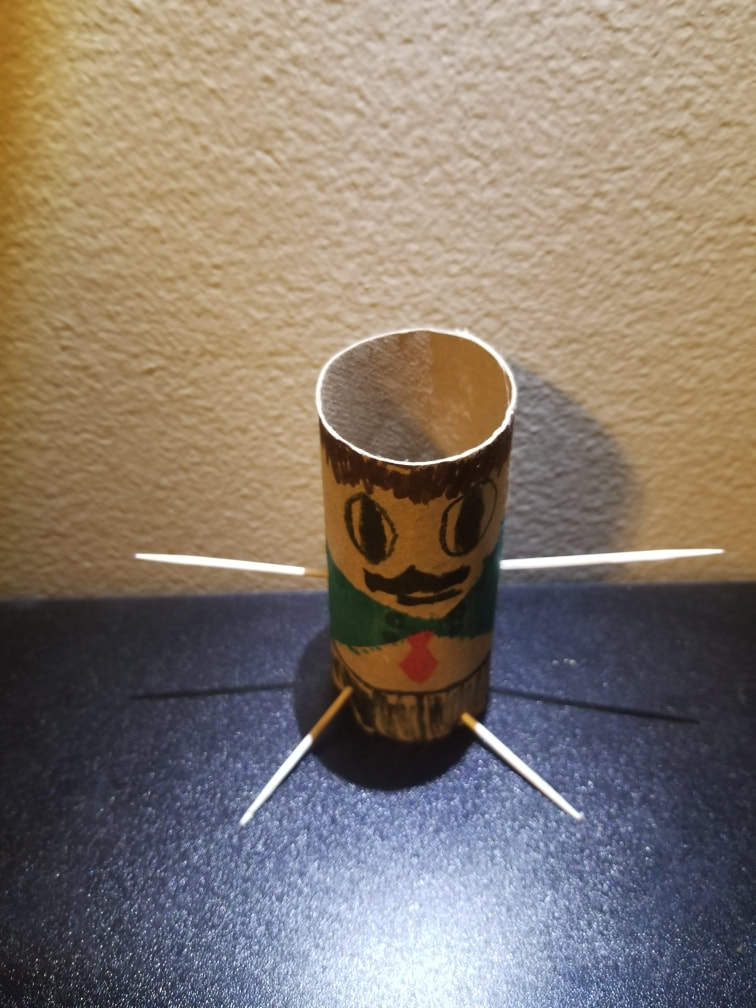
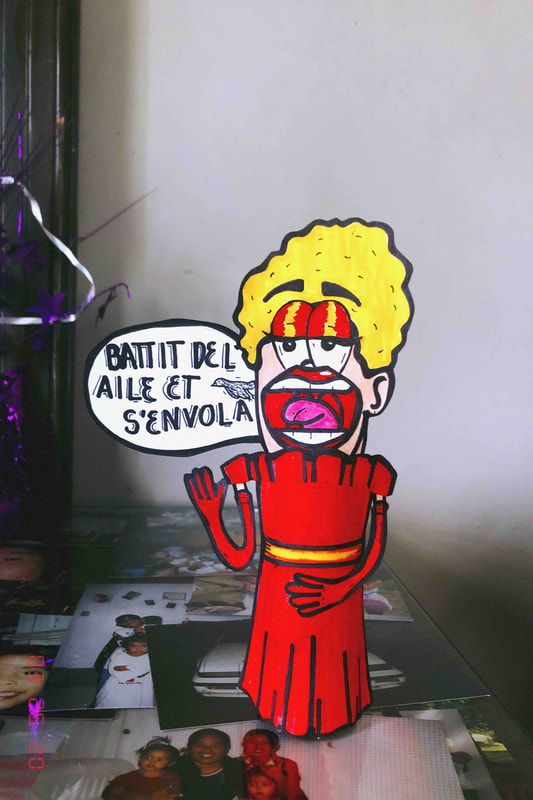
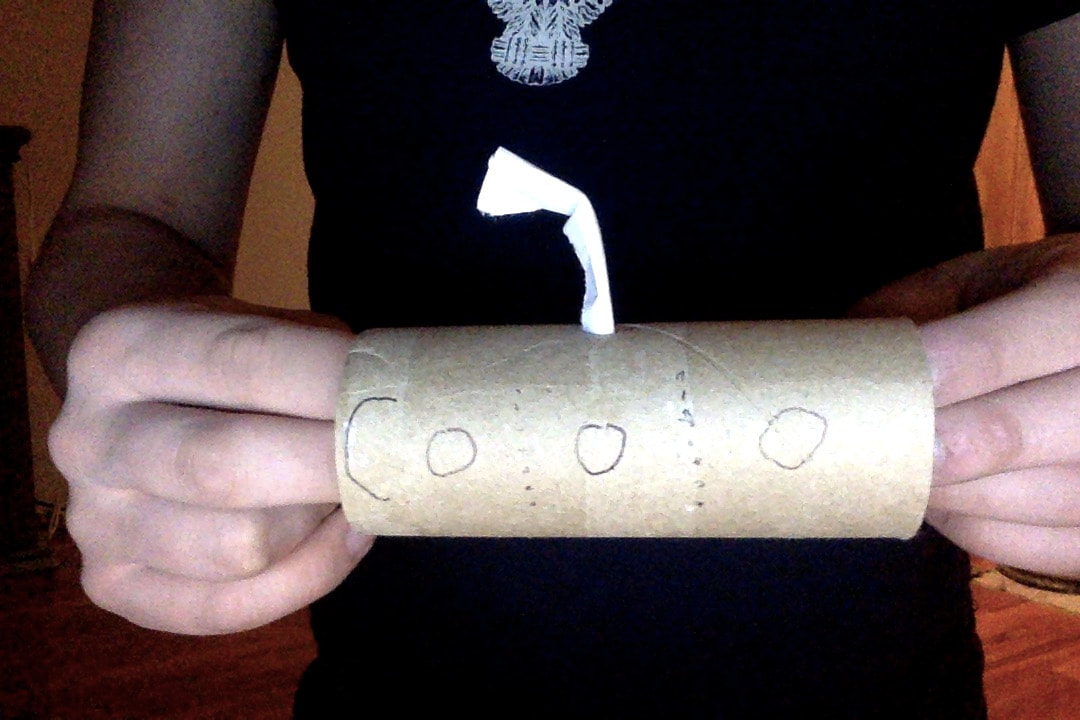
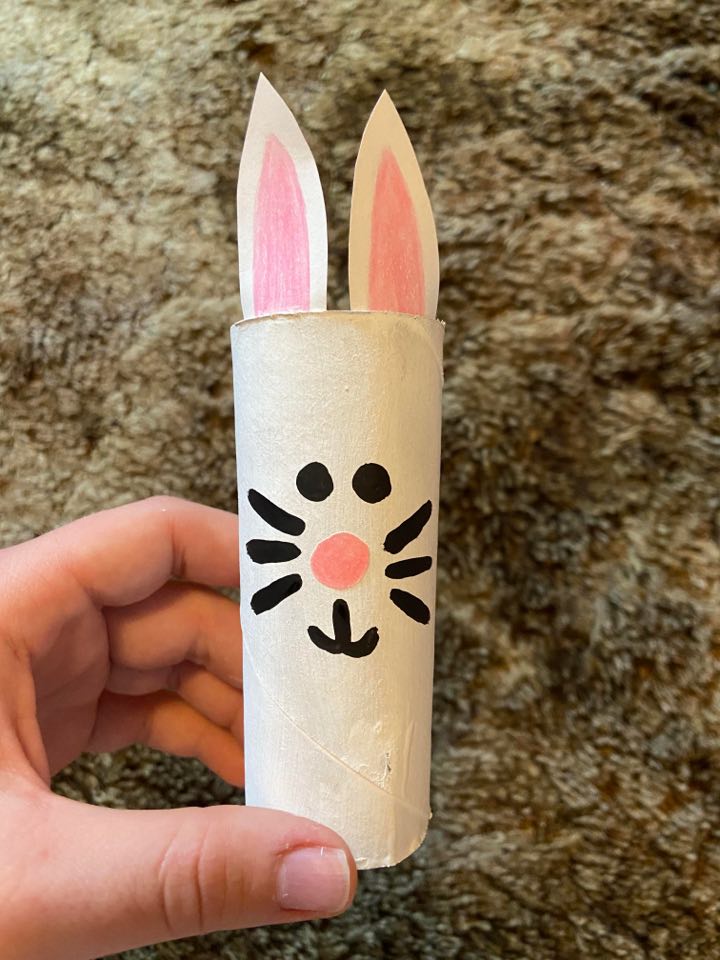
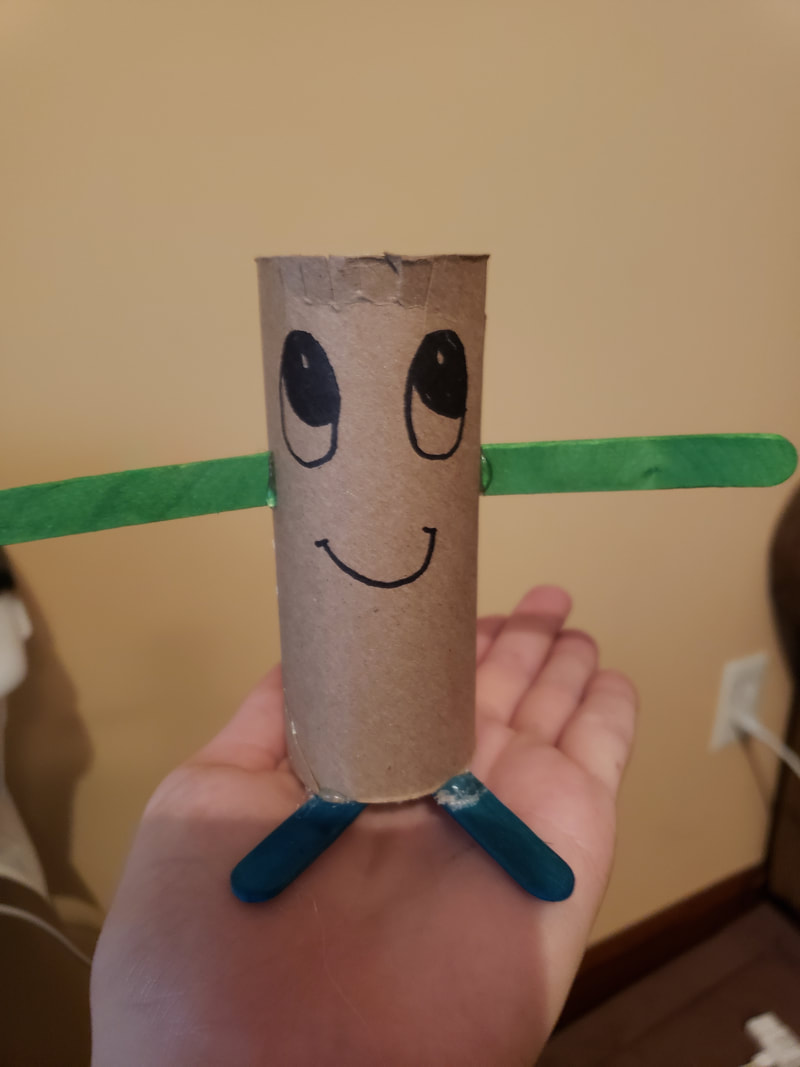
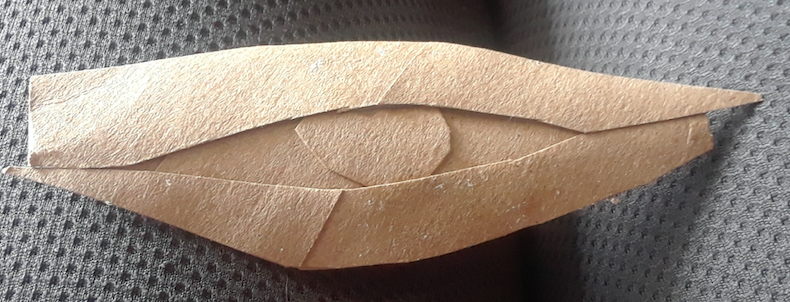
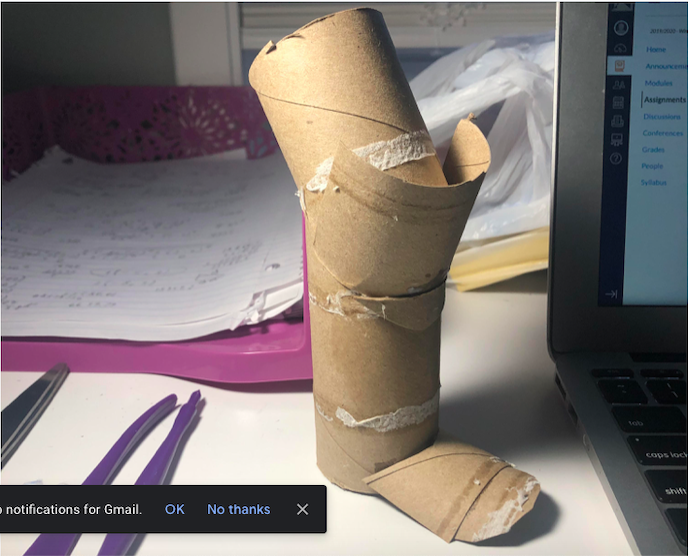
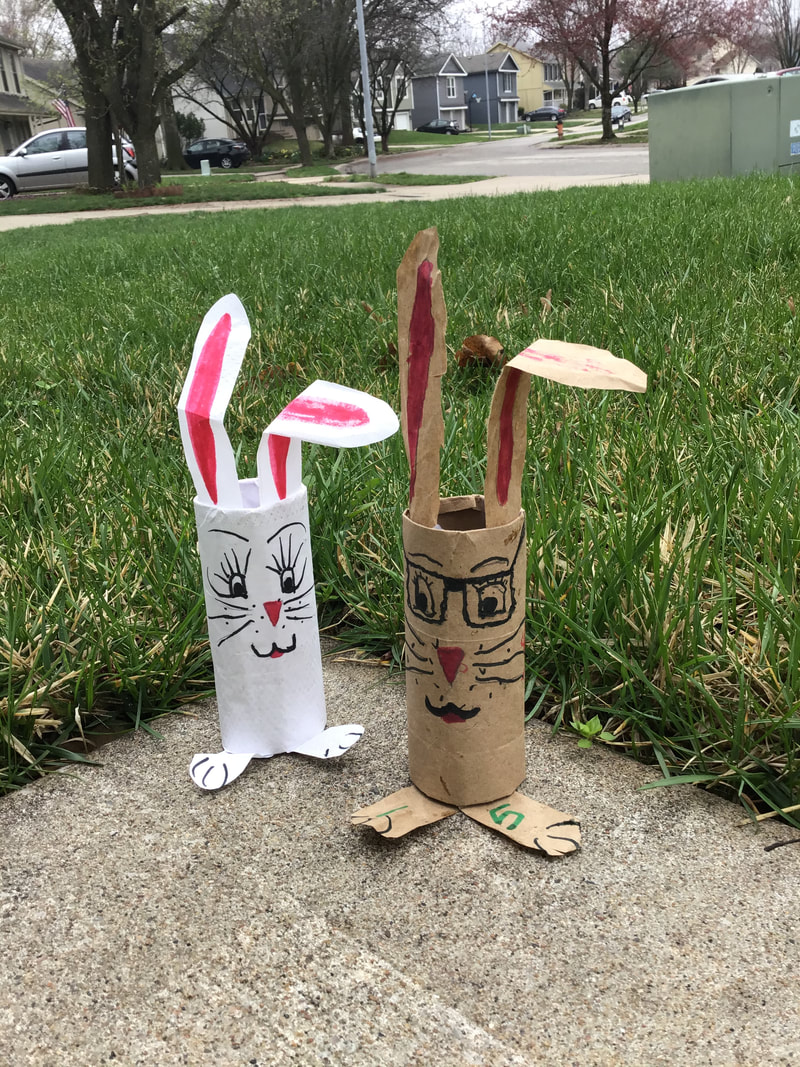
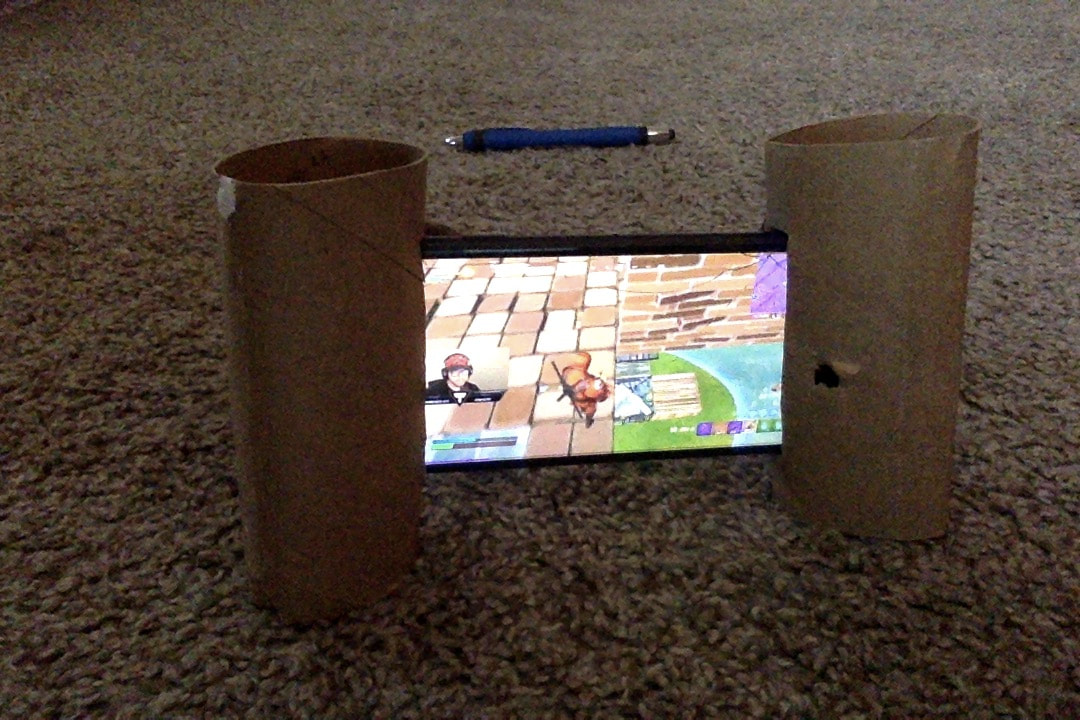
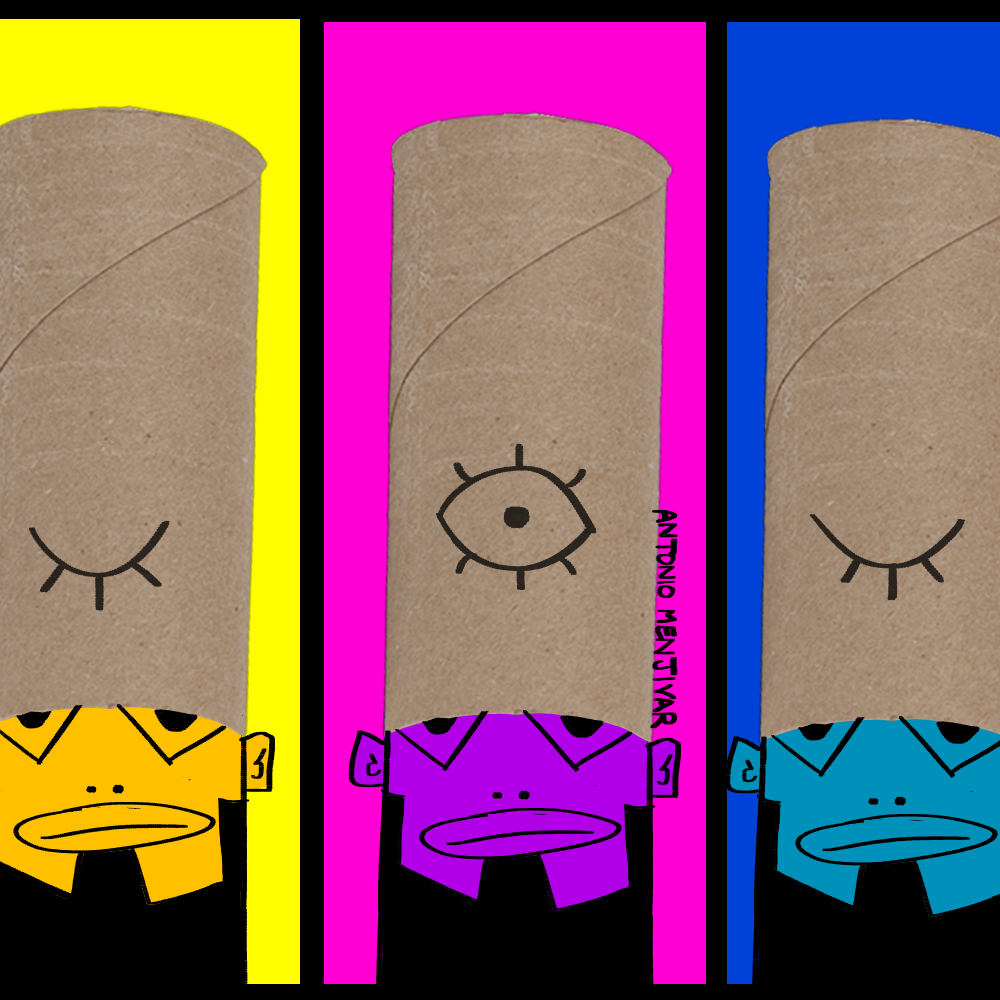
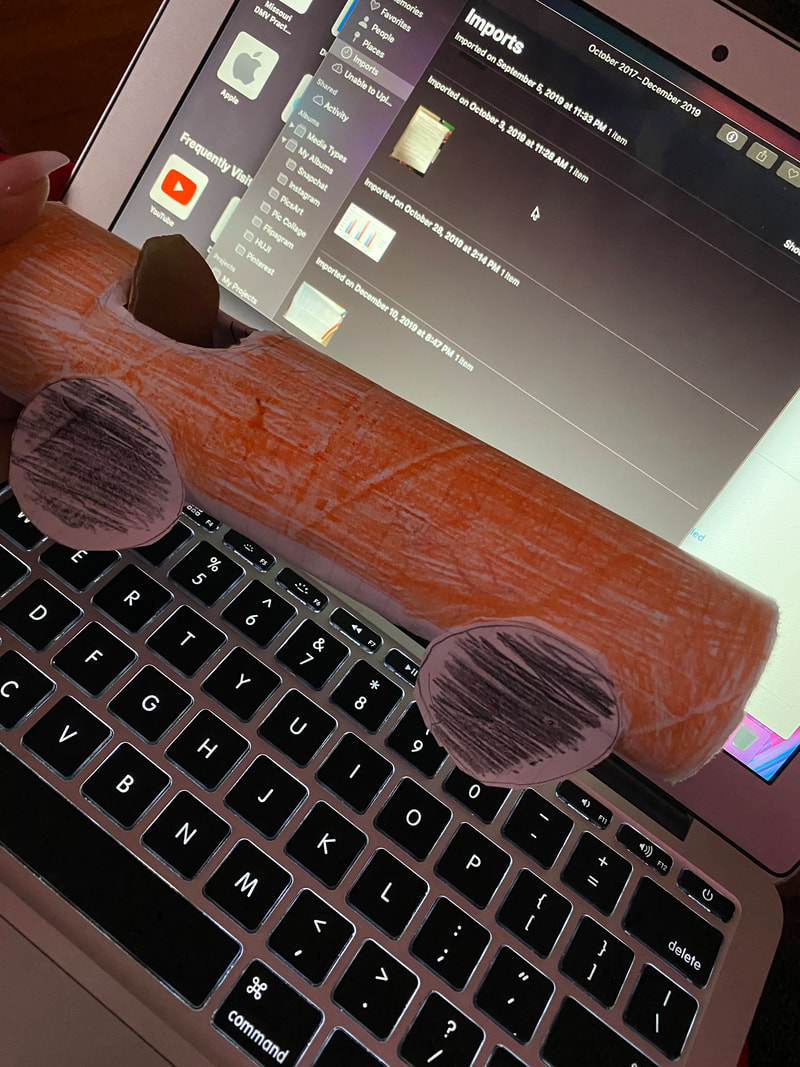
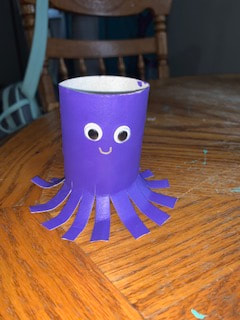
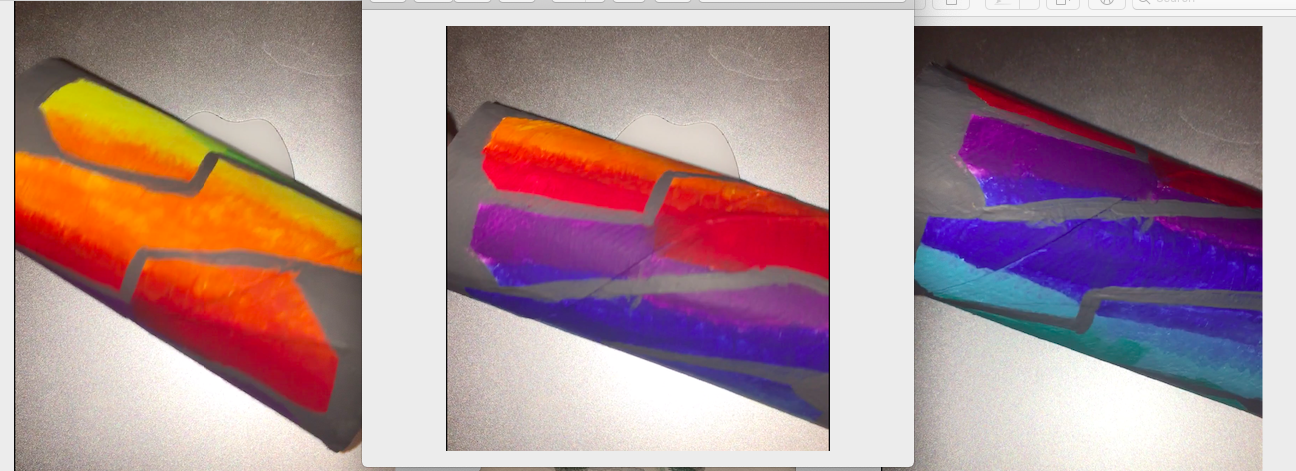
WEEK 1: Check in on canvas & EMPTY Toilet Paper Roll Challenge
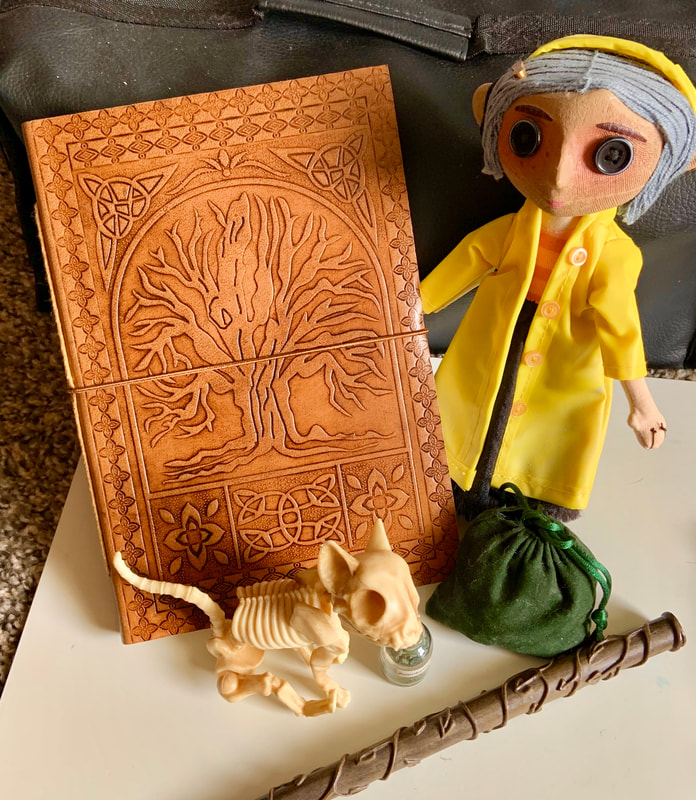
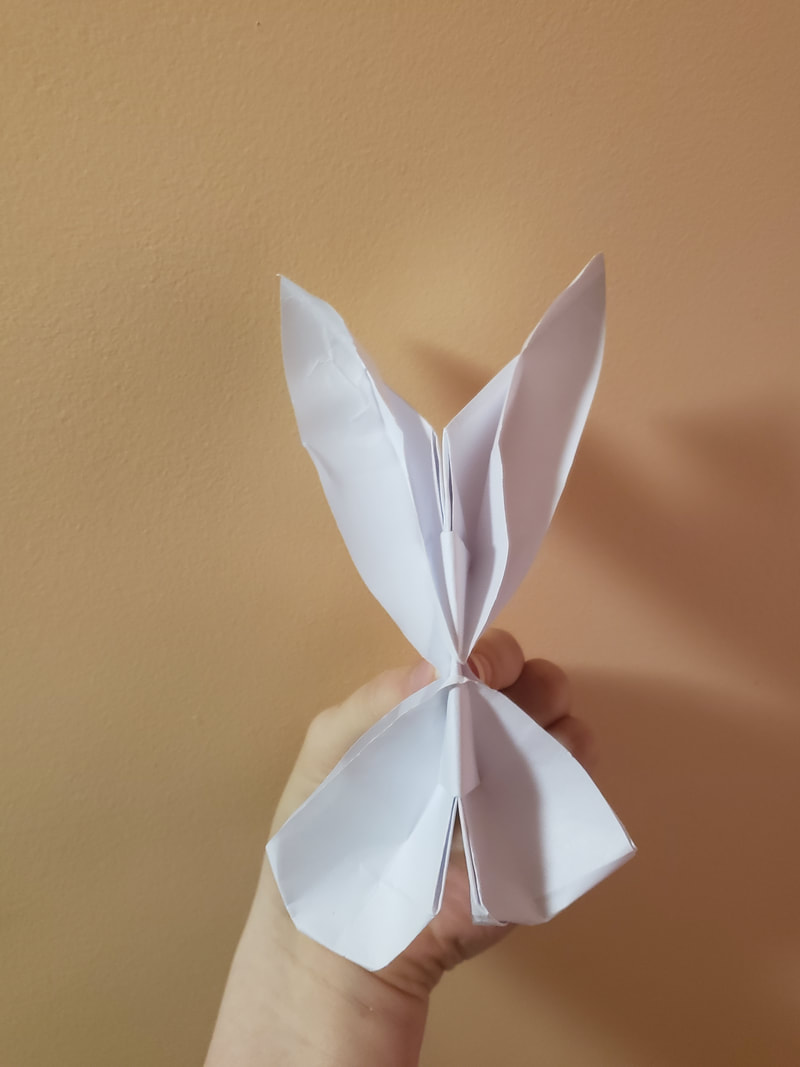
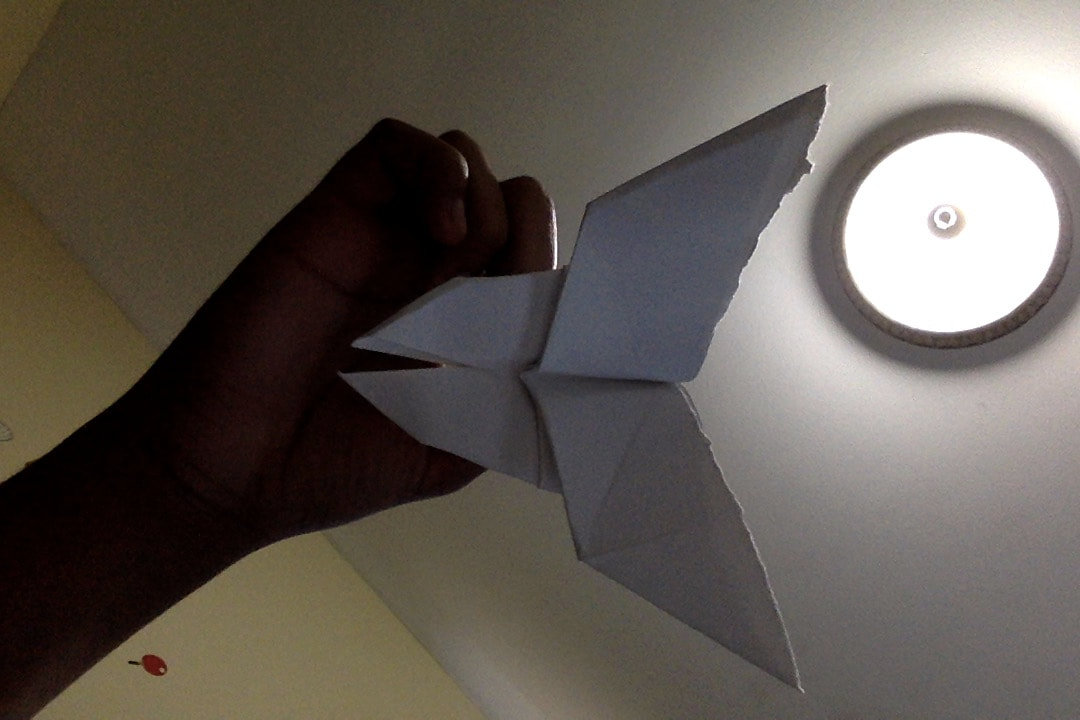
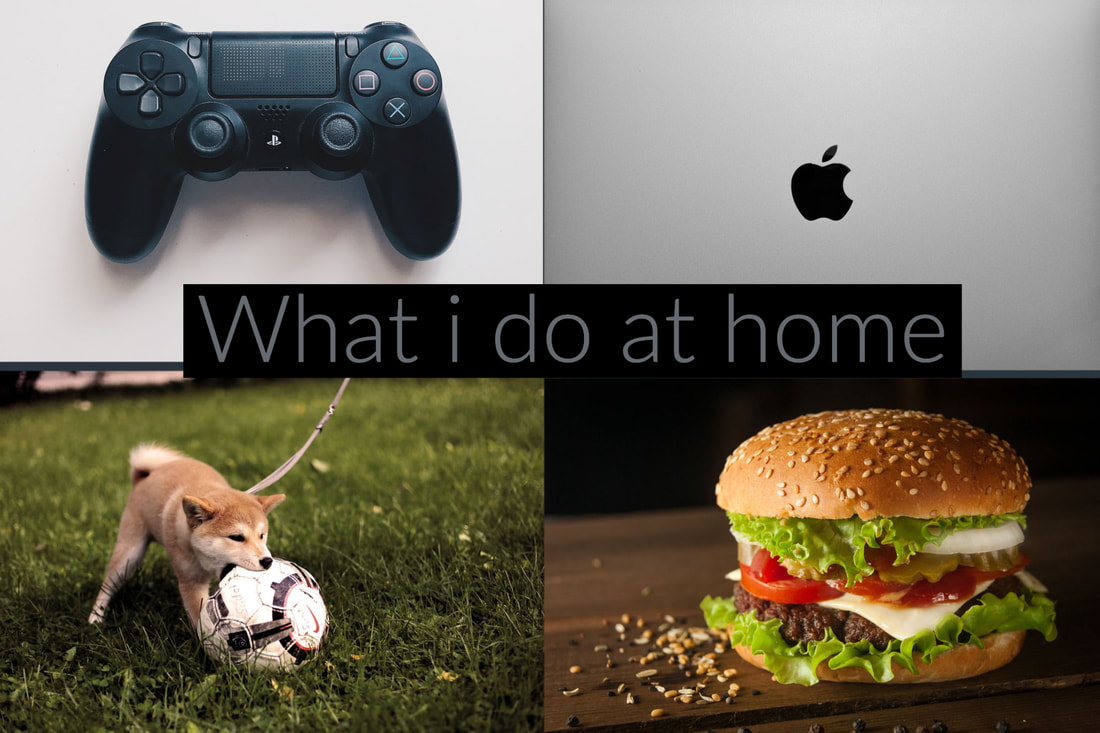
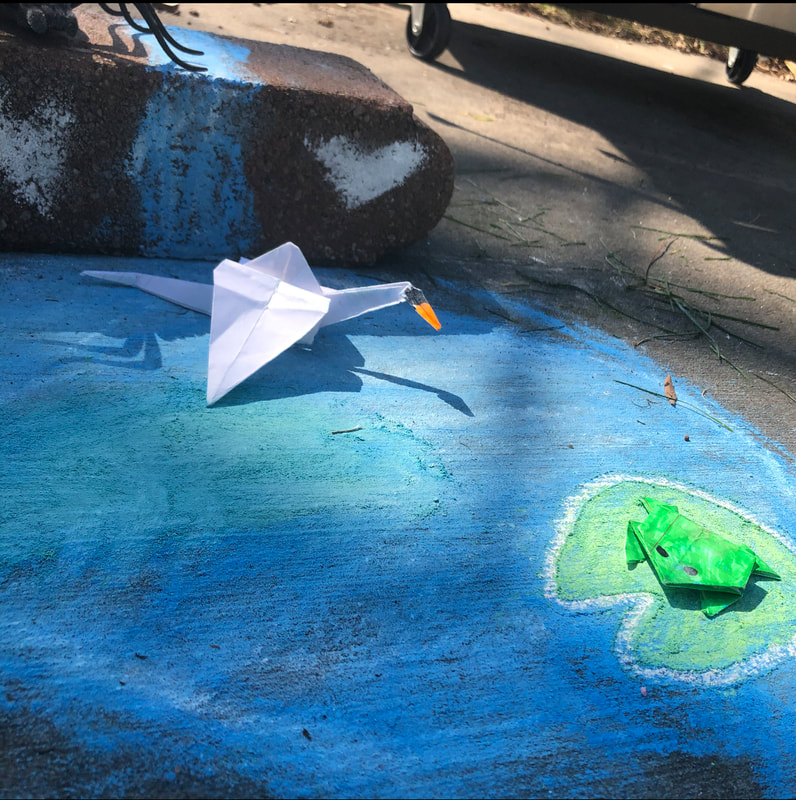
WEEK 2: Your Ideas!
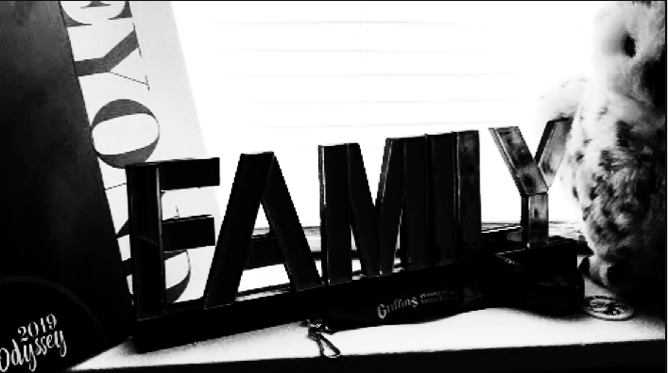
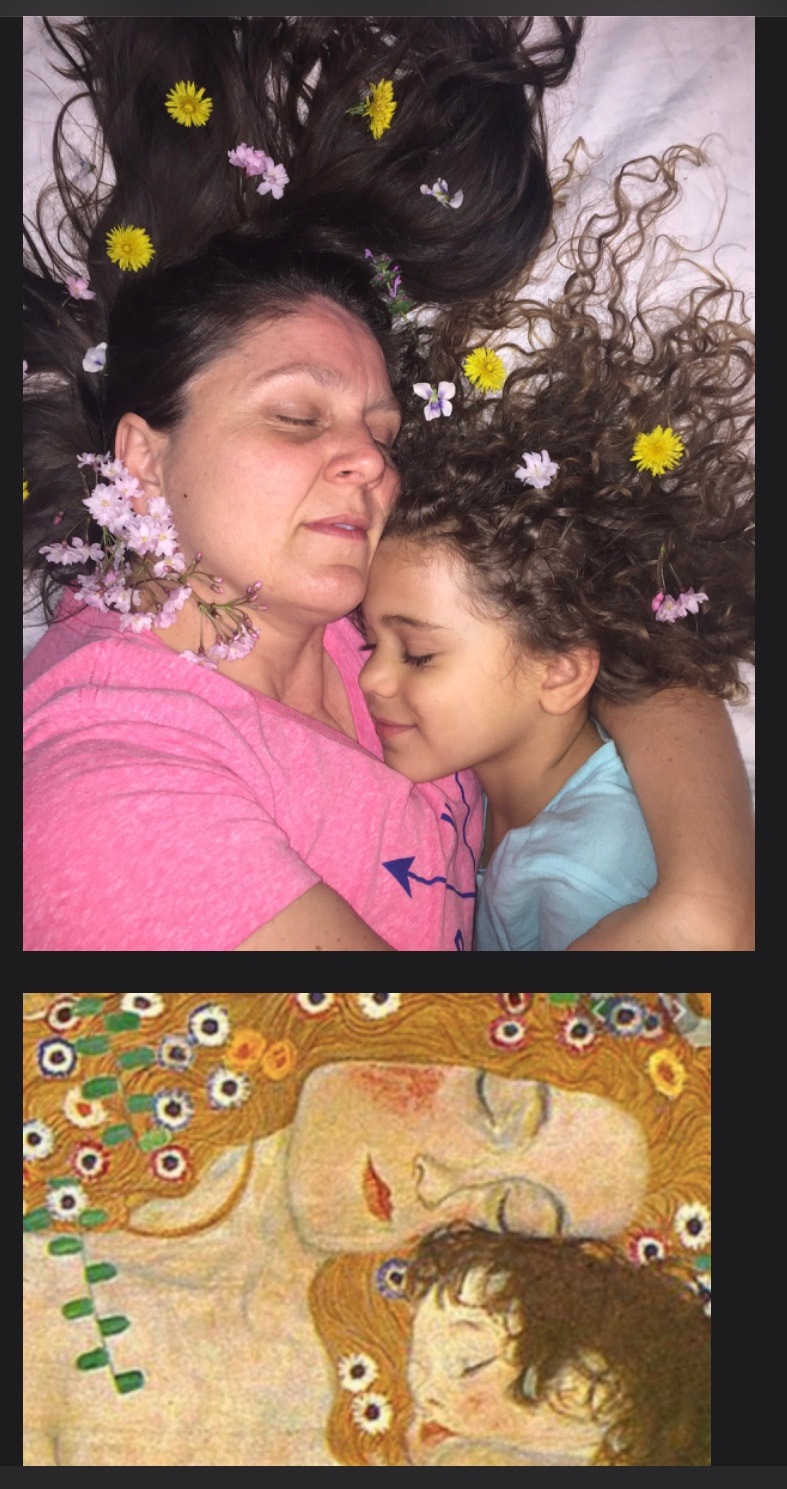
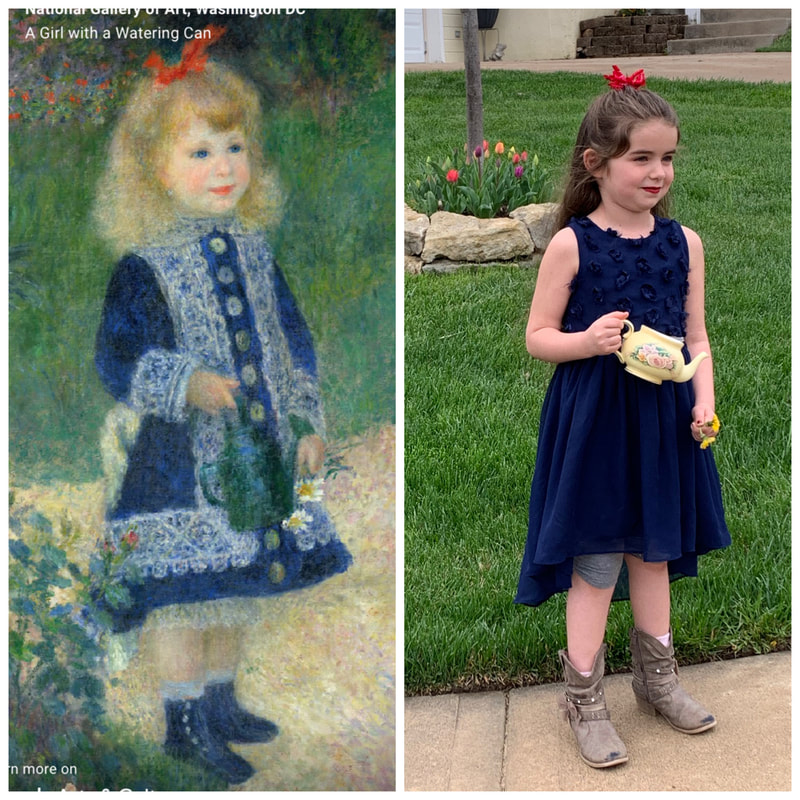
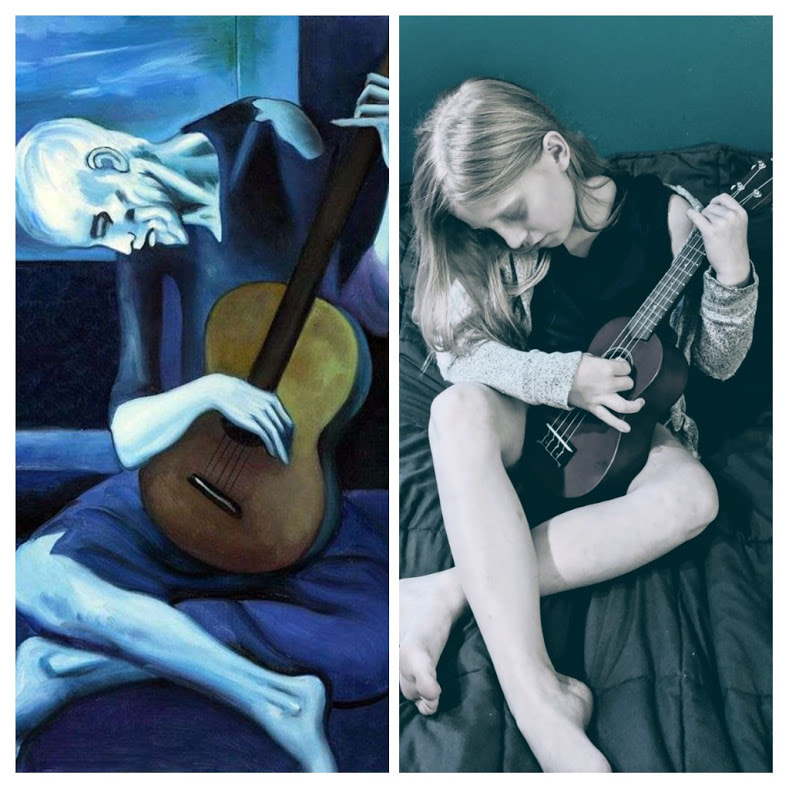
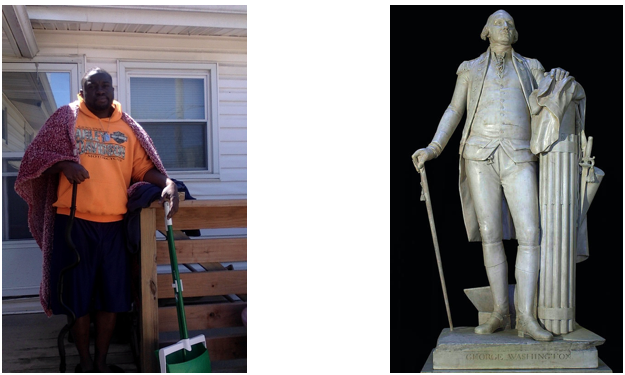
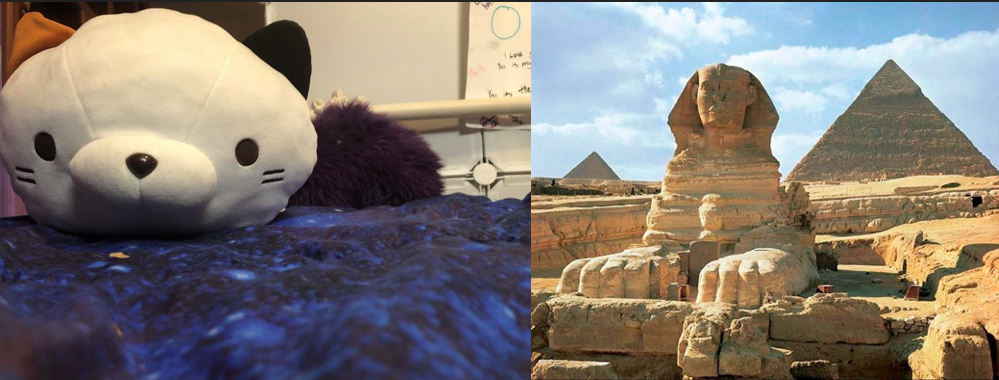
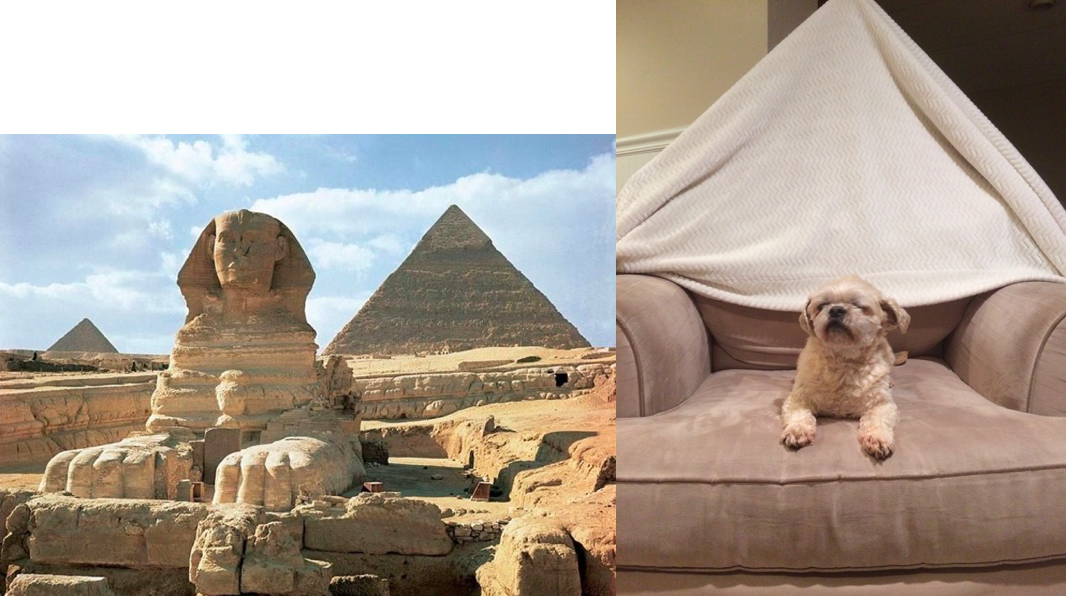
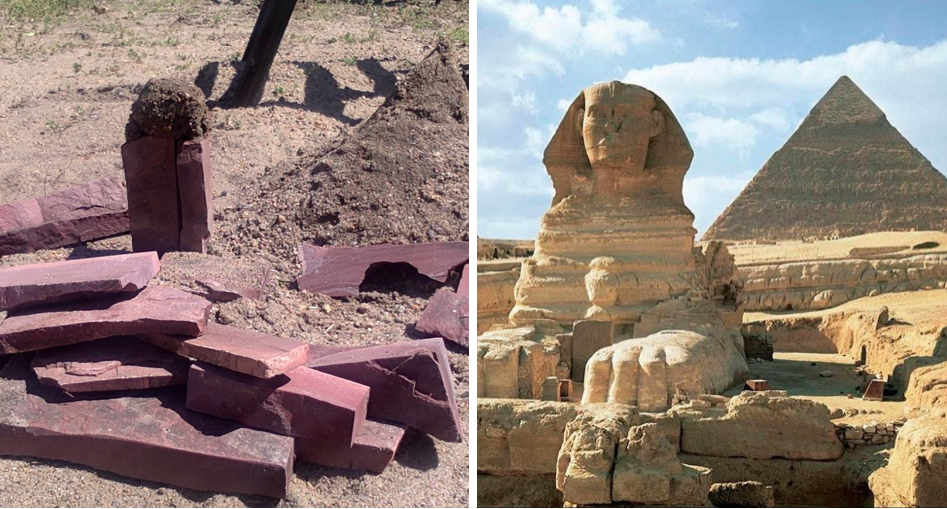
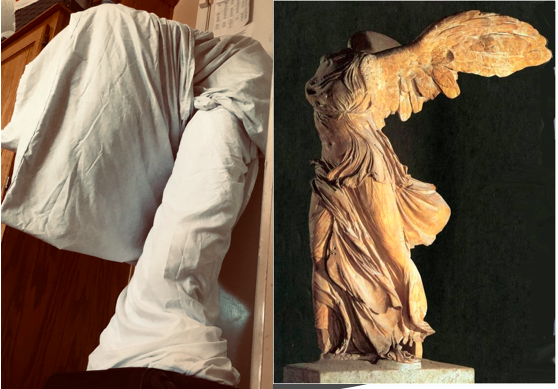
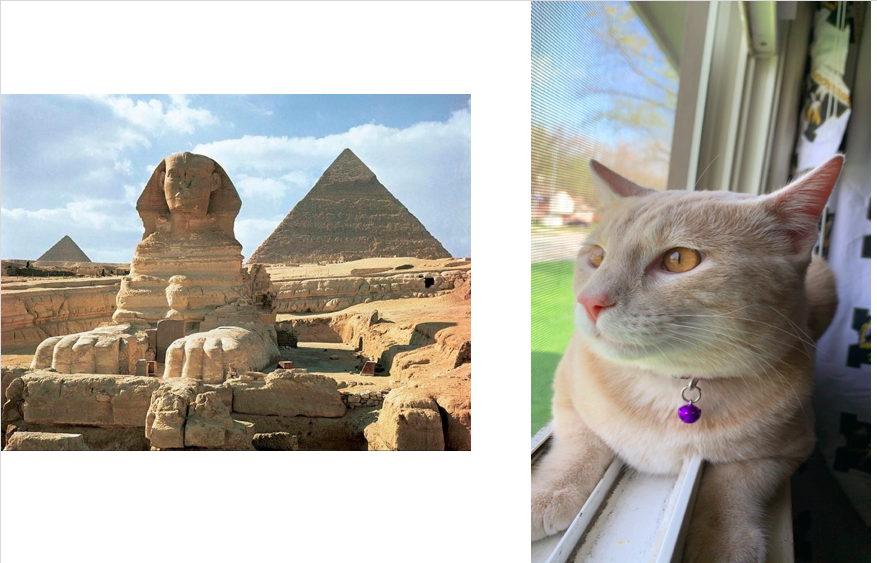
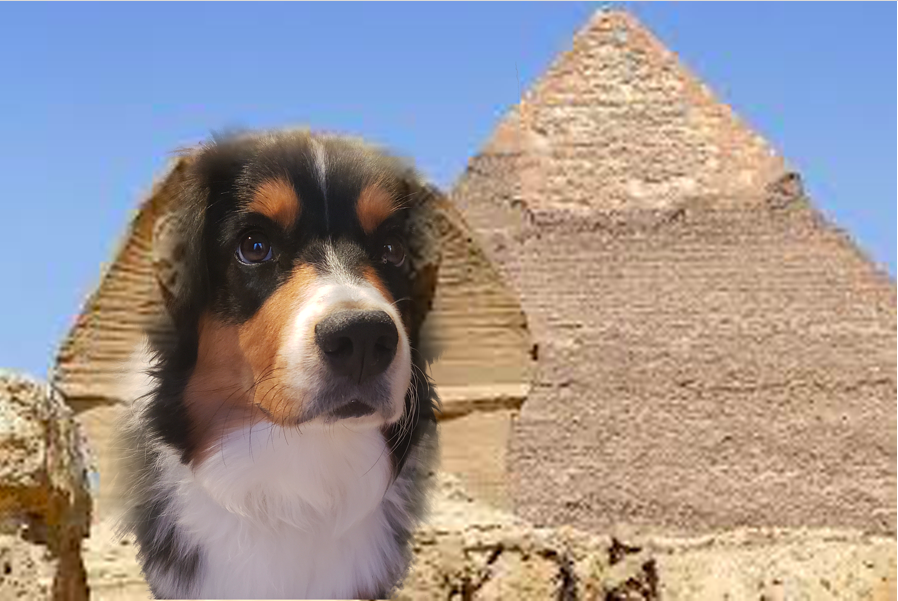
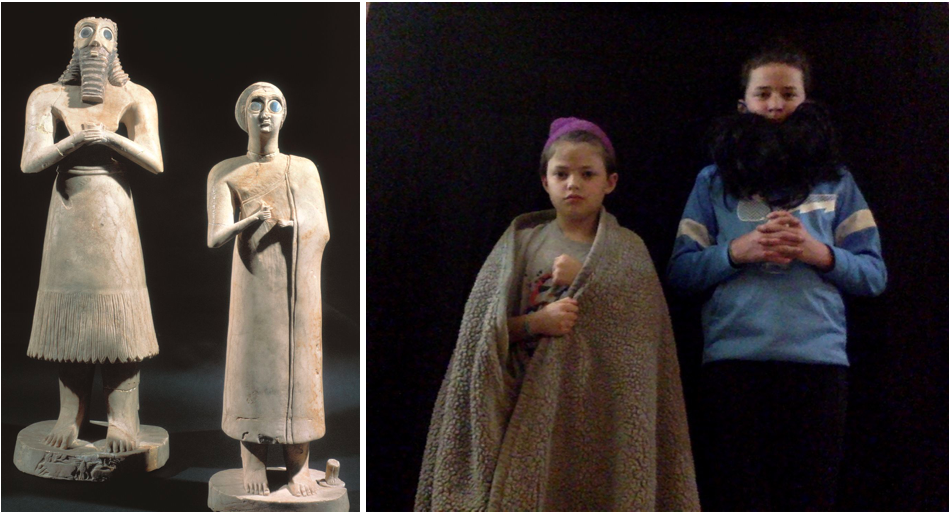
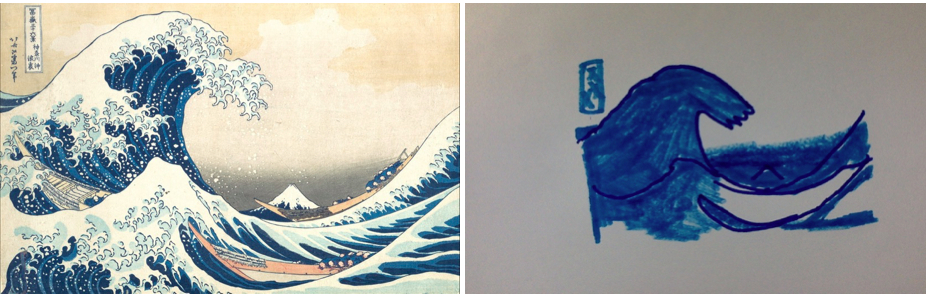
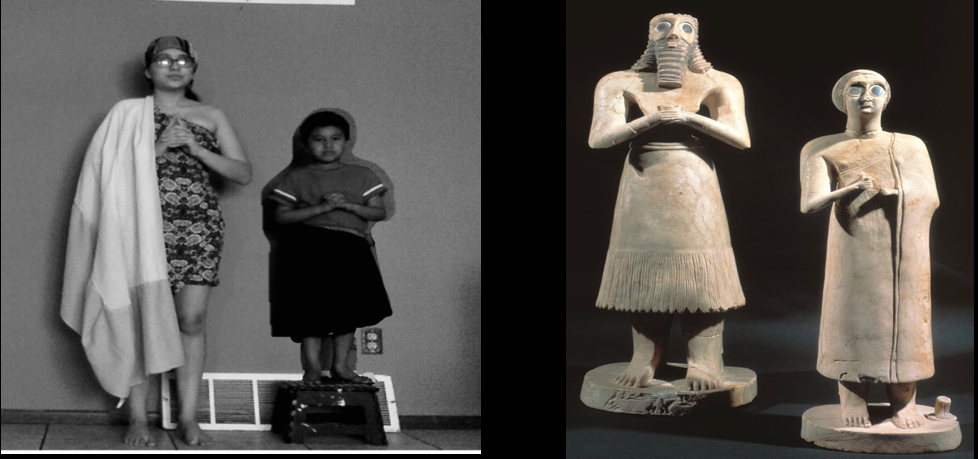
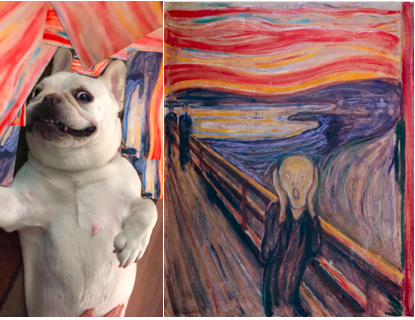
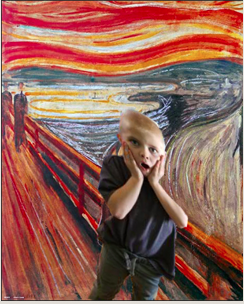
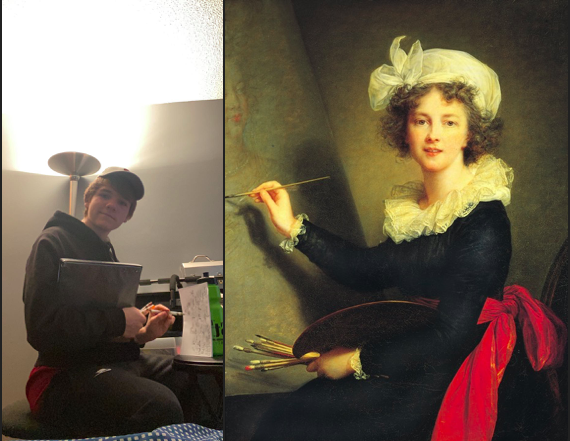
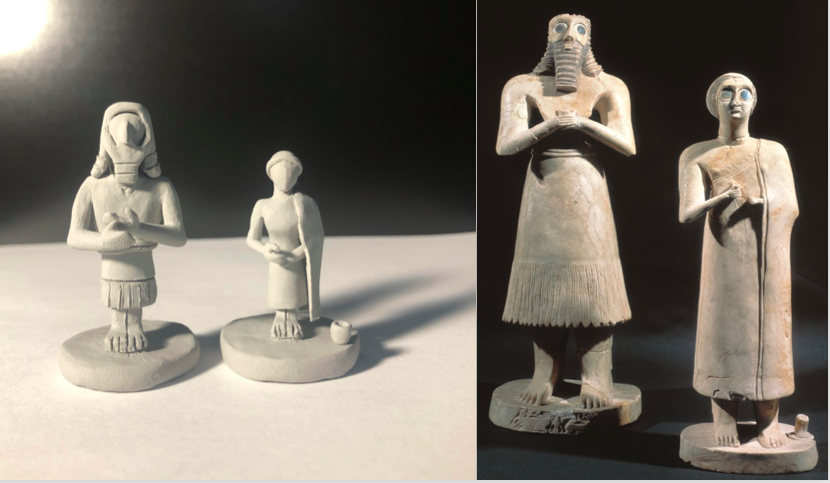
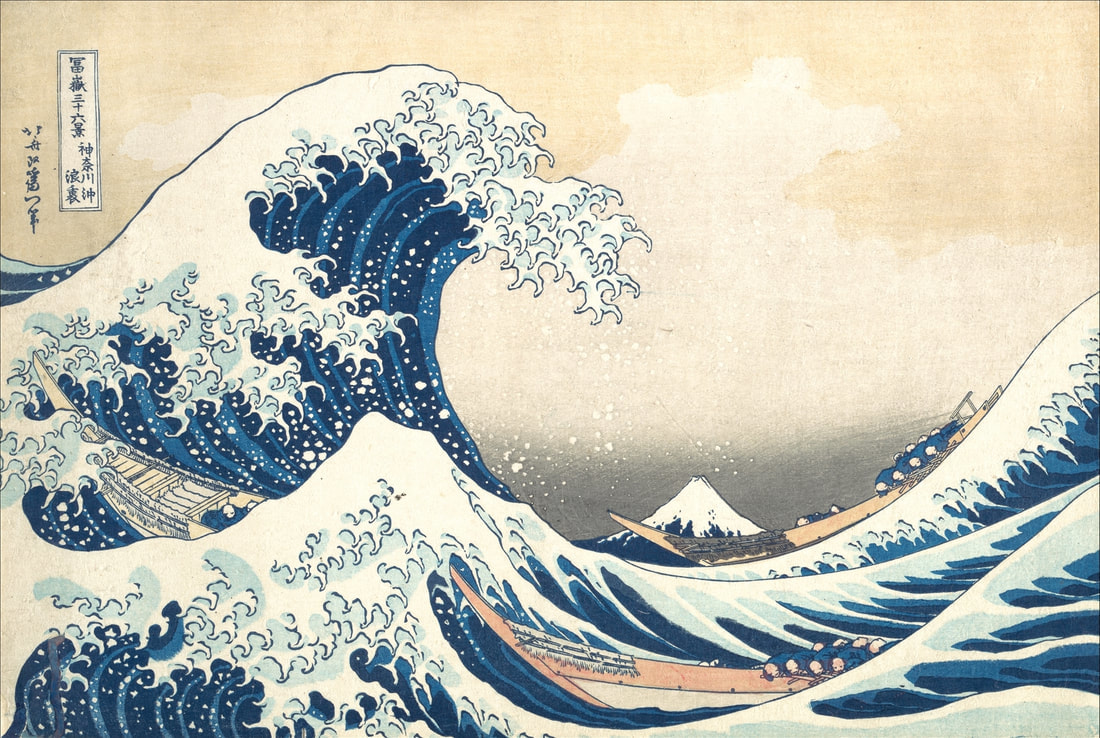
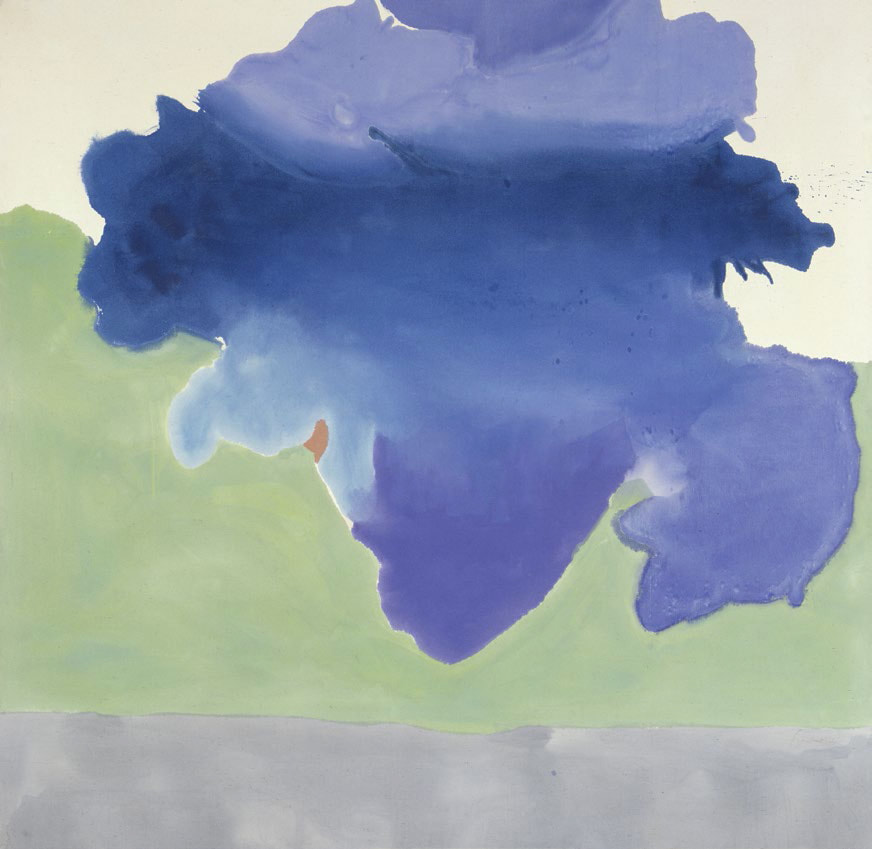
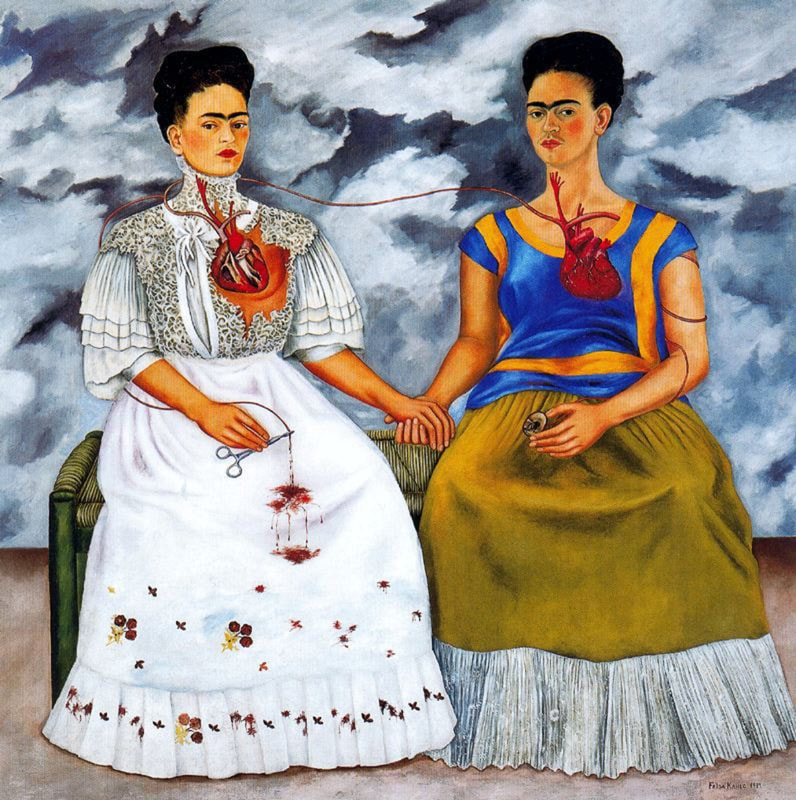
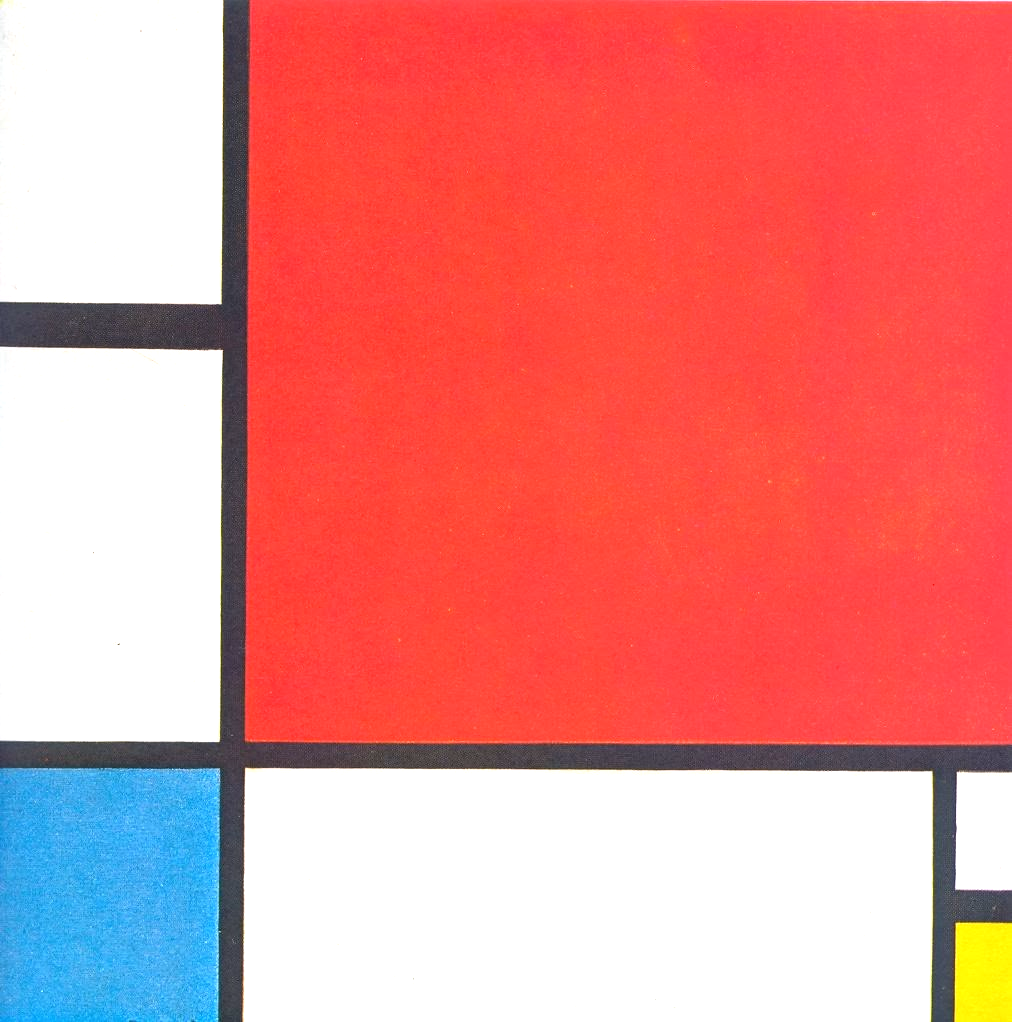
WEEK 3: YOU ARE A MASTERPIECE- recreate a work of art with you in the photo
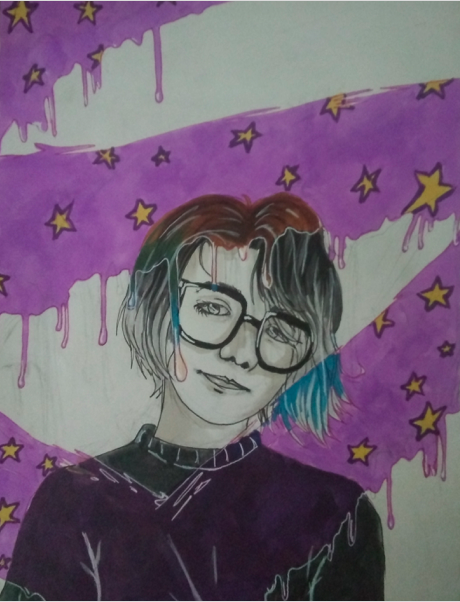
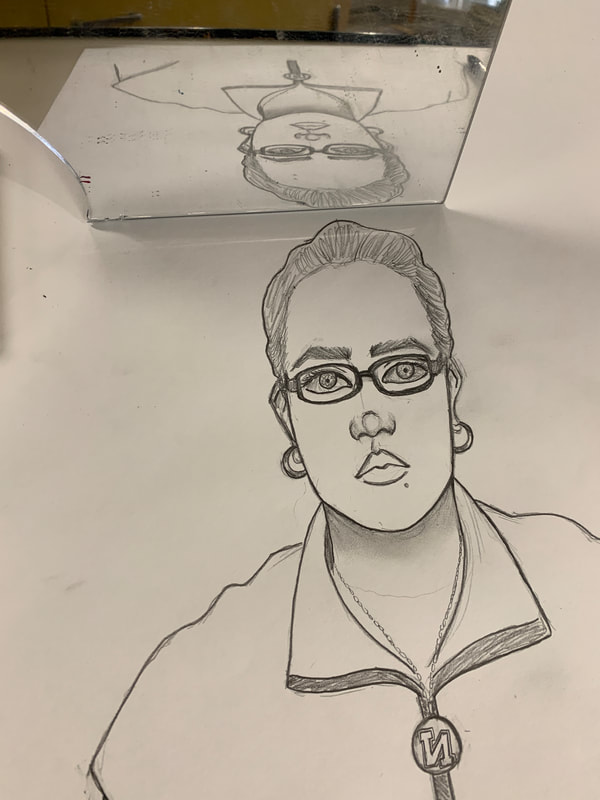
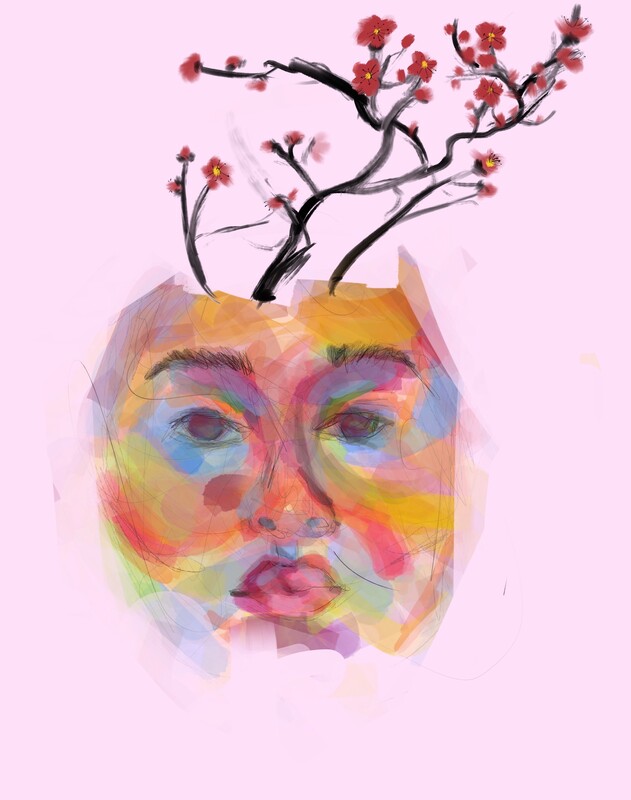
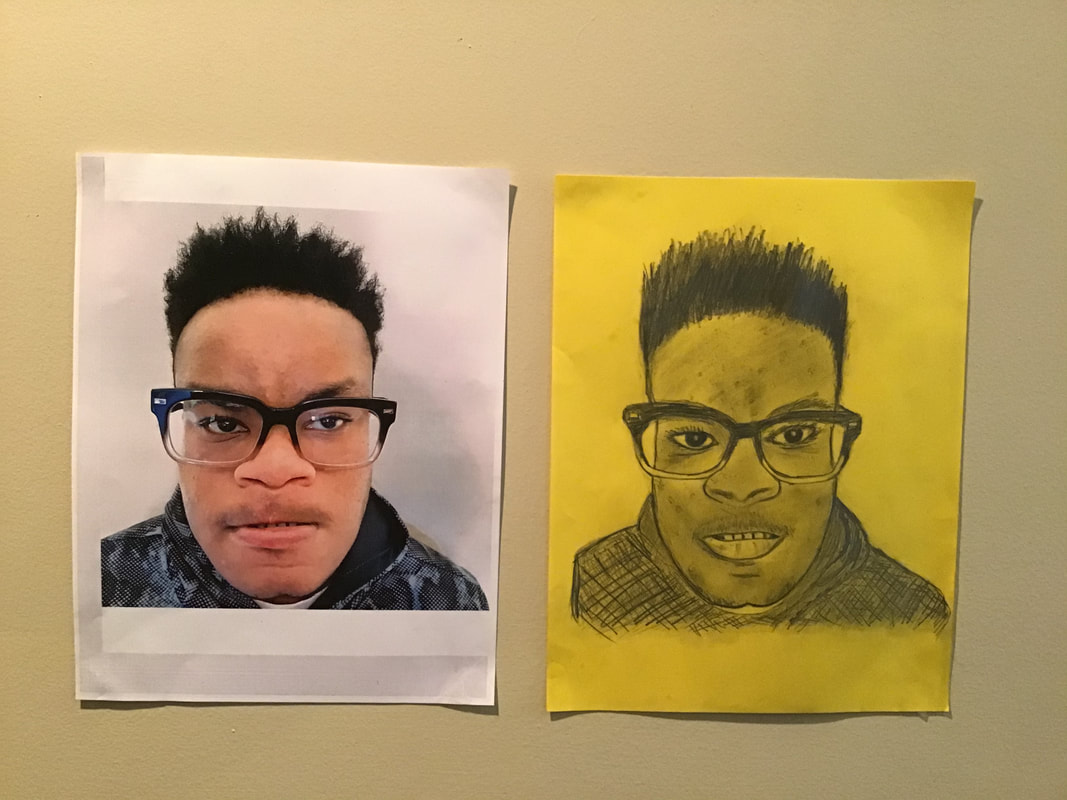
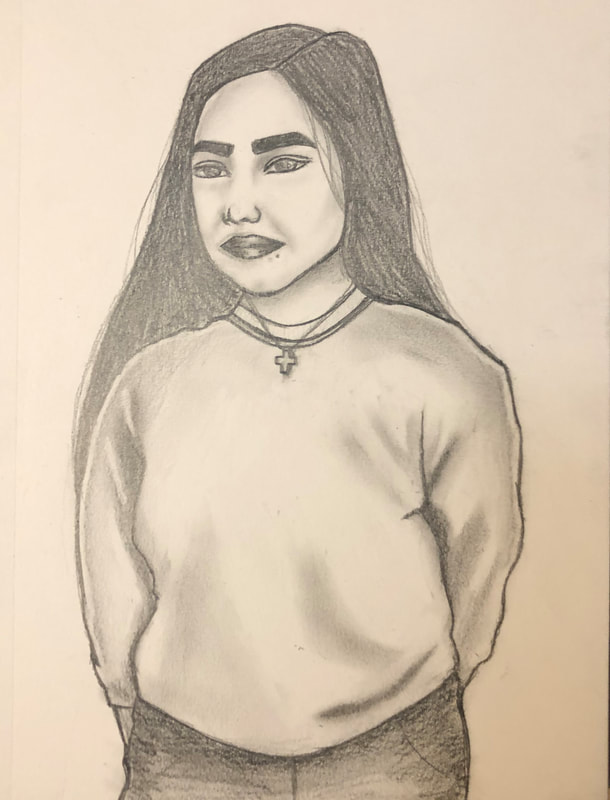
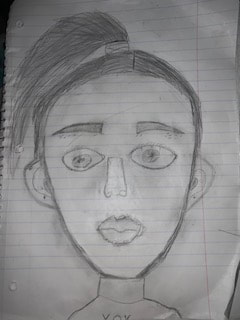
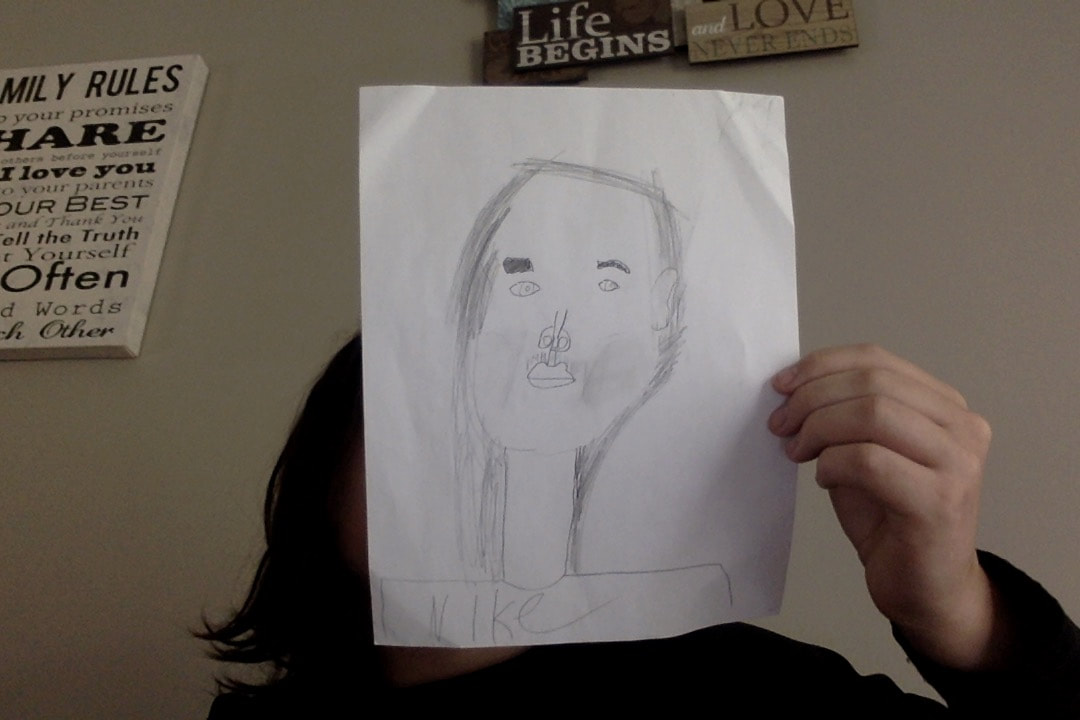
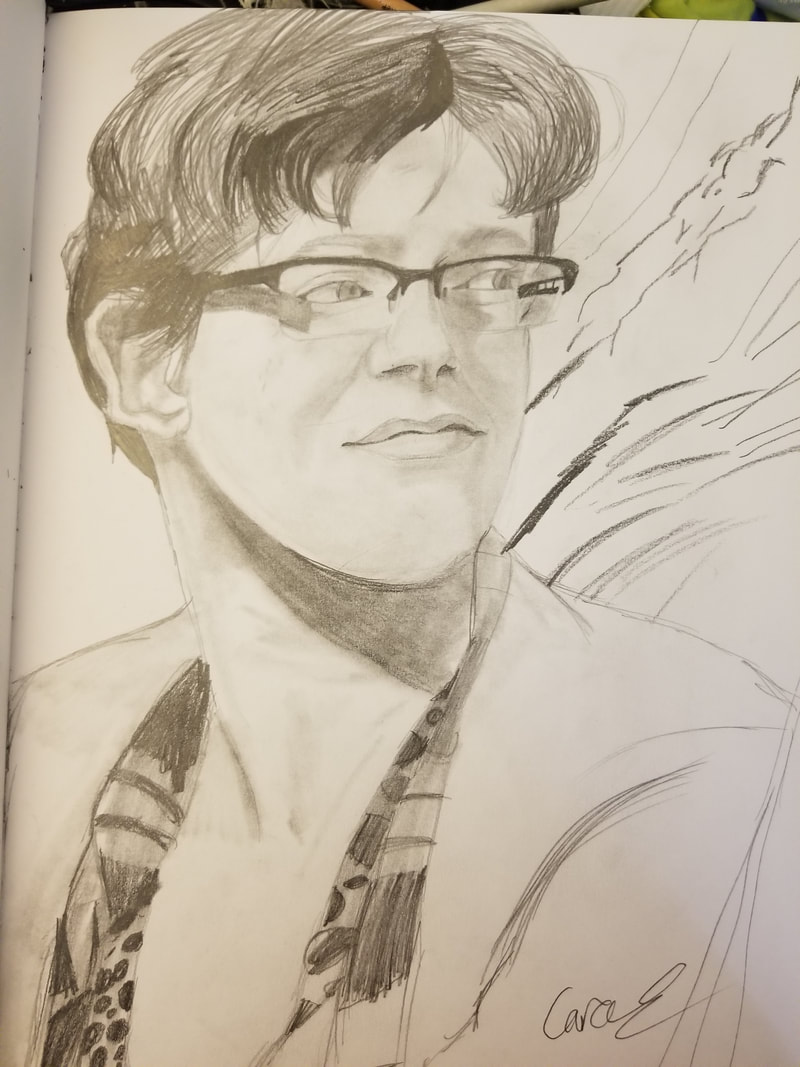
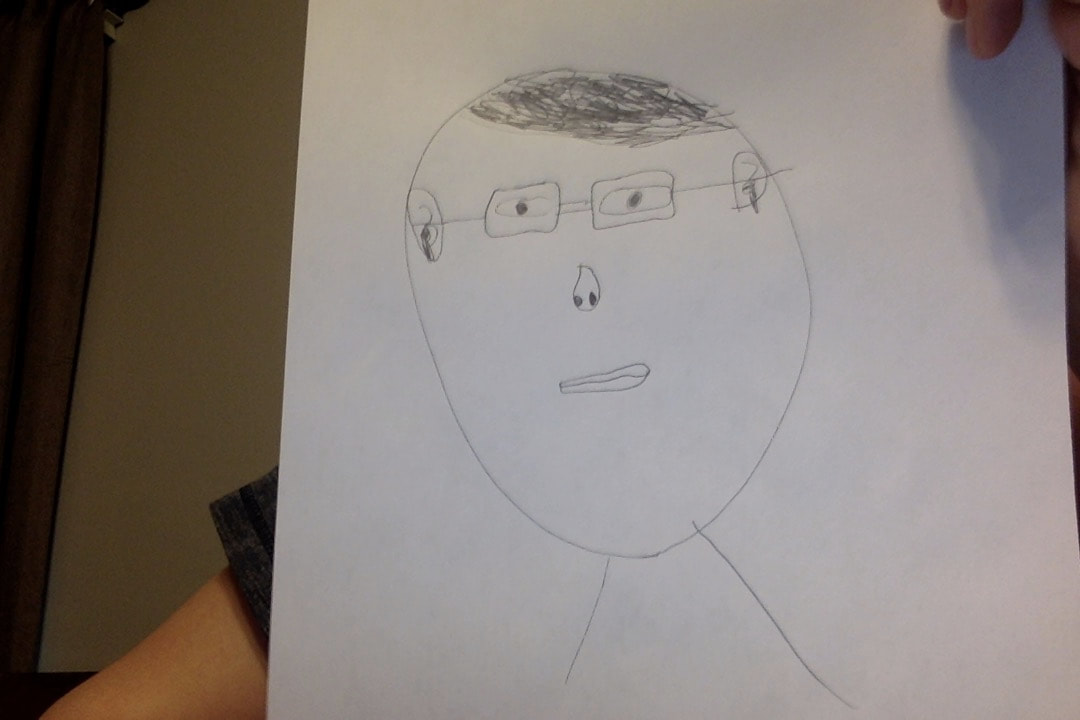
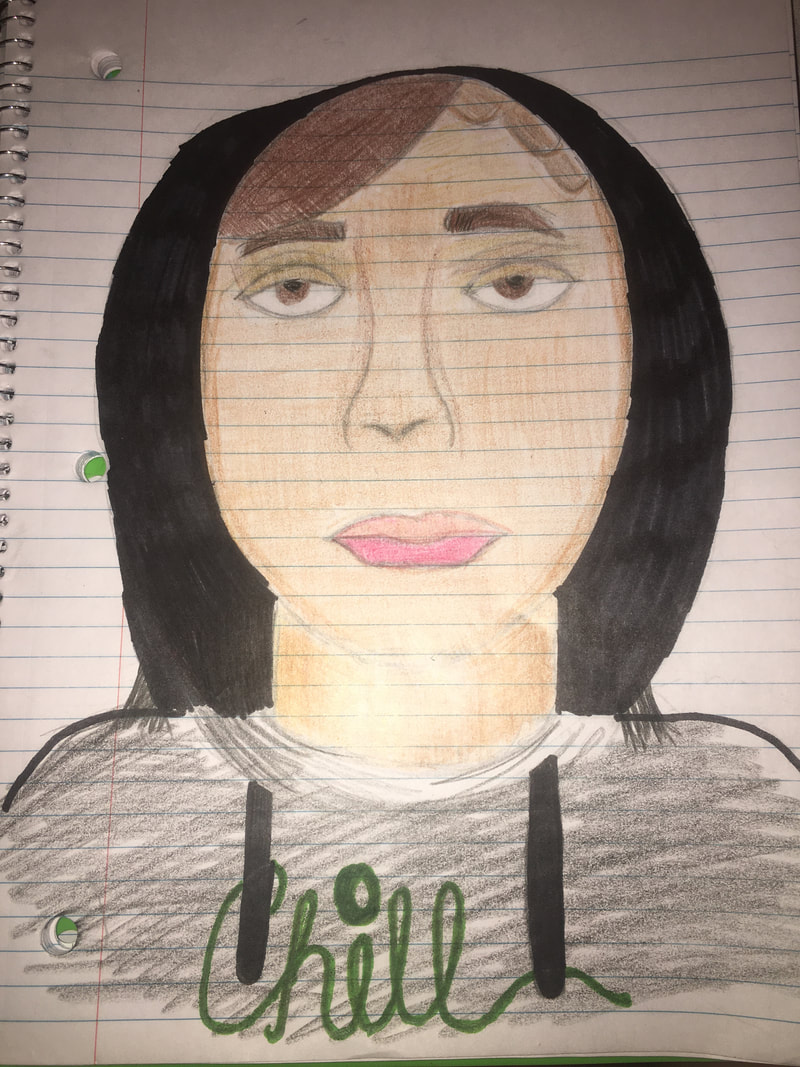
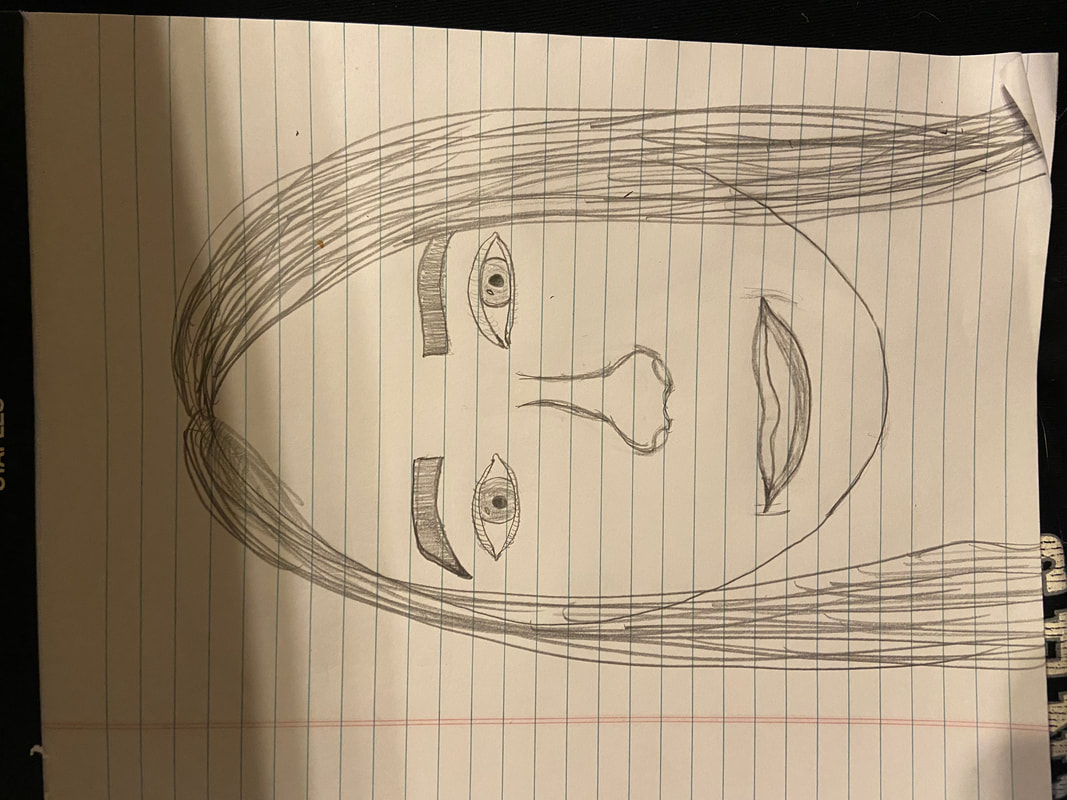
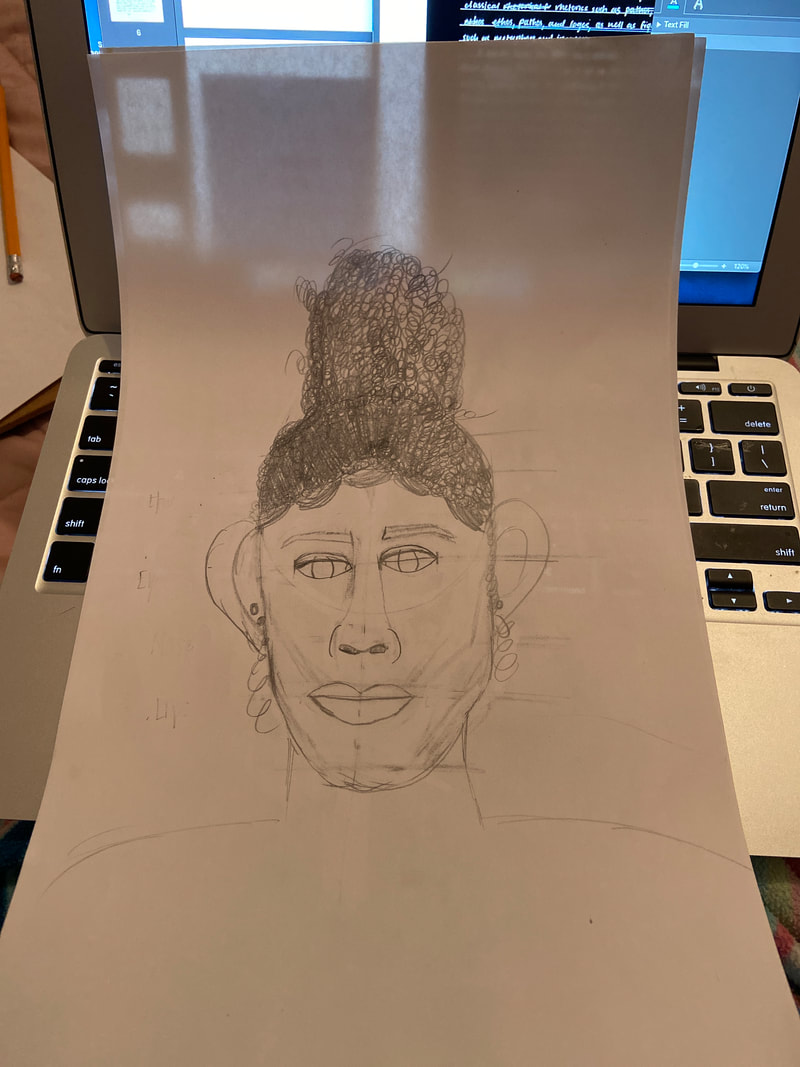
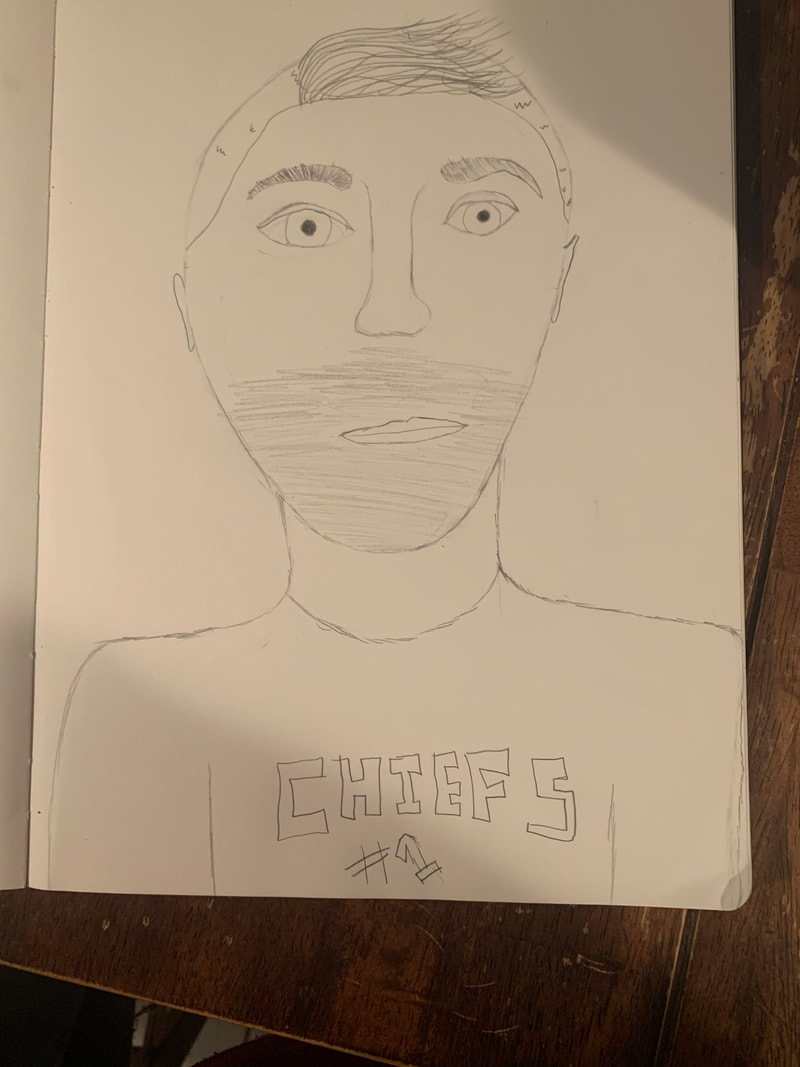
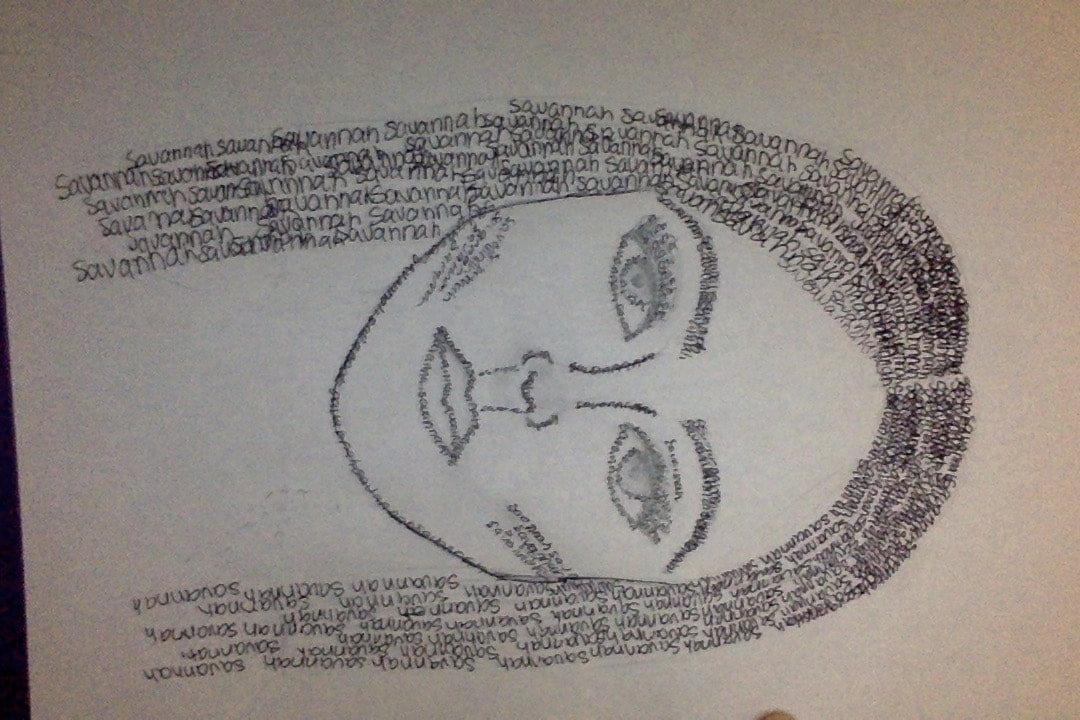
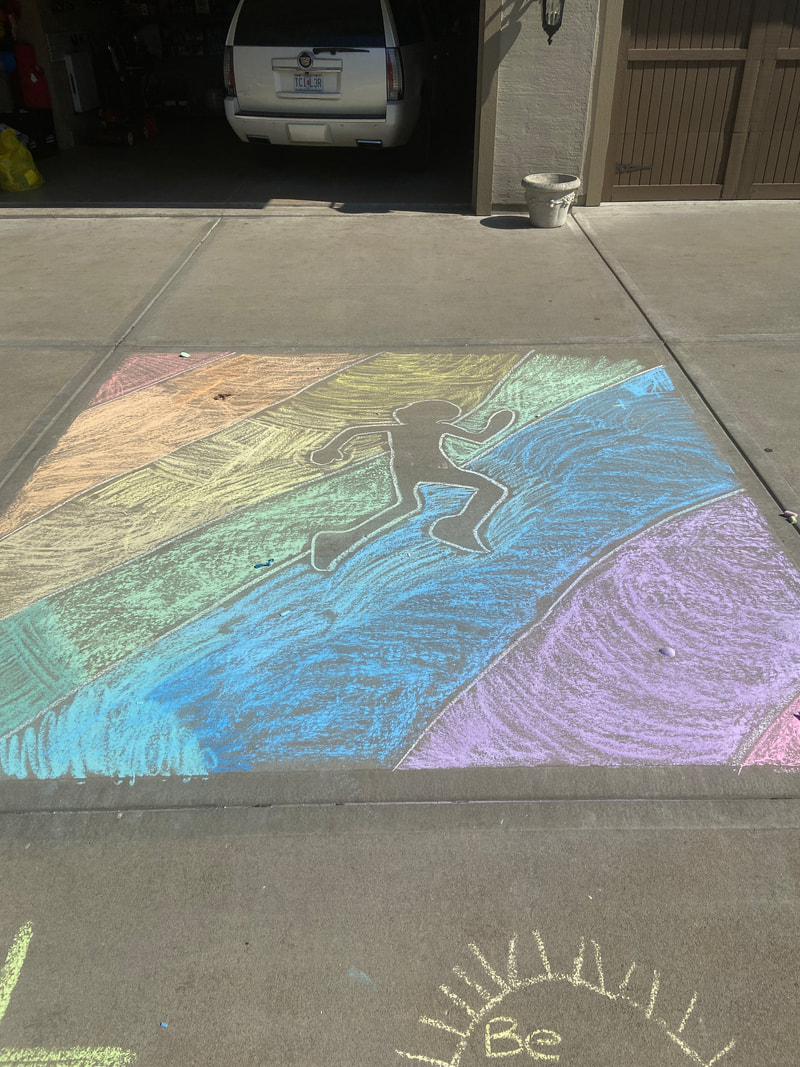
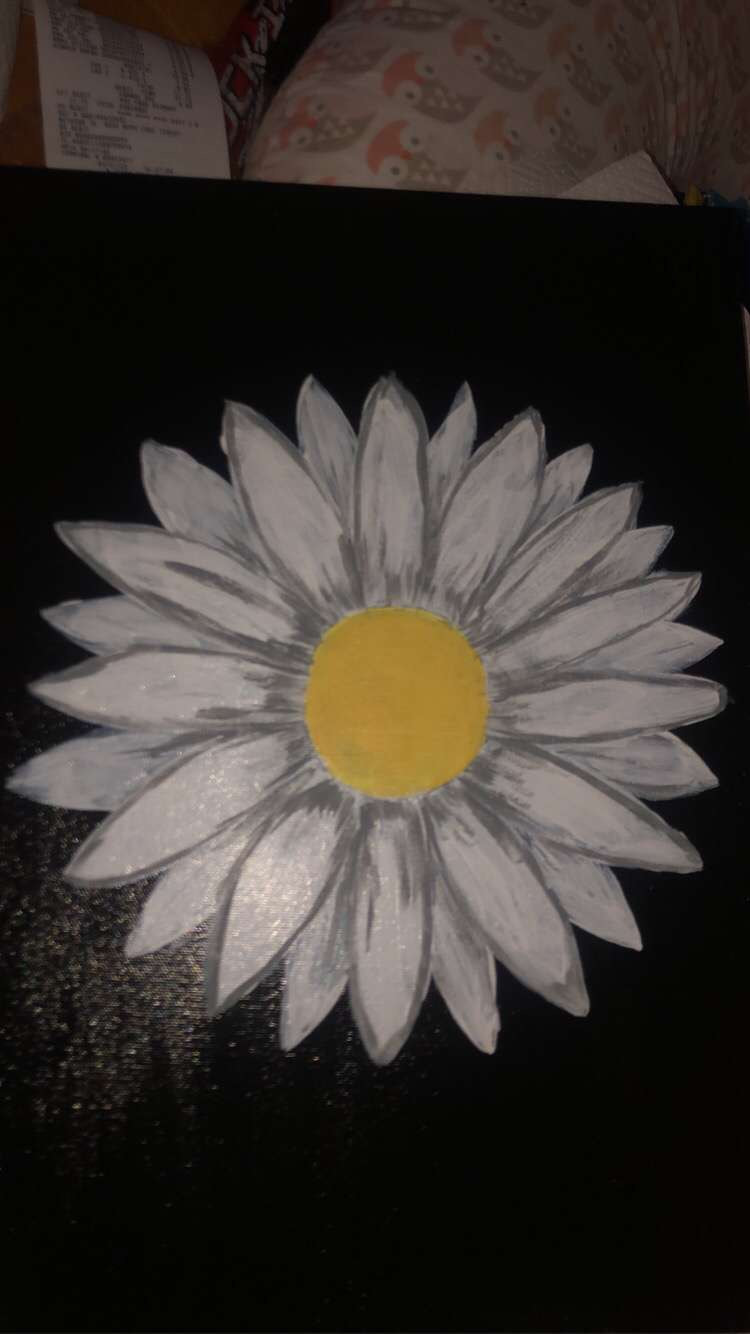
WEEK 4: Here's Looking at You/Self Portrait!
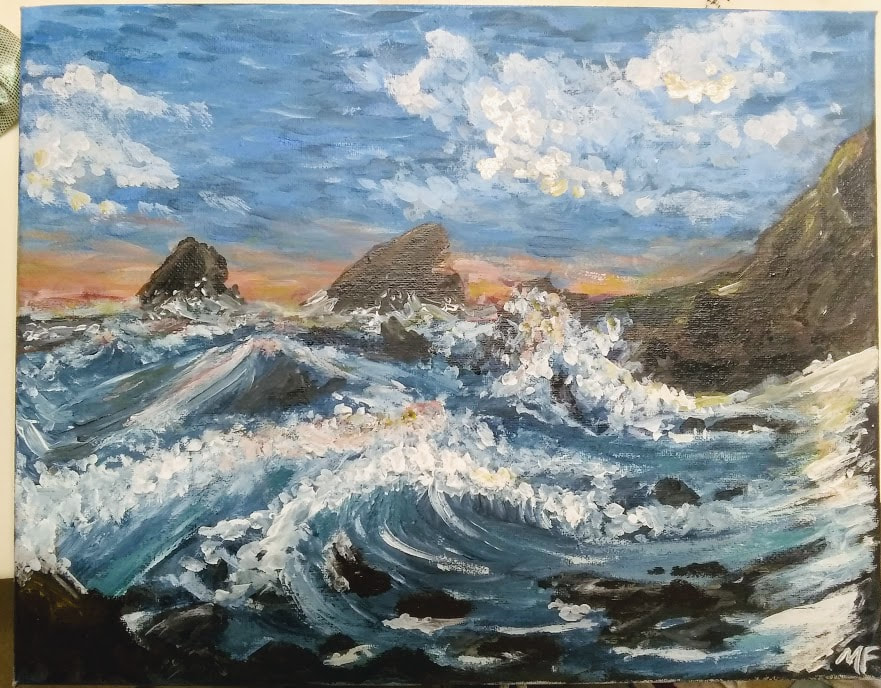
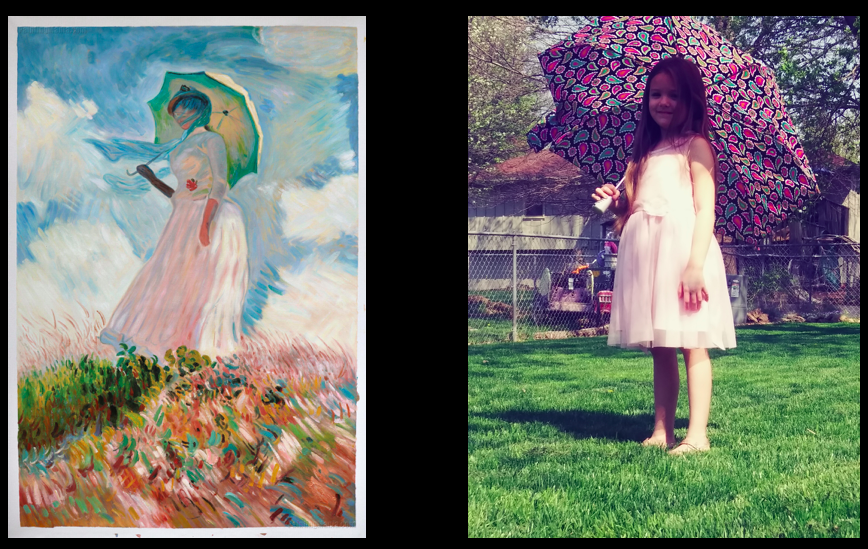
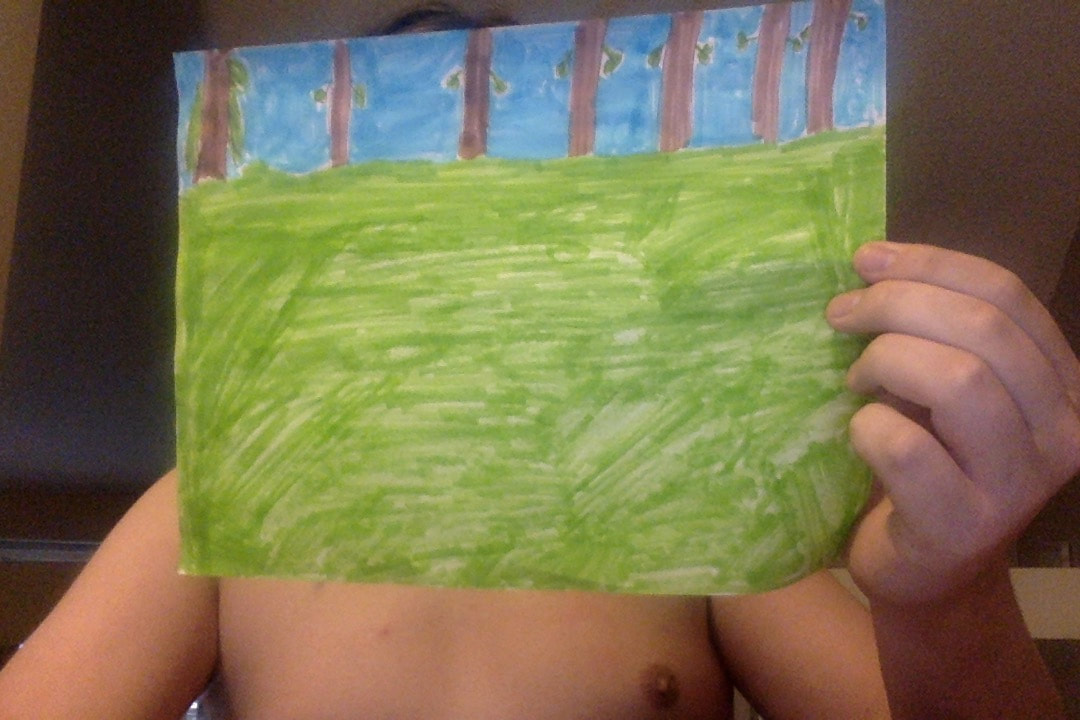
WEEK 5: Impersonate an Impressionist
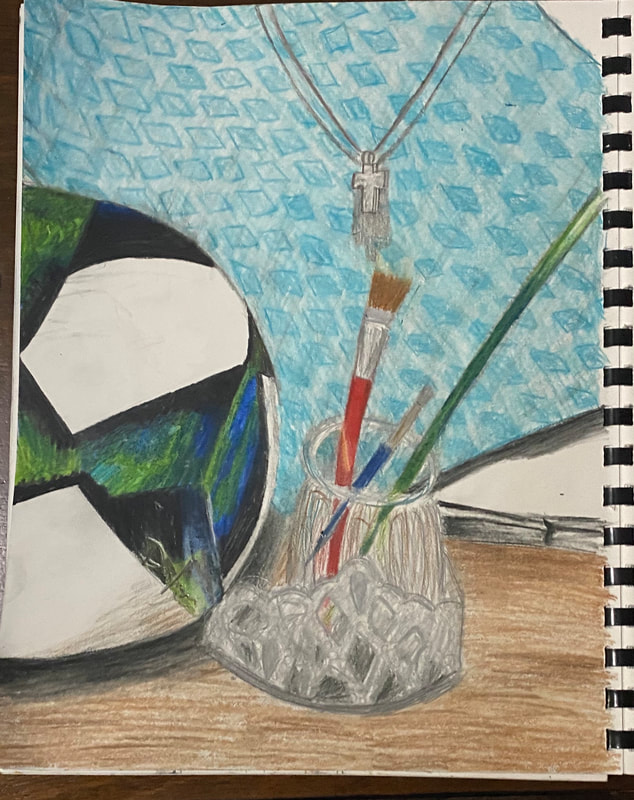
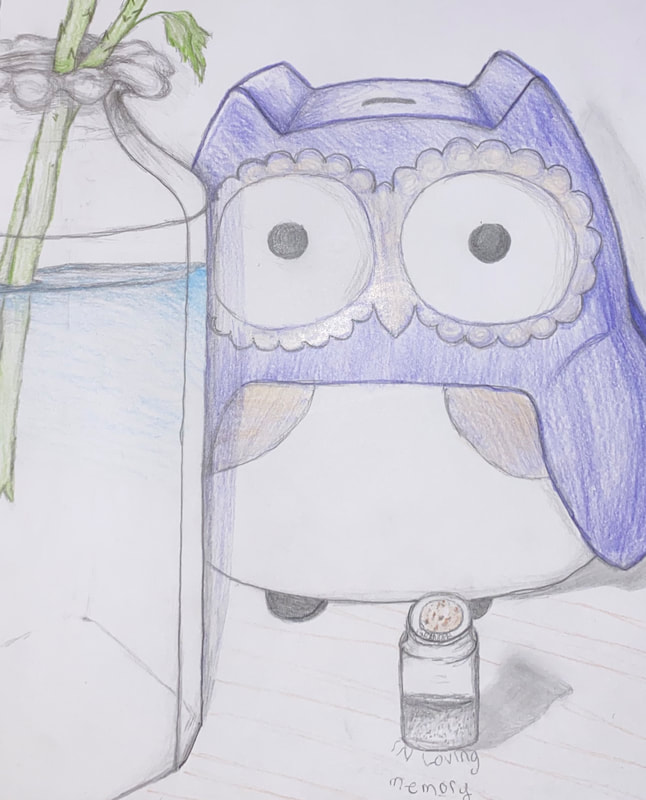
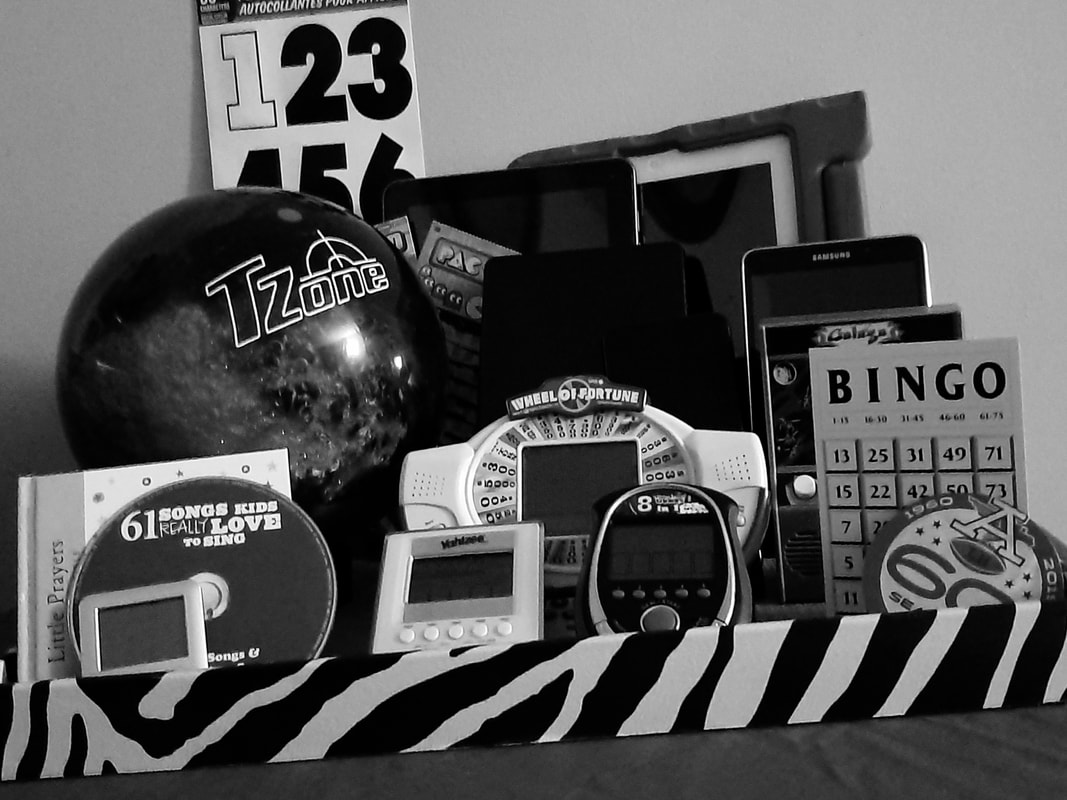
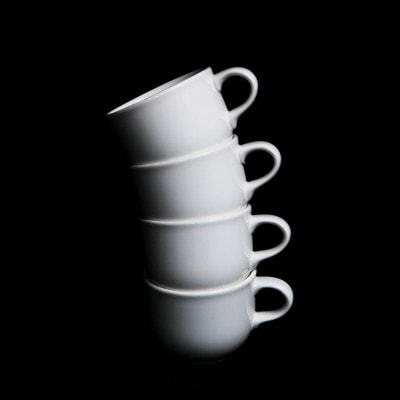
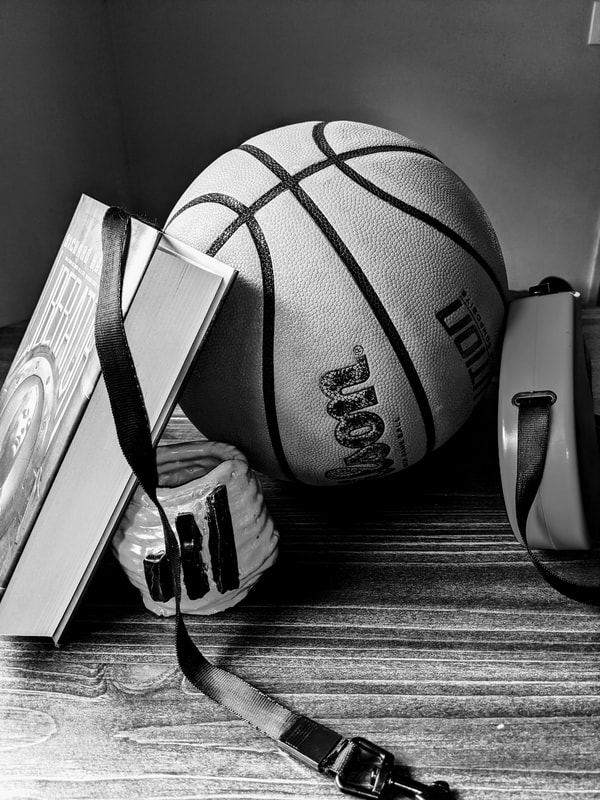
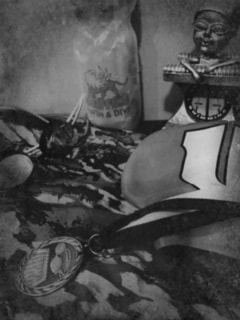
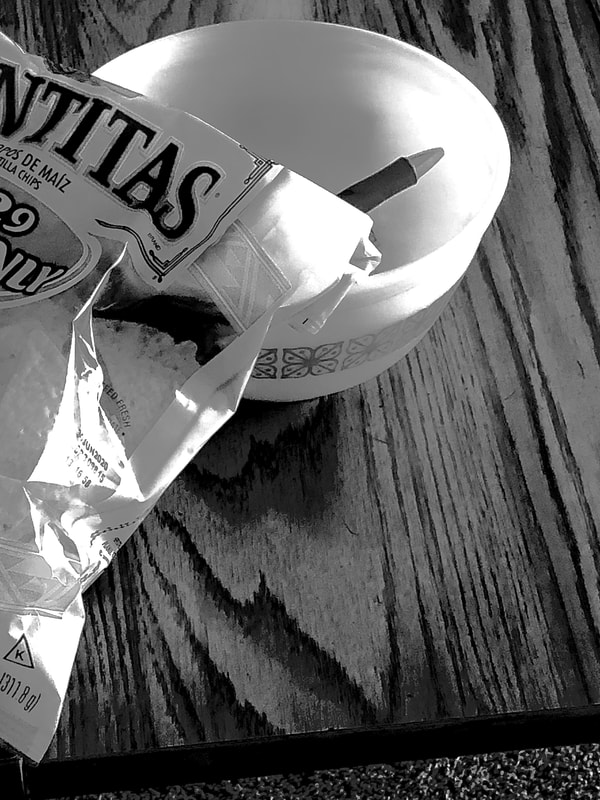
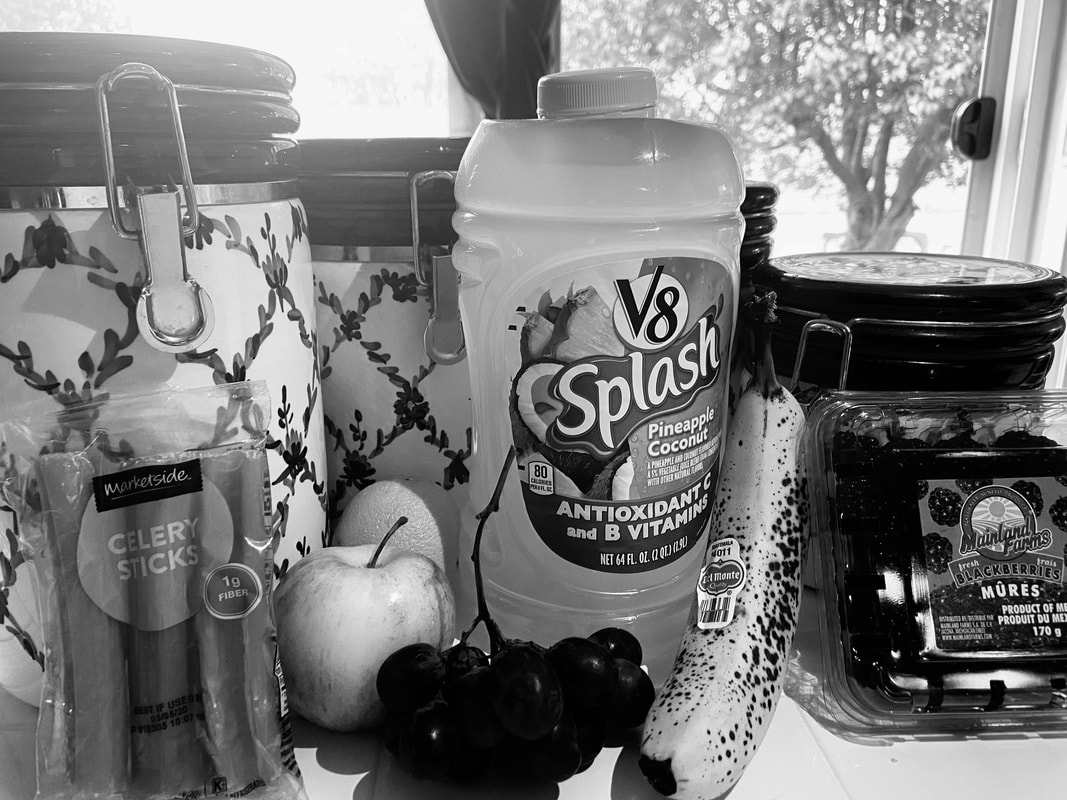
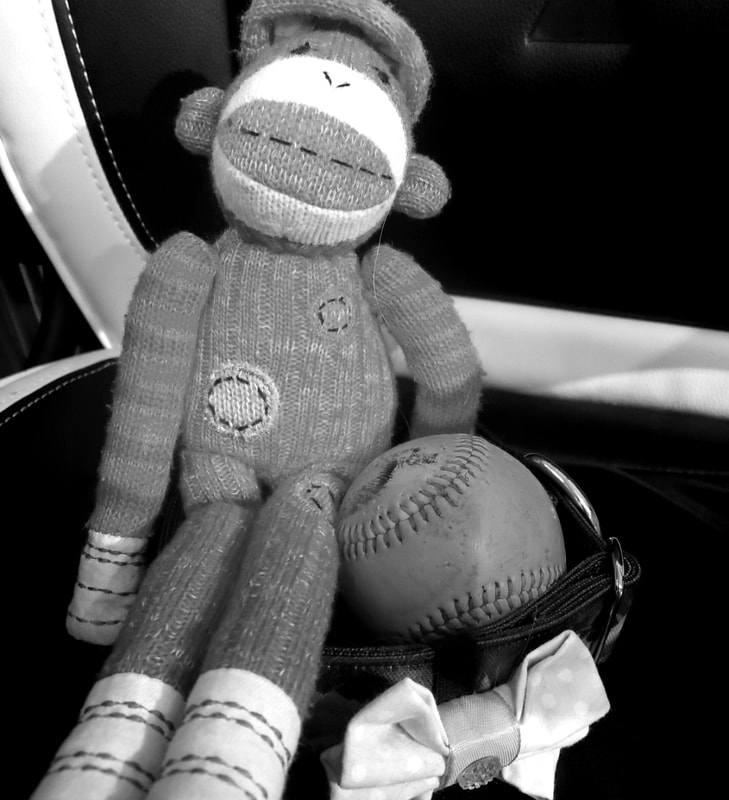
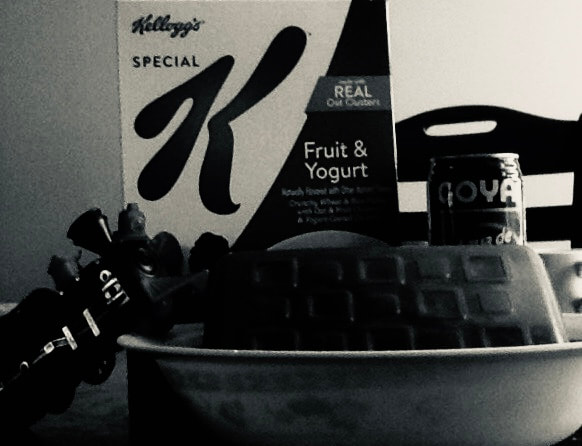
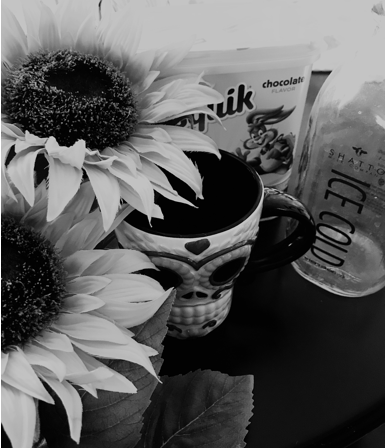
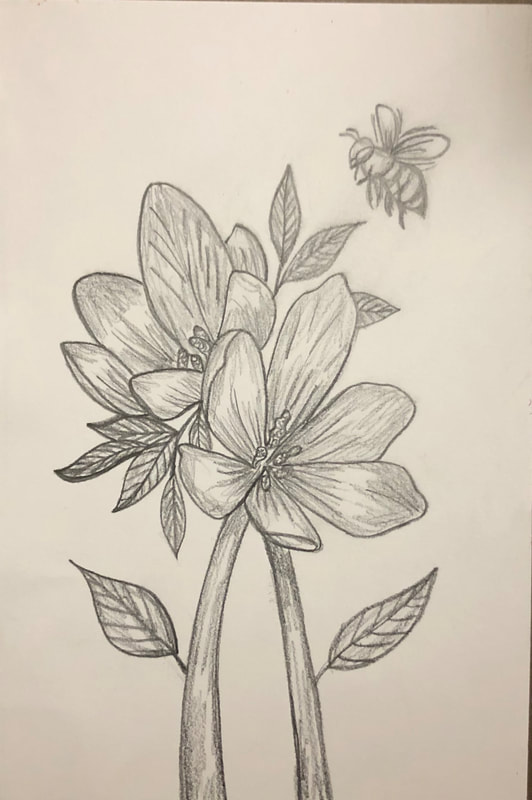
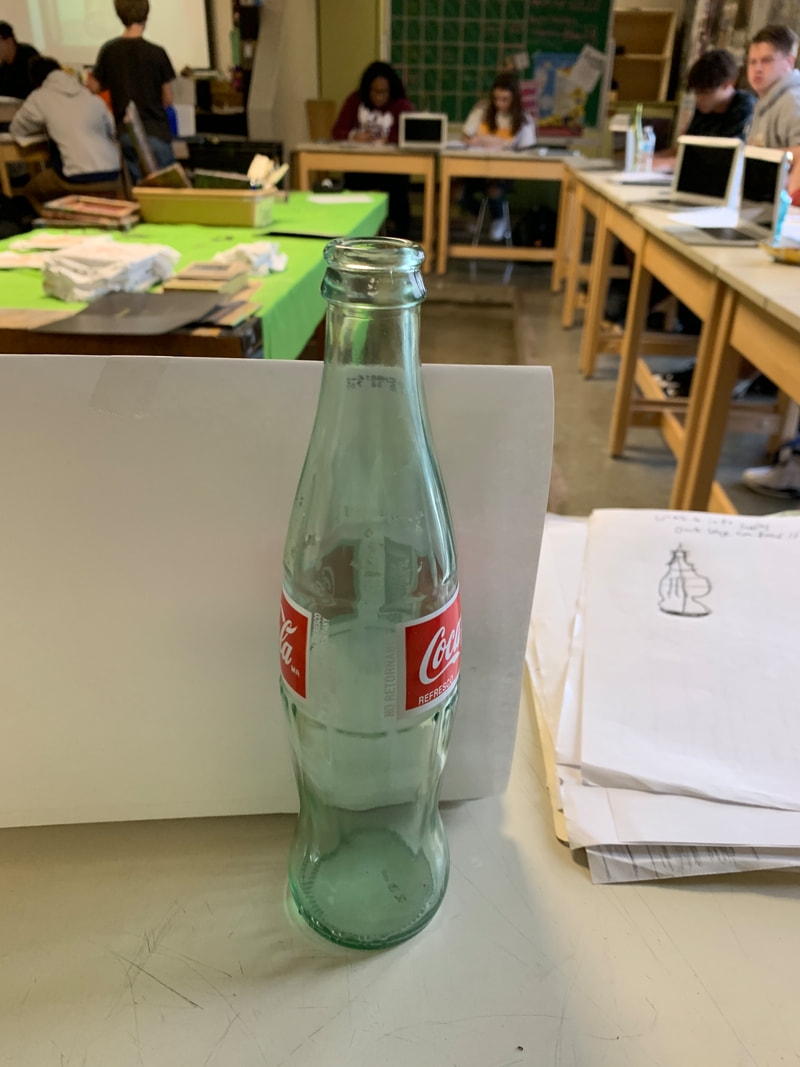
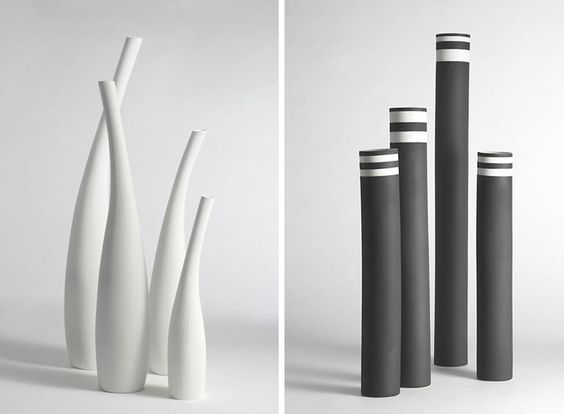
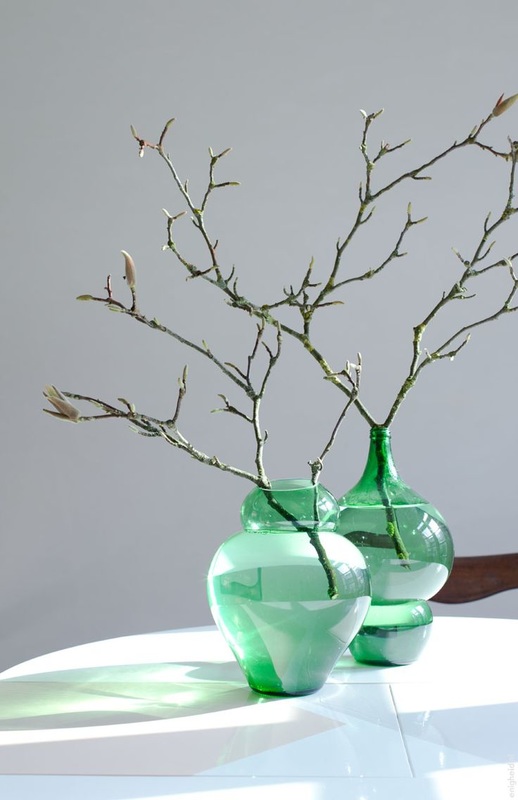
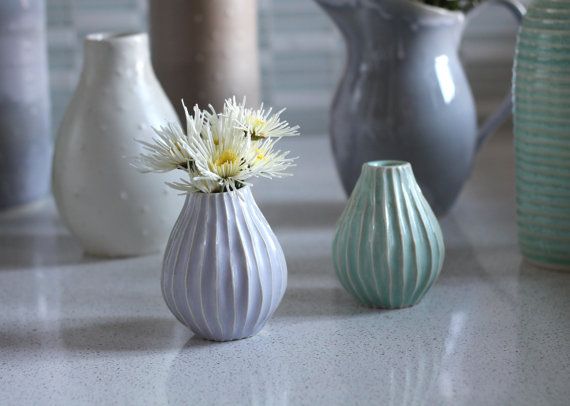
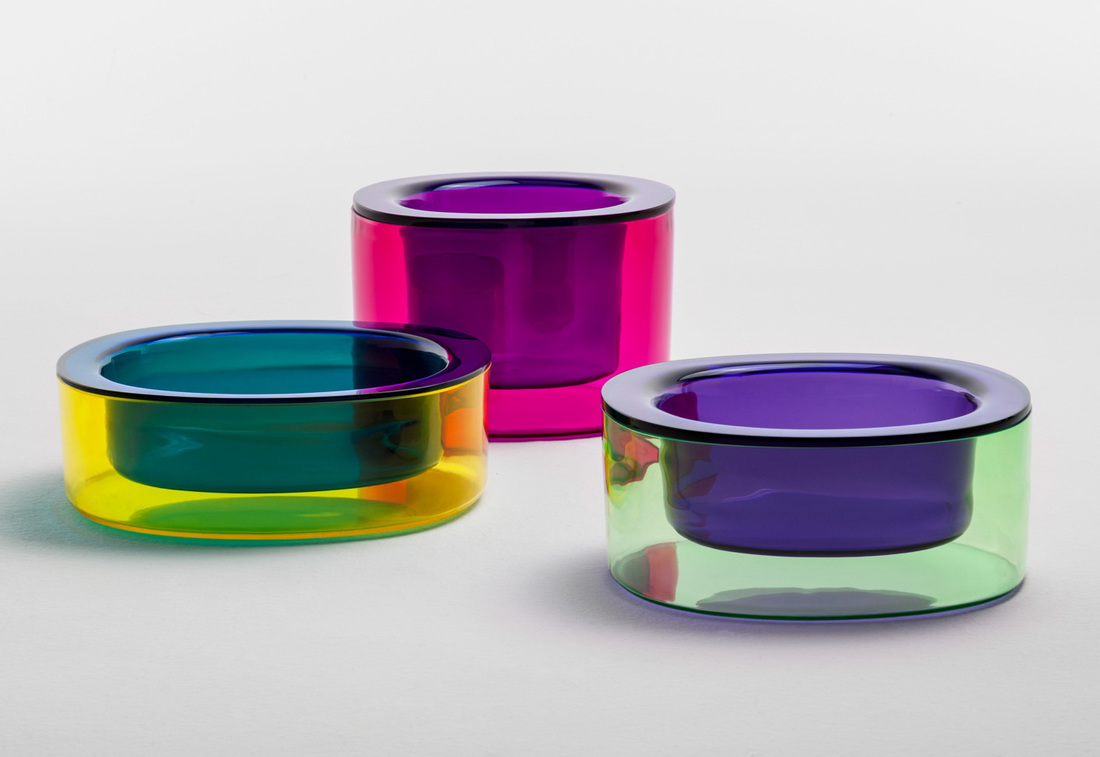
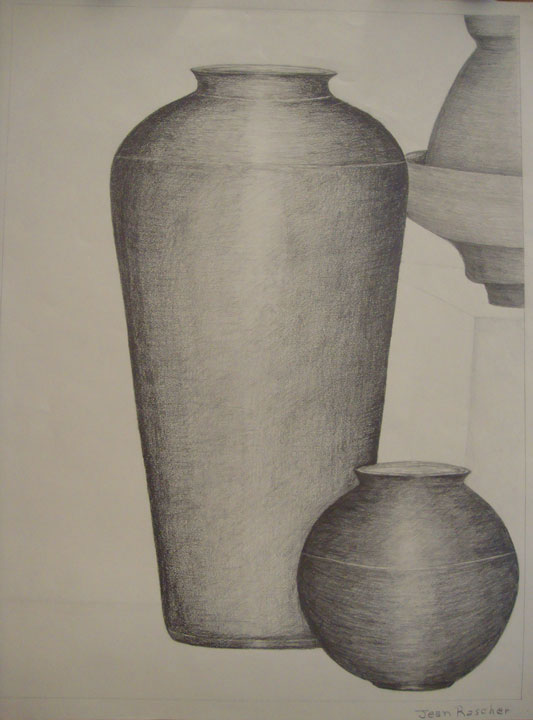
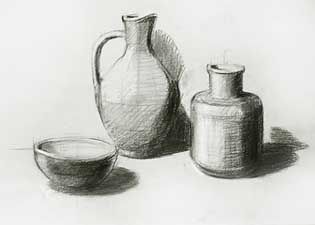
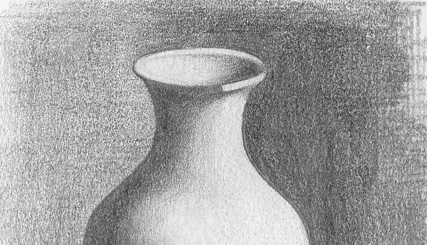
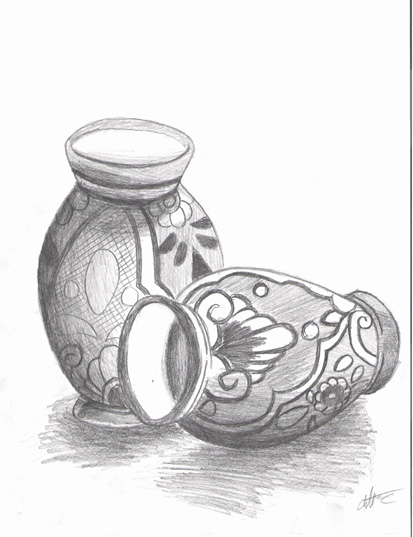
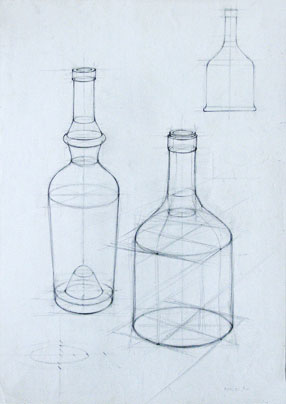
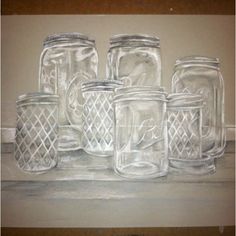
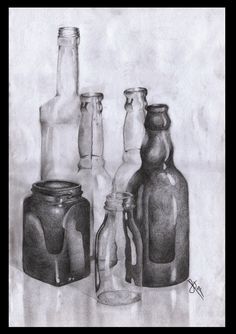
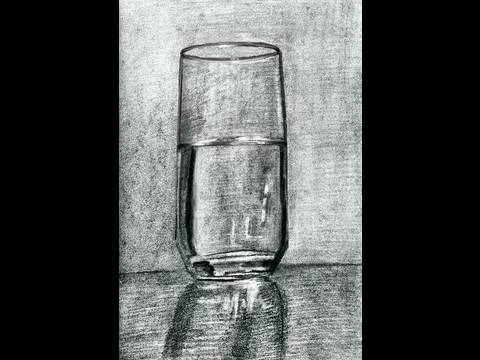
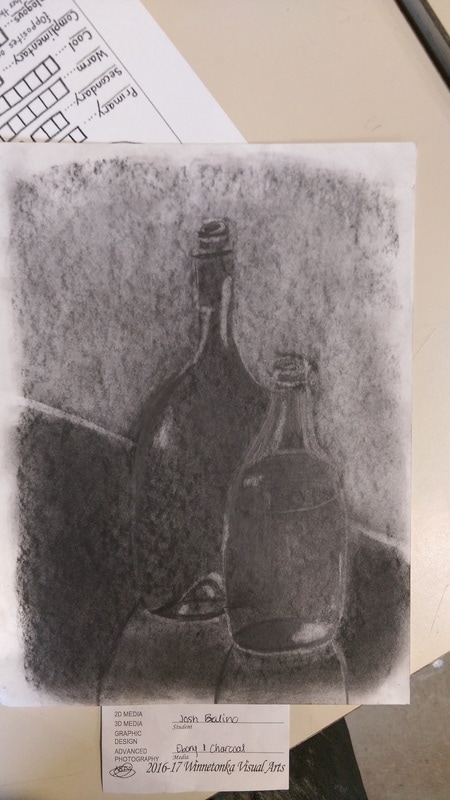
WEEK 6: Still Life at Home
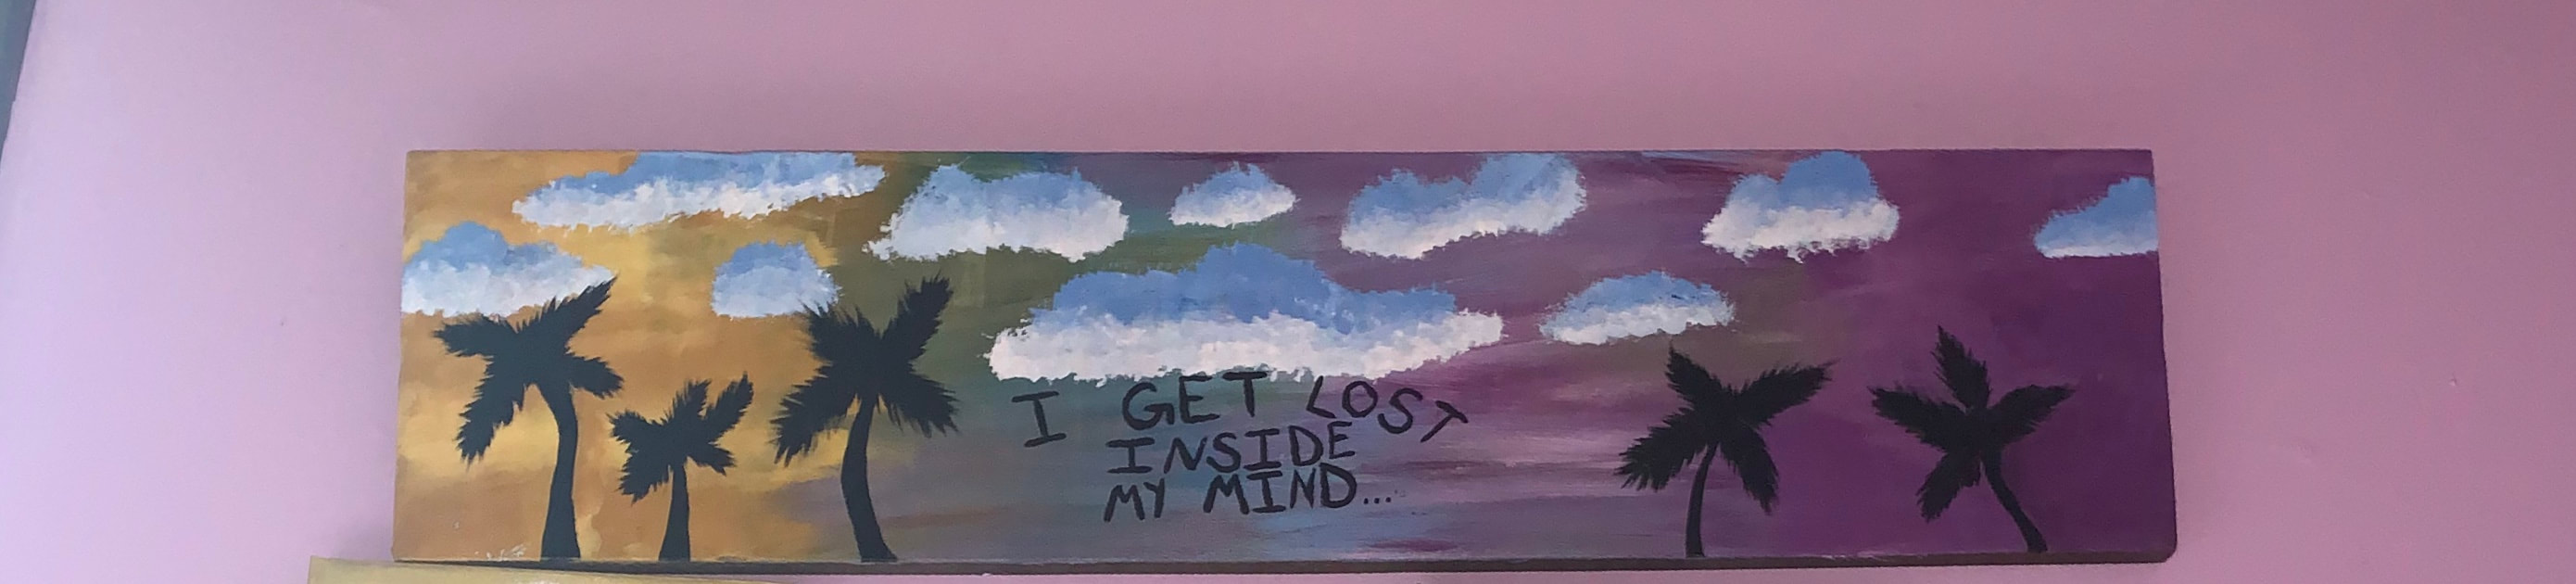
WEEK 7: Murals/Public Art then & Now
WEEK 1: Check in on canvas & EMPTY Toilet Paper Roll Challenge
WEEK 2: Your Ideas!
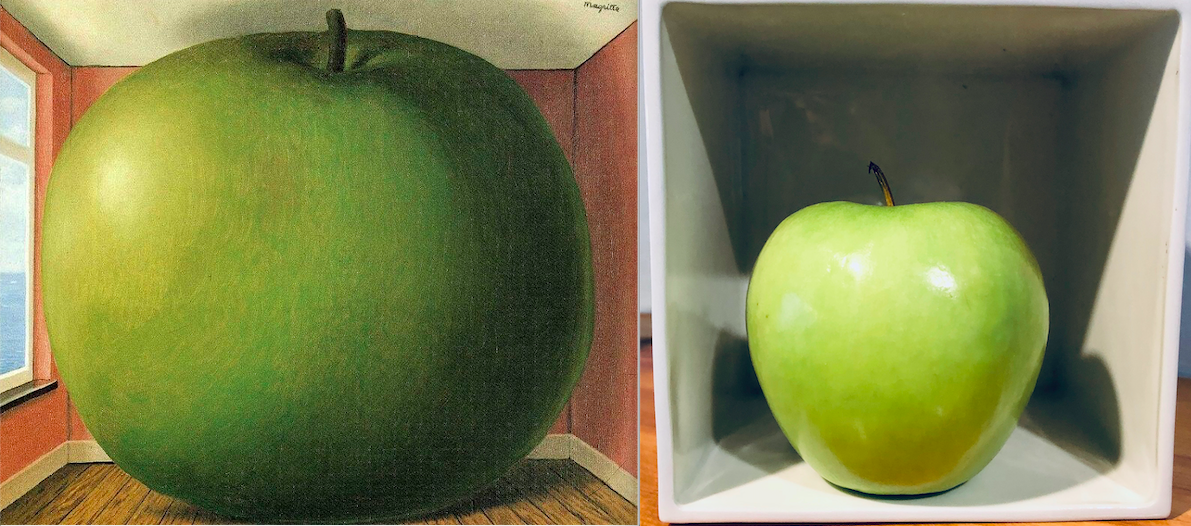
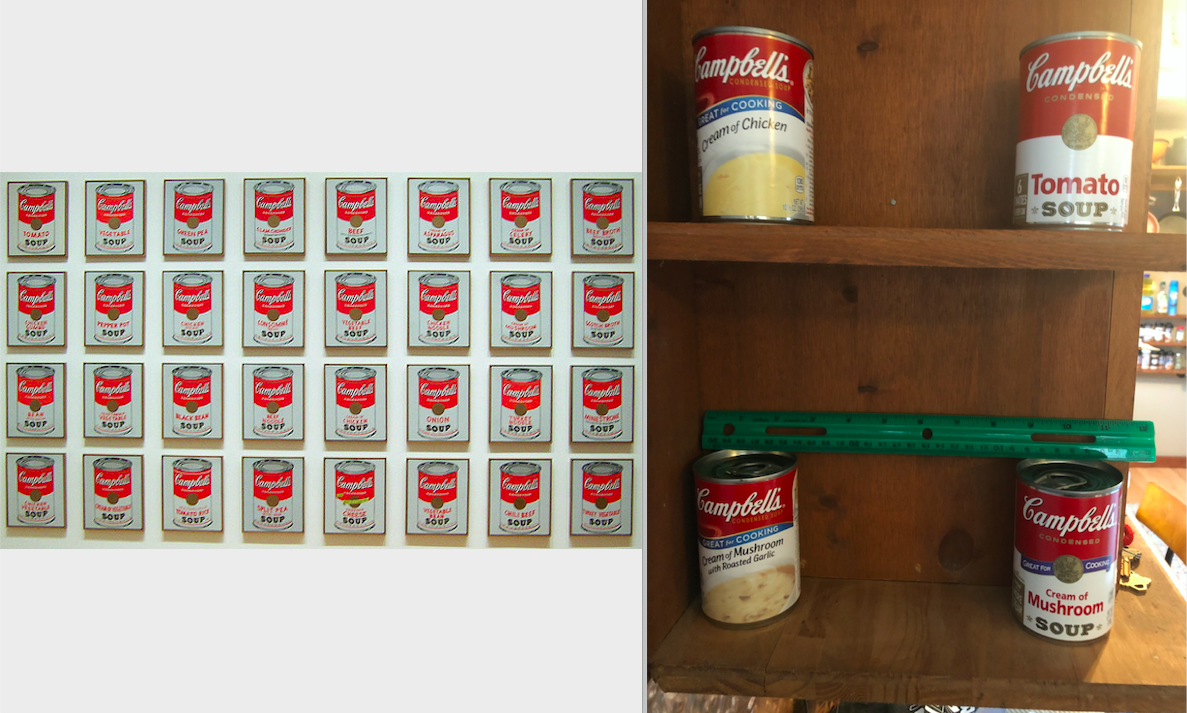
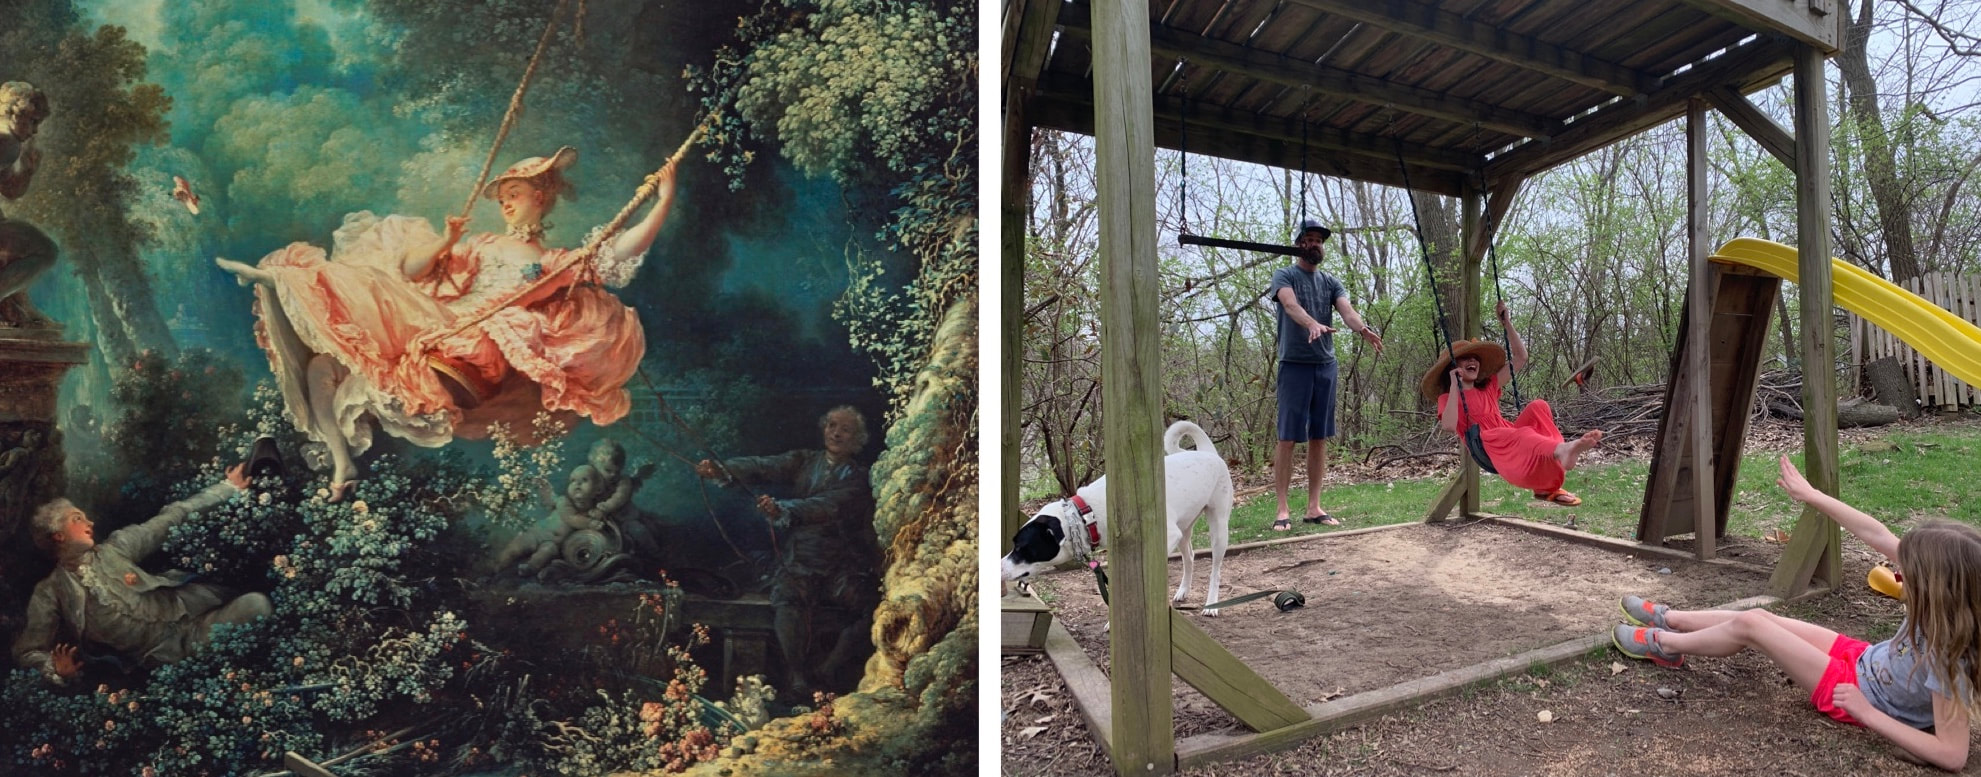
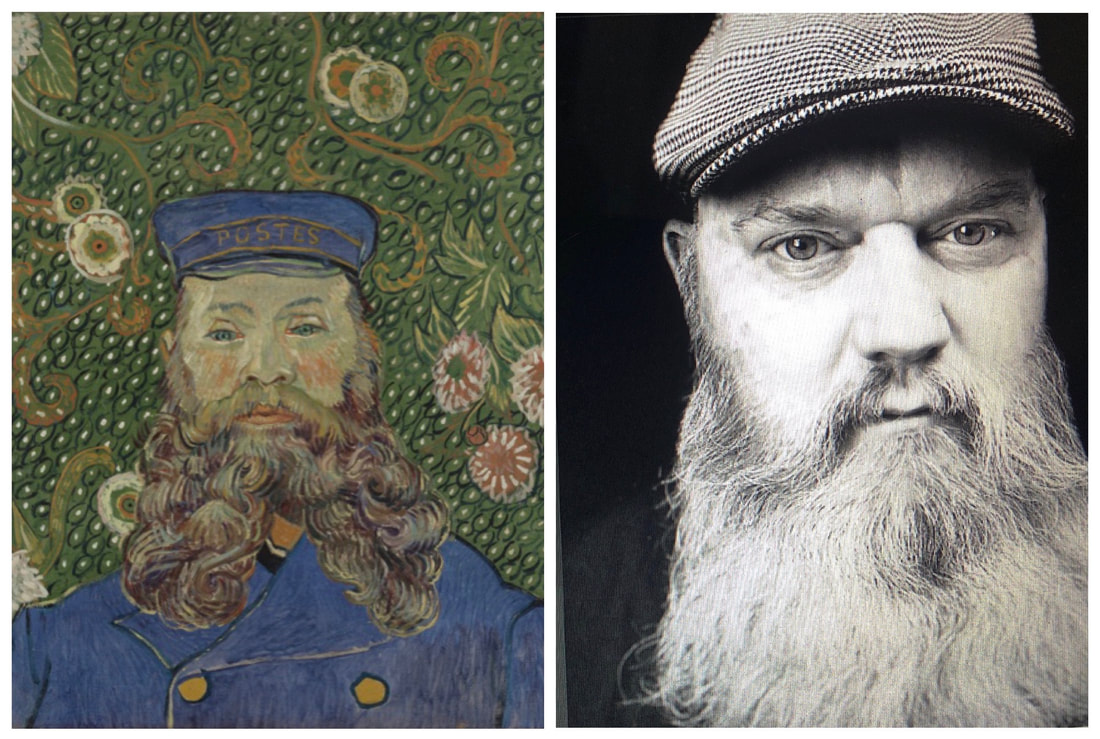
WEEK 3: YOU ARE A MASTERPIECE- recreate a work of art with you in the photo
WEEK 4: Here's Looking at You/Self Portrait!
WEEK 5: Impersonate an Impressionist
WEEK 6: Still Life at Home
WEEK 7: Murals/Public Art then & Now
WEEK 7: Murals/Public Art then & Now
Listen to me rant about Street art going on now and early examples of murals in art history. Turn in your artwork on Friday please!
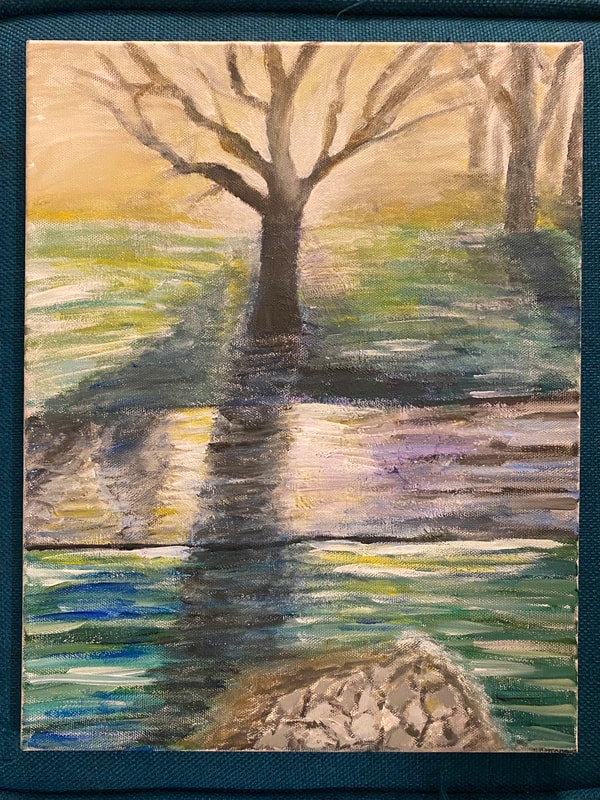
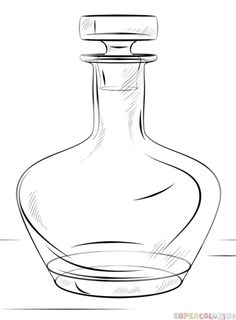
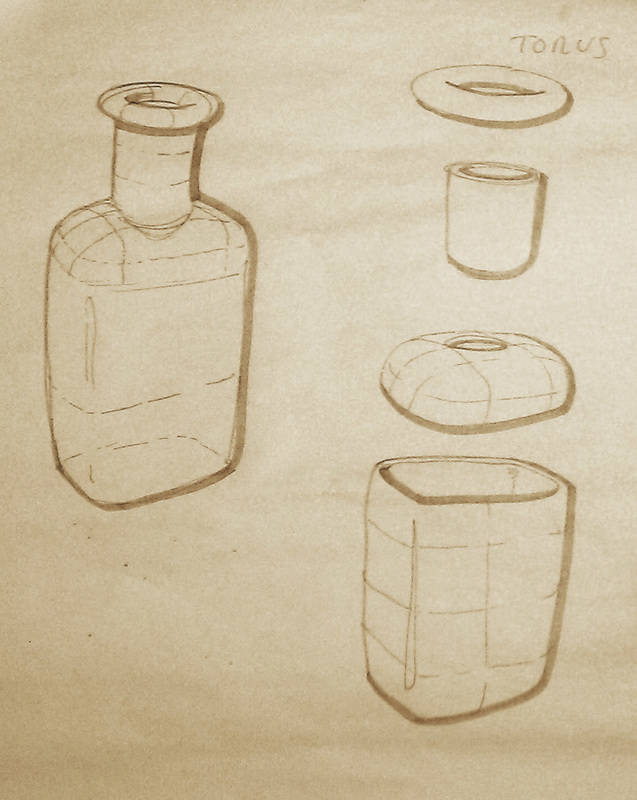
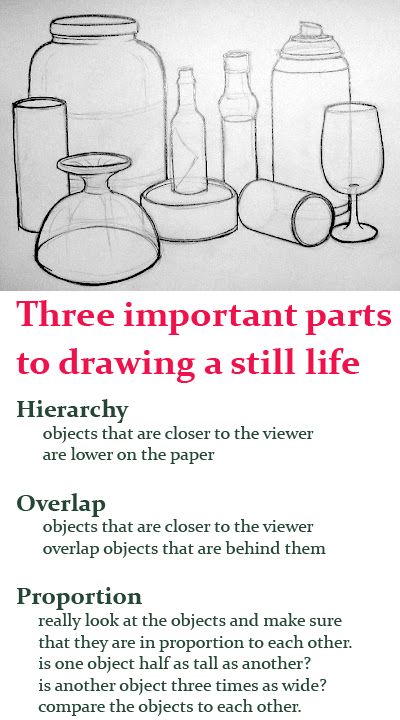
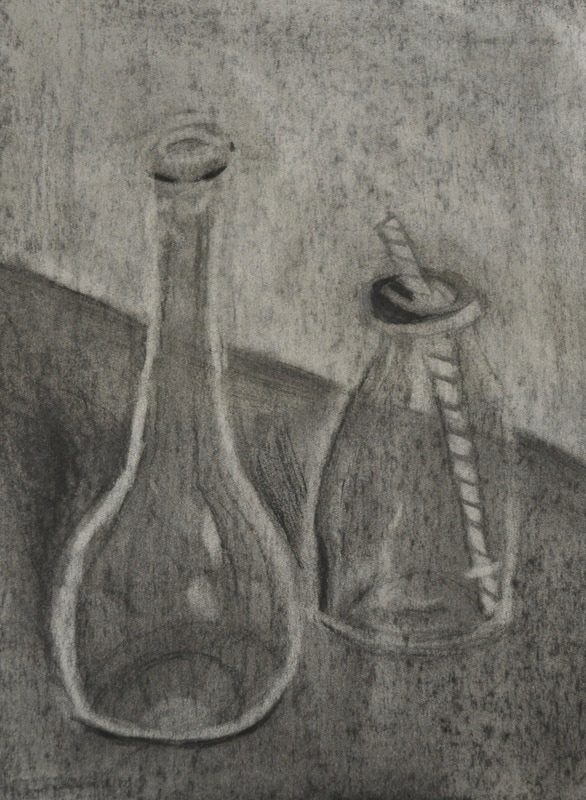
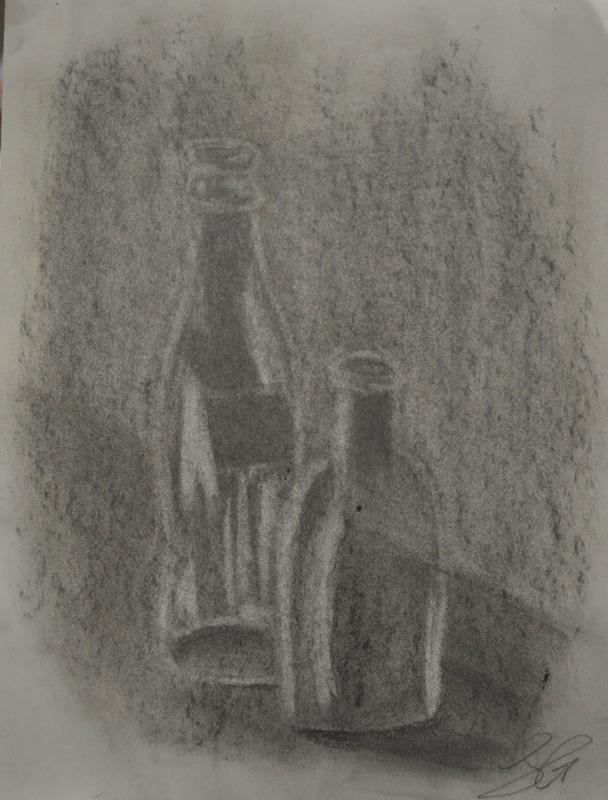
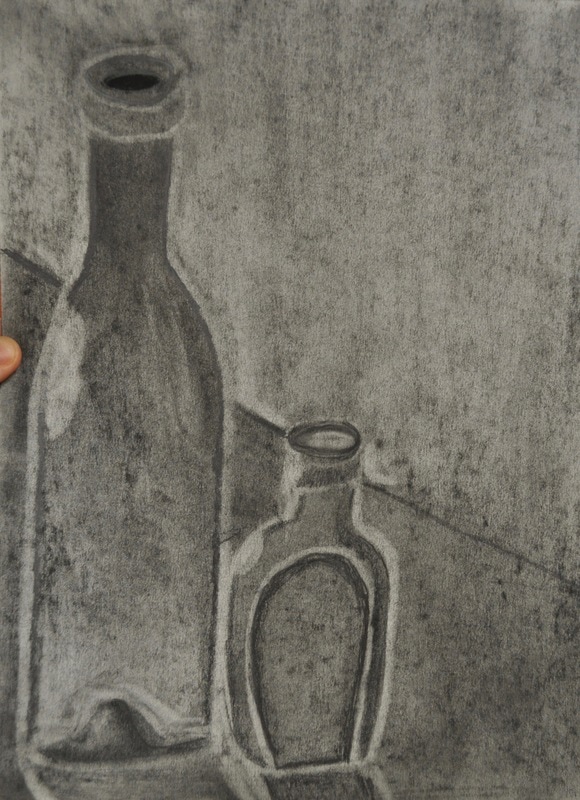
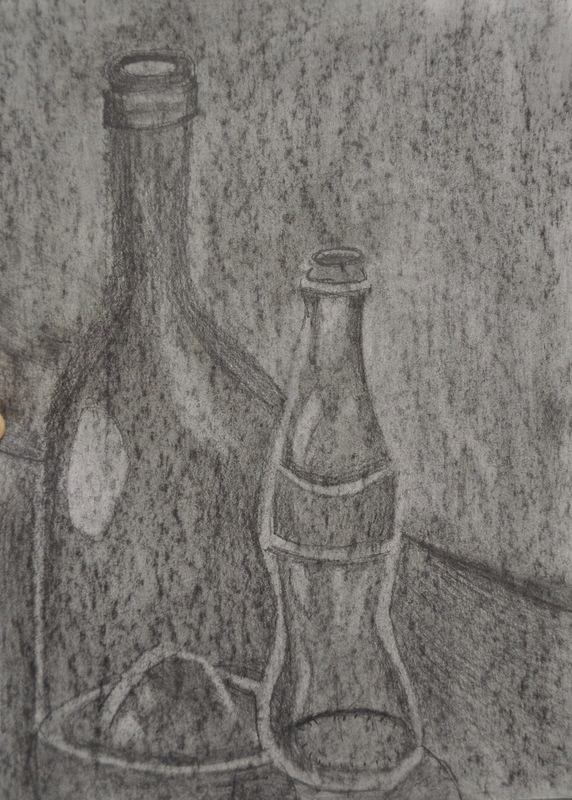
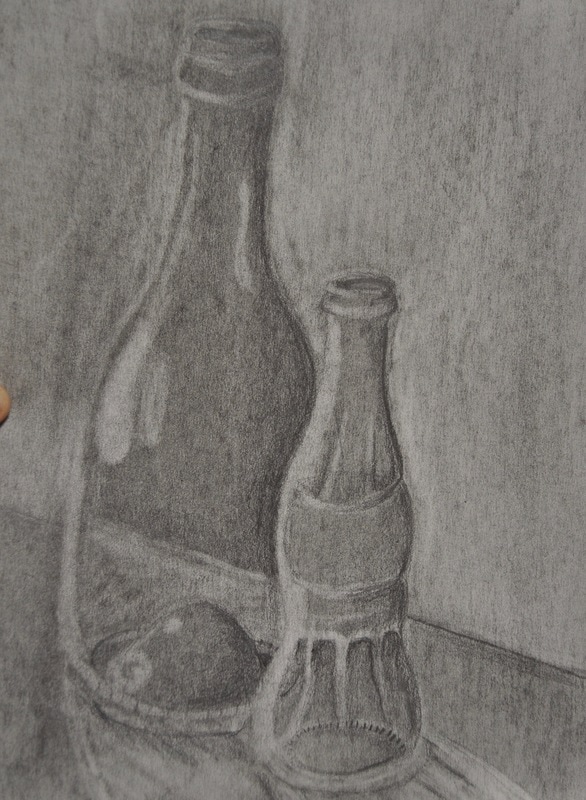
WEEK 6: Still Life at Home
- Watch my video on Still-lifes (I tried for hours to upload my video and finally had to give up and create a YouTube account.. hope it works!)
- You have two different options for this assignment- 1 photograph OR a drawing or painting
- Assignment is due on canvas on Friday and the contest is also due on Friday at Rice Gallery-OPTIONAL (info is at the end of my video!!)
- Your finished Still-Life will by uploaded here by next week!
|
|
|
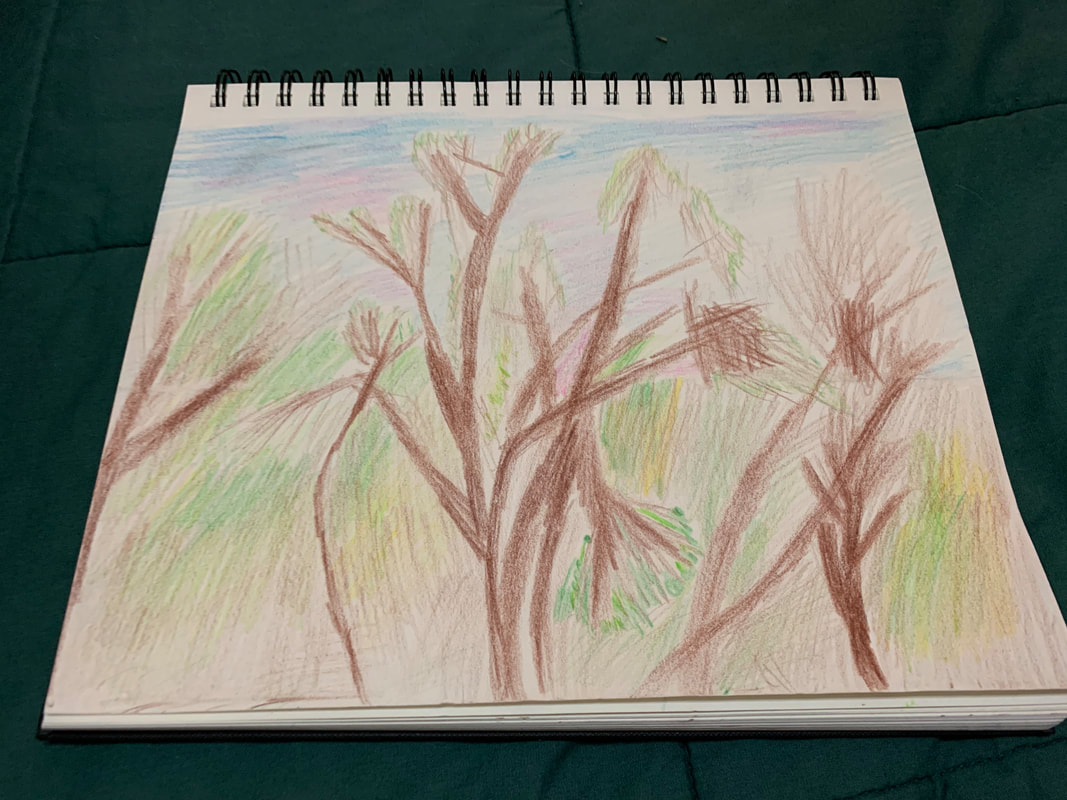
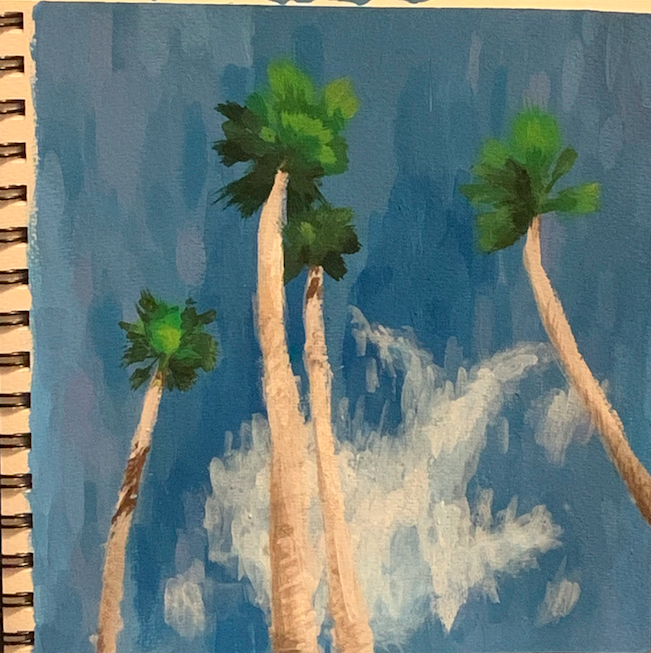
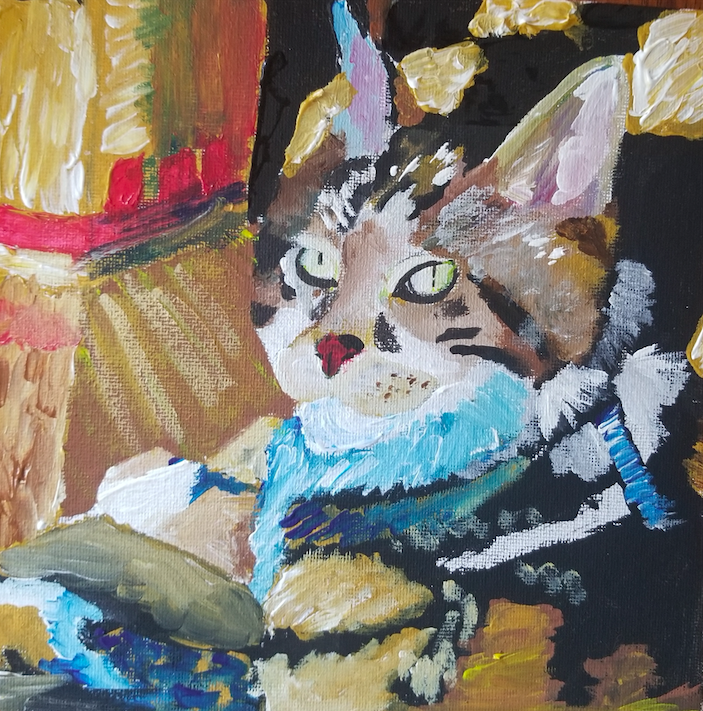
WEEK 5: Impersonate an Impressionist
- Watch my video on Impressionism.
- You have two different options for this assignment- 5 photographs OR a drawing or painting
- IF you want more information on Impressionism, there is an optional video you can watch below my video.
- Assignment is due on canvas on Friday and the contest is also due on Friday at Rice Gallery-OPTIONAL (info is at the end of my video!!)
|
|
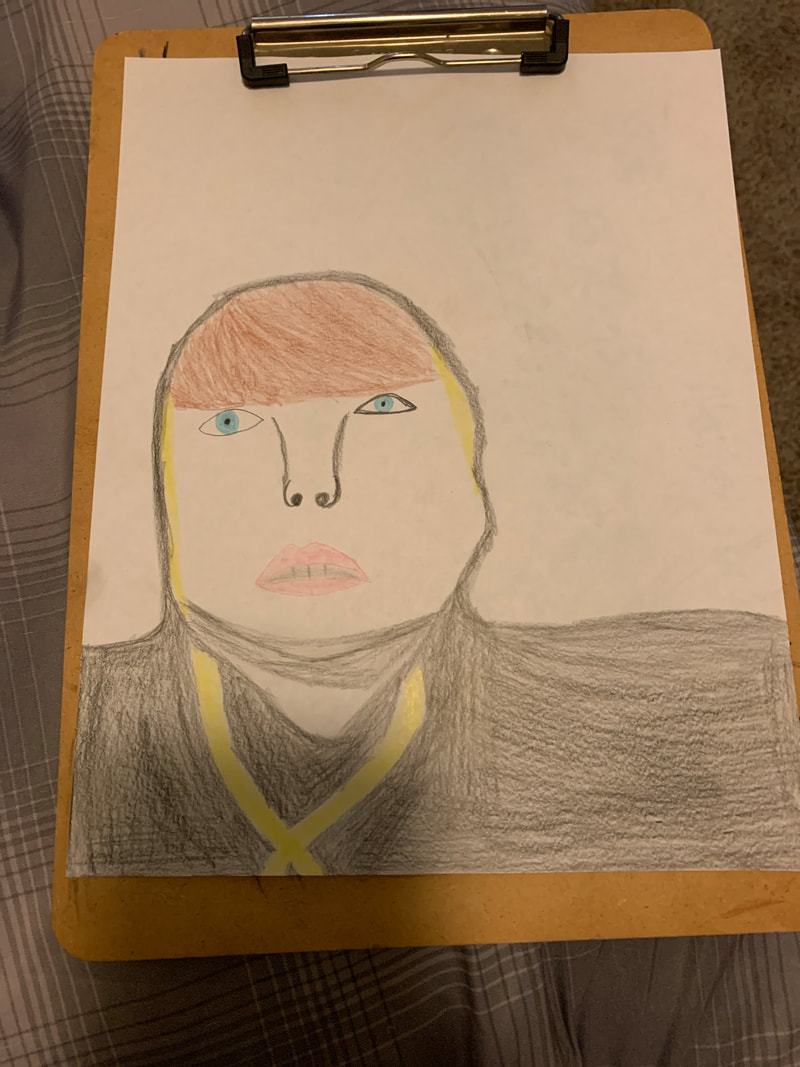
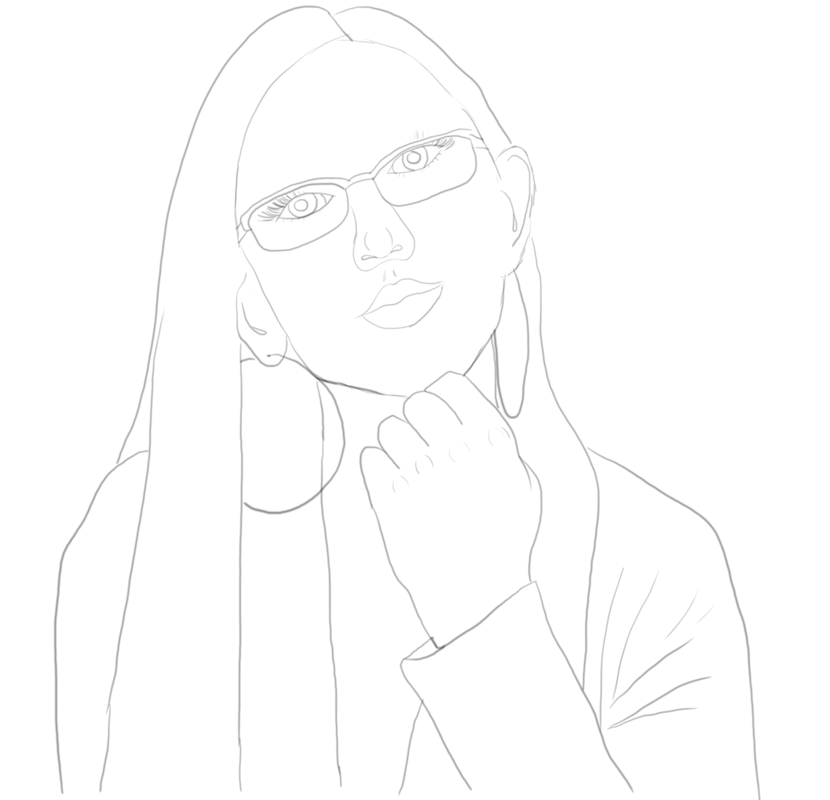
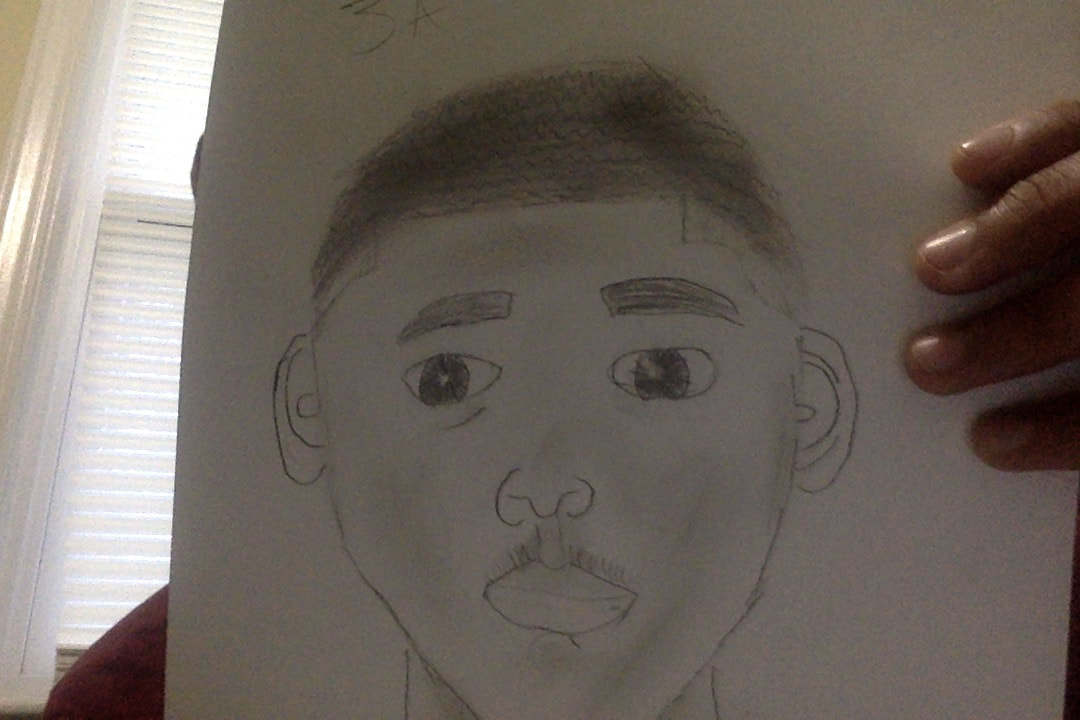
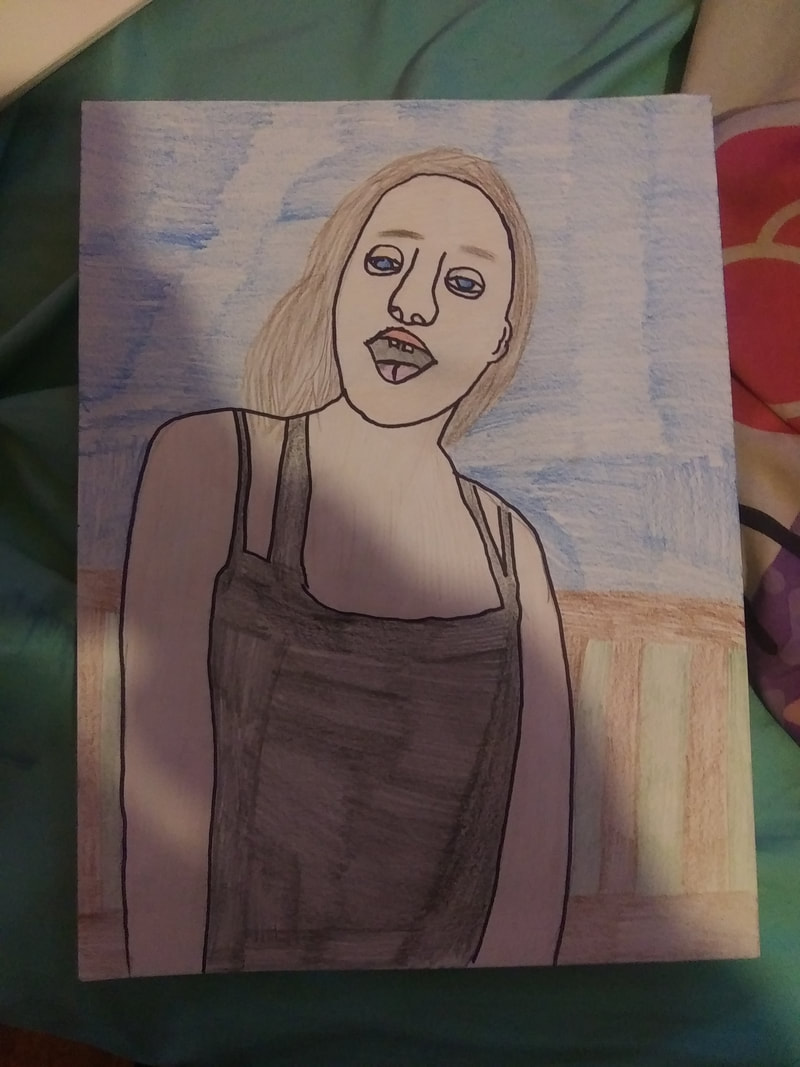
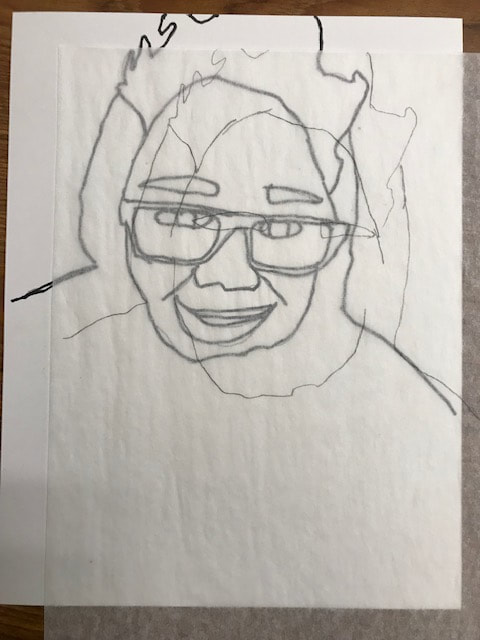
WEEK 4: Here's Lookin at You/Self Portrait!
|
For this week's Art Assignment you will be creating a self-portrait at home using whatever art materials are available to you... pencil, chalk, food coloring, paint, whatever!
|
|
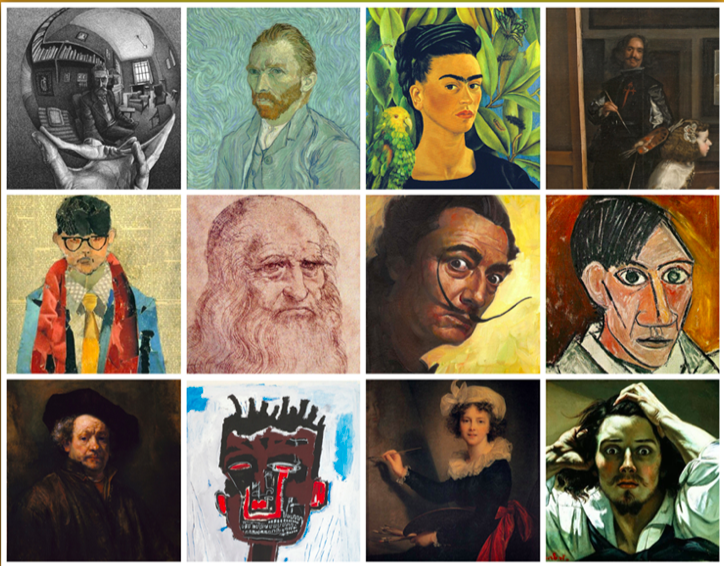
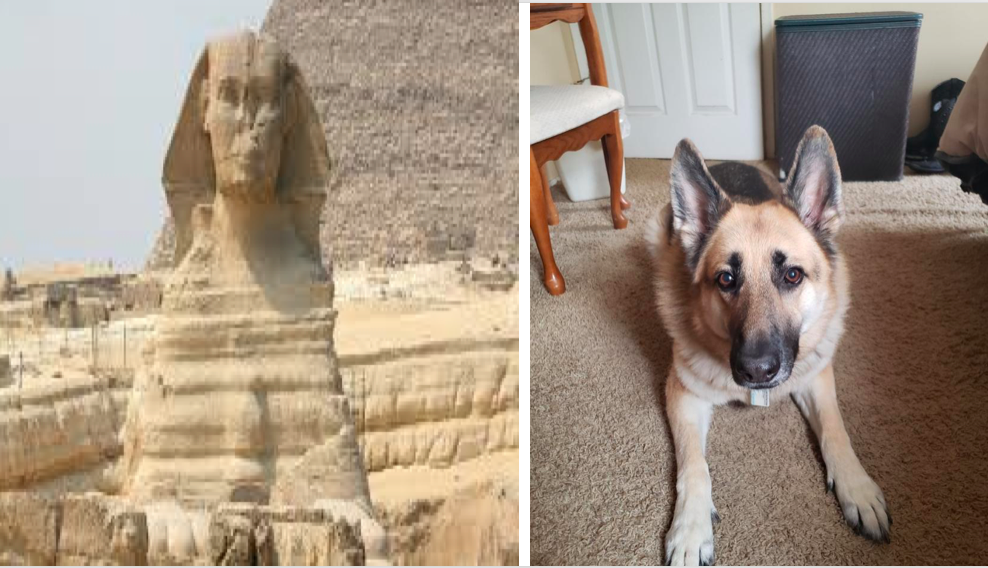
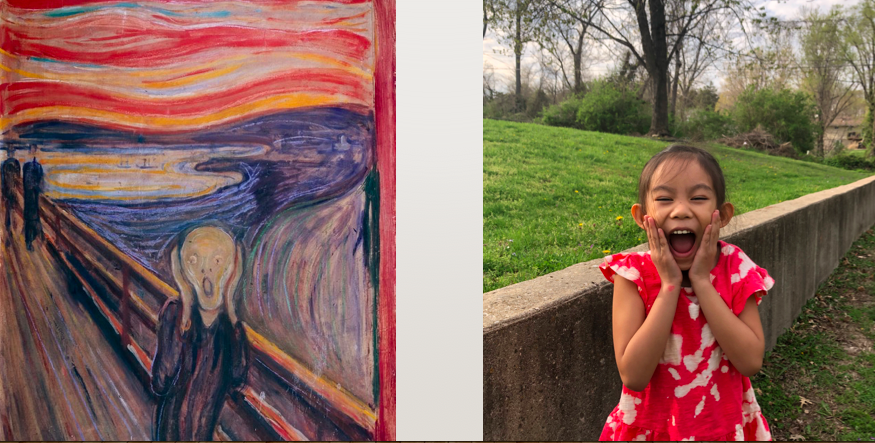
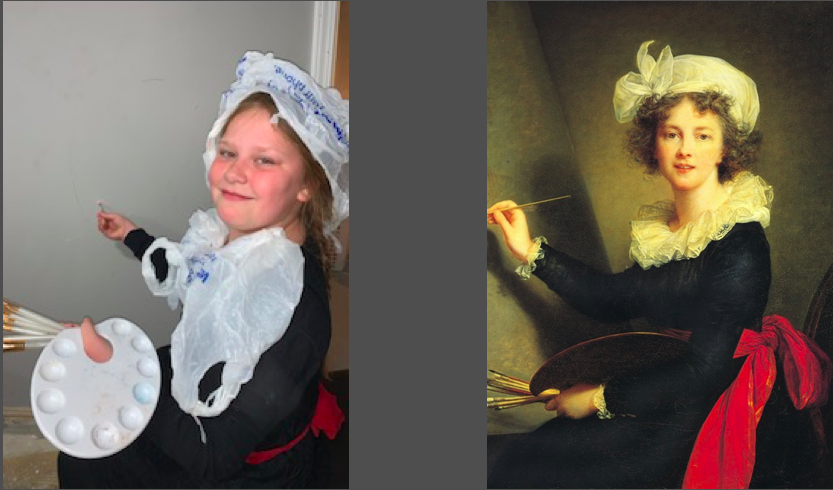
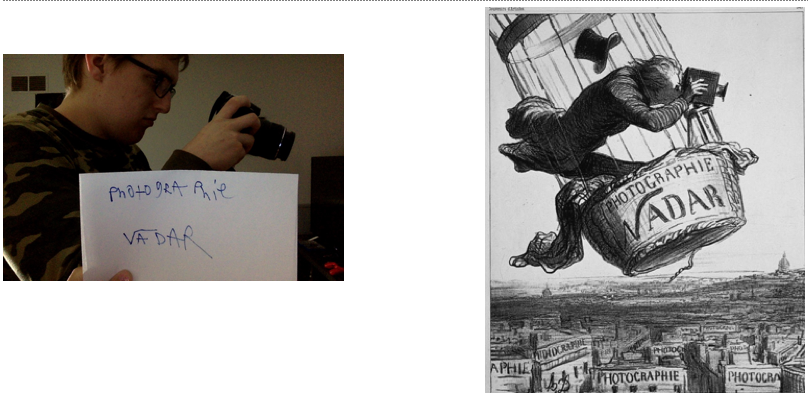
WEEK 3: YOU ARE A MASTERPIECE- recreate a work of art with you in the photo
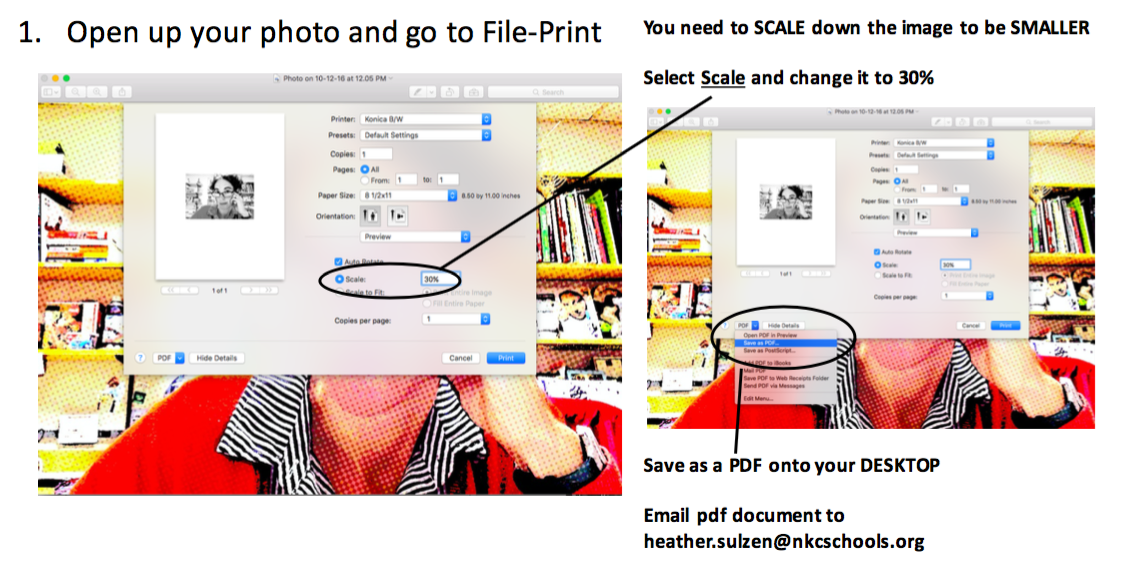
- Instructions for the Assignment are on the PowerPoint "you_are_a_masterpiece"
- Teacher examples are in the gallery below on the right. Student examples are below the video.
- Submit your PowerPoint to Canvas- Assignments-You Are A Masterpiece- by Friday, April 10th
- I can't wait to see what you do!!!
| |||

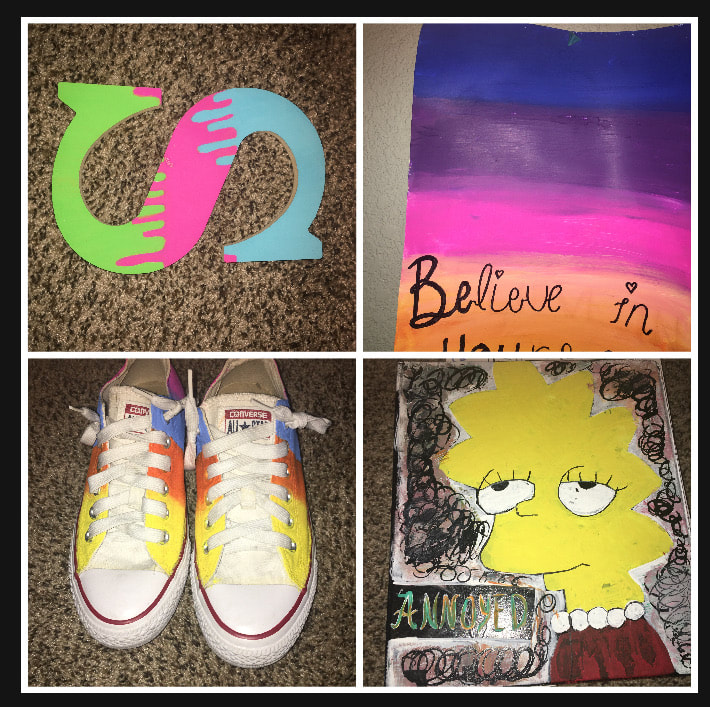
Week 2- Your Ideas!
|
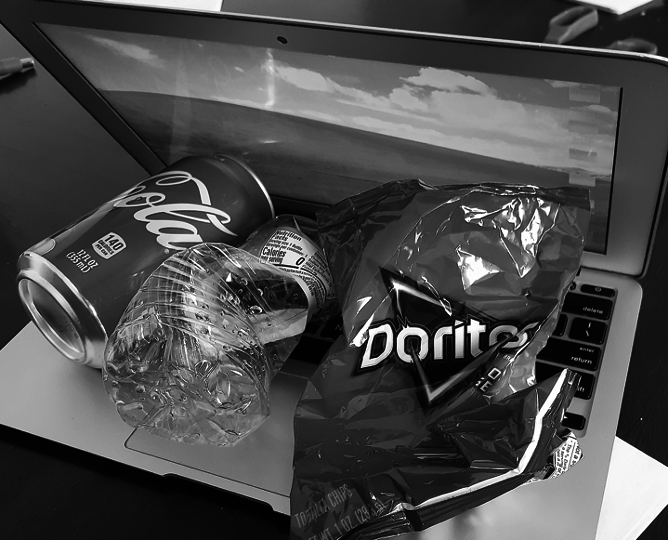
You guys all offered AWESOME ideas when I asked you to check in on the first day. Please select one of these ideas that your classmates came up with. For this week's Art 1 Challenge. I will post pictures of our creations for us to do a "gallery walk" and comment on what others have created! Art work is due Friday and your comments will be due Monday. I can't wait to see what you all come up with! Please think about how your are photographing your work! Sitting it on your laptop affects the photograph.. think about the setting/background!
|


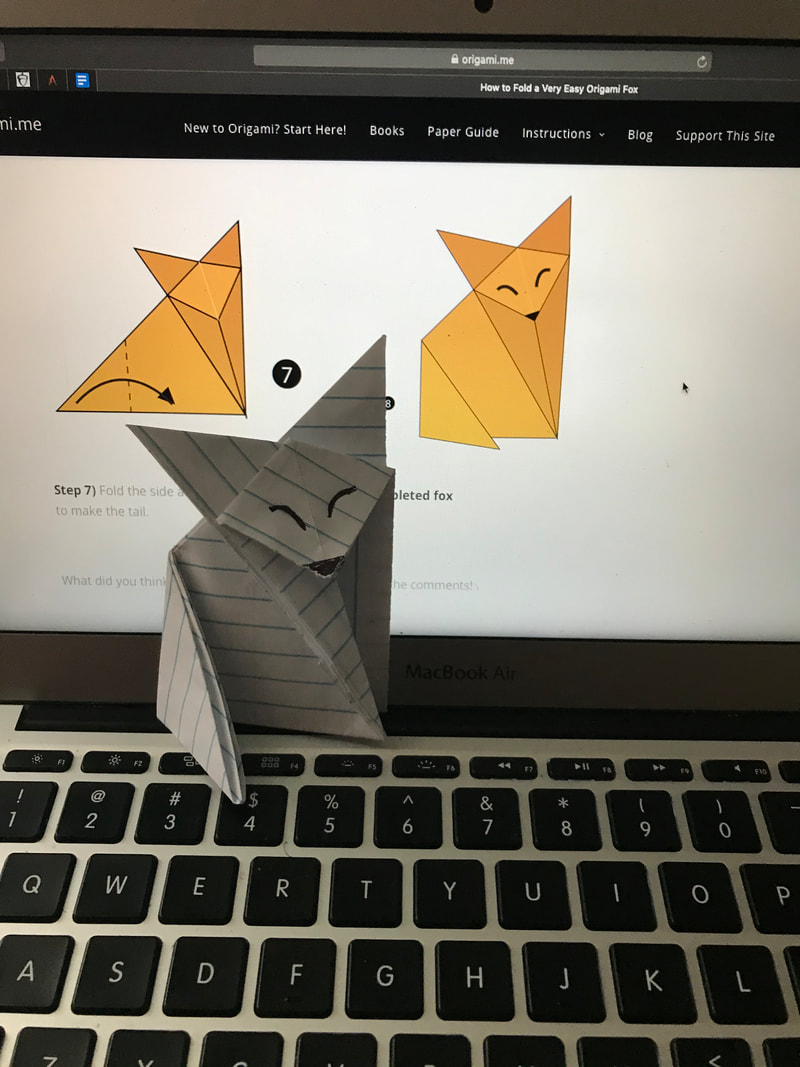
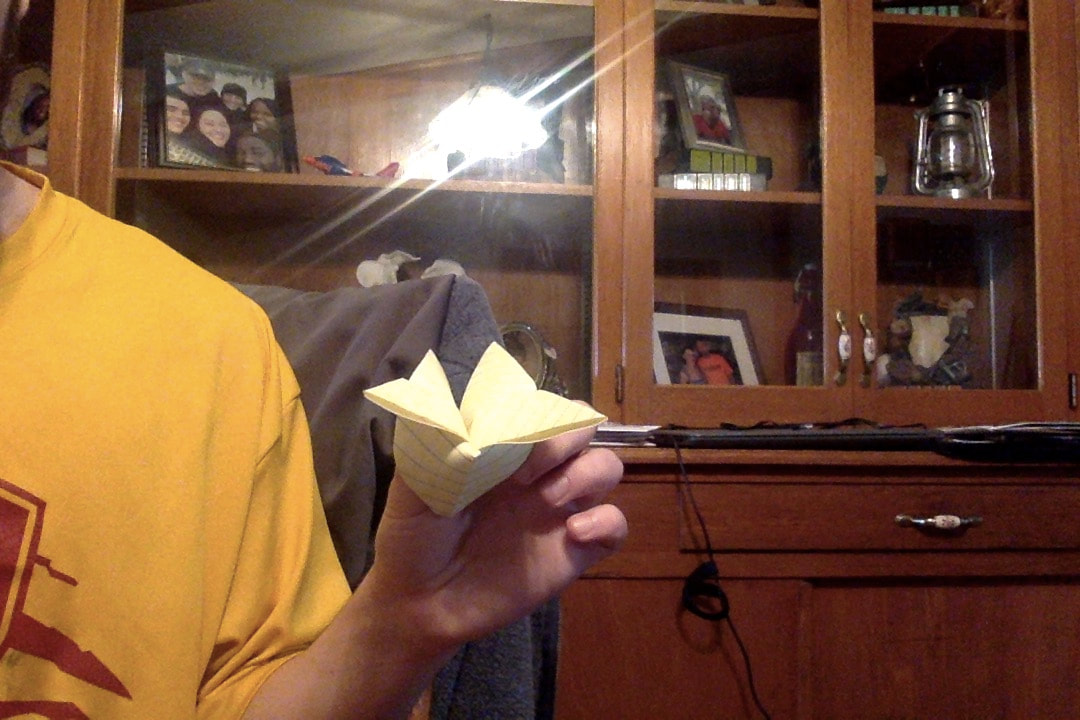


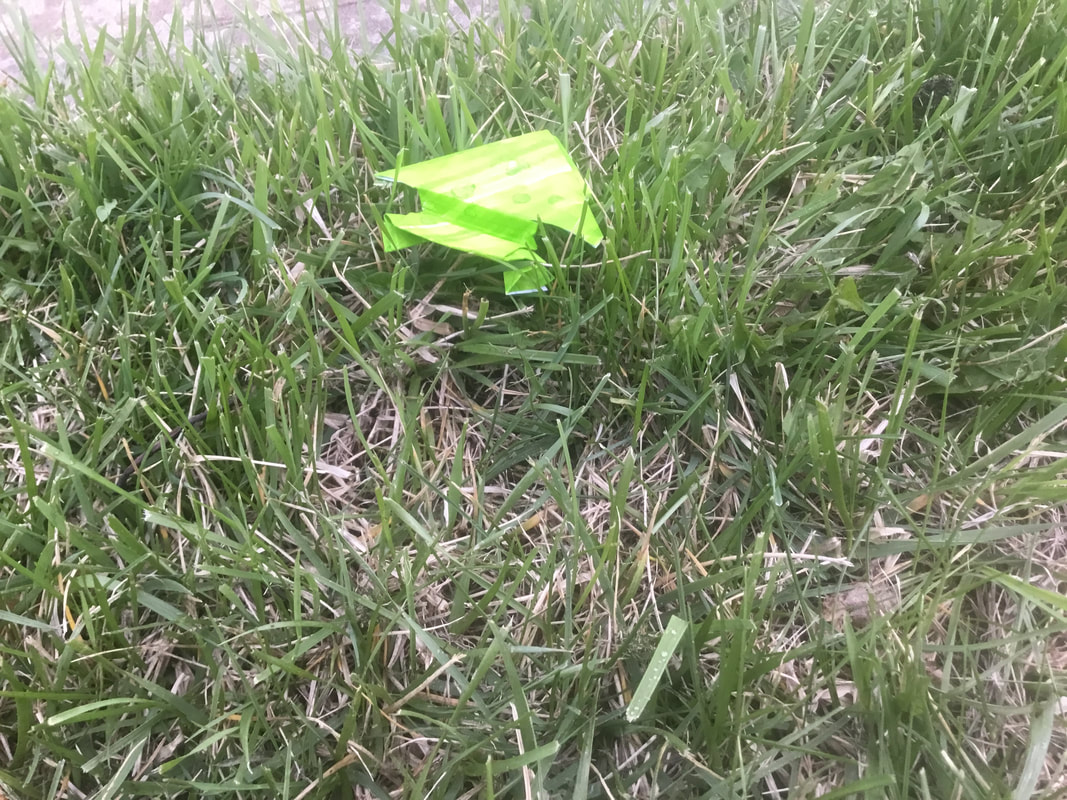
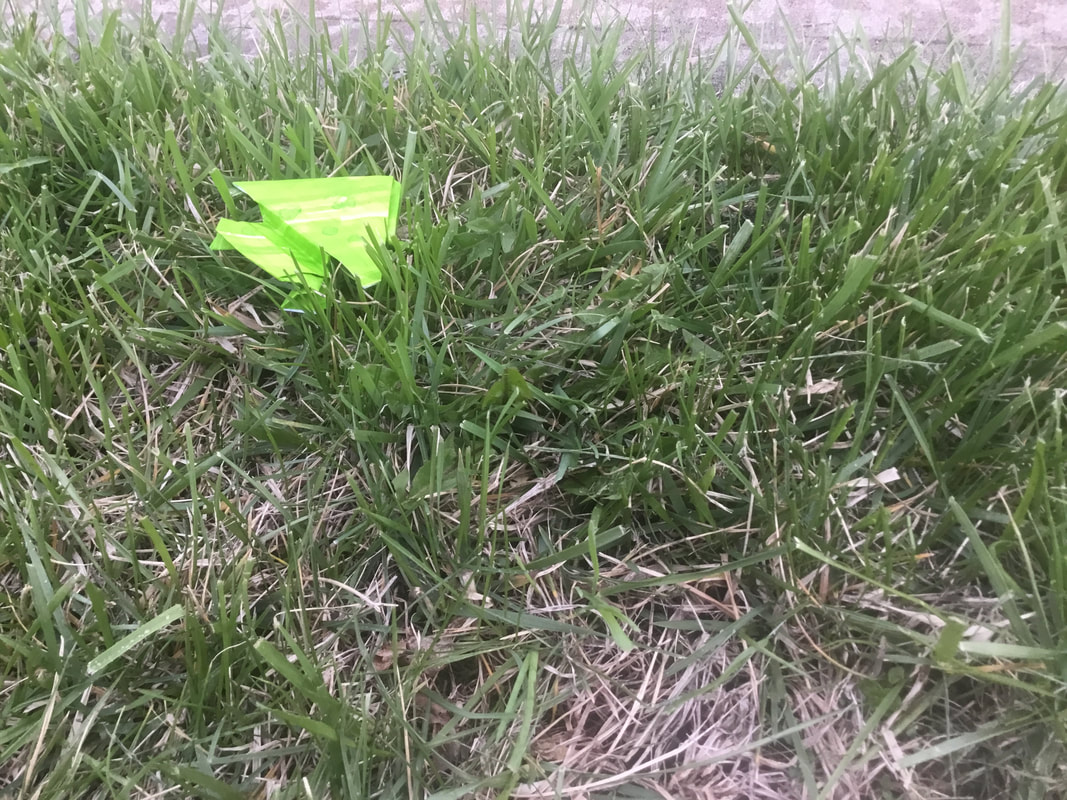
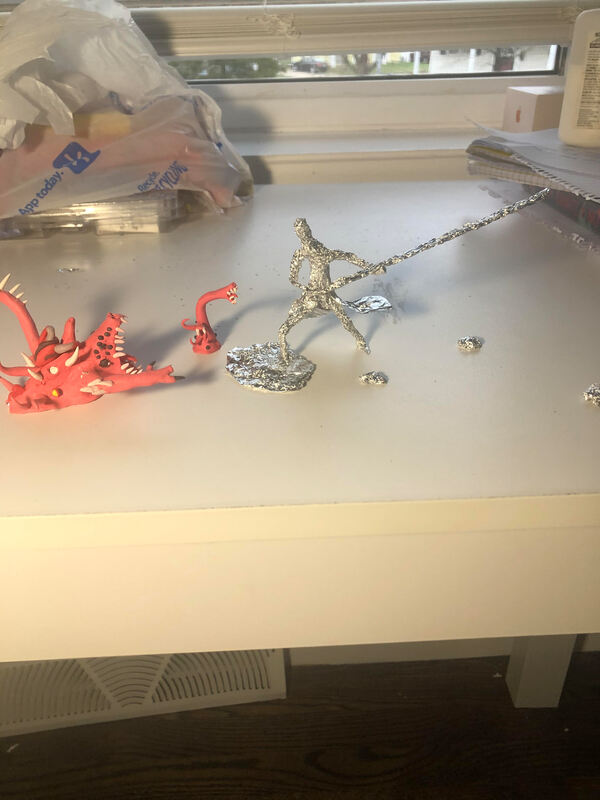
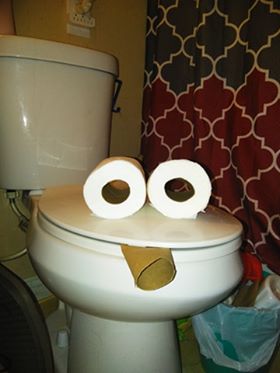
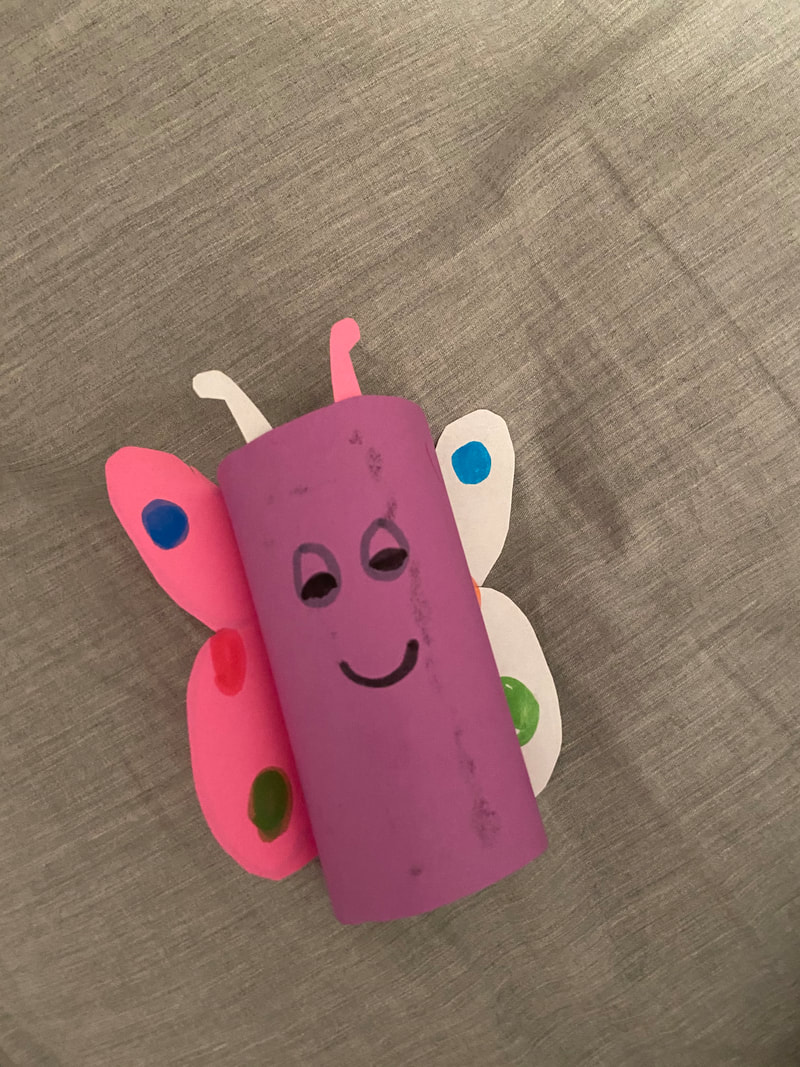
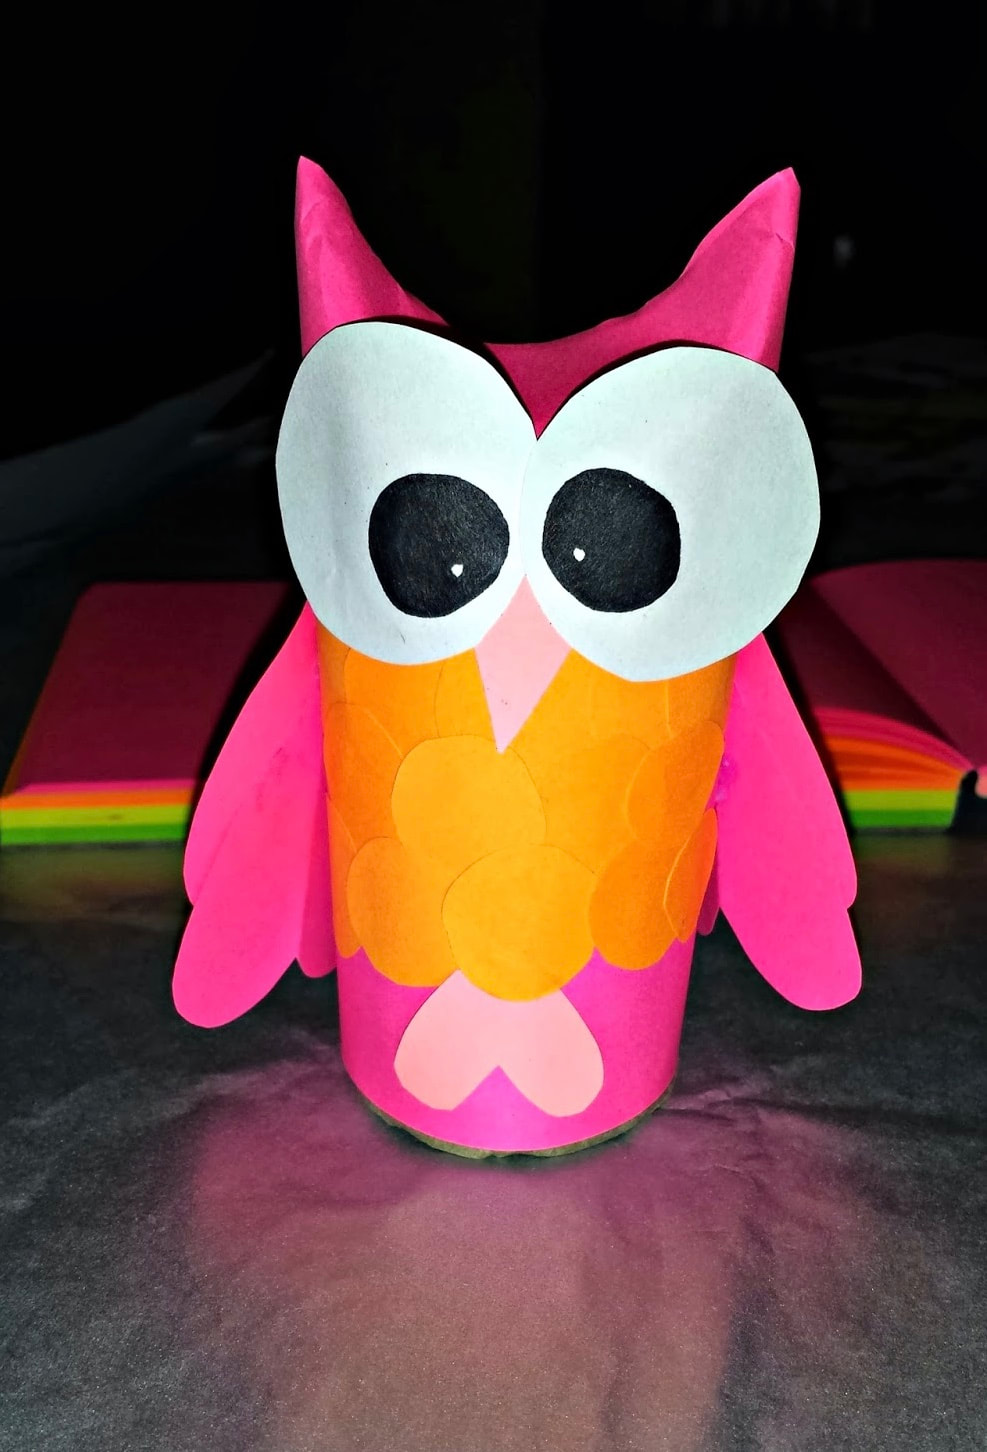
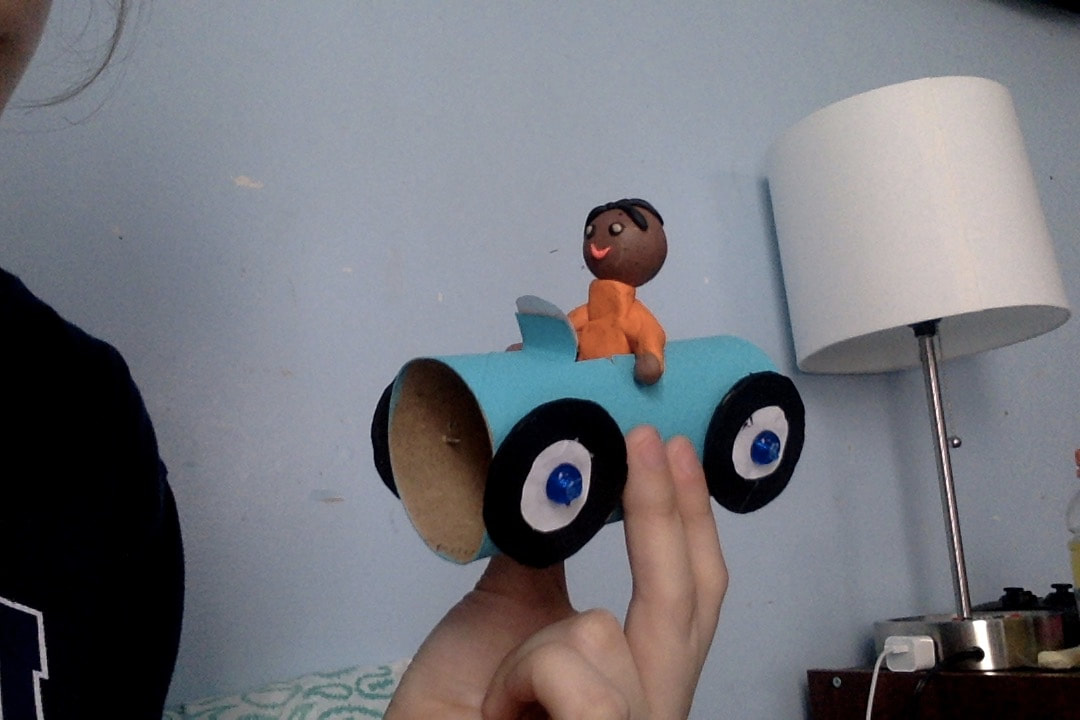
Week 1- EMPTY Toilet Paper Roll
|
|


|
|
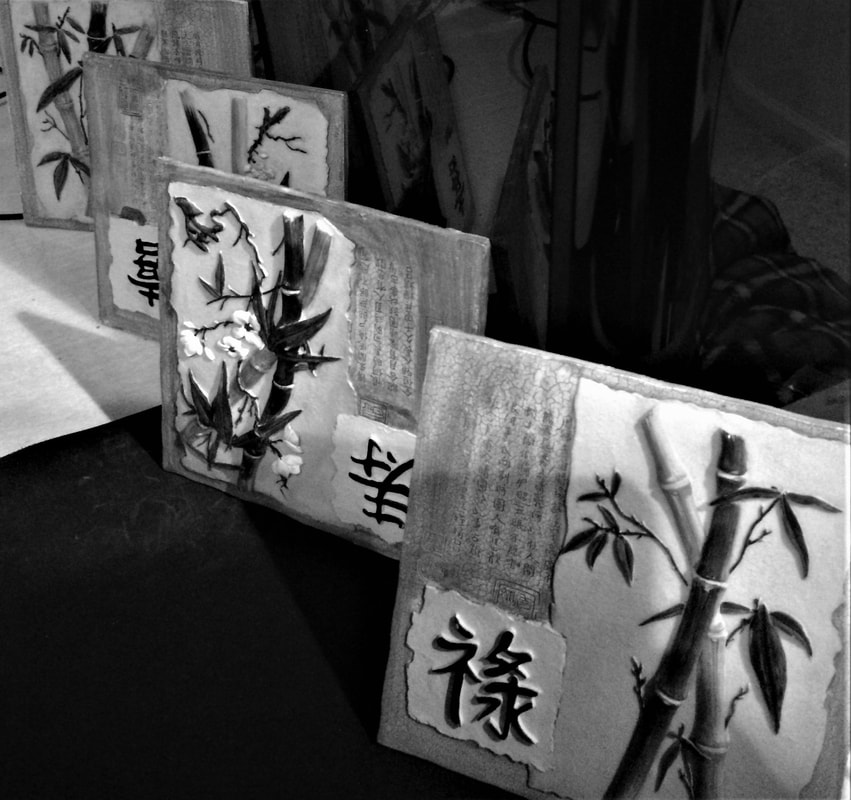
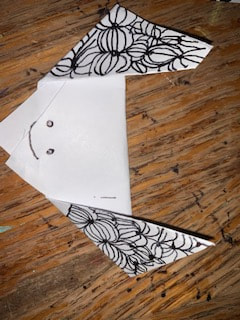
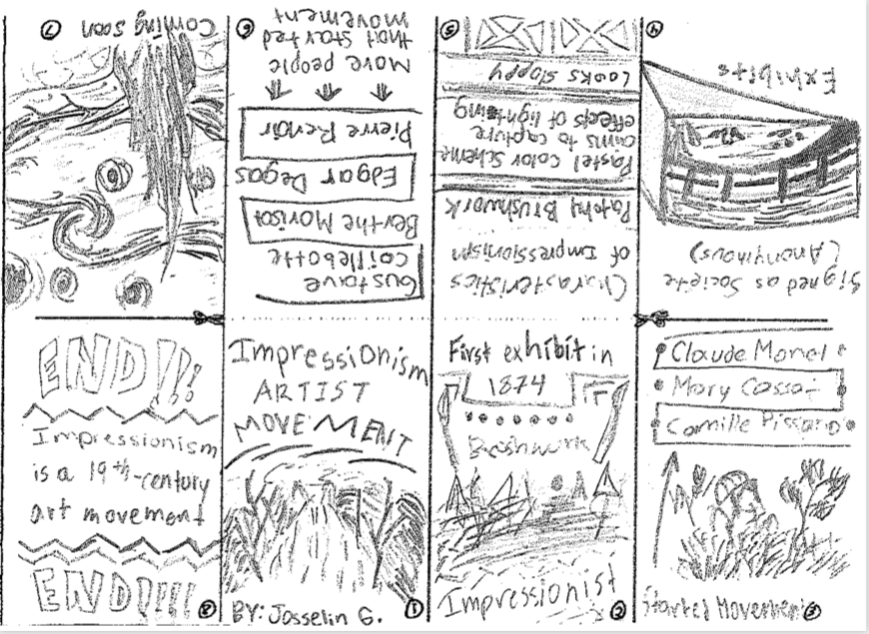
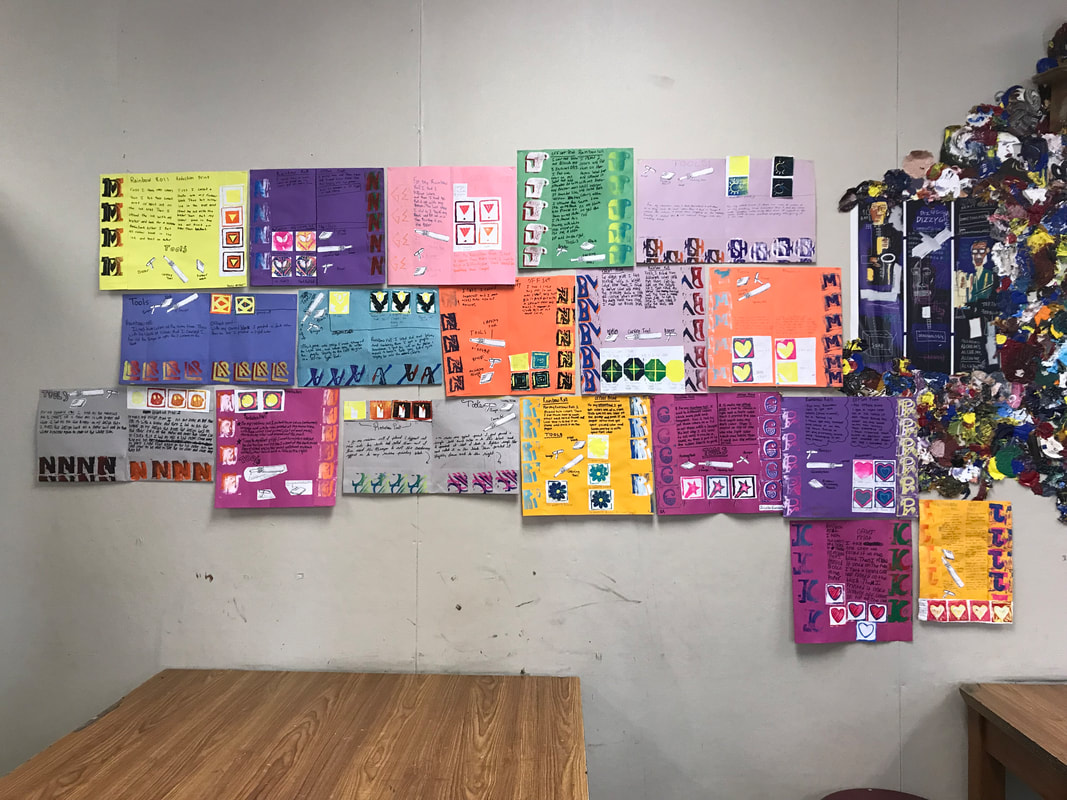
WHAT IS A ZINE? A self-published magazine reproduced via photocopier.
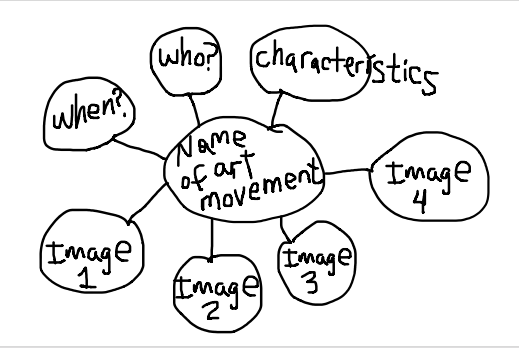
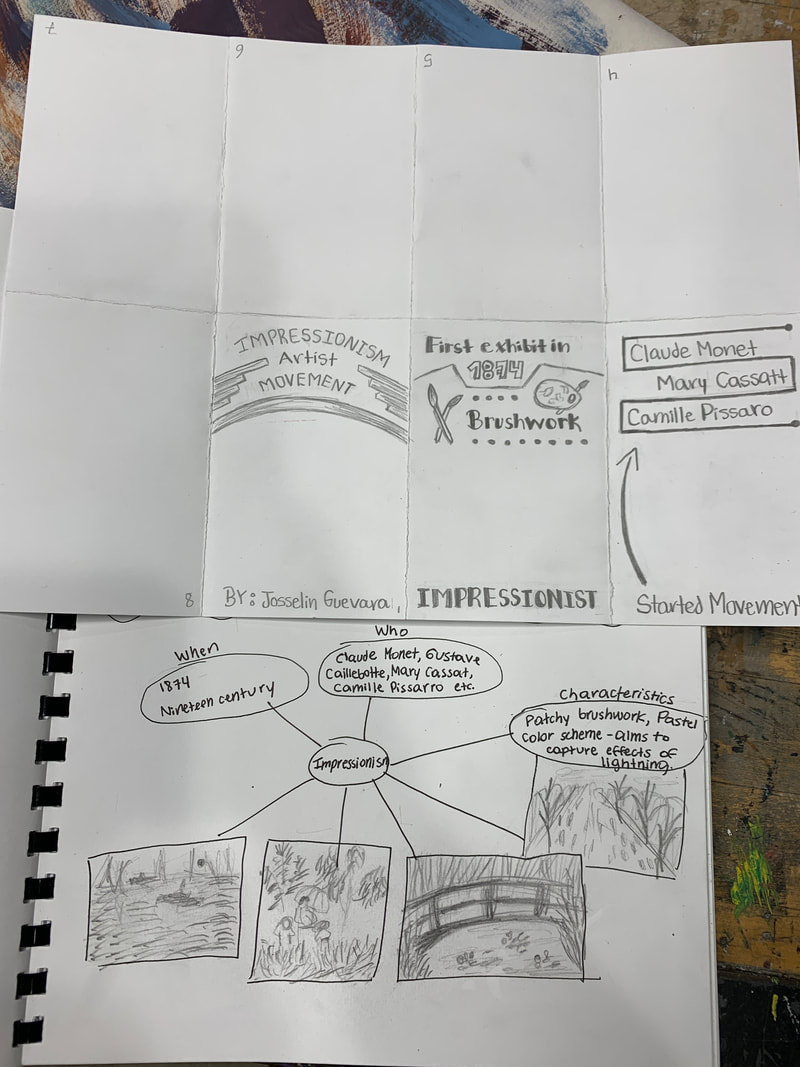
Step 1: I can create a mind map with research about a chosen art movement for my zine.
|
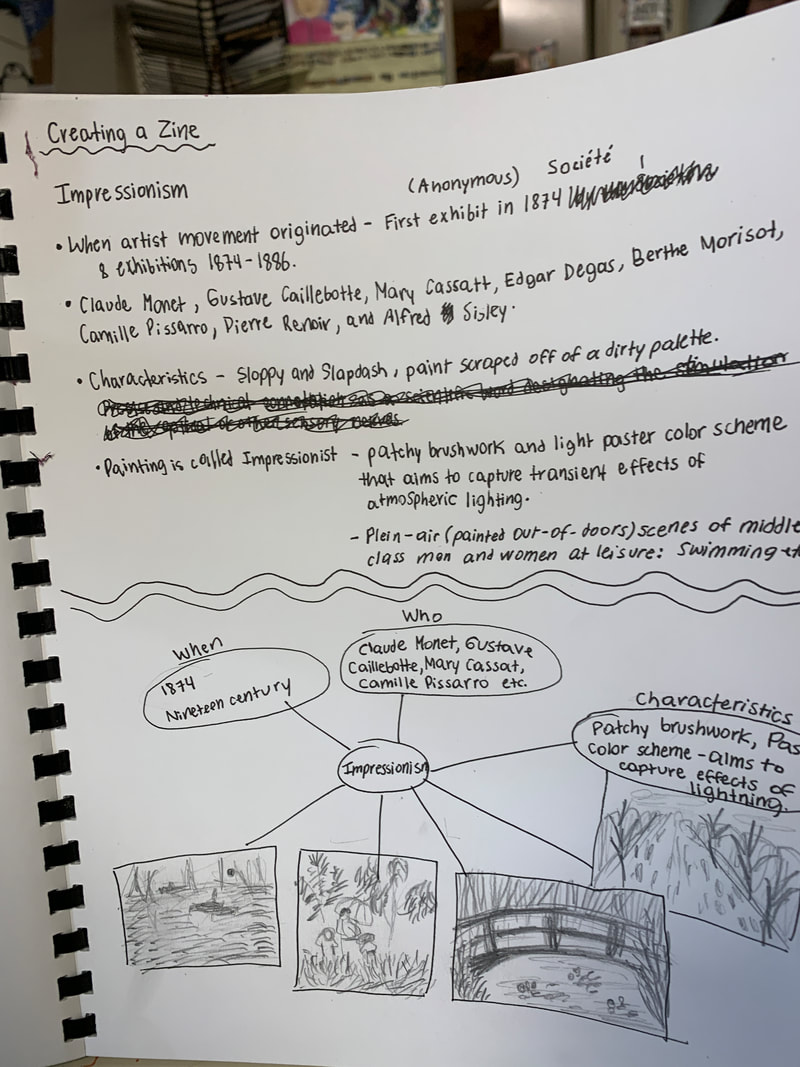
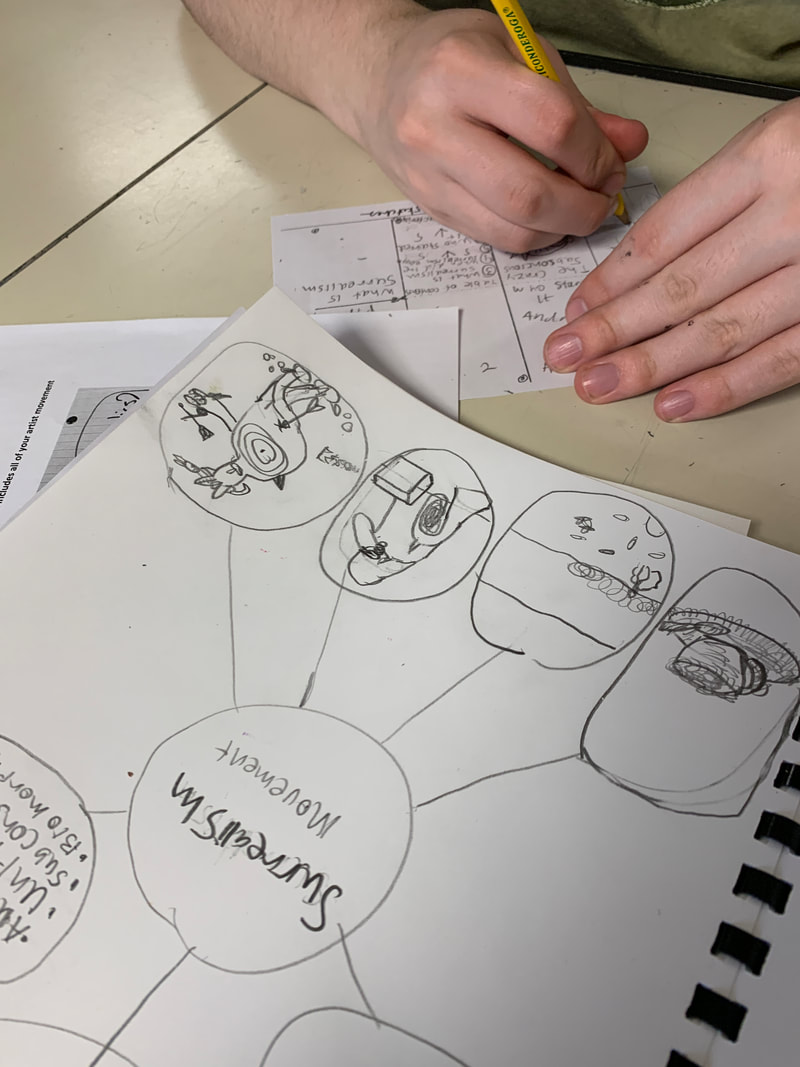
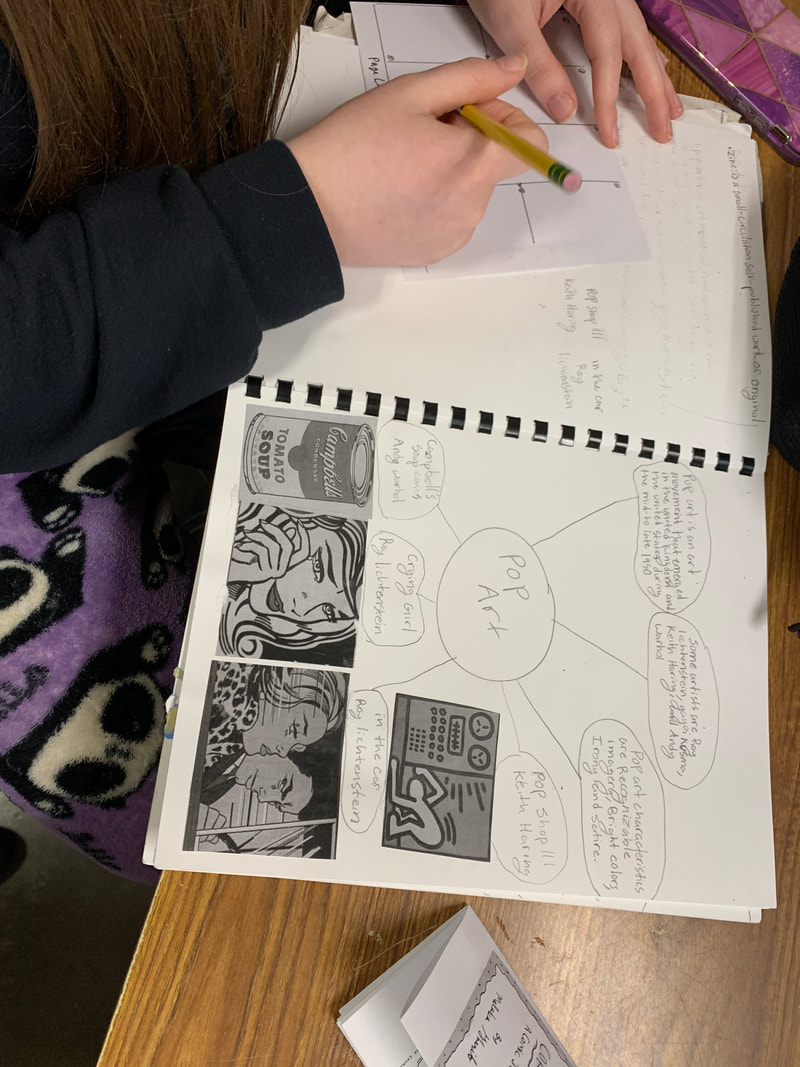
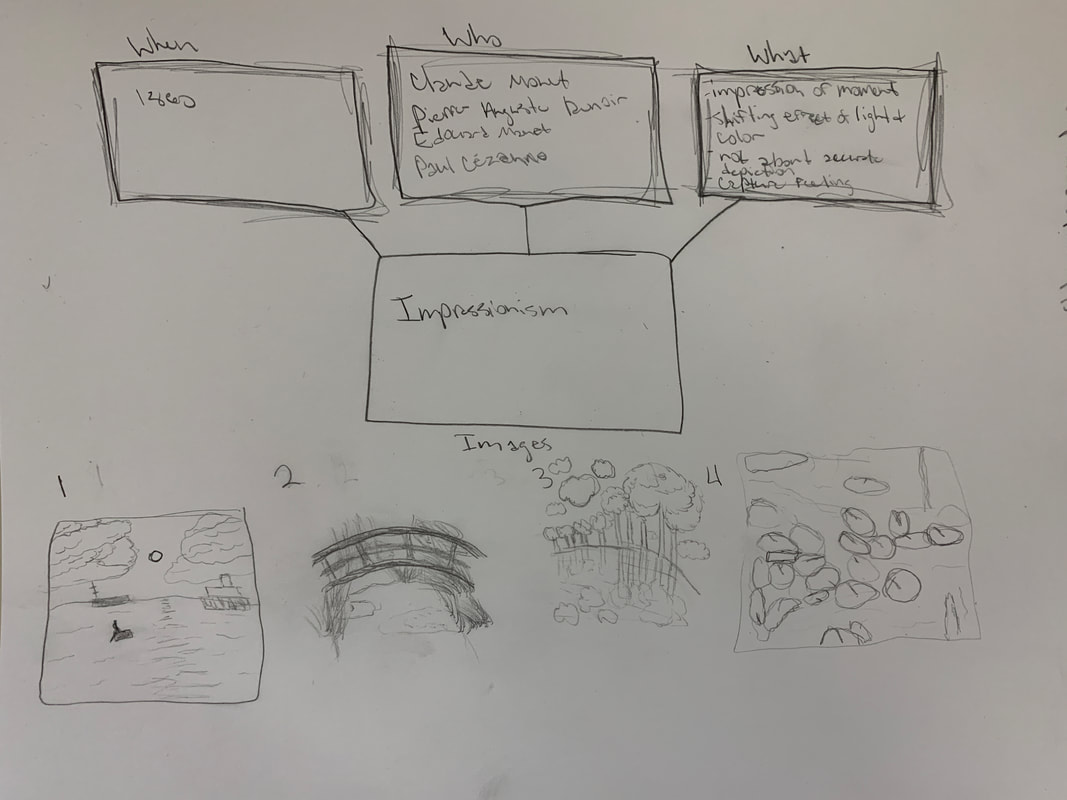
Step 2: I can create a one-page-zine using the research from my mind map
- Watch the video link above titled "How to fold a zine" and fold a piece of paper while watching.
- Label the pages 1-8 and start designing what will go on each page
- The title page will be on page number 1 and it should have a title of your zine and your name.
- Use all of the research from your mind map in your zine.
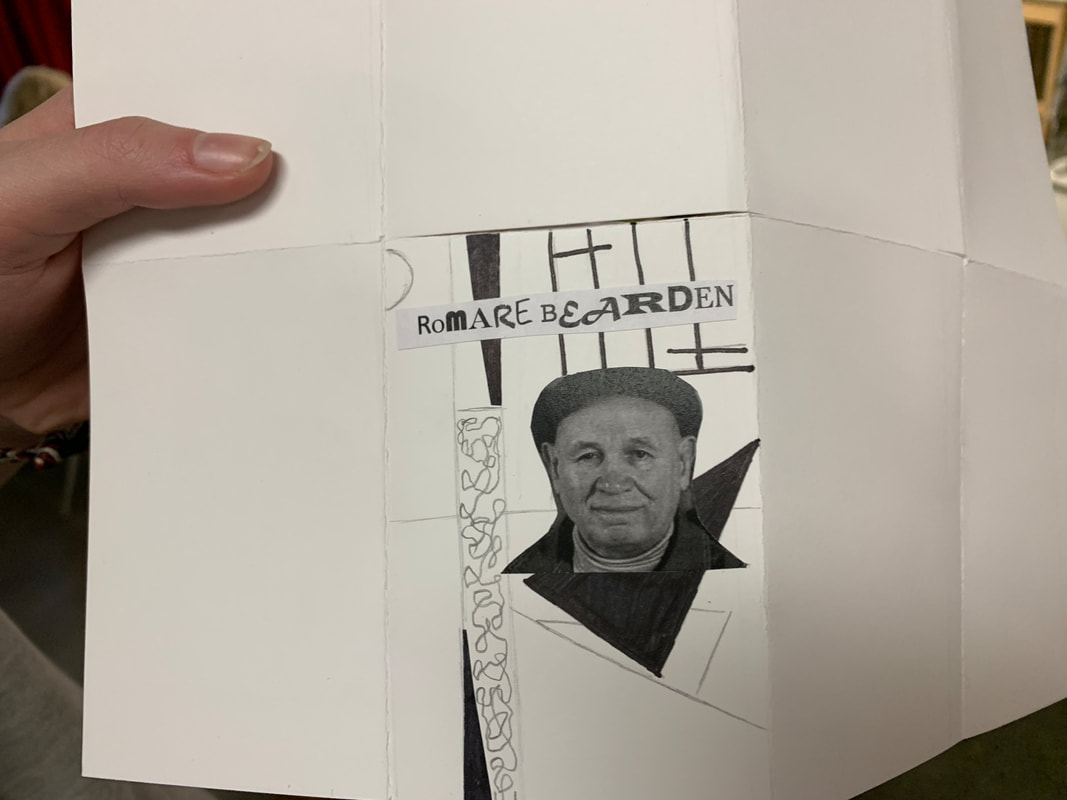
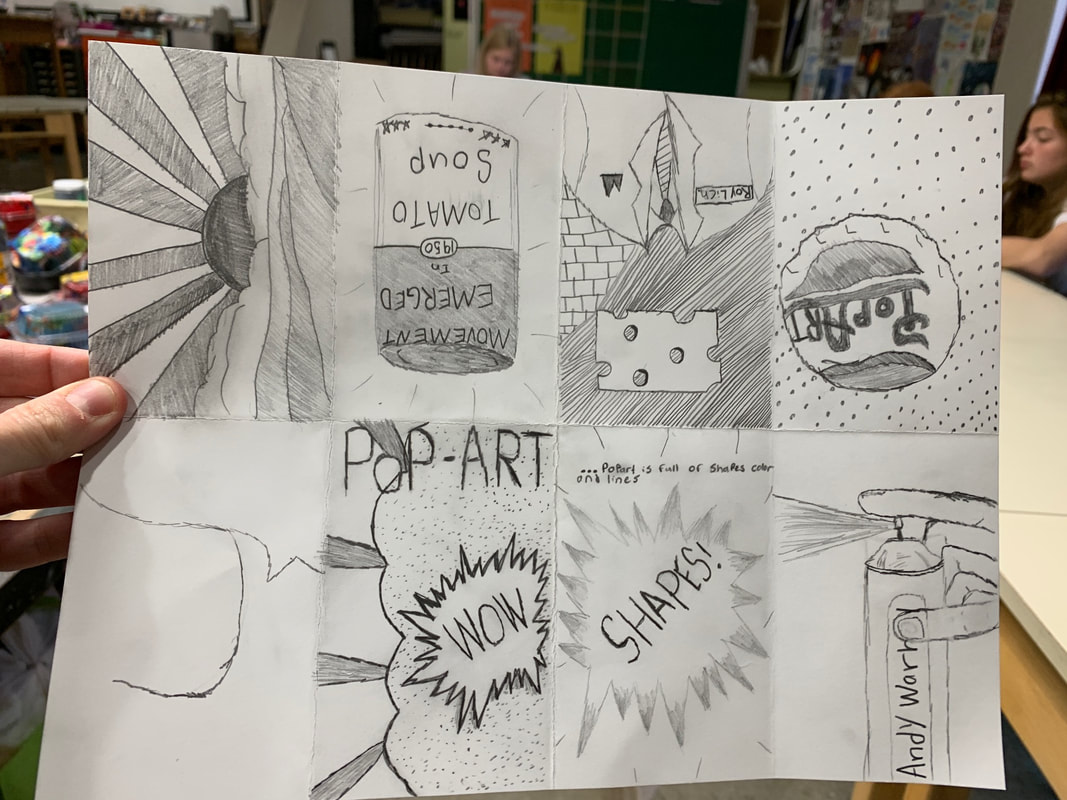
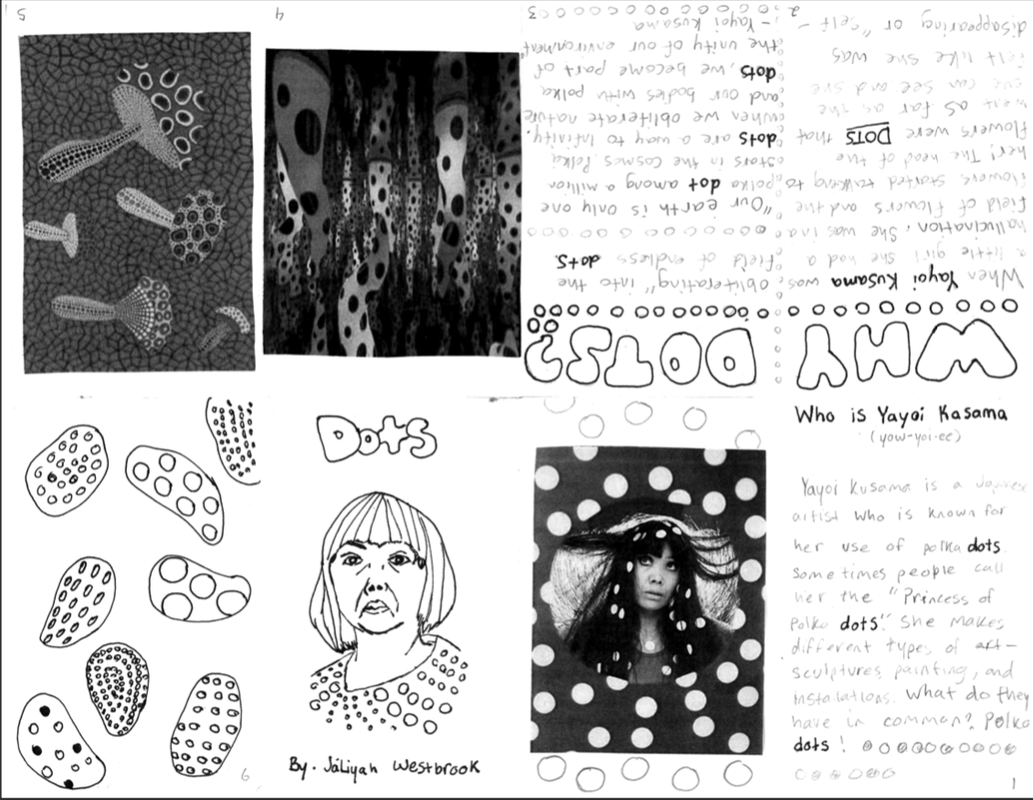
- Include the 4 artworks that represent the art movement. You can print out text and artwork or you can write and draw or you can do a combination of both.
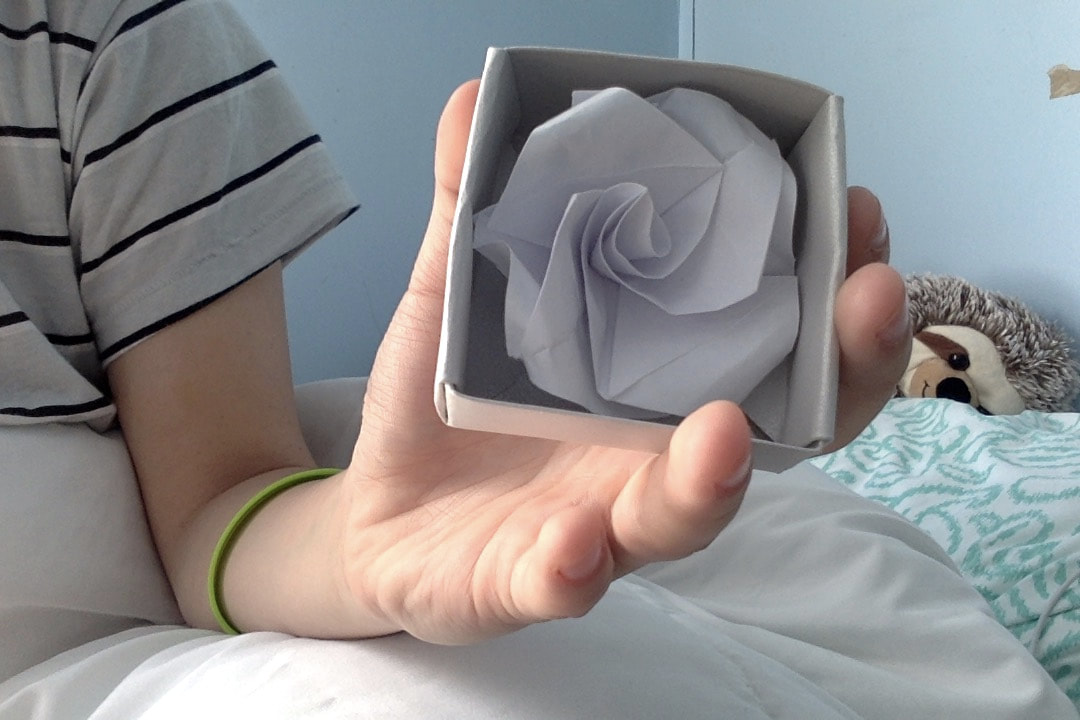
- The pages in your zine should all be full and each page should be thought out and well designed. Examples are below.
- Upload a photo of your finished Zine to the Assignment on Canvas: Zine Instructions by Friday, April 10th.
|
|
| ||||||
What are the Elements of Art & Who is Andy Goldsworthy?
|
| ||||
1. How to make your Sketchbook!
2. Op Art- Notes
| op_art-for_notes.pptx |
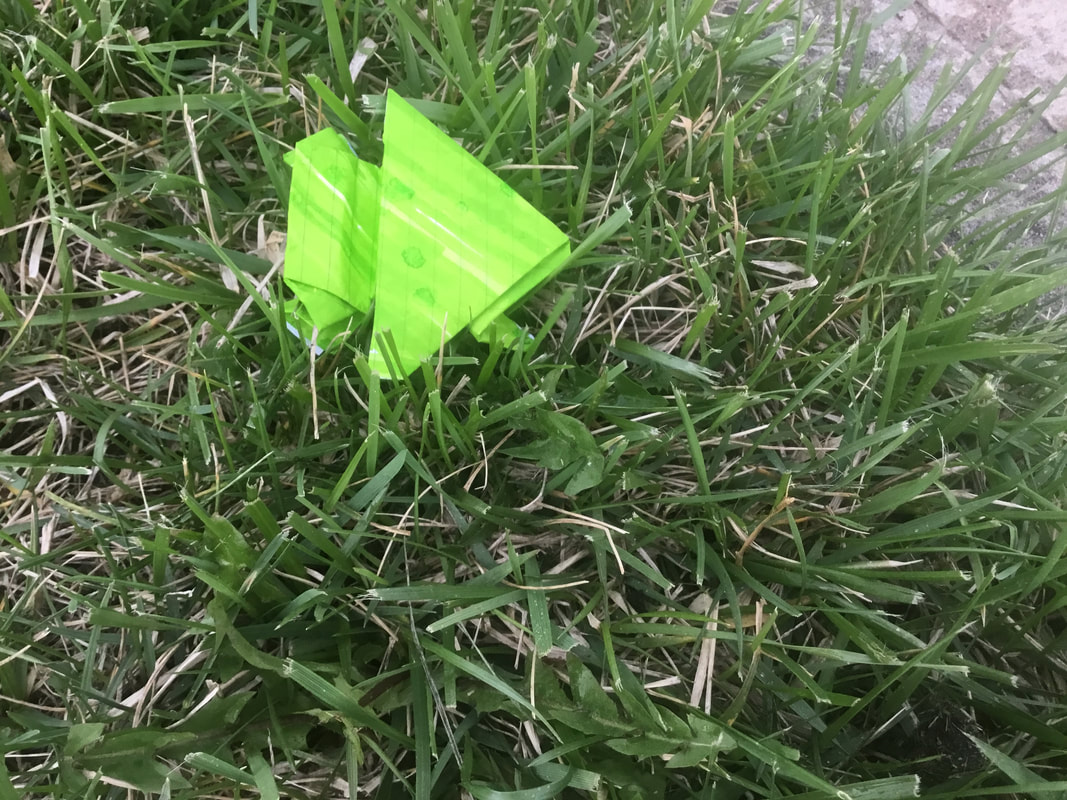
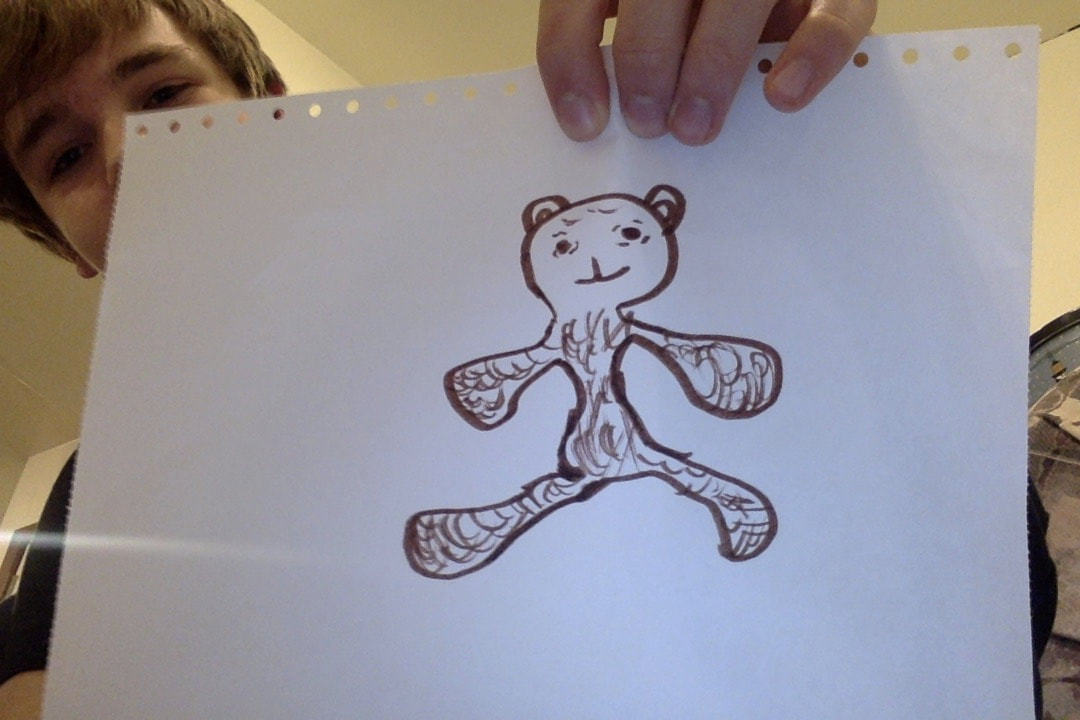
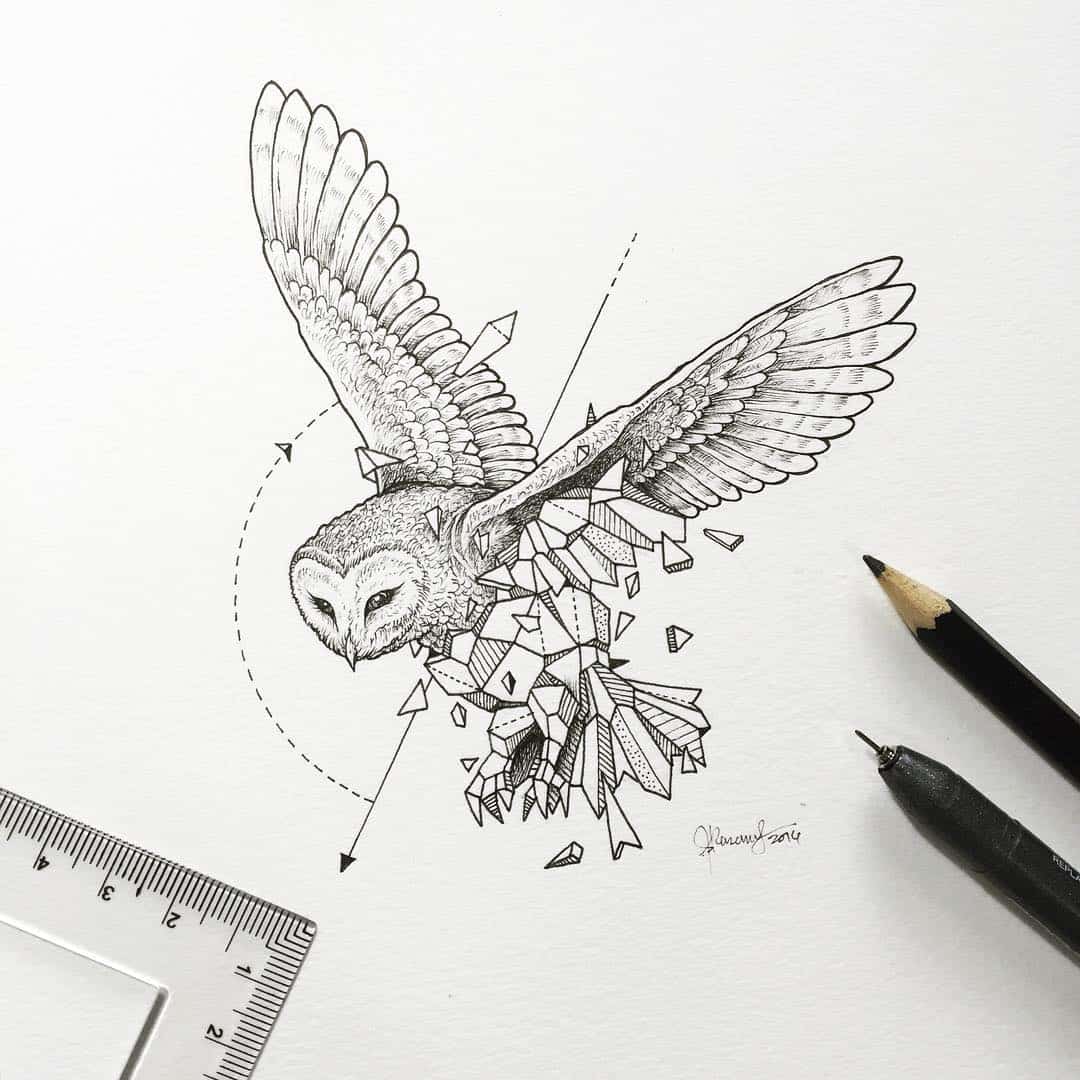
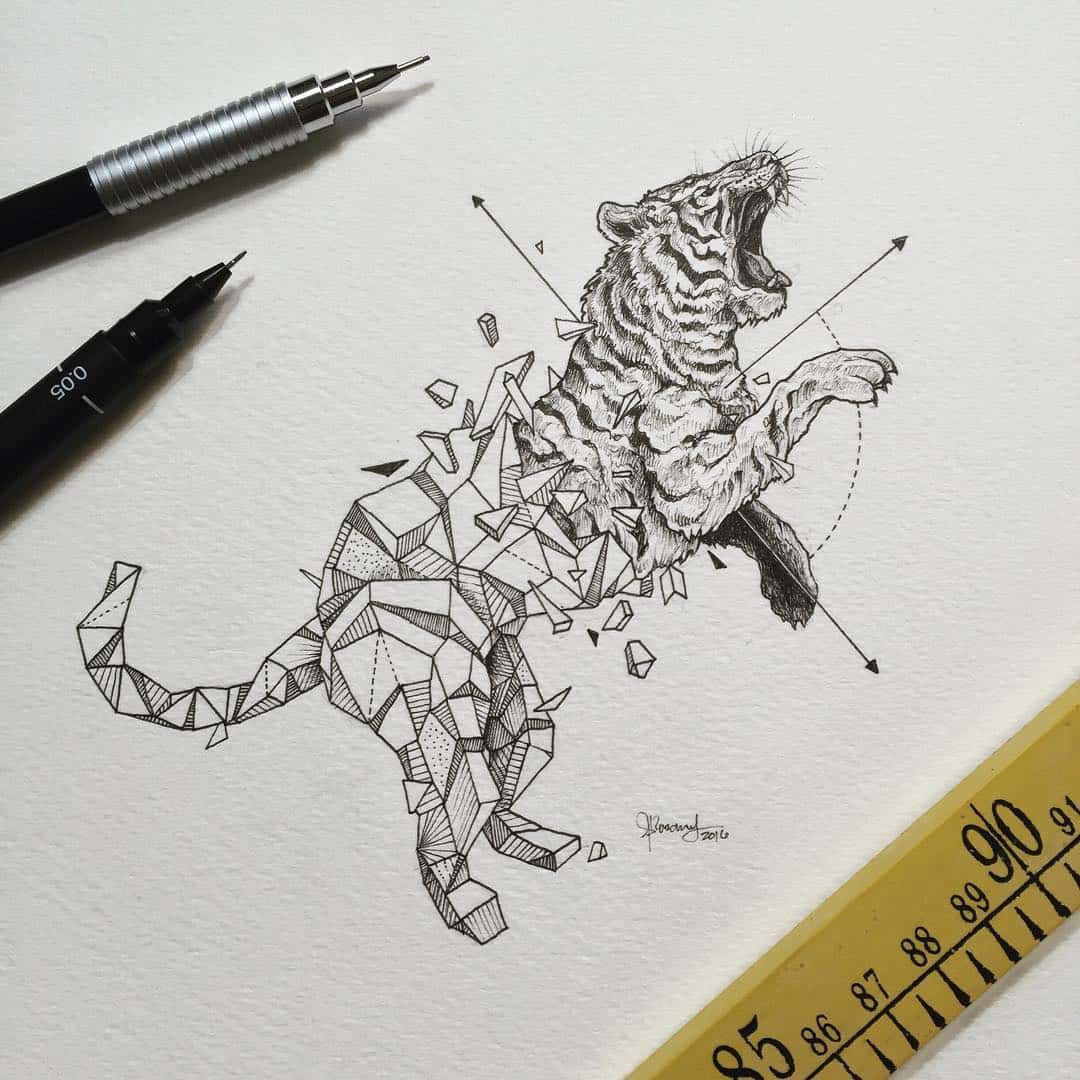
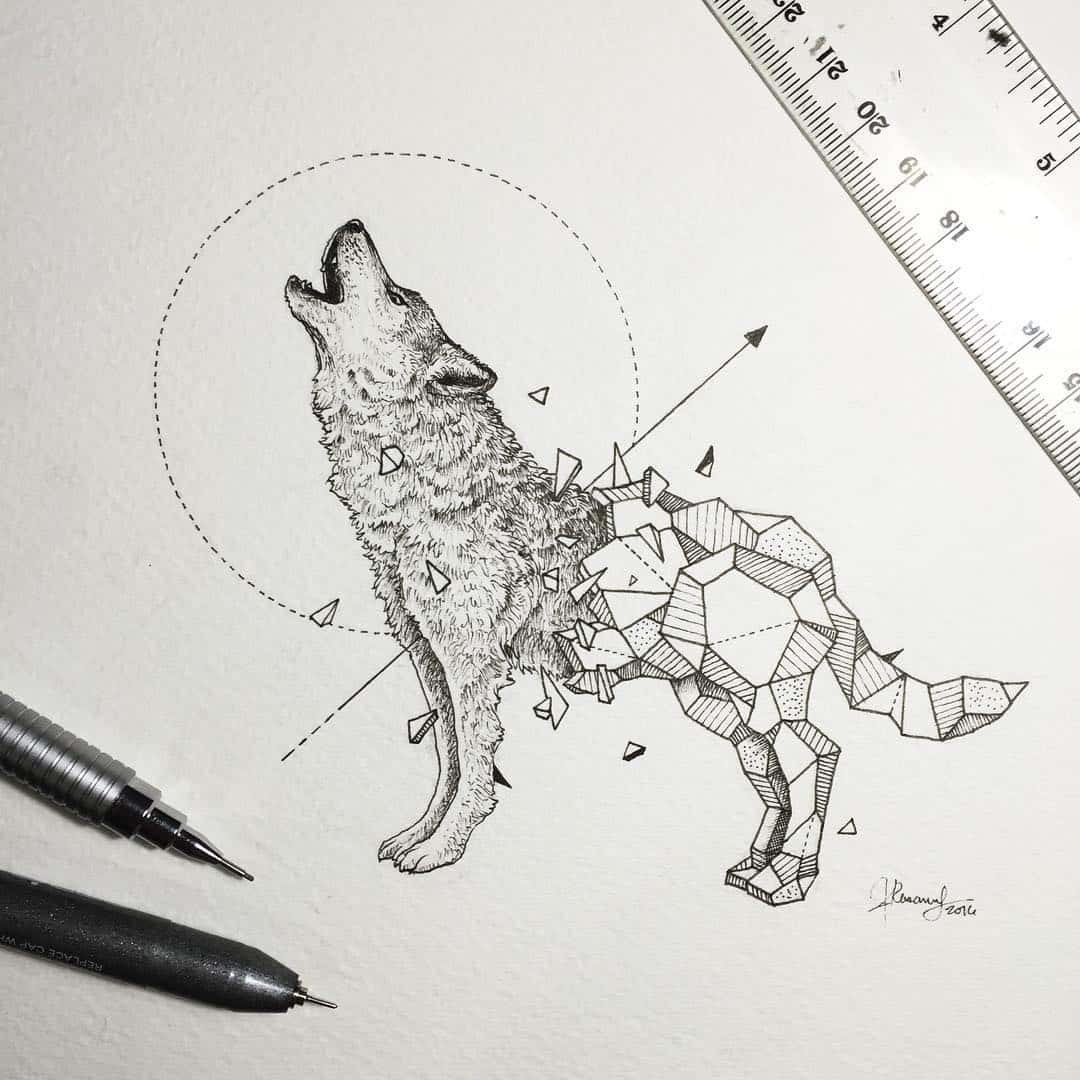
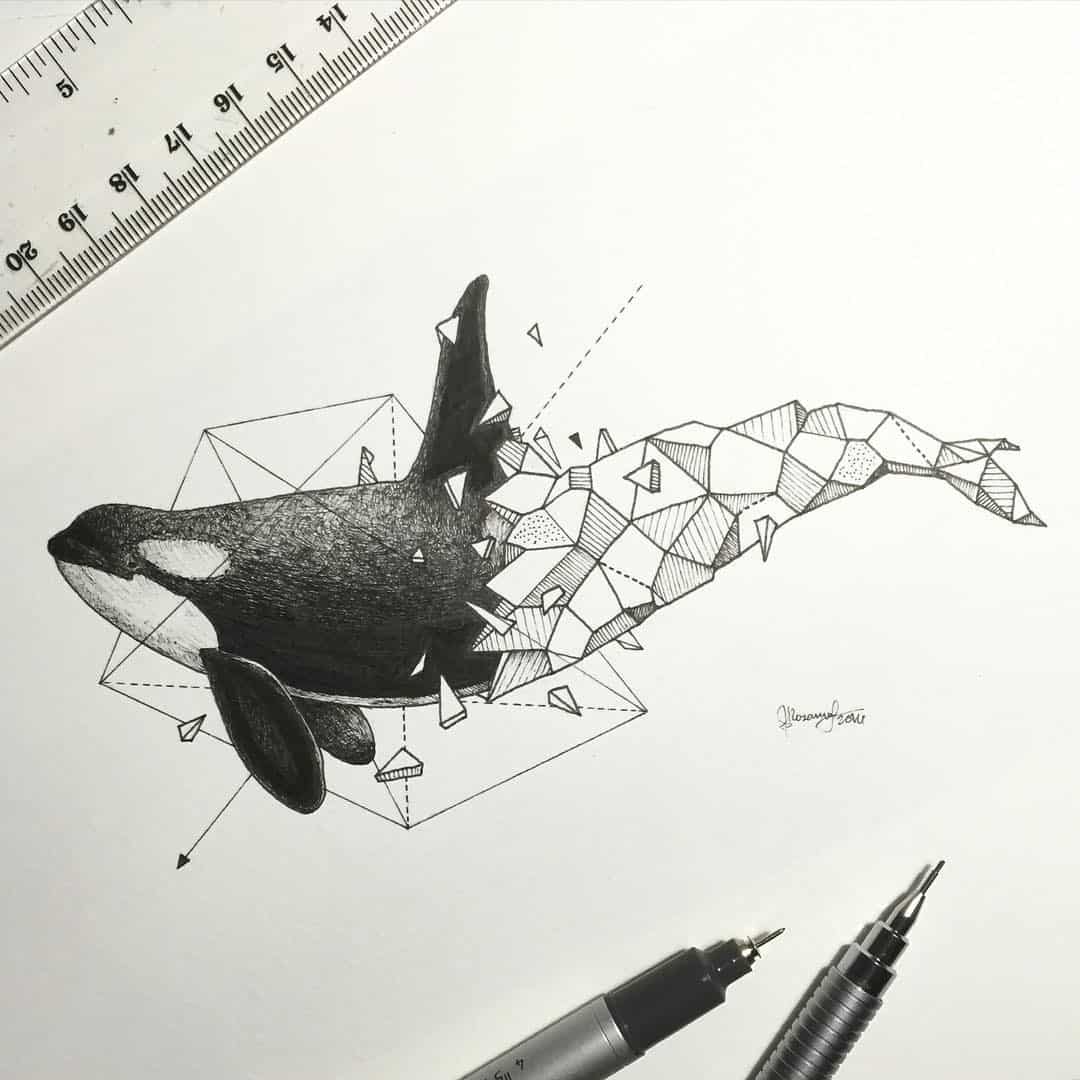
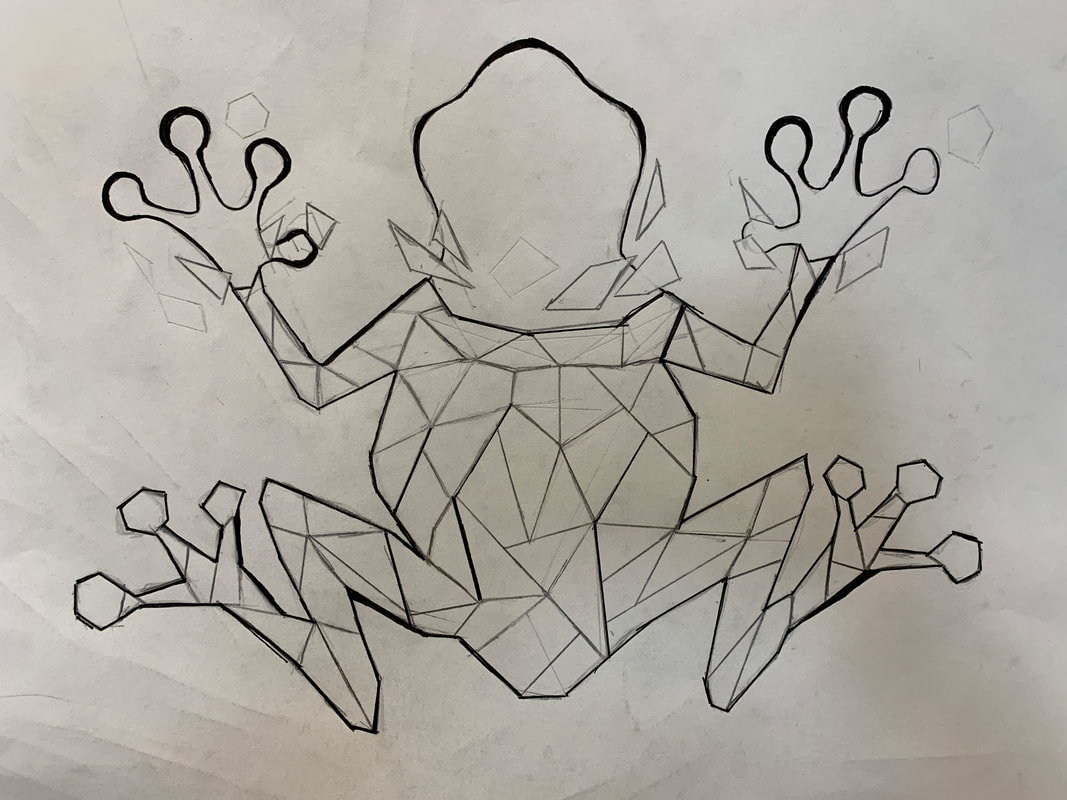
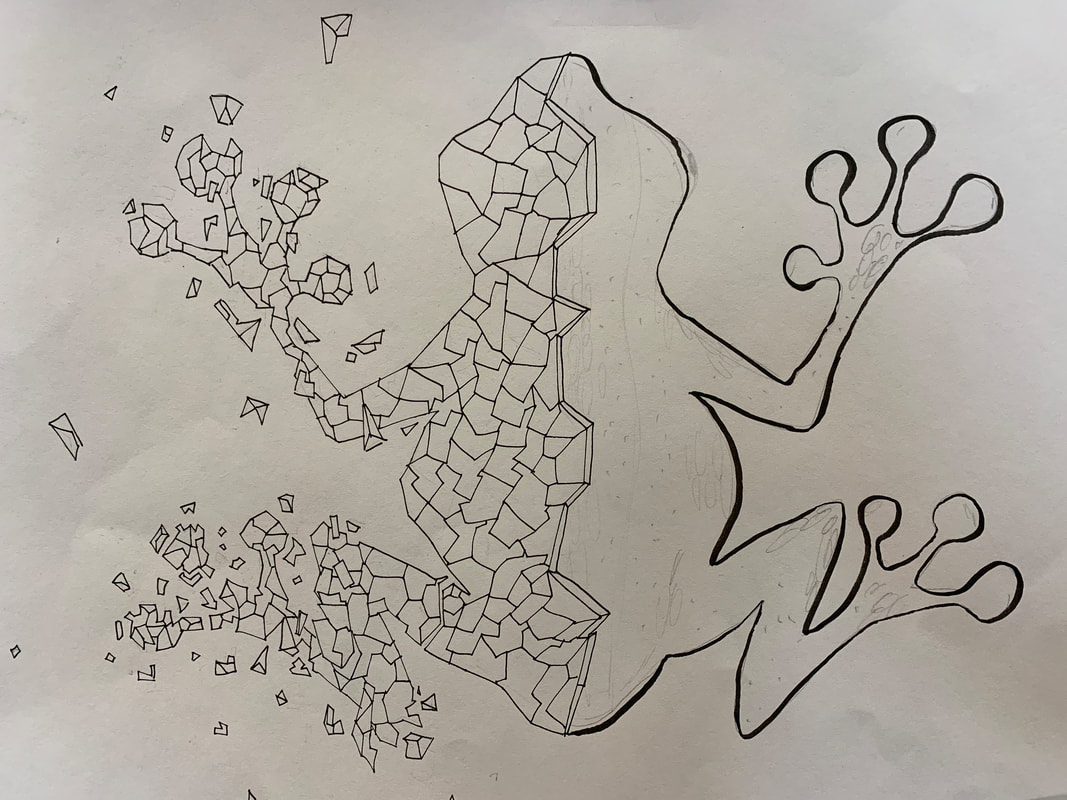
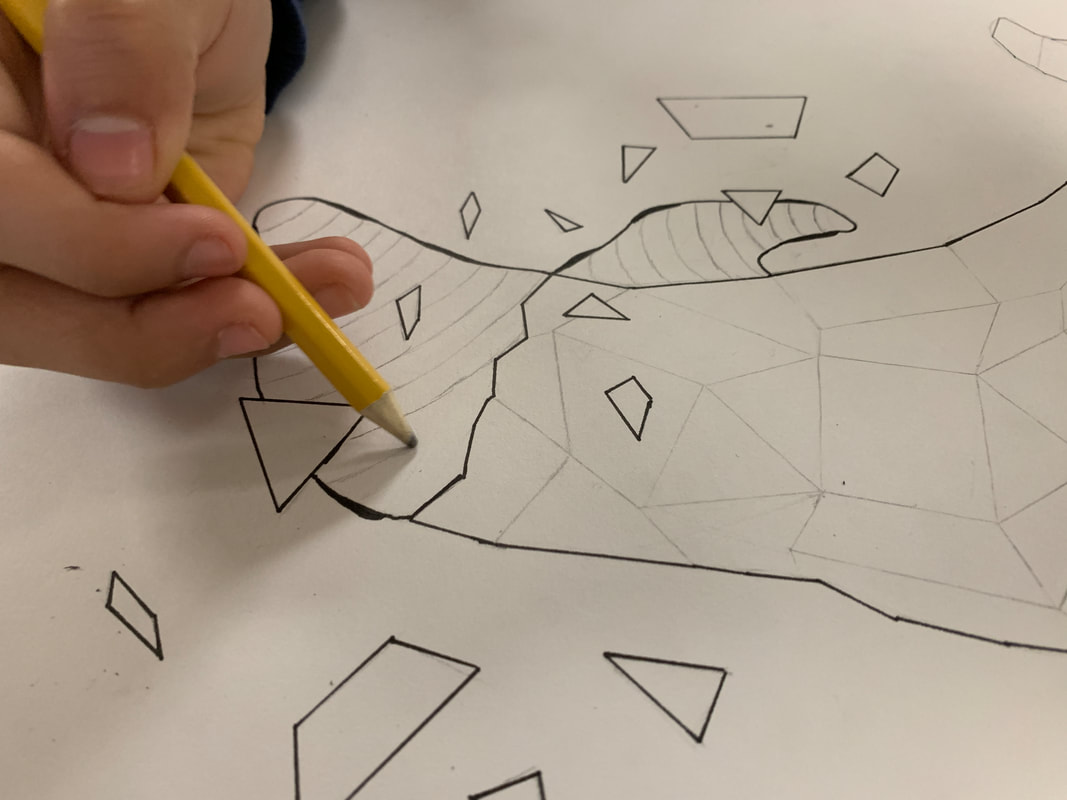
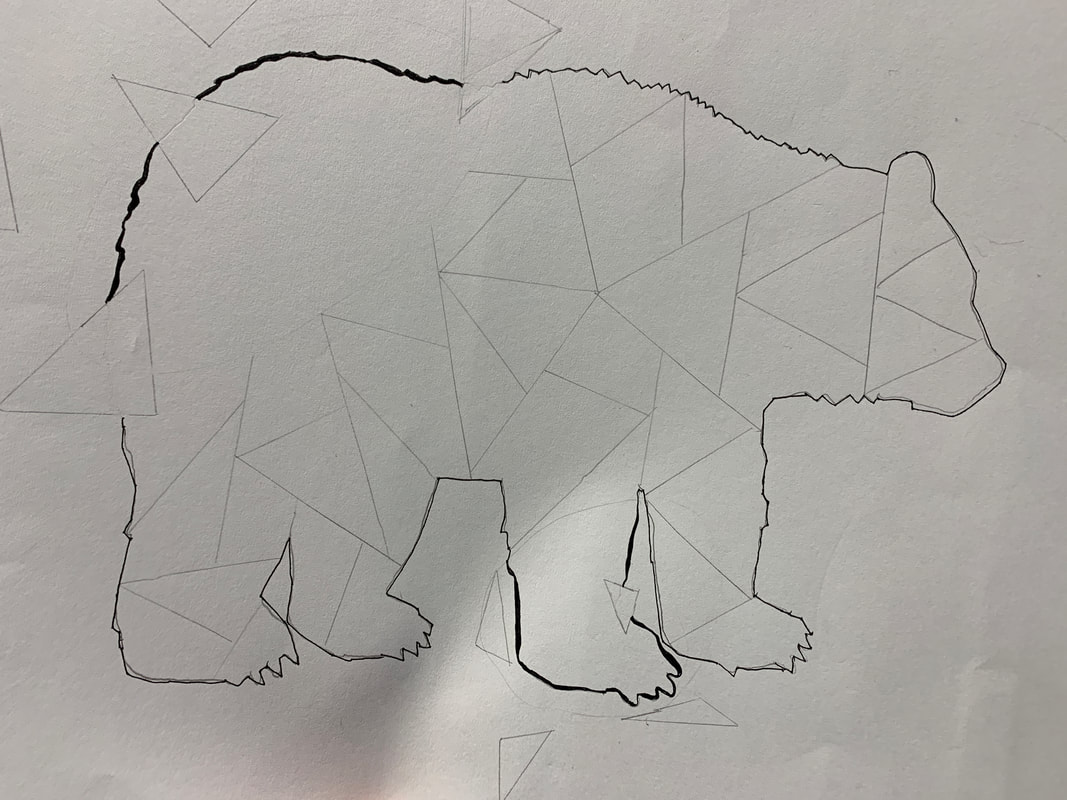
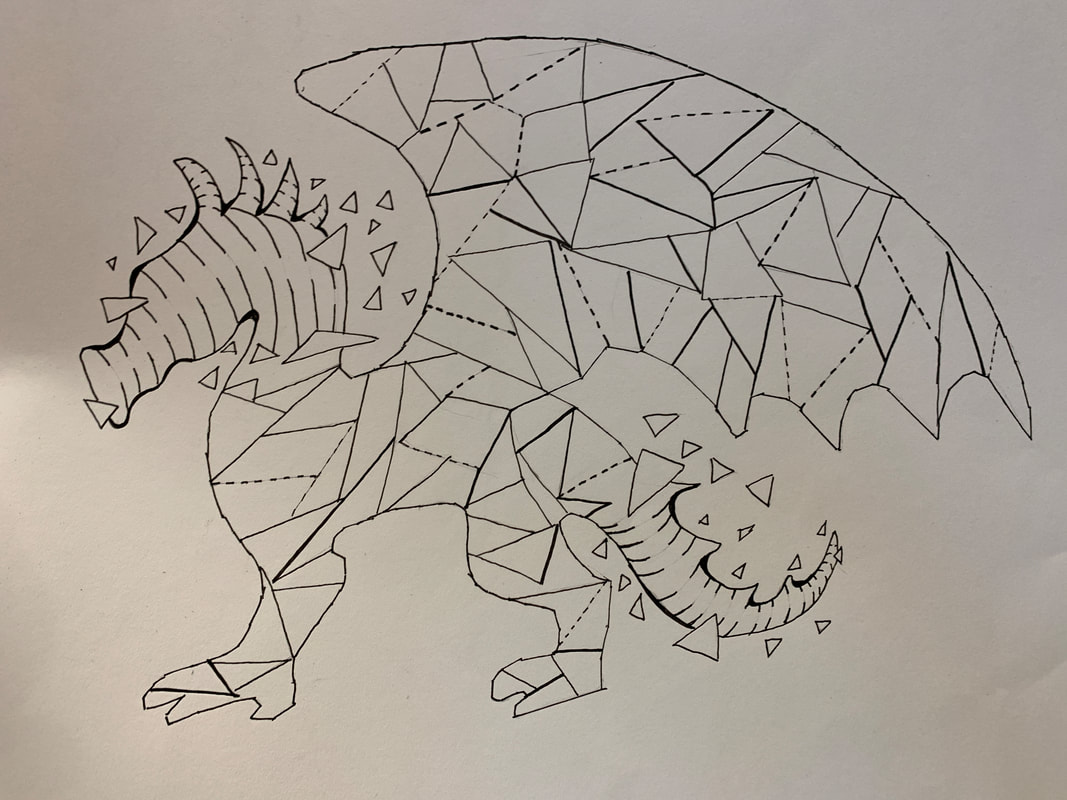
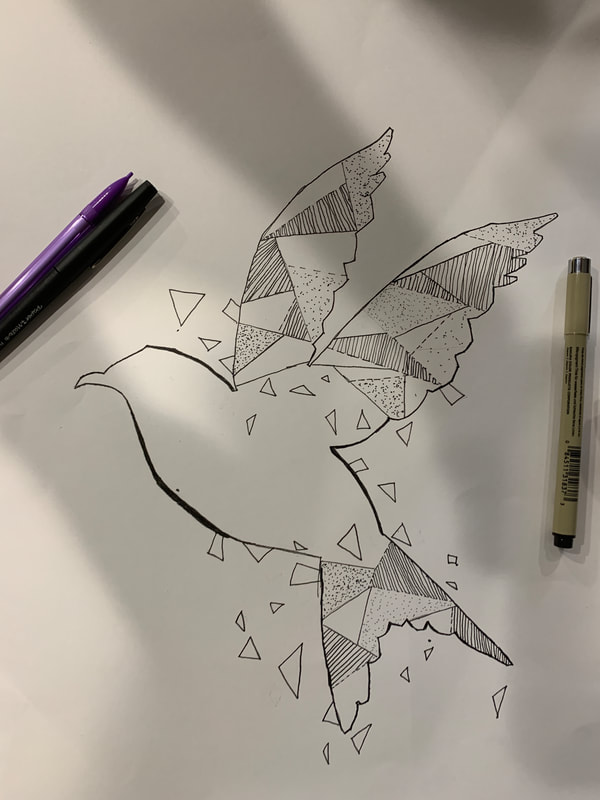
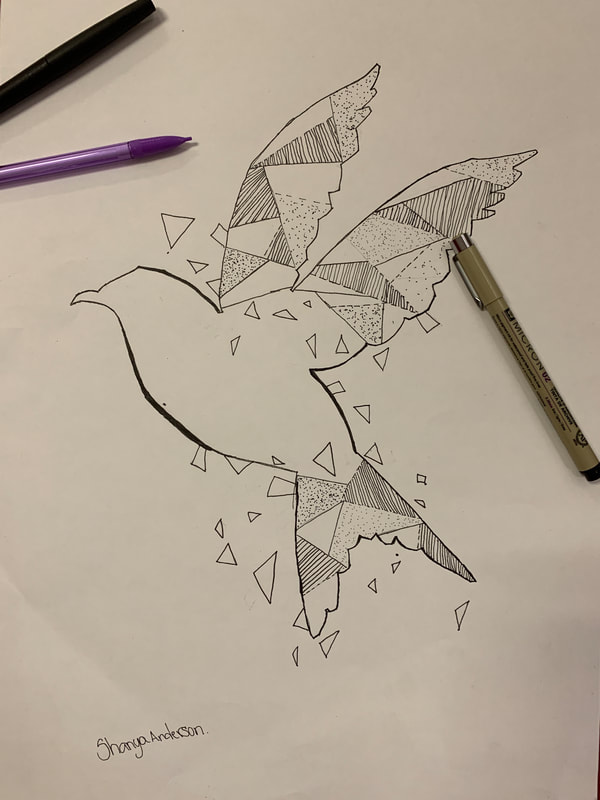
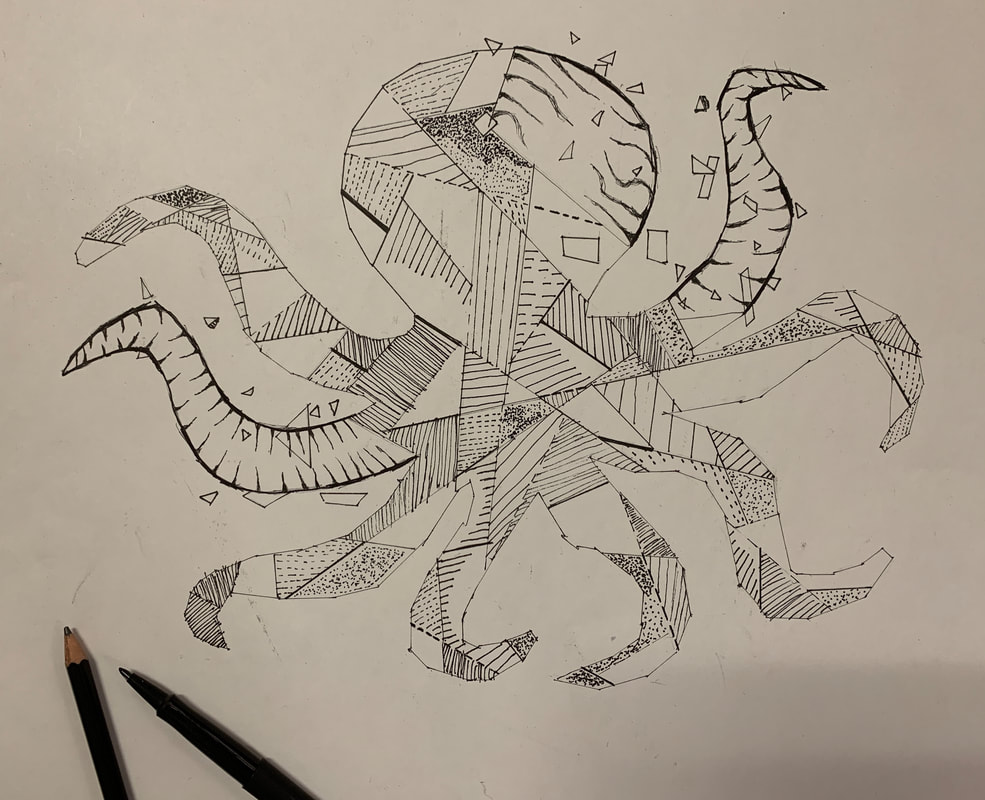
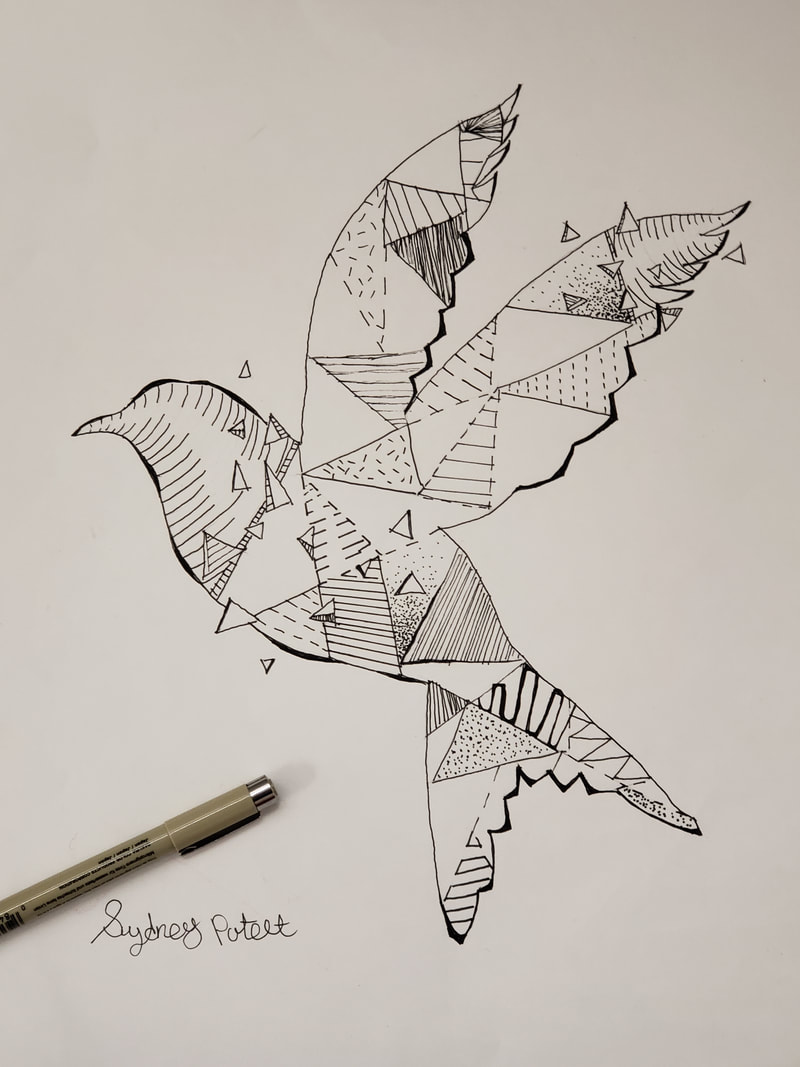
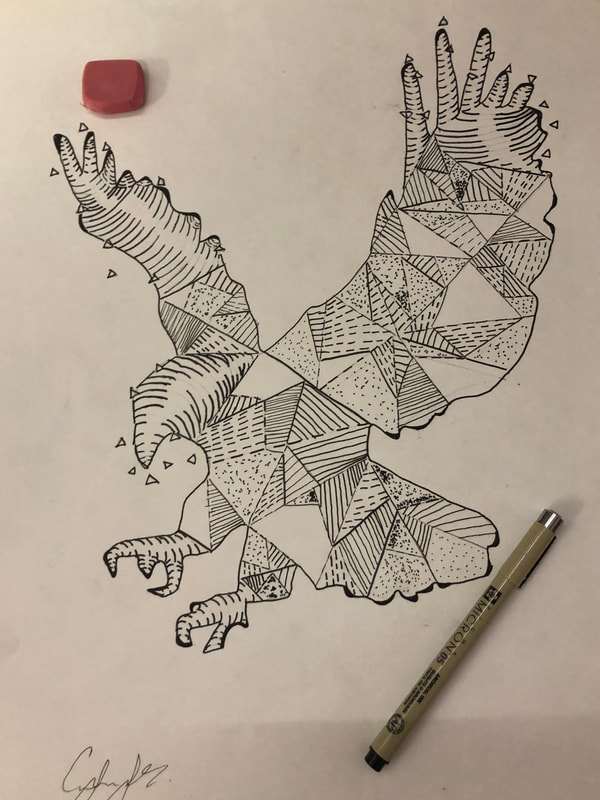
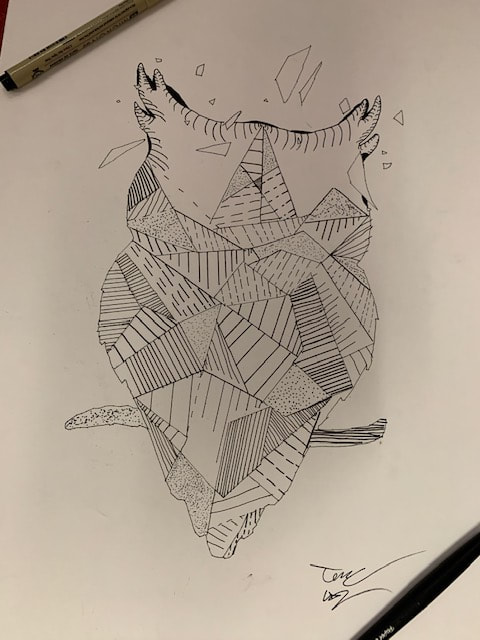
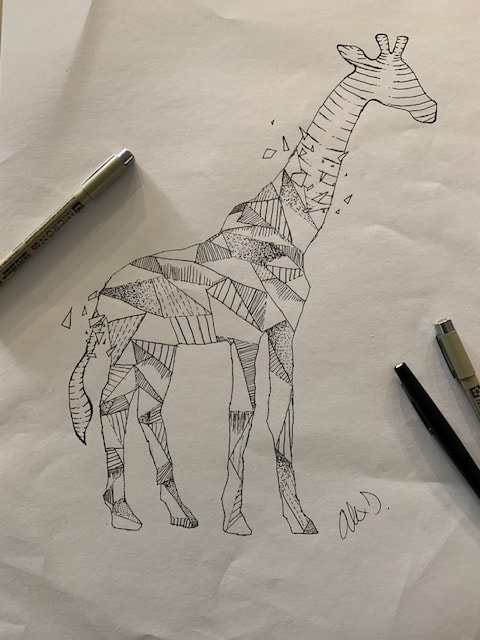
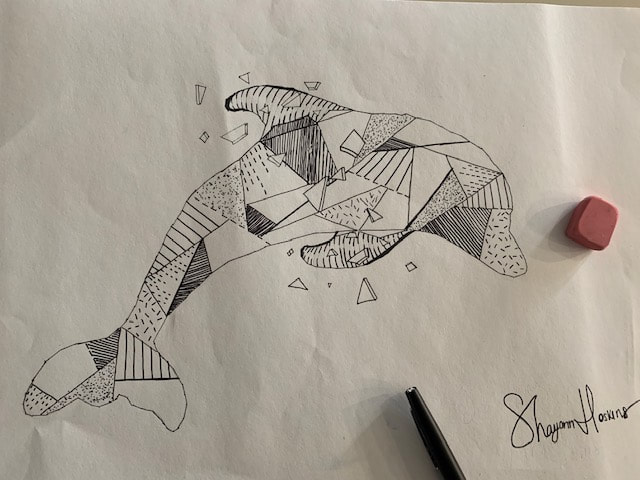
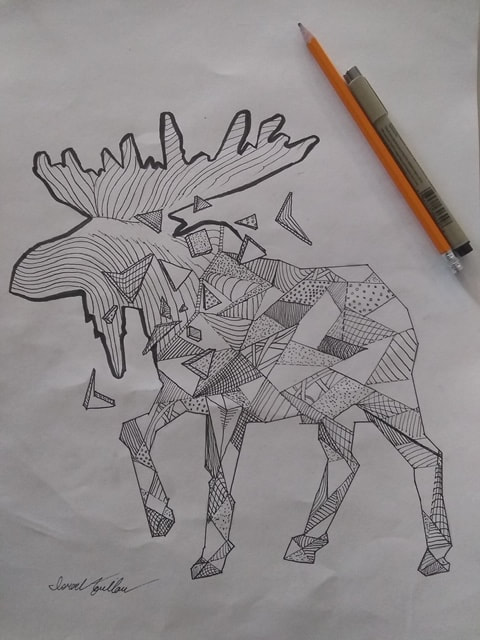
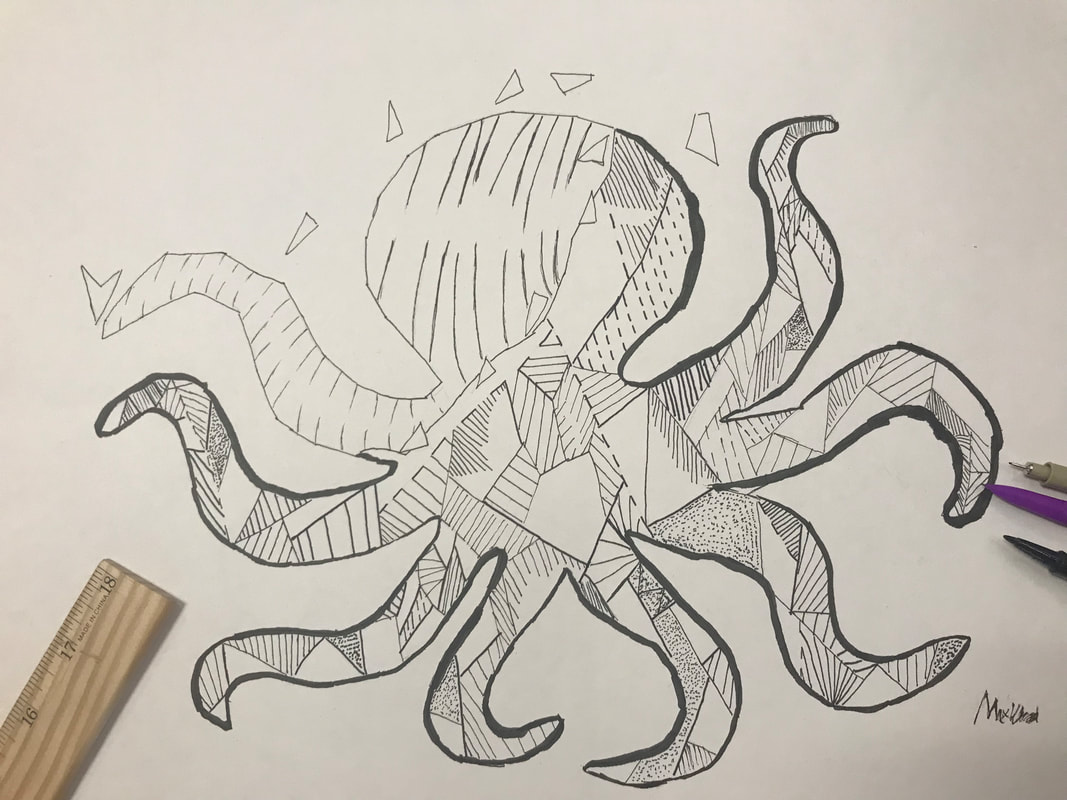
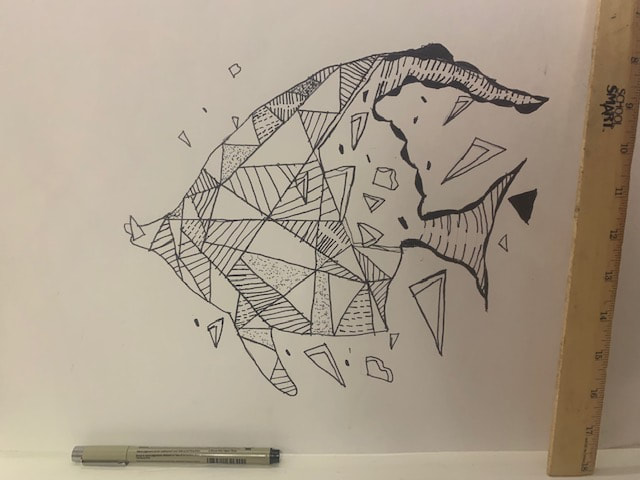
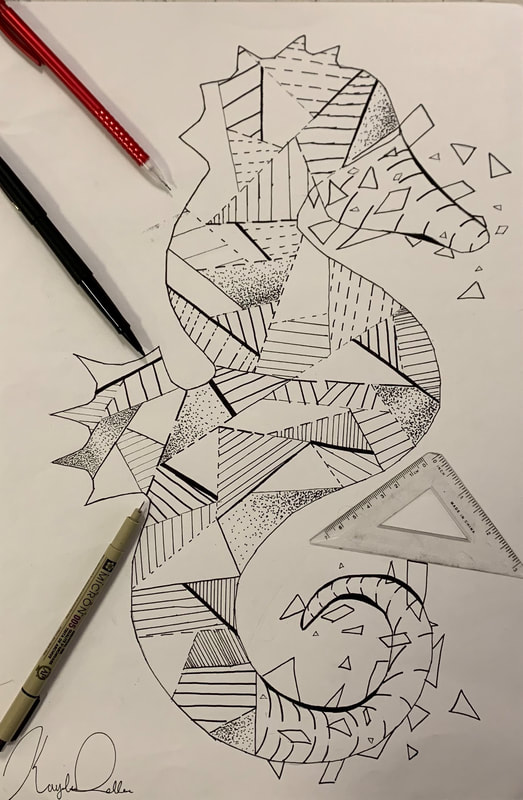
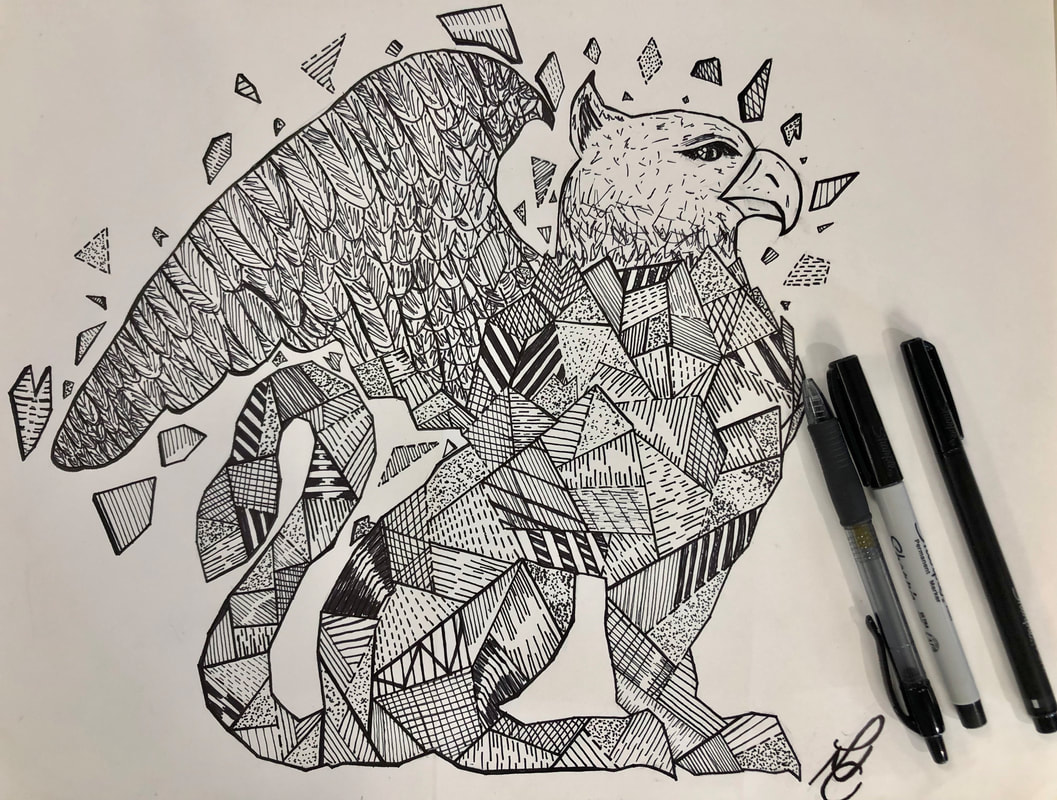
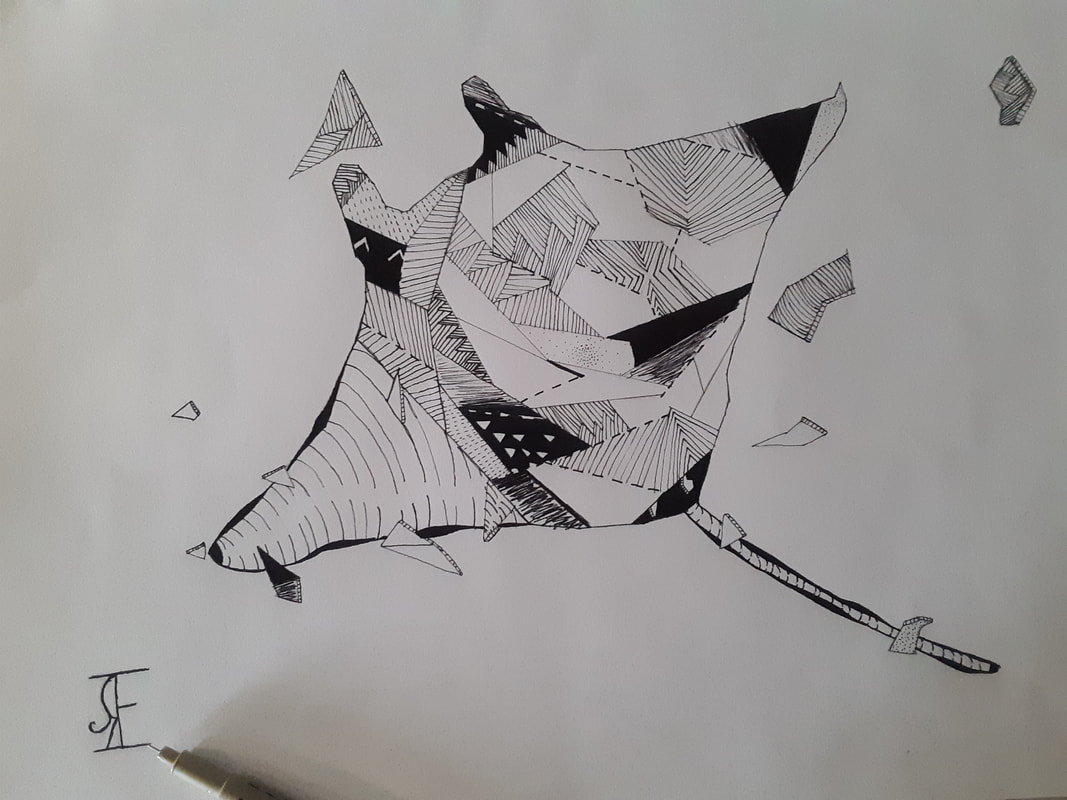
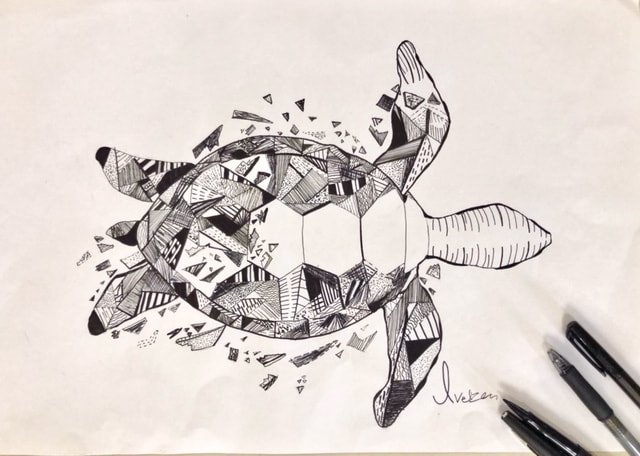
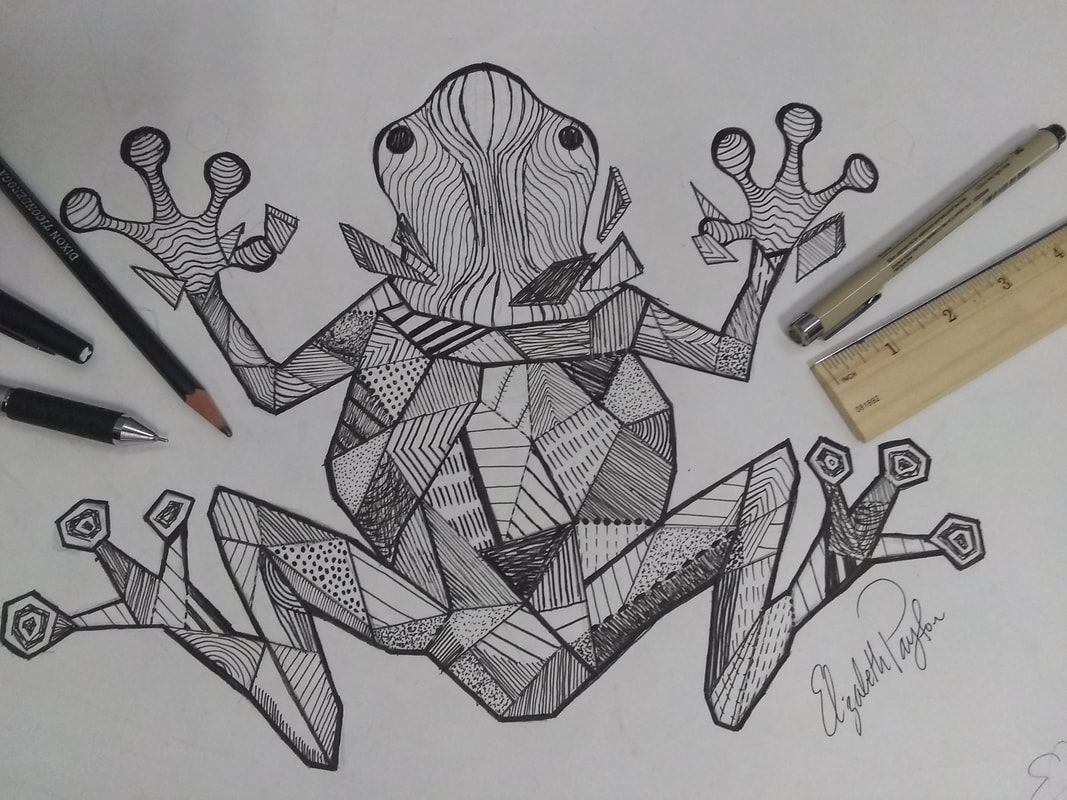
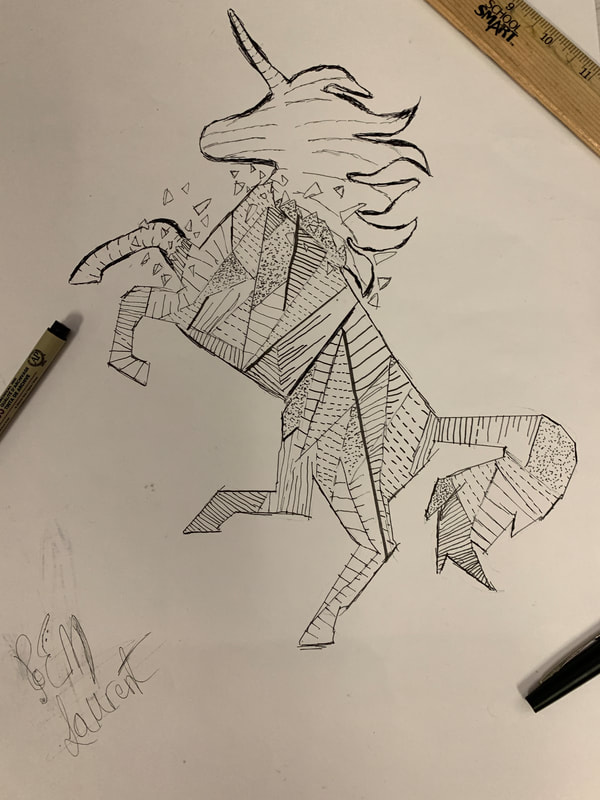
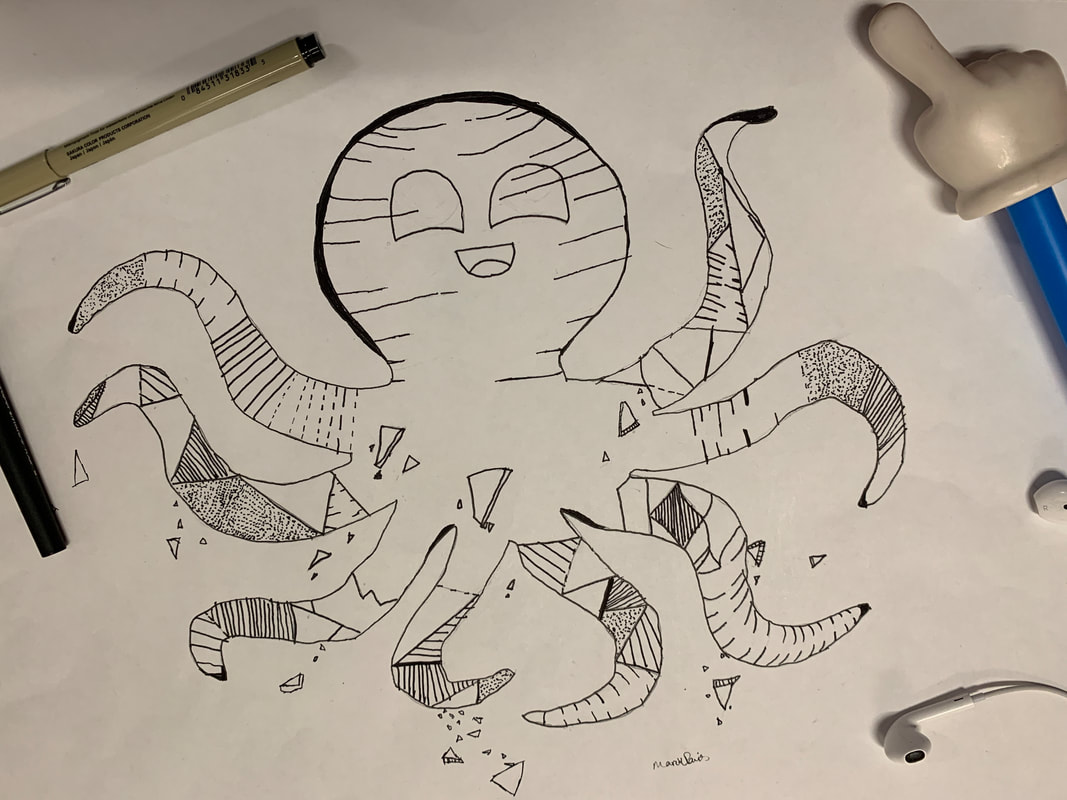
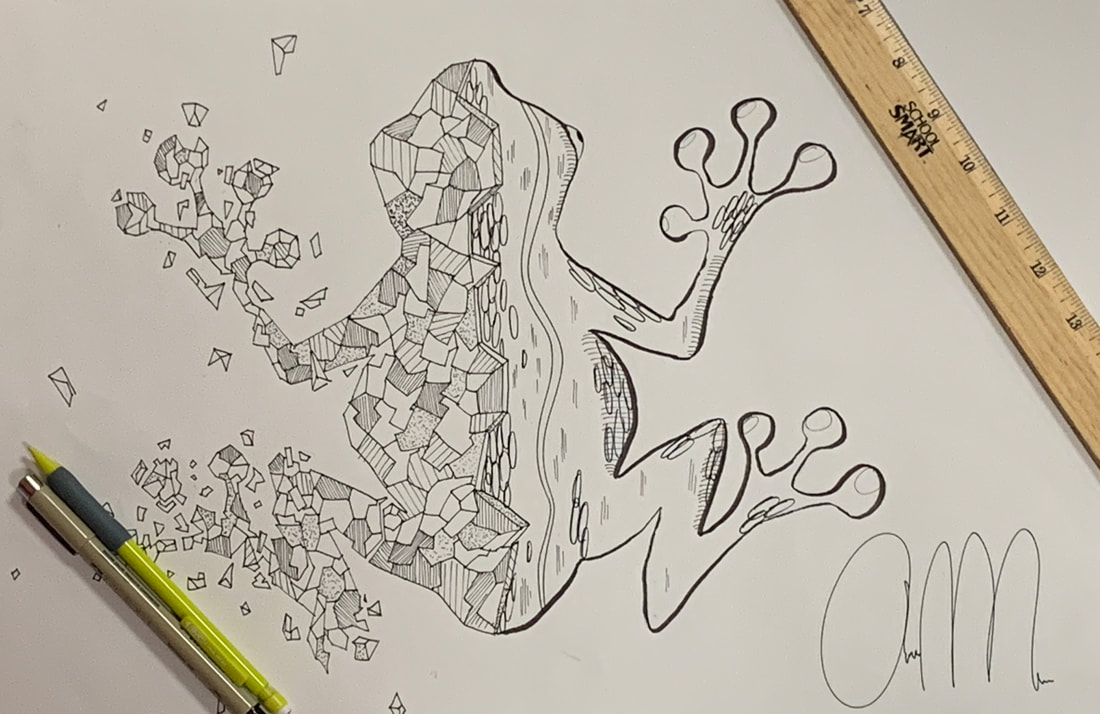
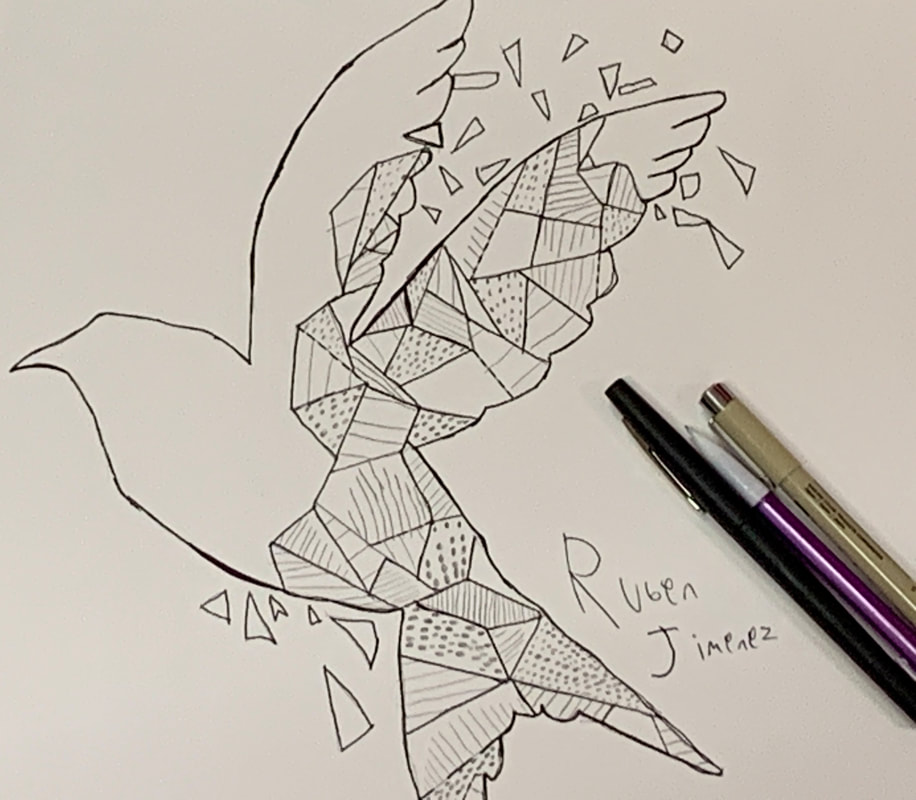
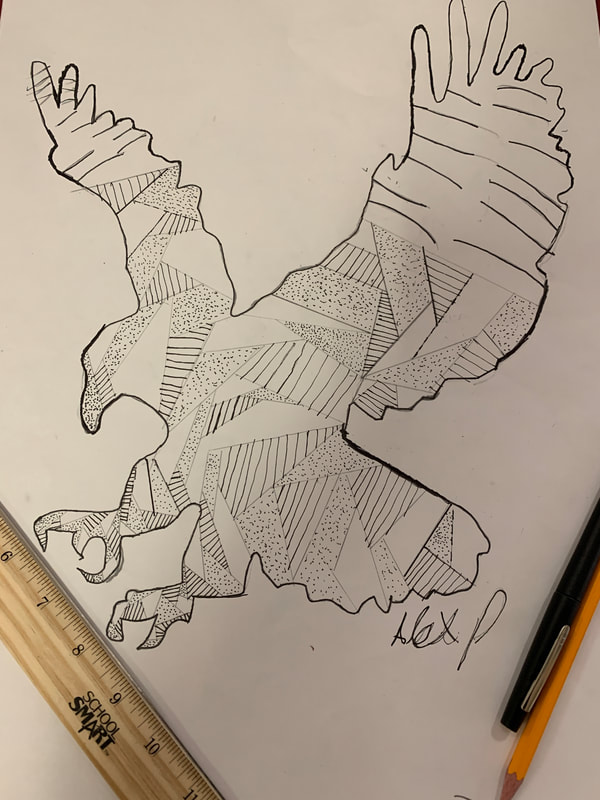
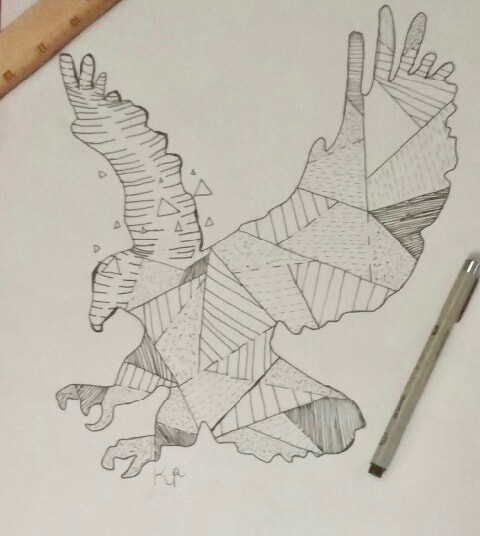
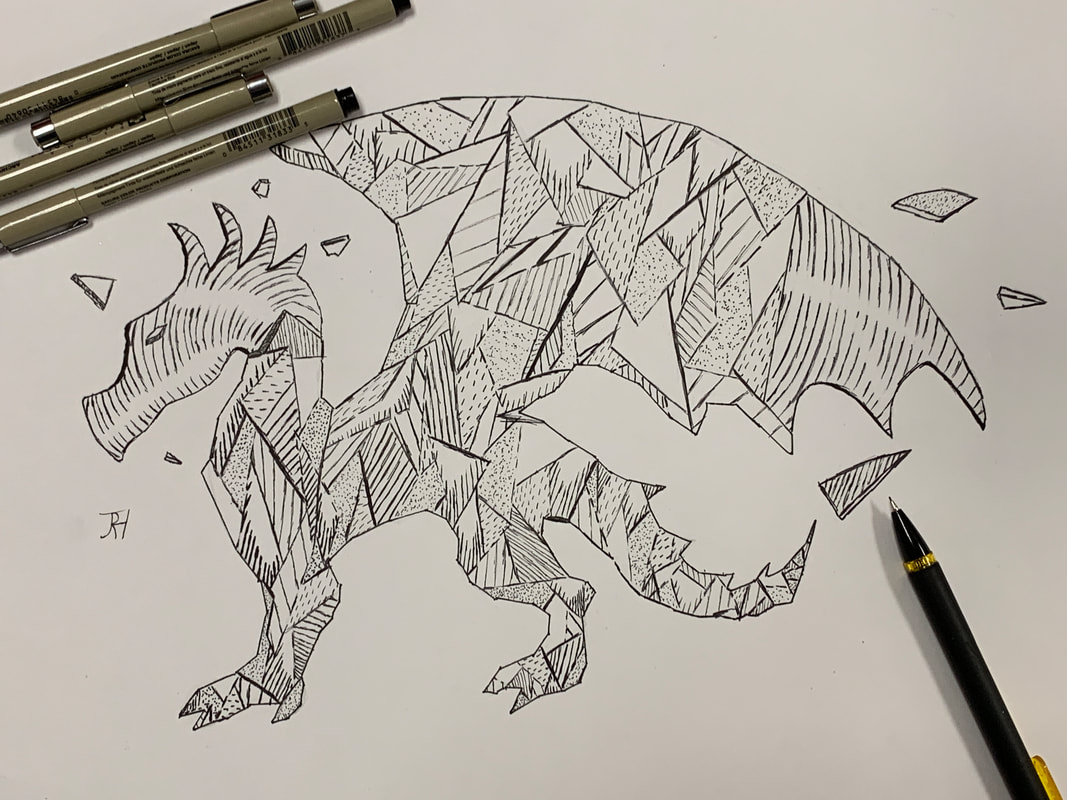
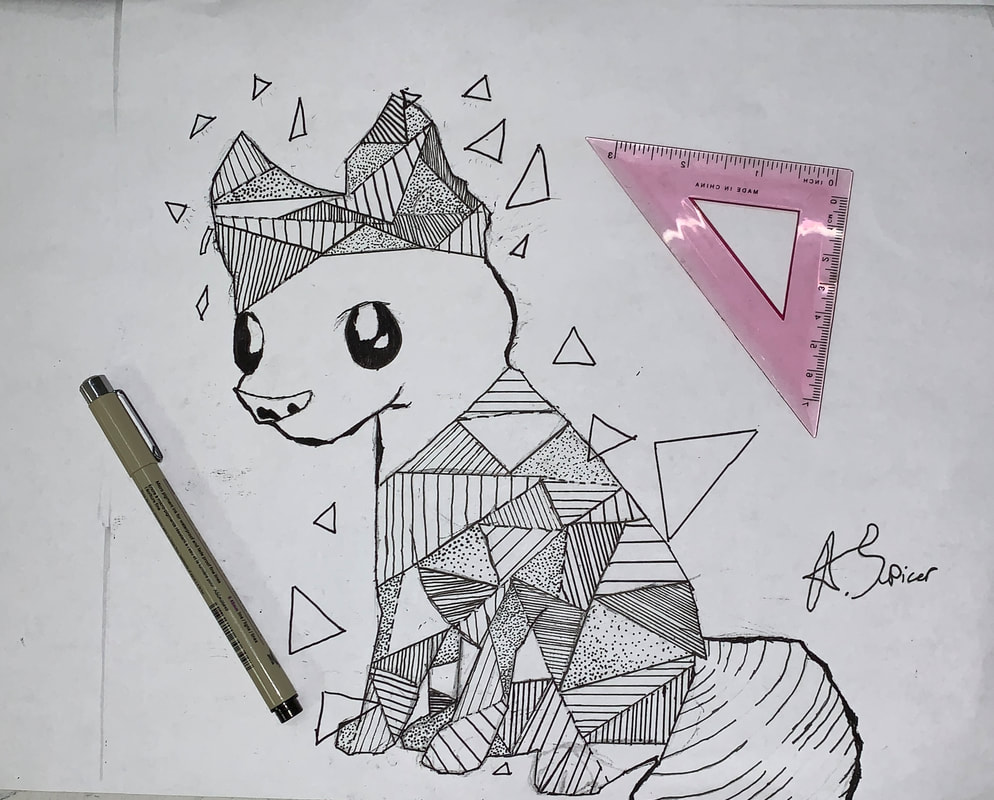
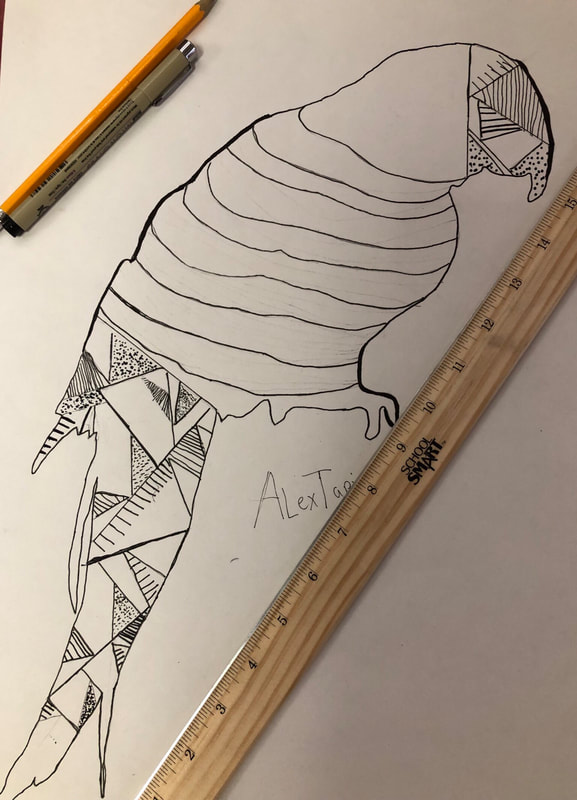
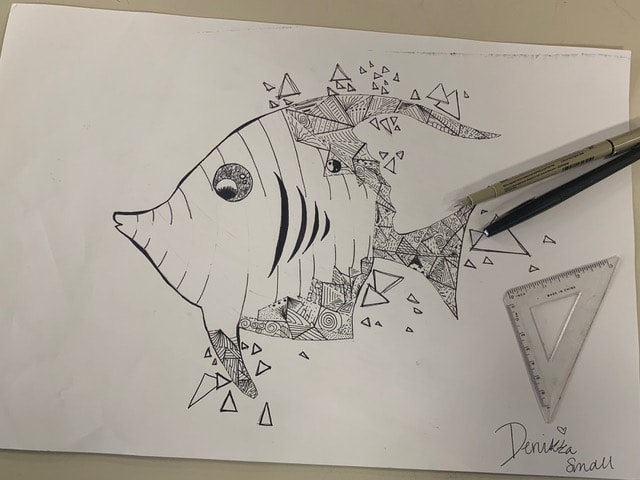
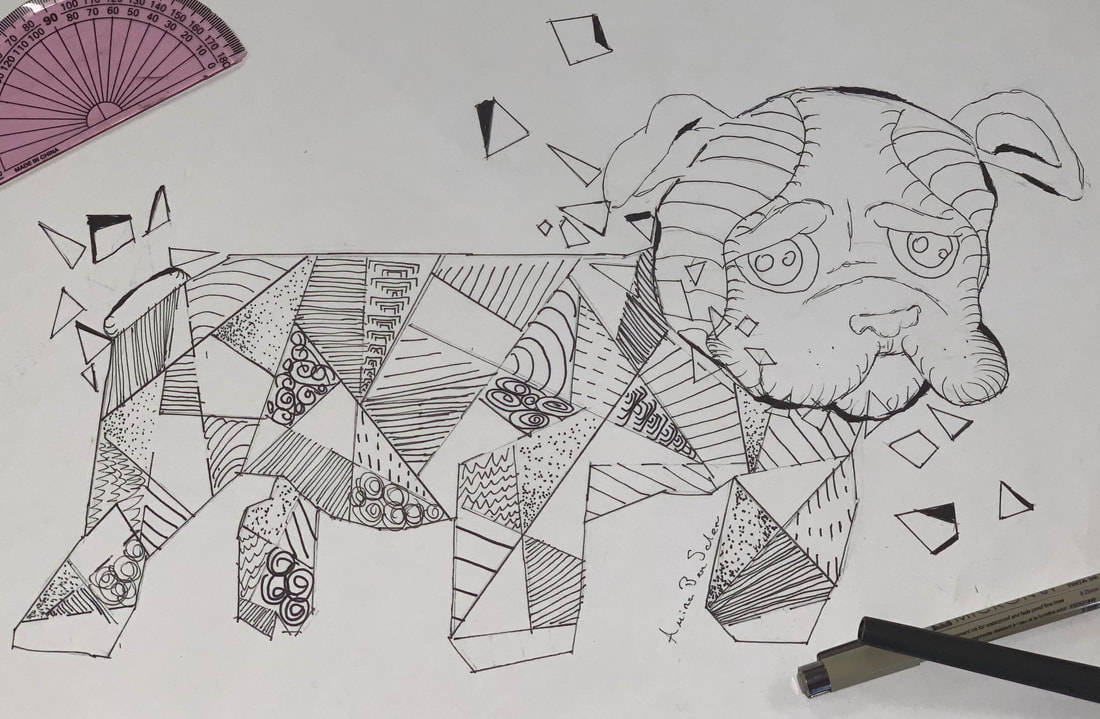
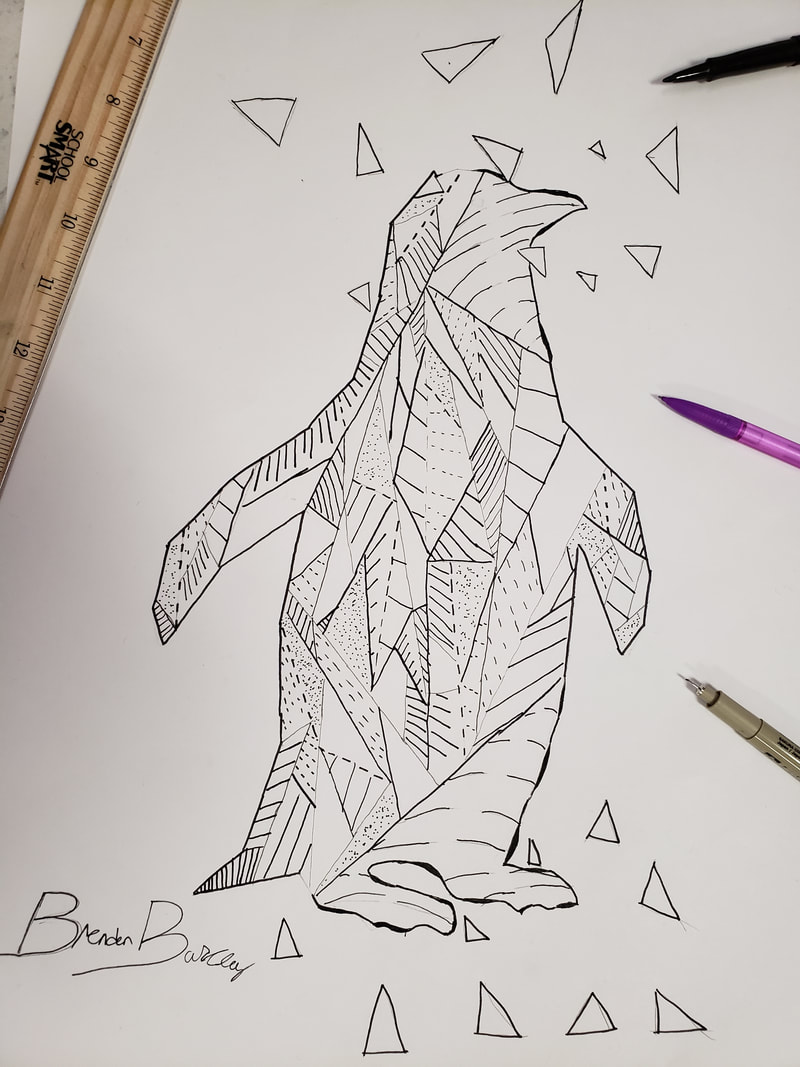
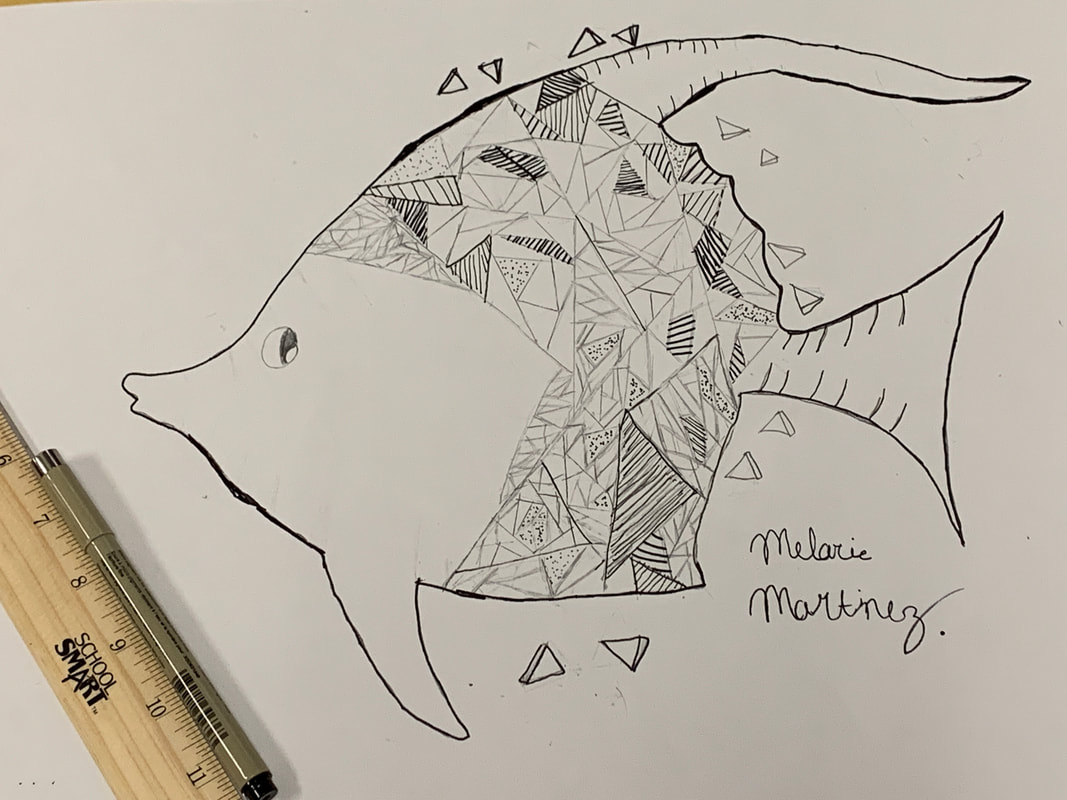
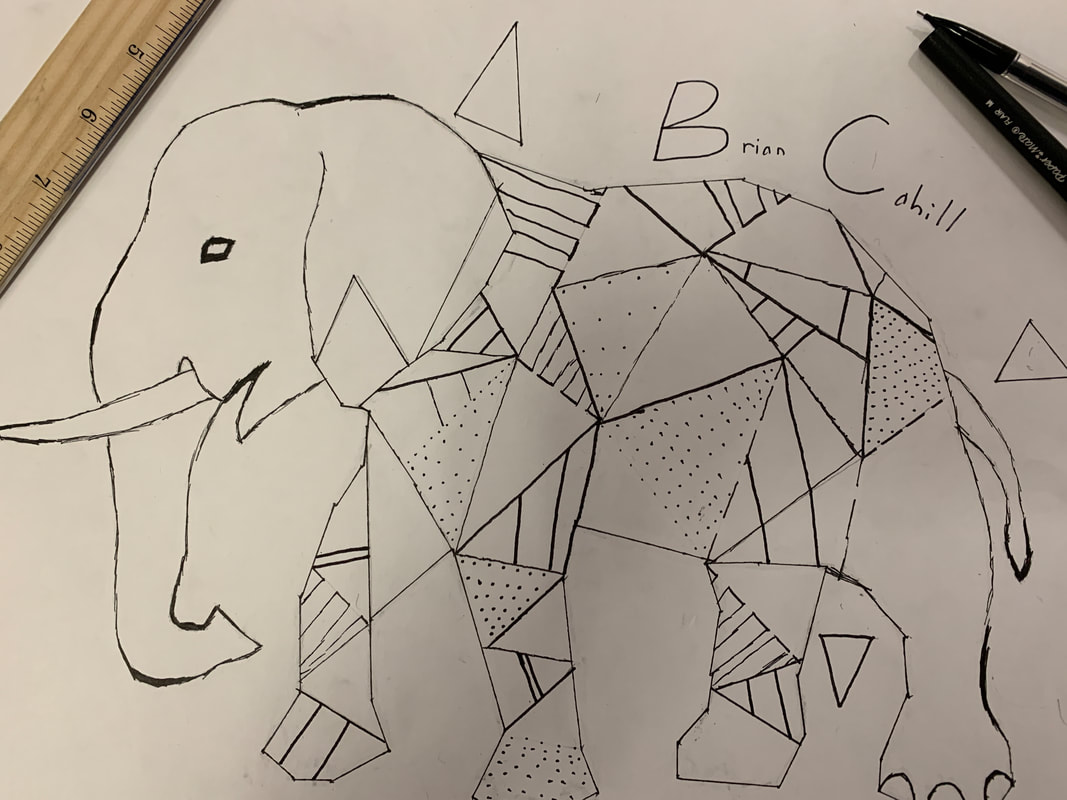
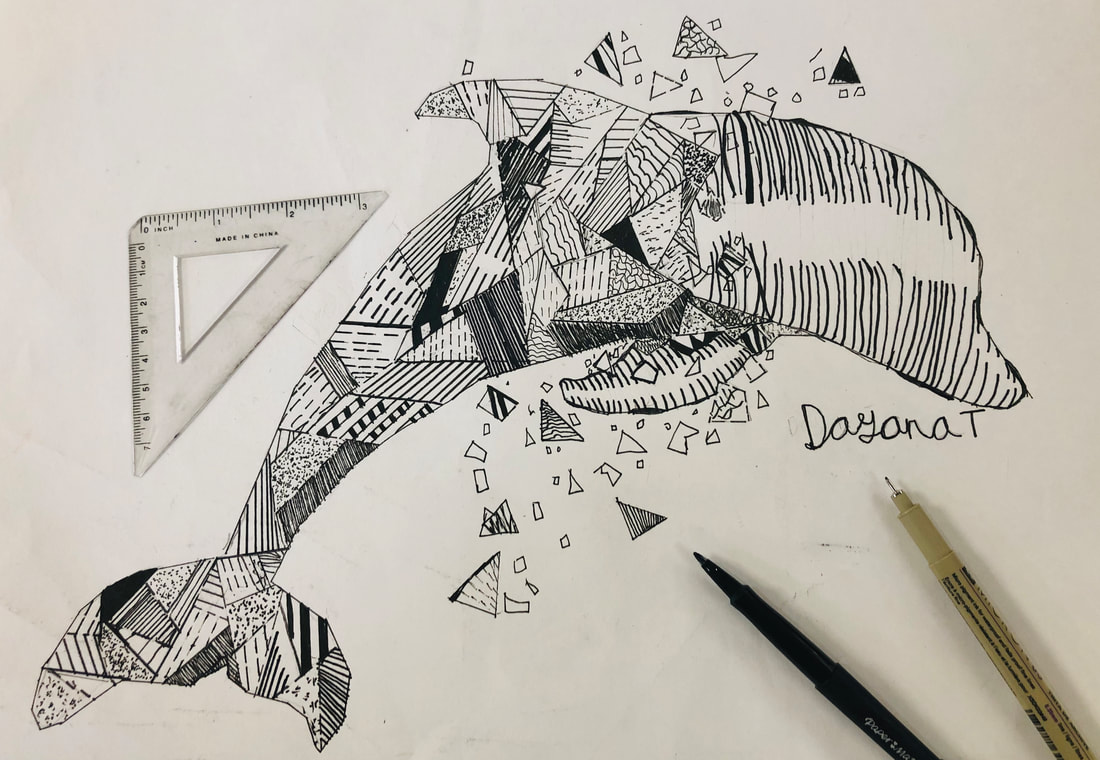
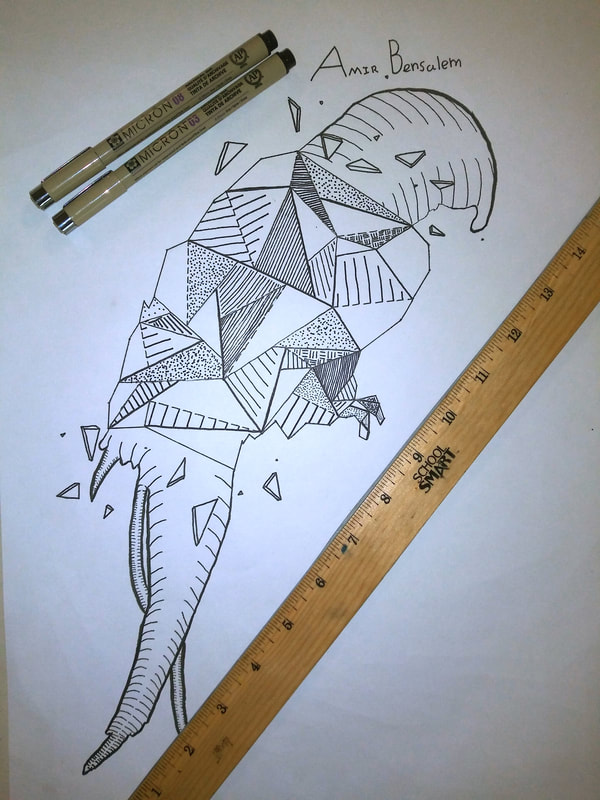
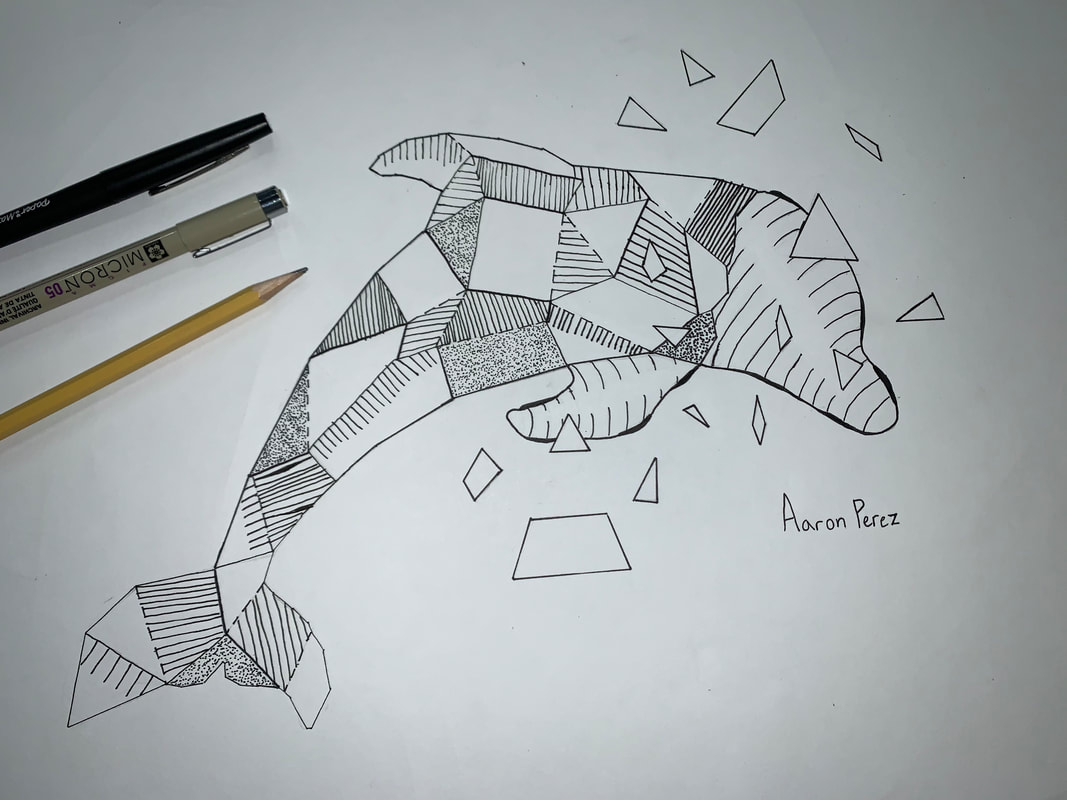
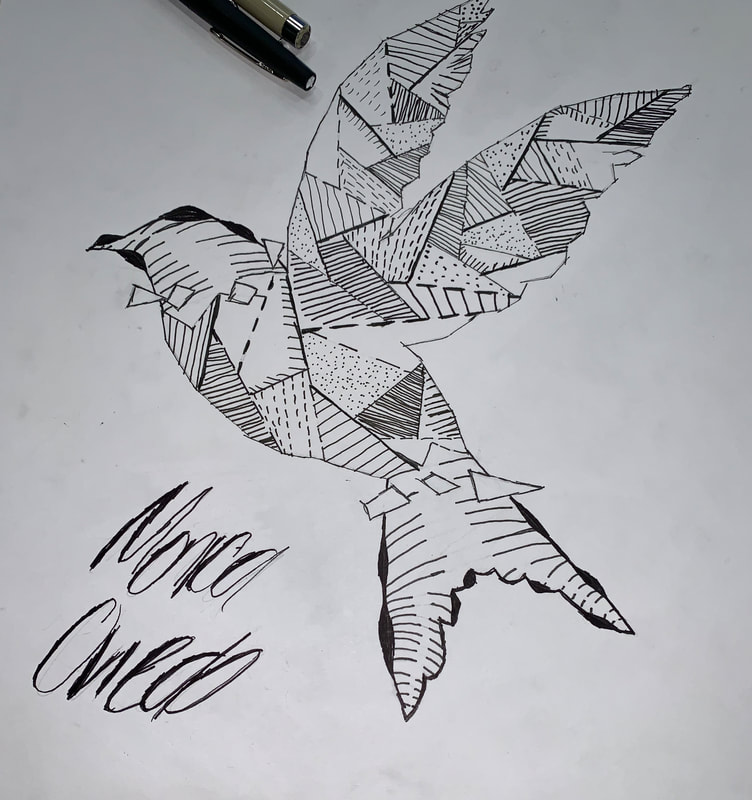
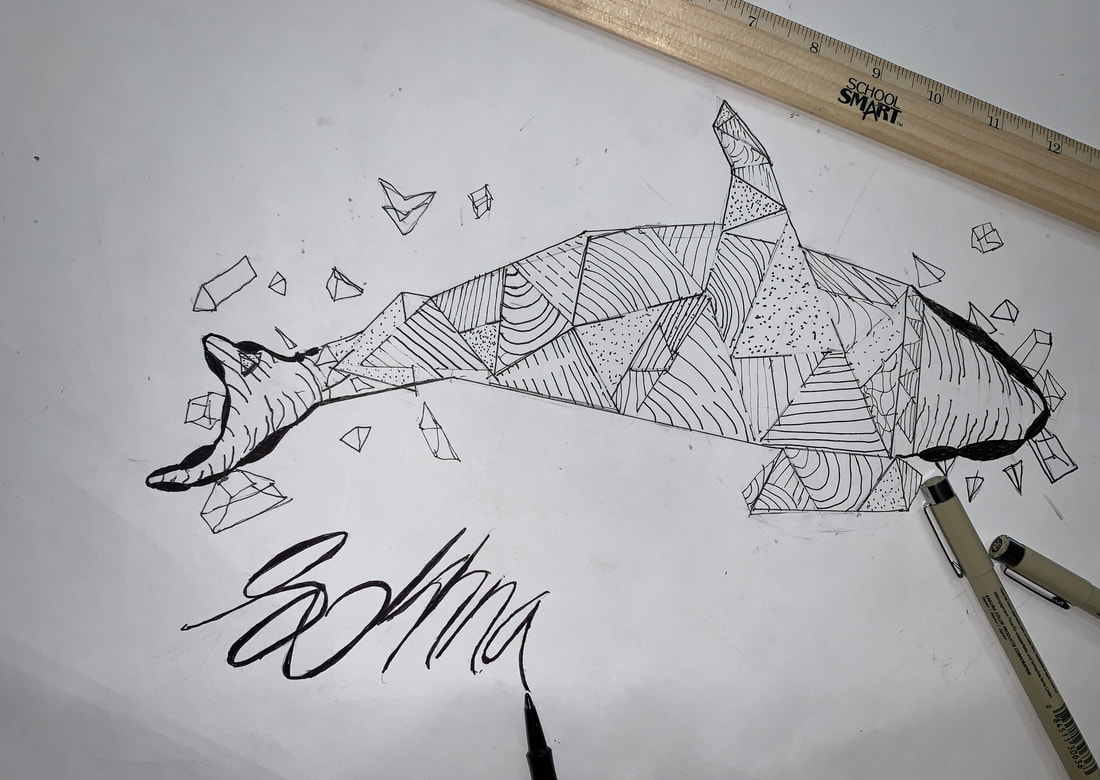
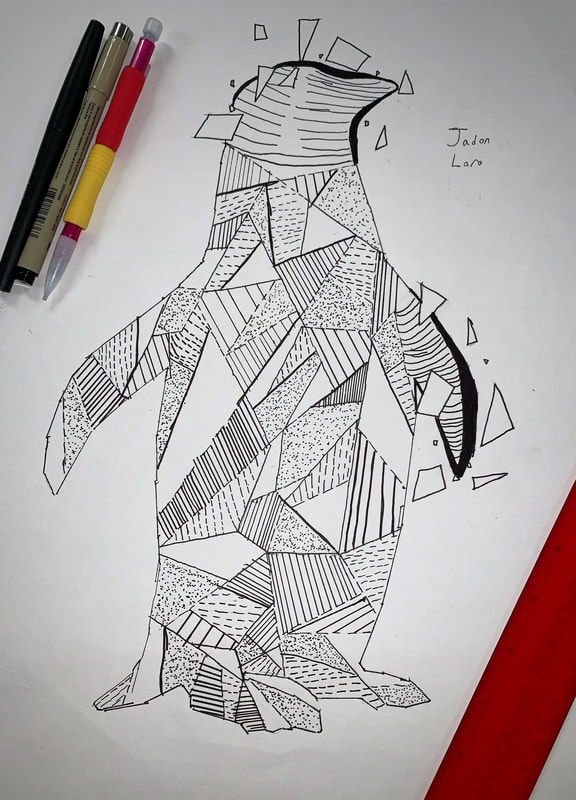
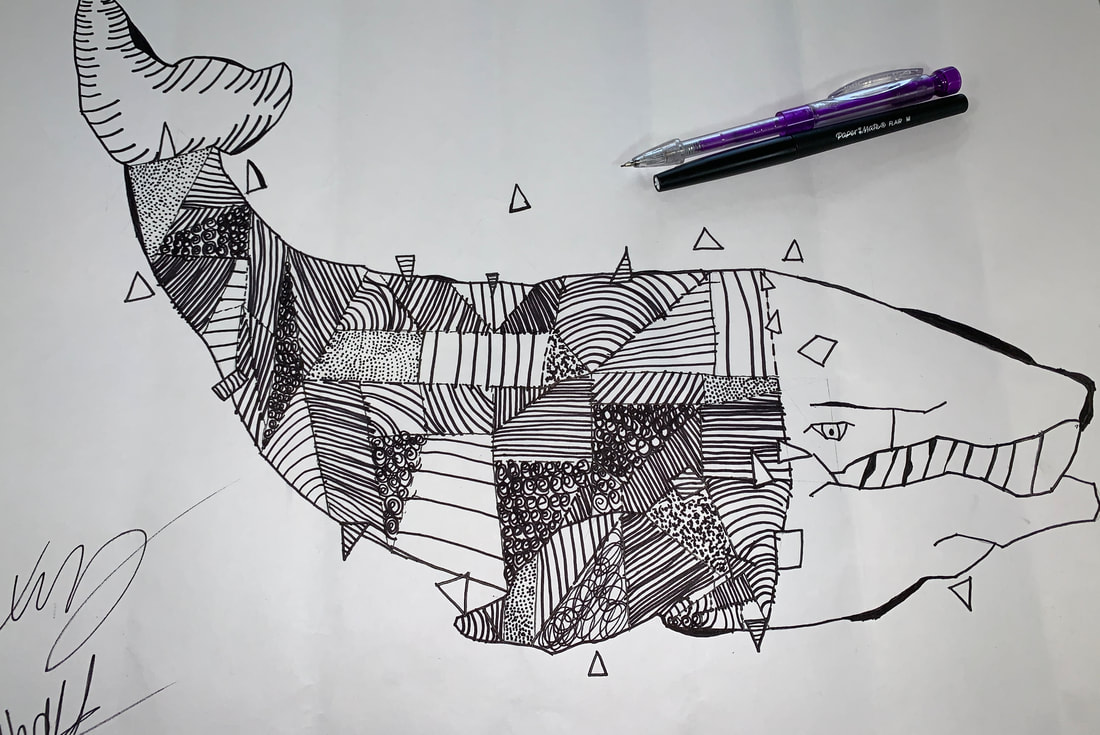
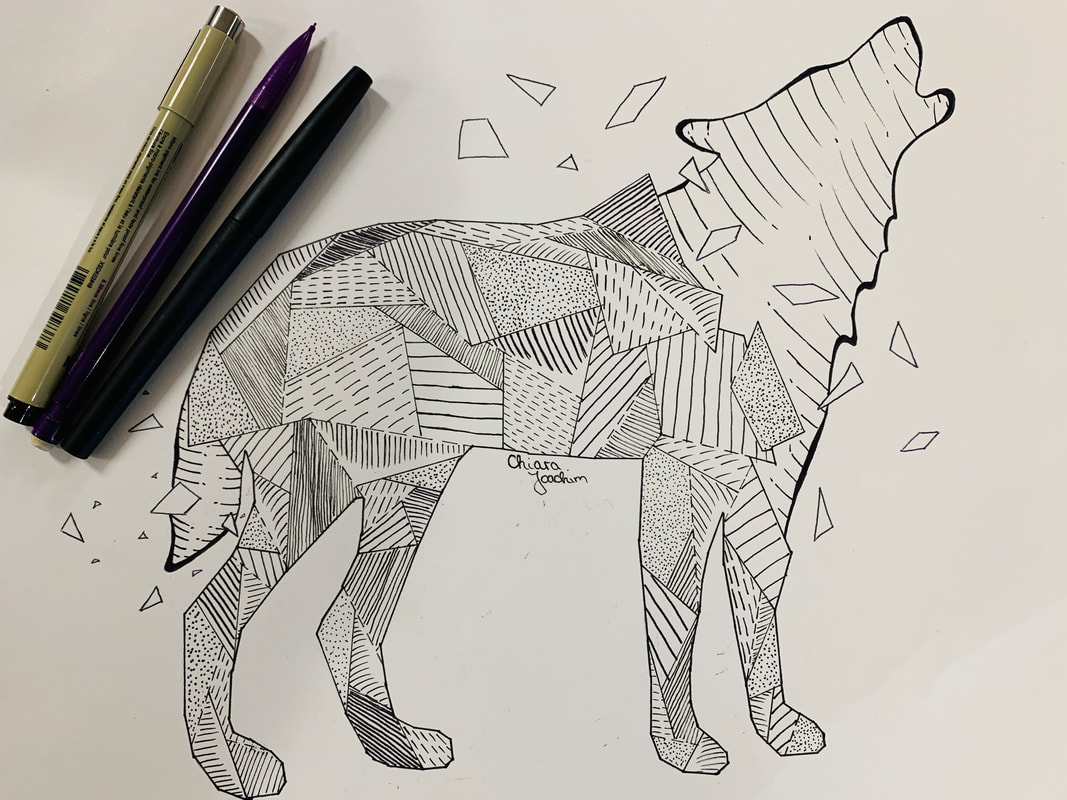
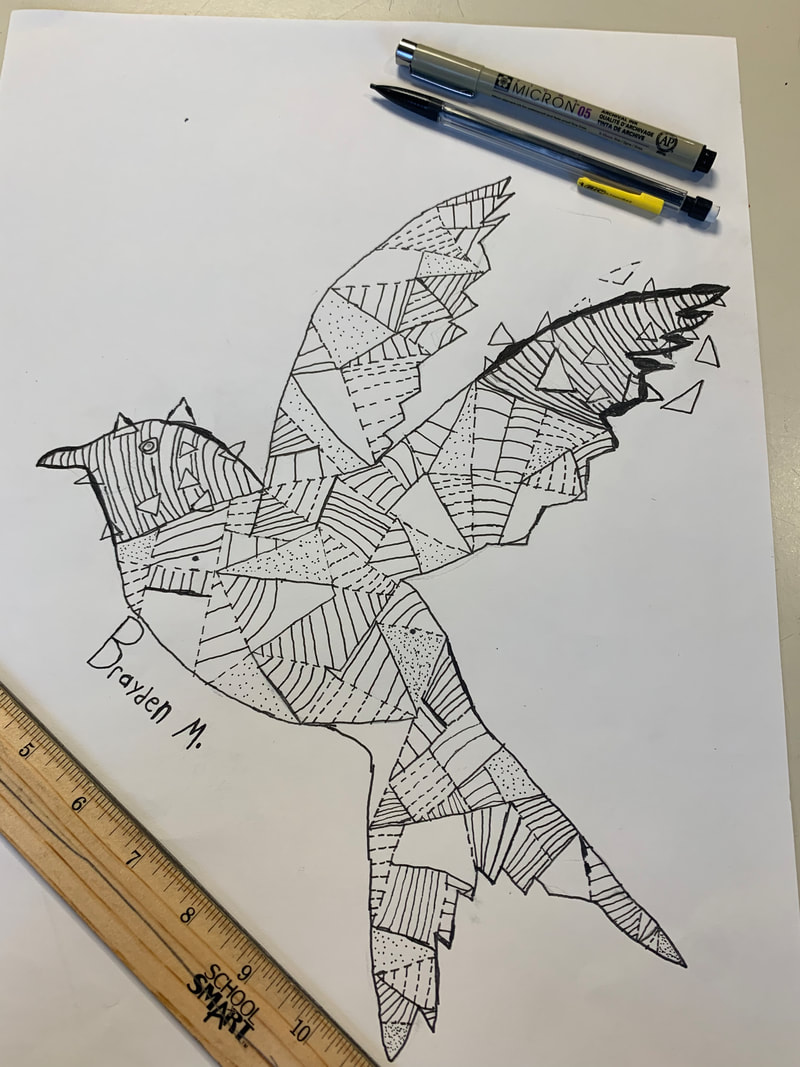
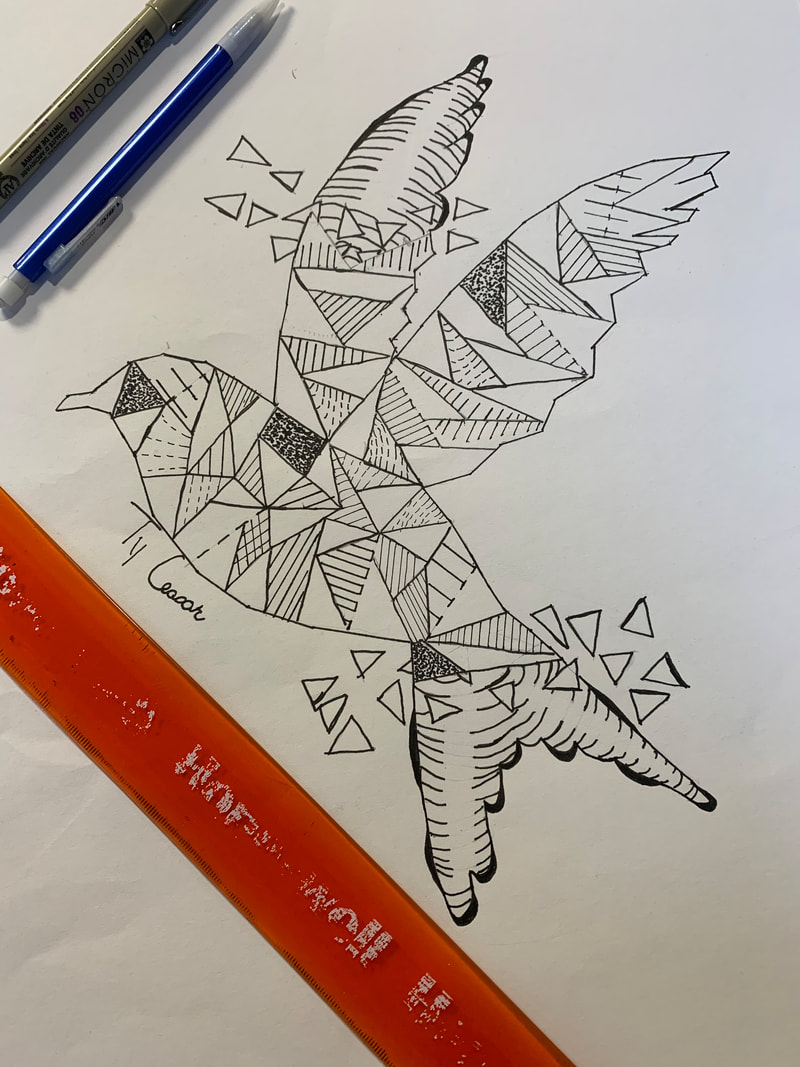
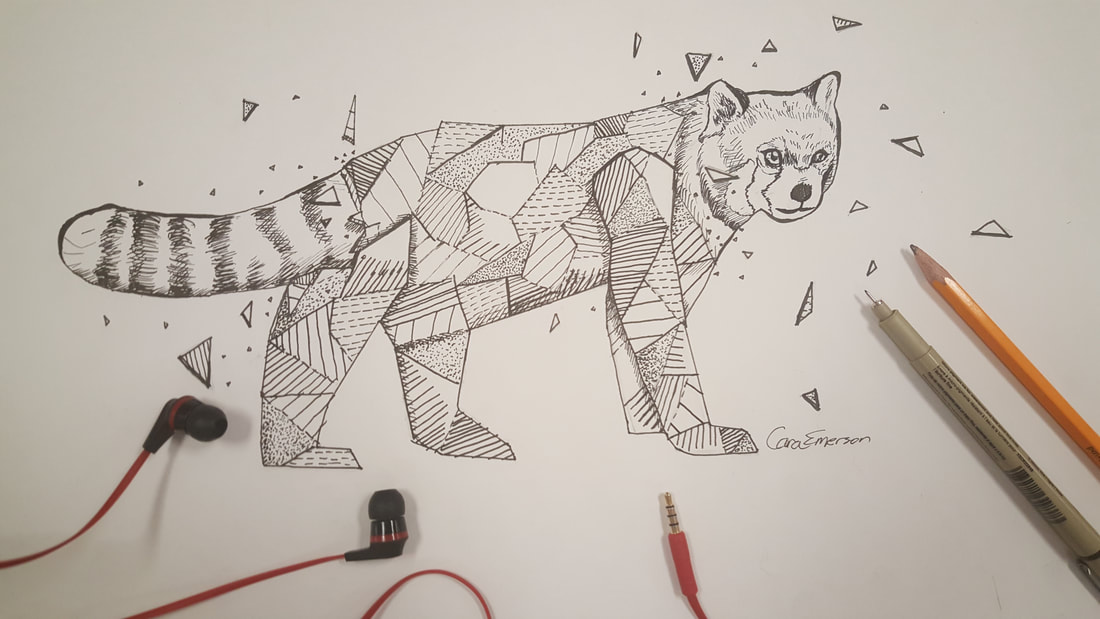
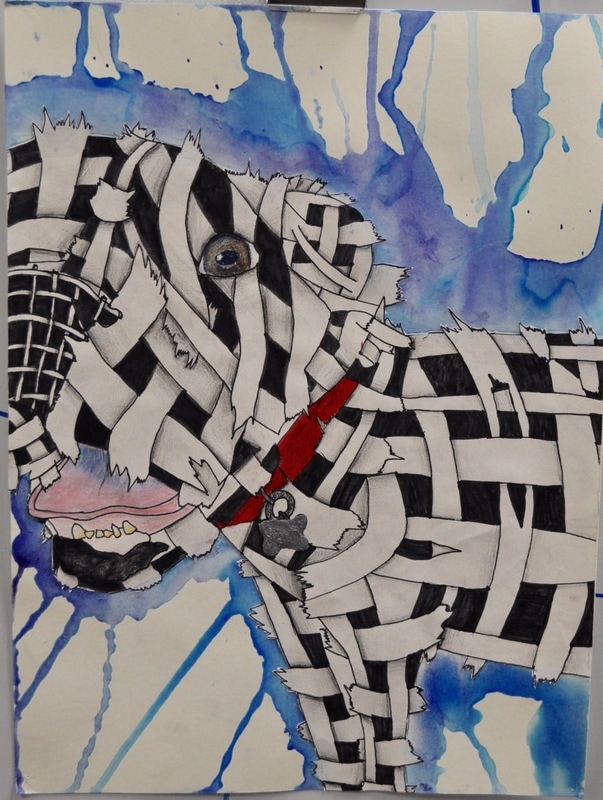
3. Geometric Animal
|
| |||||
|
Day 1 instructions
|
|
Student Gallery
Works in progress
|
Finished drawings turned in as photographs
Critique the work of a peer In your sketchbook answer the following questions about one of the photos on the right.
|
|


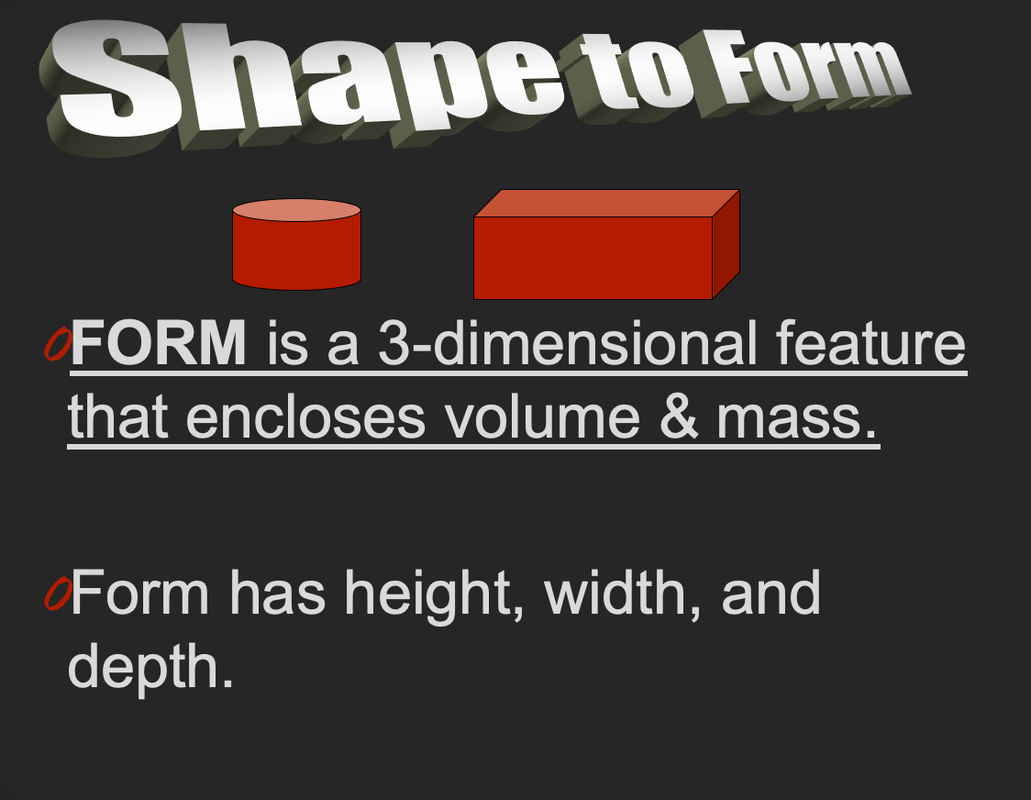
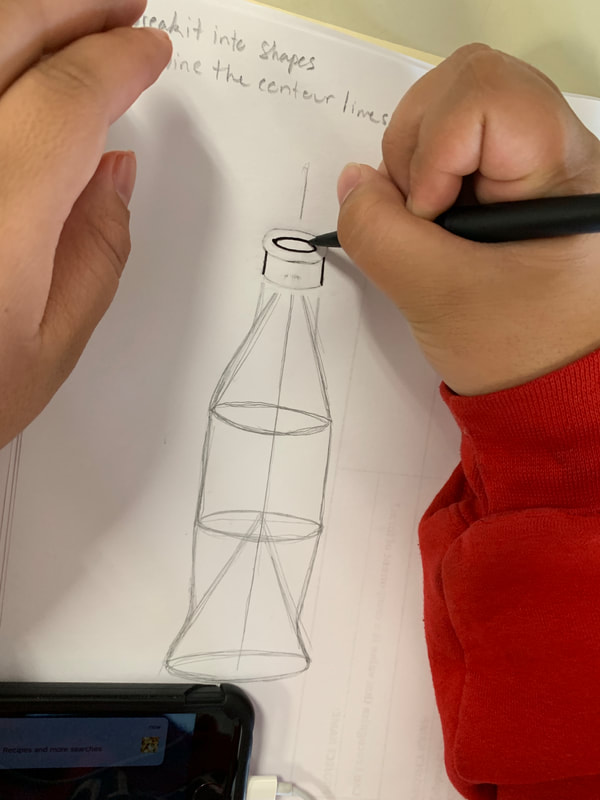
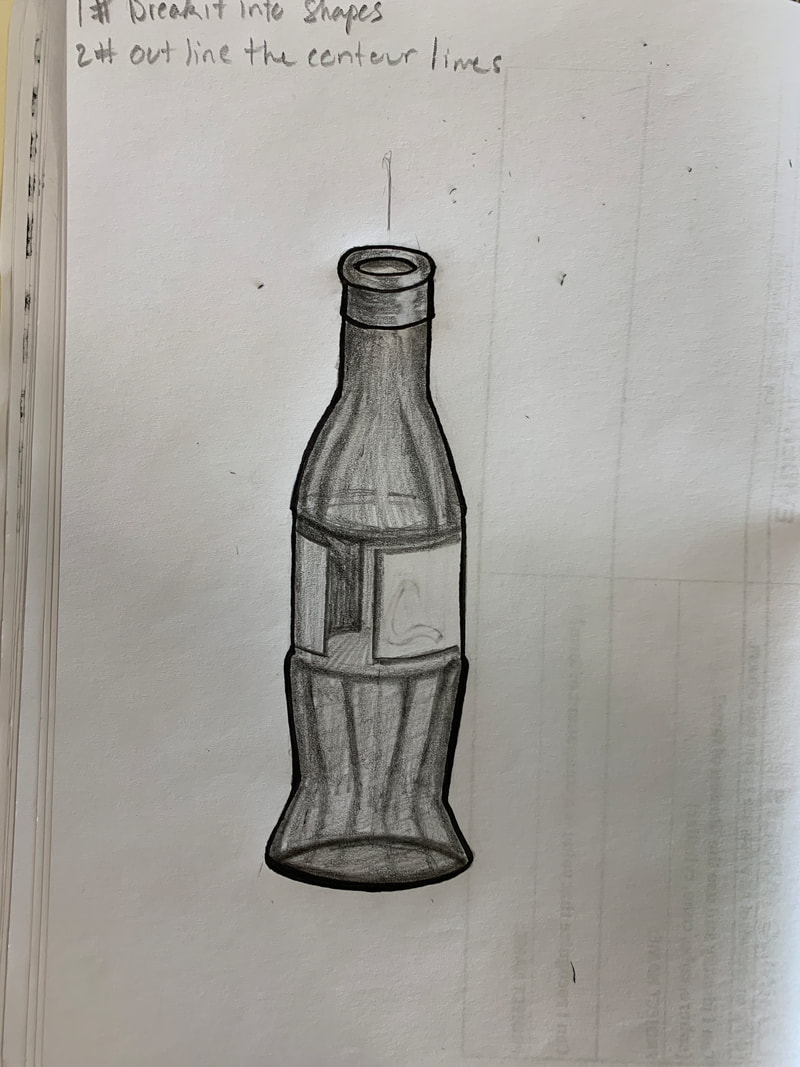
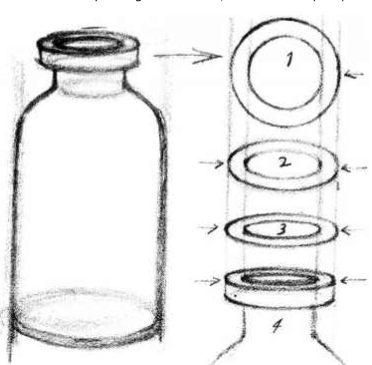
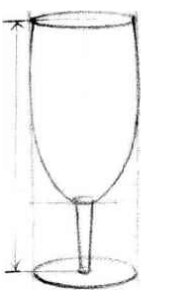
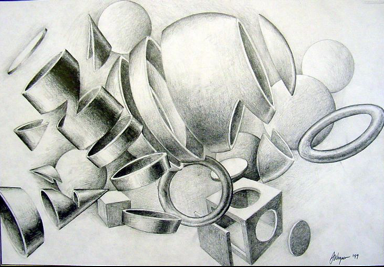
3. Observational Drawing
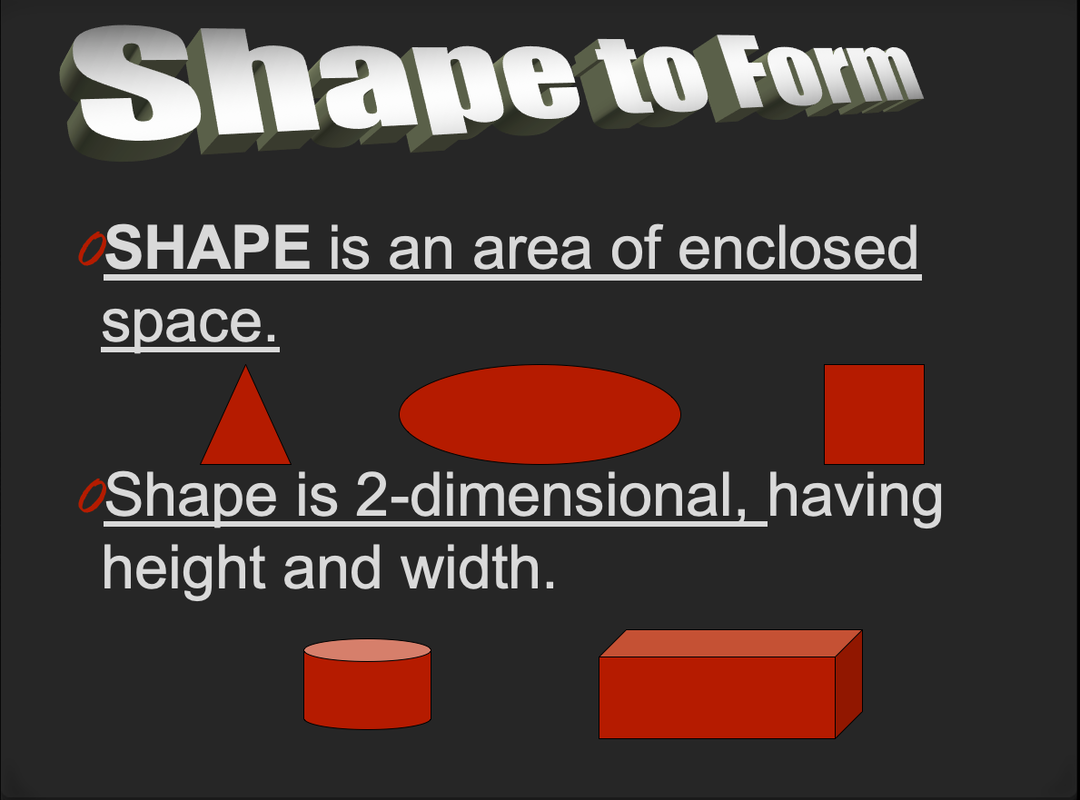
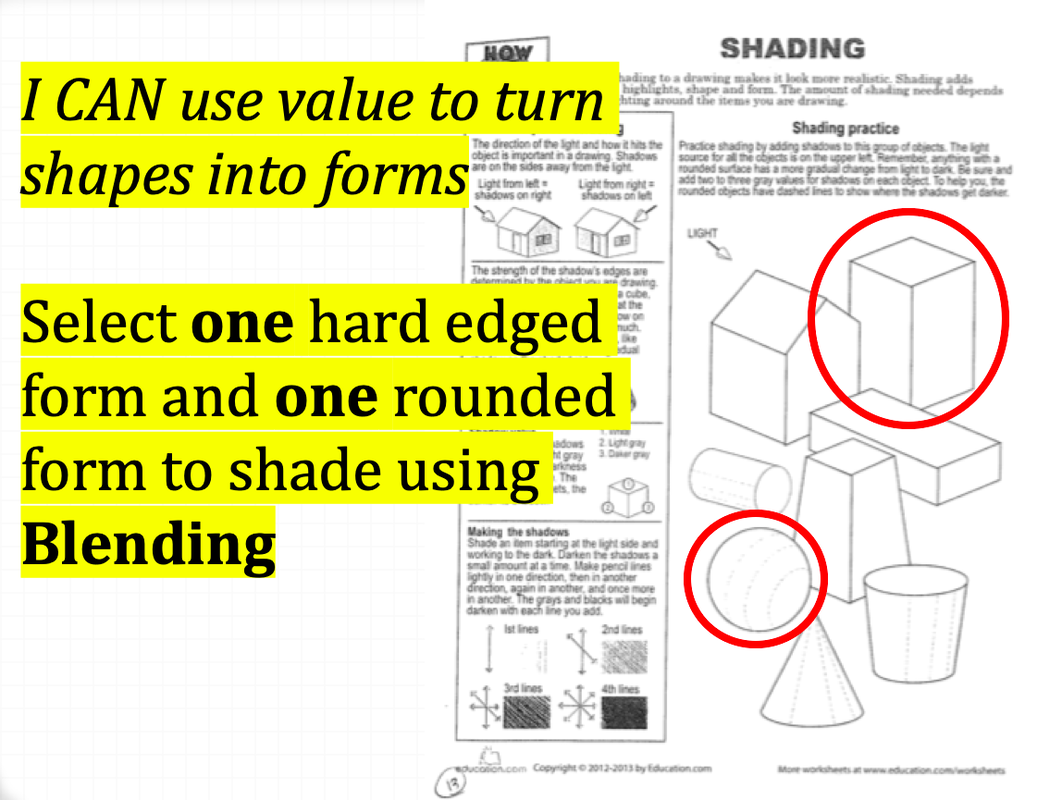
ESSENTIAL QUESTIONS: How can I draw what I see? What are different ways I can turn a shape into a form?
LEARNING TARGETS: I can draw from observation. I can draw 3-Dimensionally using different drawing techniques.
Follow the steps below adding the underlined notes into your sketchbook and completing Activities 1-7.
LEARNING TARGETS: I can draw from observation. I can draw 3-Dimensionally using different drawing techniques.
Follow the steps below adding the underlined notes into your sketchbook and completing Activities 1-7.
|
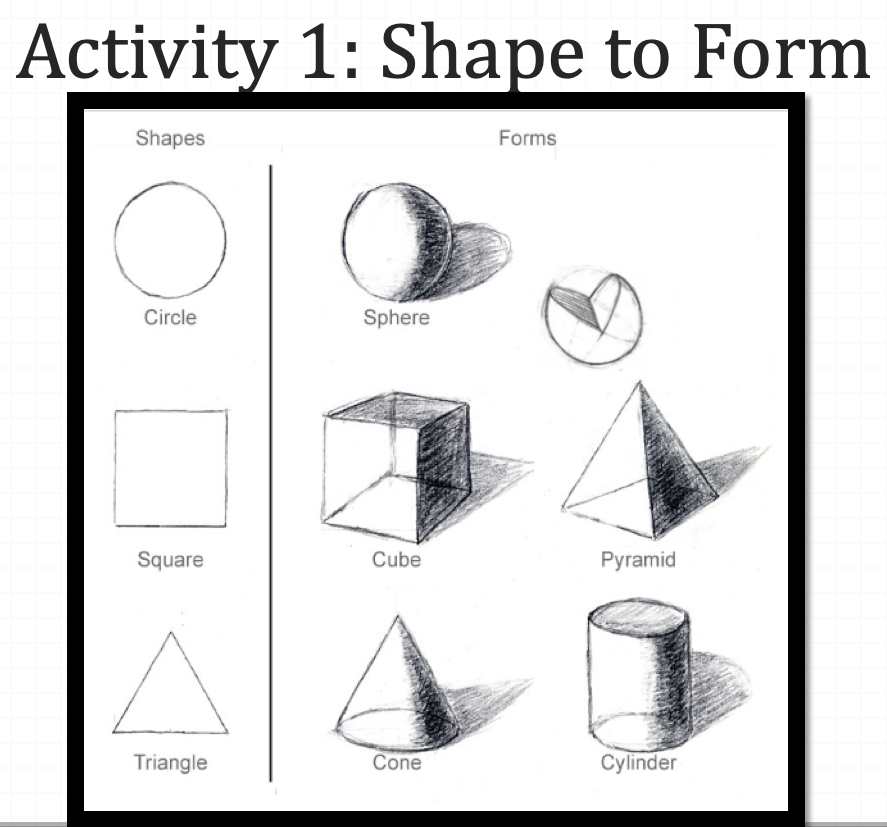
Blind Contour- HAND
|
Blind Contour- SELF PORTRAIT
|
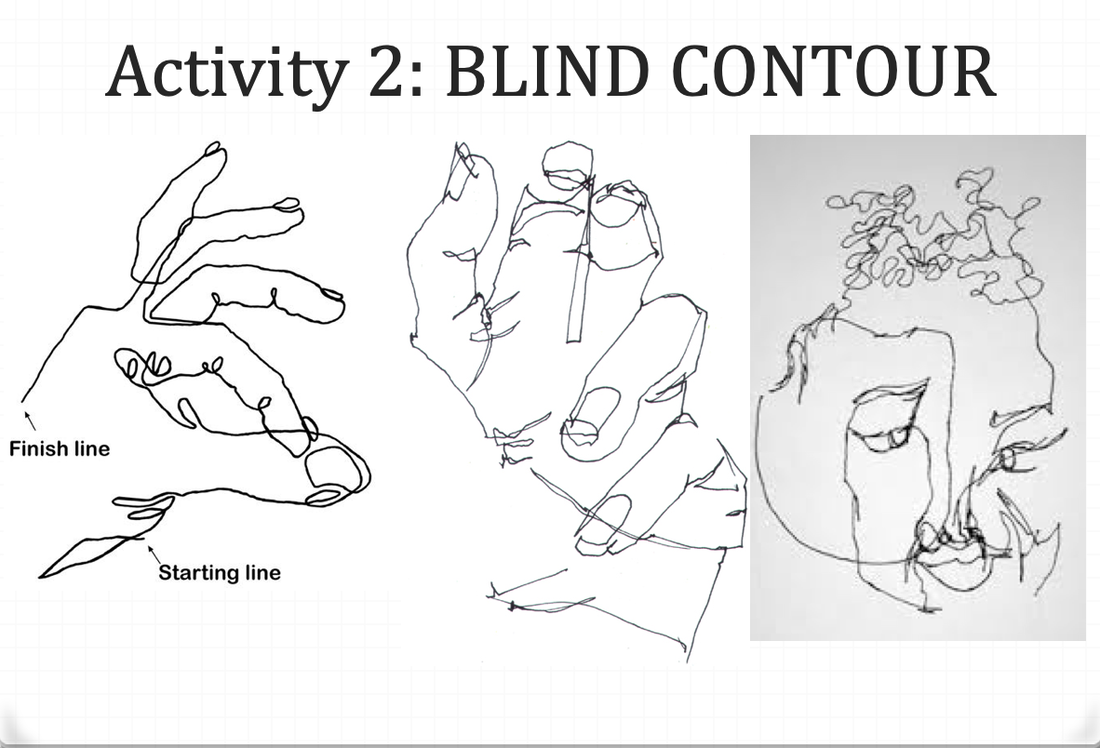
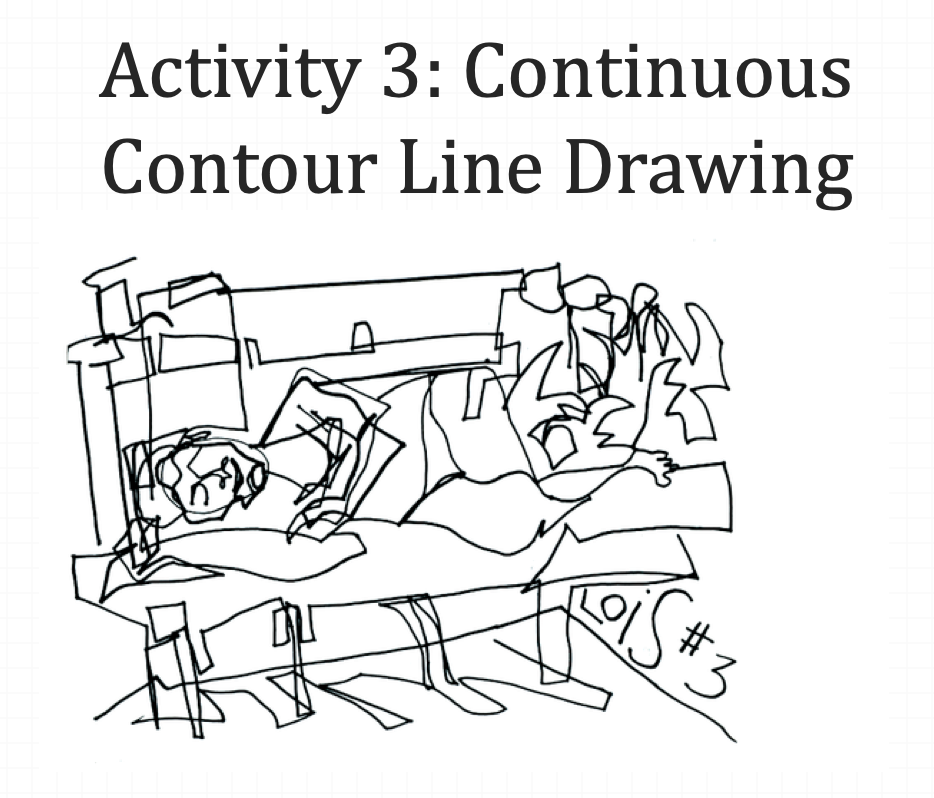
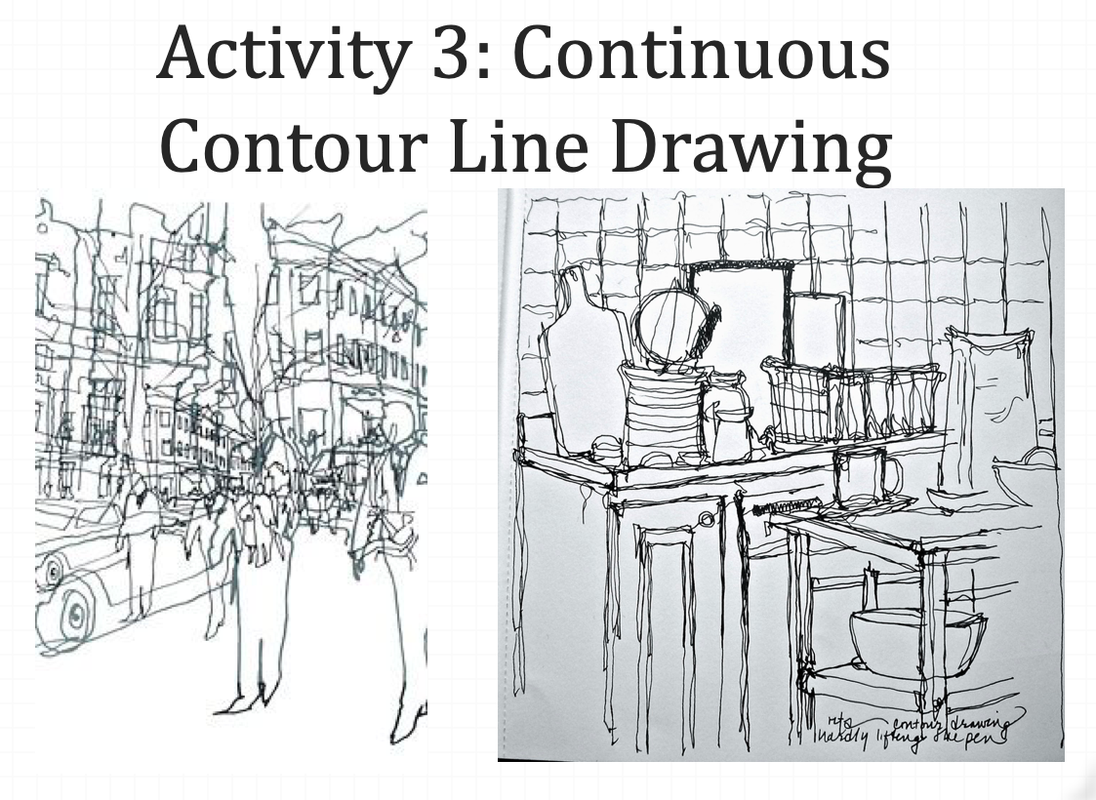
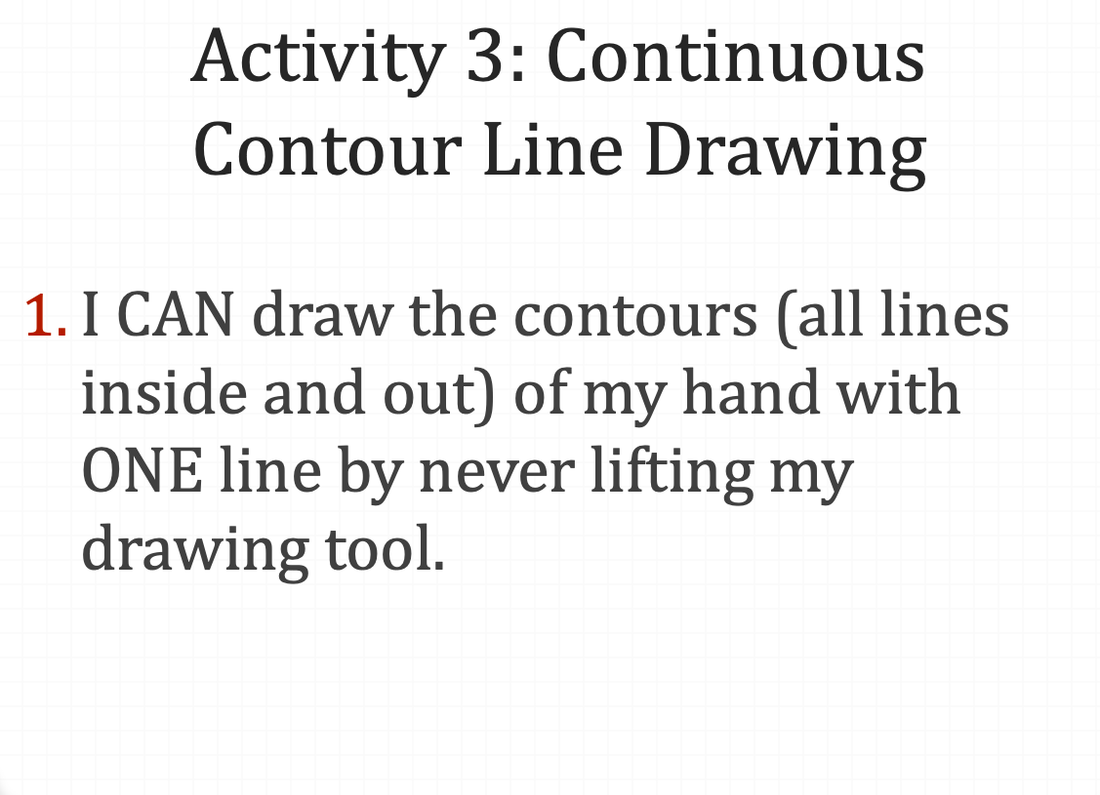
Continuous Drawing- HAND
|
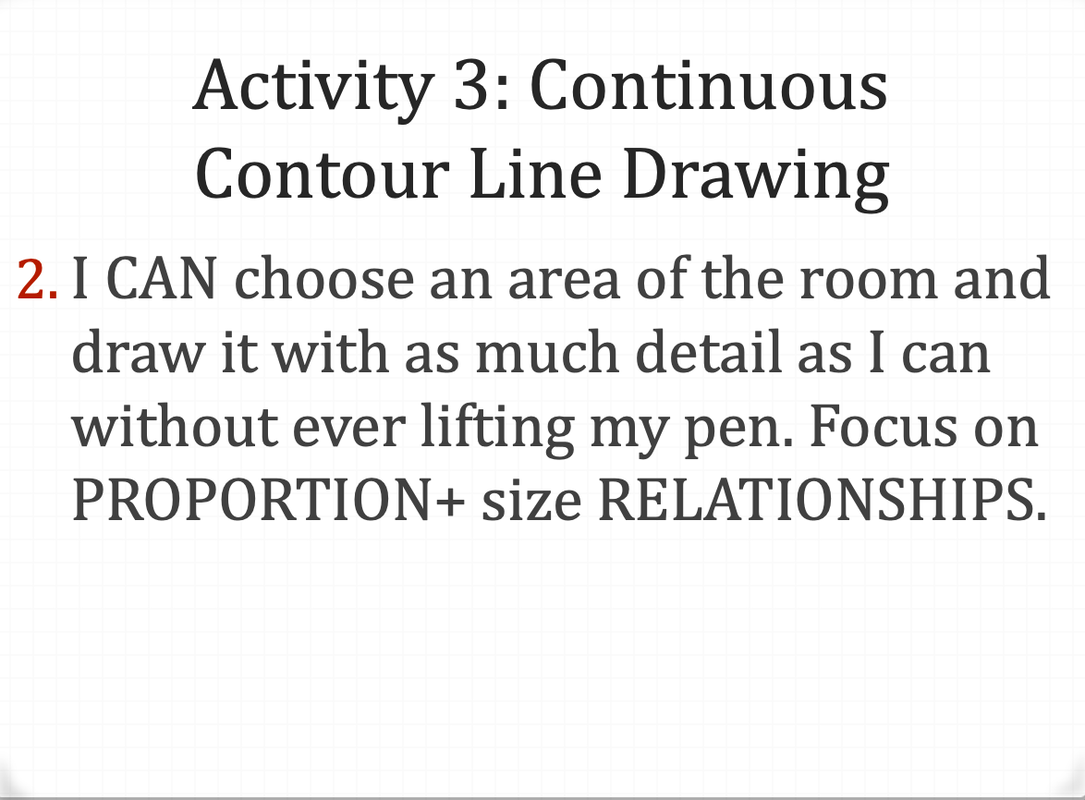
Continuous Drawing- Objects in Room
|
|
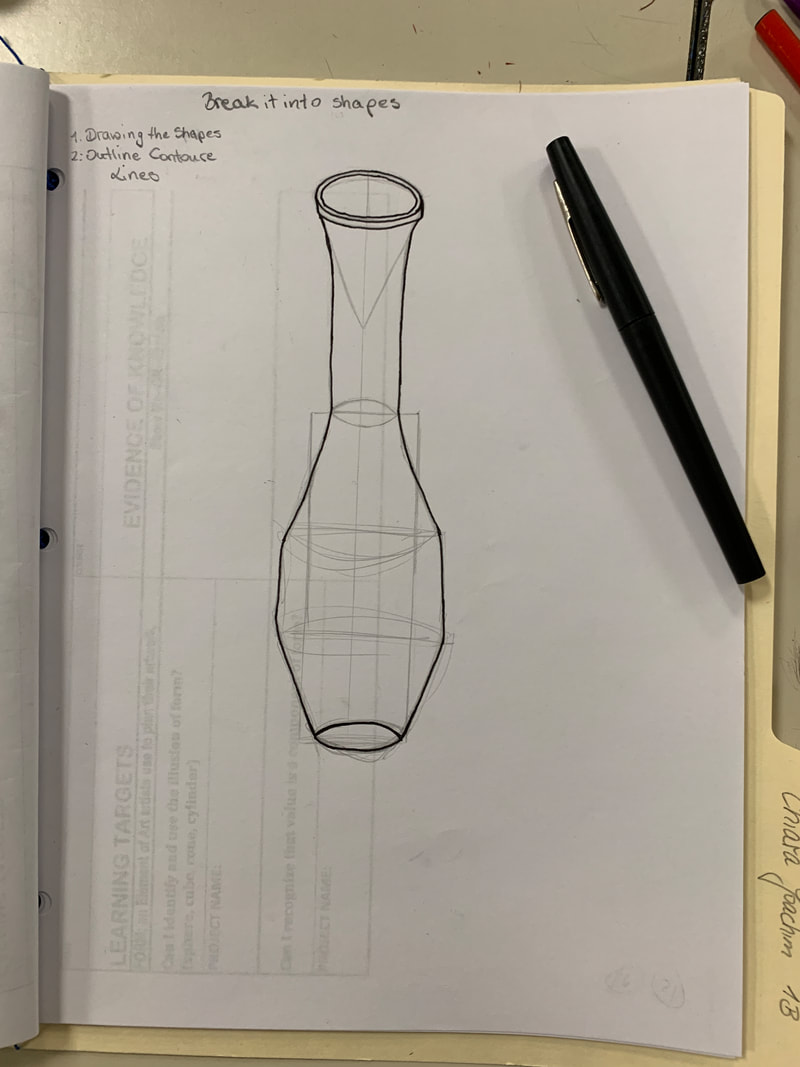
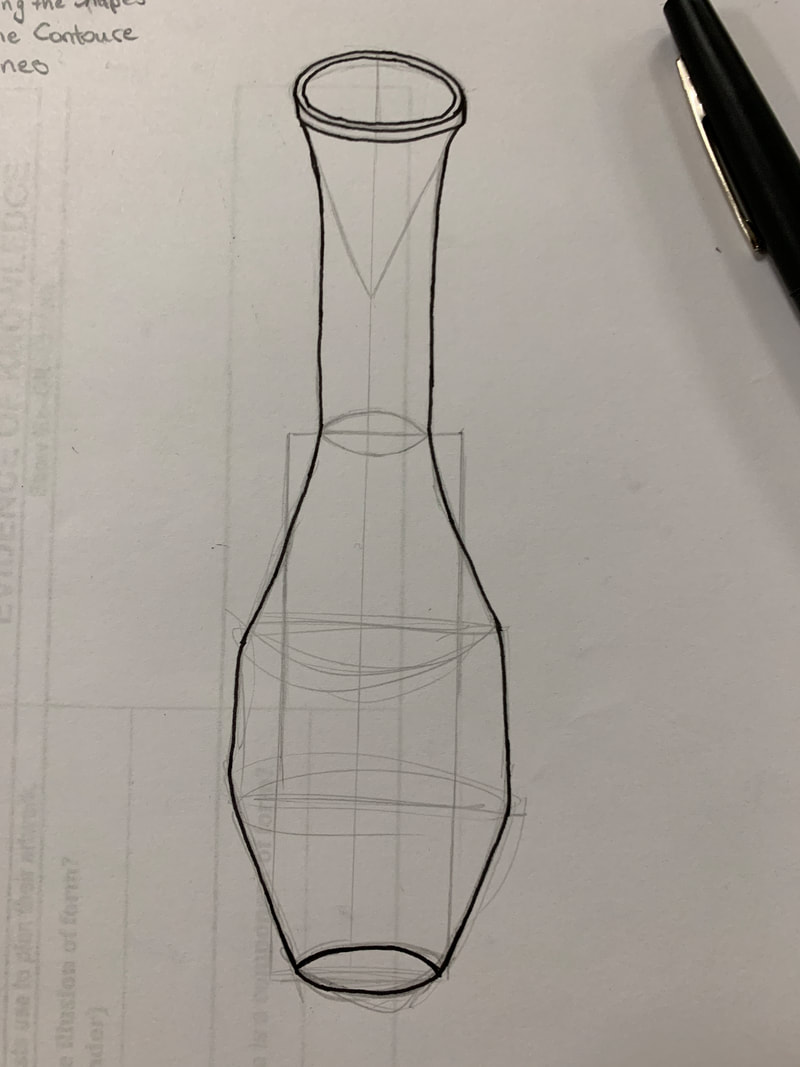
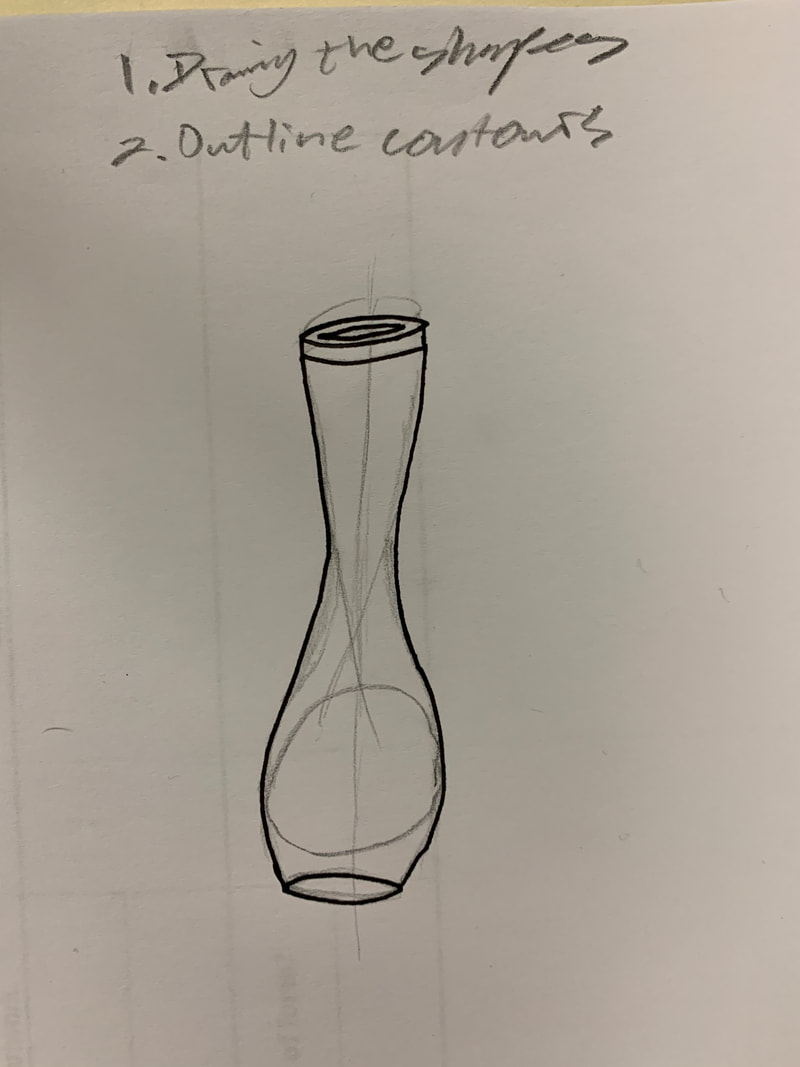
#1. Break it into Shapes
|
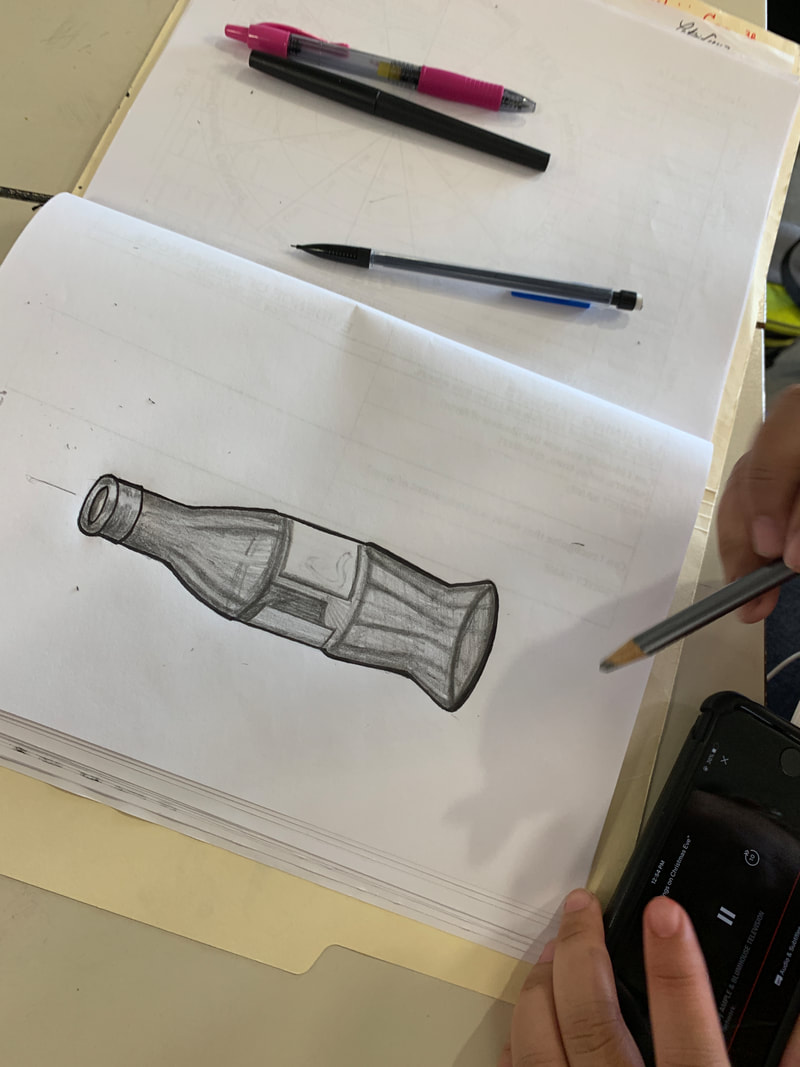
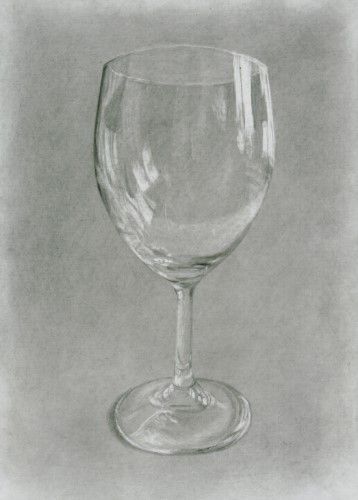
#2. Outlining Contour Lines
|
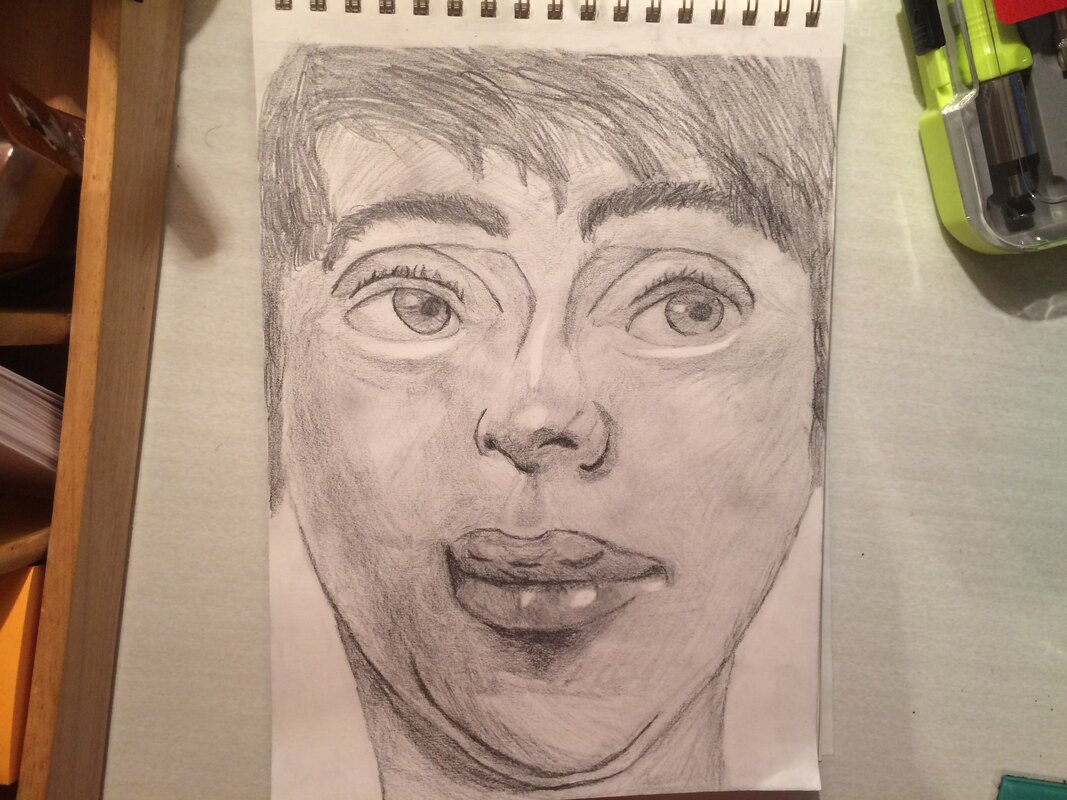
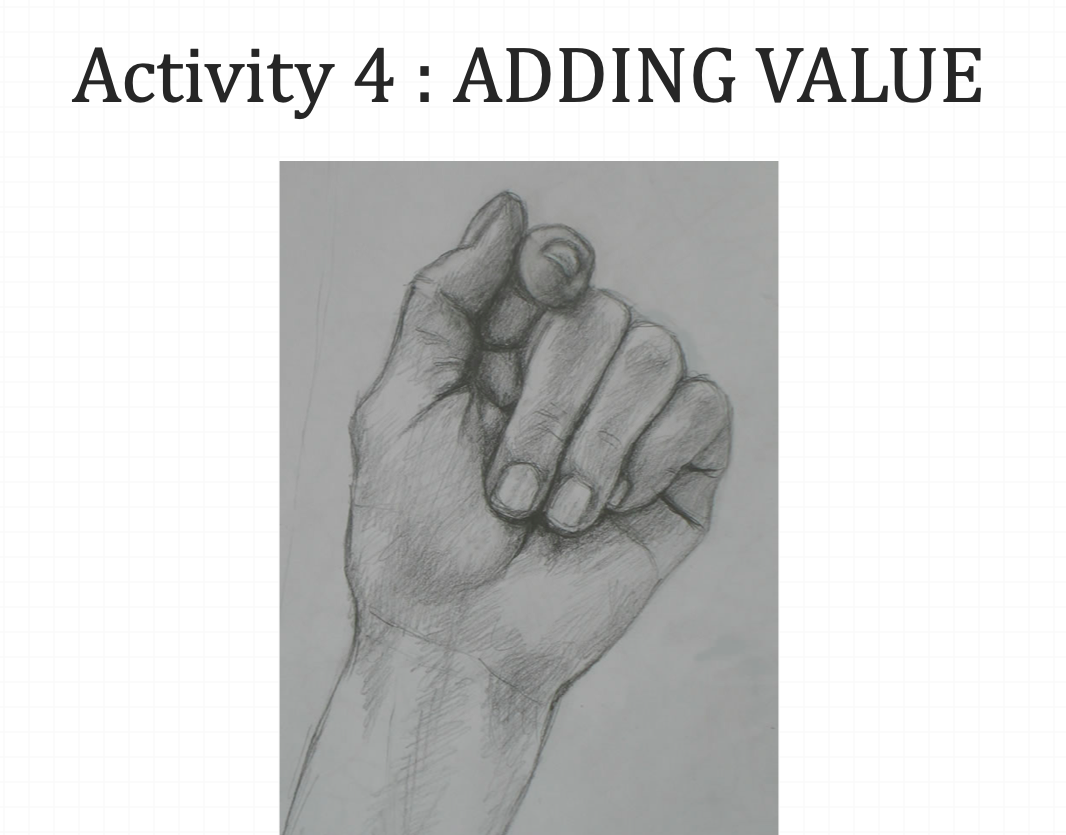
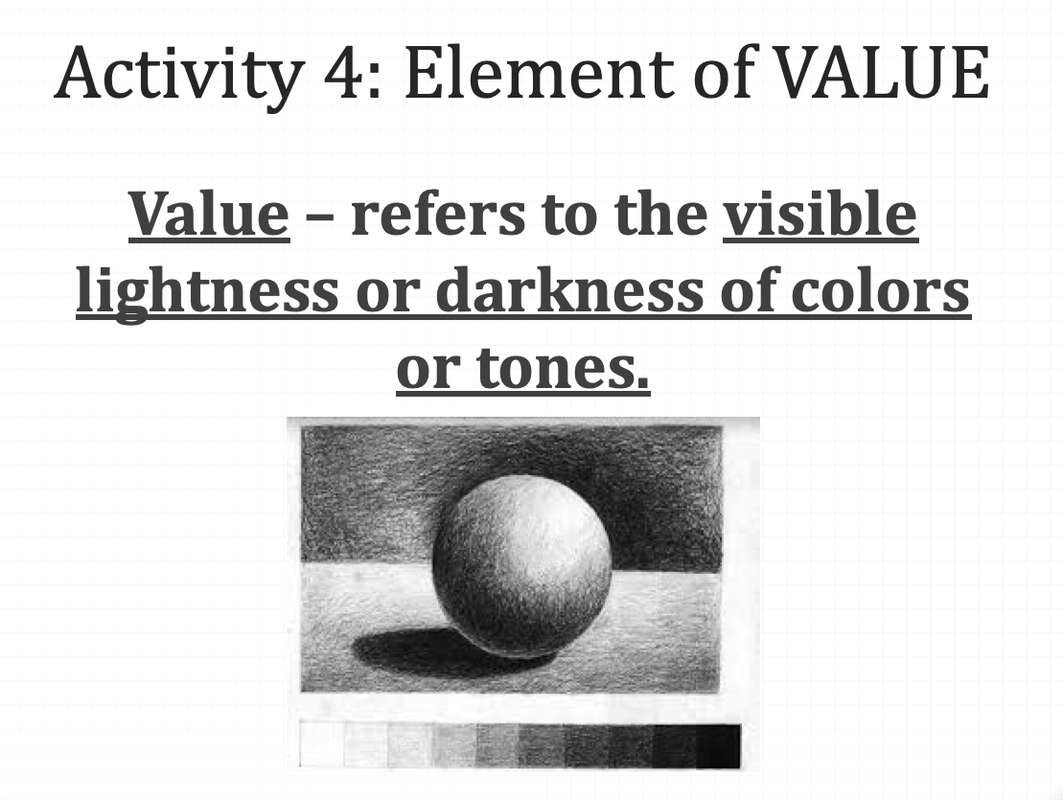
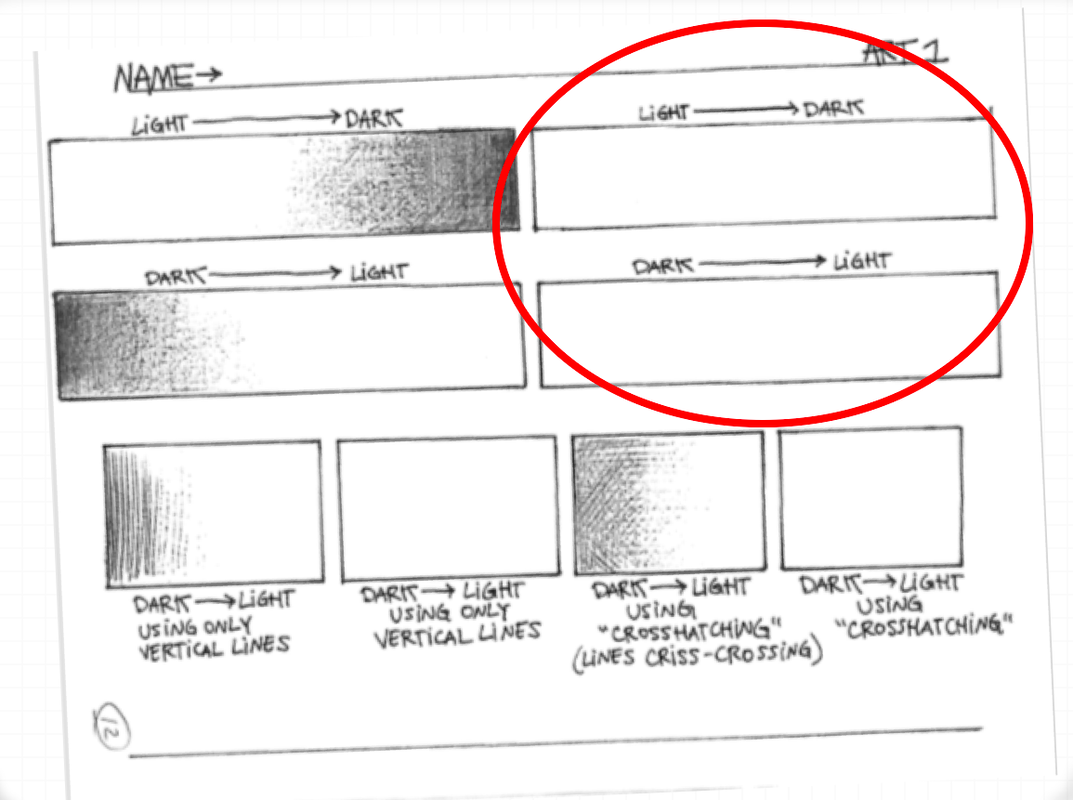
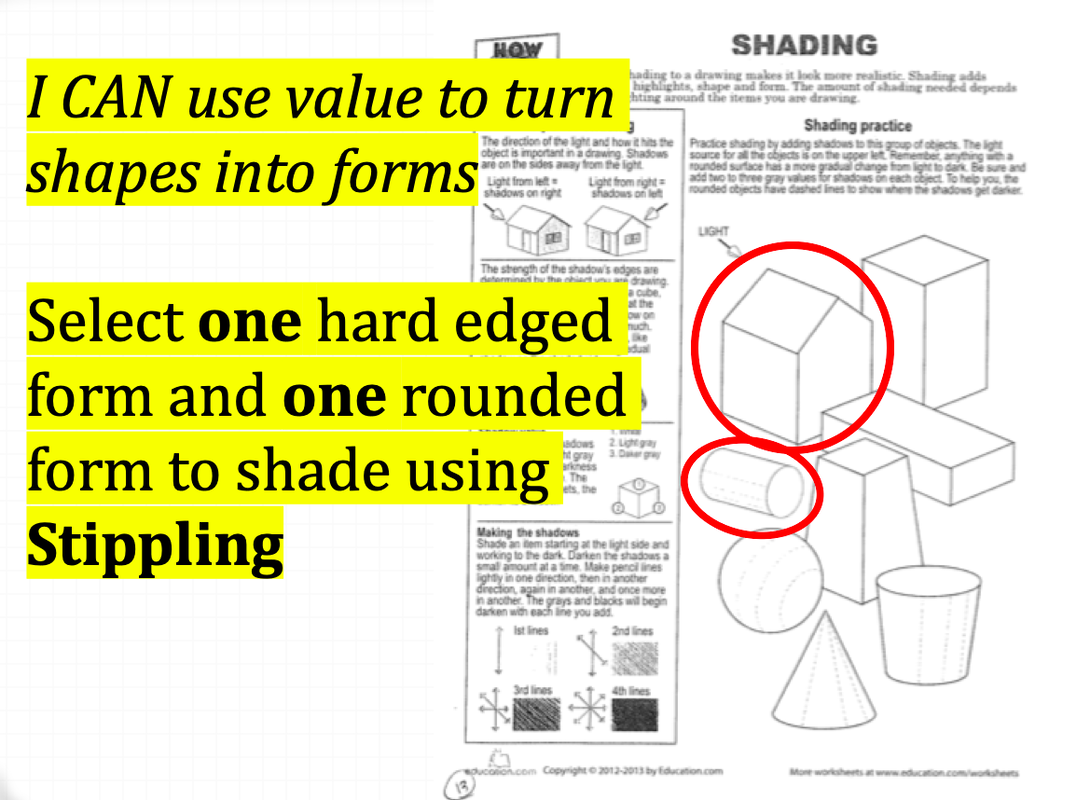
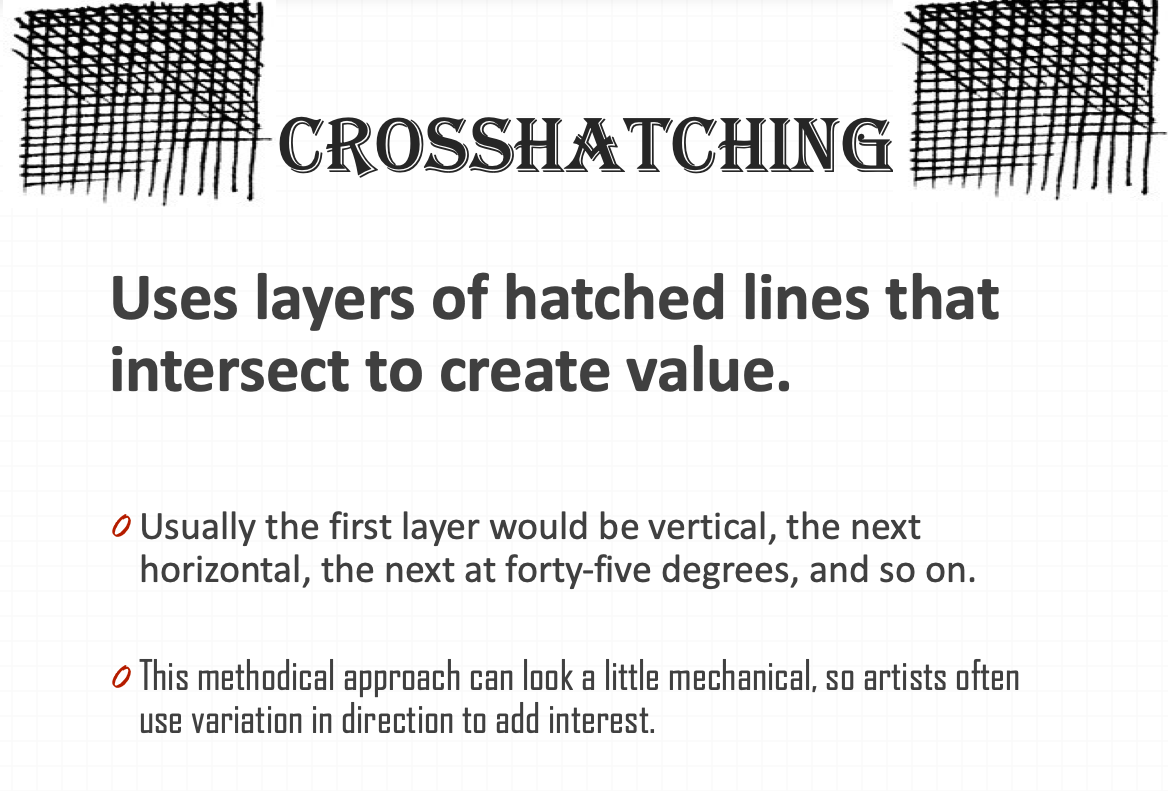
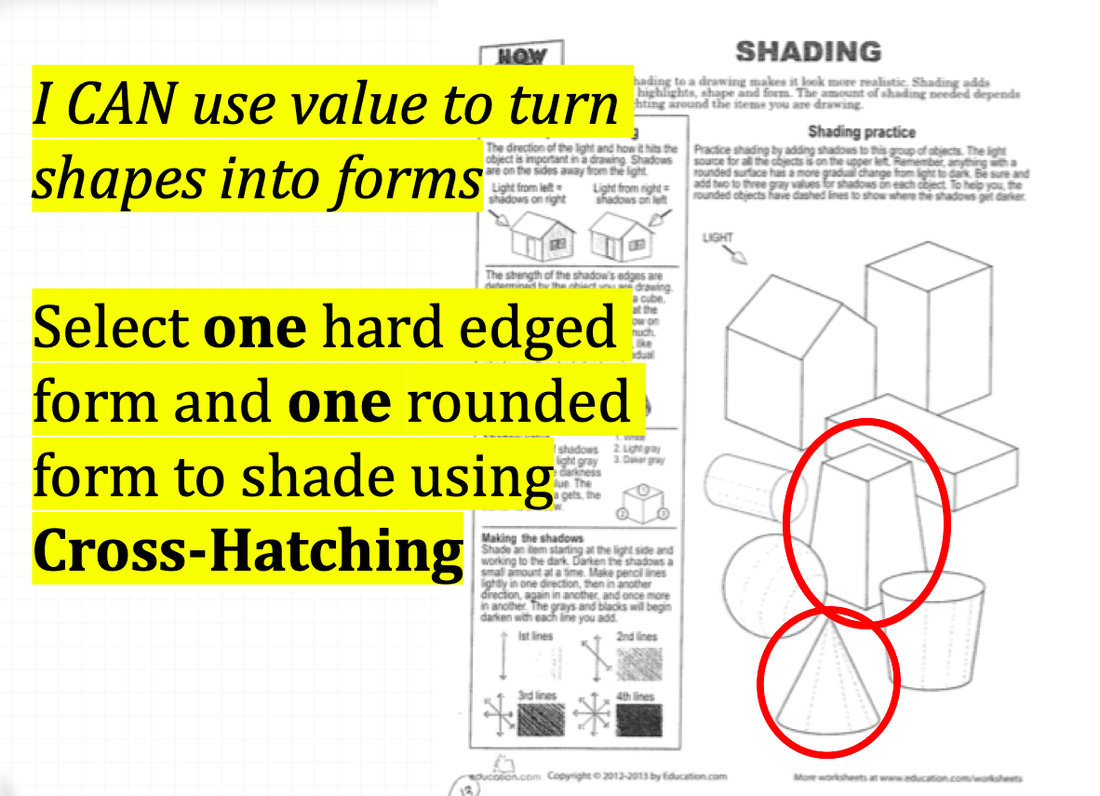
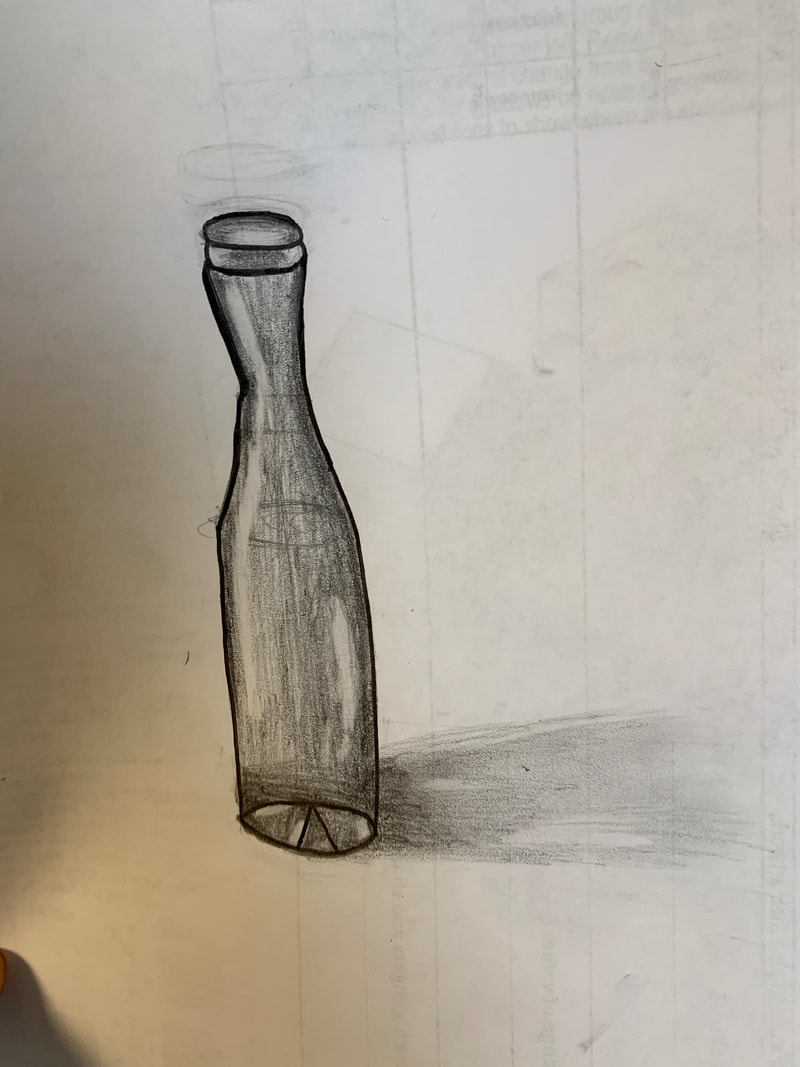
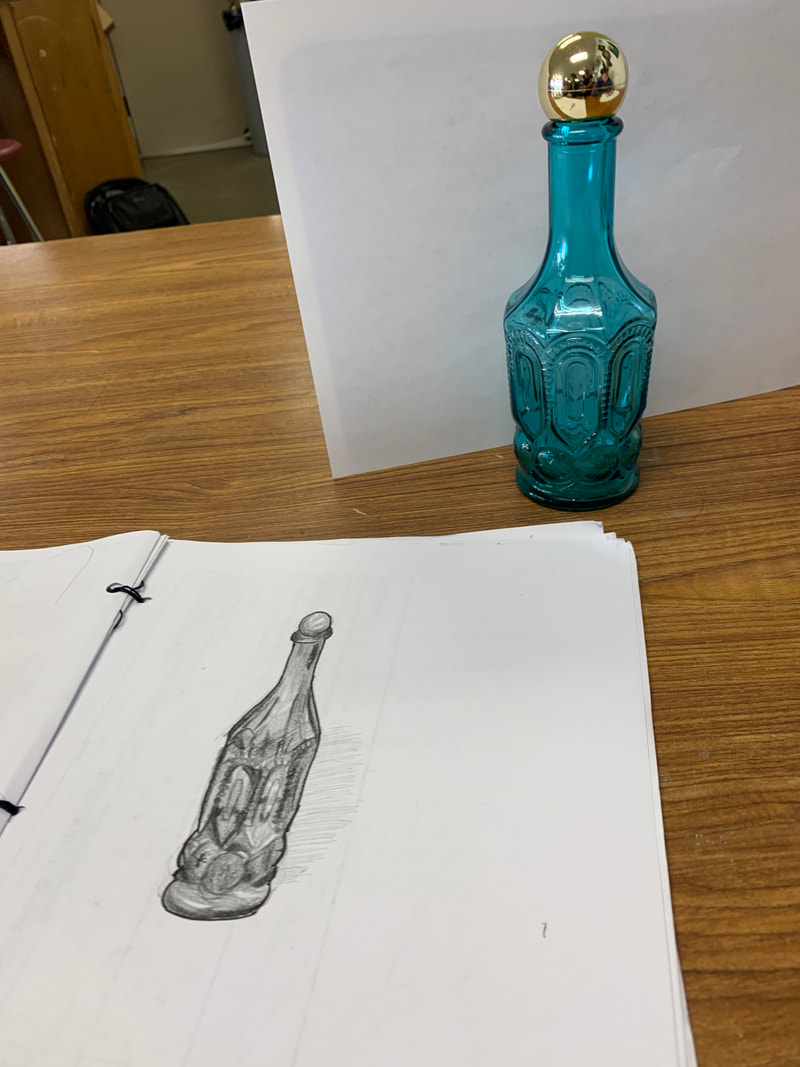
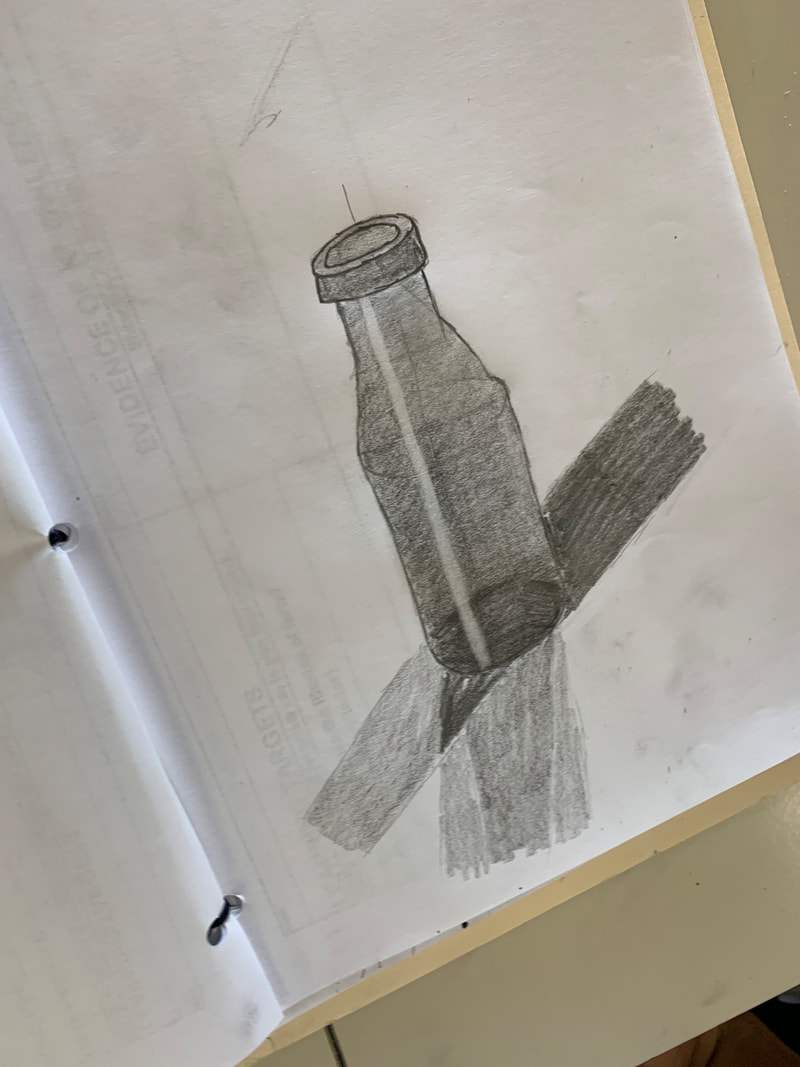
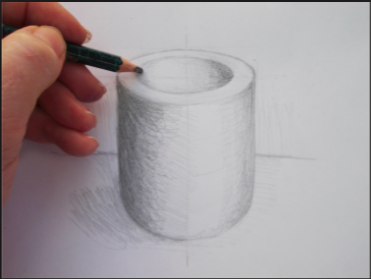
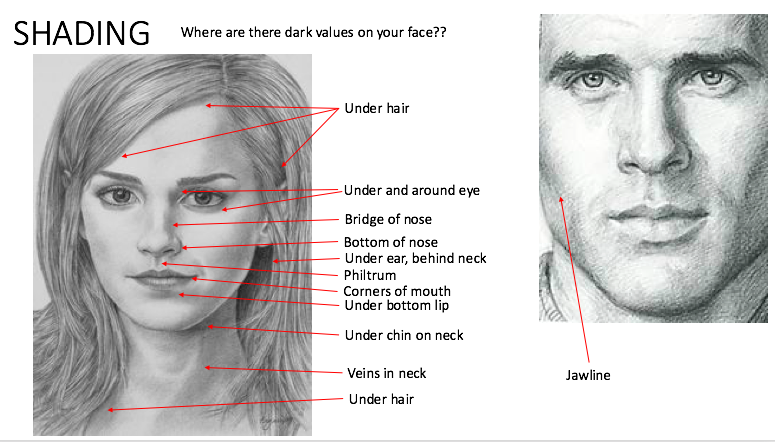
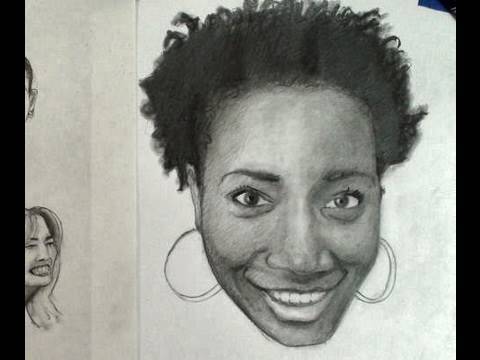
#3. Shading in the Values
|
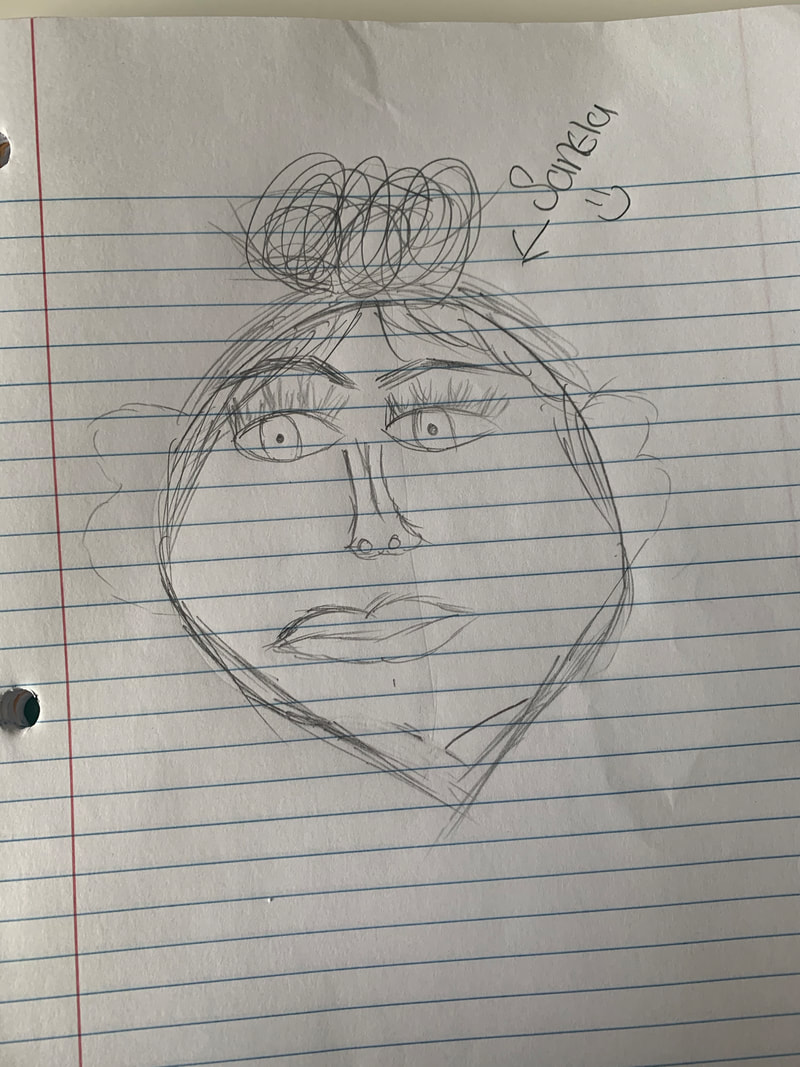
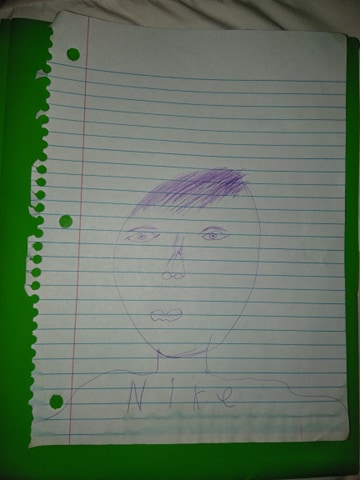
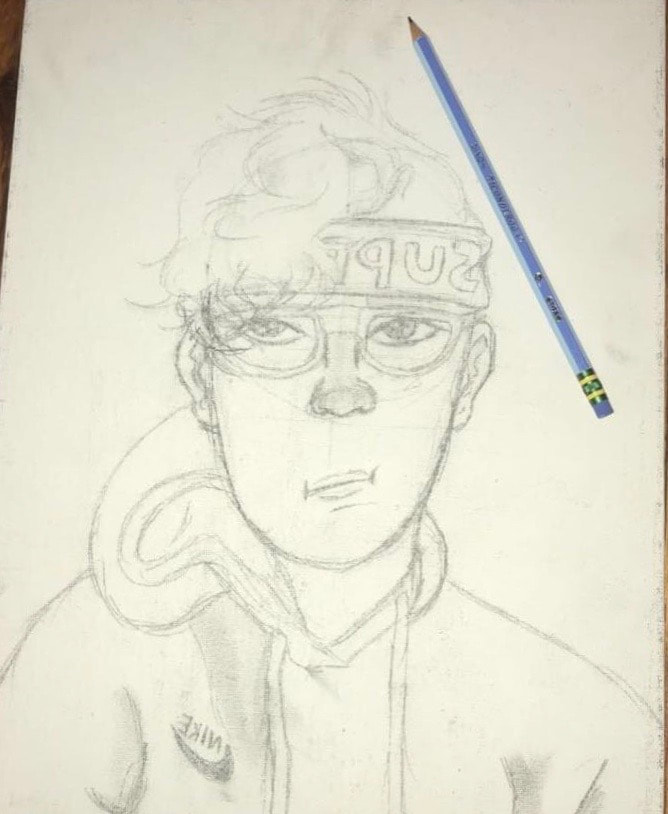
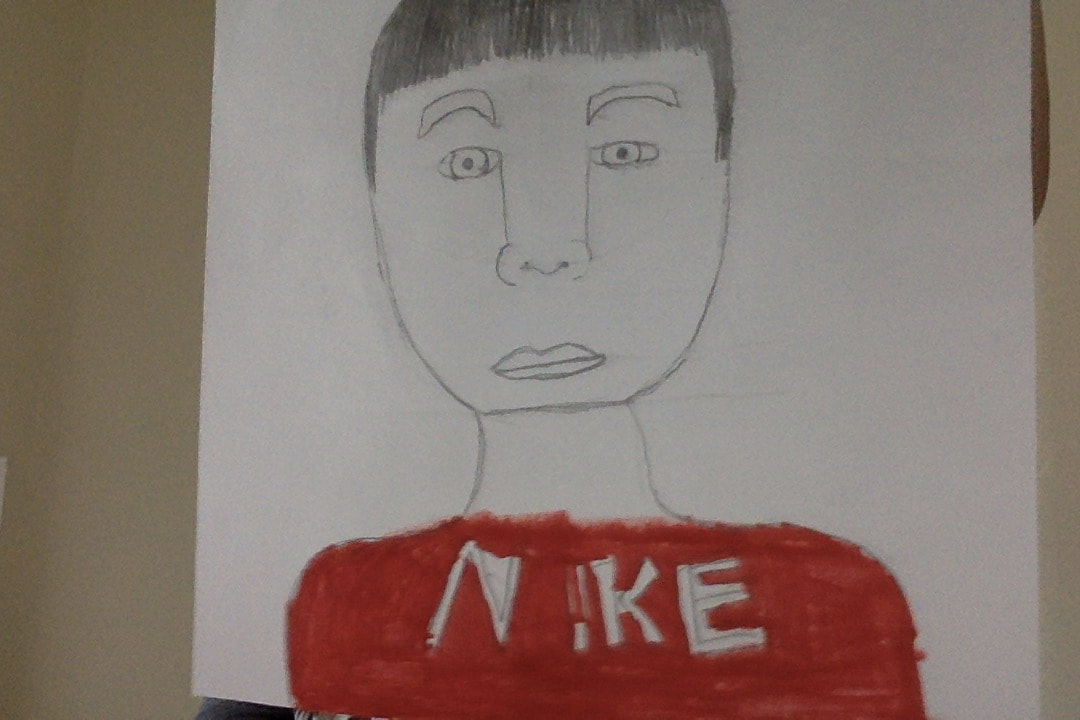
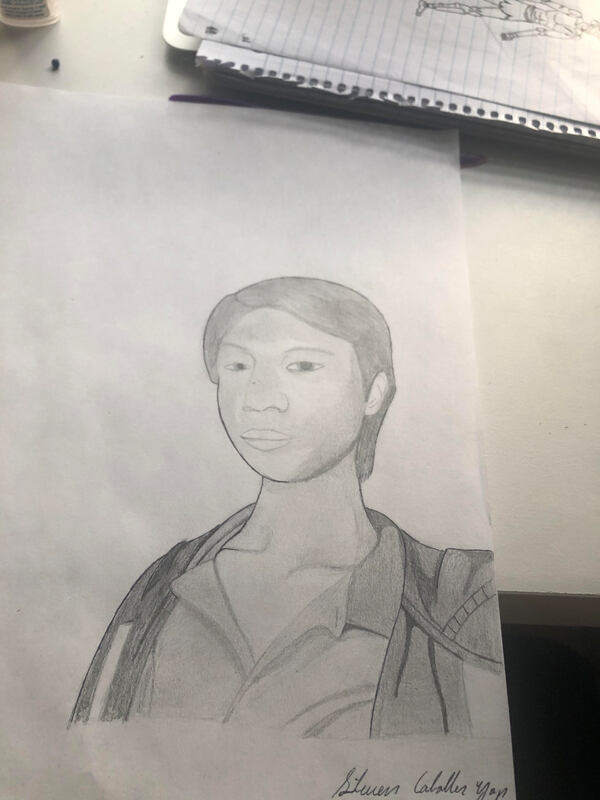
5. Shaded Self-Portrait
|
| ||||
|
Draw the shape of the face
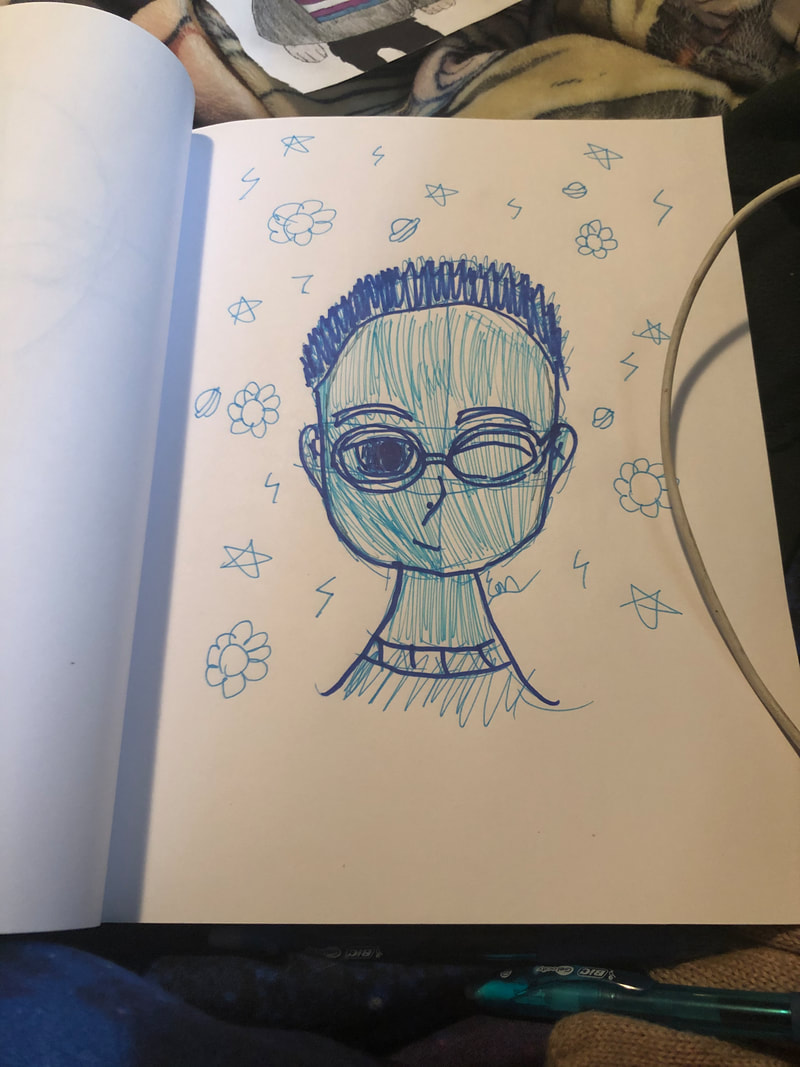
Do you have glasses?
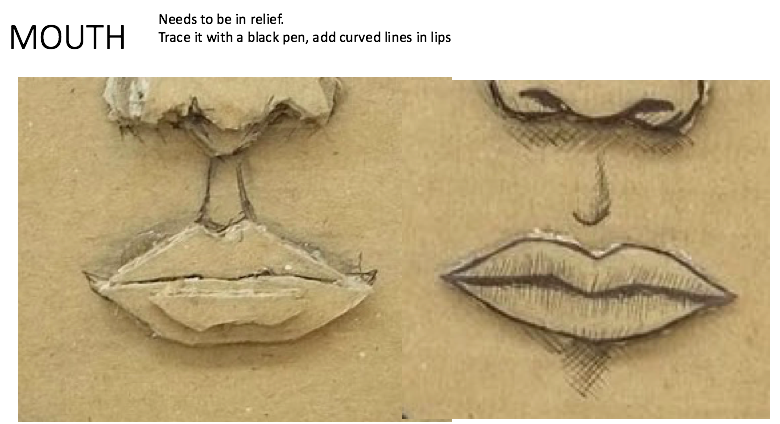
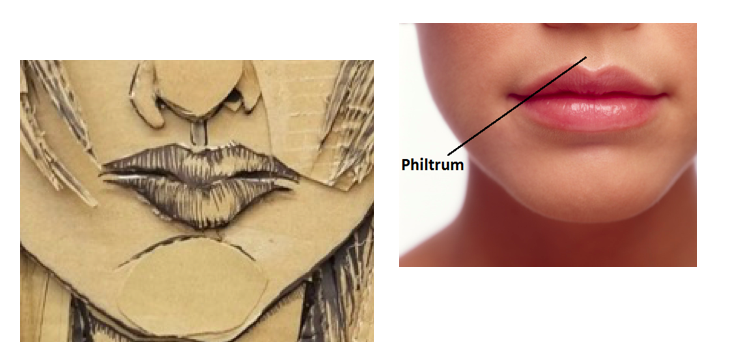
How to draw the mouth
|
Placement of the eyes, nose and mouth
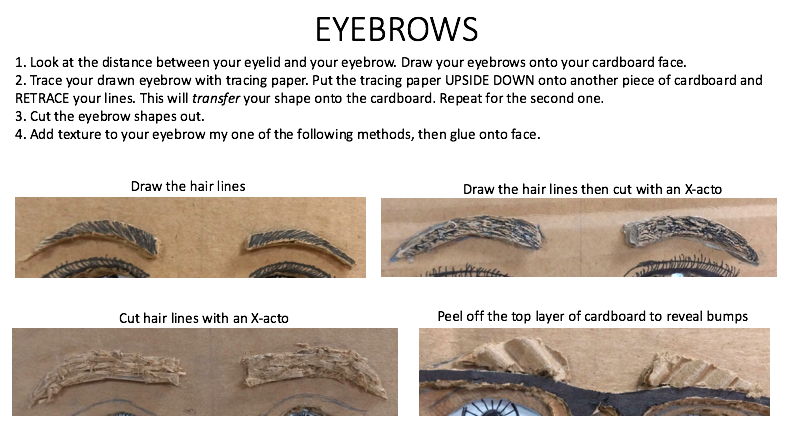
Eyebrows
Adding clothes
|
How to draw the eyes
How to draw the nose
Starting the hair with the hairline
|
|
Top of the hair and ears
|
Filling in the hair
|
Shading the face
|
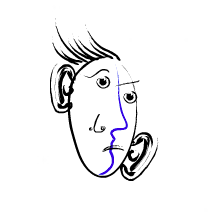
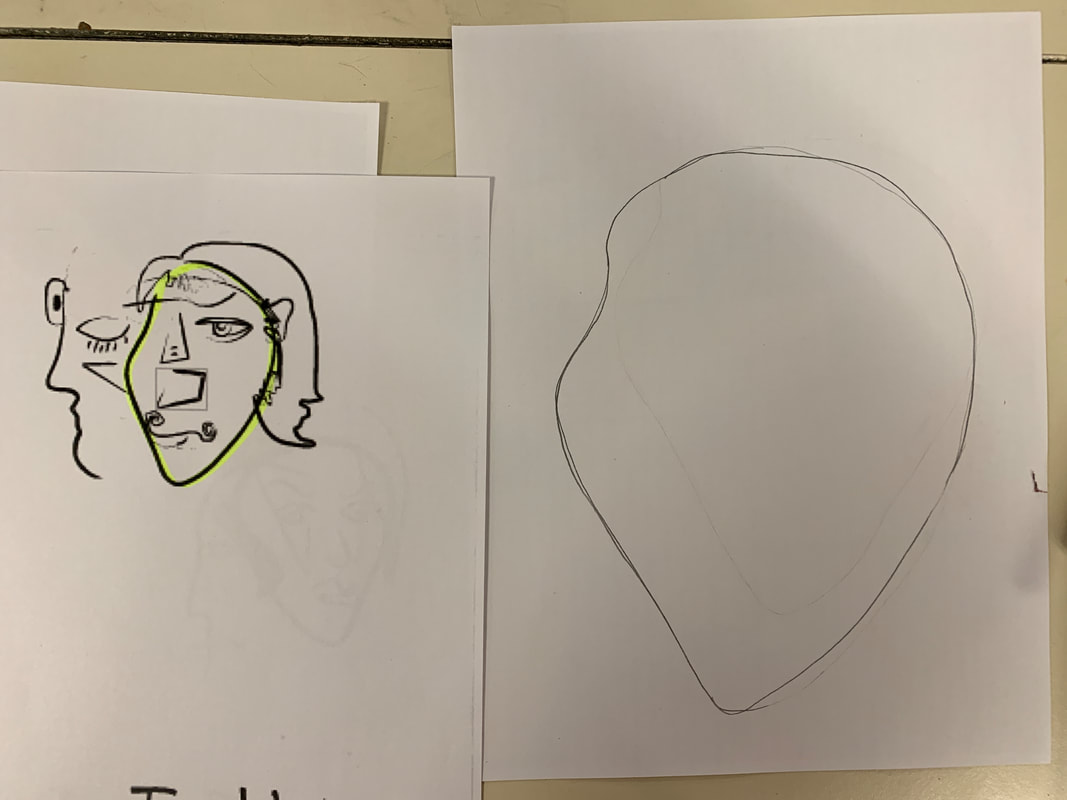
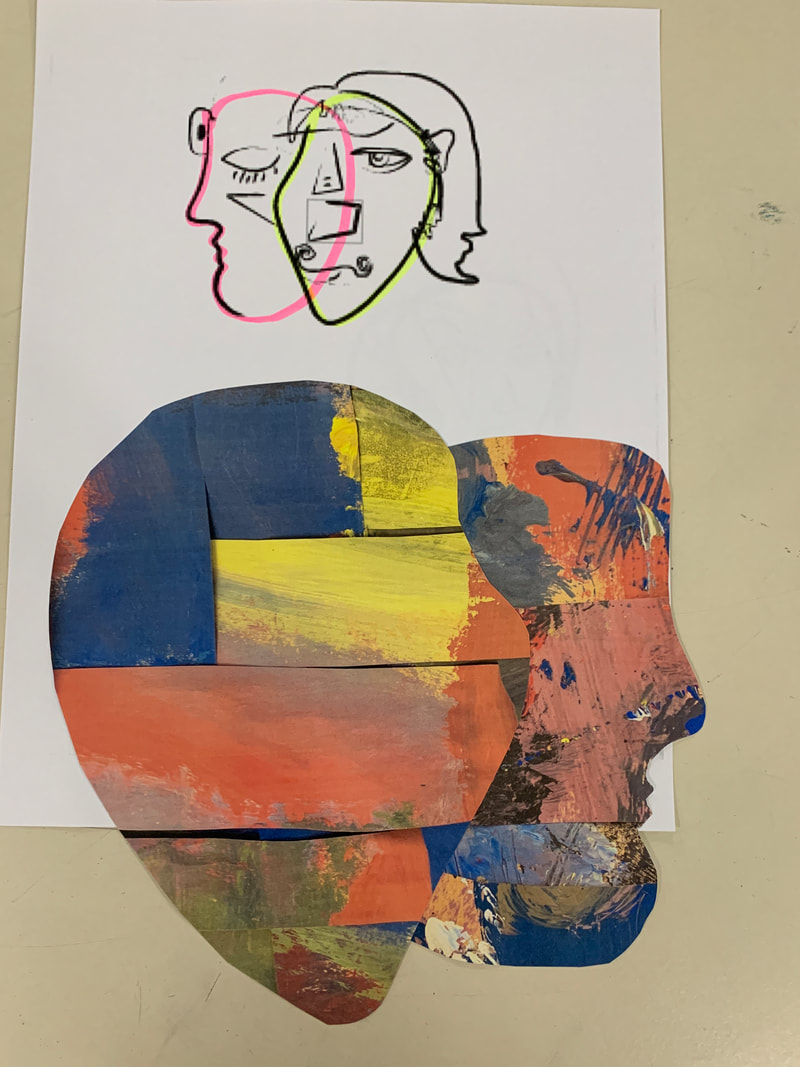
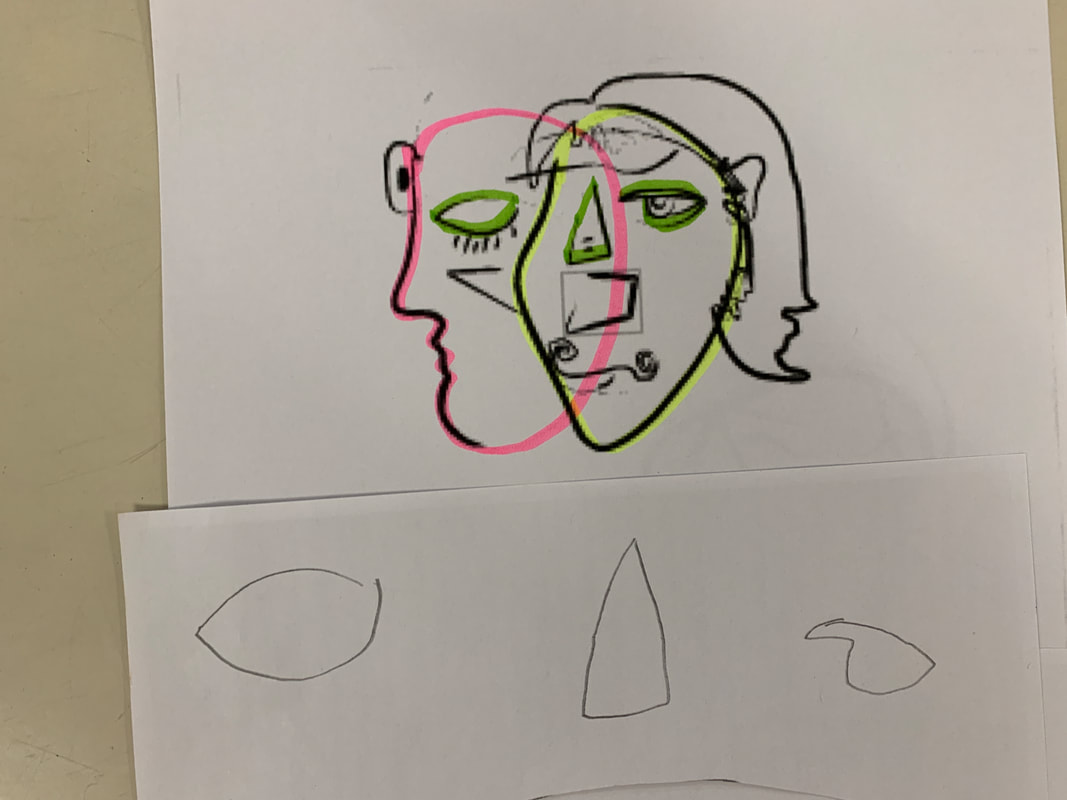
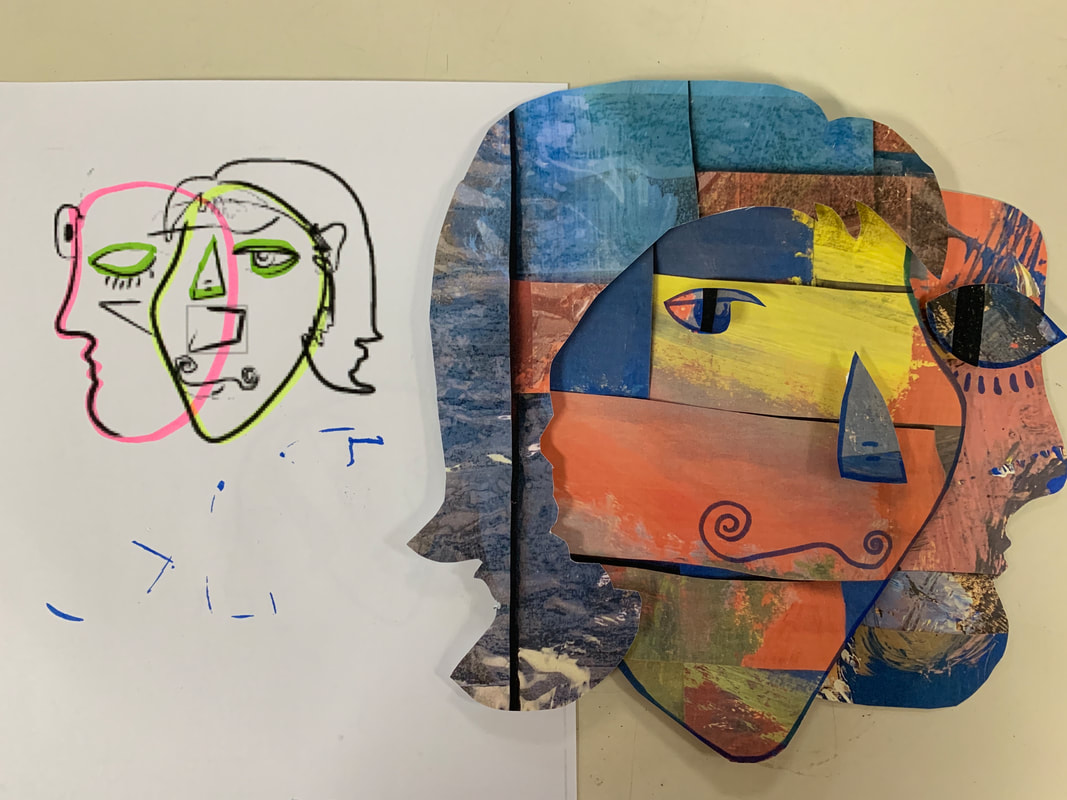
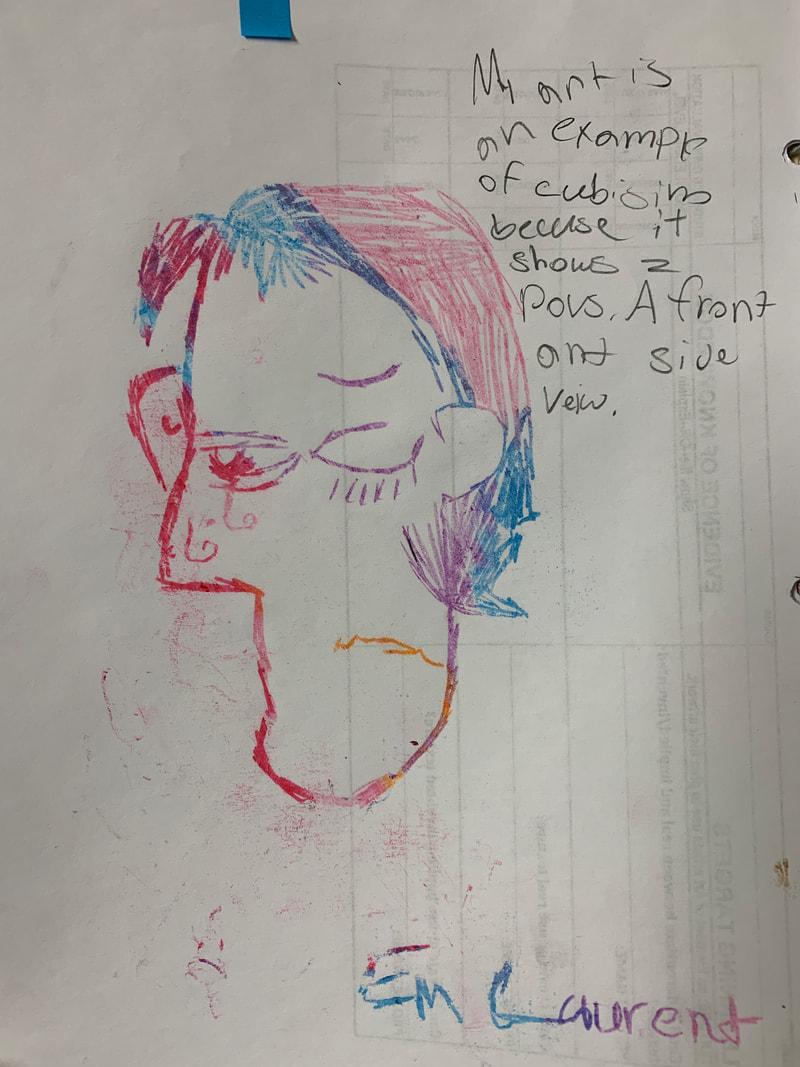
6. Picasso/Cubism Notes and Project
|
EQ: How is your work an example of Cubism?
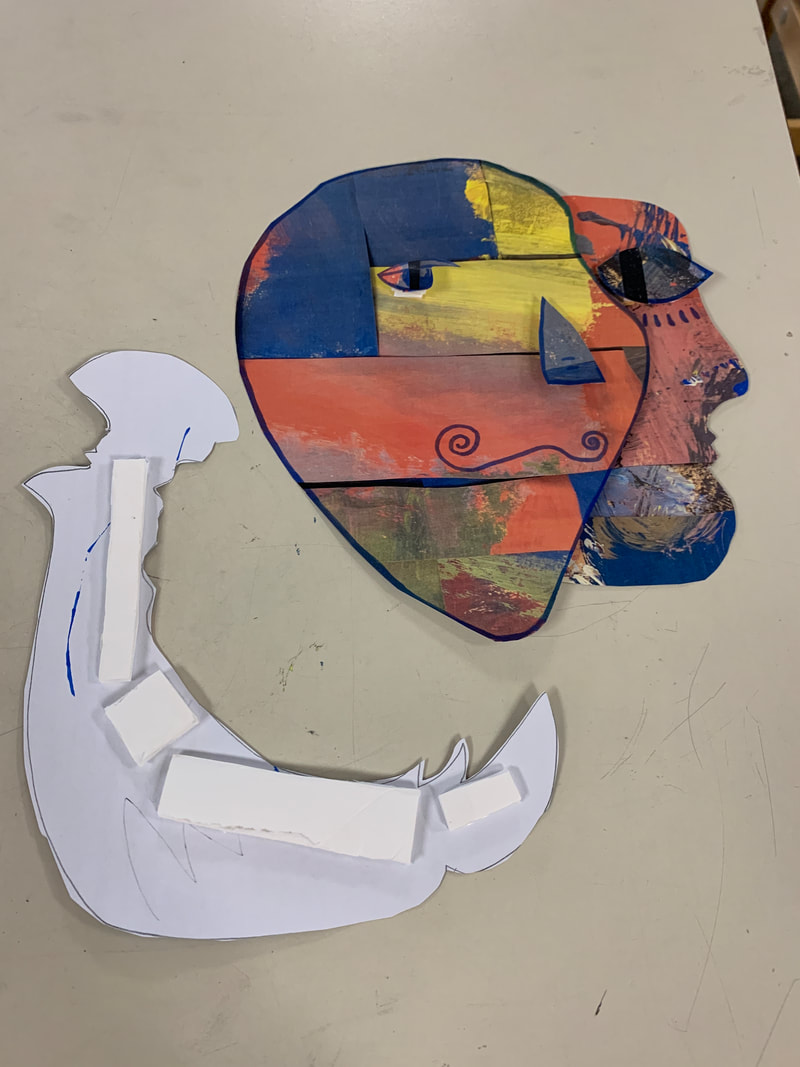
STEP 1: Put the faces together
|
Using the website below, create a Cubism face. It must show multiple perspectives (a sideways/profile view and a front-facing view) to be considered Cubism.
| ||
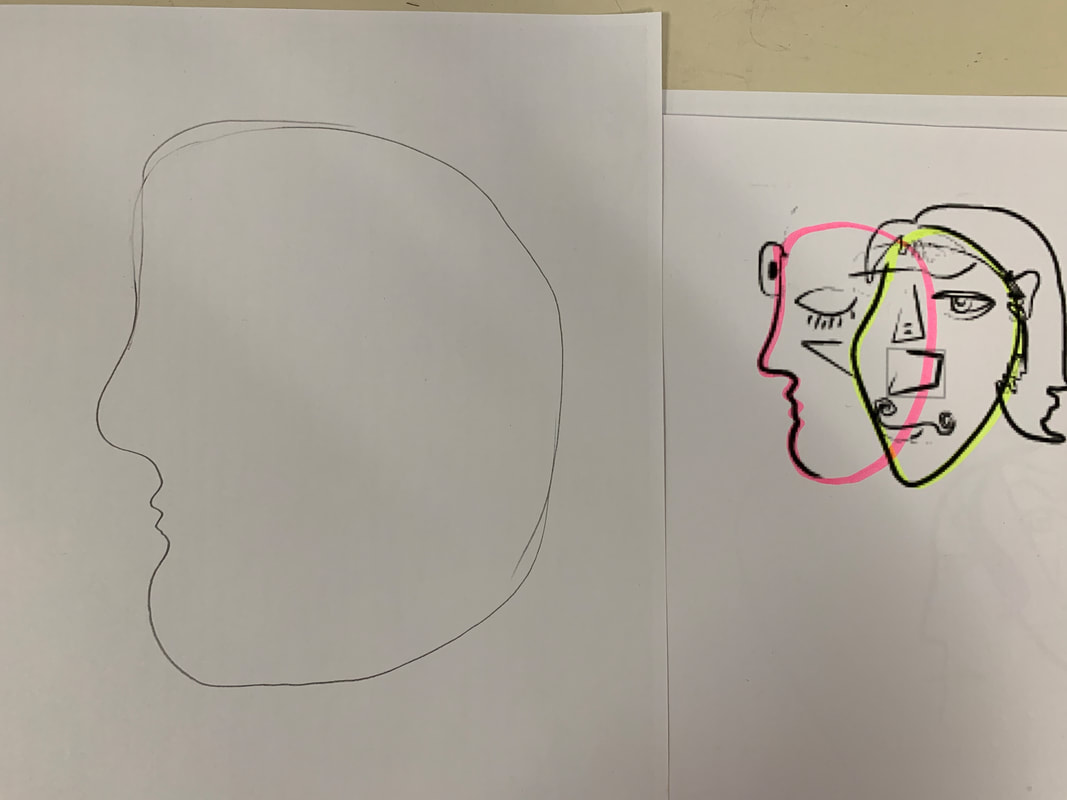
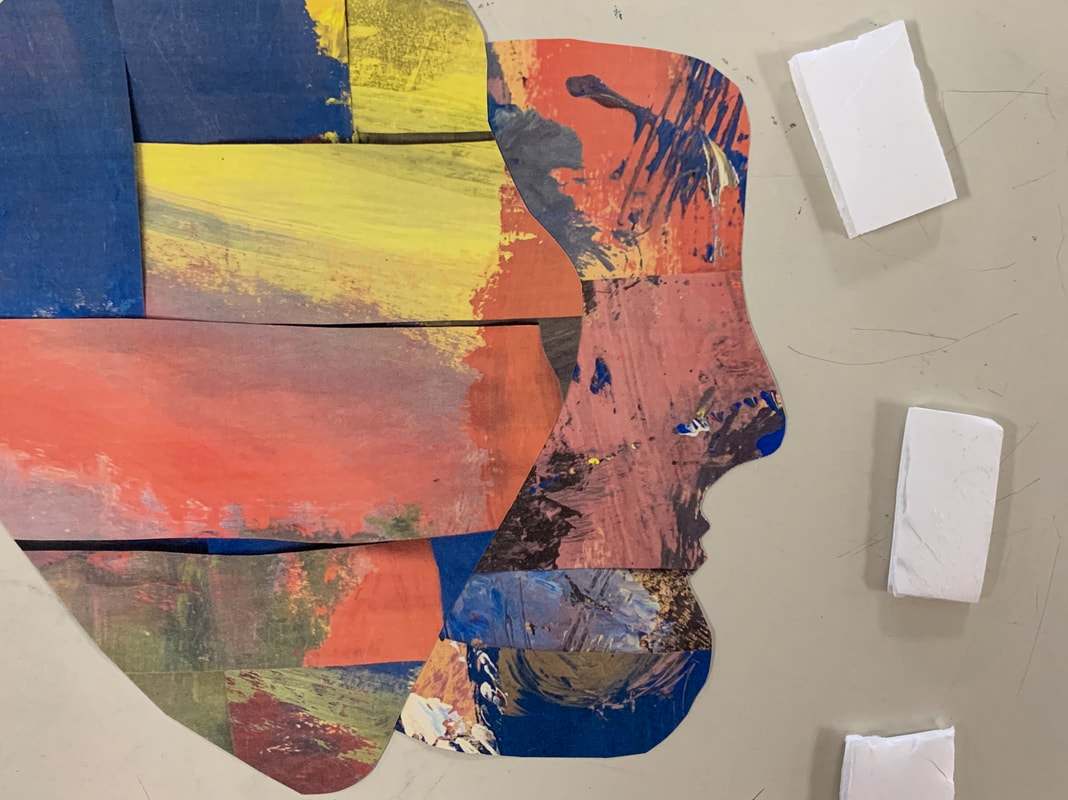

STEP 2: Put the rest together
|
Reflection in Sketchbook...
|
|
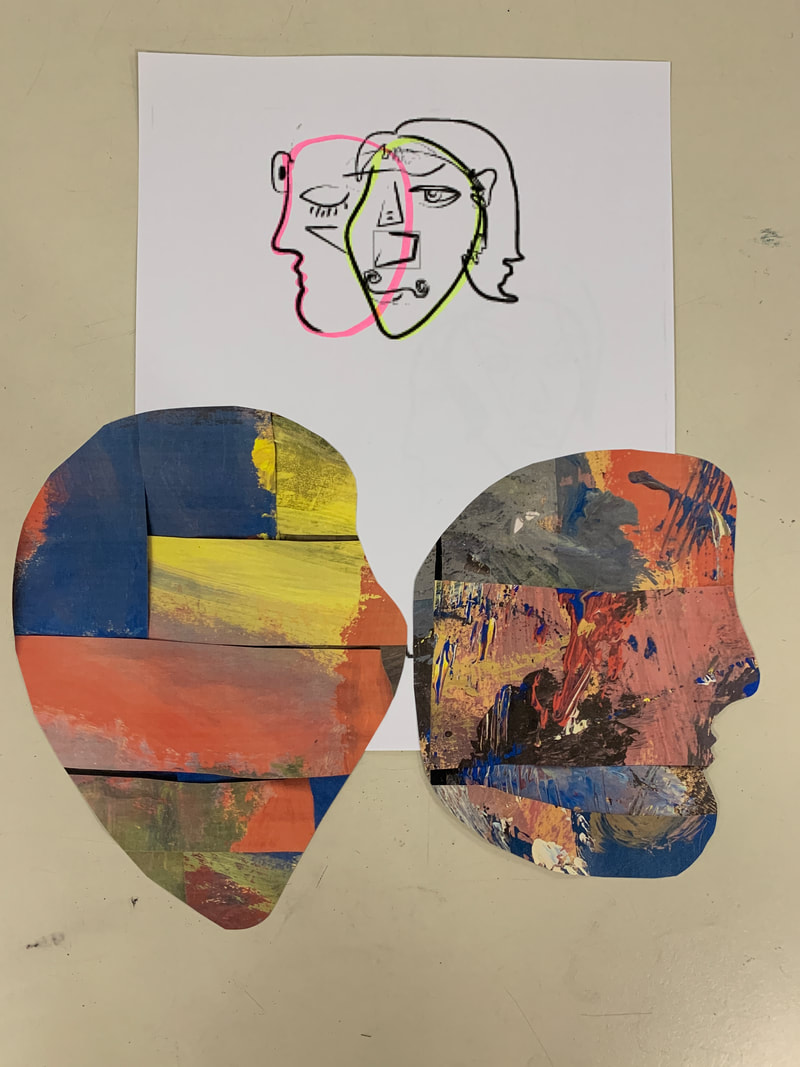
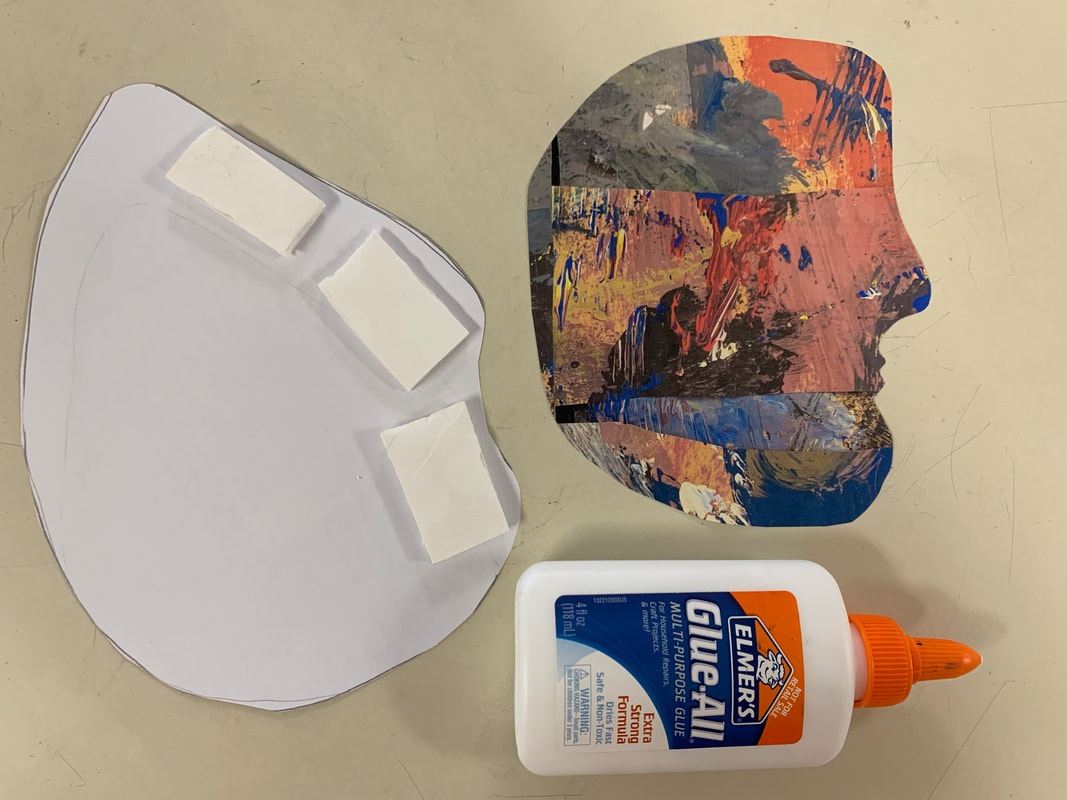
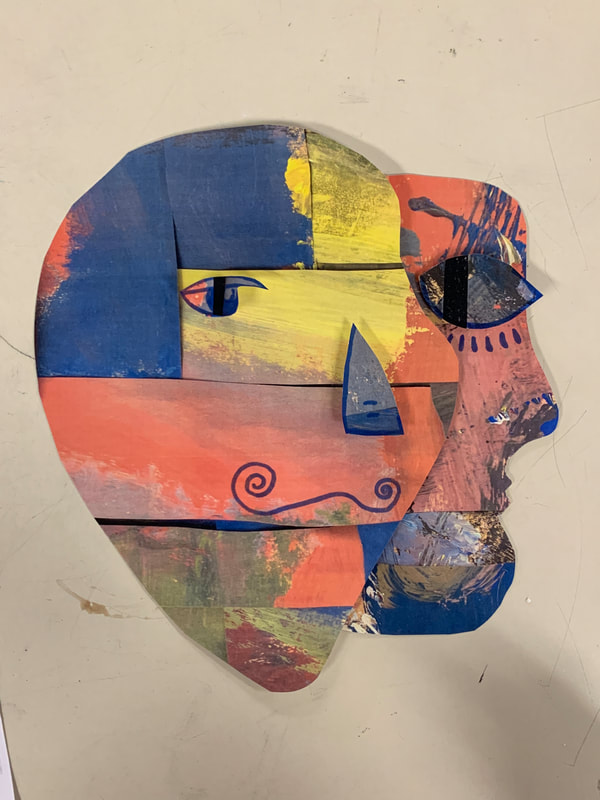
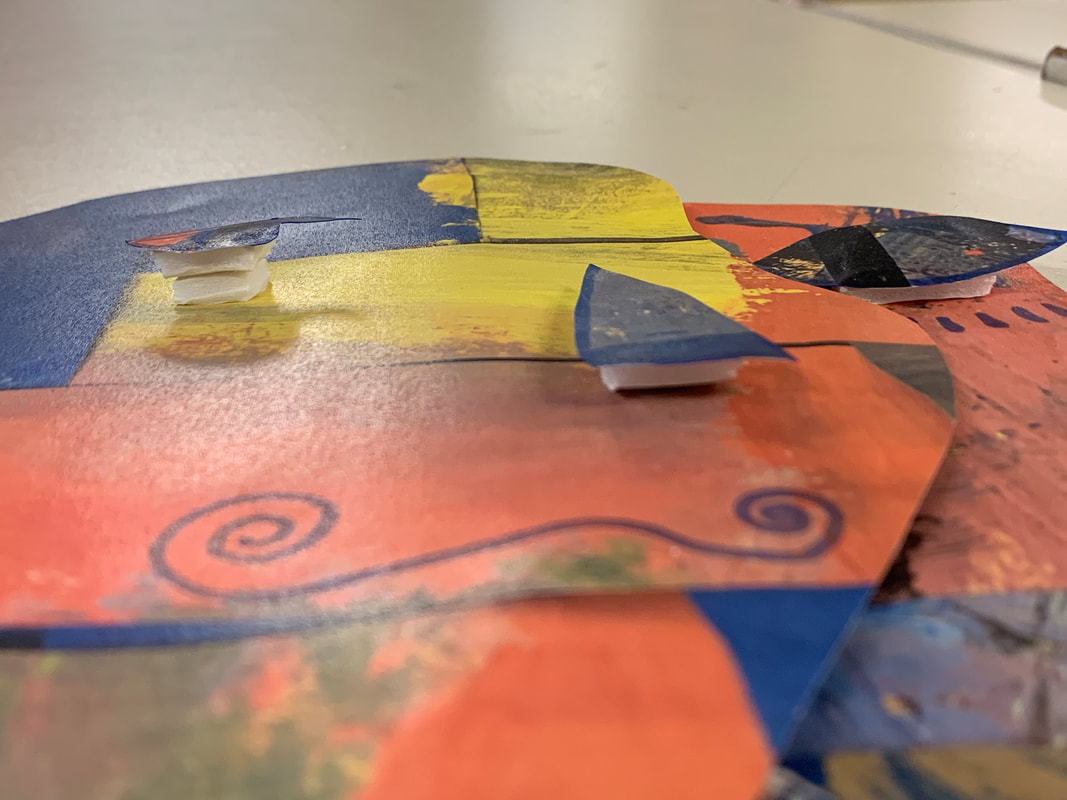
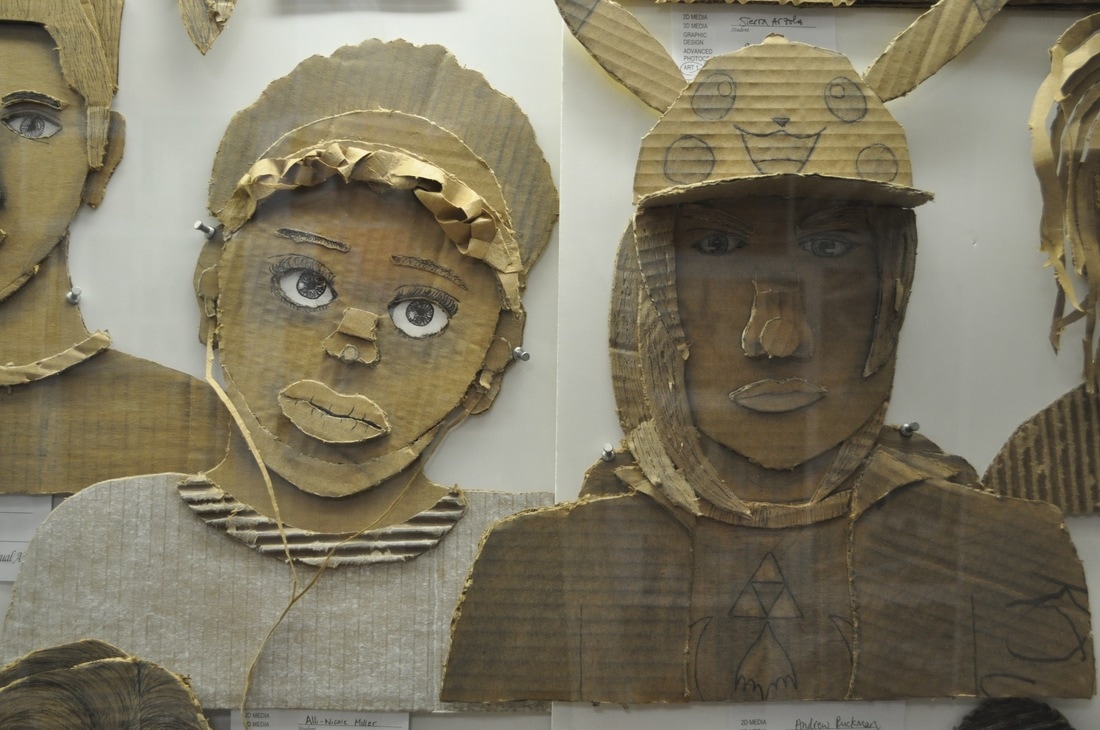
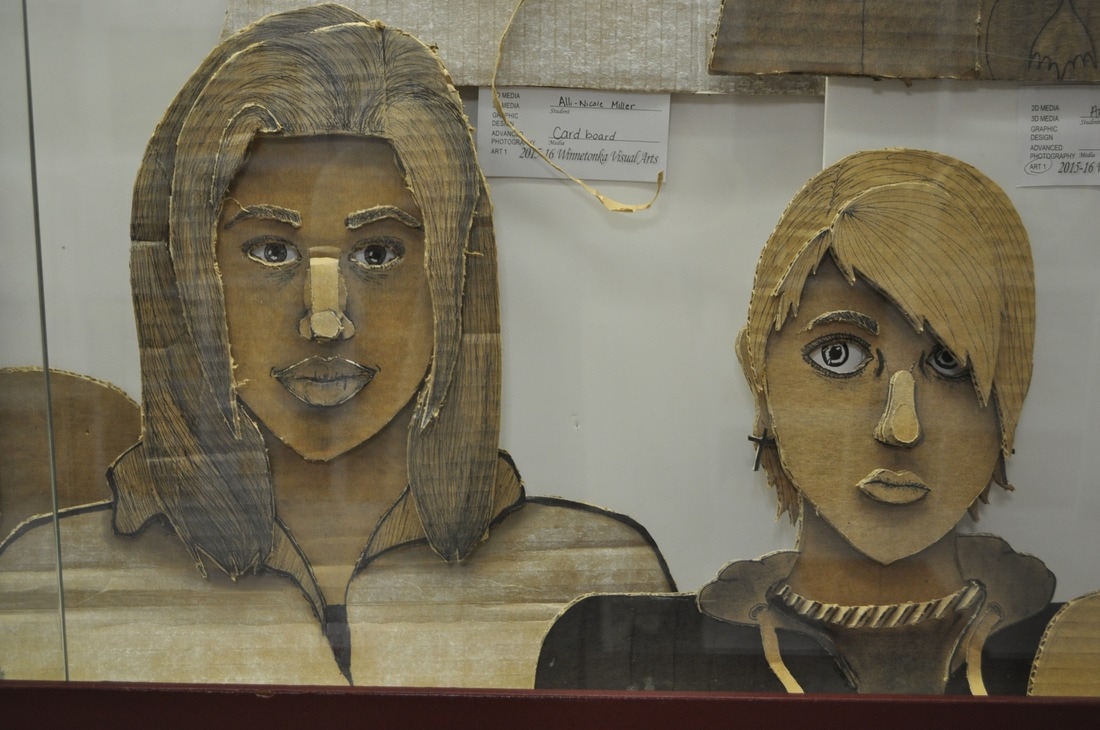
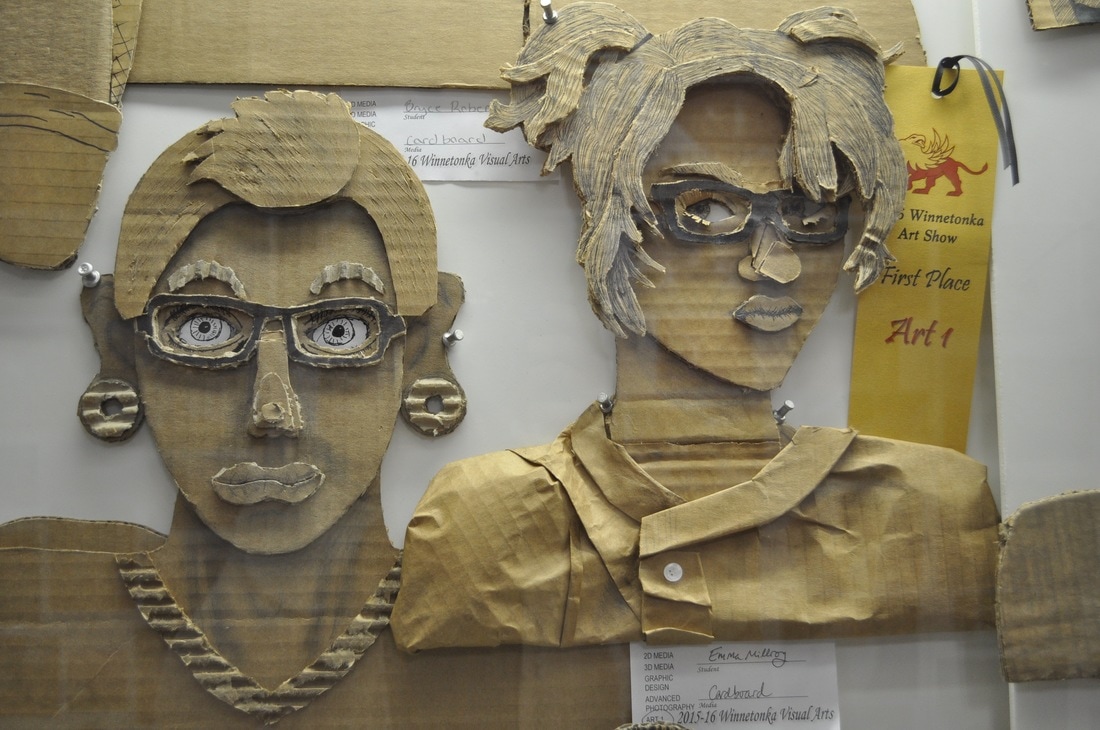
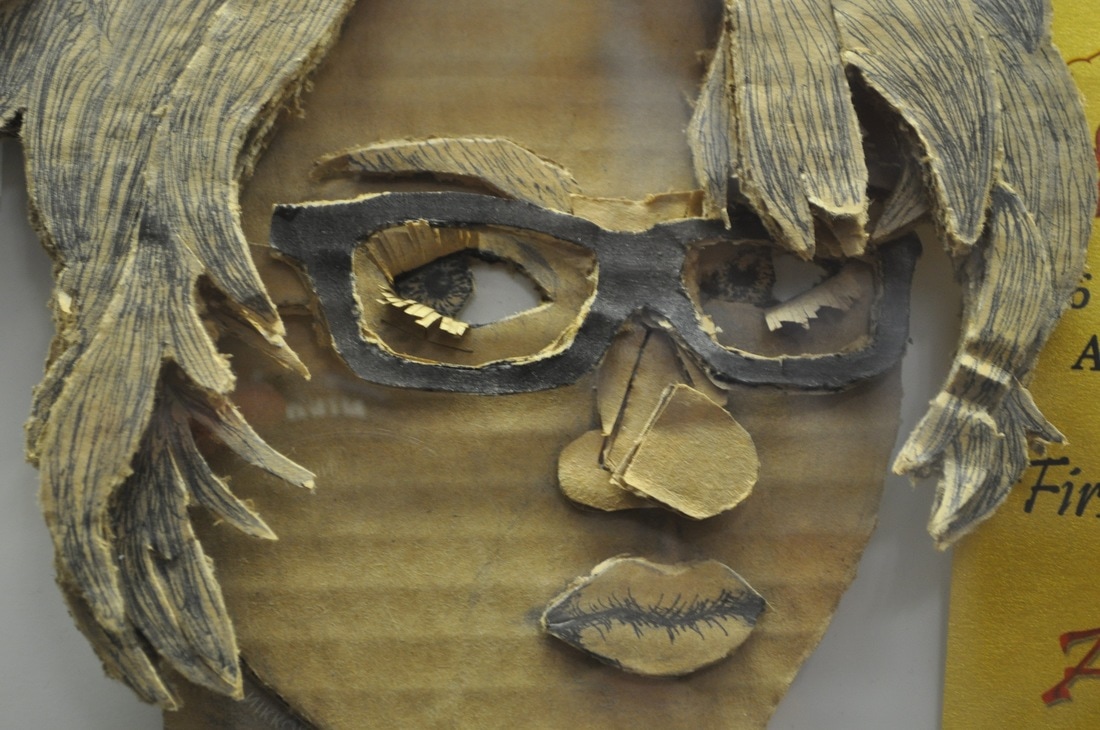
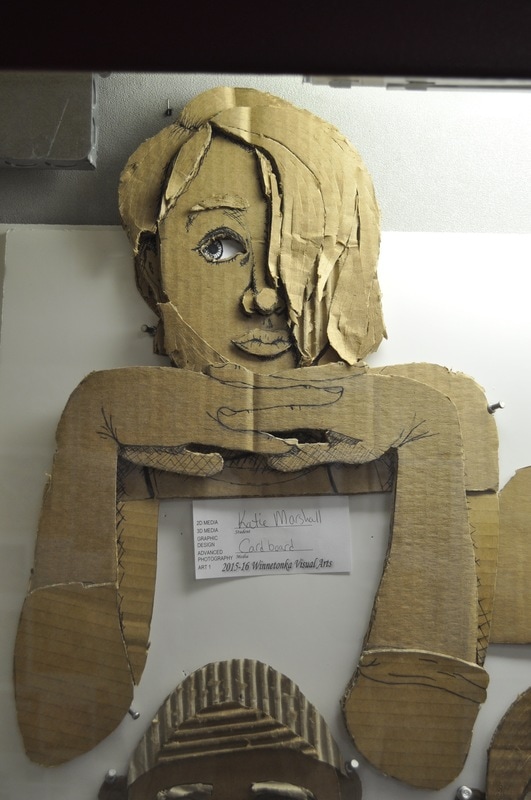
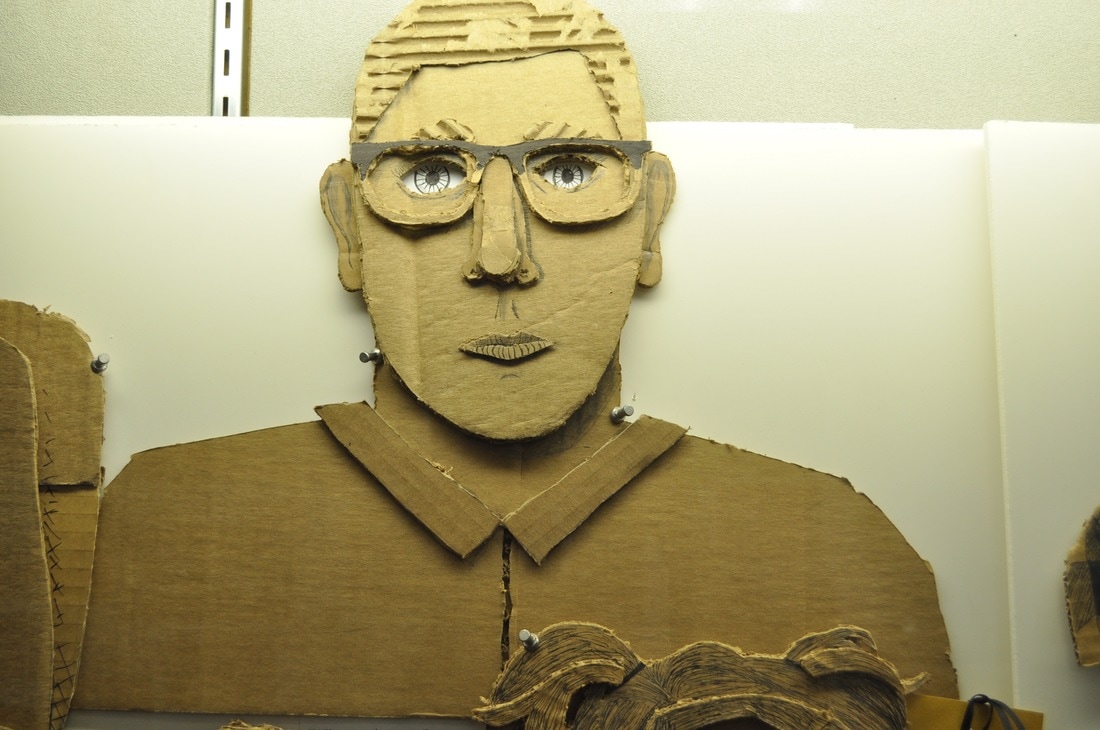
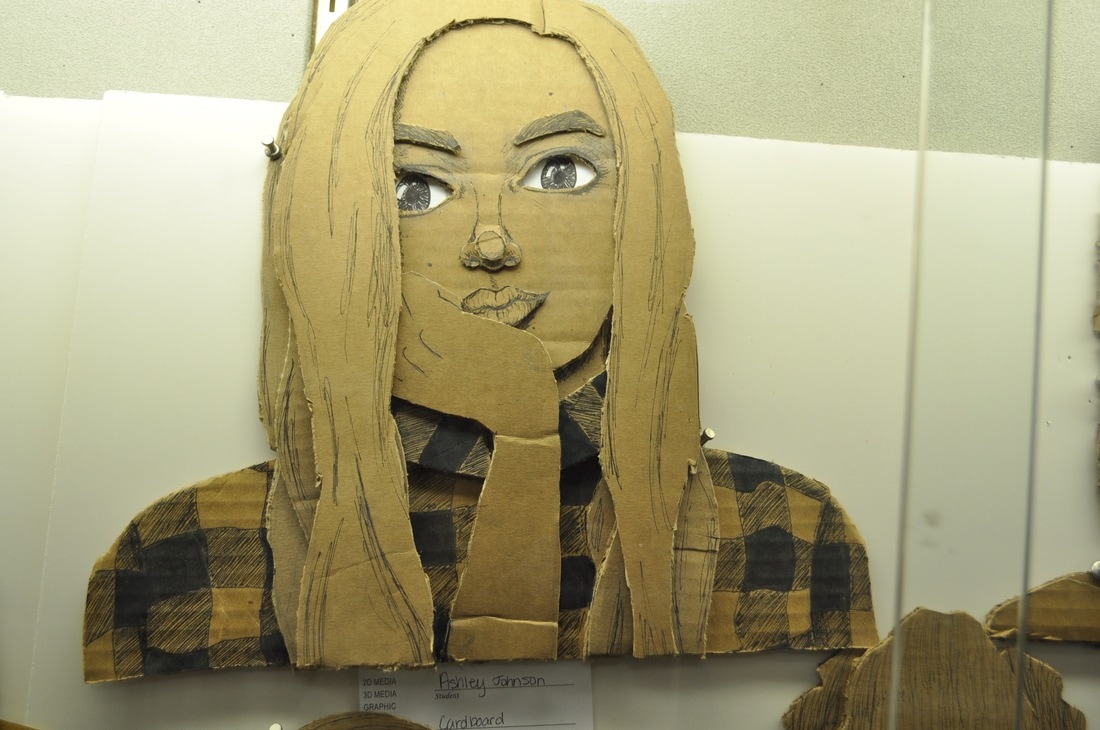
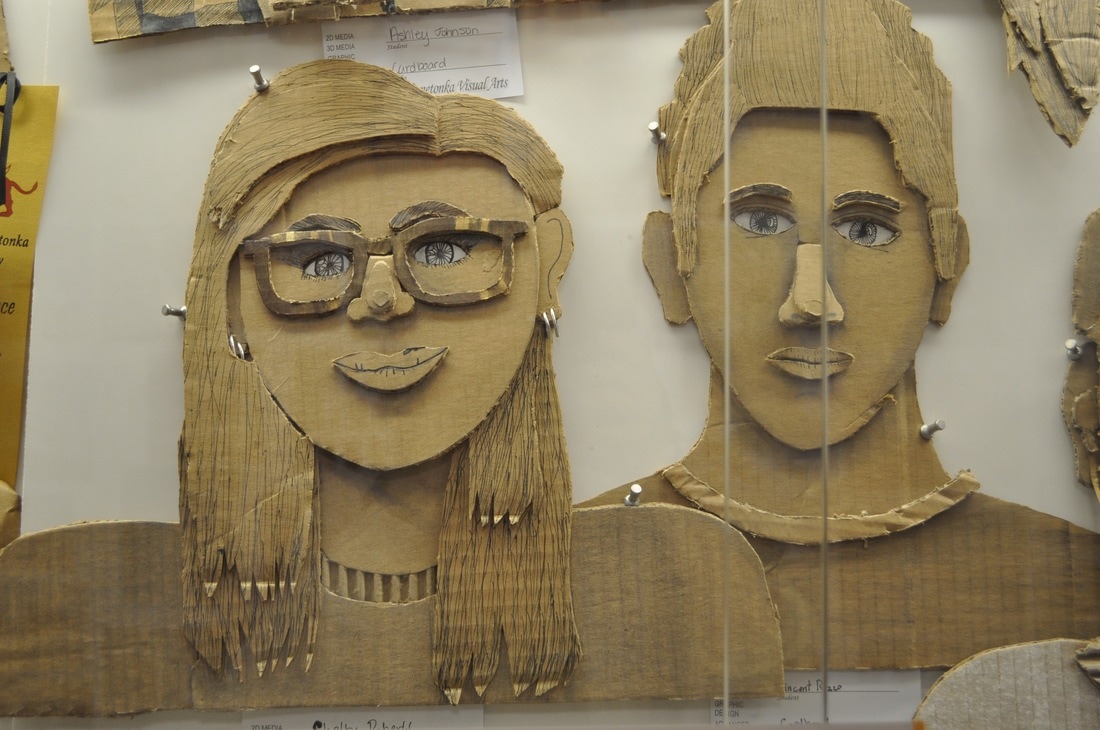
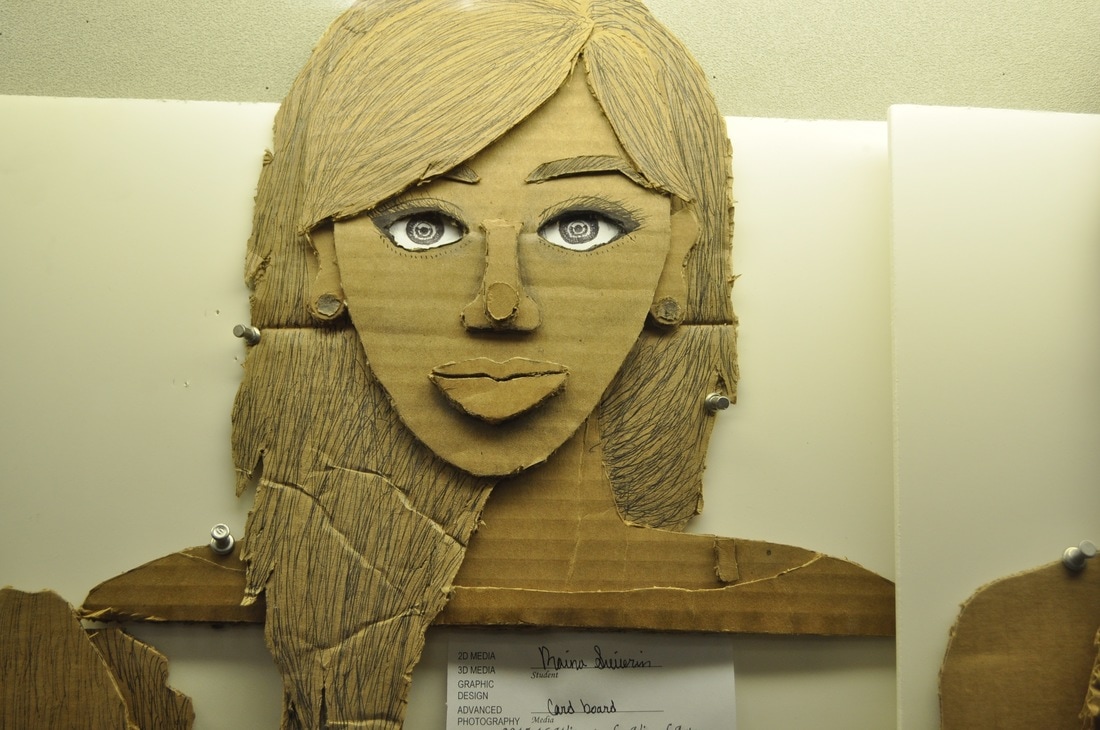
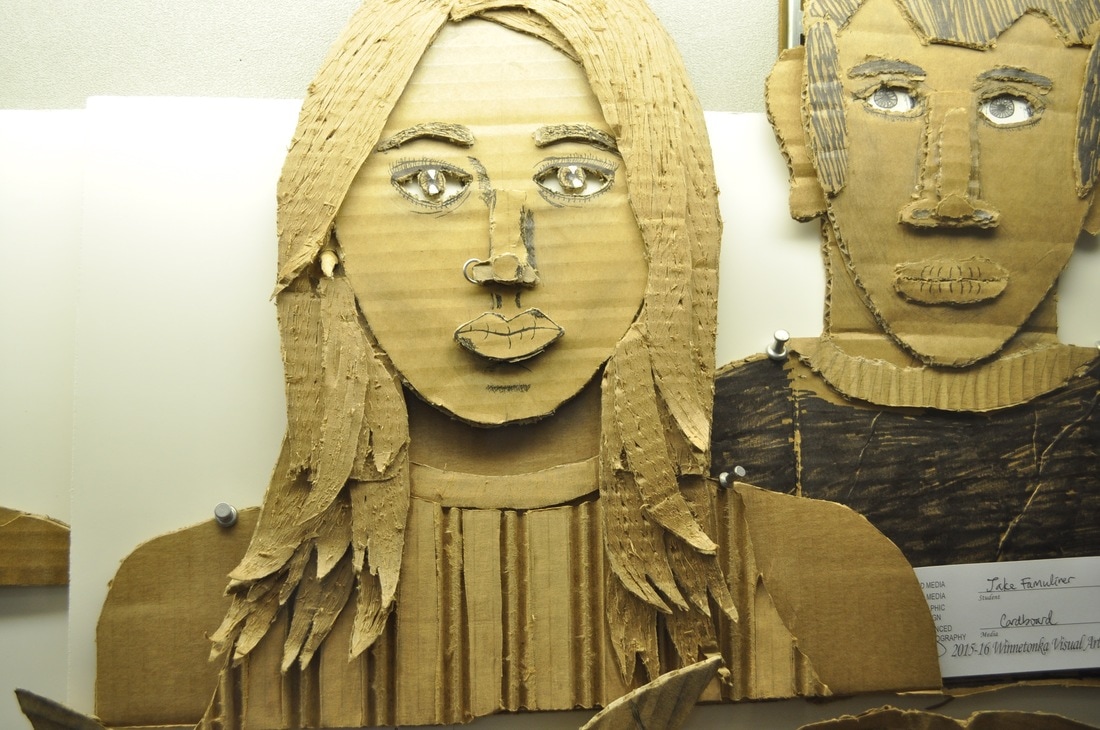
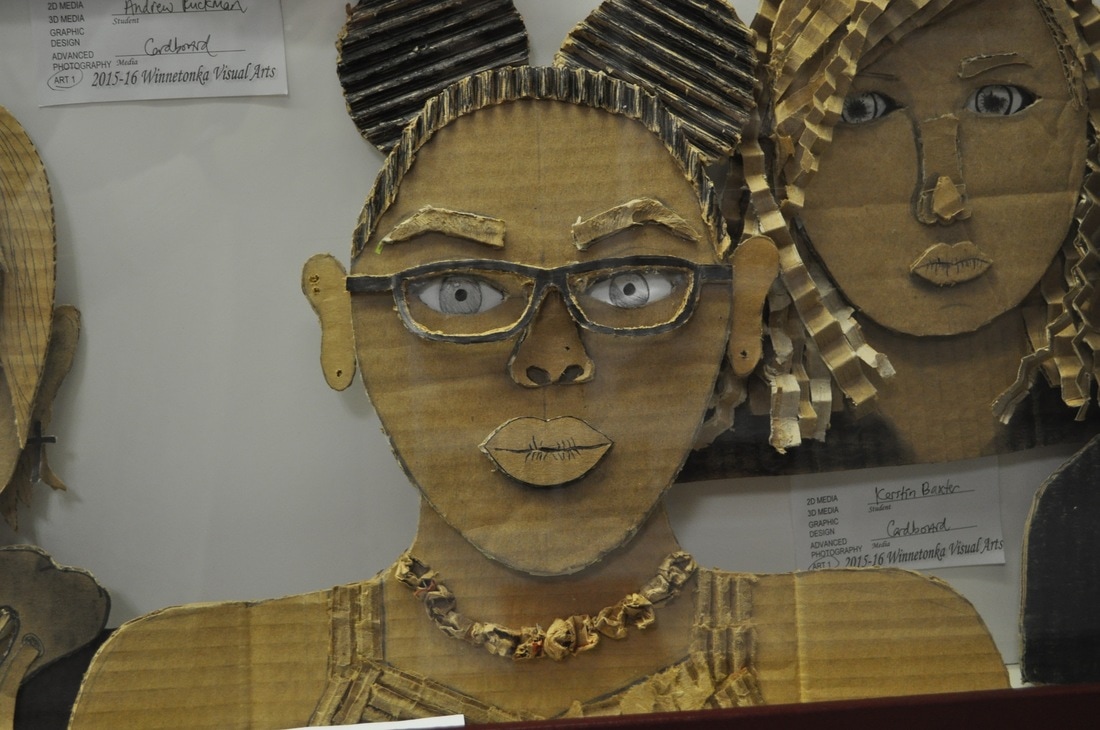
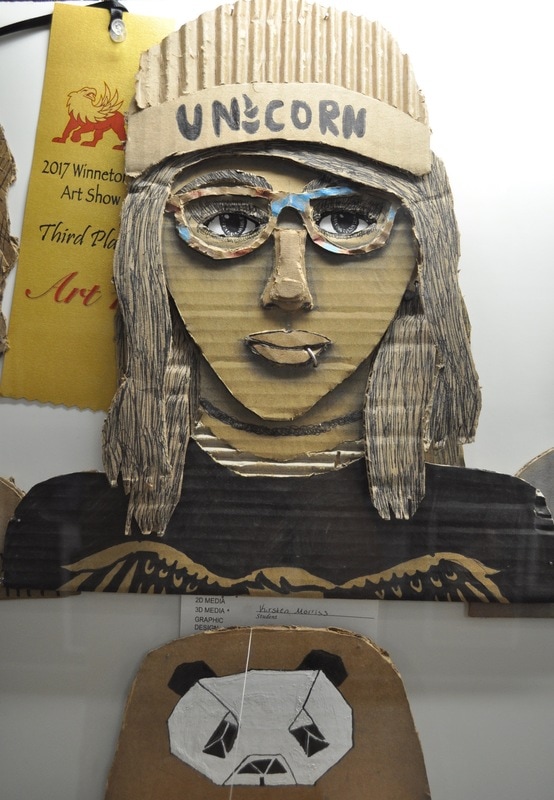
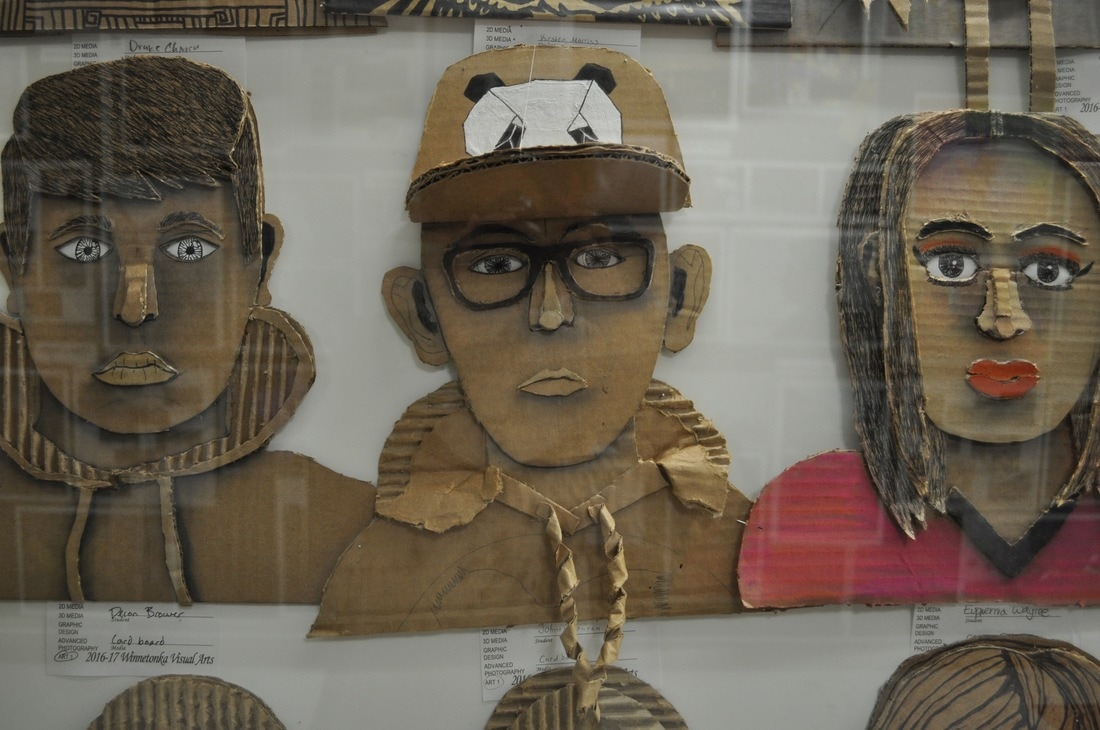
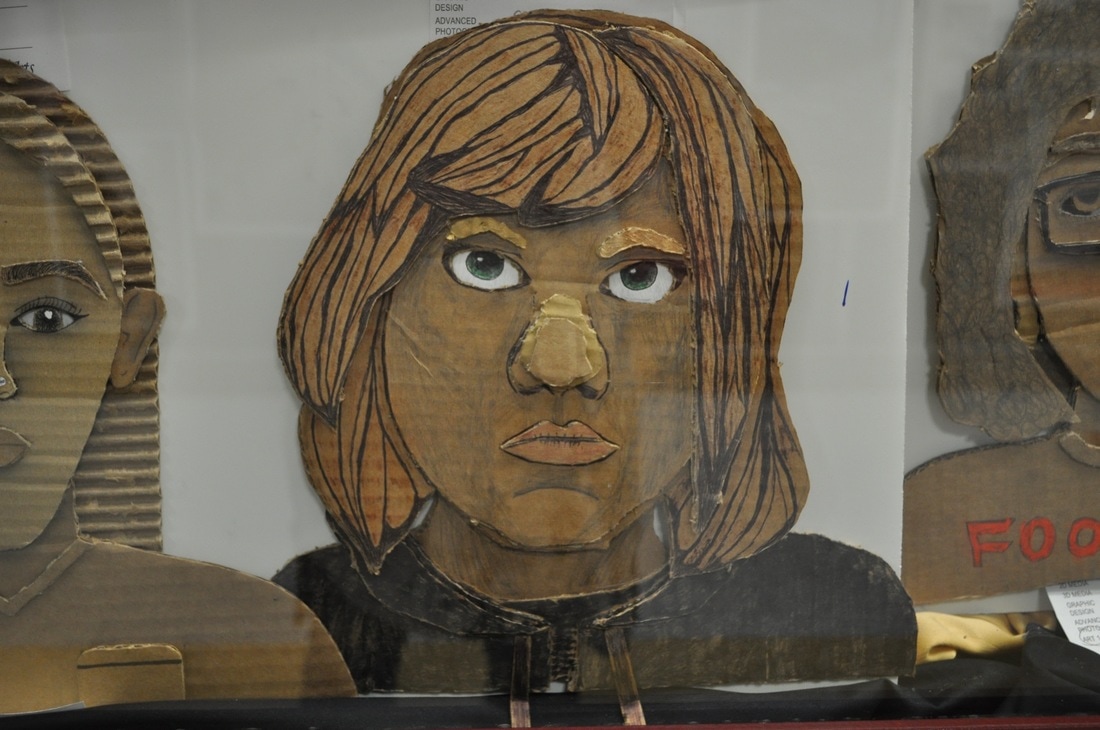
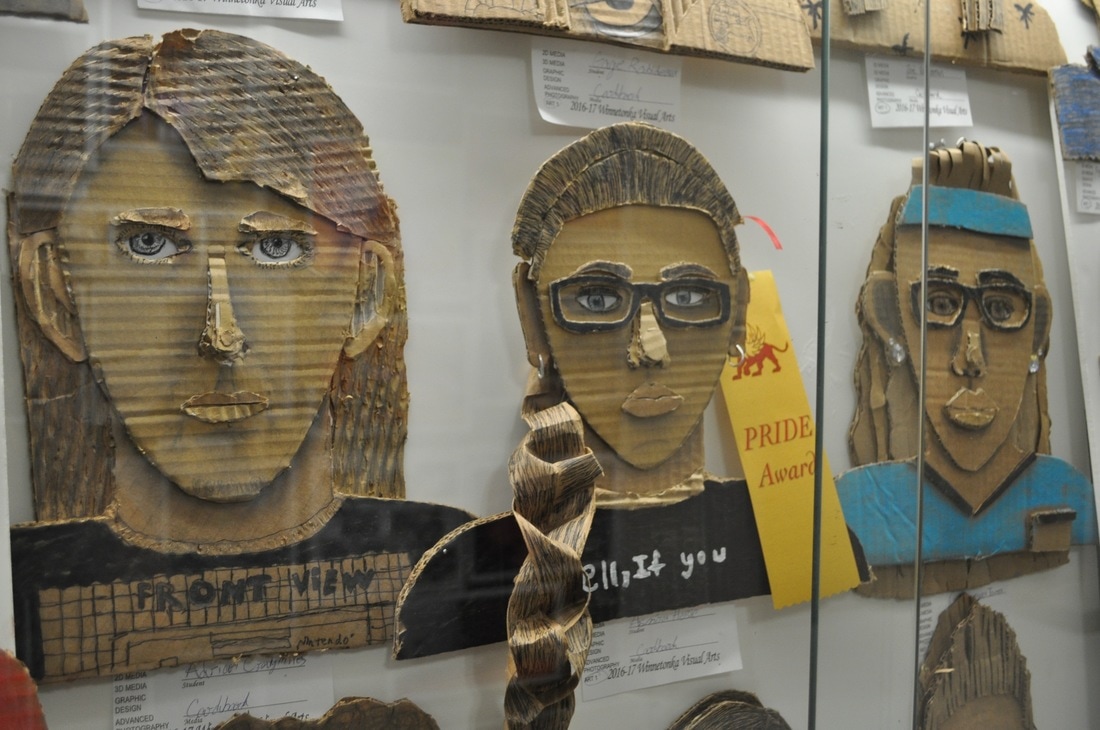
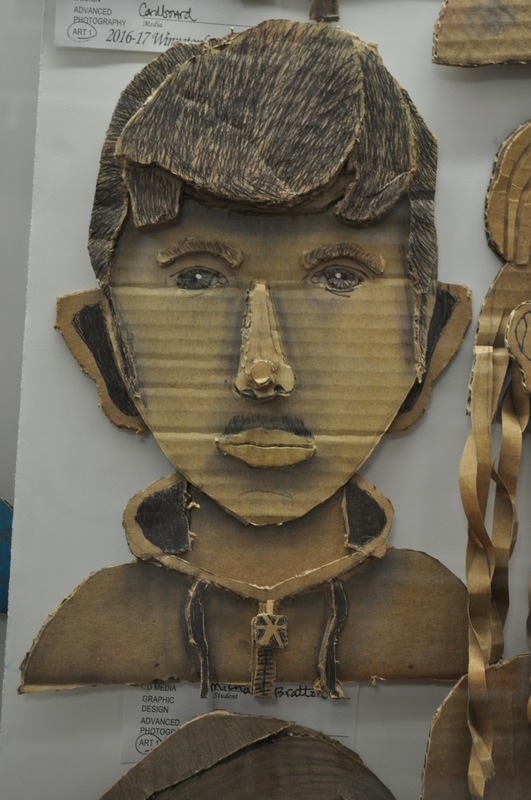
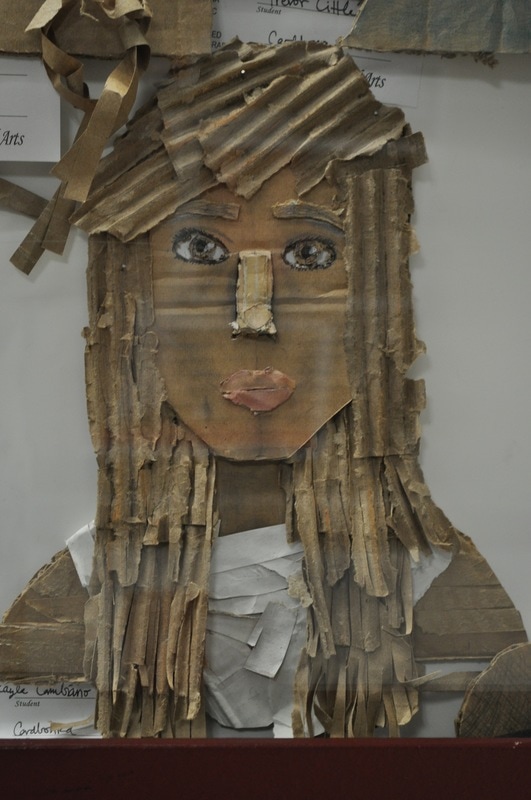
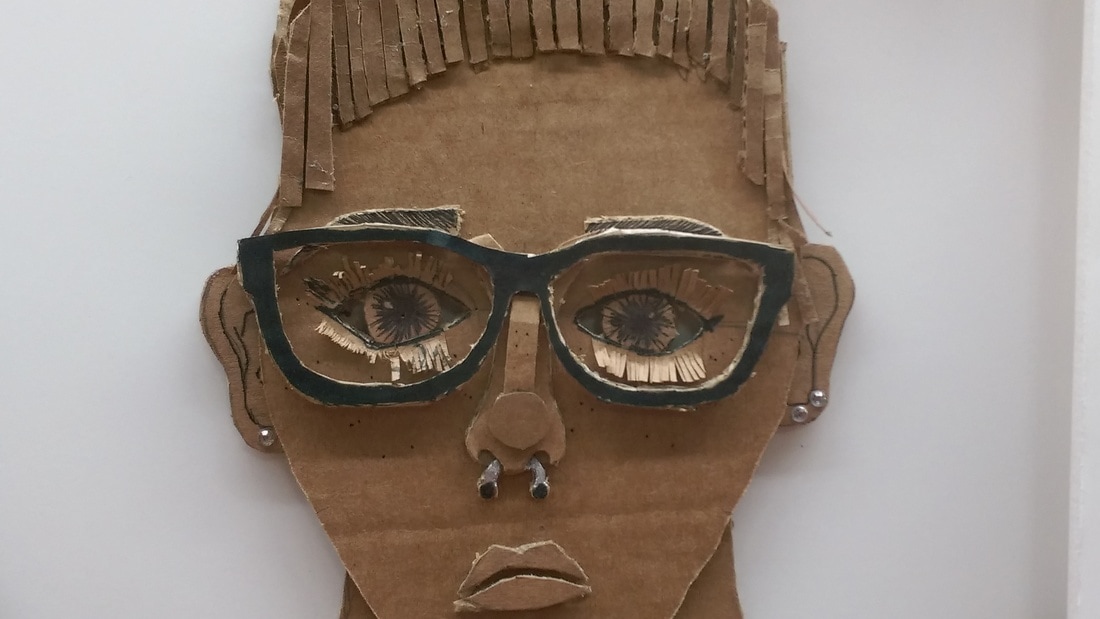
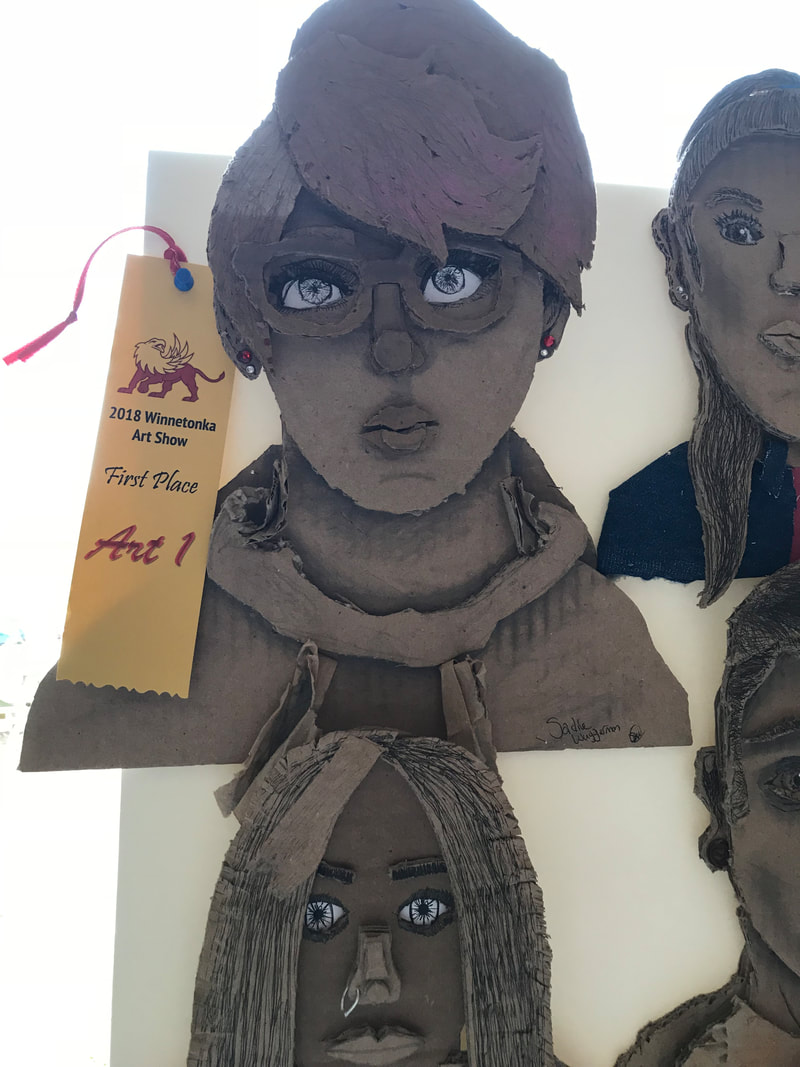
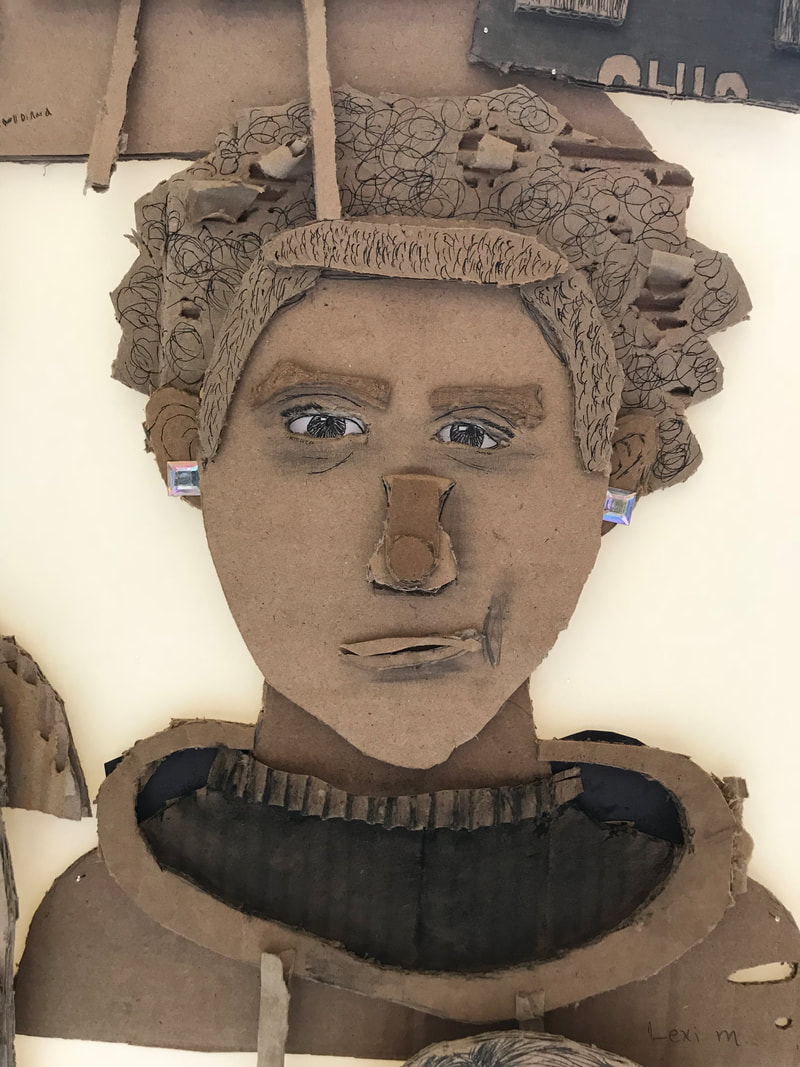
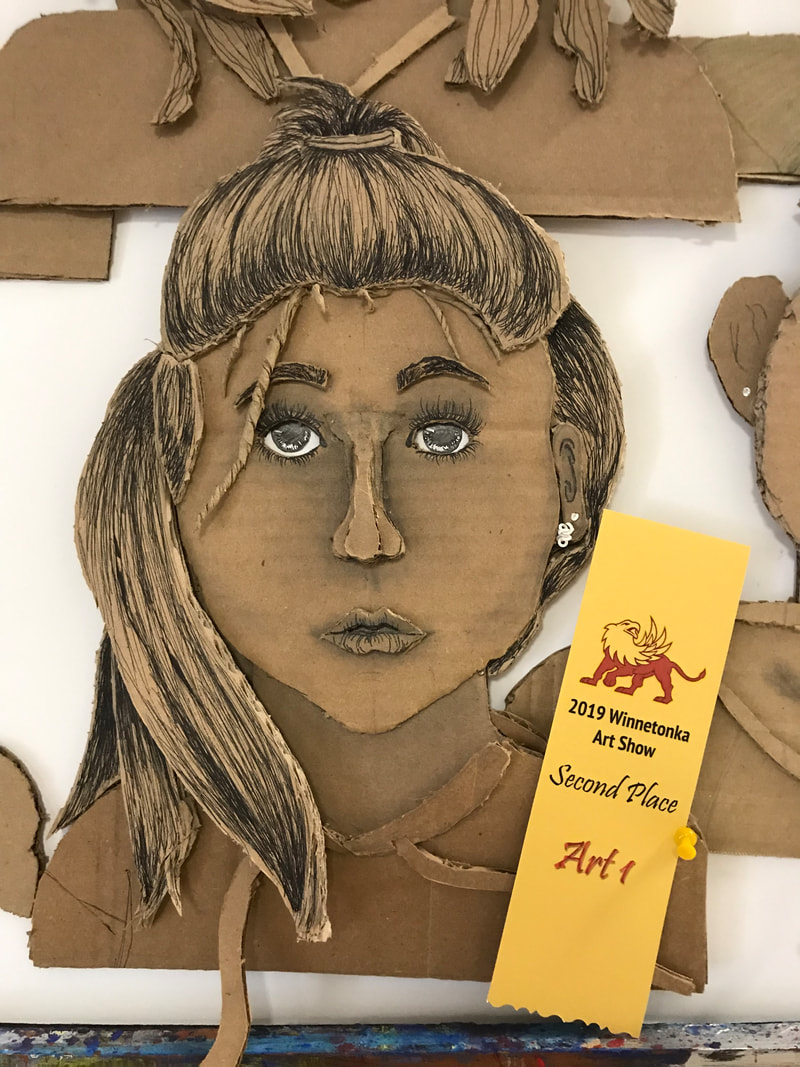
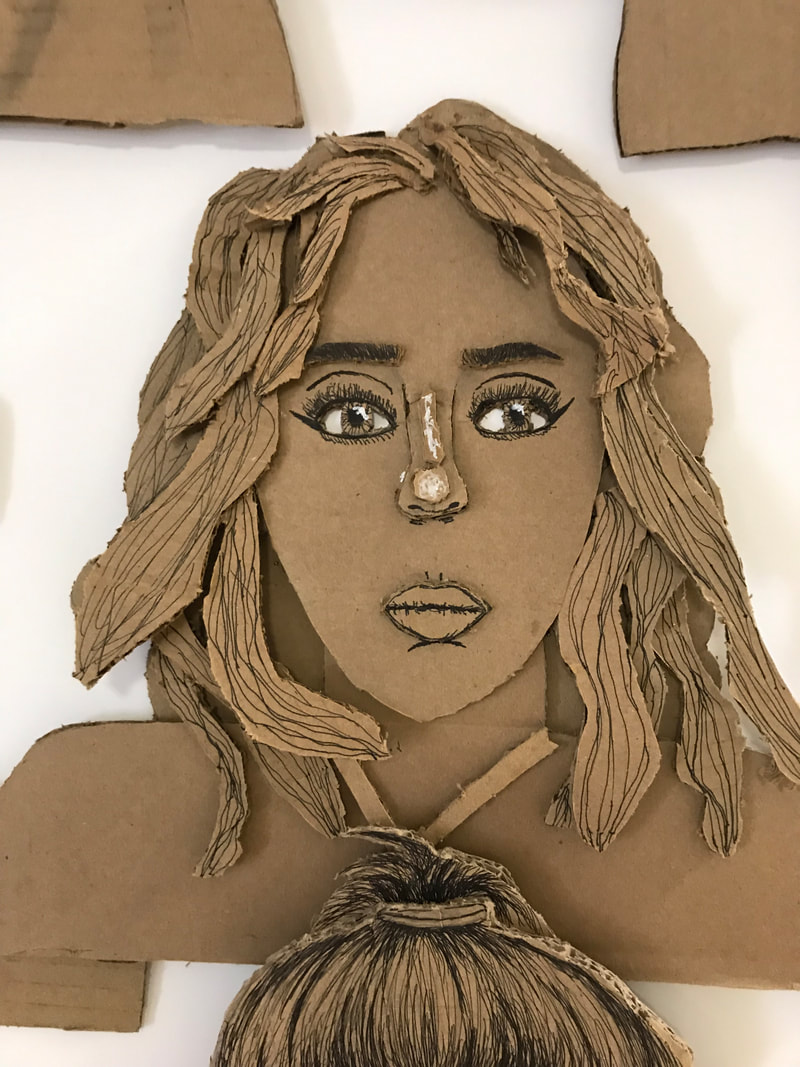
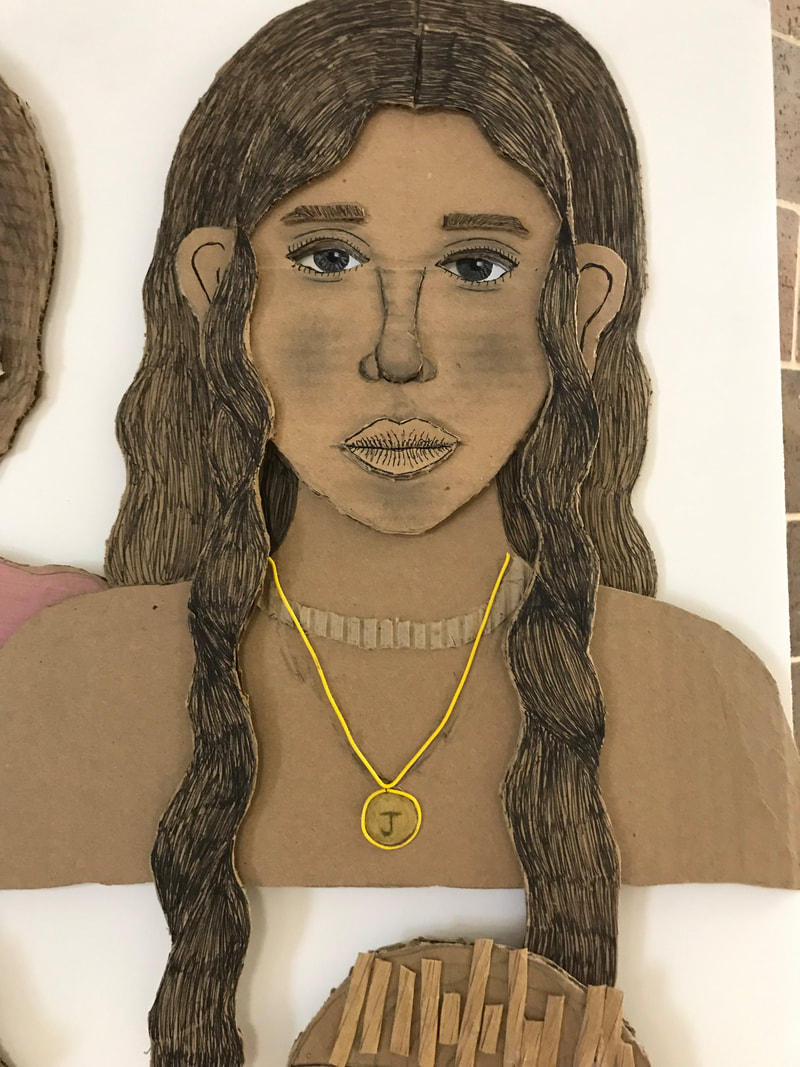
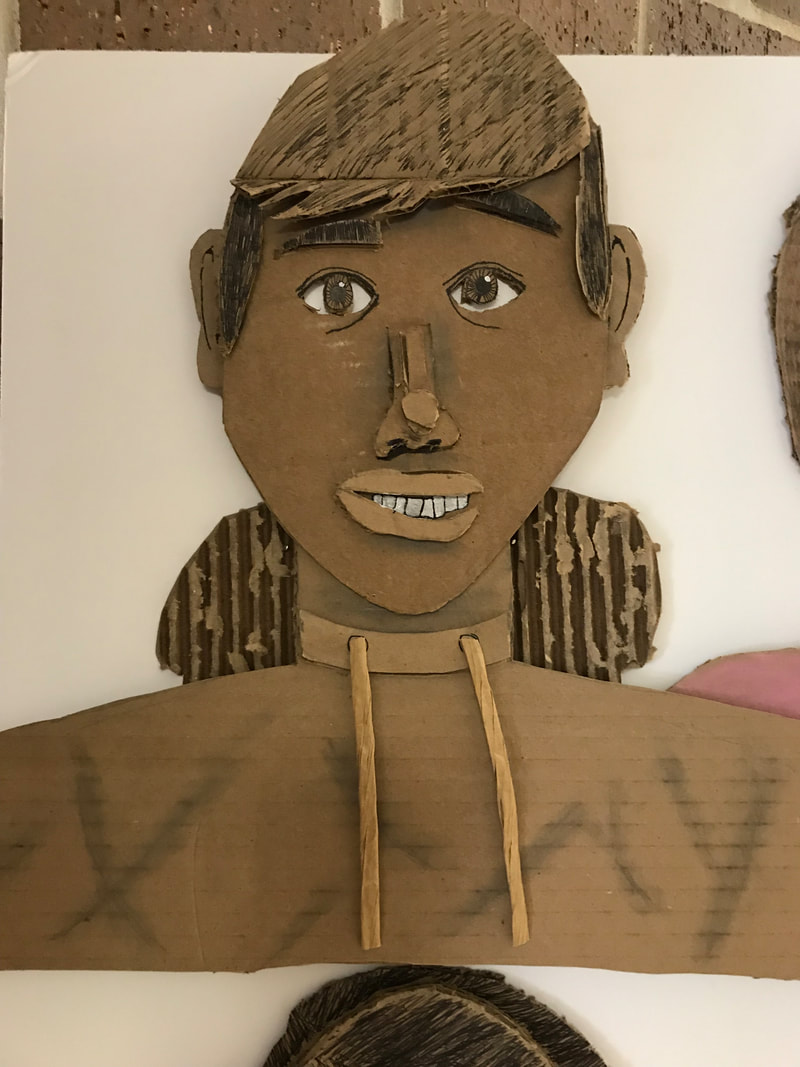
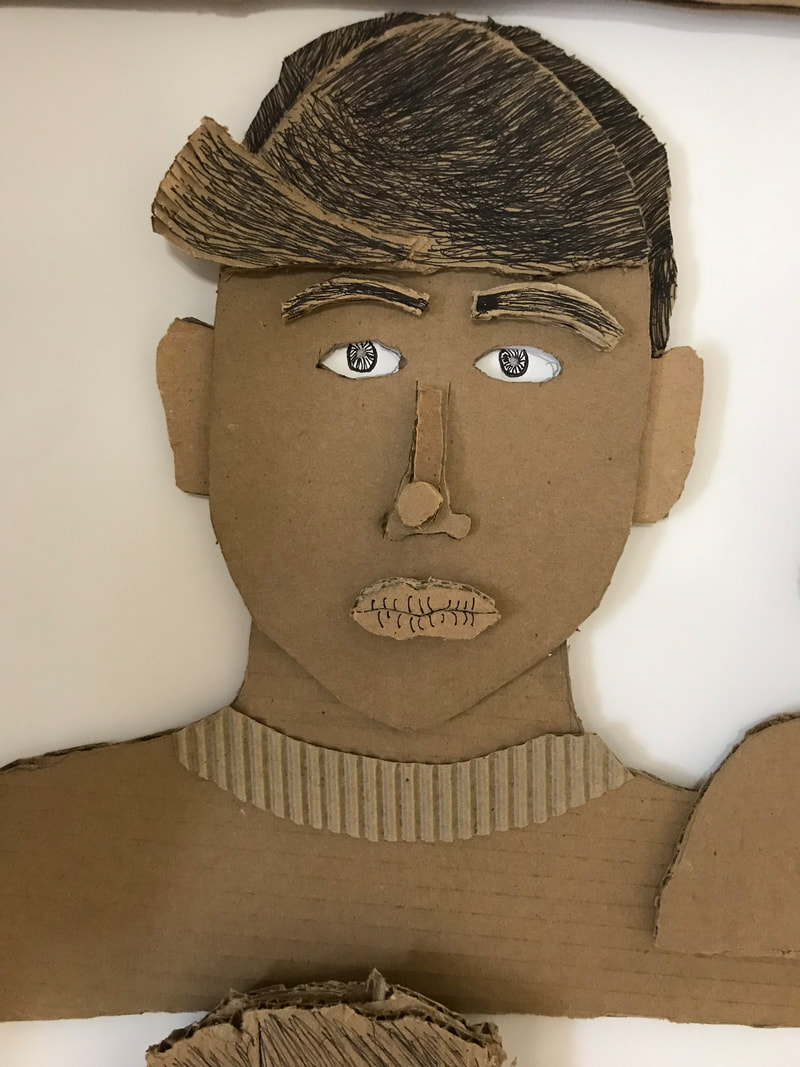
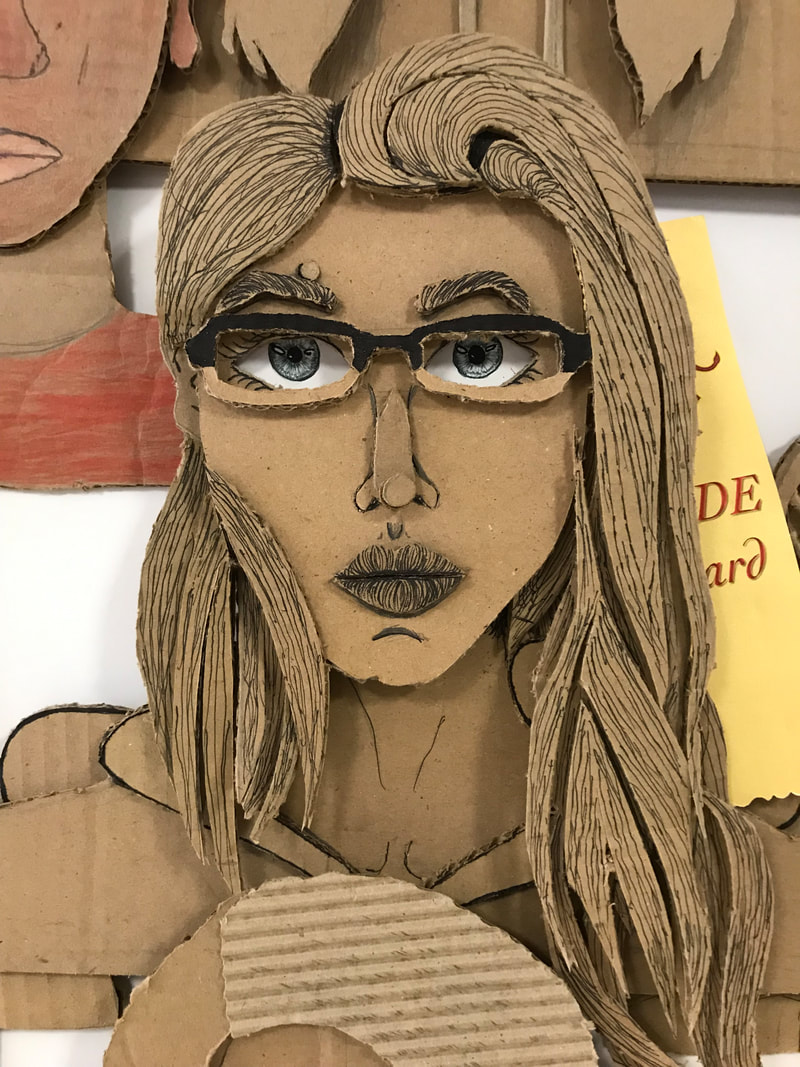
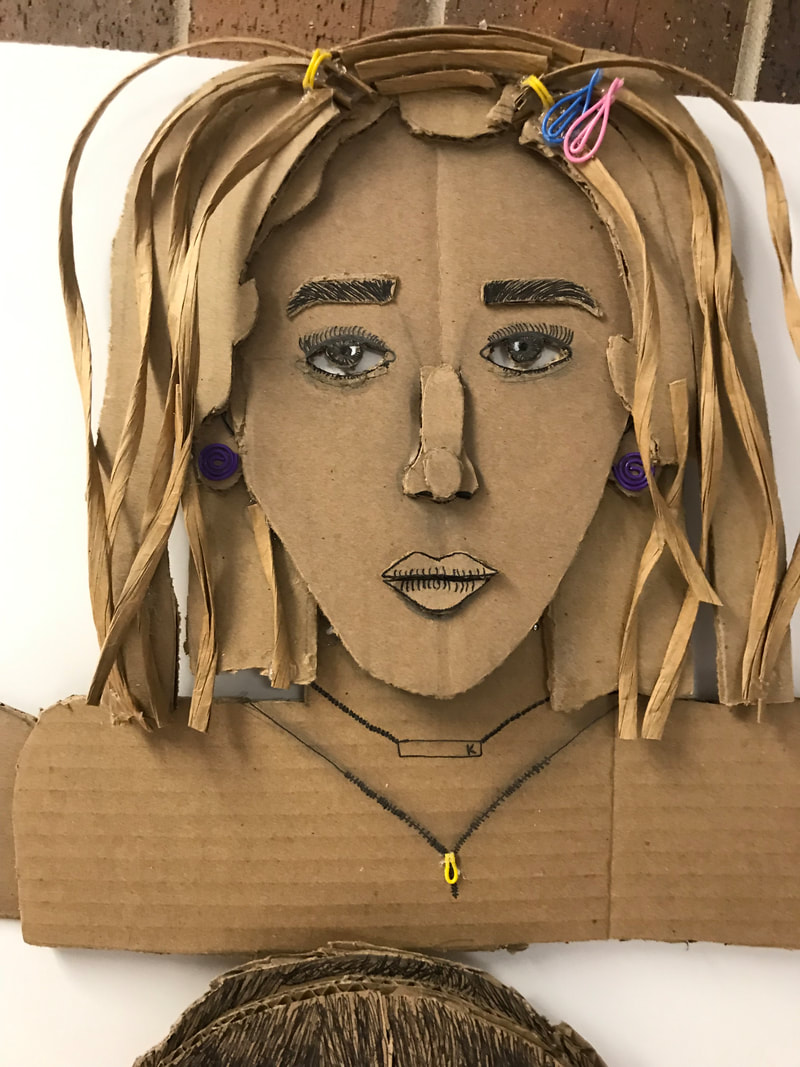
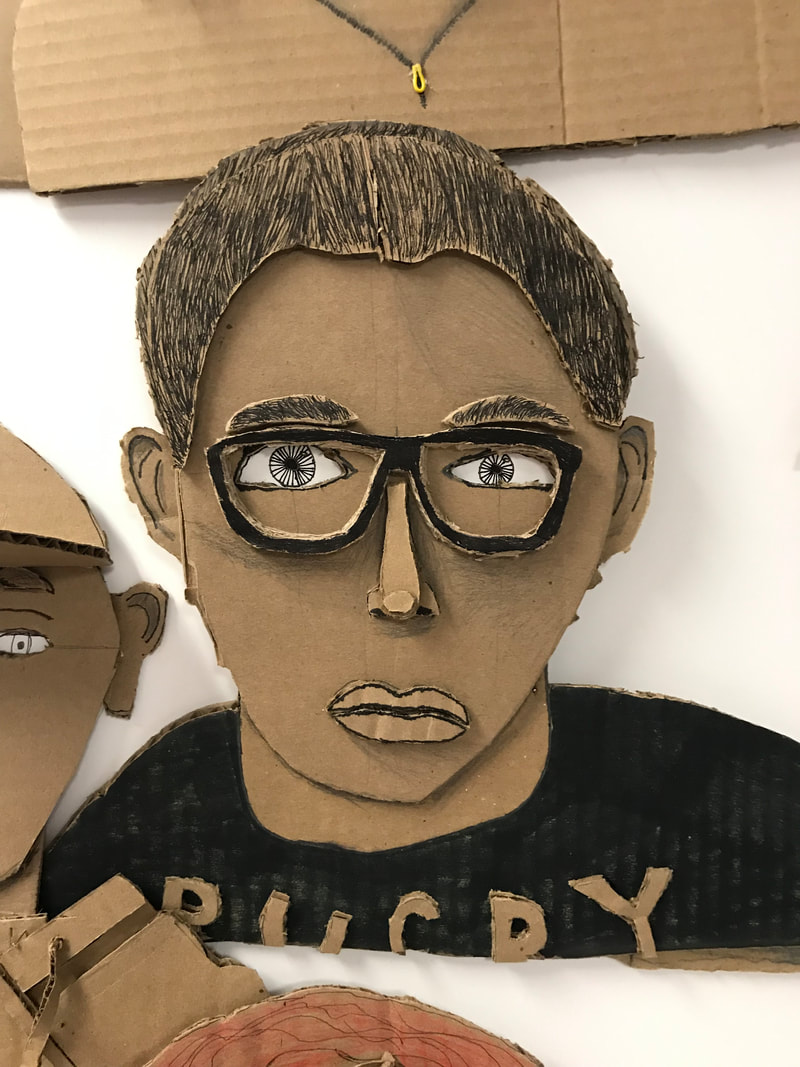
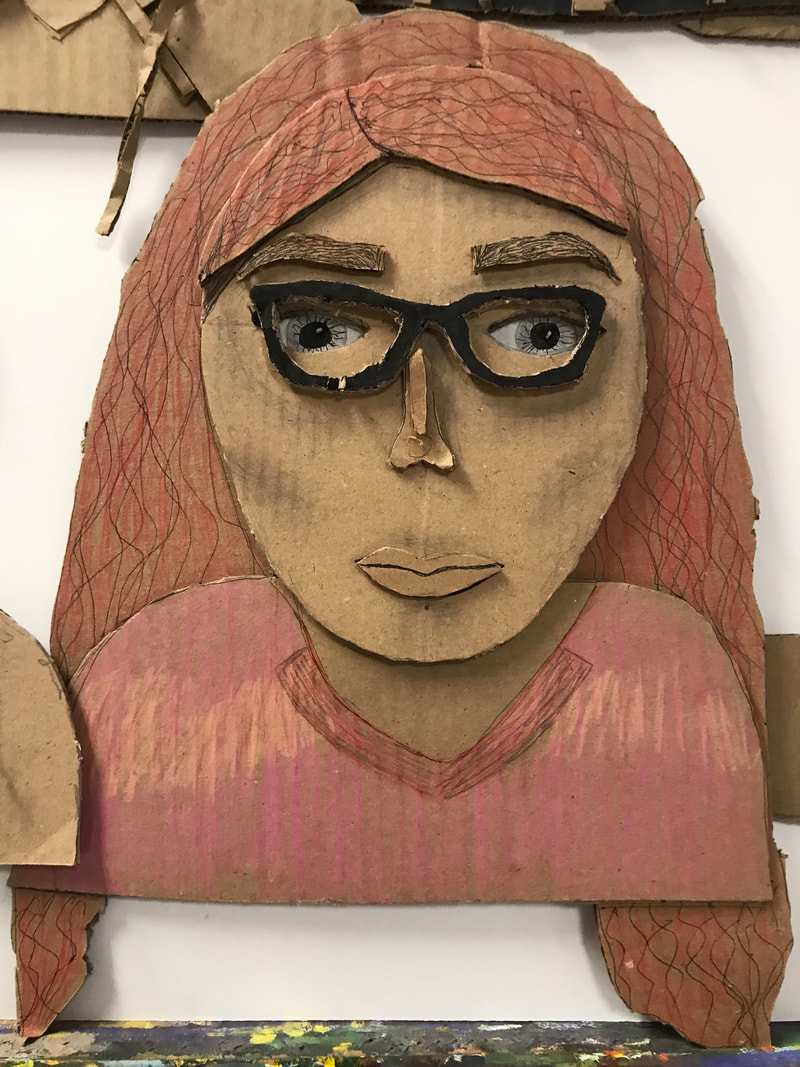
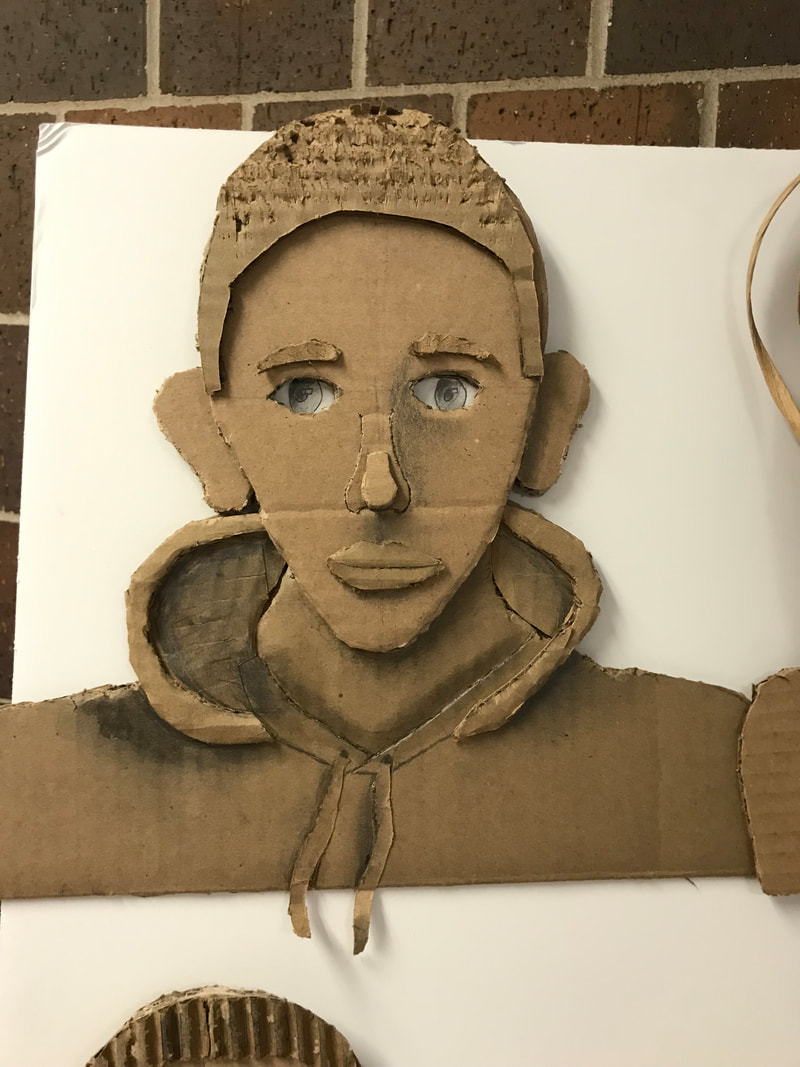
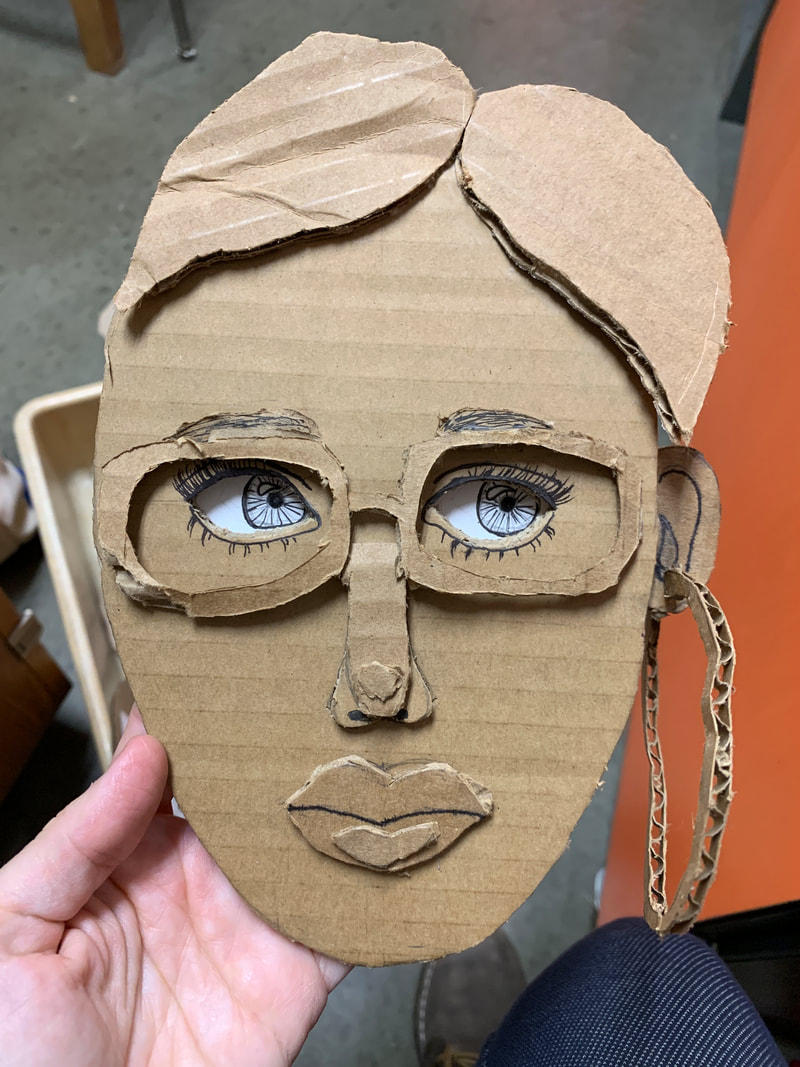
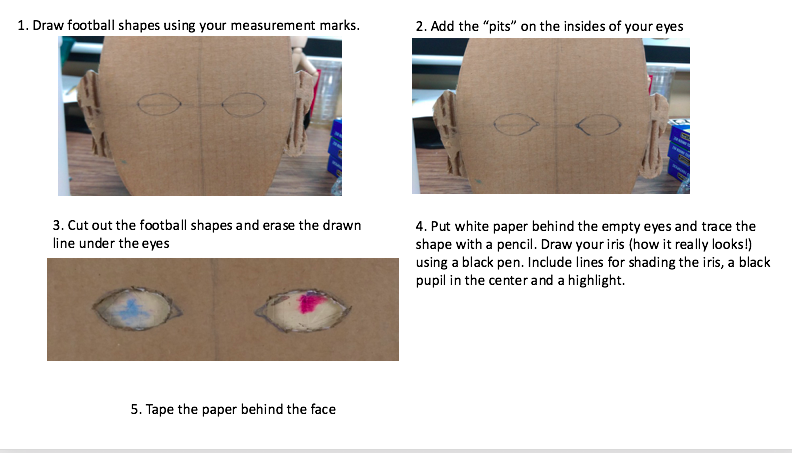
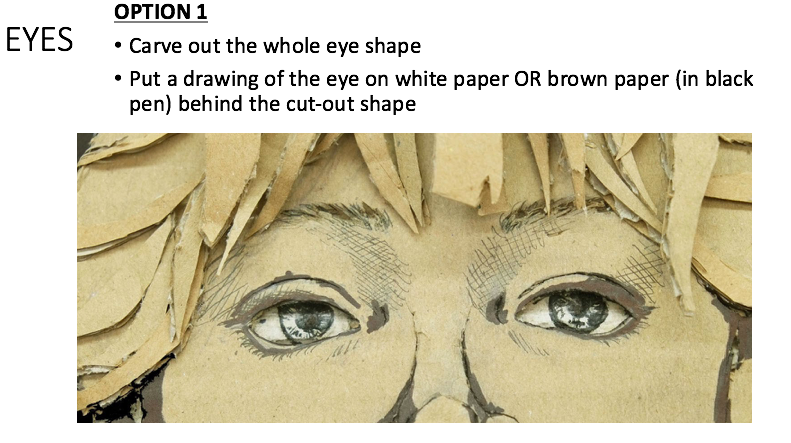
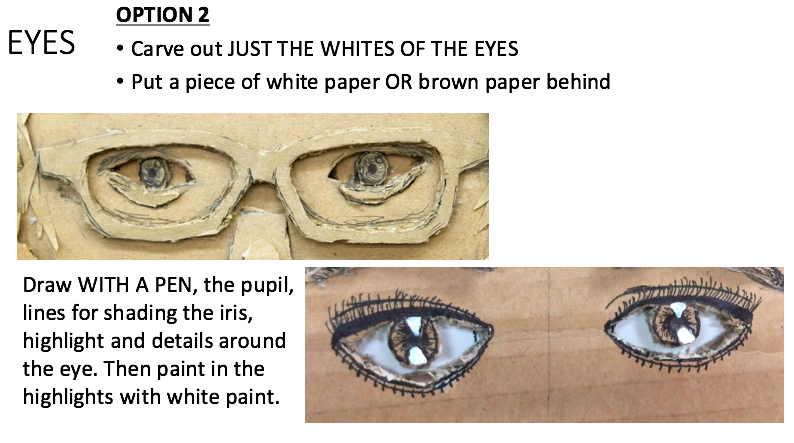
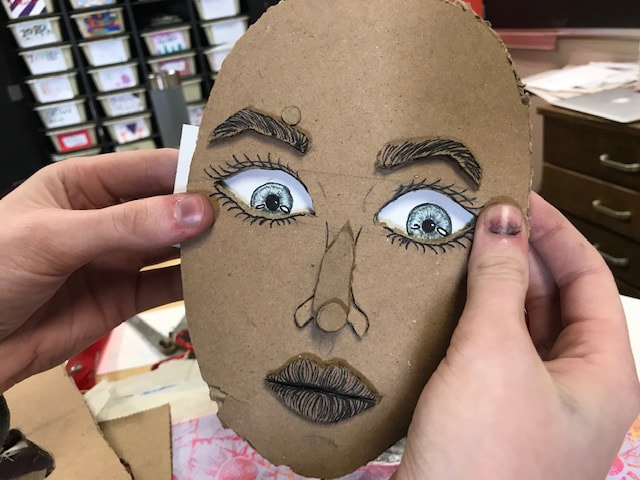
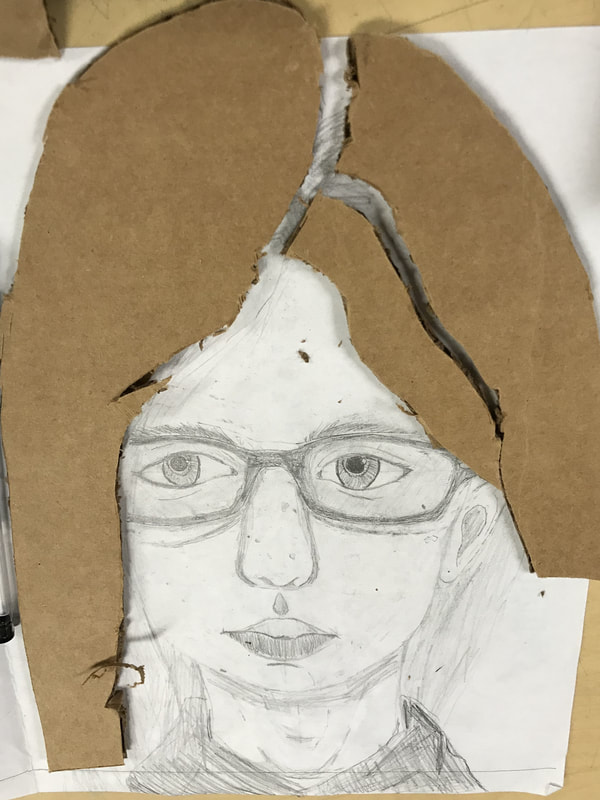
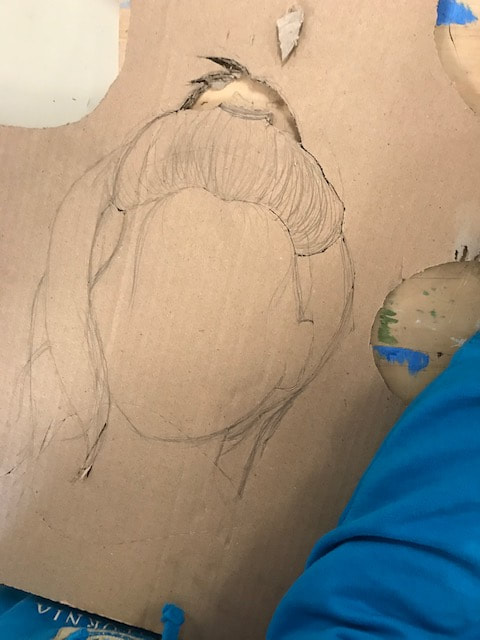
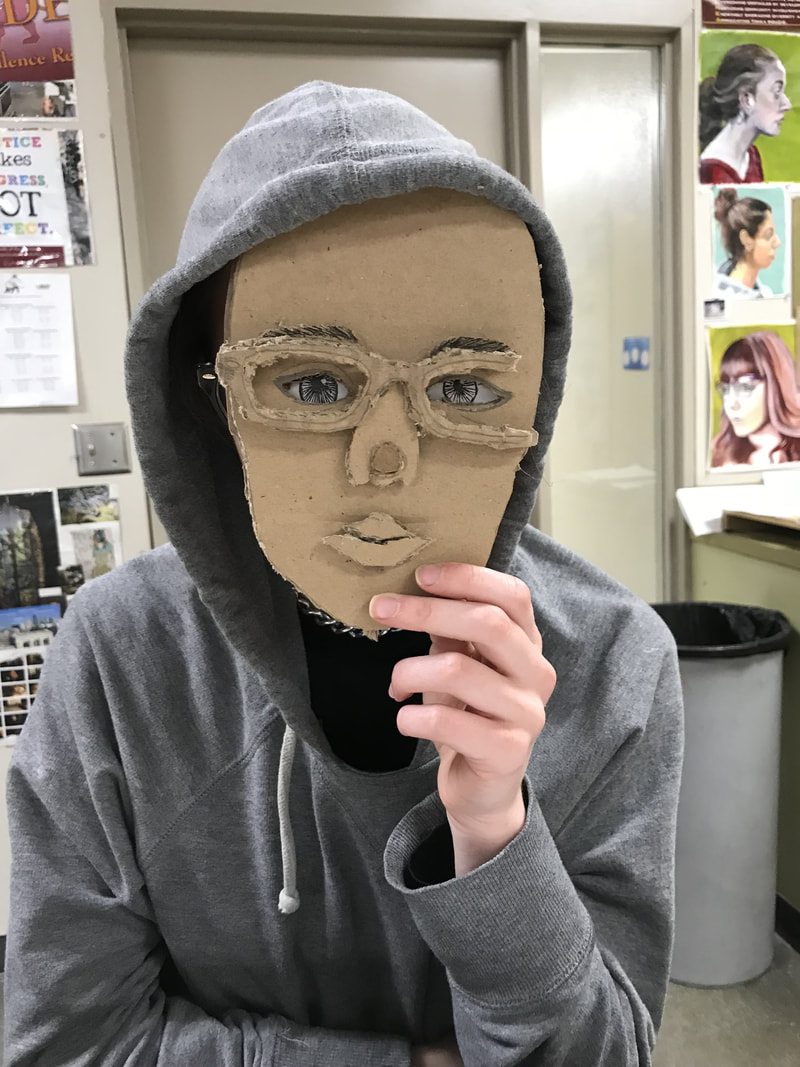
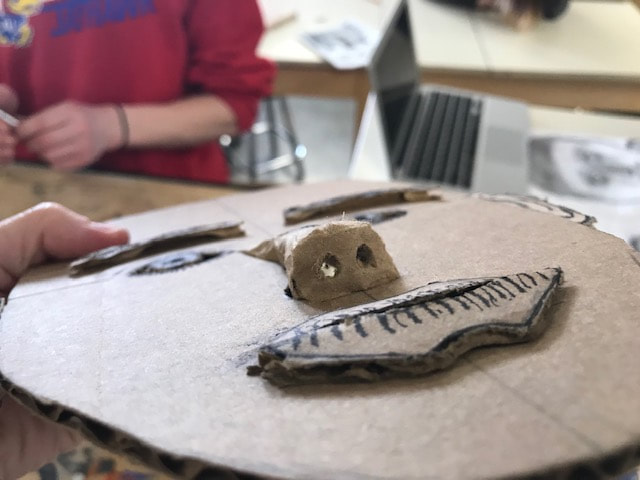
7. Cardboard Self Portraits
| rubric.pdf |


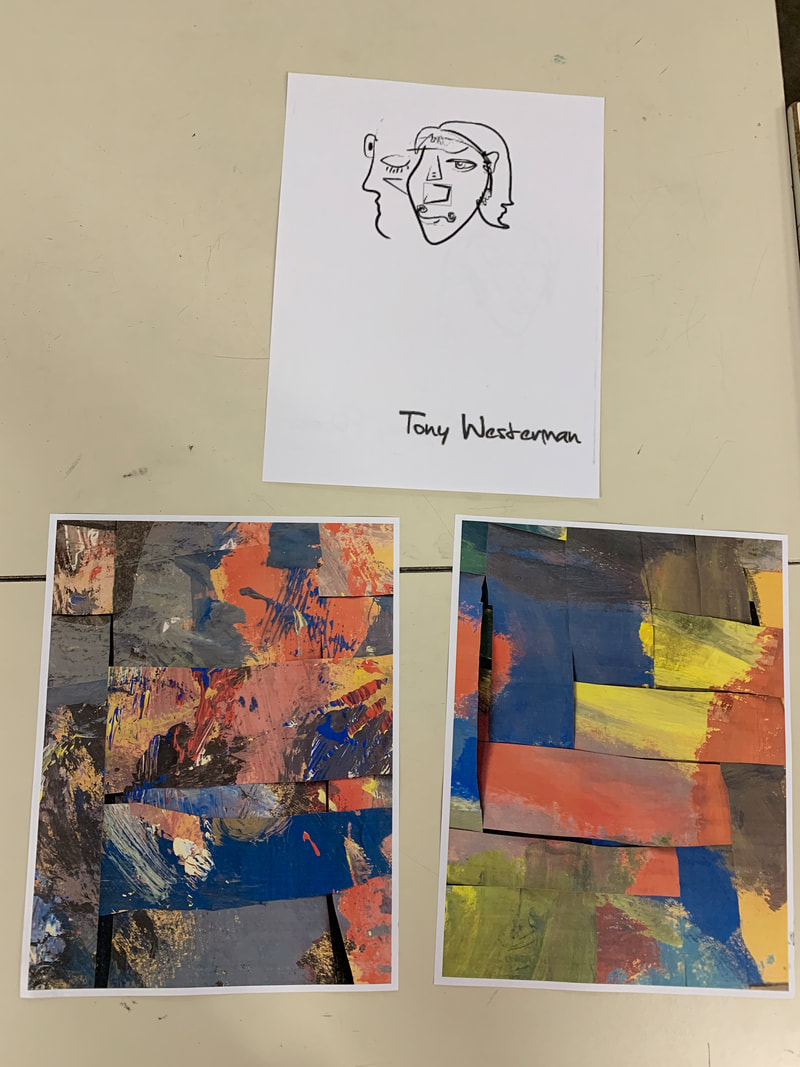
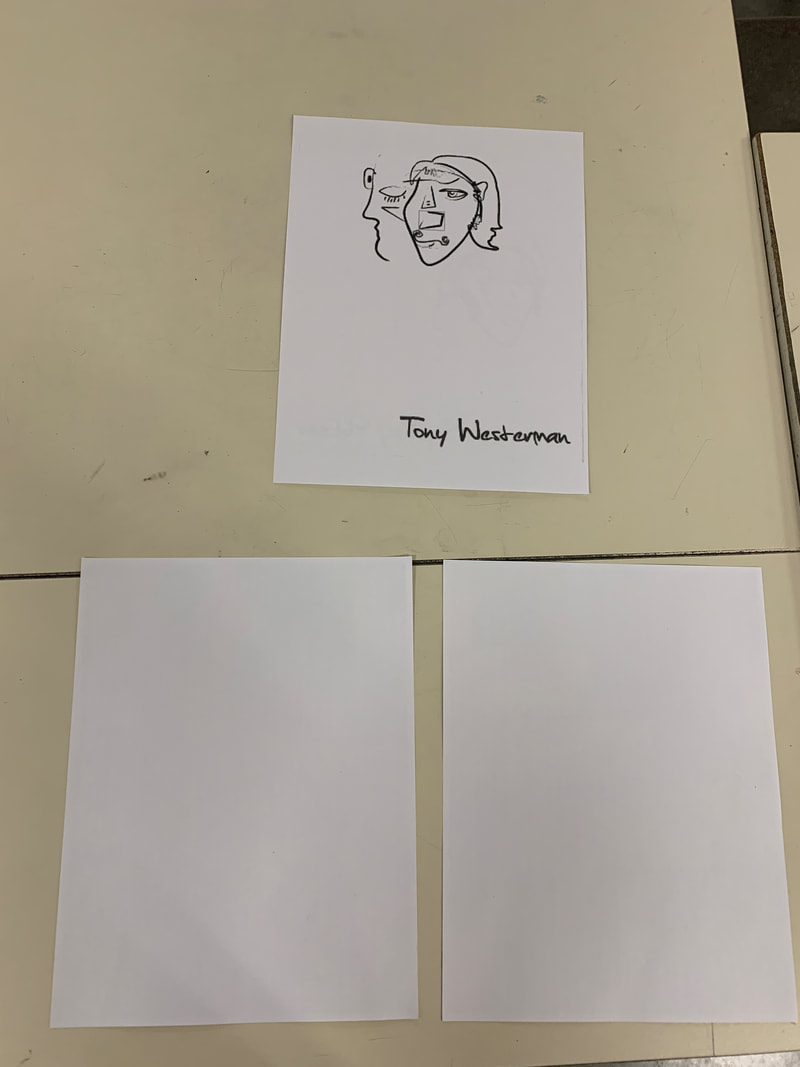
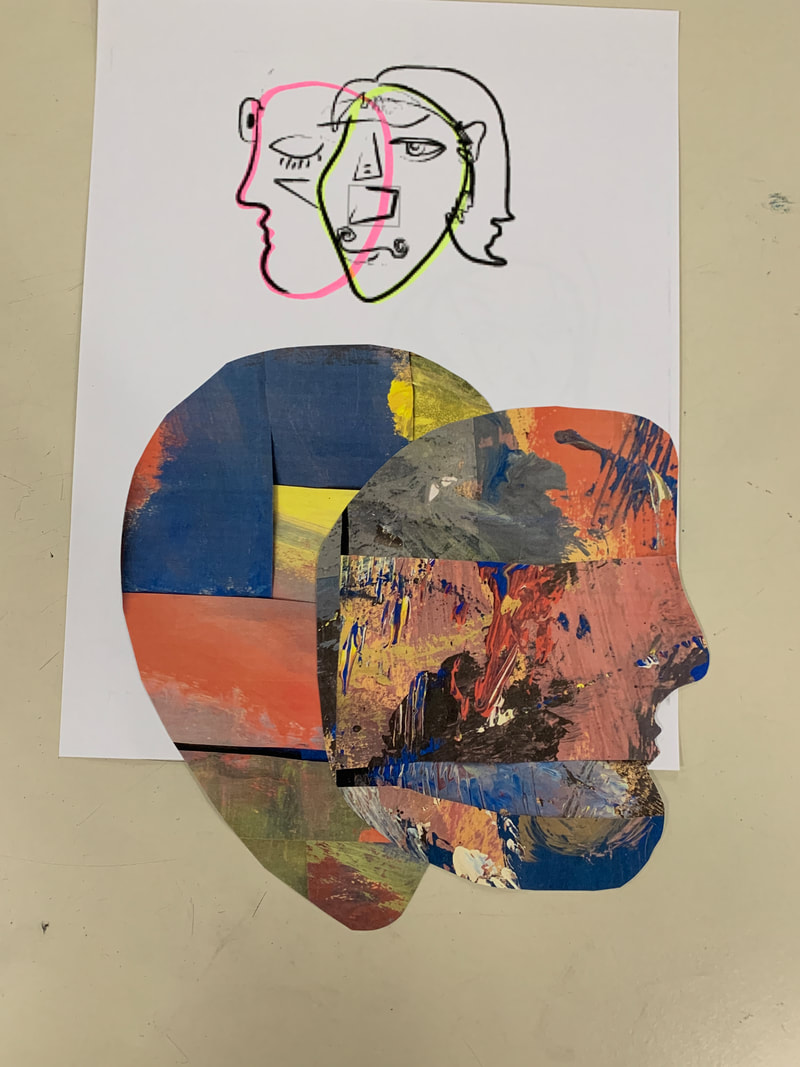
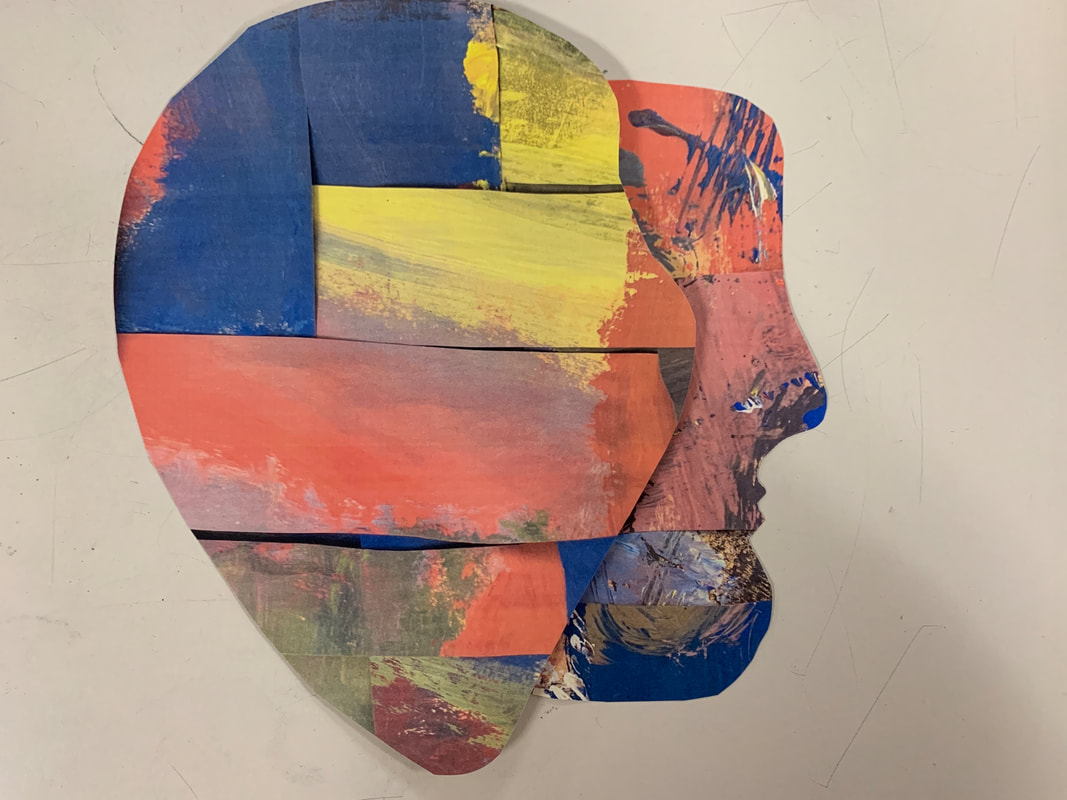
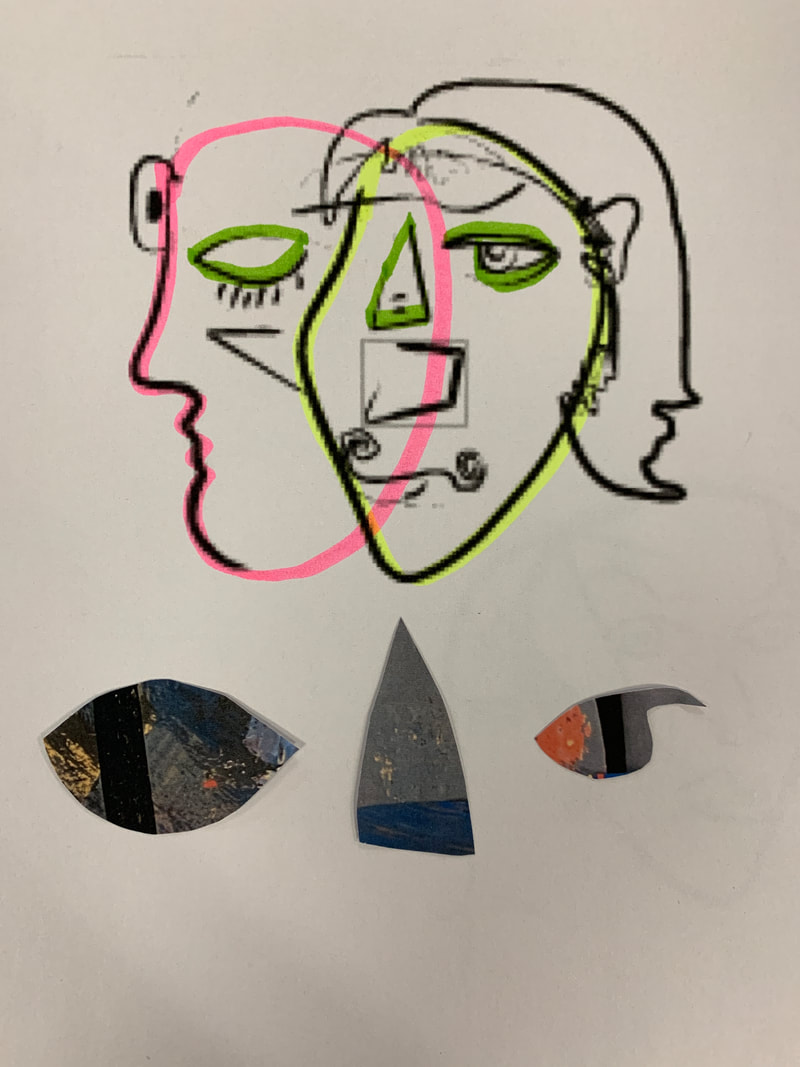
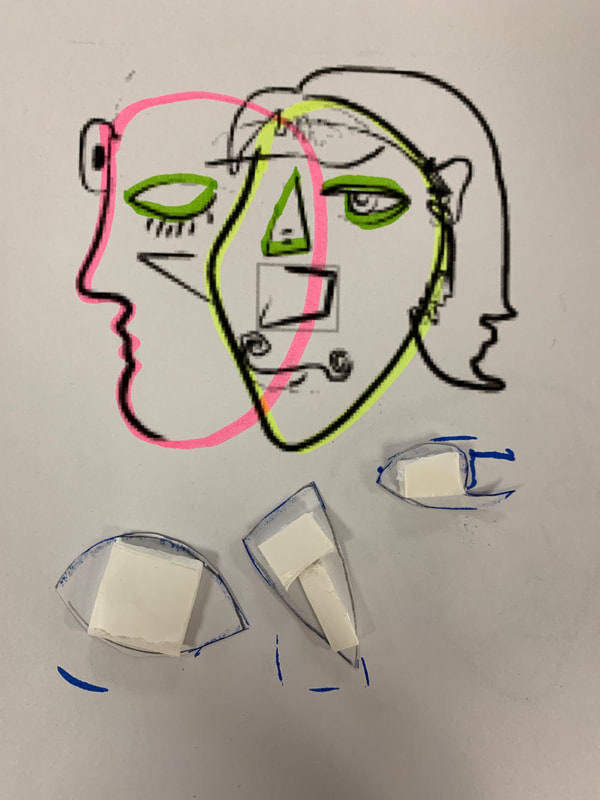
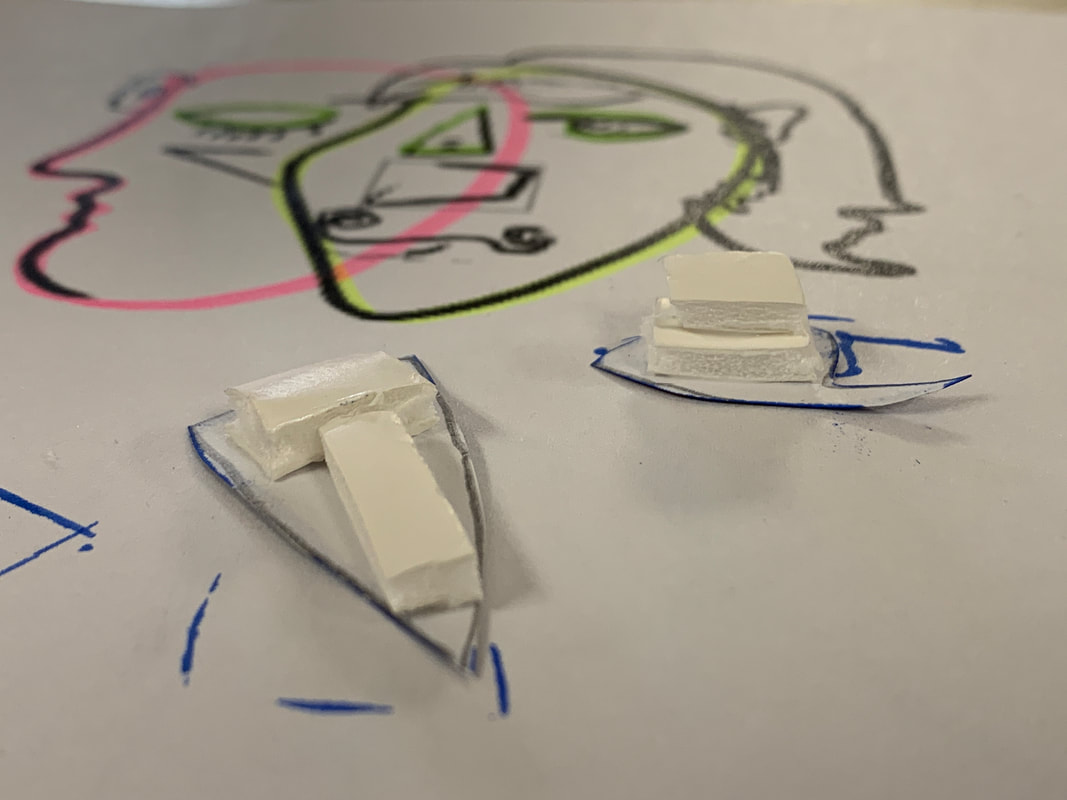
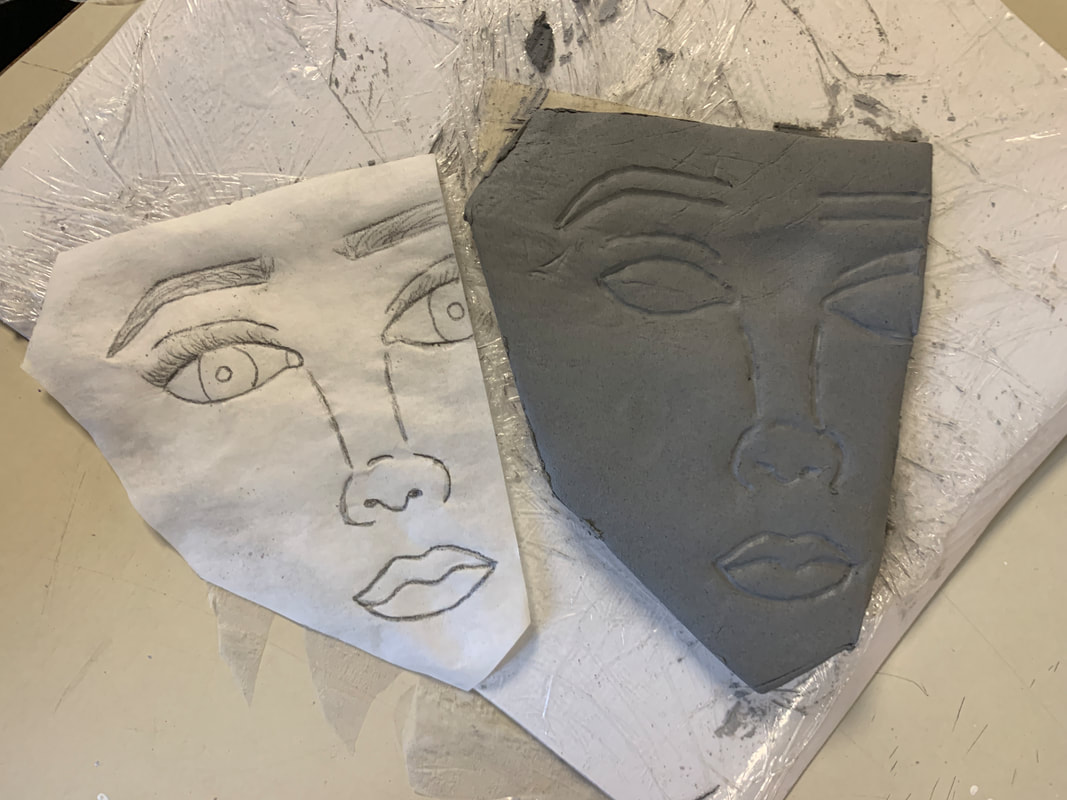
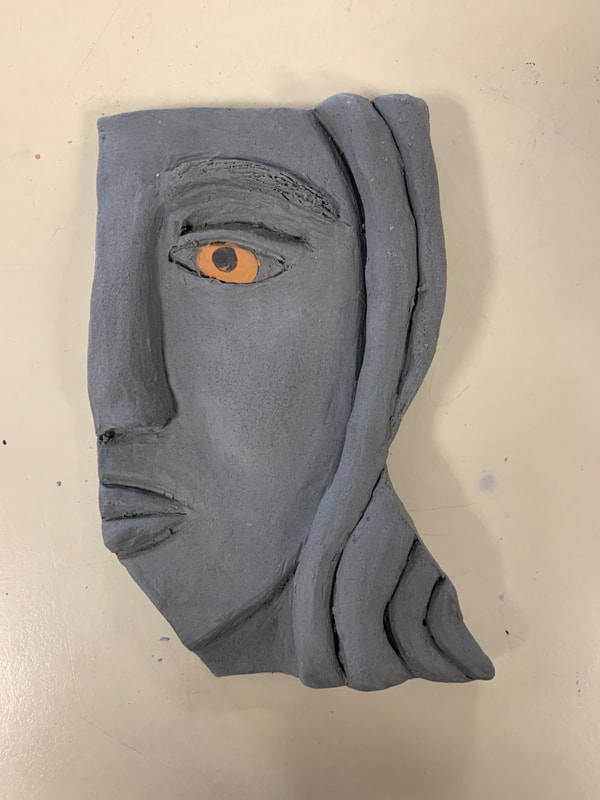
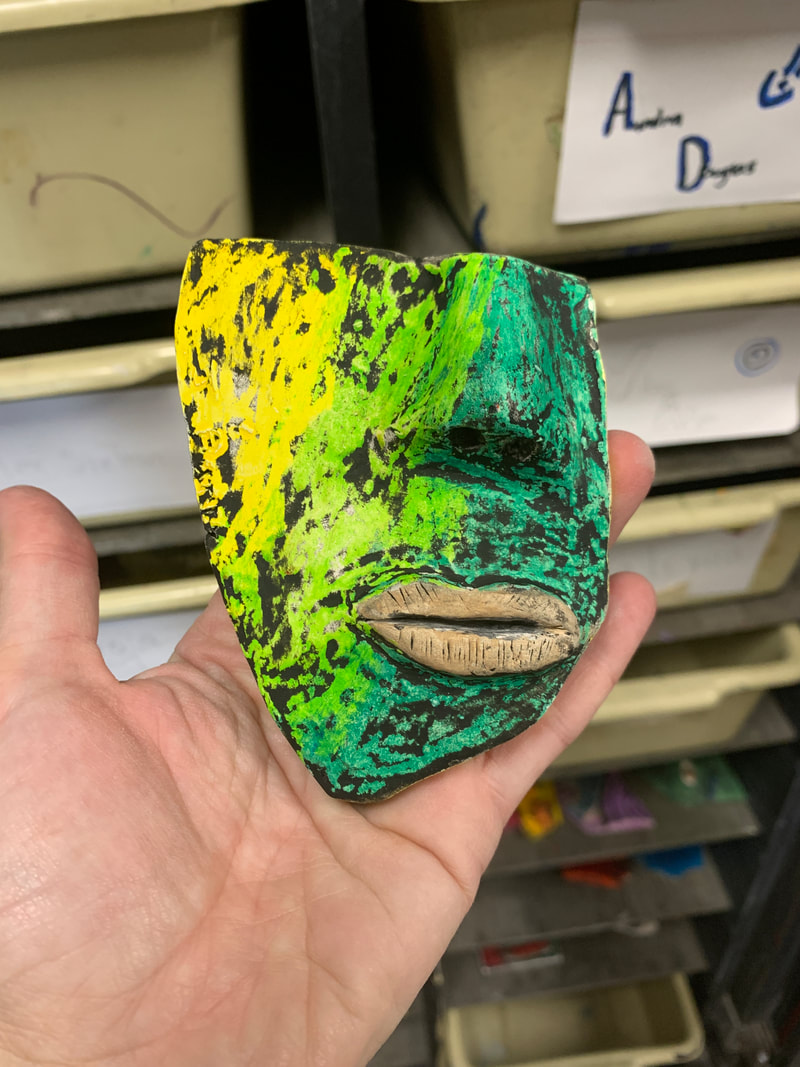
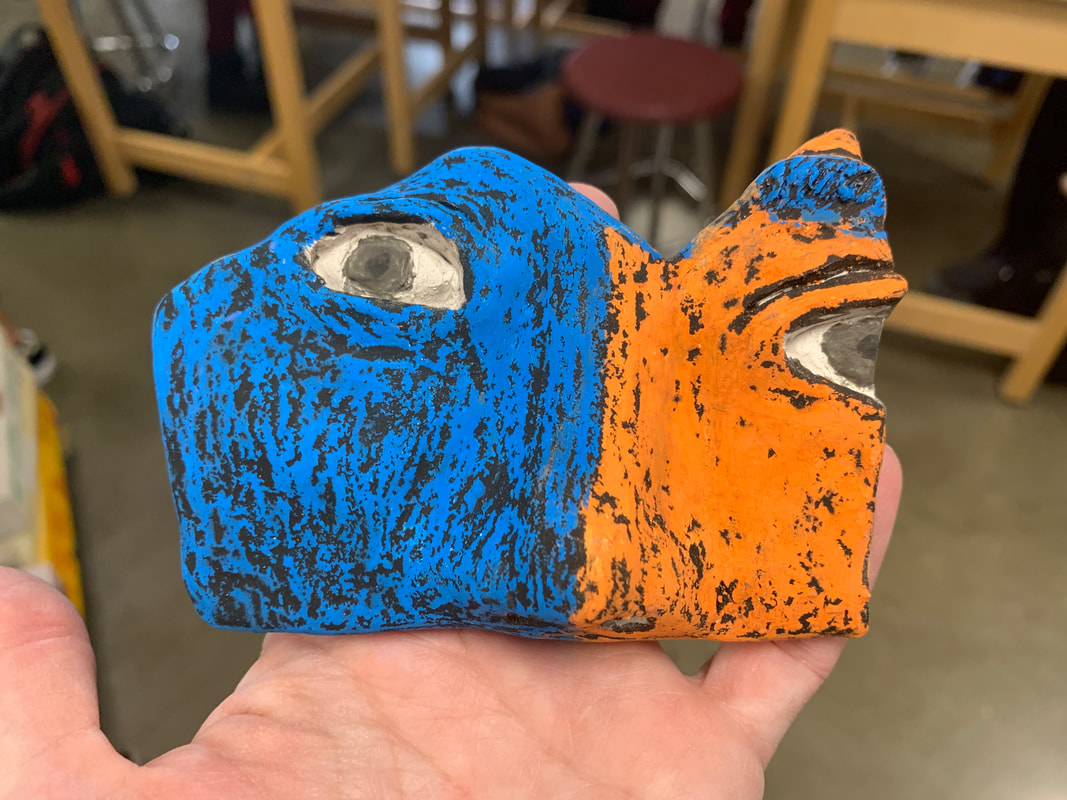
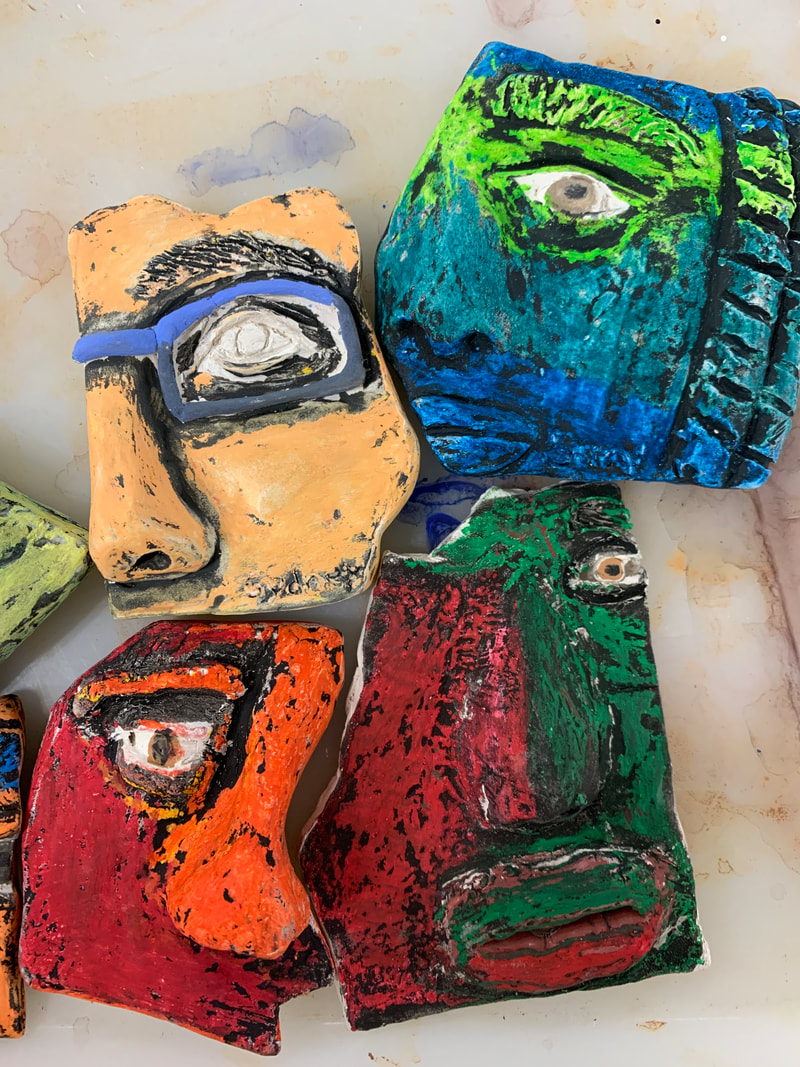
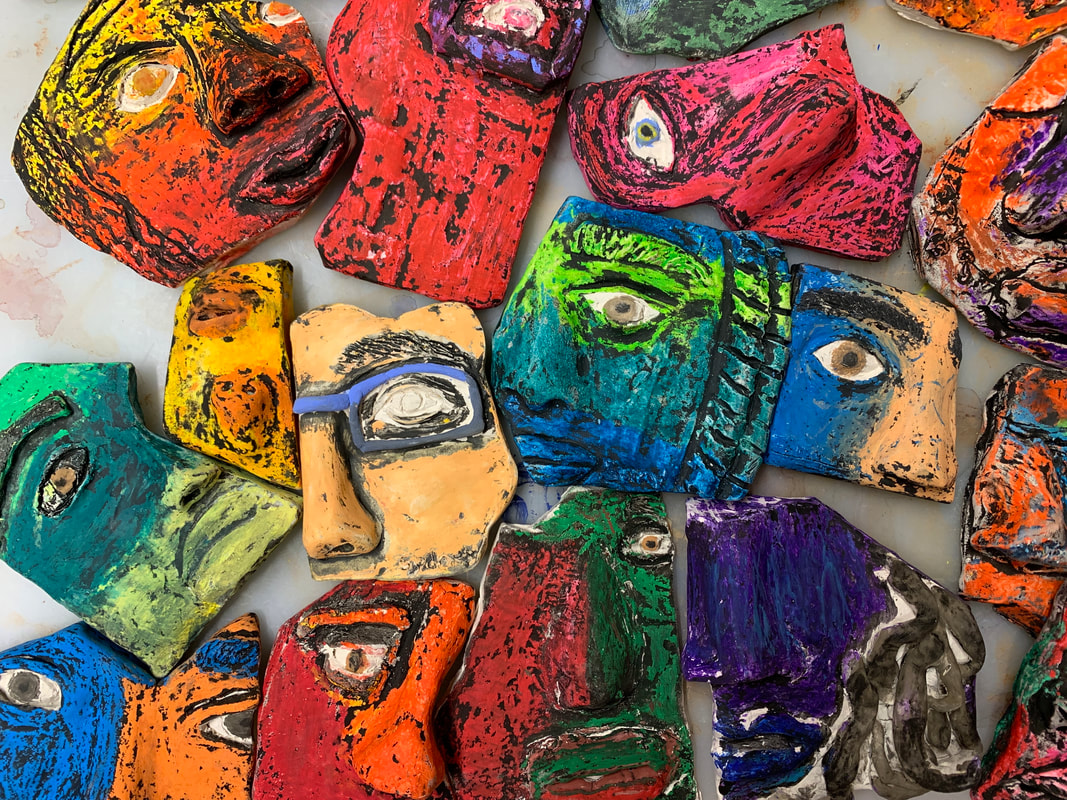
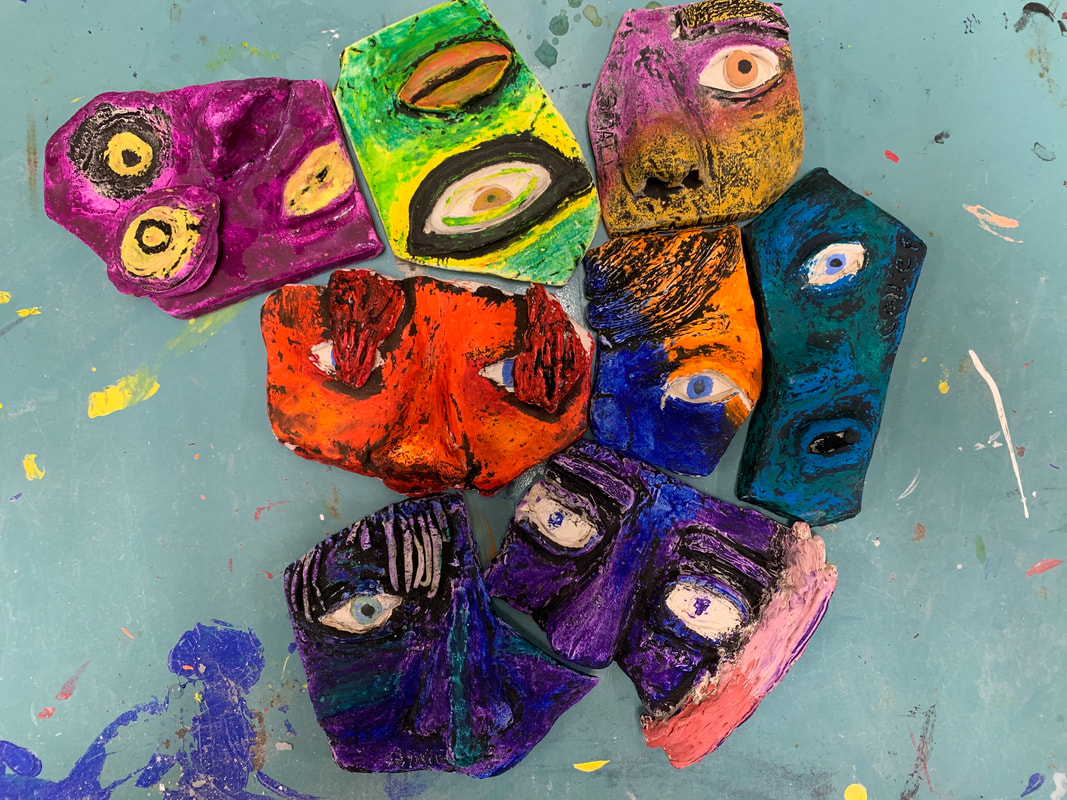
8. Facial Fracture/Semester 1 Final |
| ||


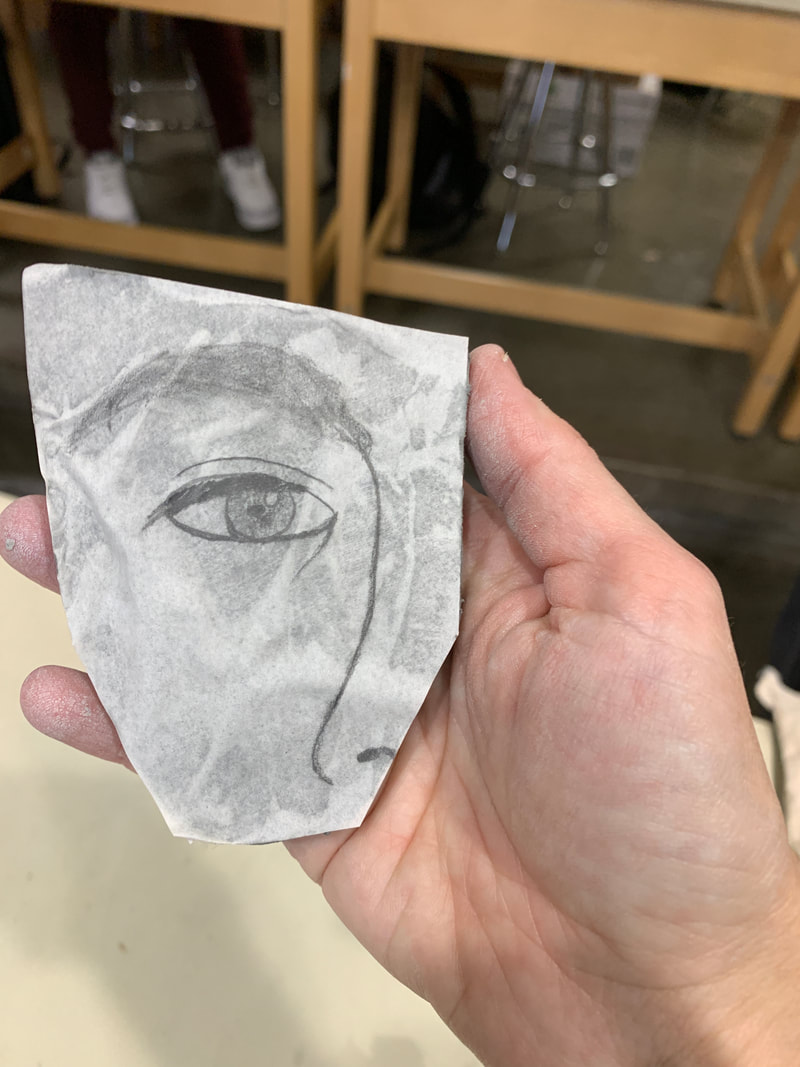
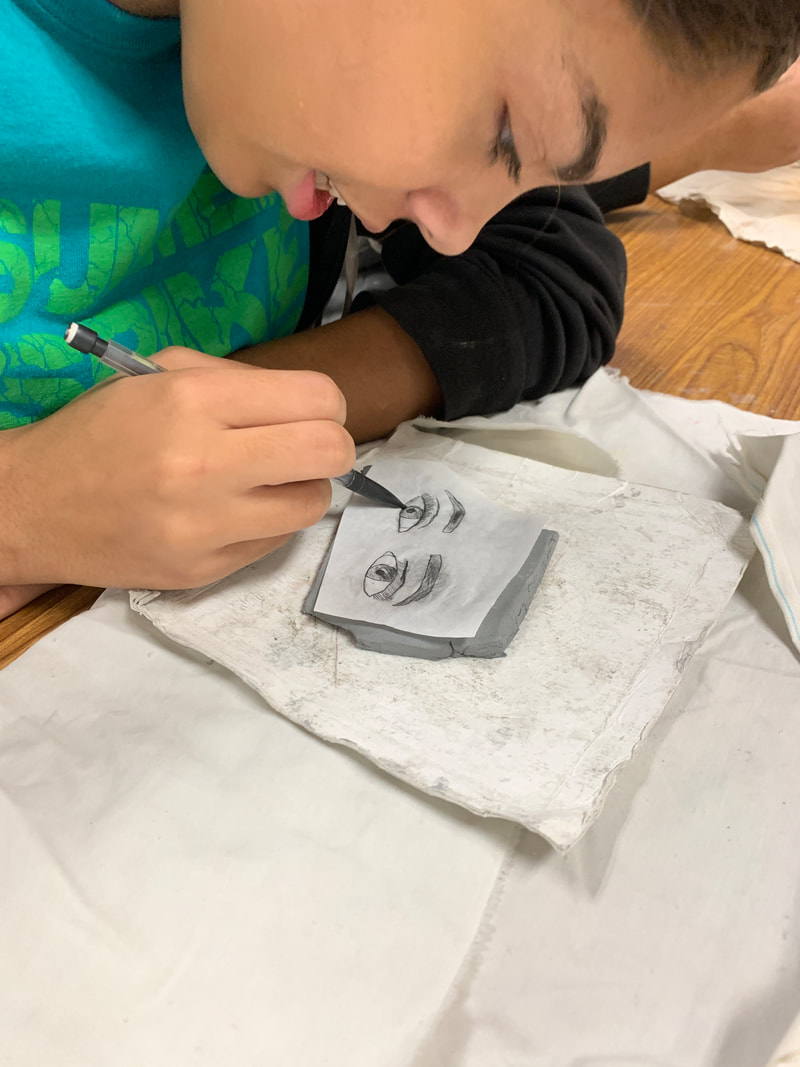
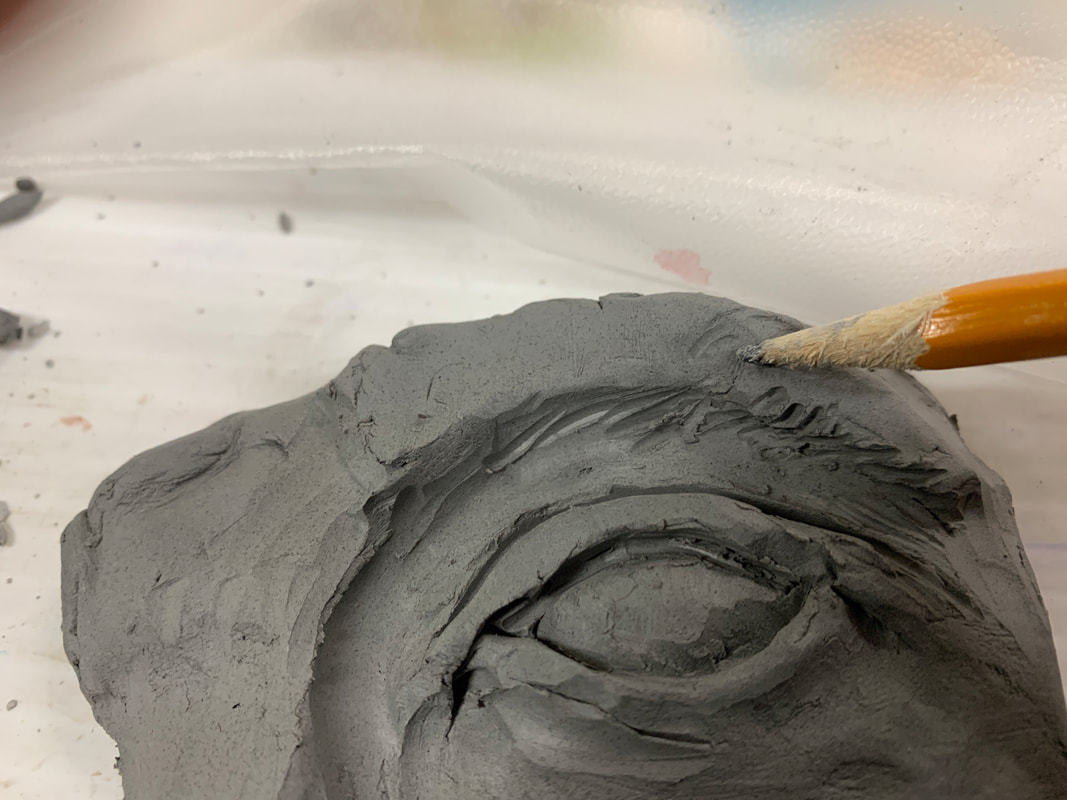
- Which technique would you choose for eyes and WHY?
- Answer in Sketchbook
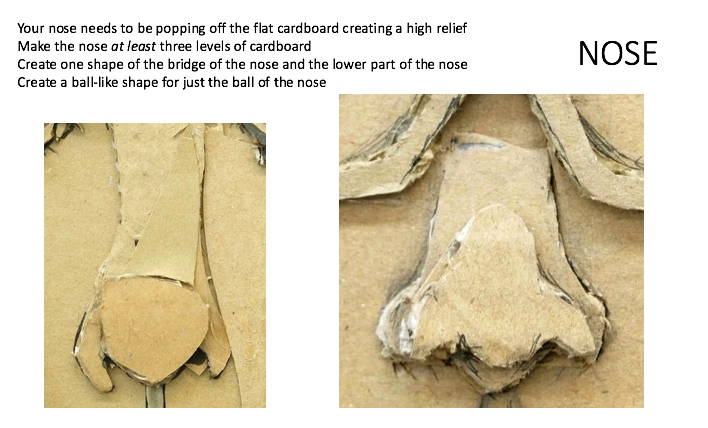
While watching the NOSE tutorial, watch 2-4 min, then 11:50-12:20, then 14-15:10
Start at 2:45 for MOUTH tutorial
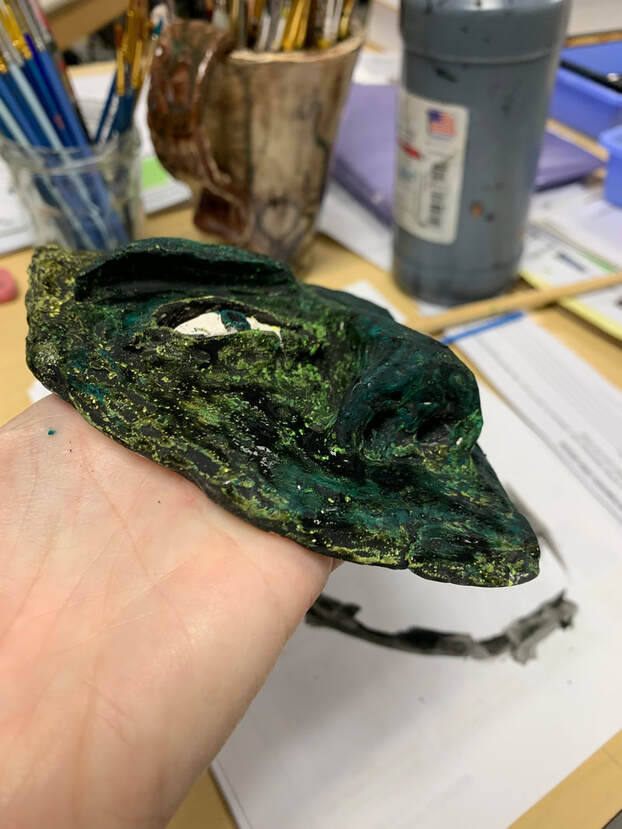
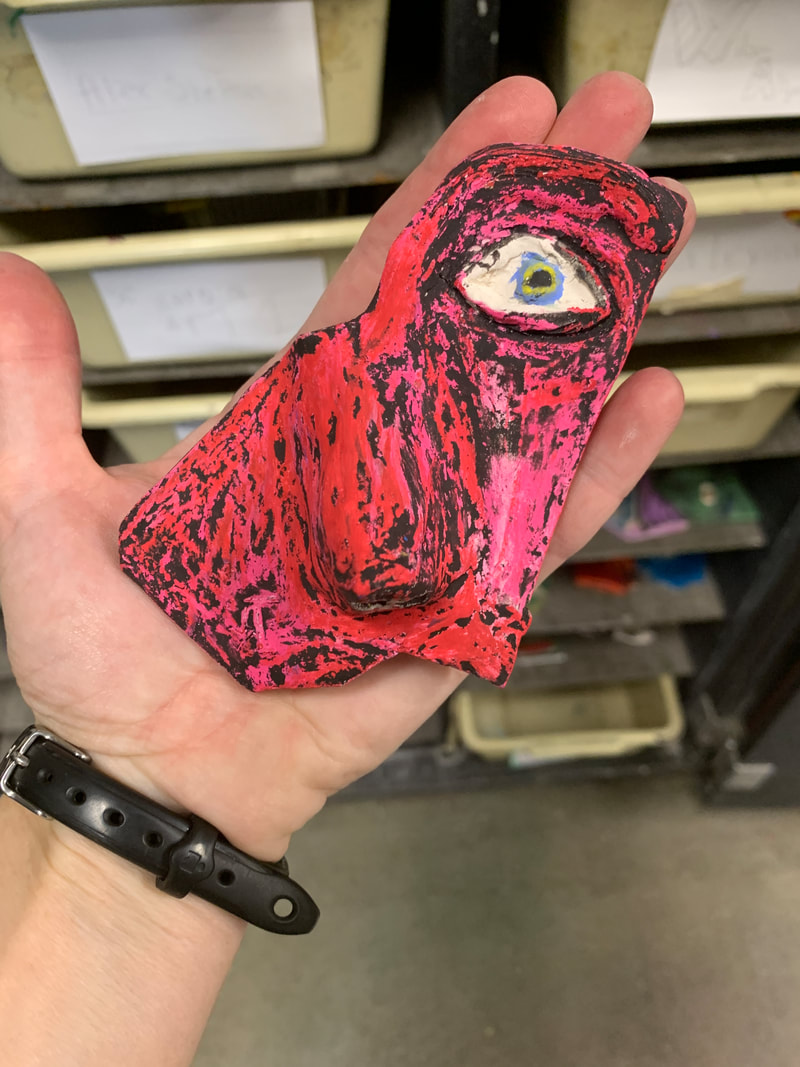
Adding Color to your Facial Fragment |
| ||
|
|
Semester 2- 2020
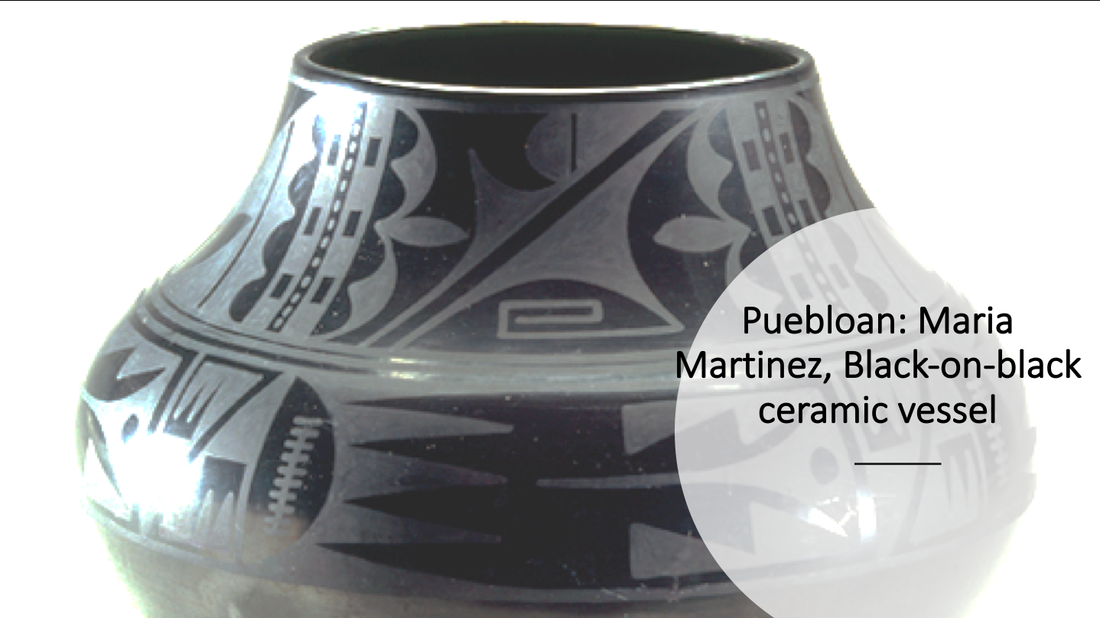
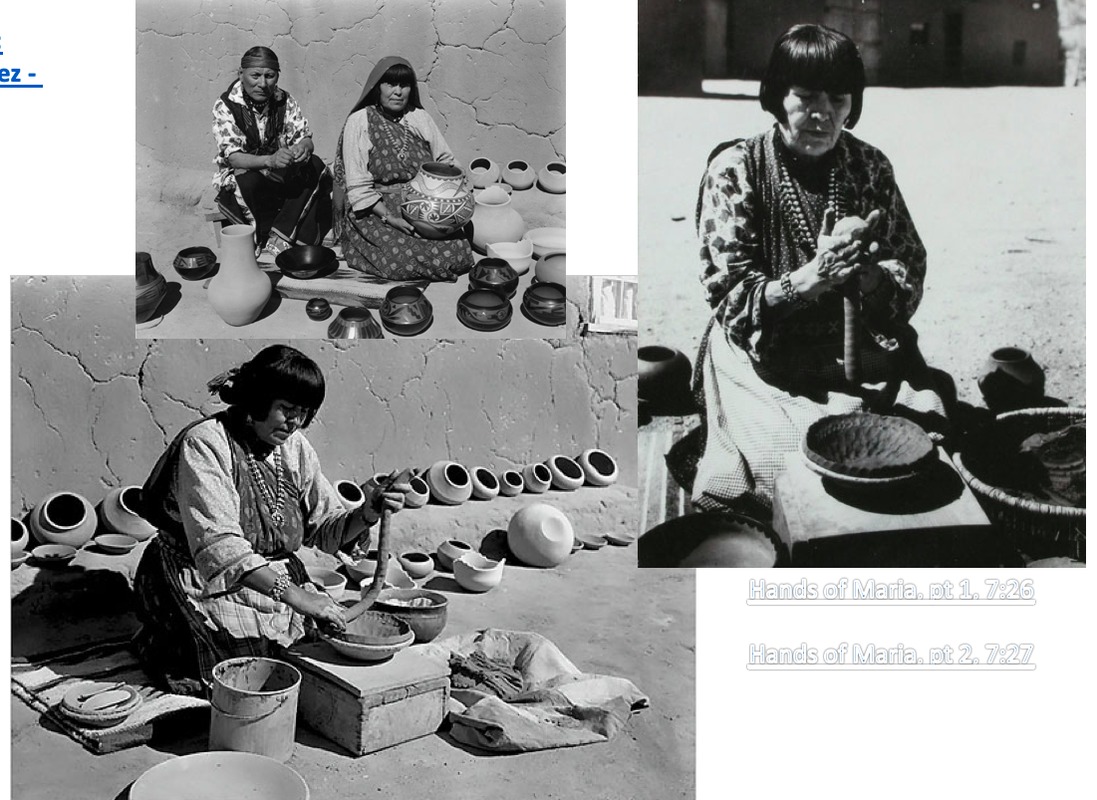
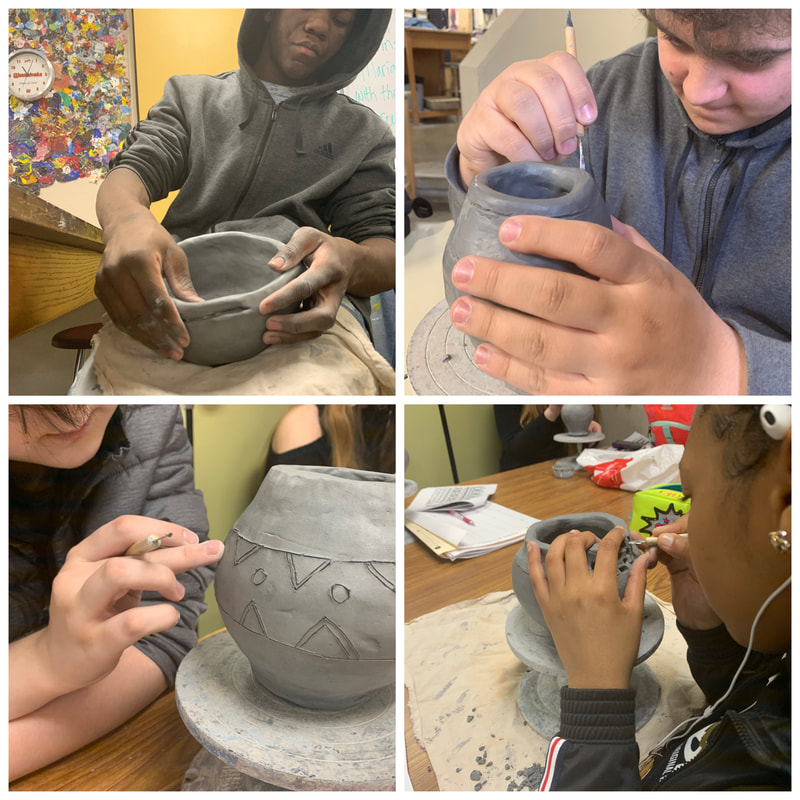
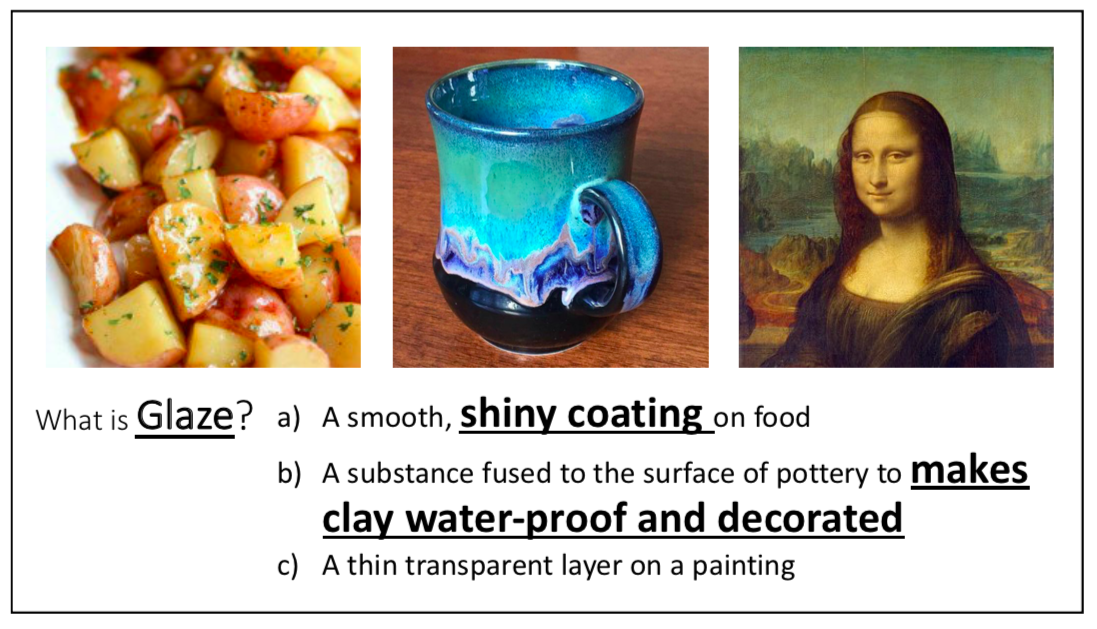
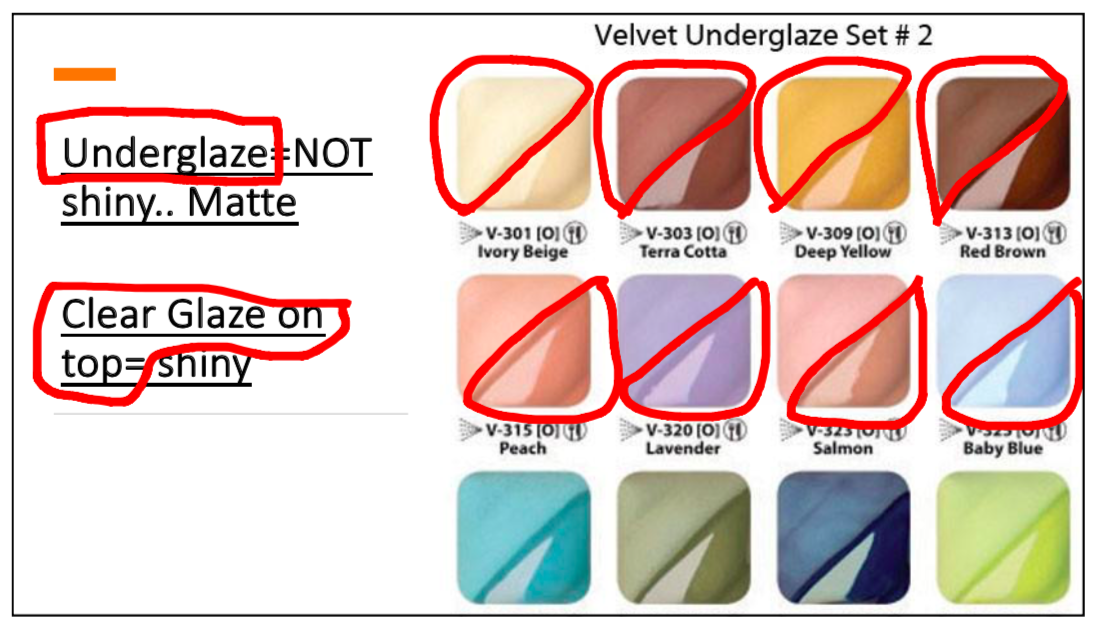
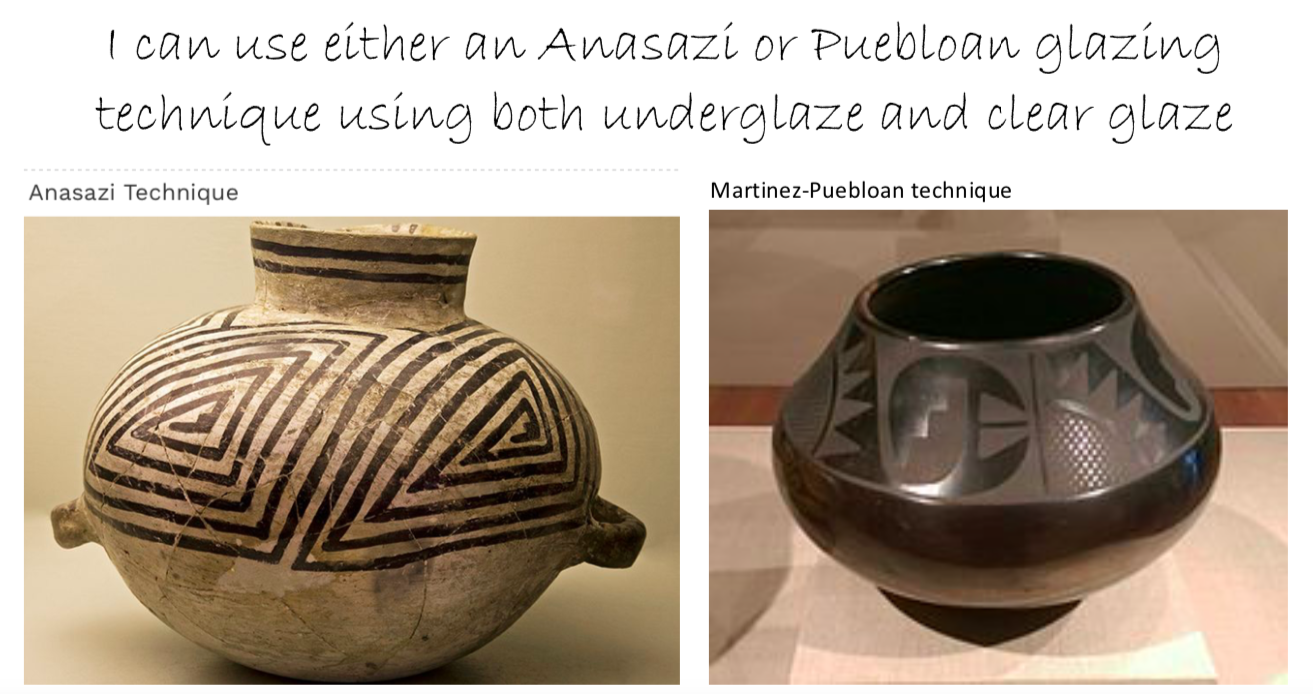
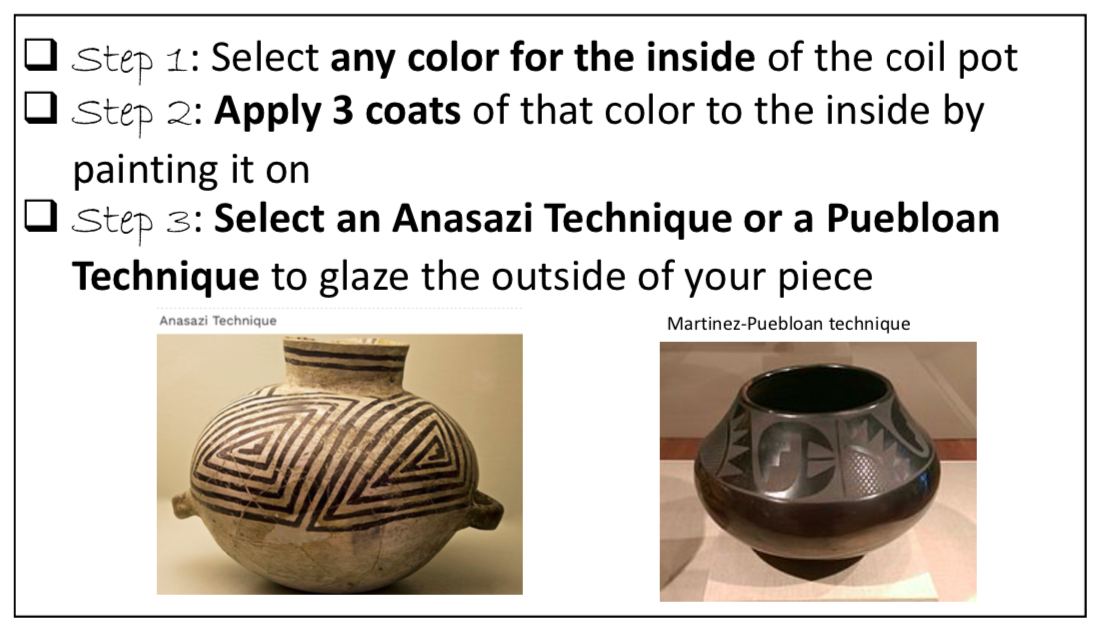
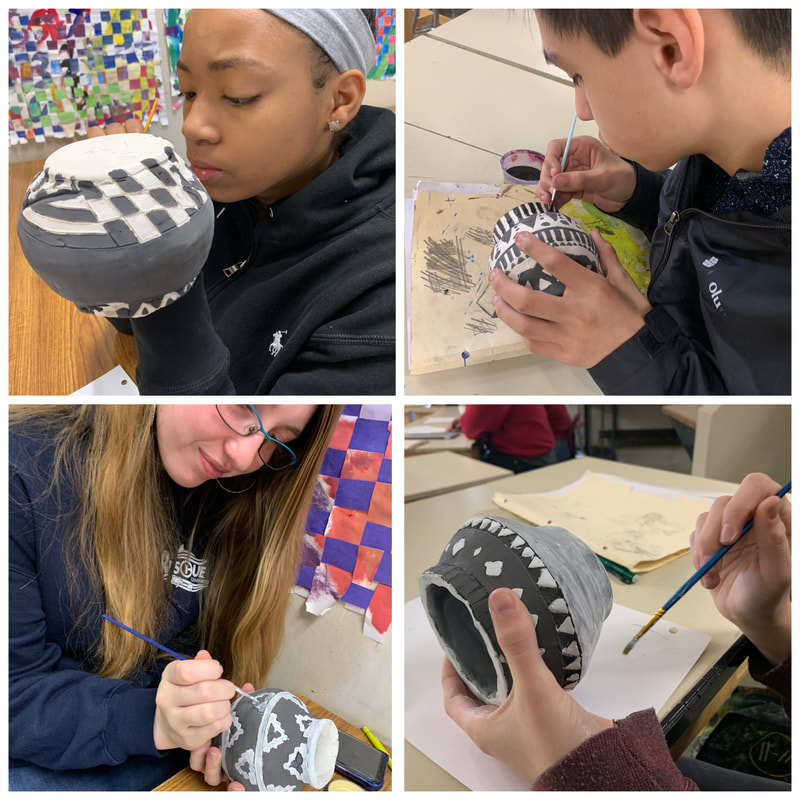
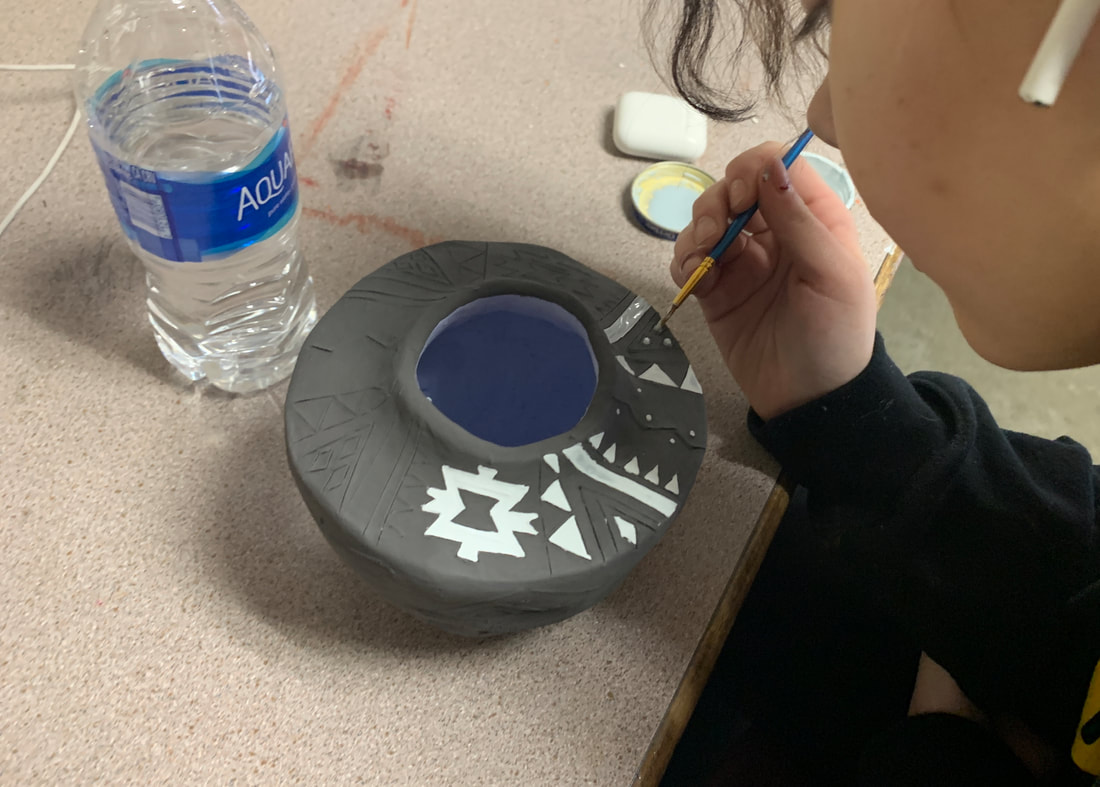
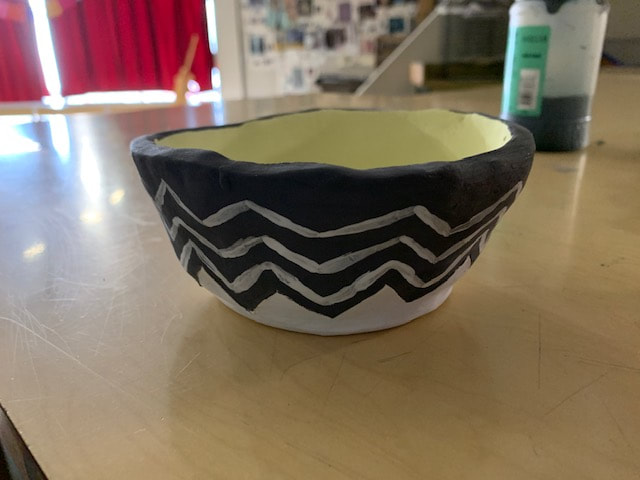
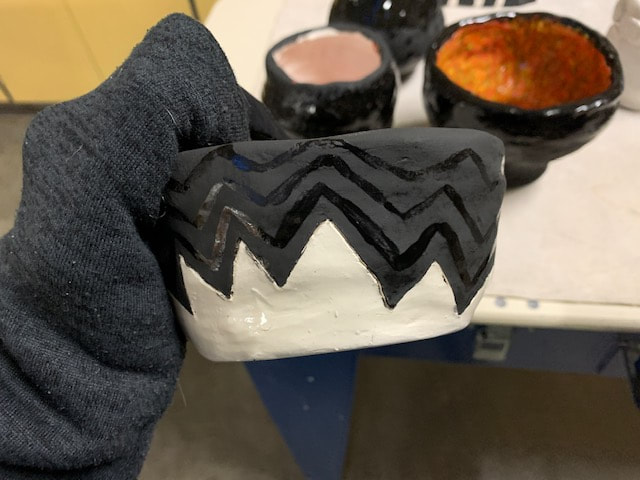
1. Maria Martinez/Coil Pot |
| ||
|
Clay tutorial 1: Rolling out the slab and cutting the circle for the base
|
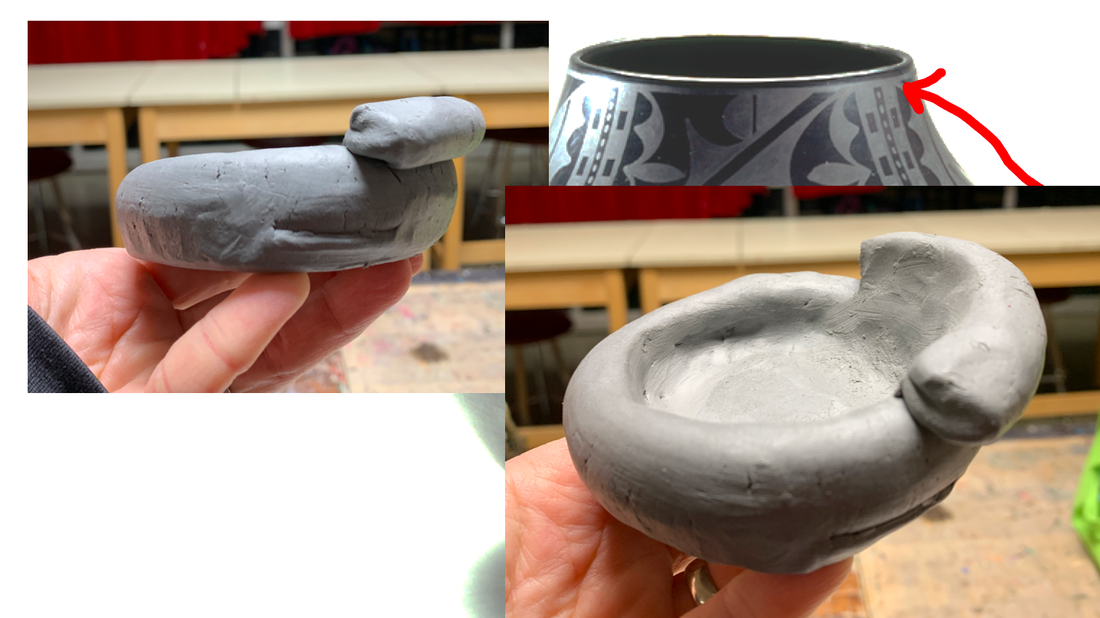
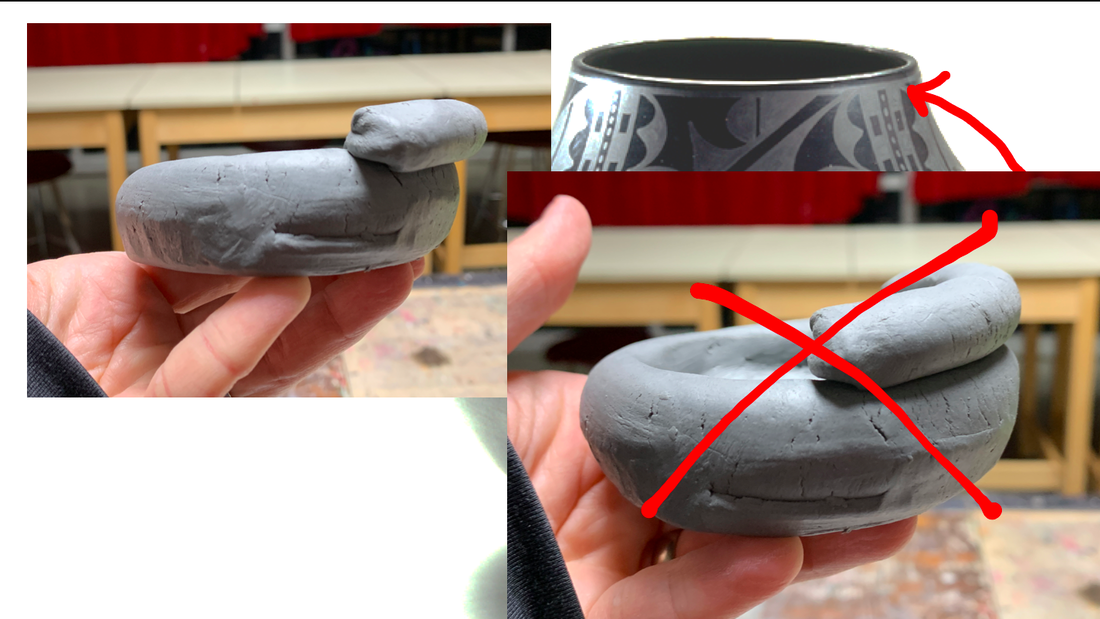
Clay tutorial 2: Making & adding the first coil
|
Clay tutorial 3: Adding the next three coils going outward like a bowl
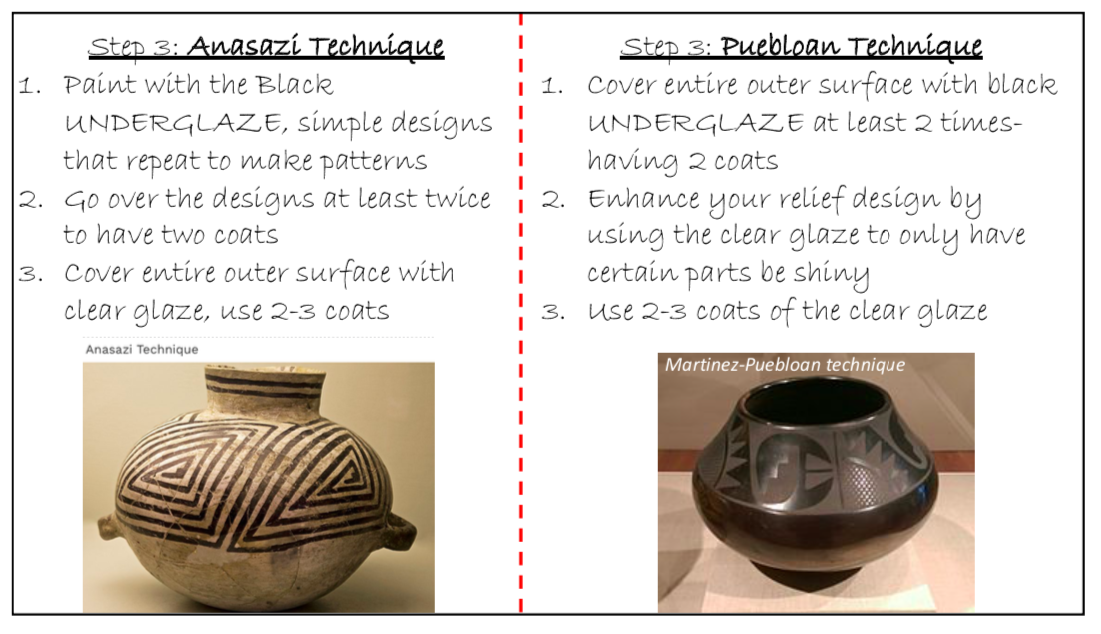
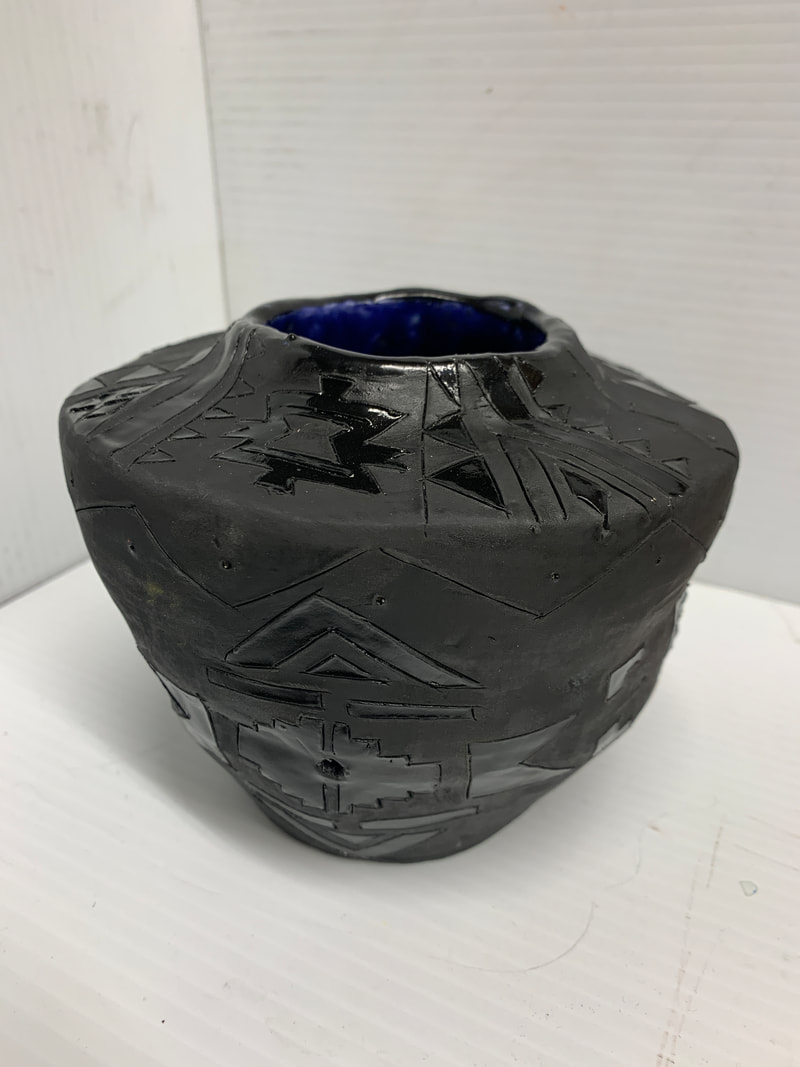
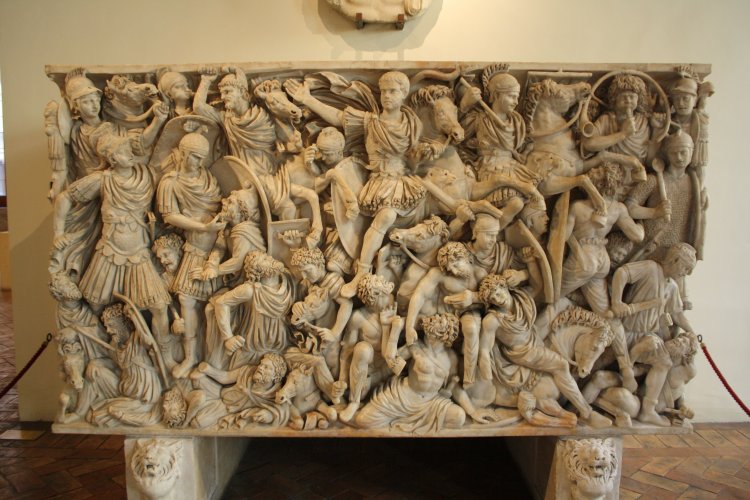
RELIEF= sculptural elements that are on top of a flat surface

Ludovisi Battle sarcophagus, marble, Roman
|
Three types of Relief Sculptures
|
|
|
What is...
|
|
|
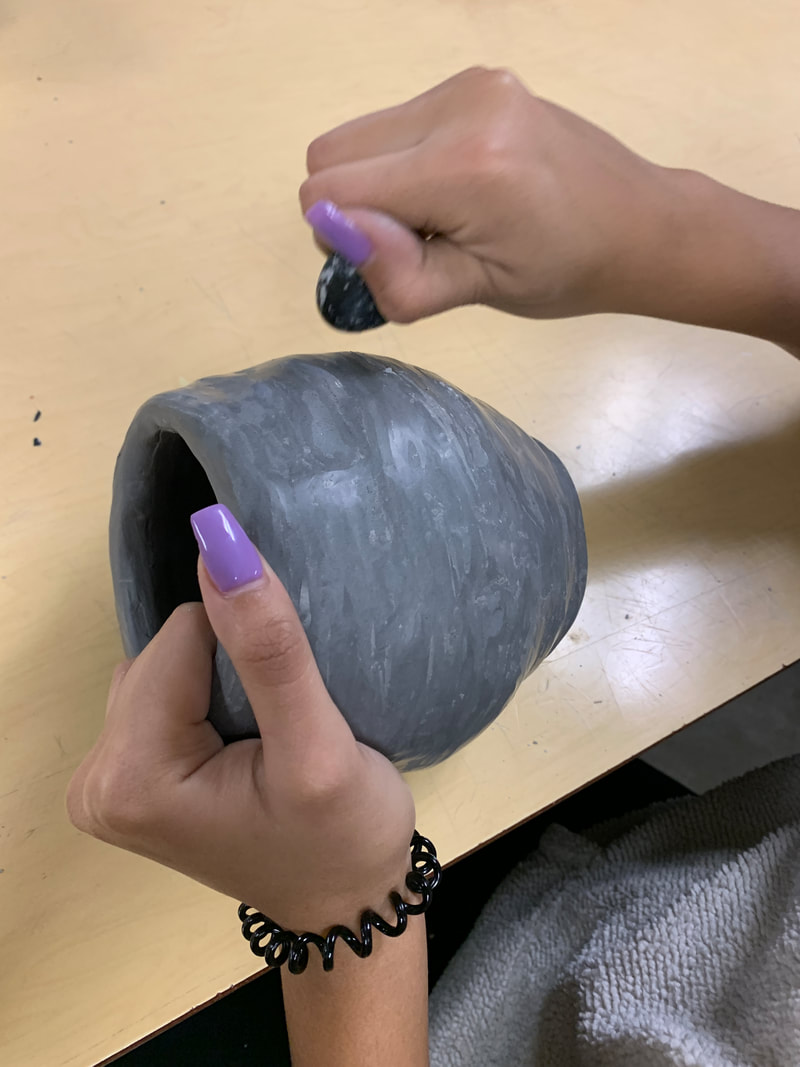
1. Wedging the clay
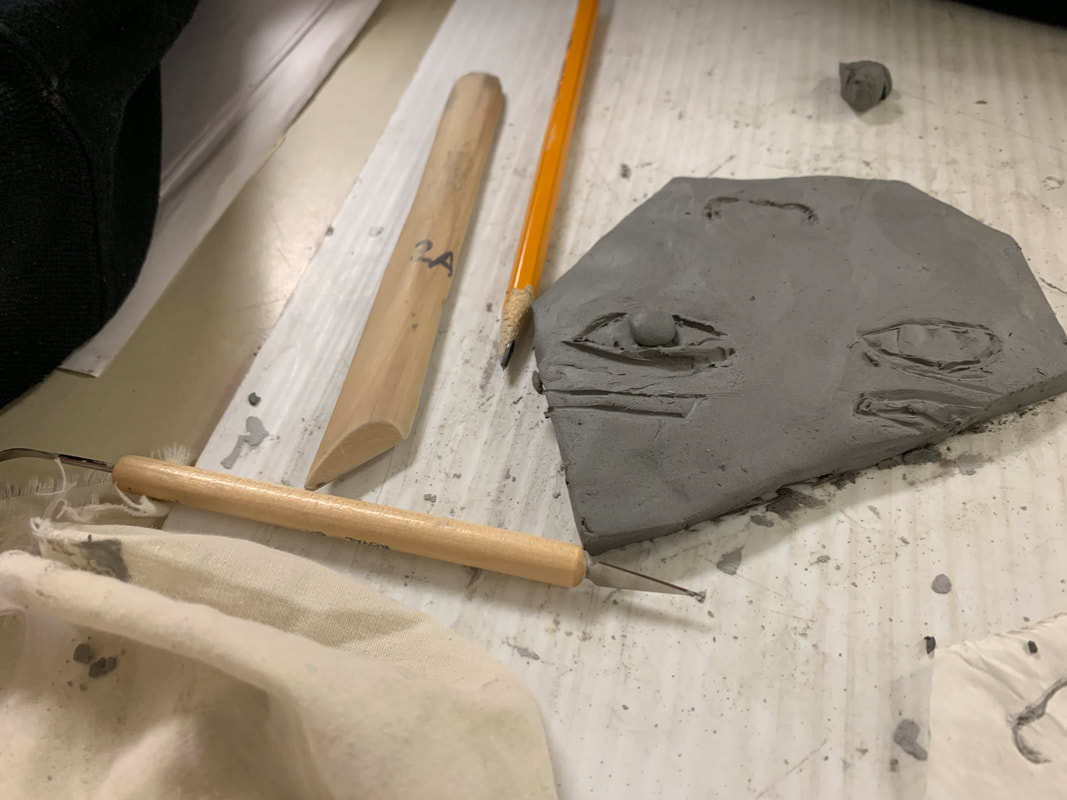
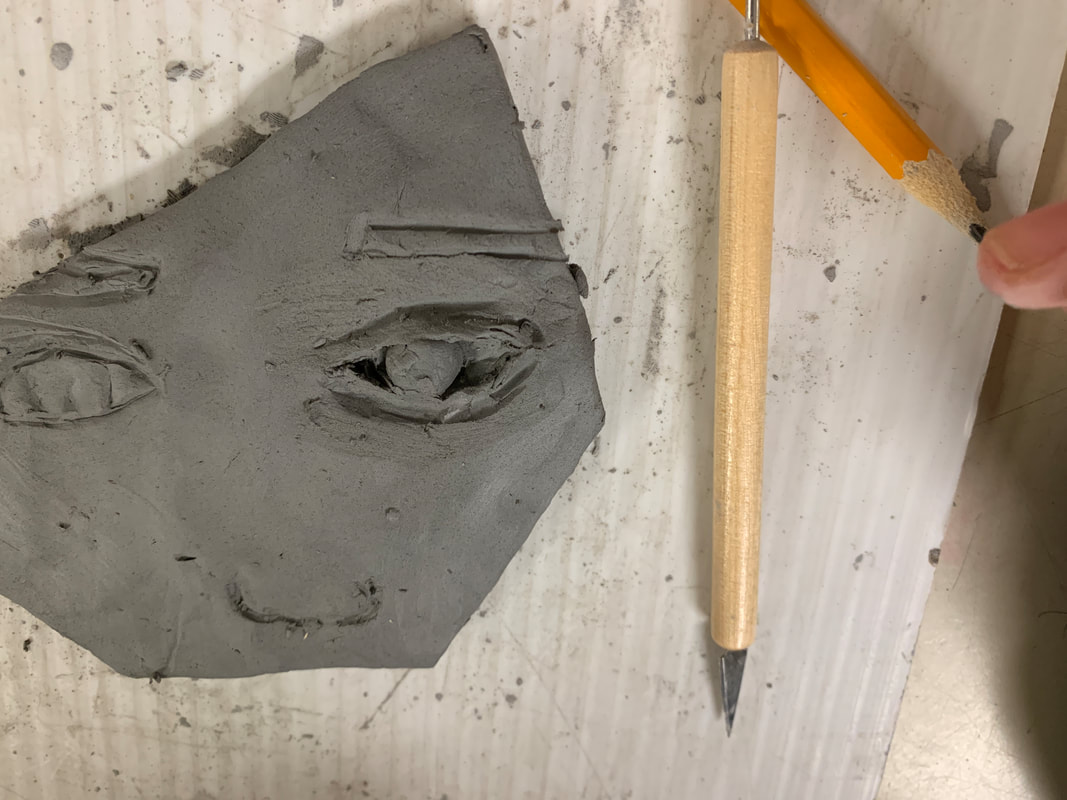
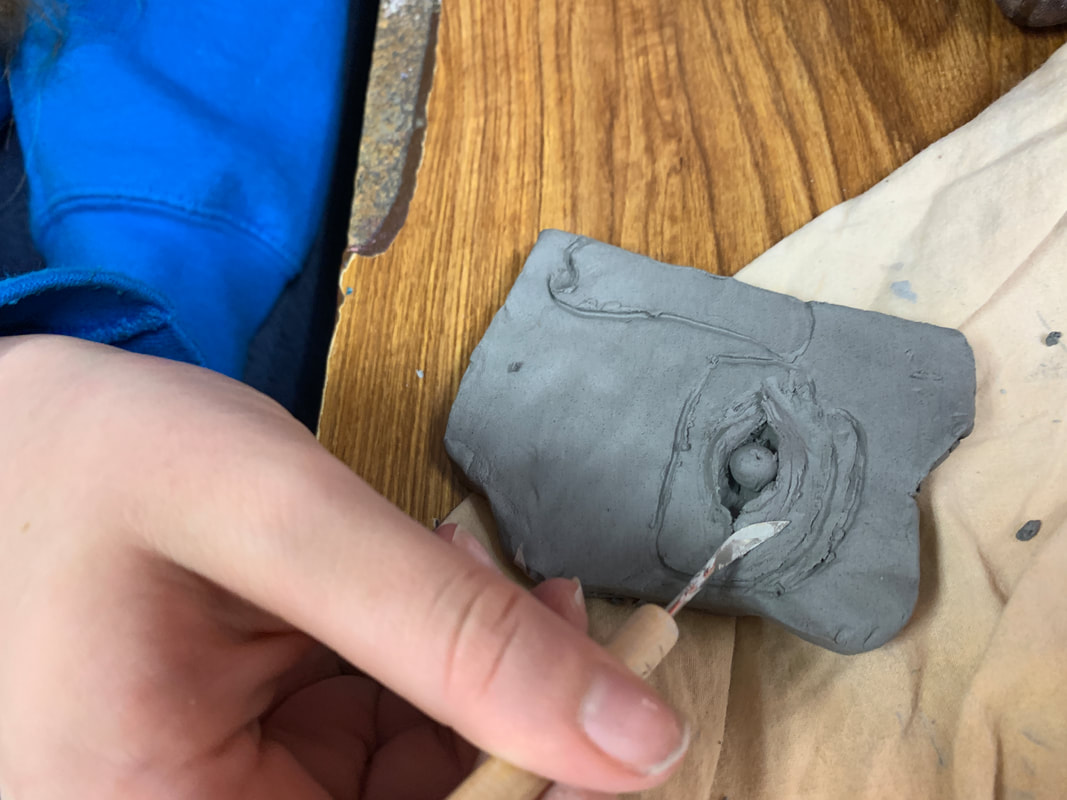
4. Slipping, scoring & adding relief
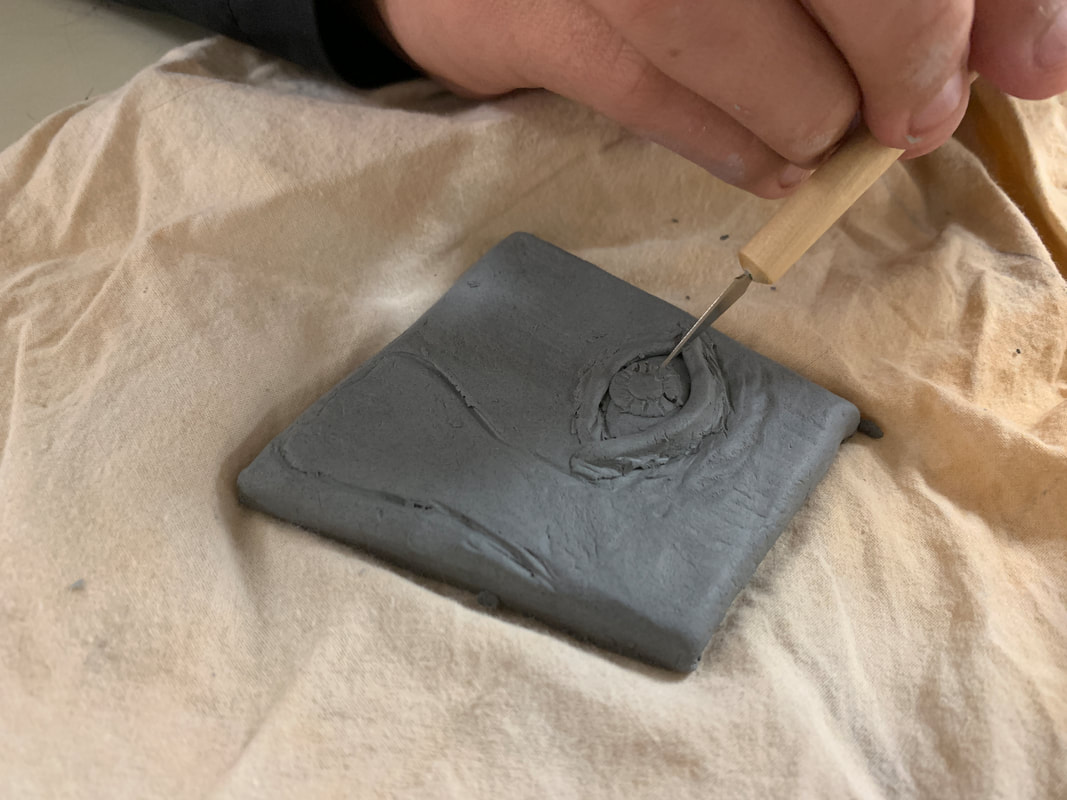
7. Adding impressions
|
2. Rolling and cutting out the slab
5. Smoothing clay and drawing designs
8. Burn-out technique
|
3. Tracing the sections
6. Digging in the relief
|
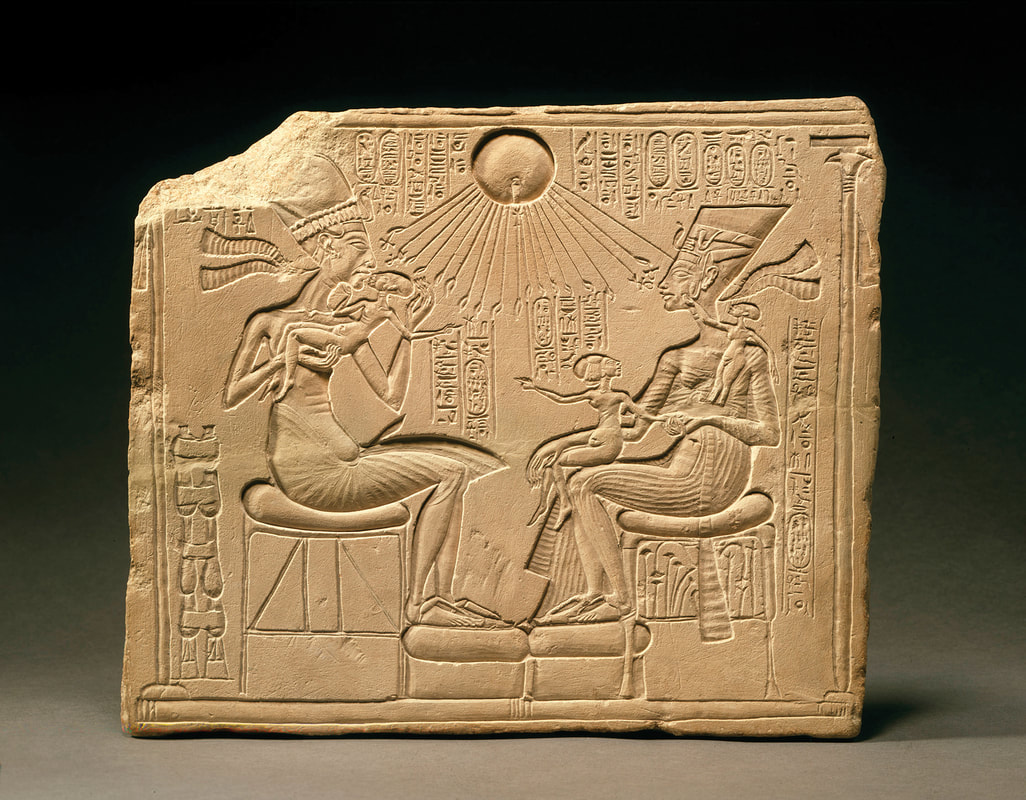
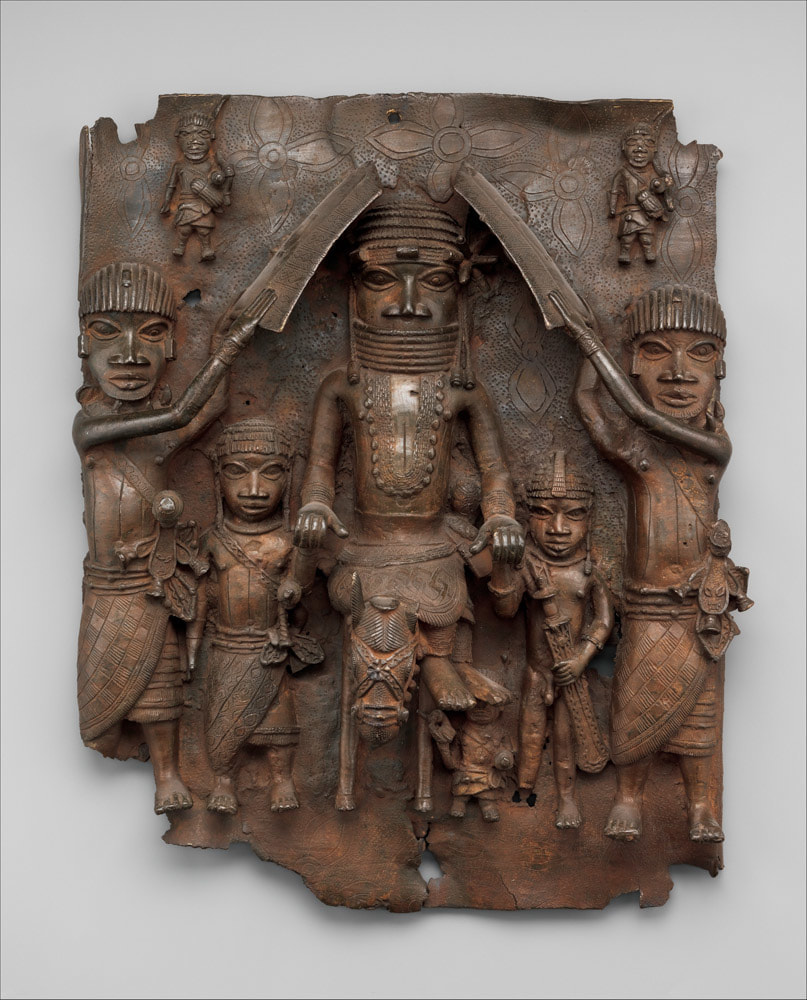
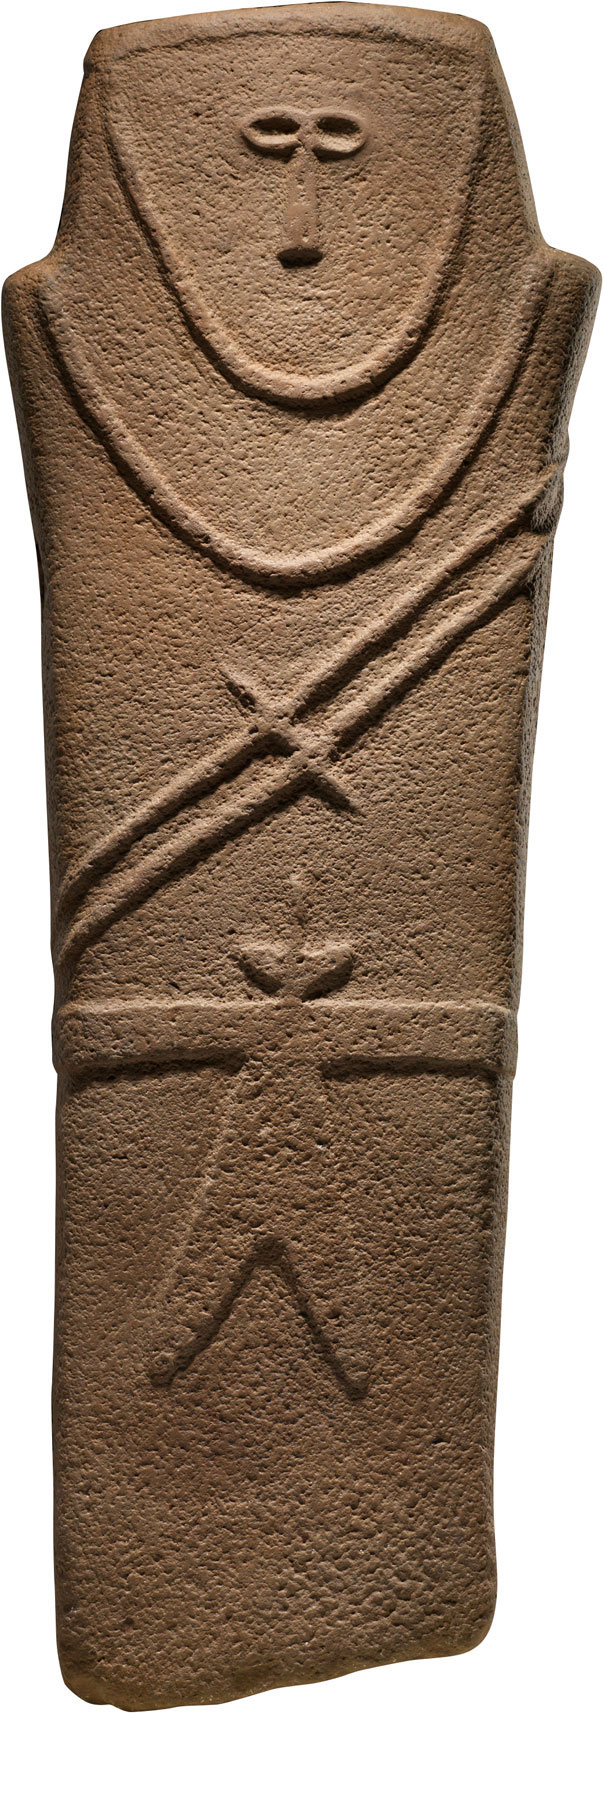
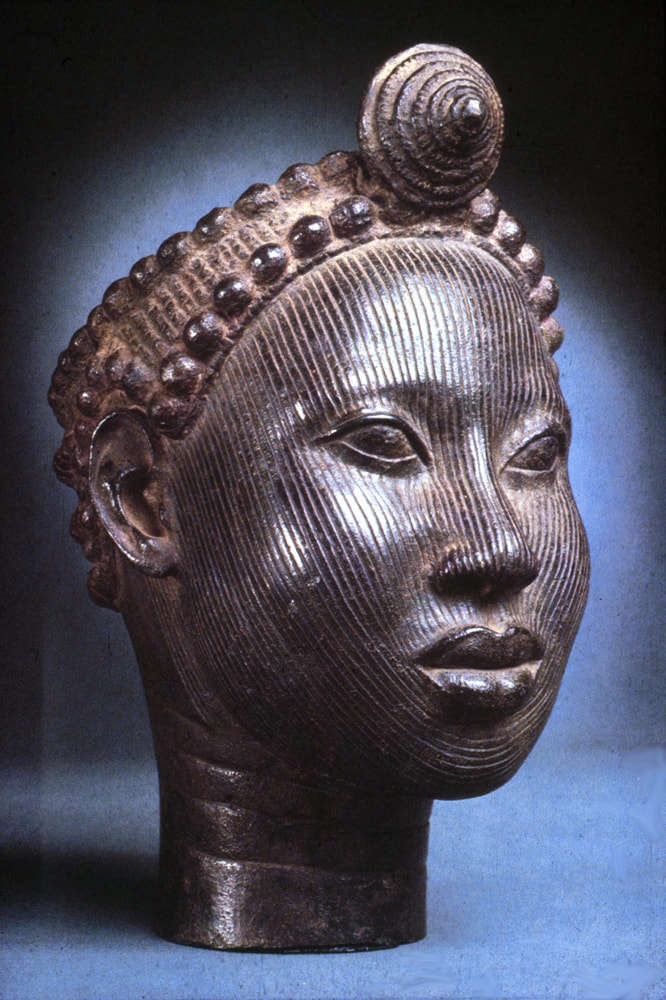
3. African Art and your Clay Tile- Venn diagram
| venn_diagram-africa.pdf |
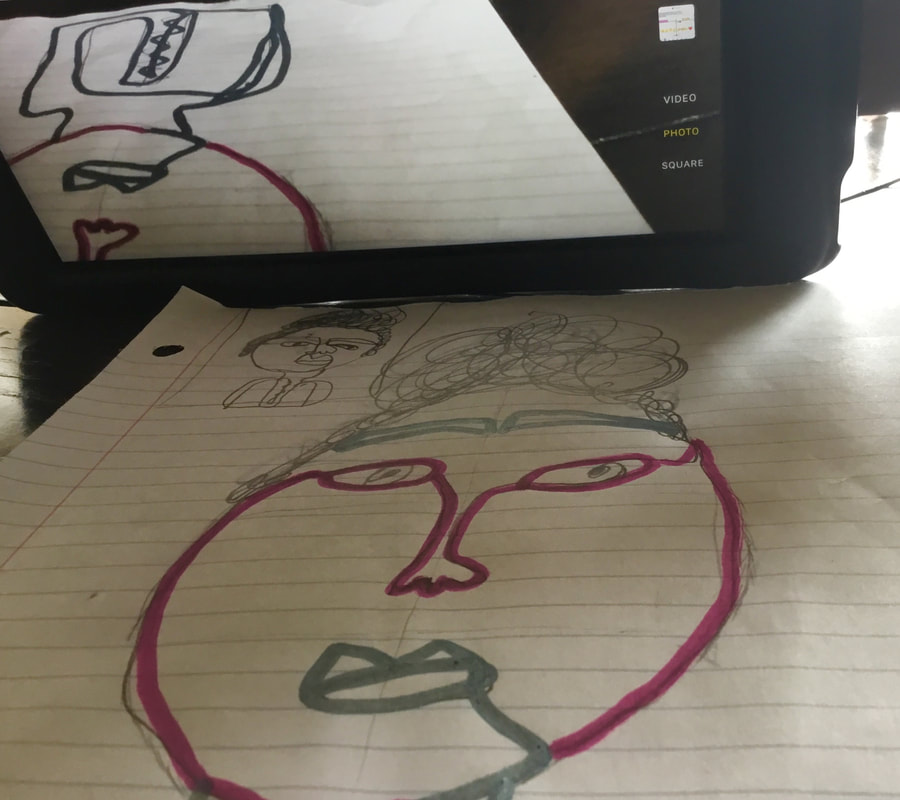
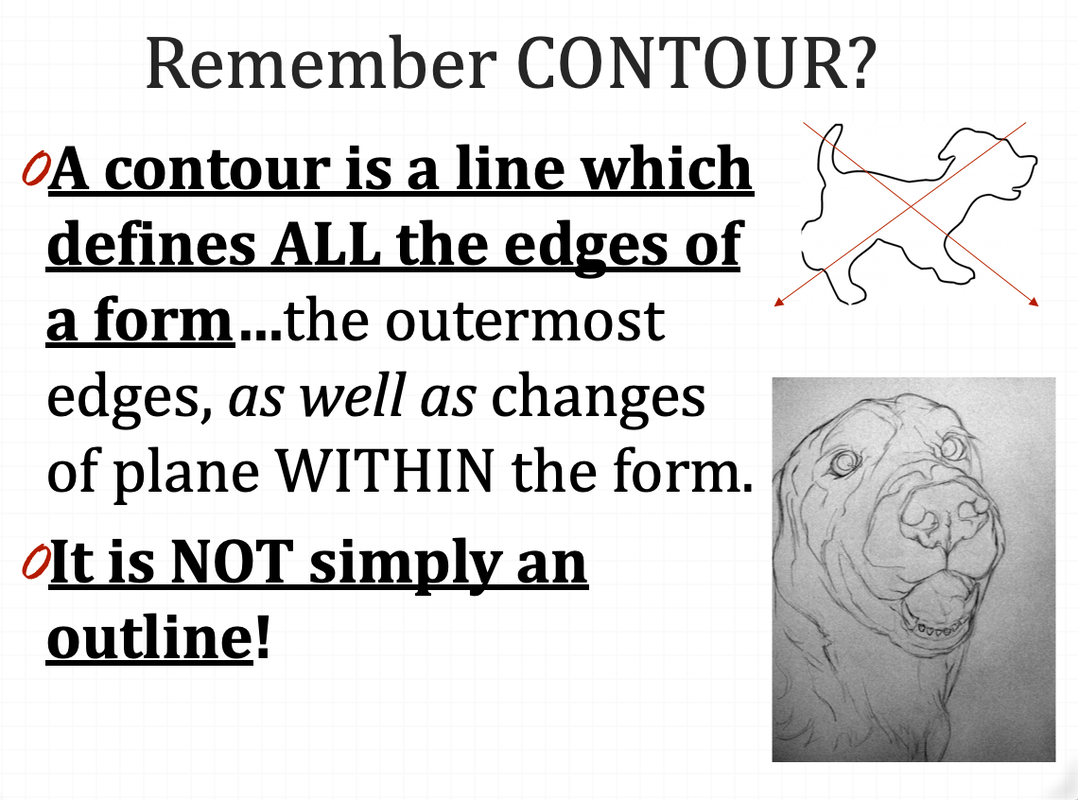
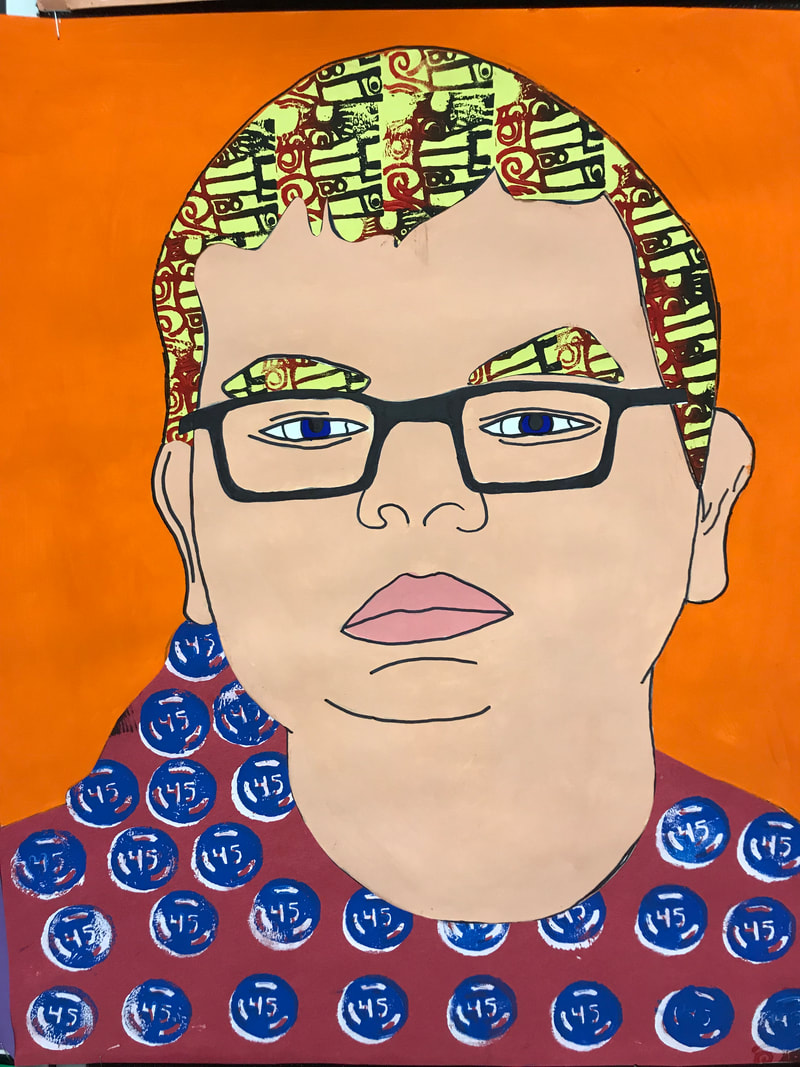
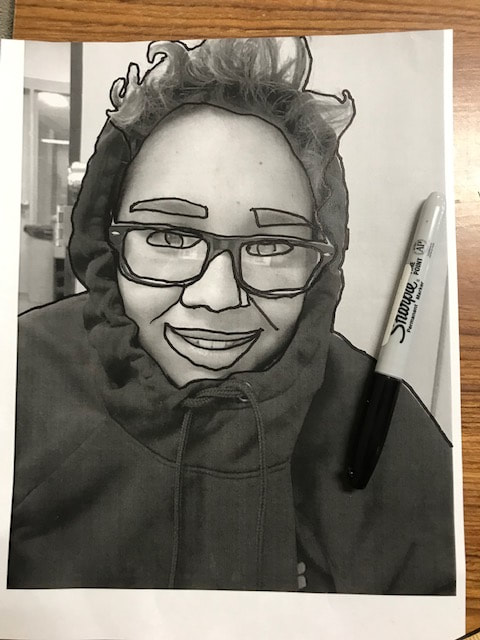
4. Cross-Contour Lines |
| ||
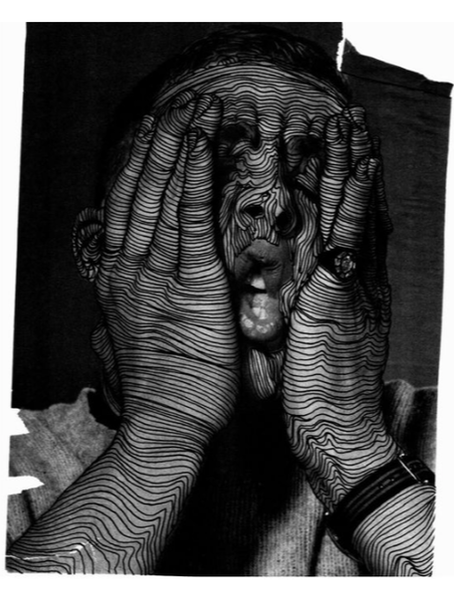
EQ: How can I define a form using only lines?
LT: I can draw a face using cross-contour and weighted-contour lines.
STEP 1: Use a Sharpie and draw cross-contour lines on top of your photo. Image the lines acting like a string wrapping around the form.
***NO MORE SHARPIE AFTER THIS STEP***
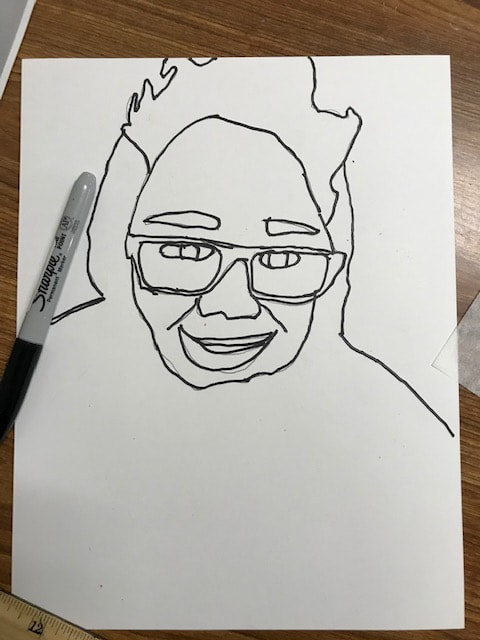
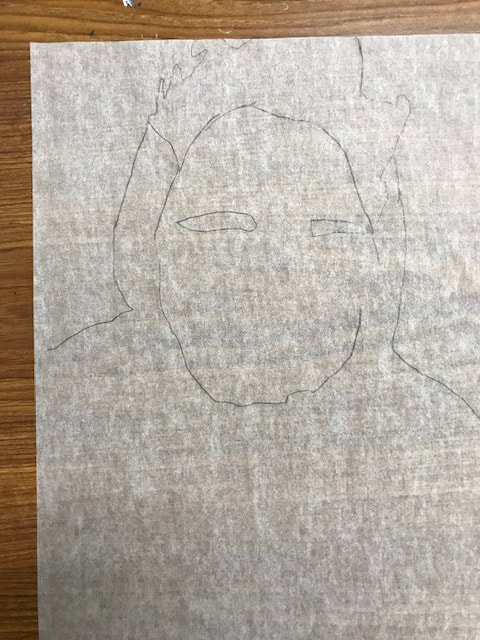
STEP 2: Using a blank piece of paper and a felt-tip marker (NOT A SHARPIE), trace over the Sharpie-drawn, cross-contour lines.
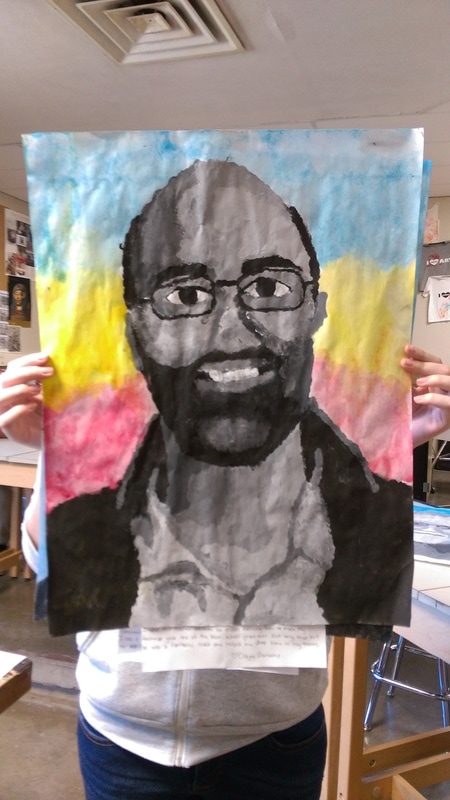
STEP 3: Using a Crayola black marker, create weighted-contour lines (thicker lines) where the face should be darker
STEP 4: add water!
LT: I can draw a face using cross-contour and weighted-contour lines.
STEP 1: Use a Sharpie and draw cross-contour lines on top of your photo. Image the lines acting like a string wrapping around the form.
***NO MORE SHARPIE AFTER THIS STEP***
STEP 2: Using a blank piece of paper and a felt-tip marker (NOT A SHARPIE), trace over the Sharpie-drawn, cross-contour lines.
STEP 3: Using a Crayola black marker, create weighted-contour lines (thicker lines) where the face should be darker
STEP 4: add water!

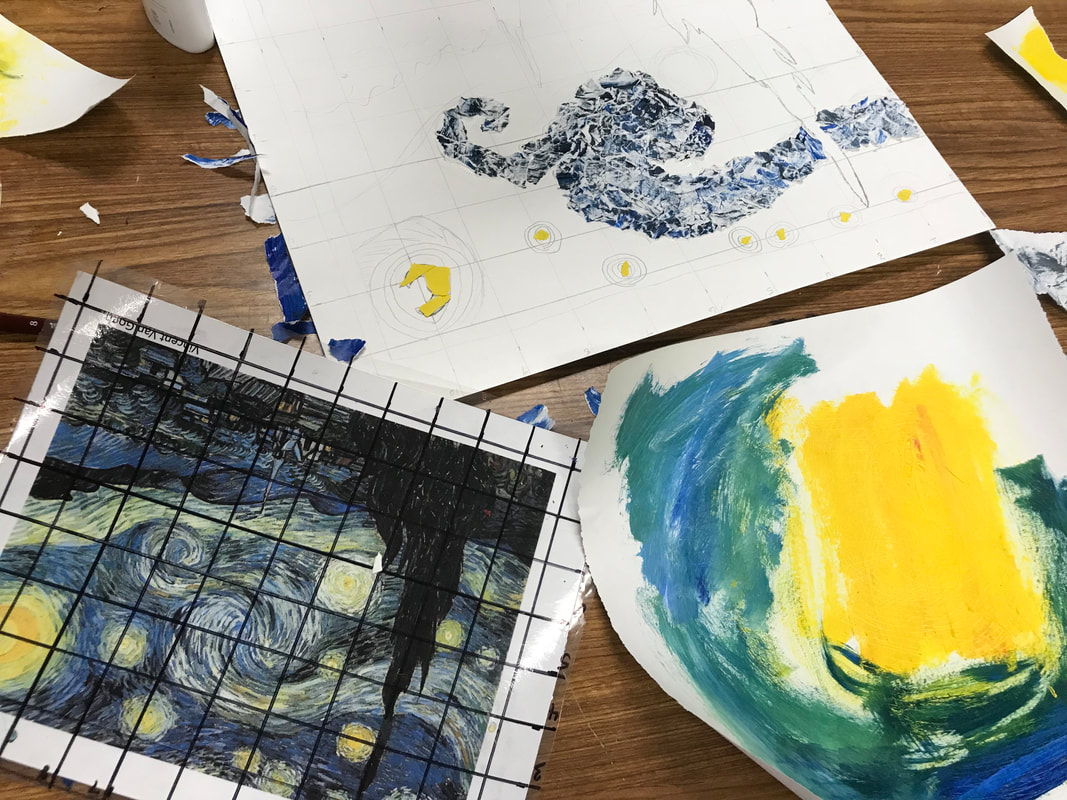
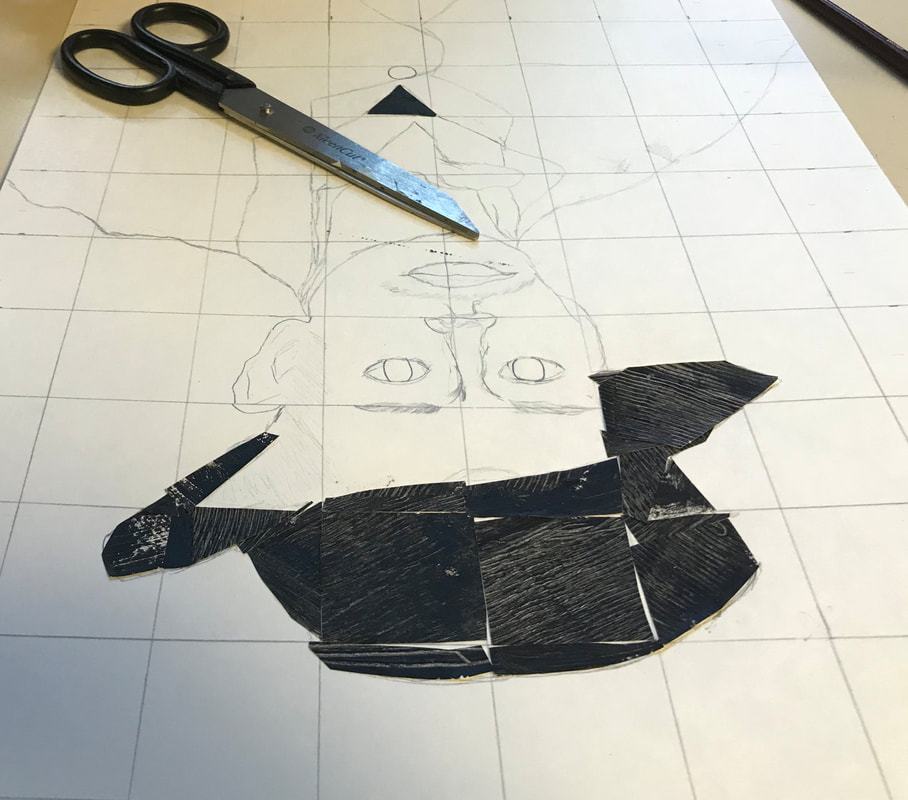
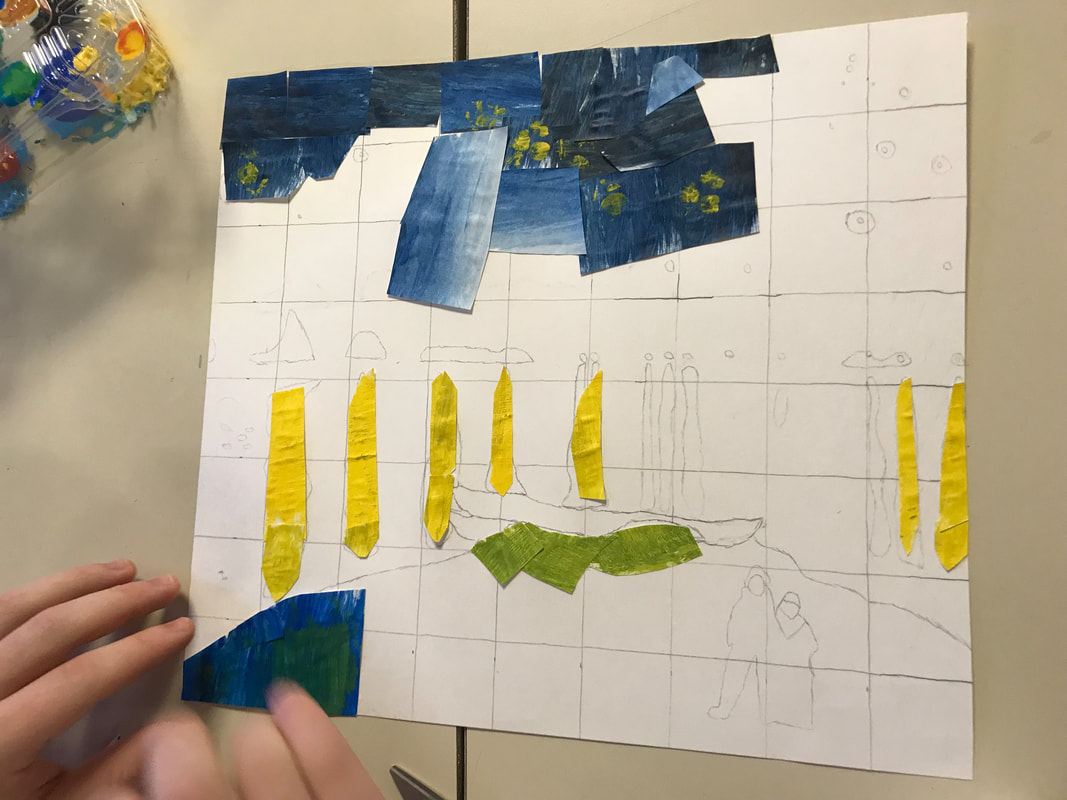
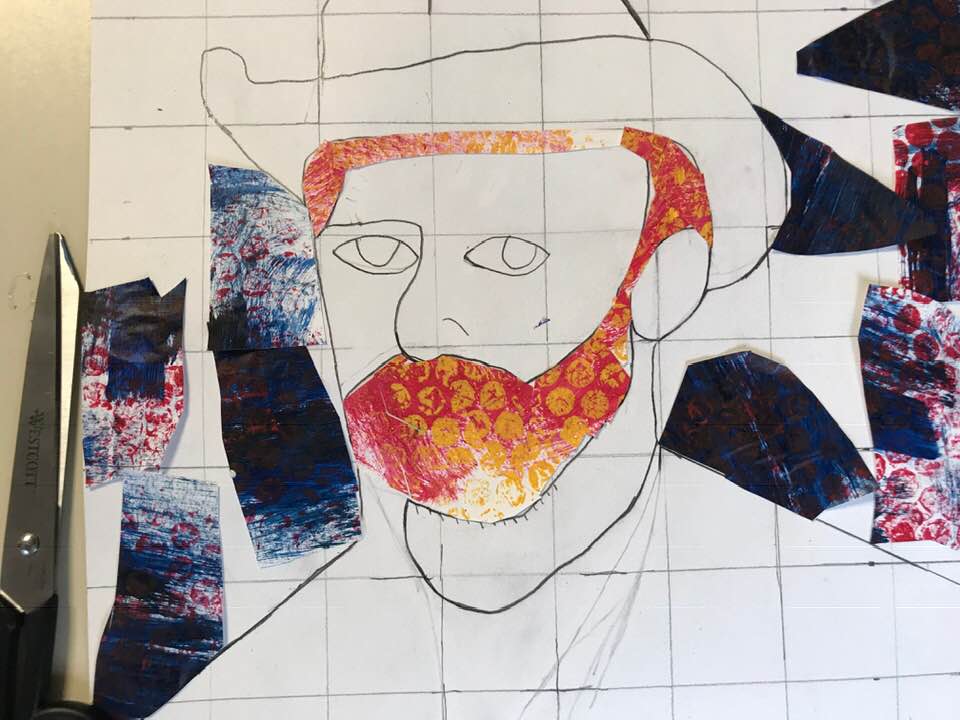
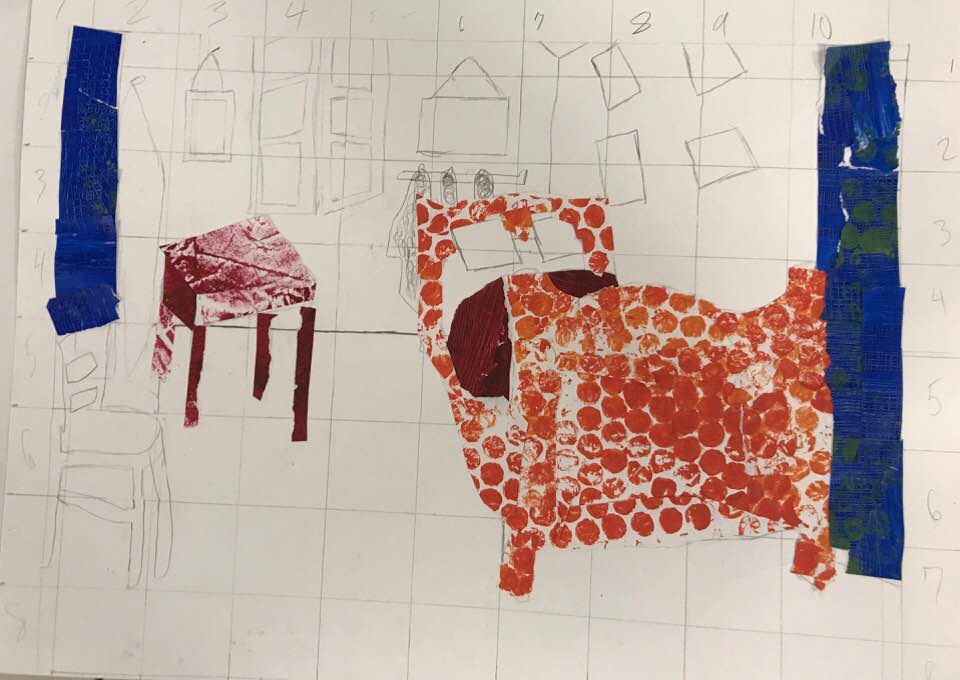
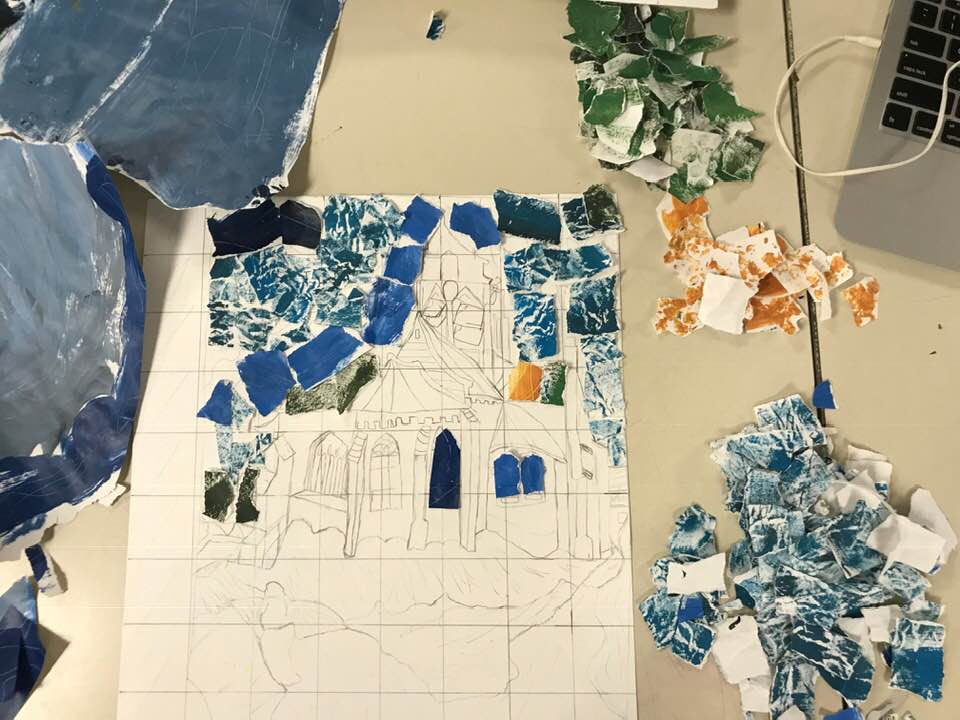
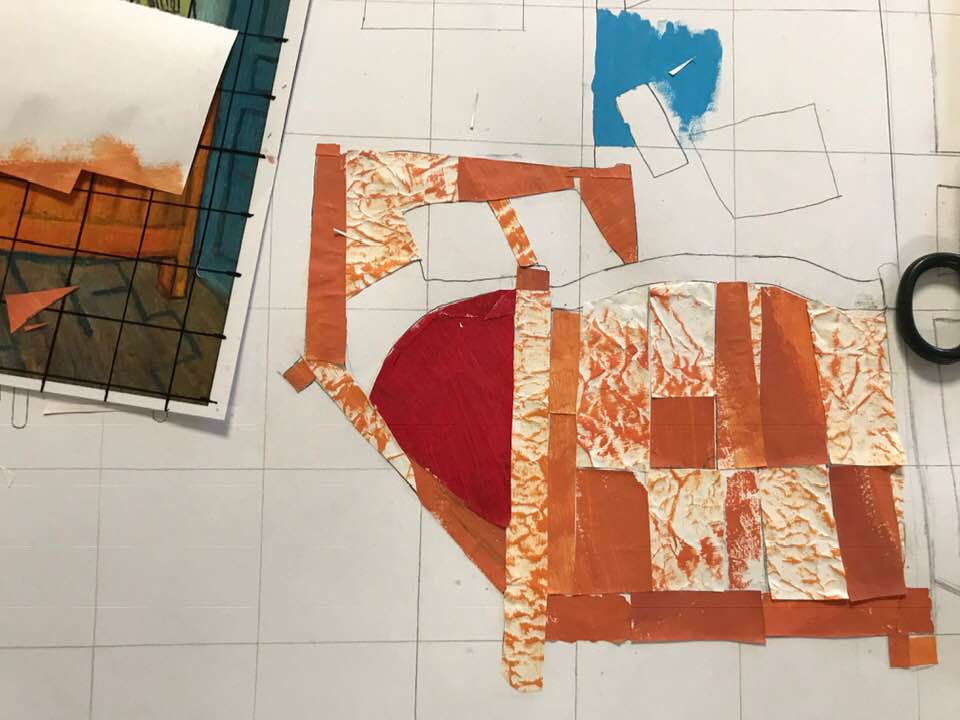
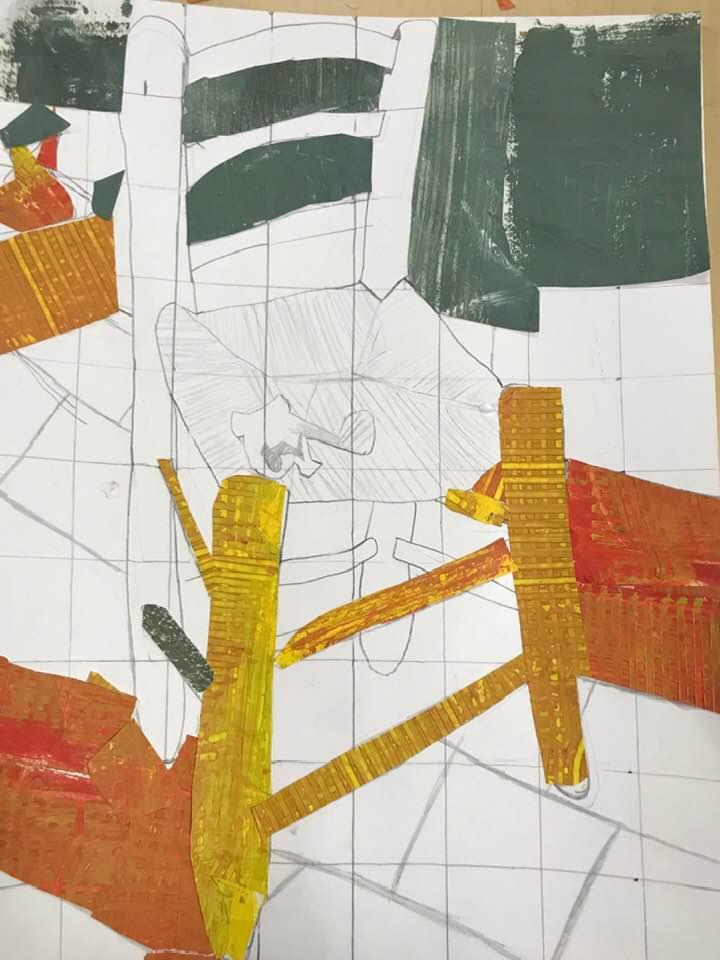
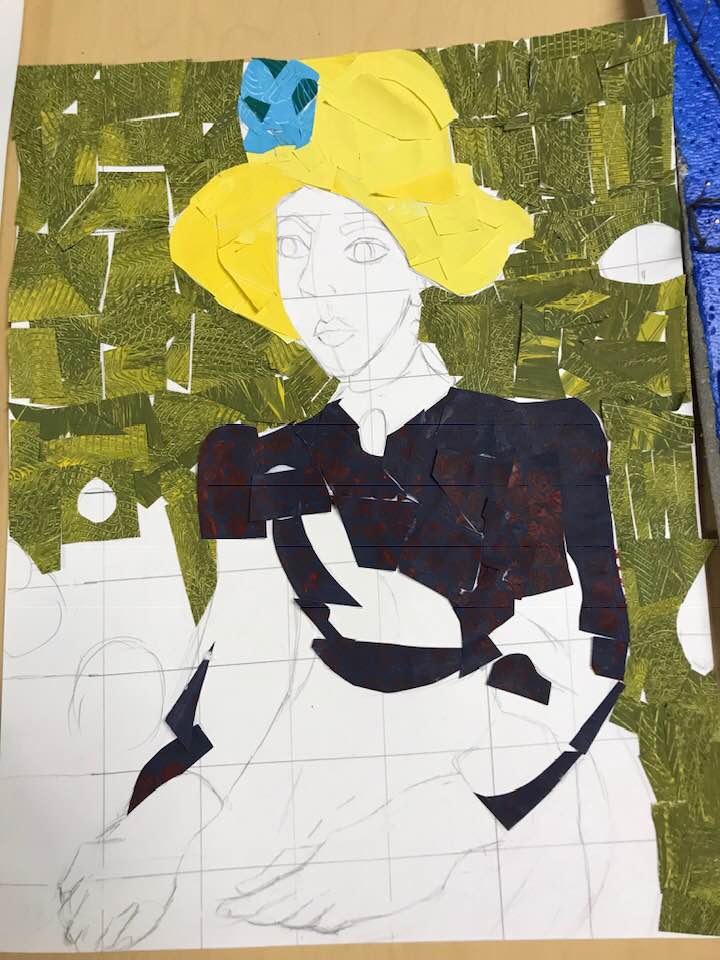
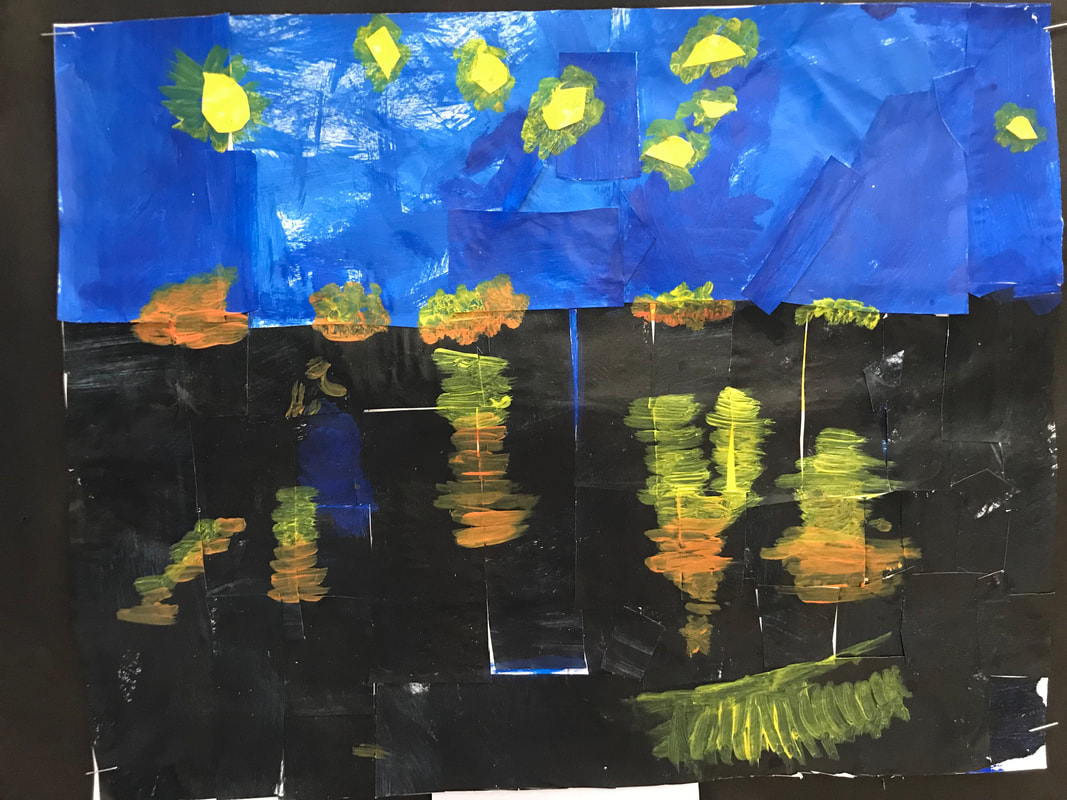
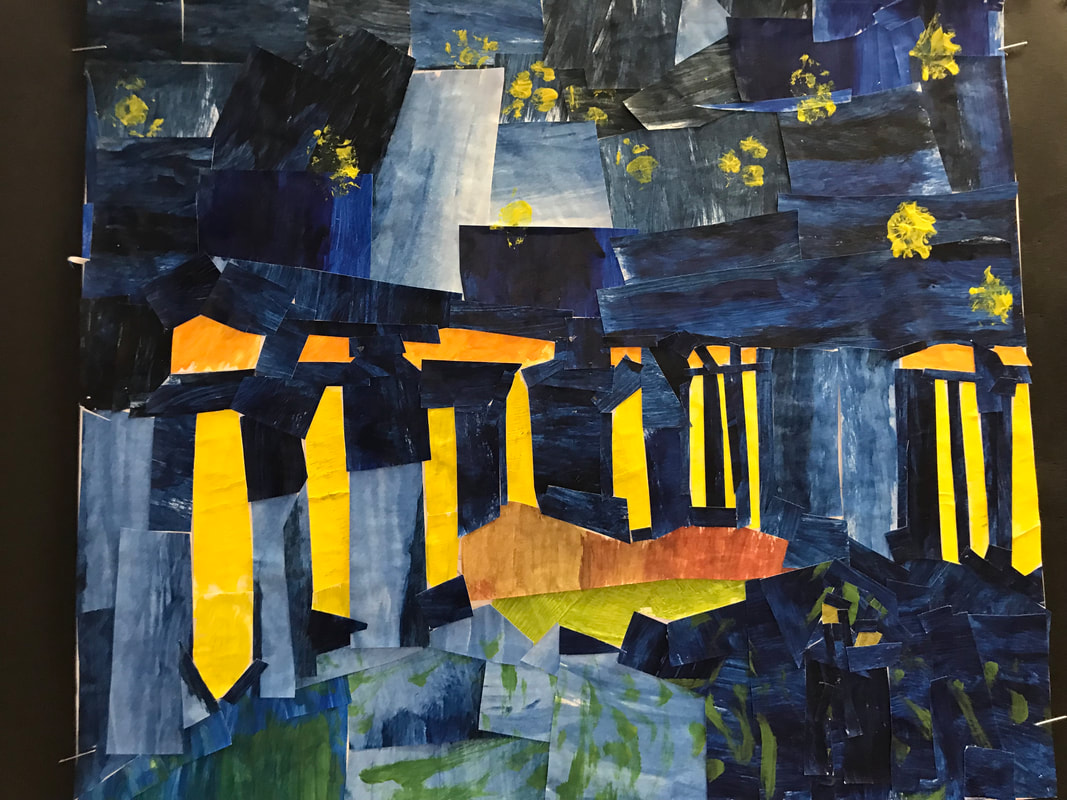
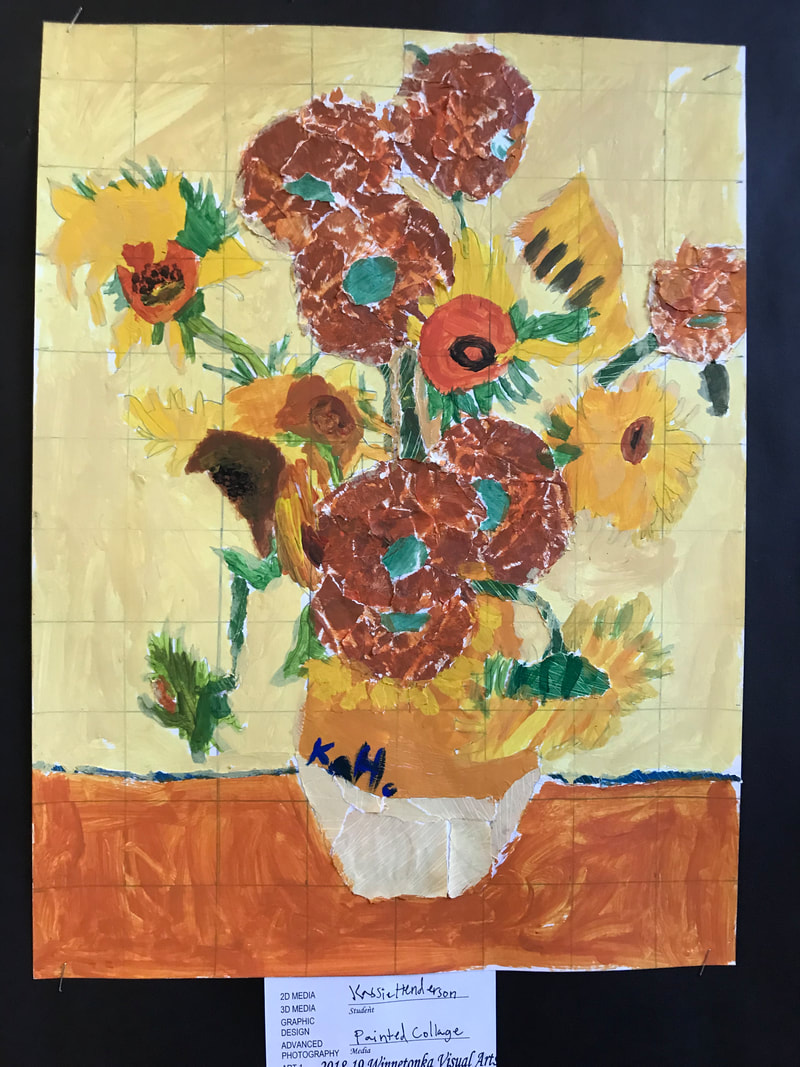
5. Post-Impressionism
EQ: Who is Vincent van Gogh?
LT: I can identify and describe Post-Impressionistic artworks
STEP 1: Watch Loving Vincent. In the Summary of your notes, describe van Gogh's painting style.
STEP 2: Take notes on Impressionism & Post Impressionism
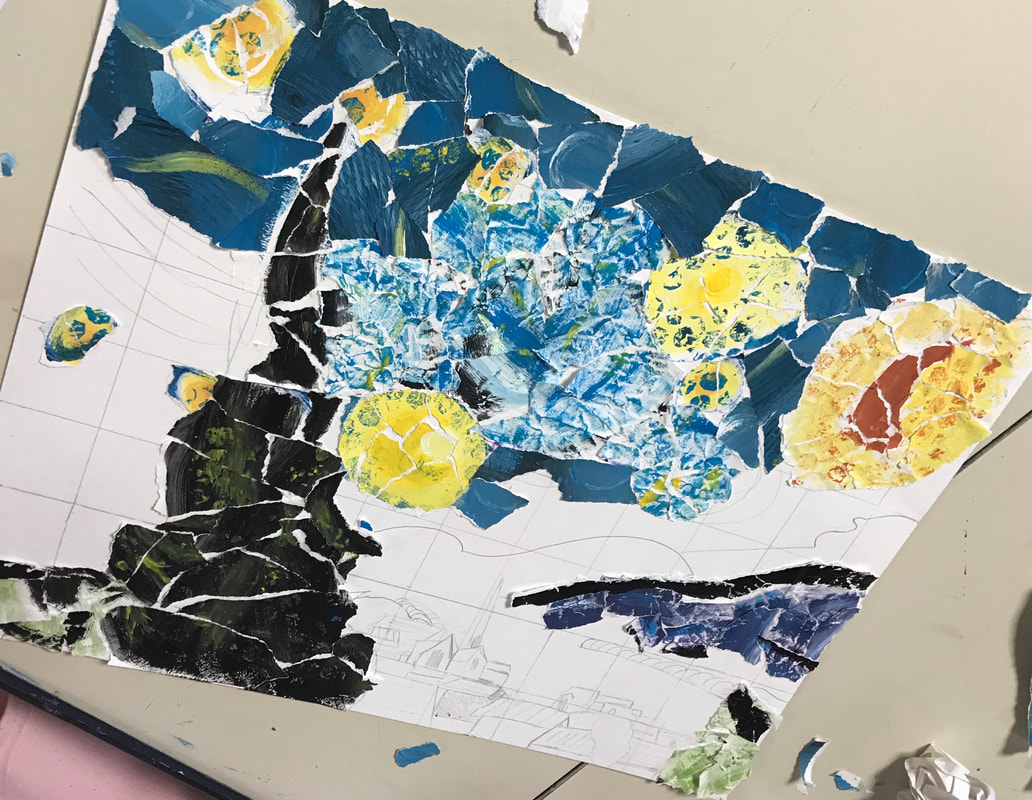
STEP 3: Select a Post-Impressionistic painting by Vincent Van Gogh to replicate
LT: I can identify and describe Post-Impressionistic artworks
STEP 1: Watch Loving Vincent. In the Summary of your notes, describe van Gogh's painting style.
STEP 2: Take notes on Impressionism & Post Impressionism
STEP 3: Select a Post-Impressionistic painting by Vincent Van Gogh to replicate
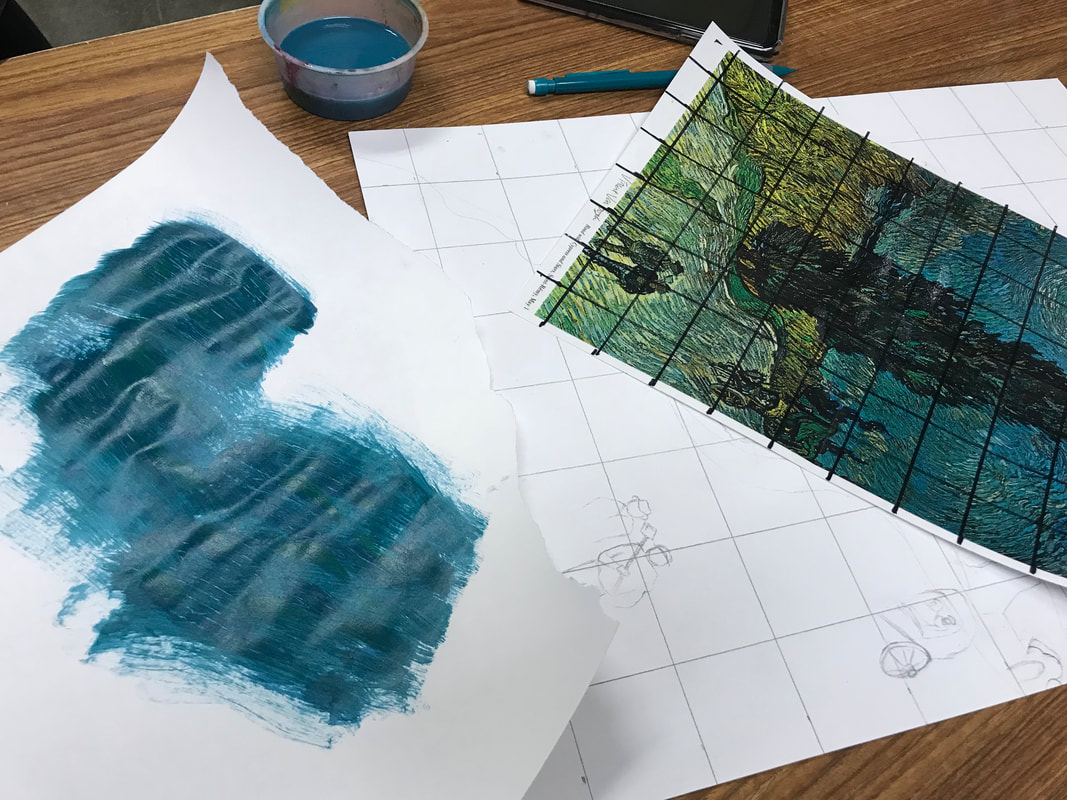
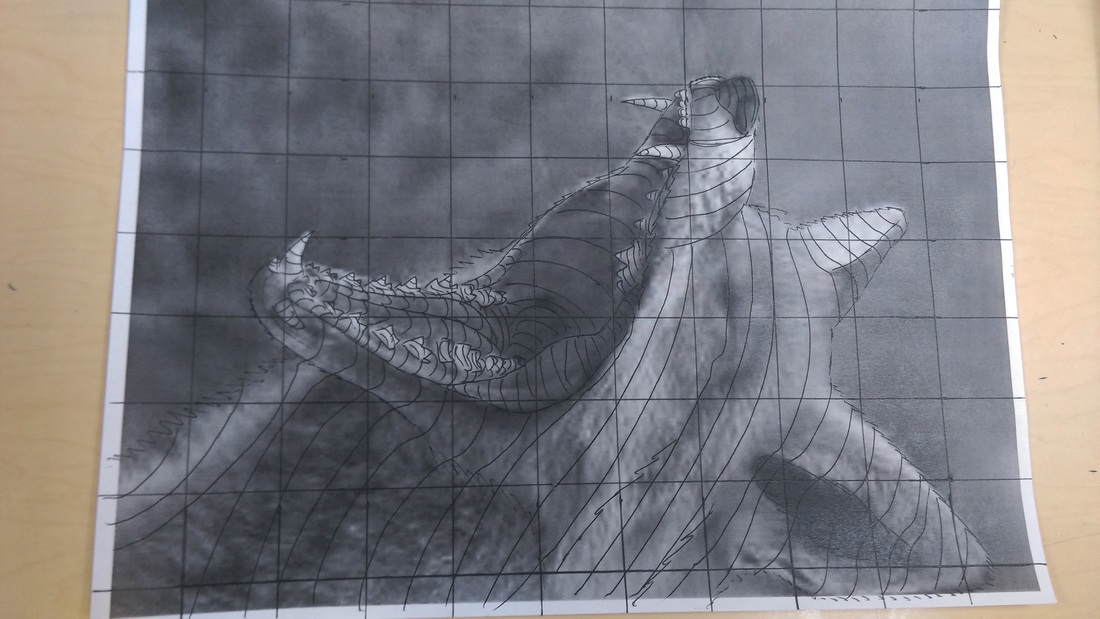
- You can work by yourself OR with a partner (CHOOSE WISELY)
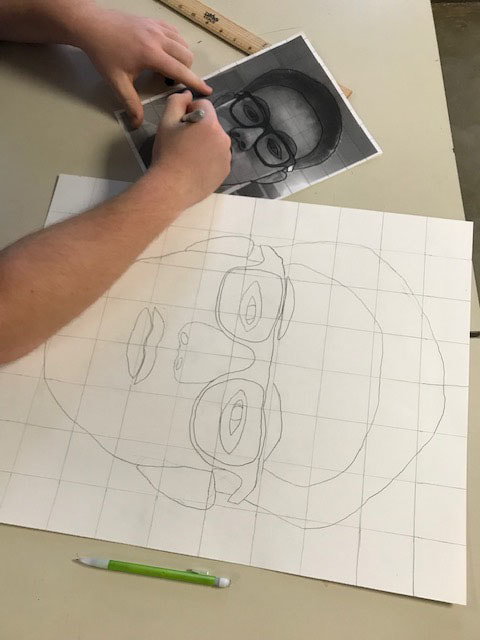
- Use the videos below to grid out your paper
- Smaller/single size paper will have a 1.5" grid
- Larger/double person size paper will have a 2.5" grid
- Begin drawing your Van Gogh painting BOX by BOX!!
|
| ||||
|
|
|
| |||||||||
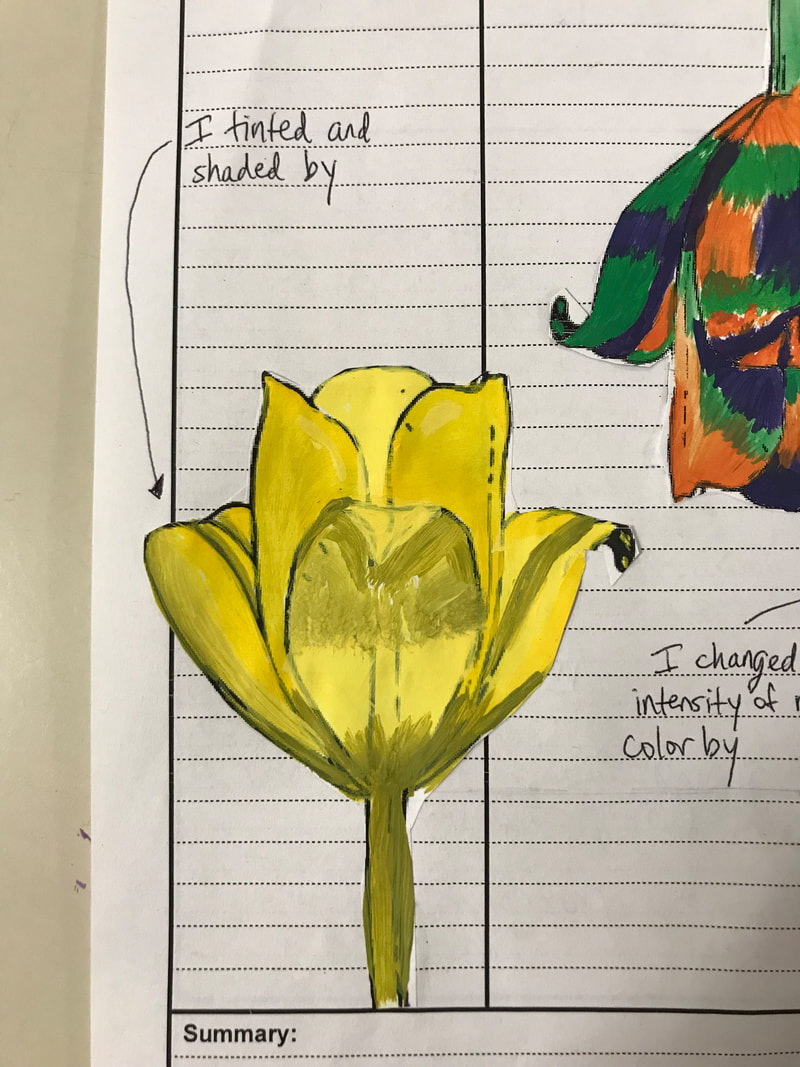
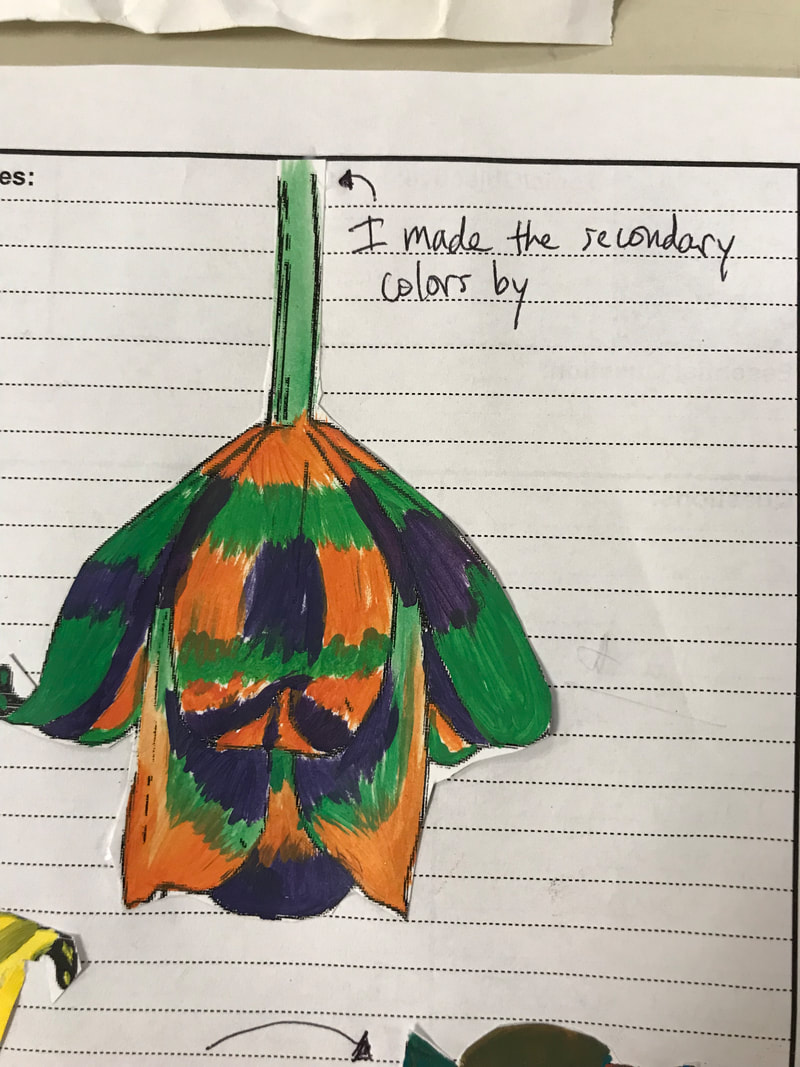
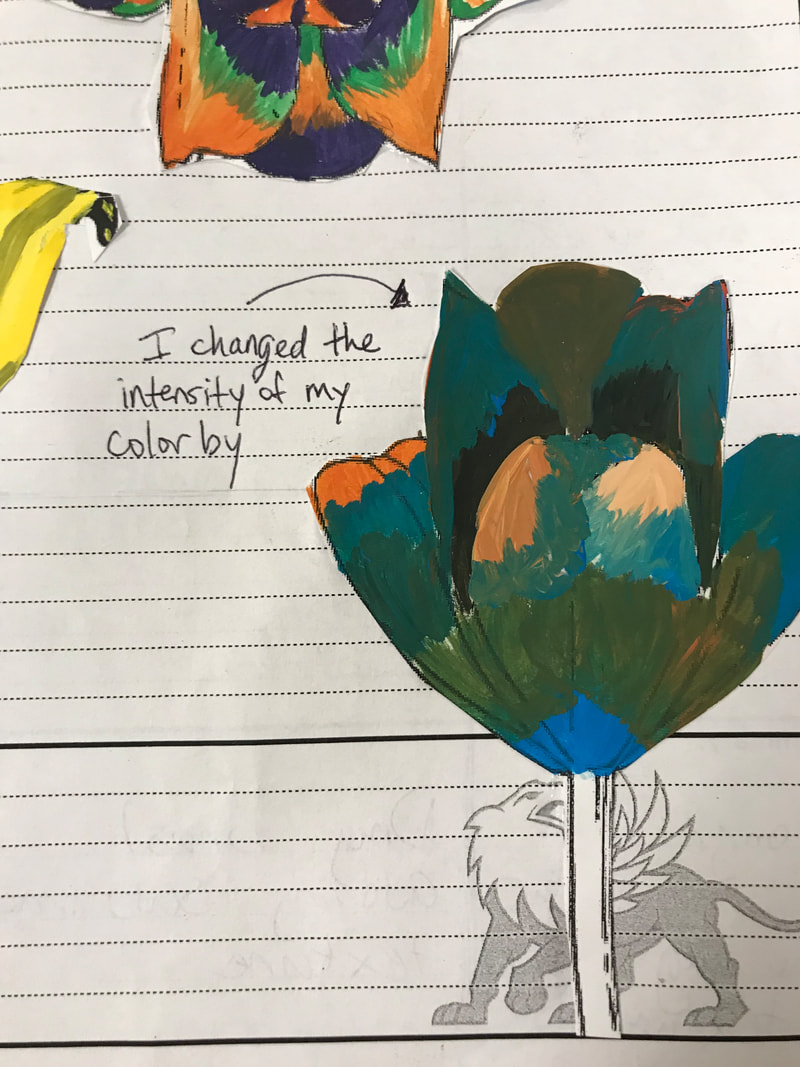
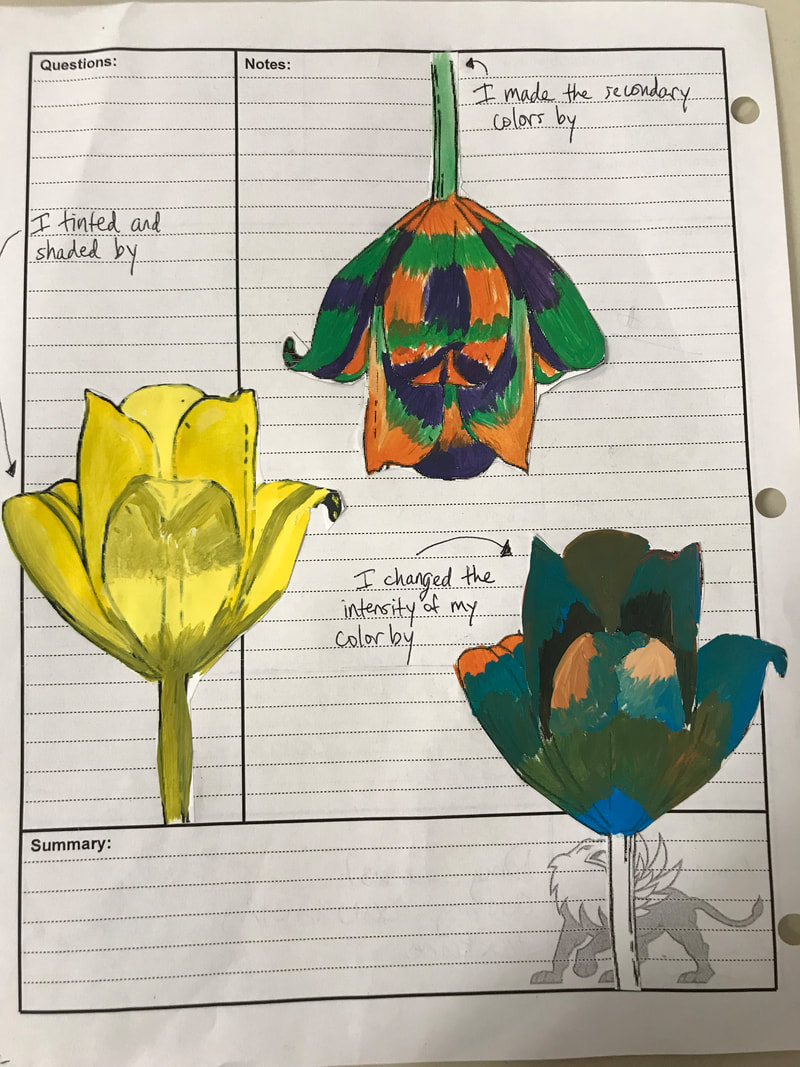
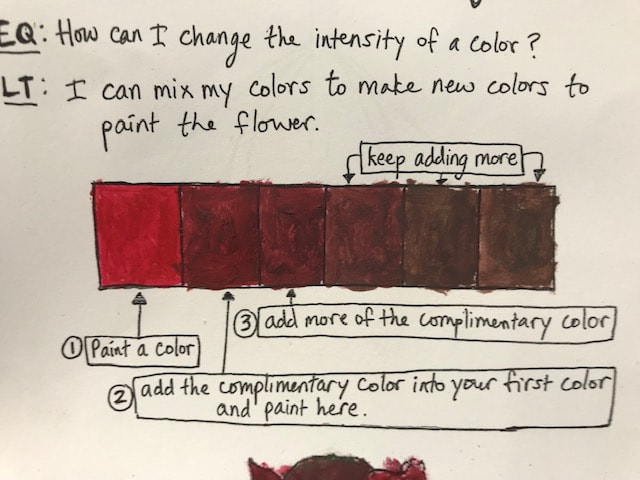
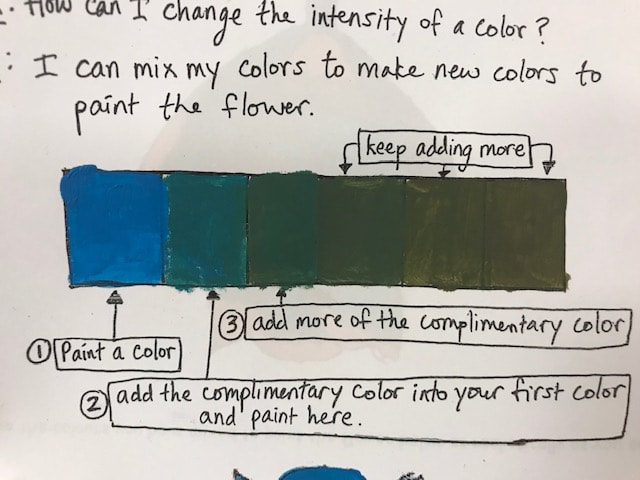
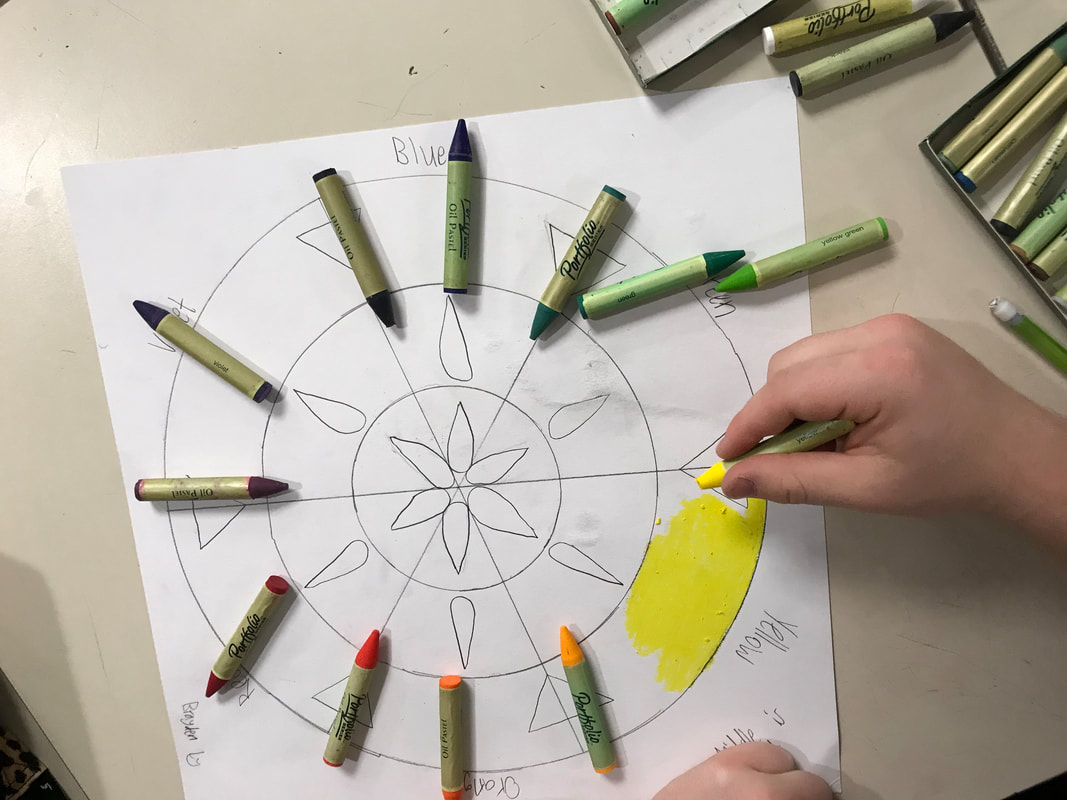
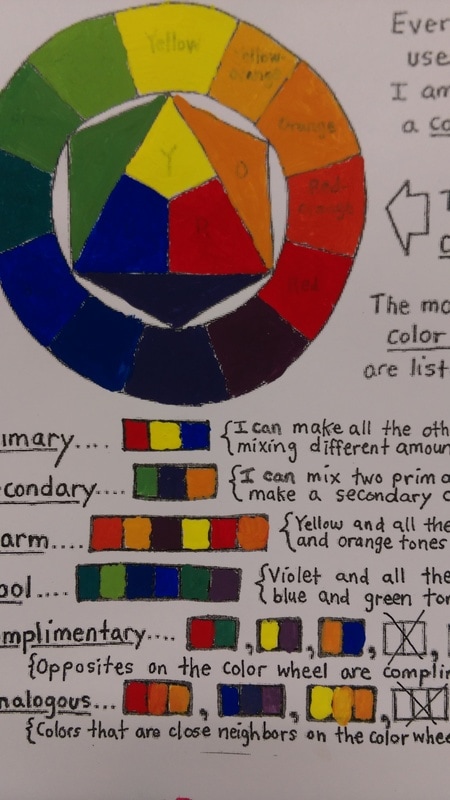
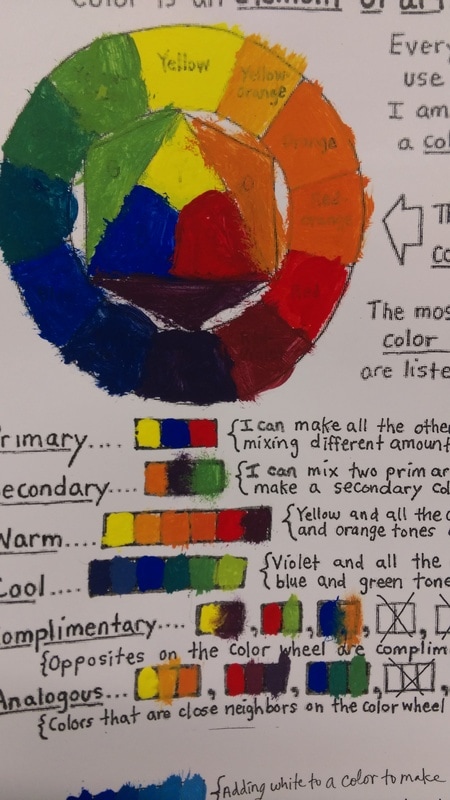
EQ: How can I use the primary colors to make other colors?
LT: I can mix the primary colors to make new colors
LT: I can mix the primary colors to make new colors

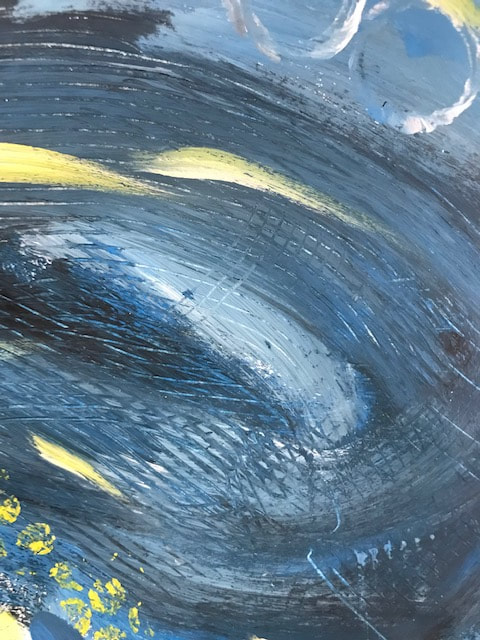
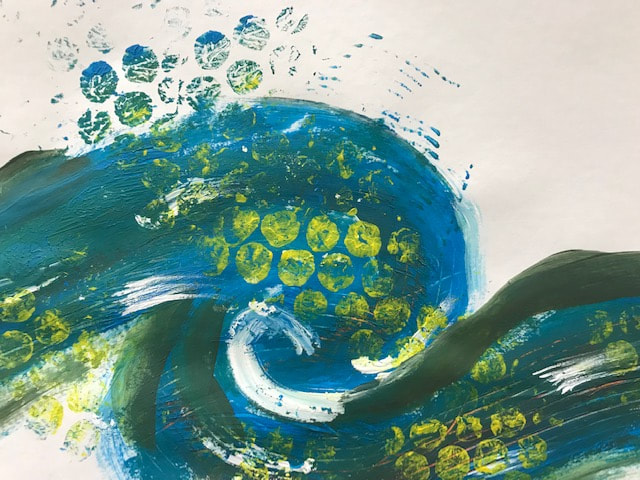
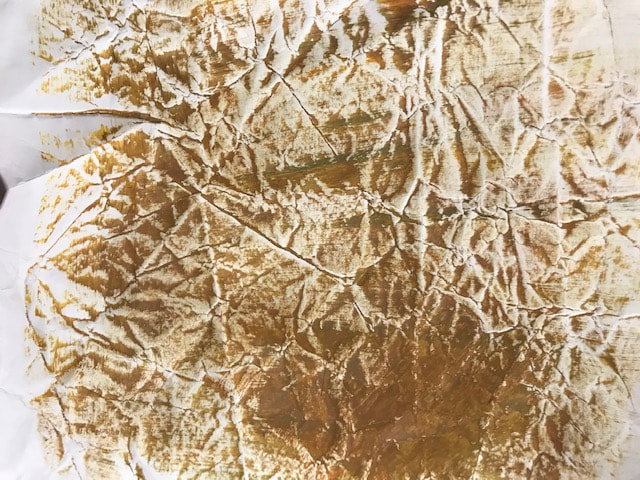
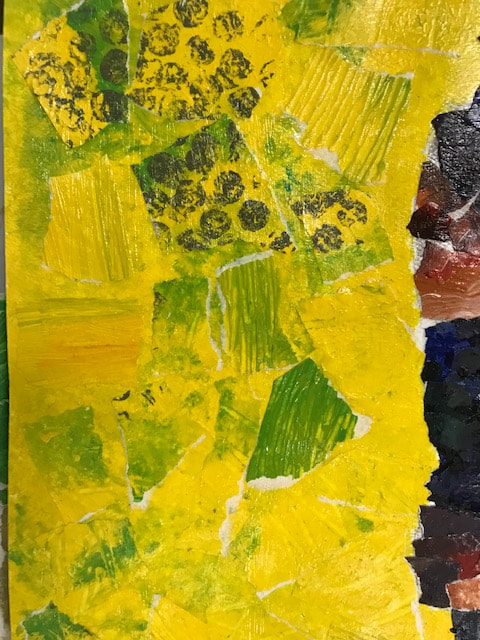
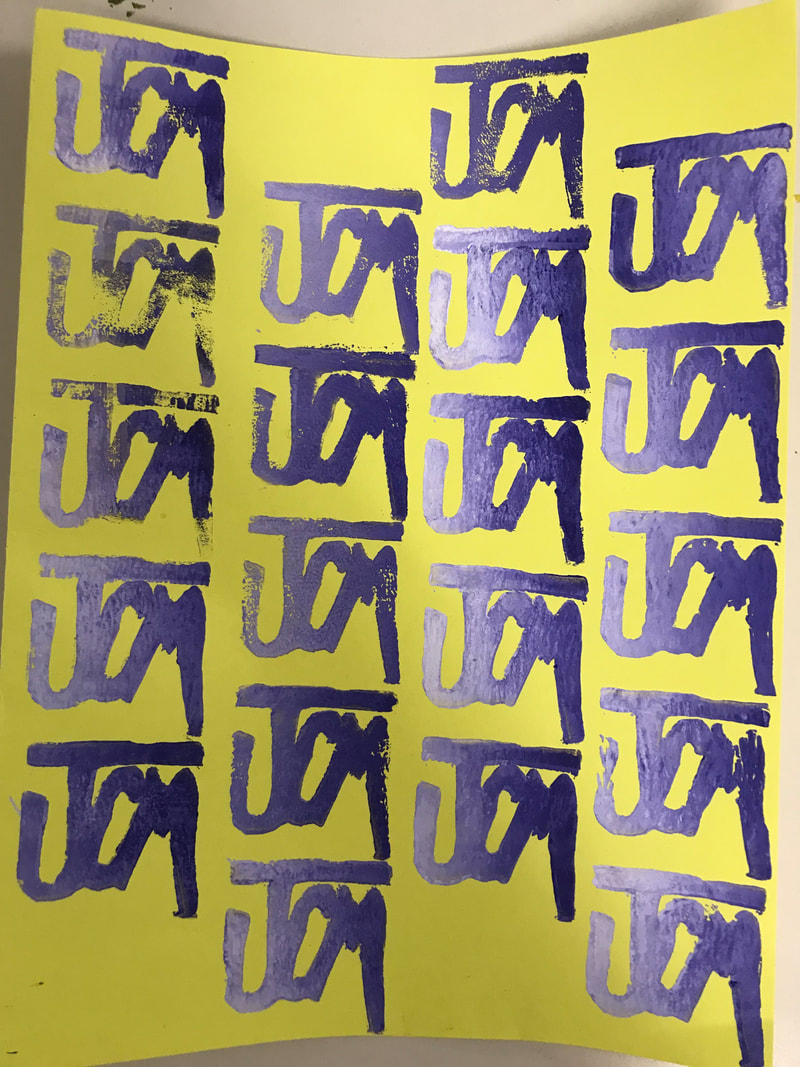
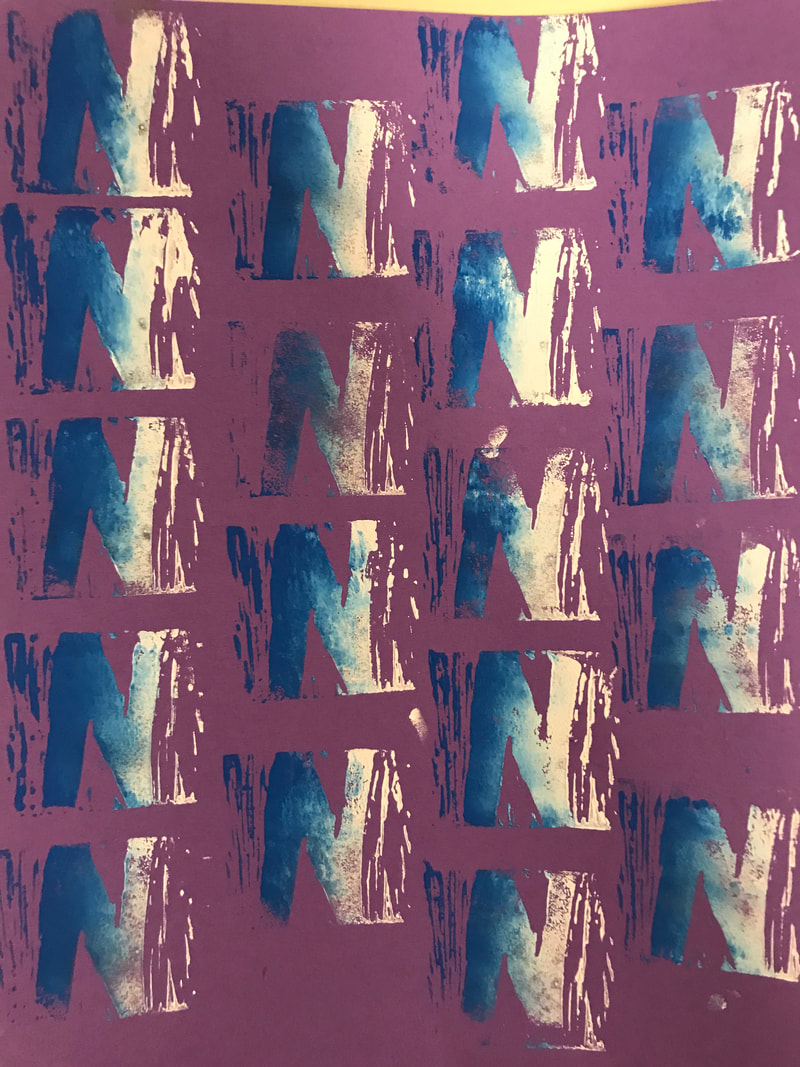
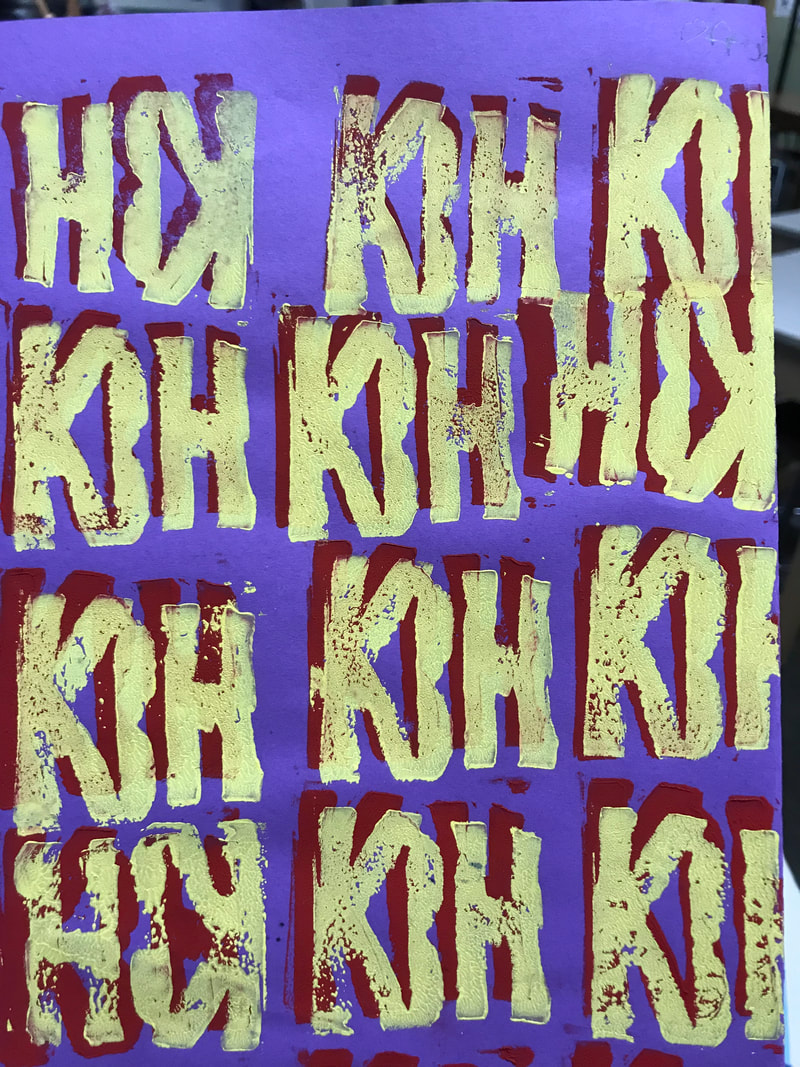
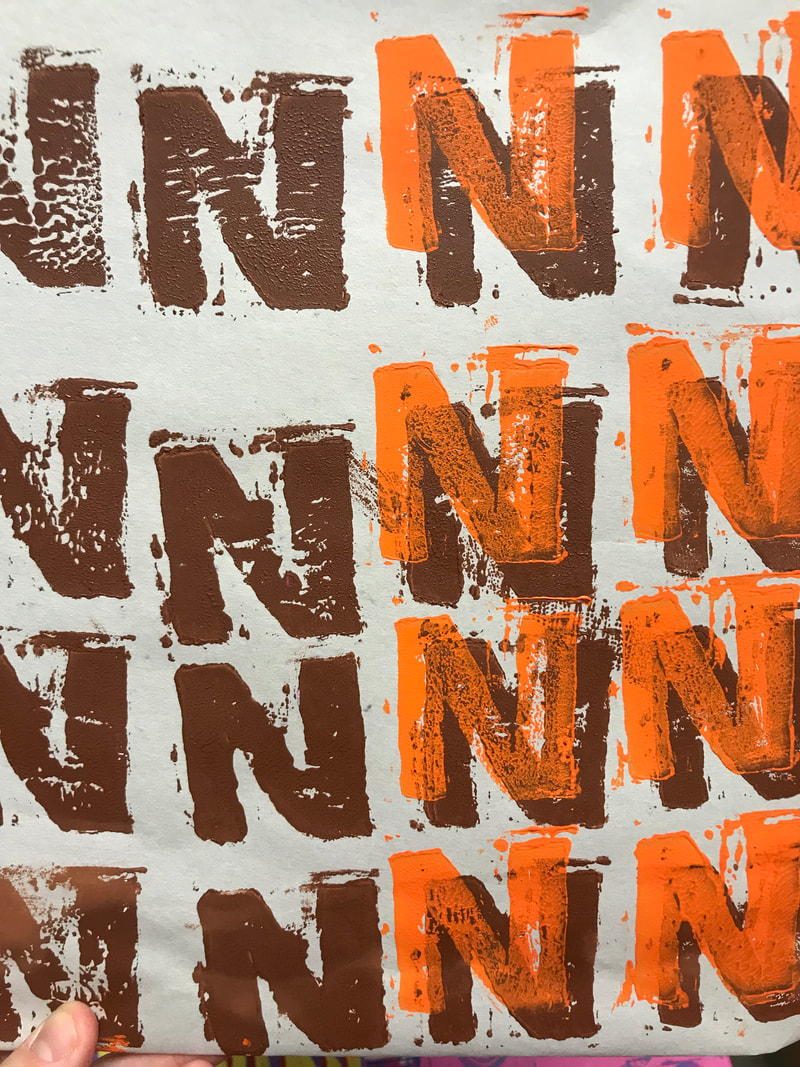
EQ: What is the difference between actual texture and implied texture? How have artists used these techniques?
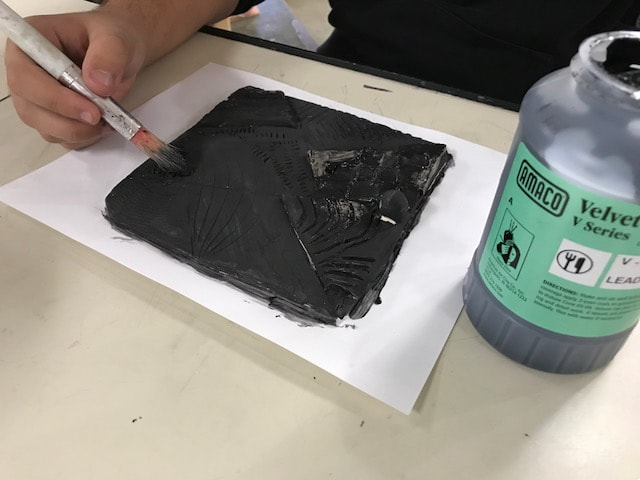
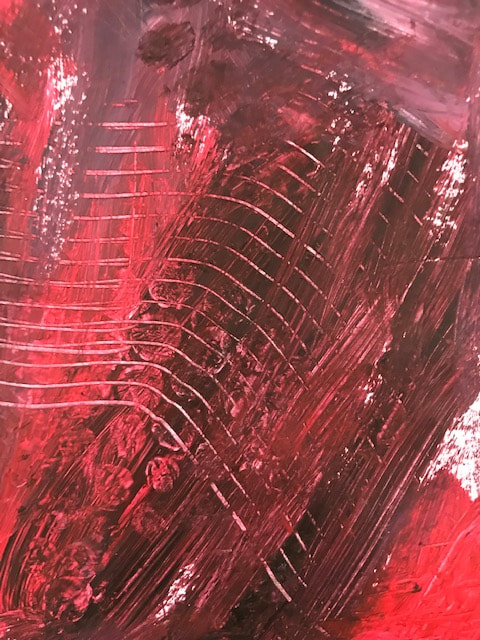
LT: I can use 3 different types of implied texture, dry brush, sgrafitto and stamping with bubble wrap
LT: I can use 3 different types of implied texture, dry brush, sgrafitto and stamping with bubble wrap

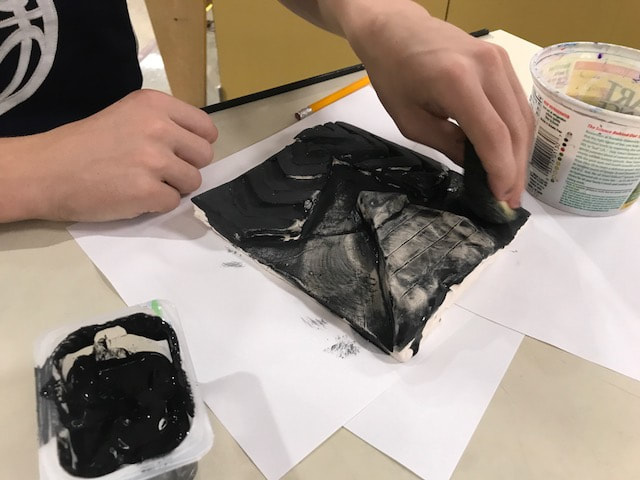
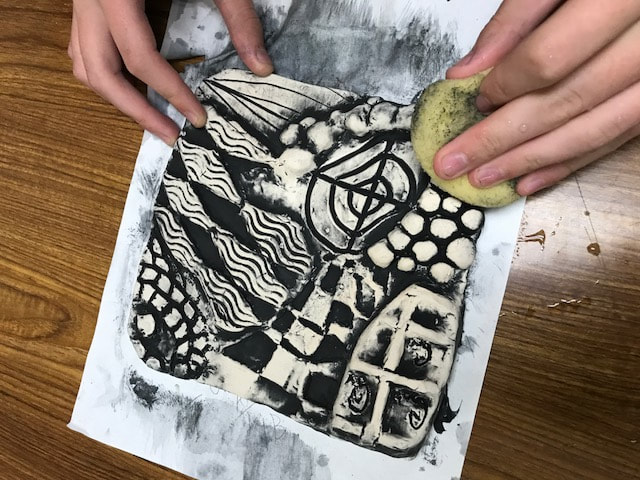
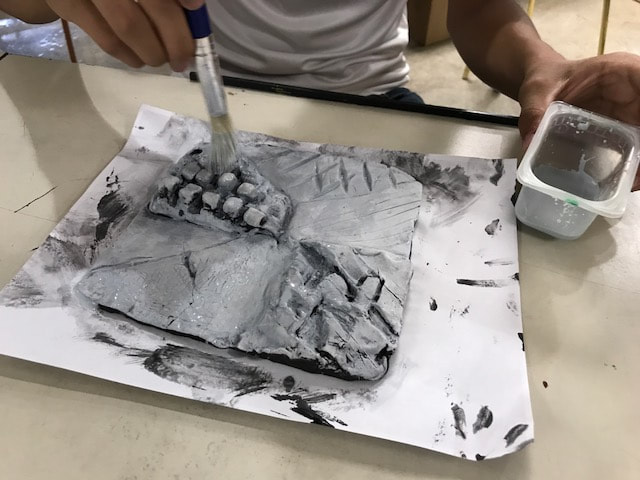
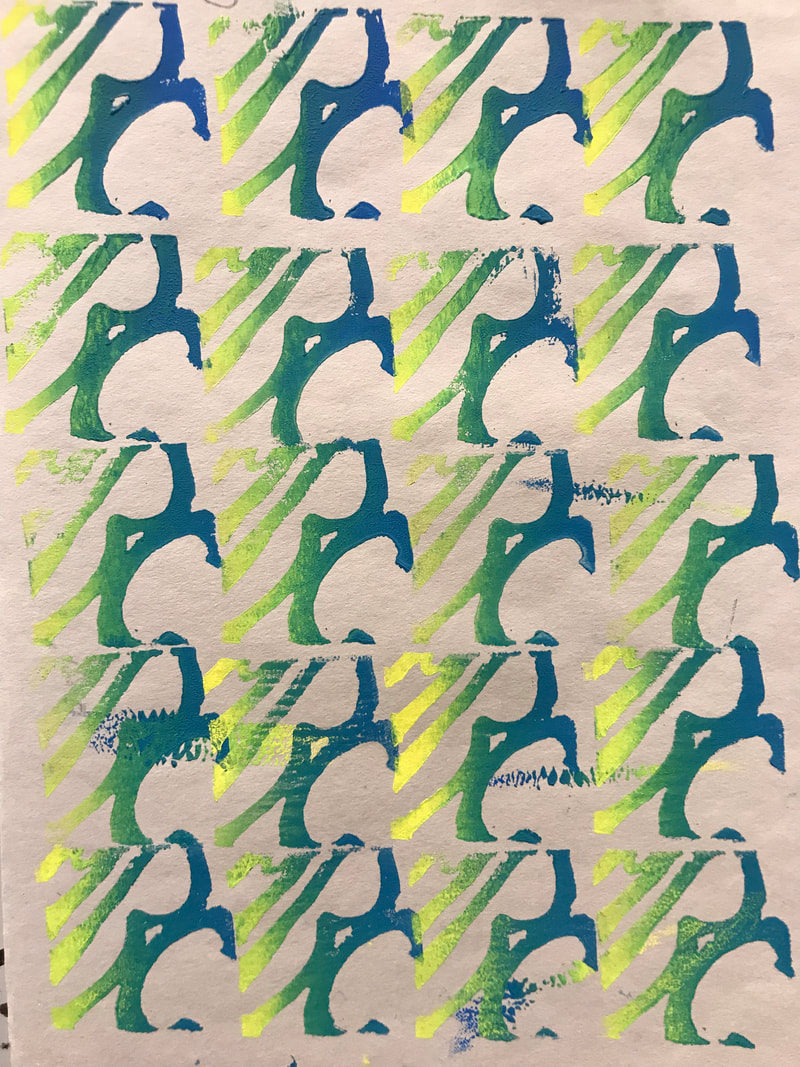
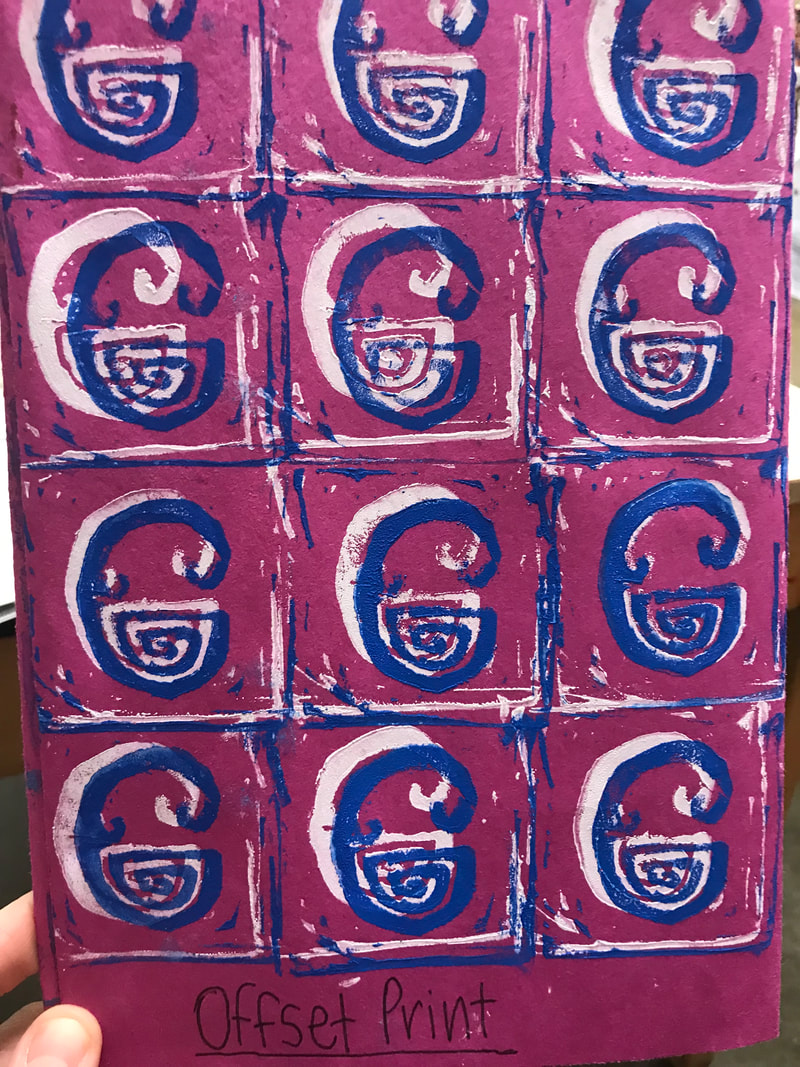
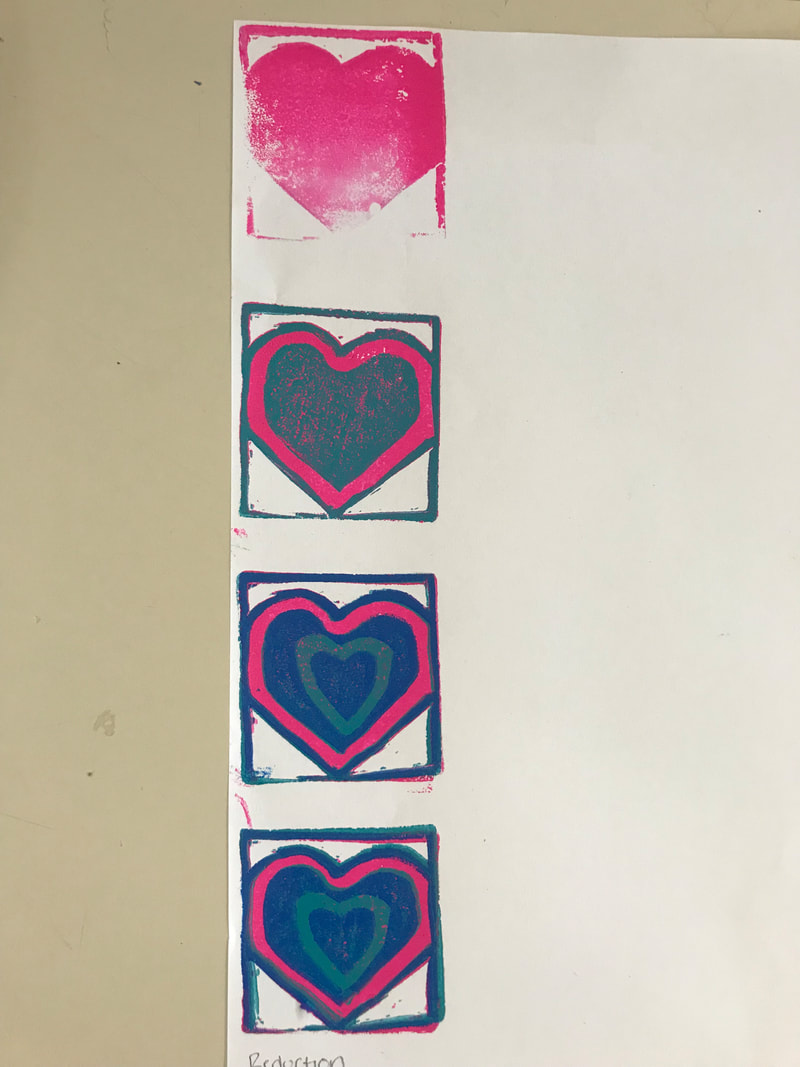
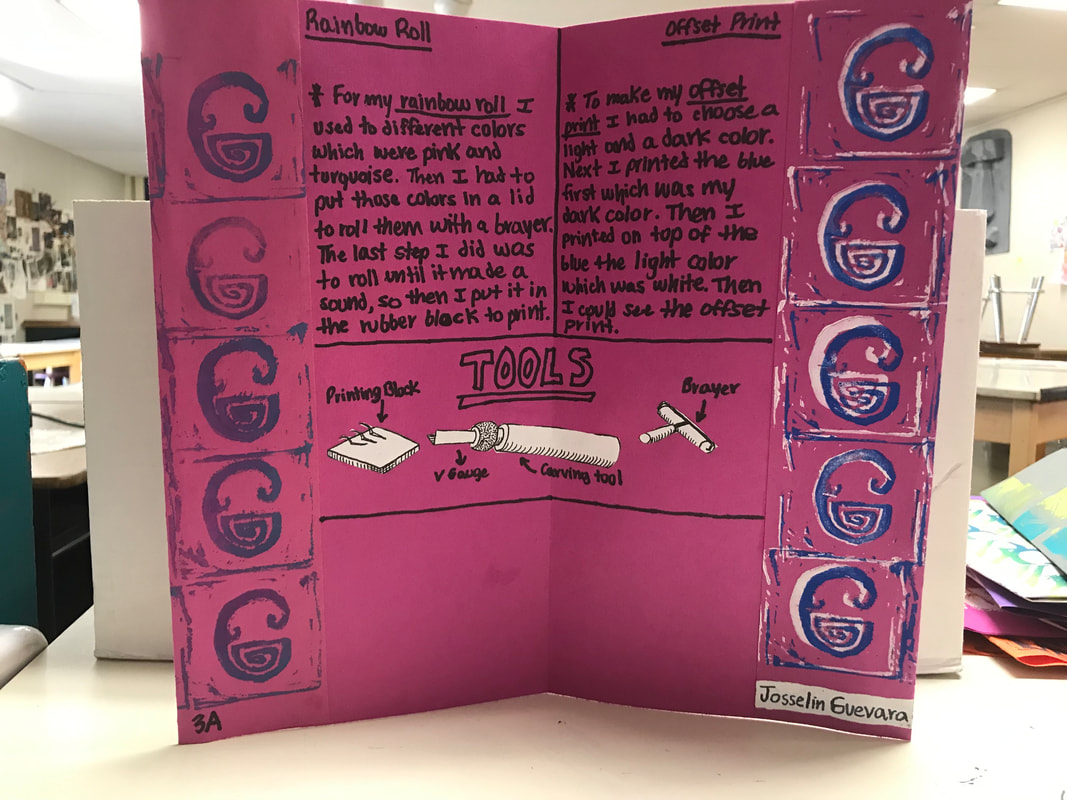
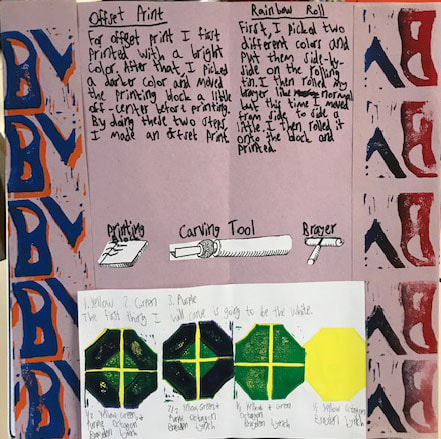
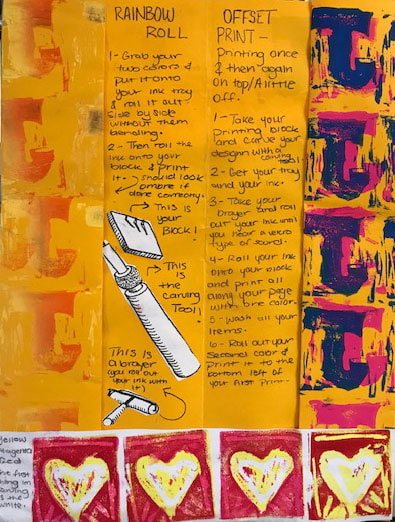
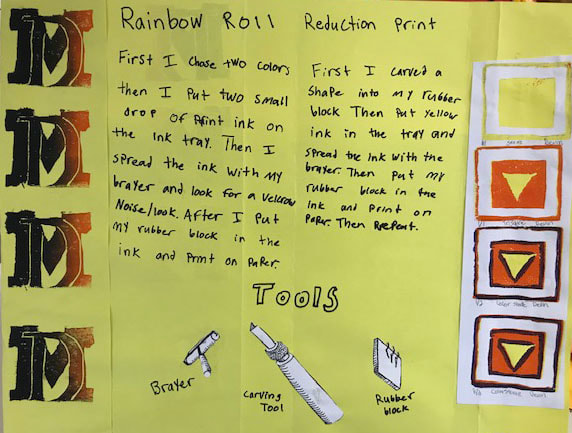
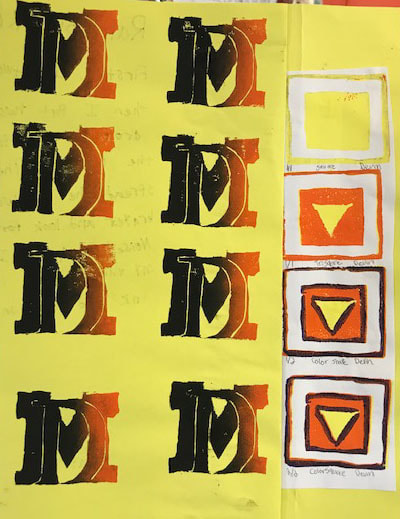
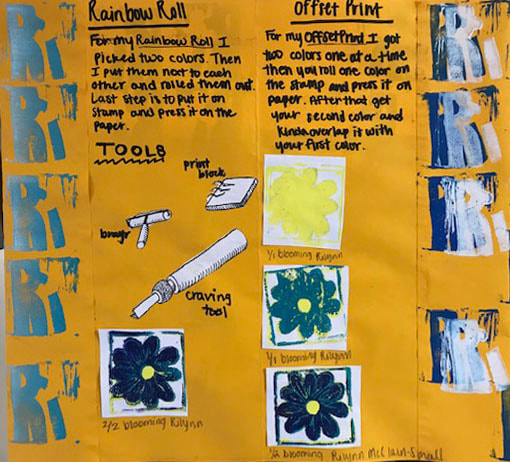
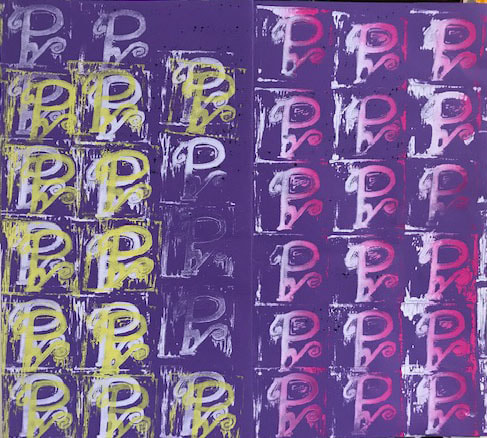
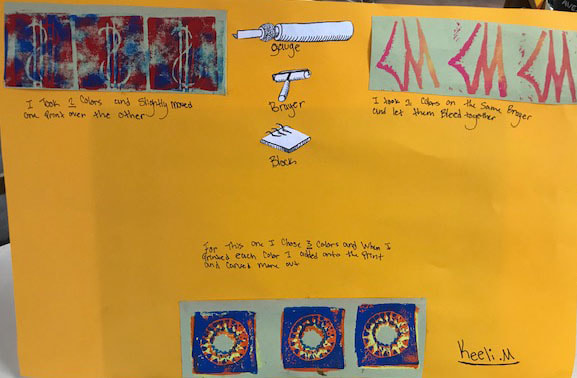
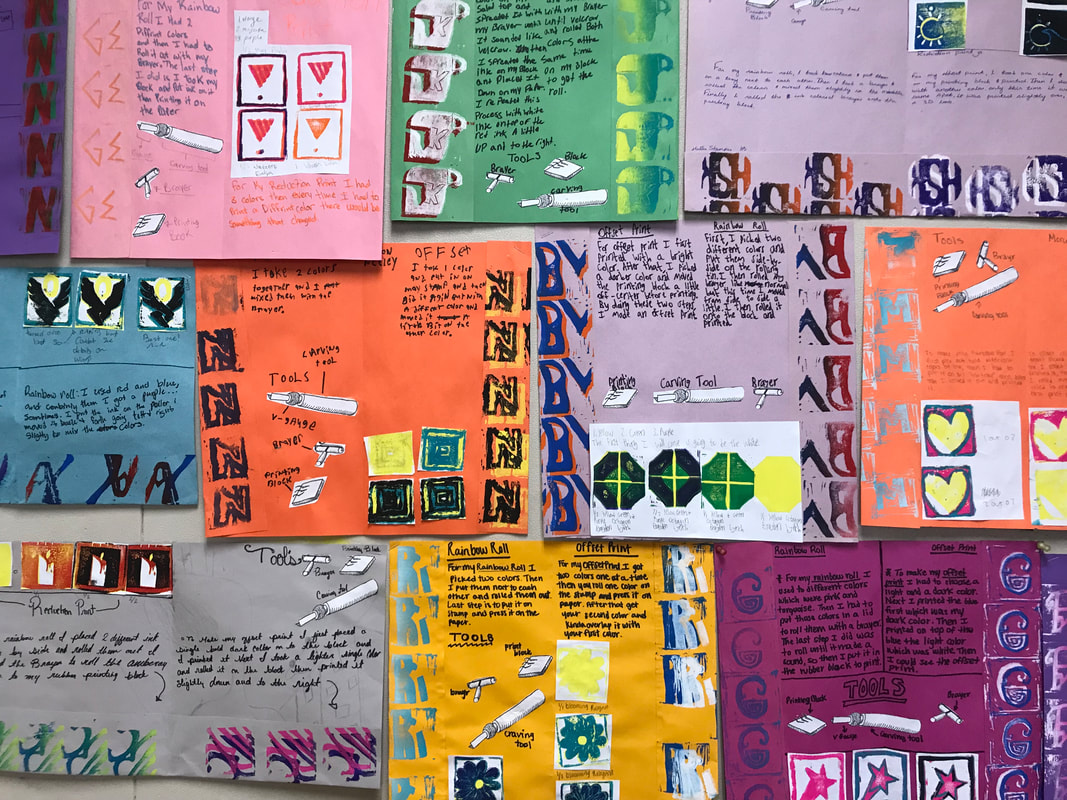
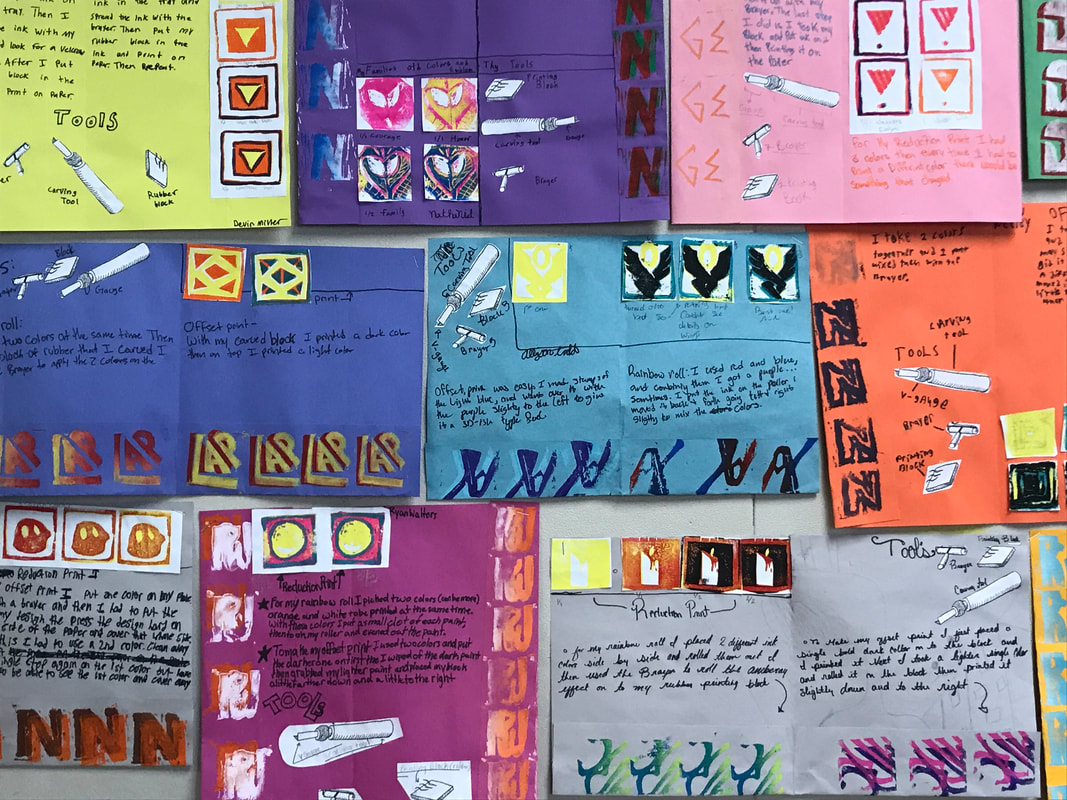
6. Printmaking Processes
|
| ||||

|
|
|
| ||||||||
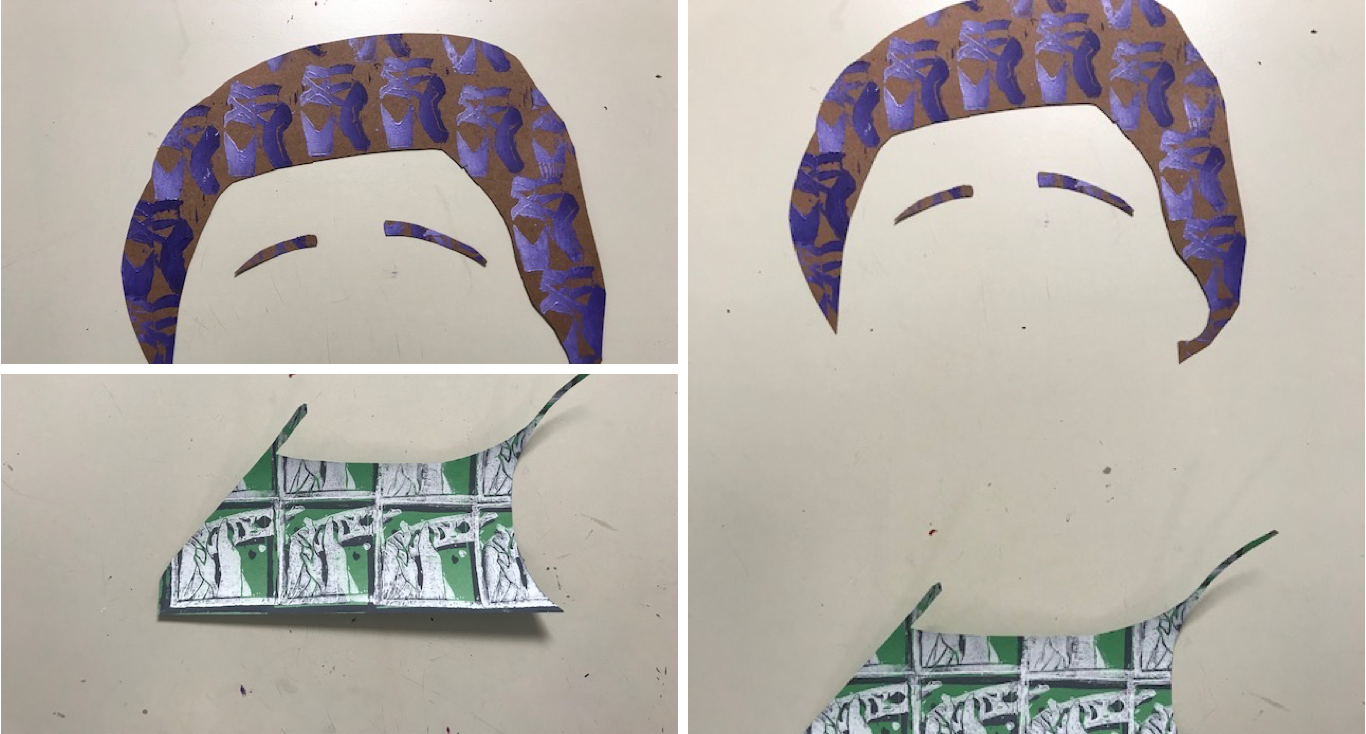
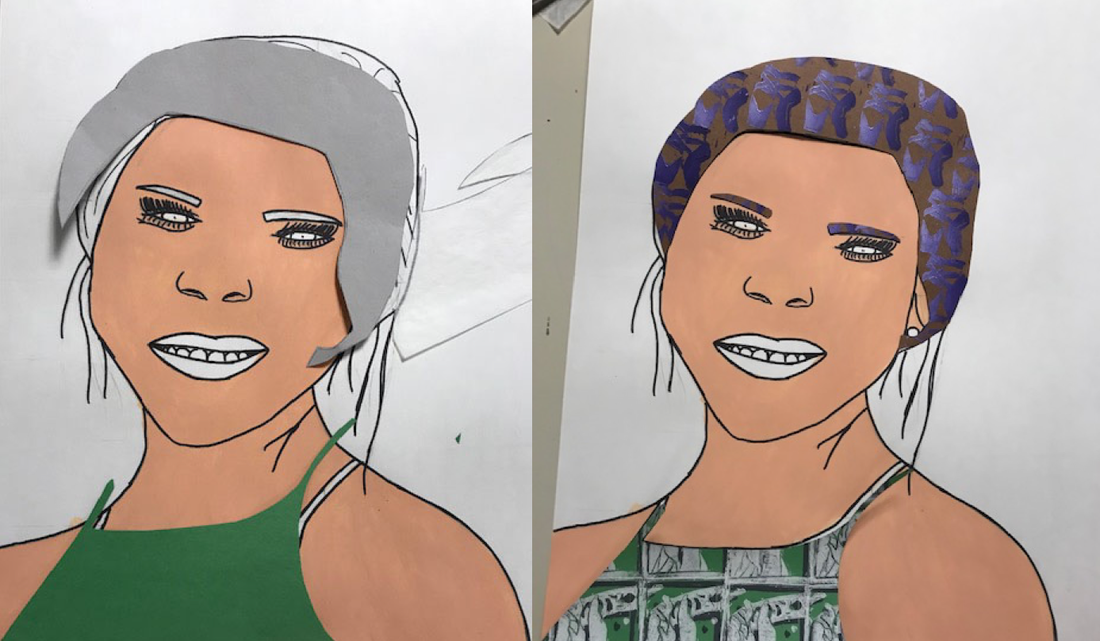
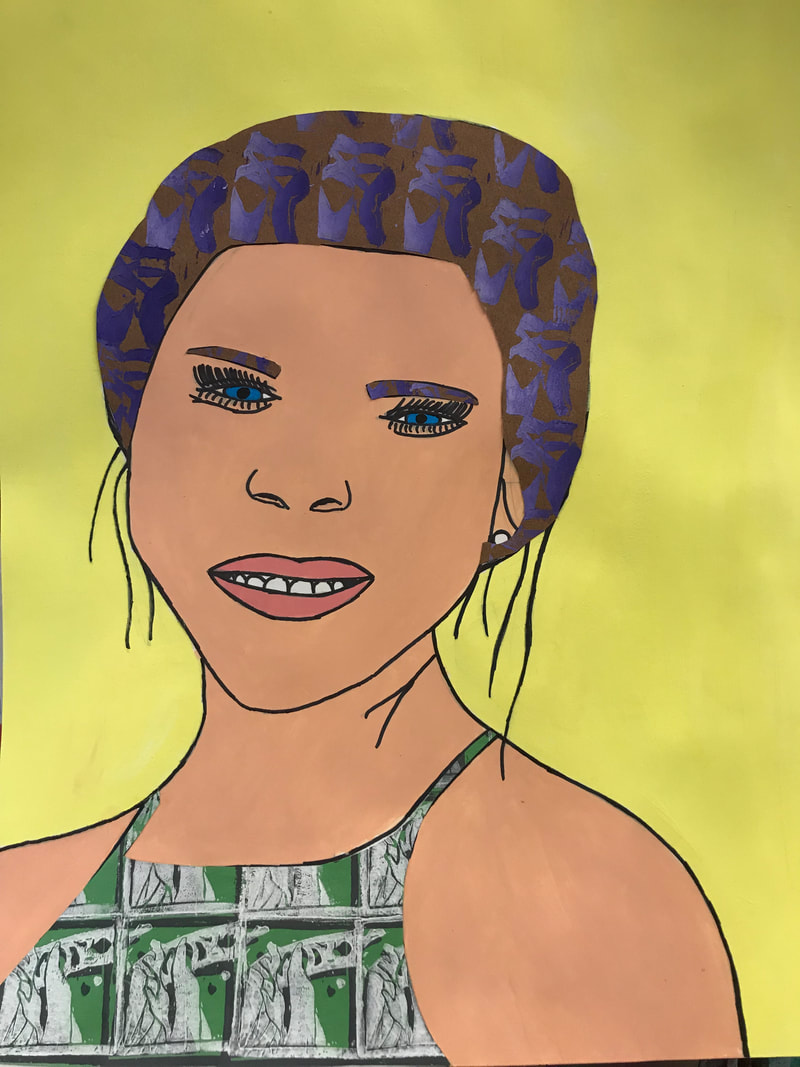
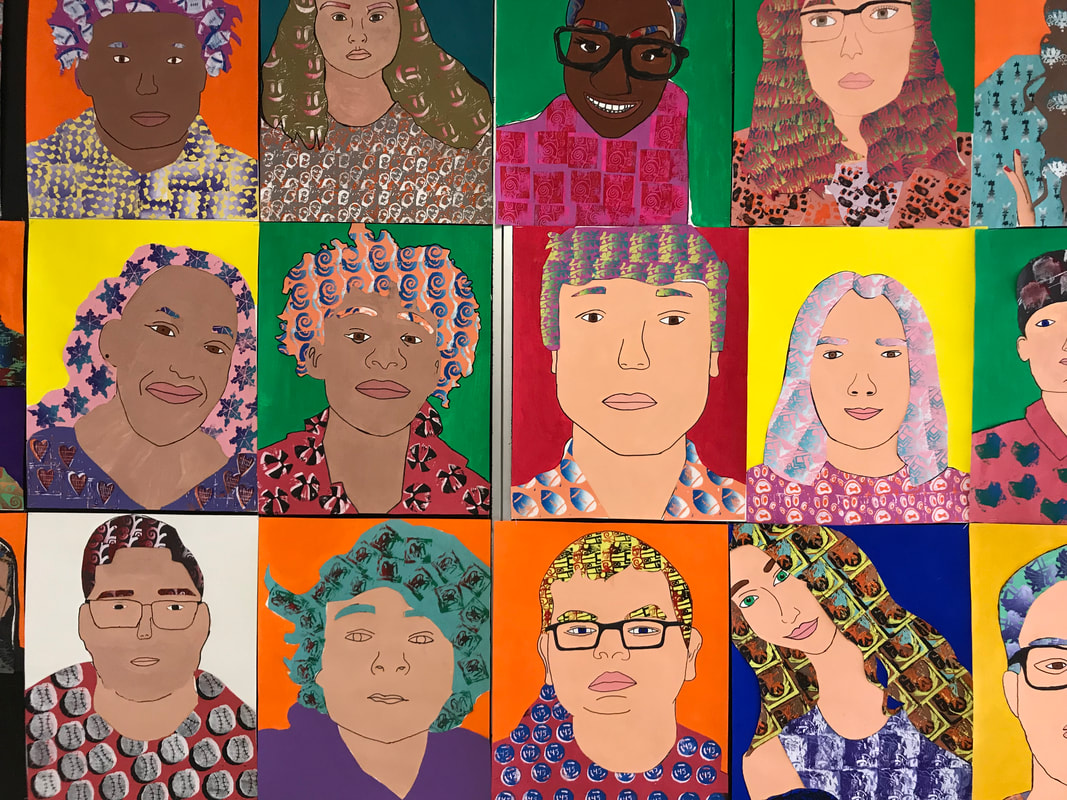
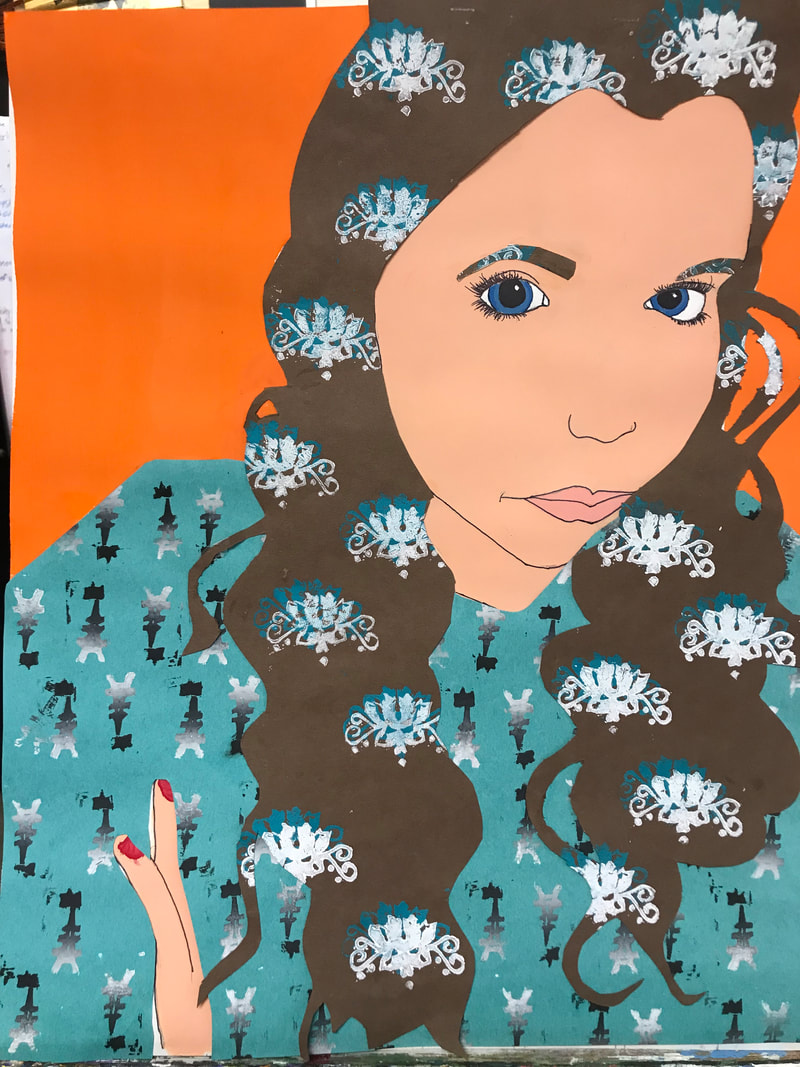
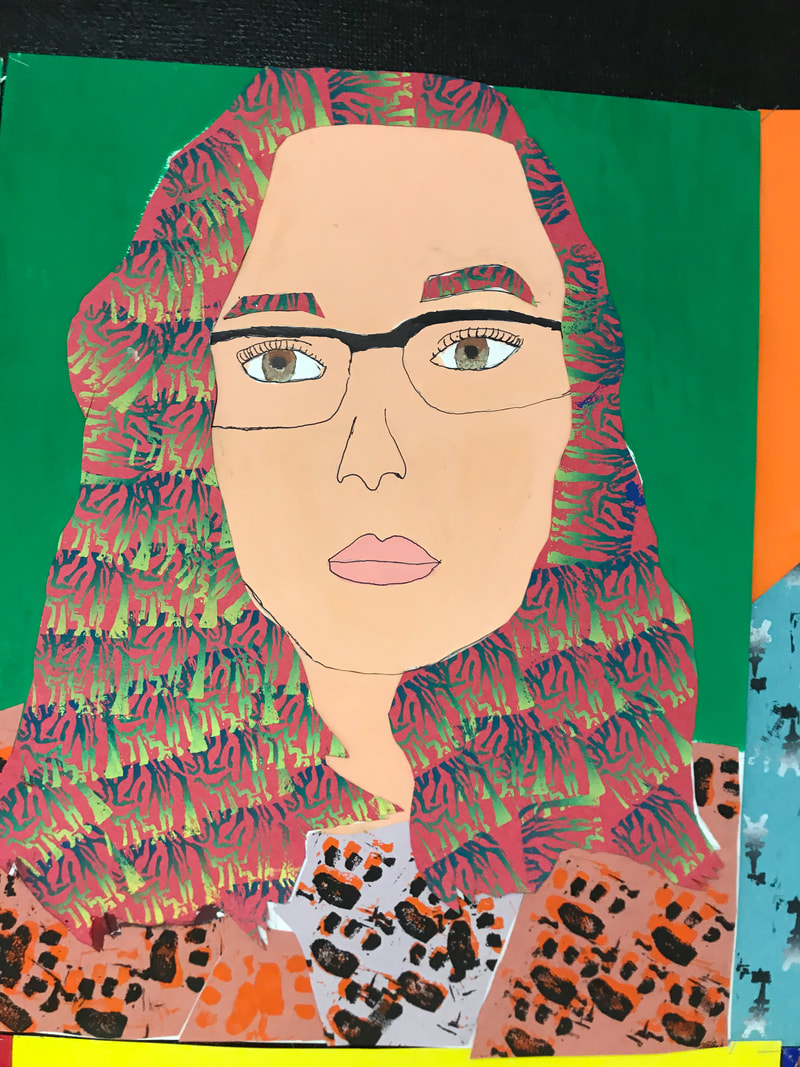
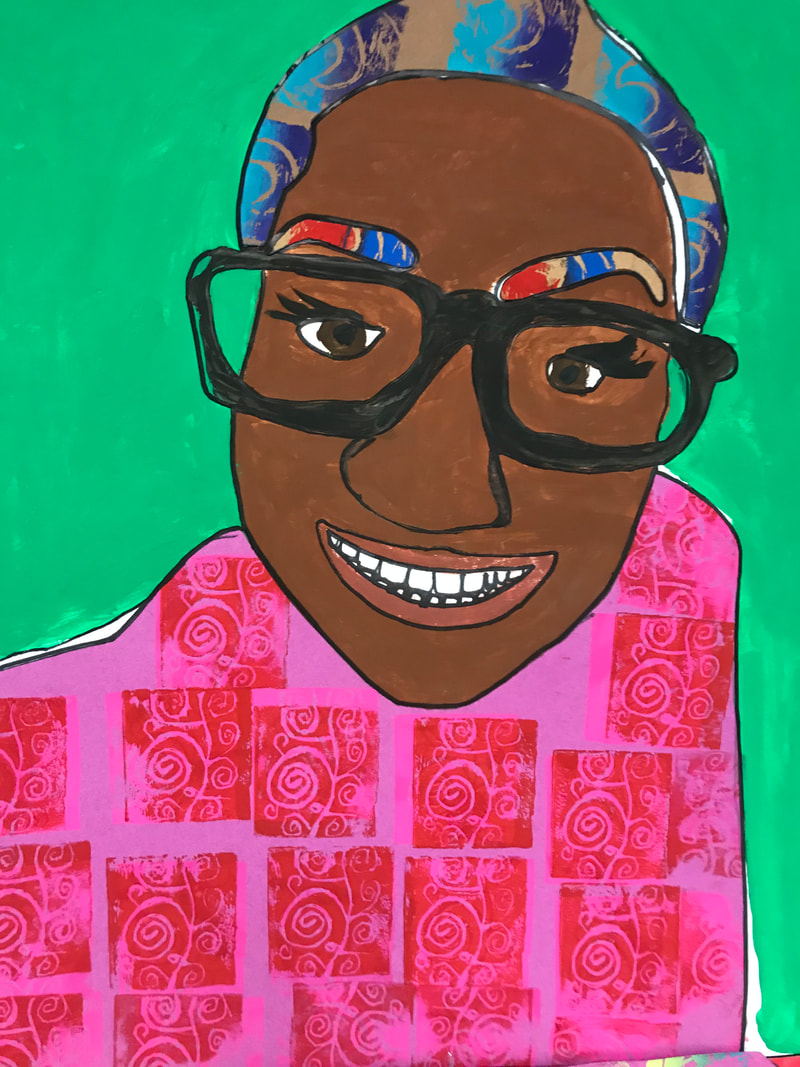
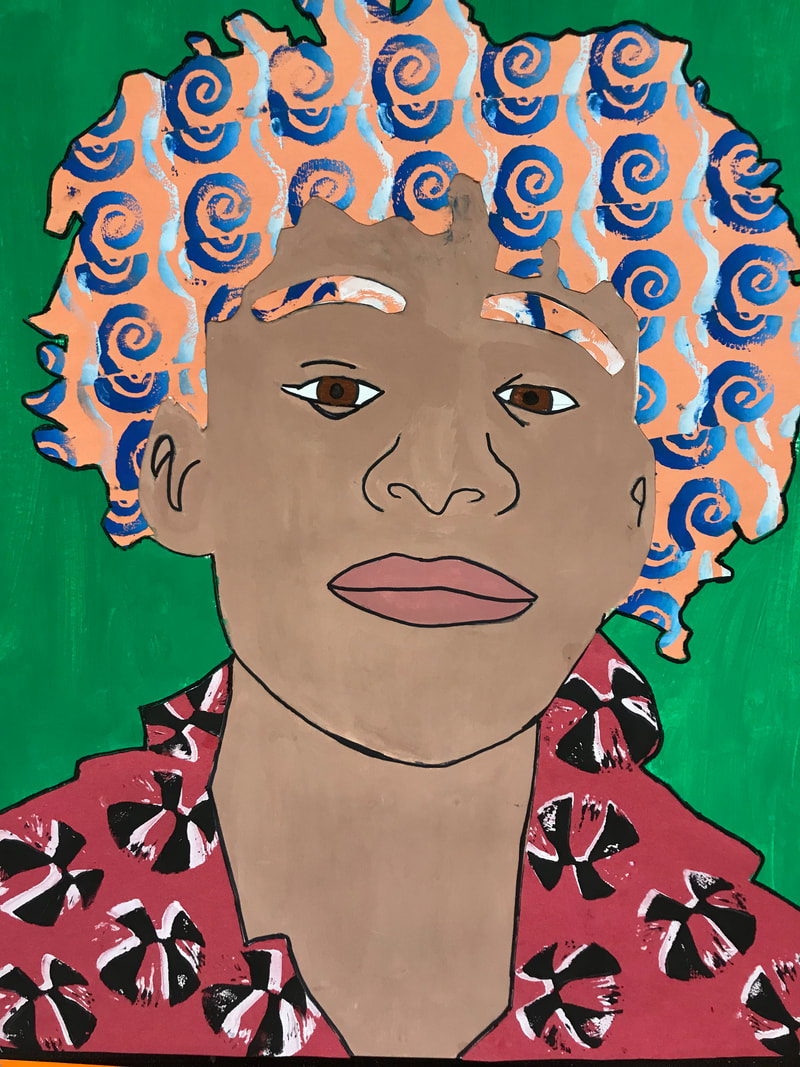
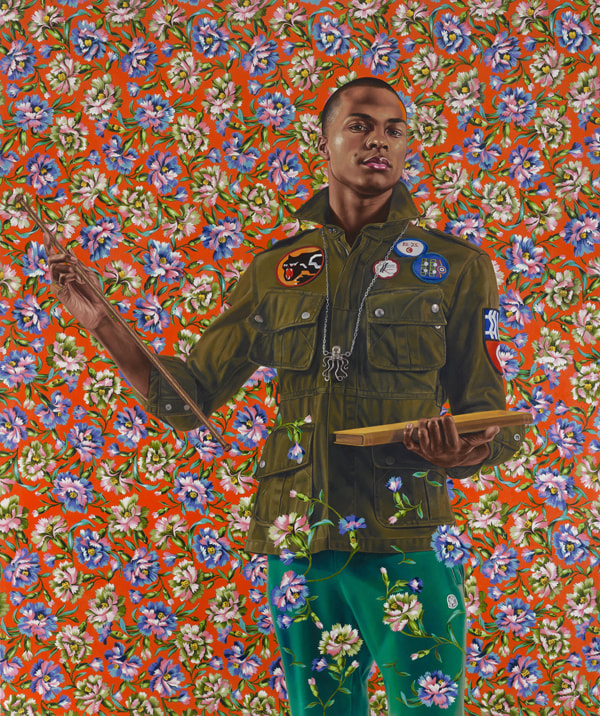
7. Self Portrait: Painting & Printmaking
EQ: How are Organic Shapes used in art??
LT: I can describe how organic shapes are used in the art movement Art Nouveau
LT: I can describe how organic shapes are used in the art movement Art Nouveau
| self-portrait.pptx |
Modified Assignment below...
. Value/Shading Practice
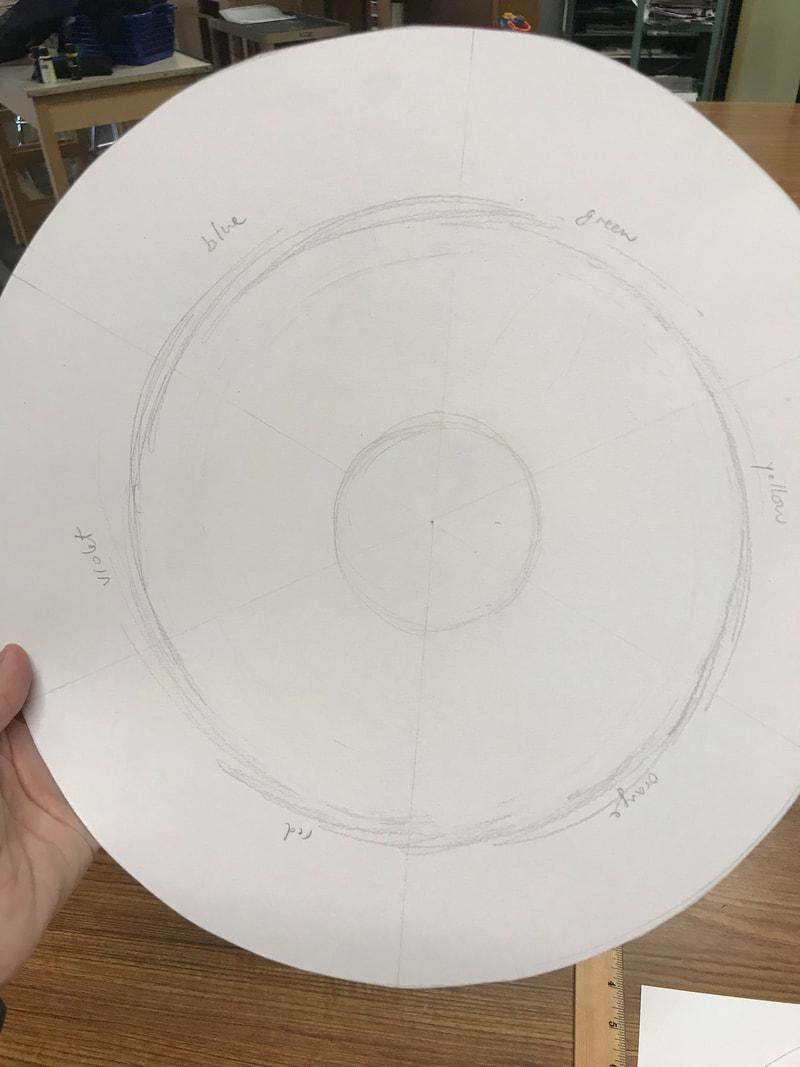
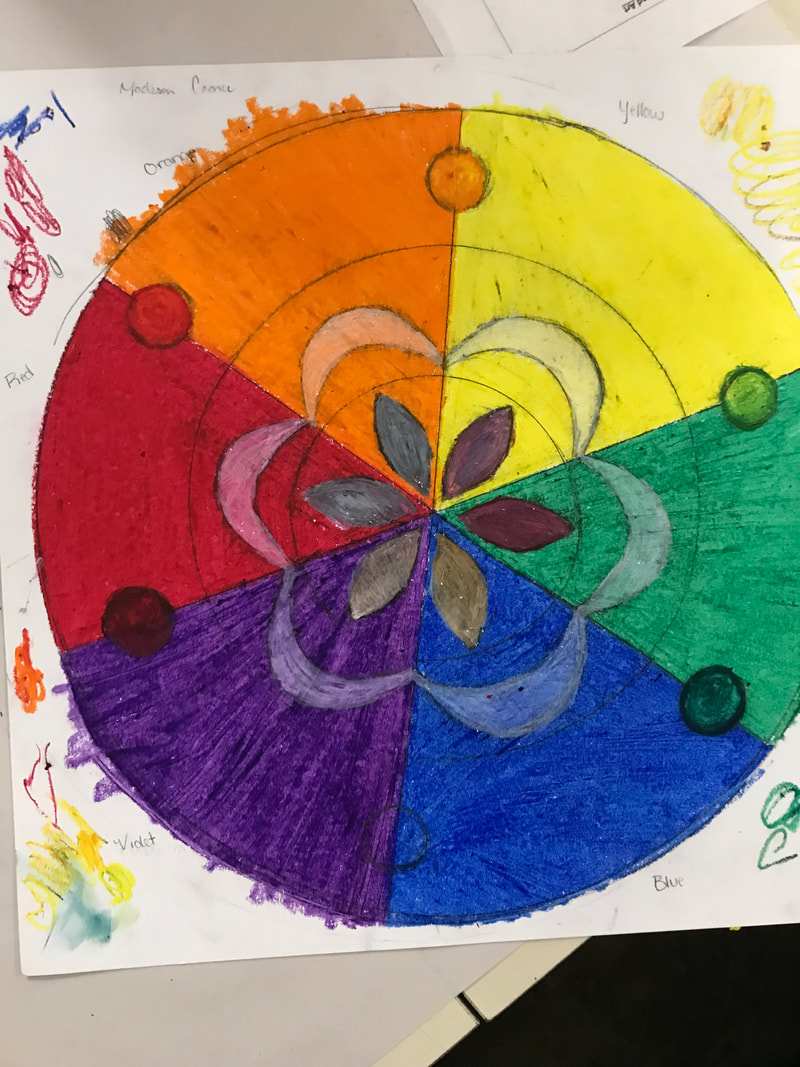
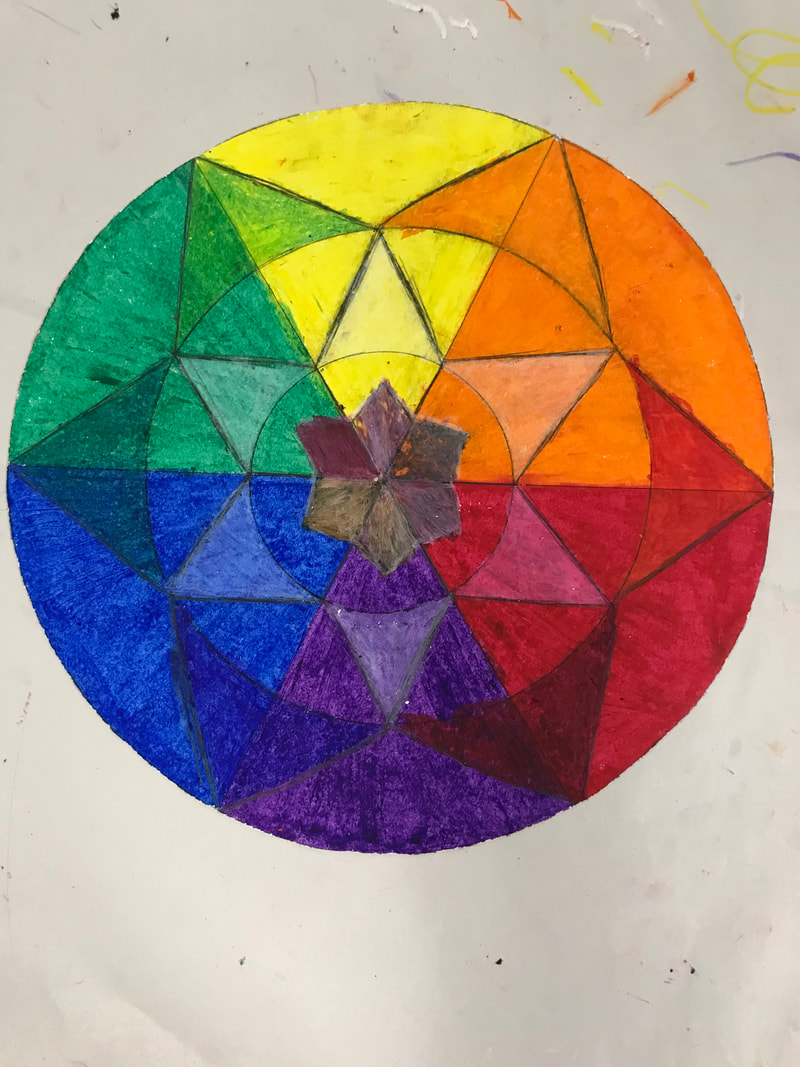
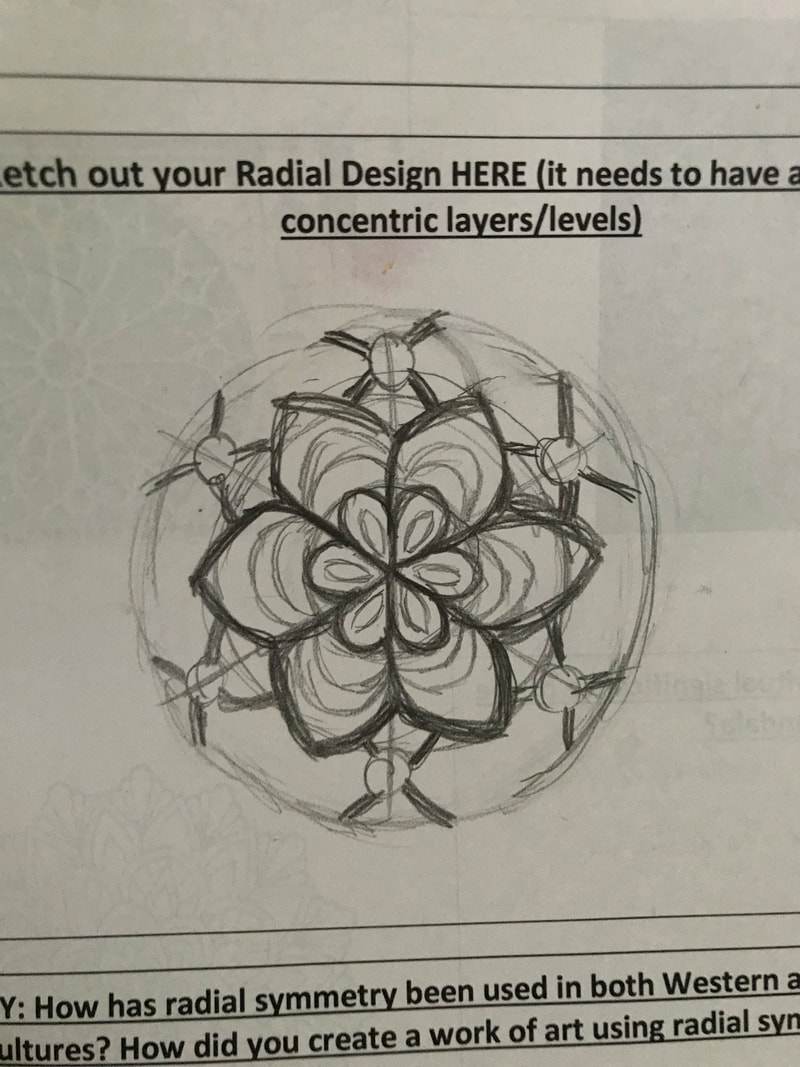
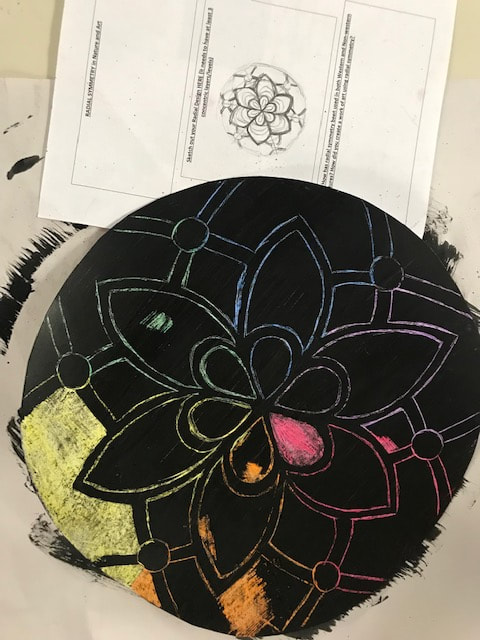
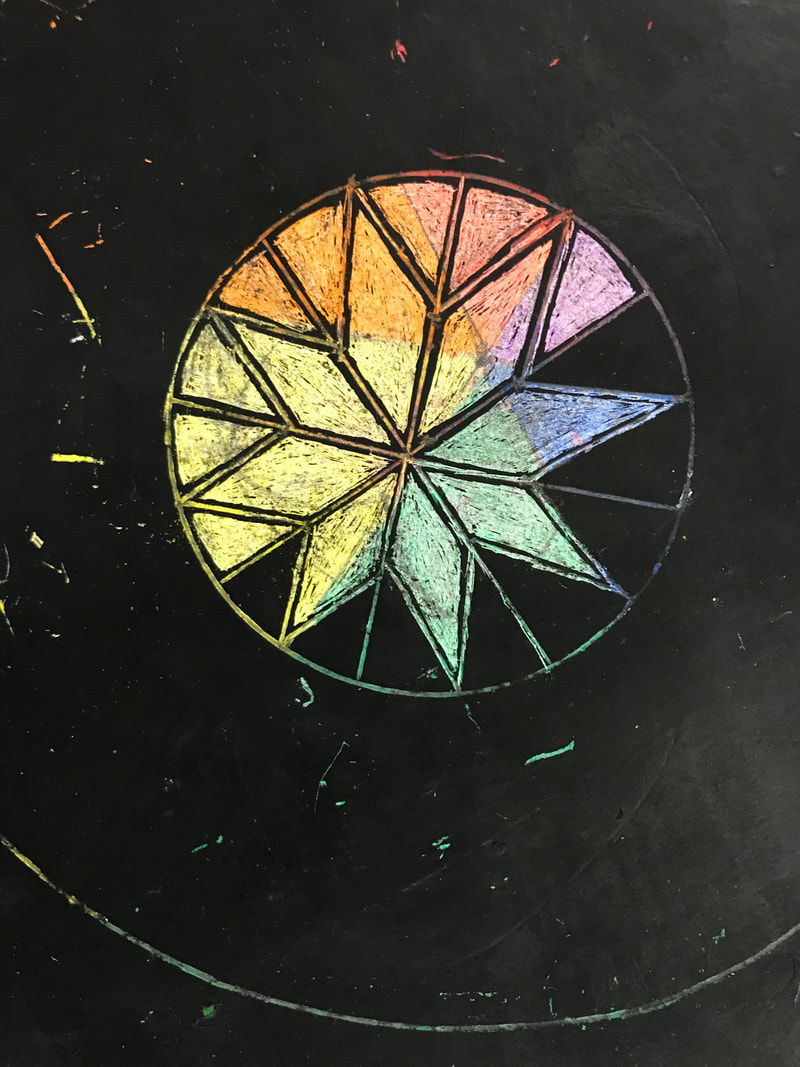
Radial Symmetry
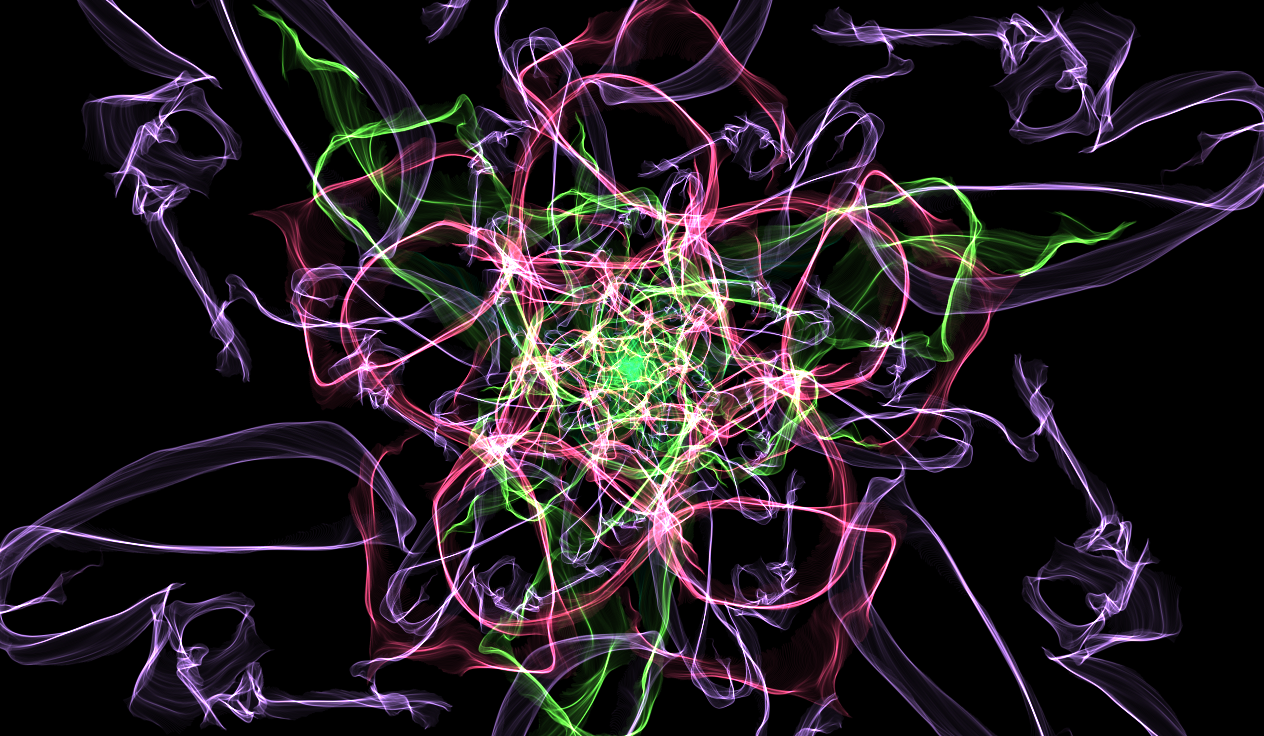
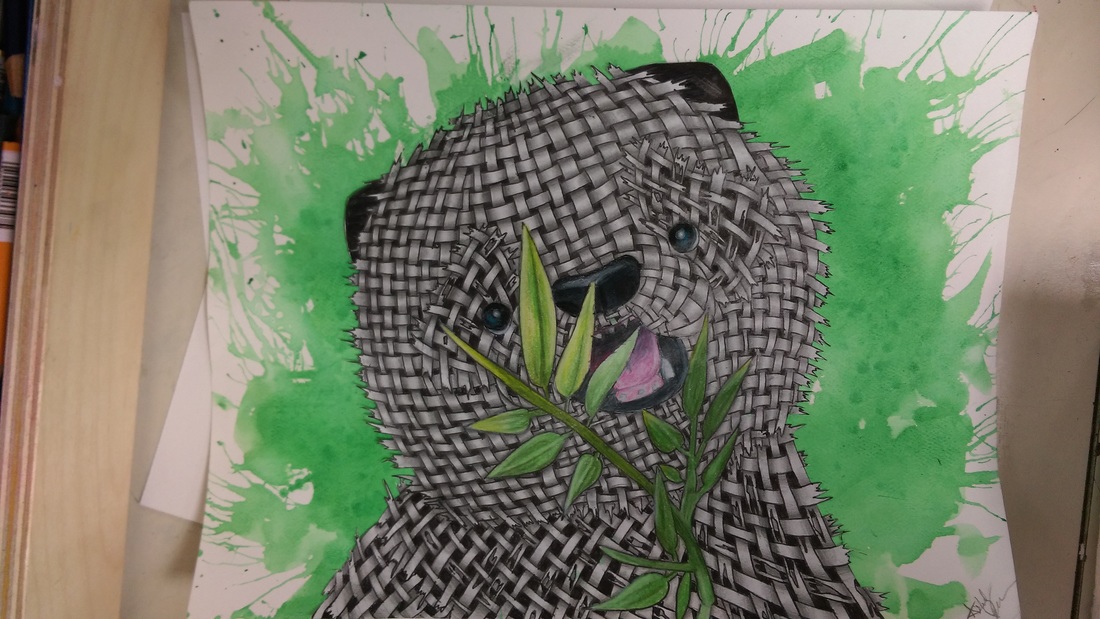
1. Use weave silk (link is below) to create a radial design. Use 3 or more rotational symmetry points
2. Email your work of art to [email protected]
2. Email your work of art to [email protected]
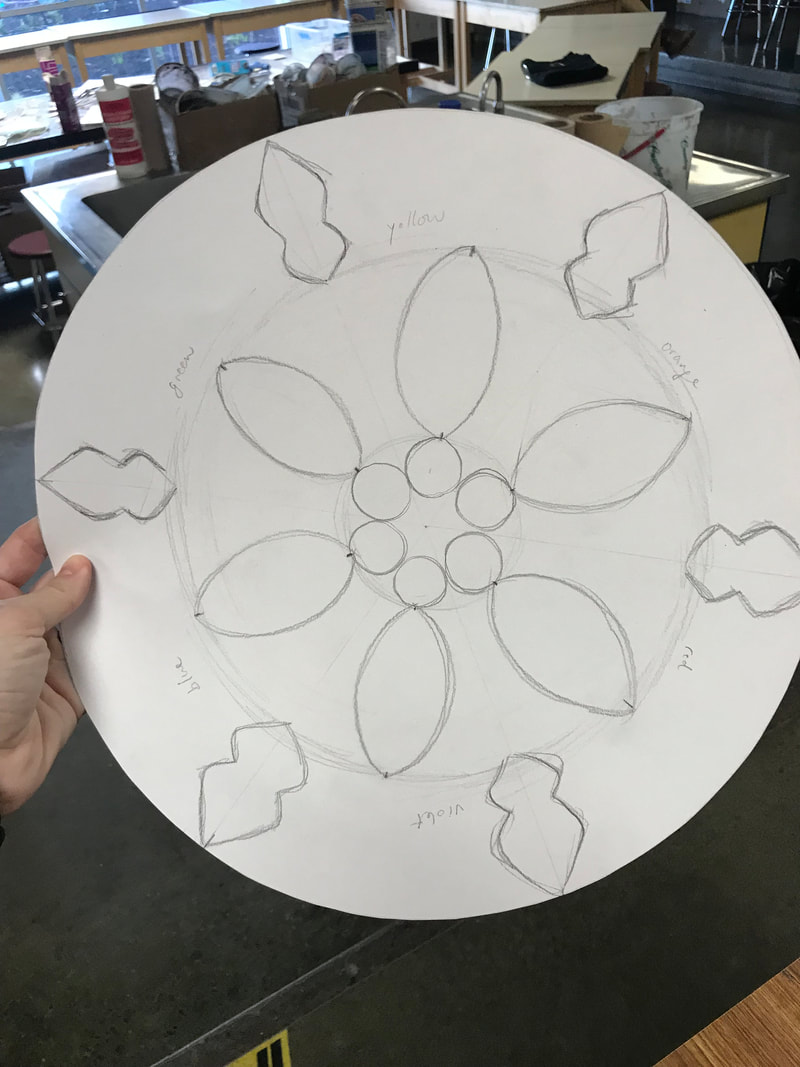
Radial Rosewindow |
| ||||||||
|
| ||||

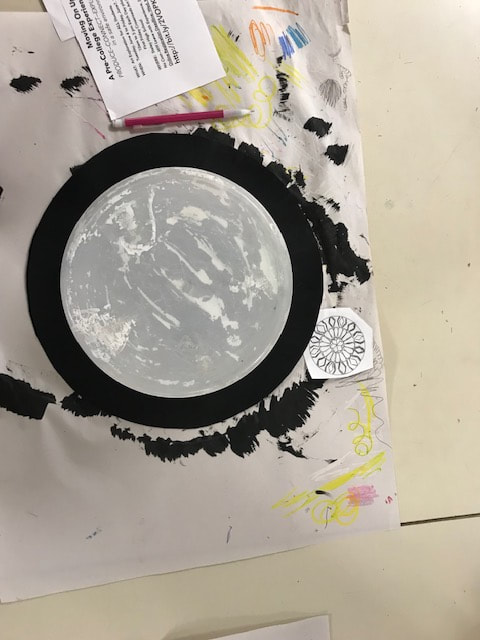
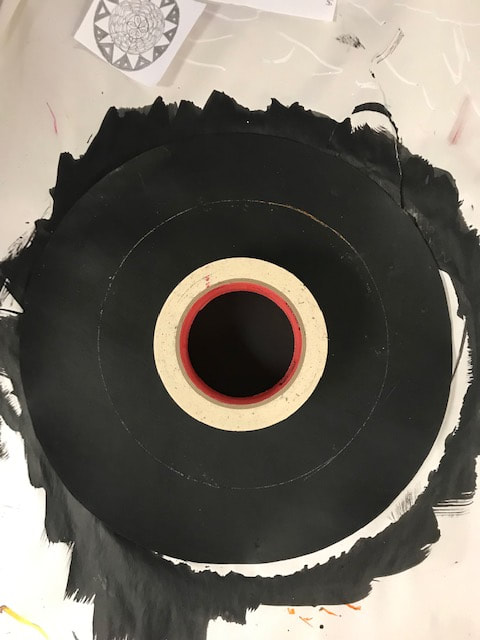

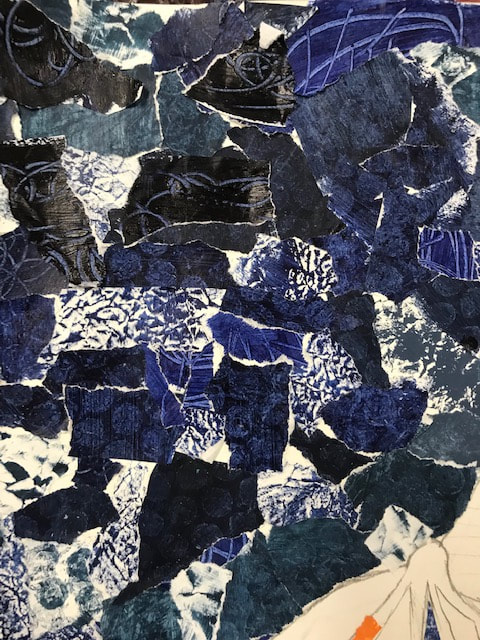
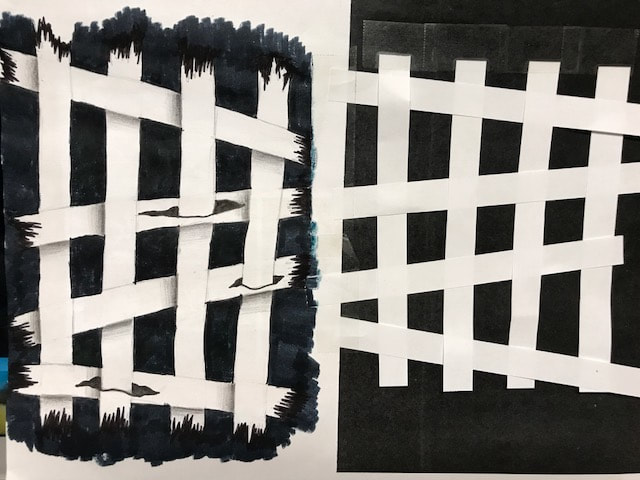
. Notan
|
| ||||
. Printmaking
| radial_notan_printmaking.pdf |
Second Semester
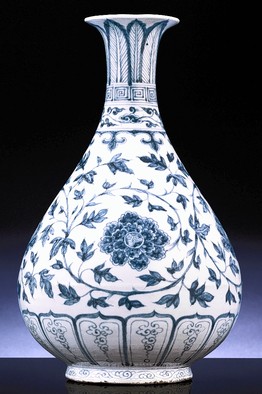
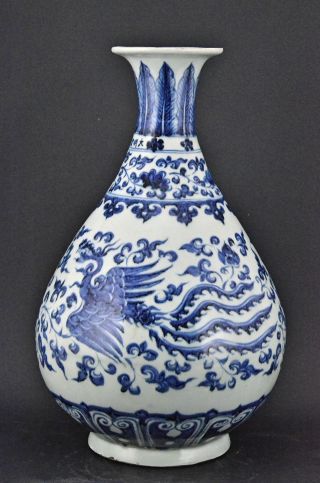
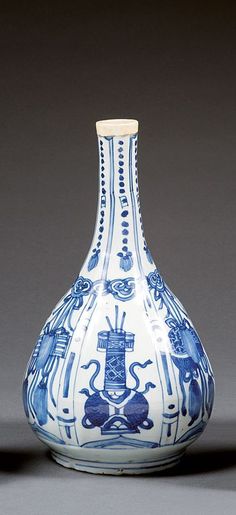
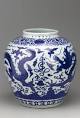
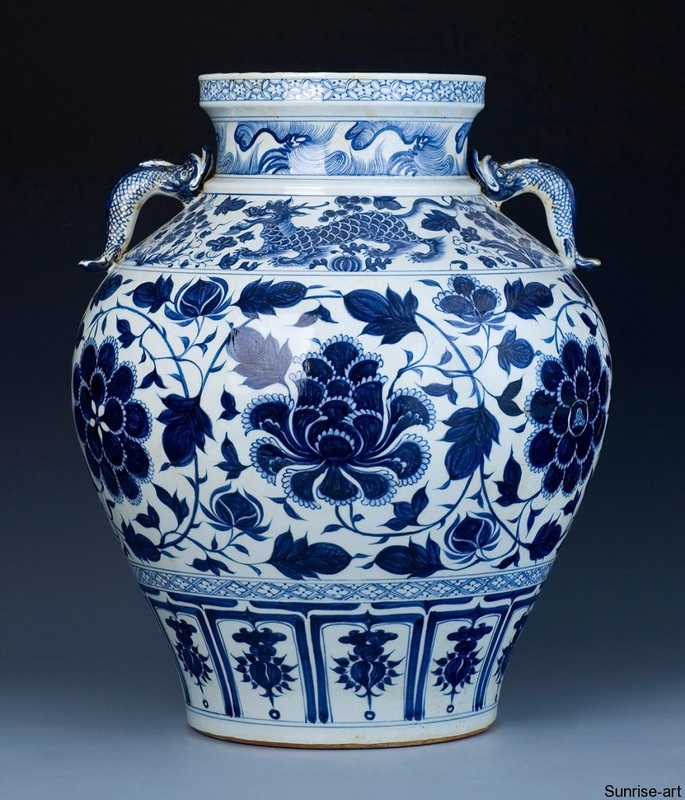
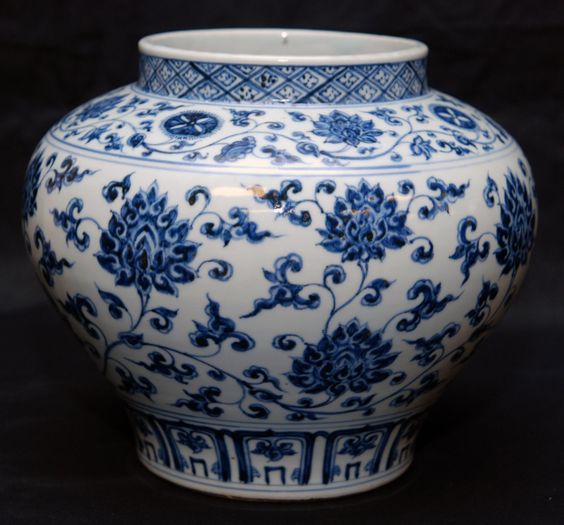
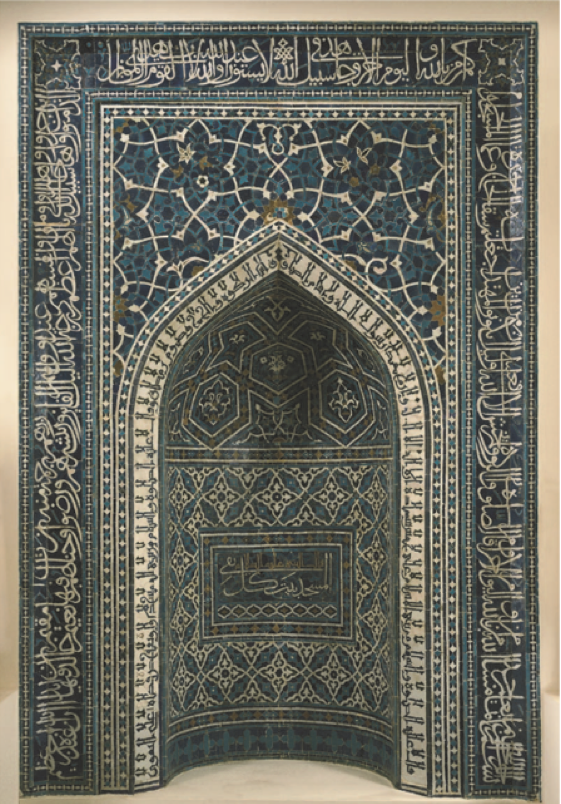
1. David Vases- Notes
|
Watch the video (to the right) on the David Vases. Download and take notes on this note page (to the right). Have all of the following information on your notes...
|
| ||
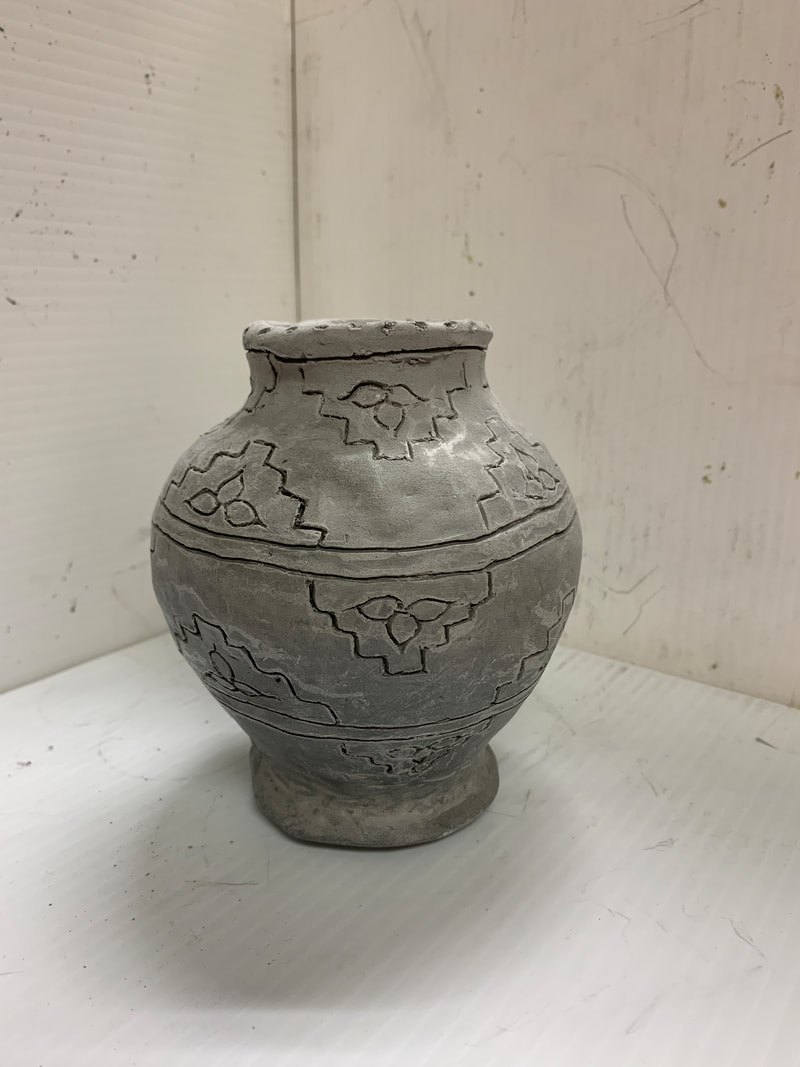
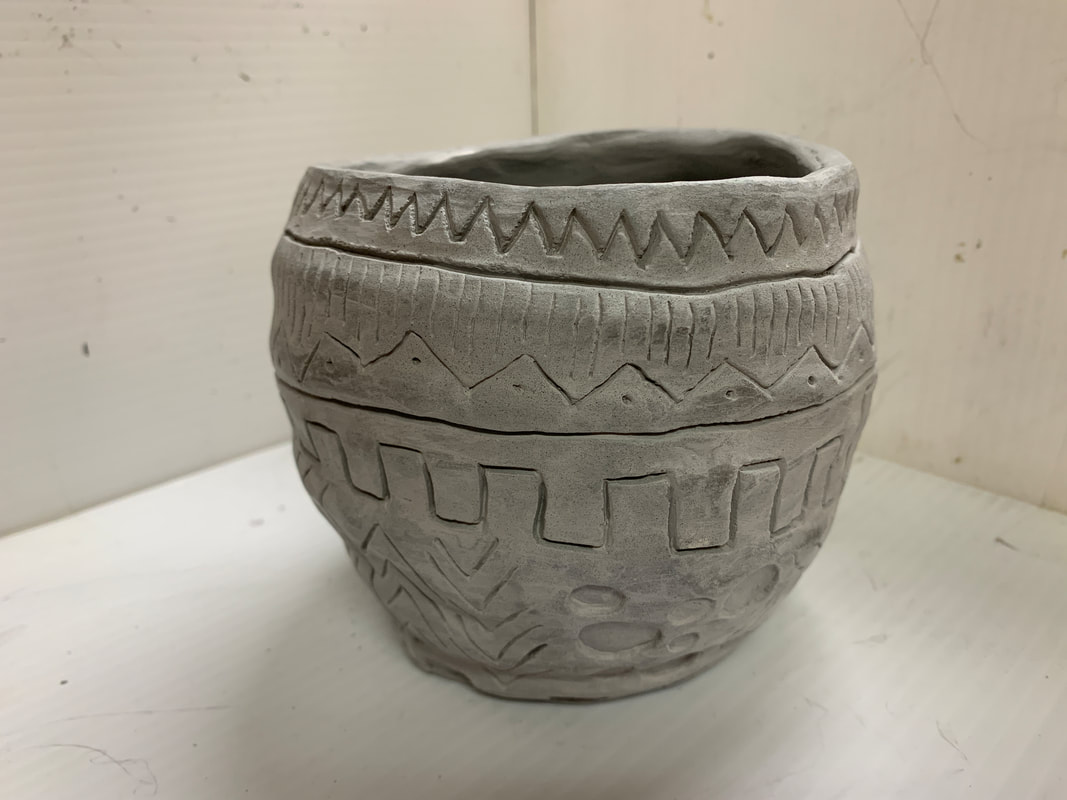
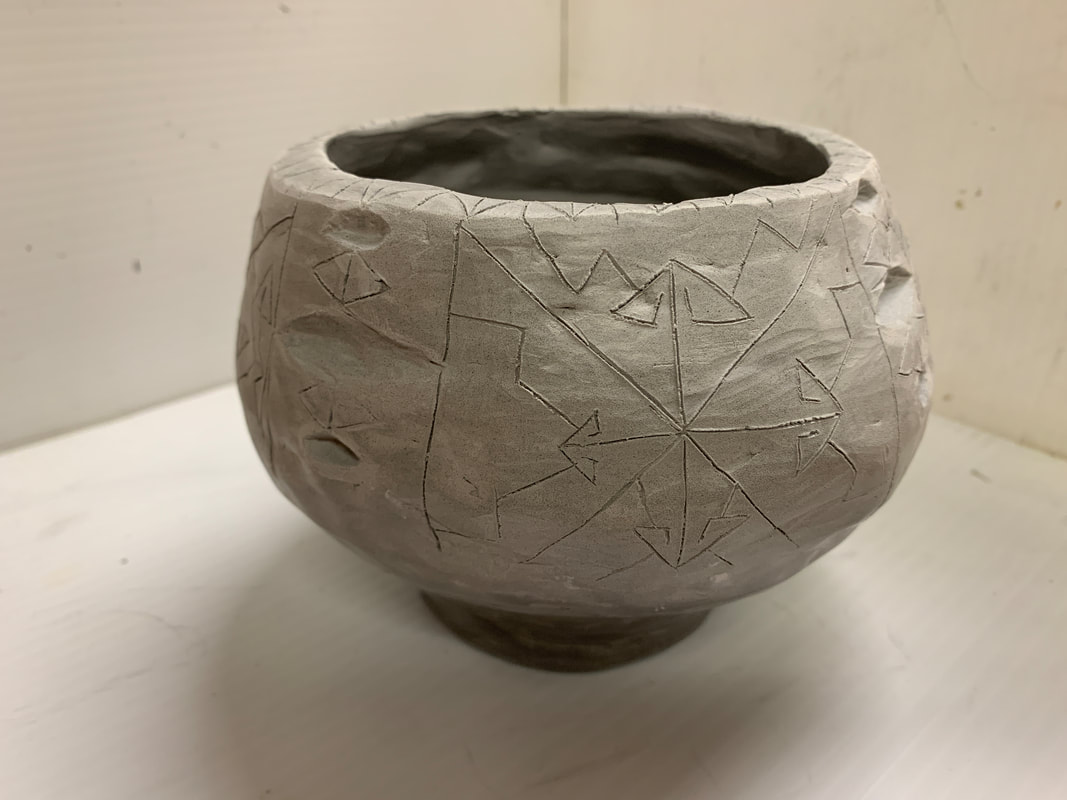
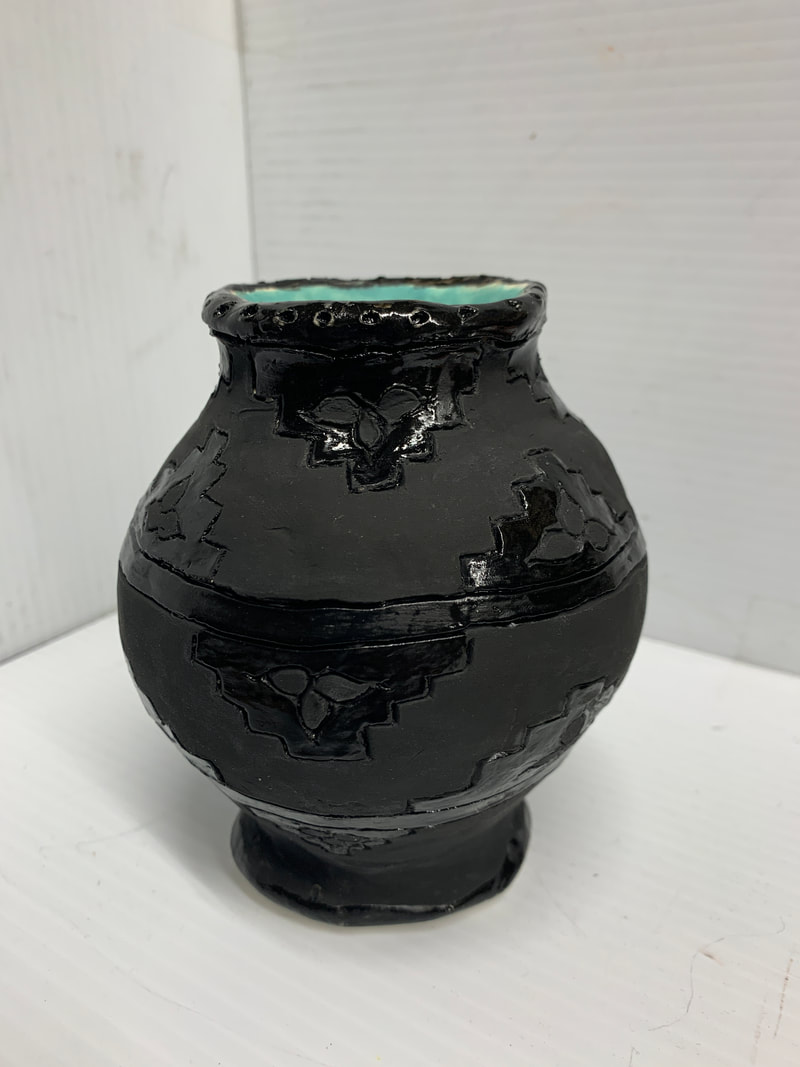
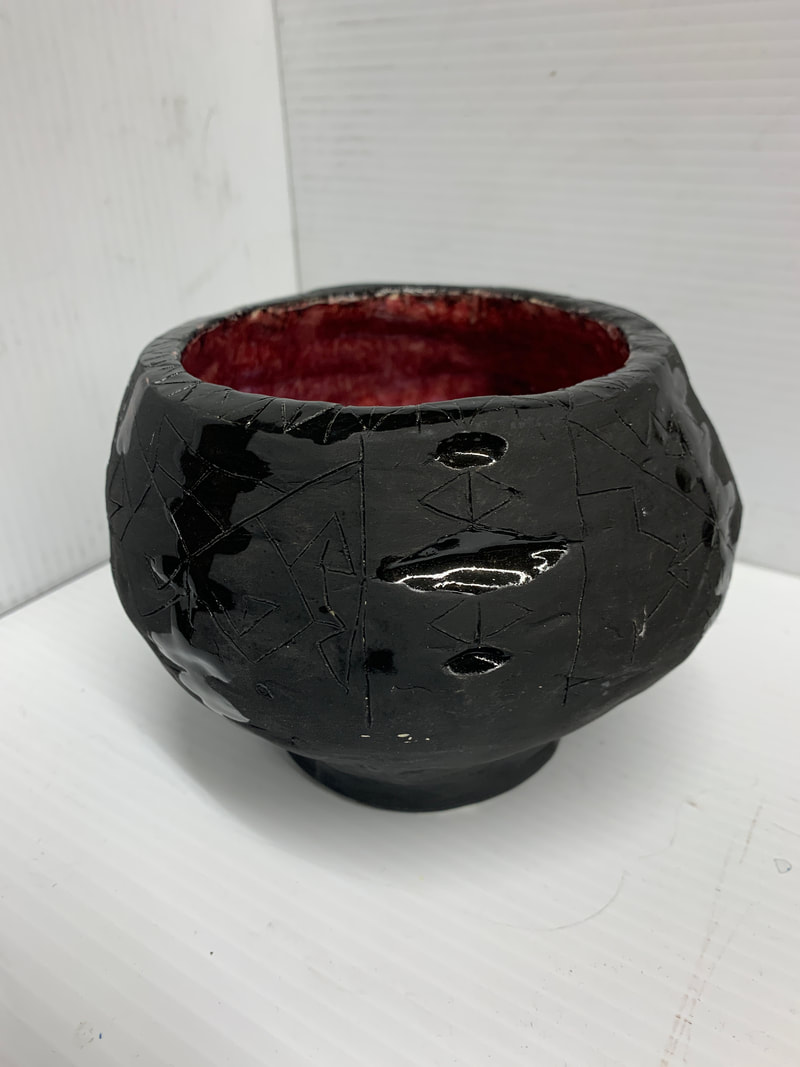
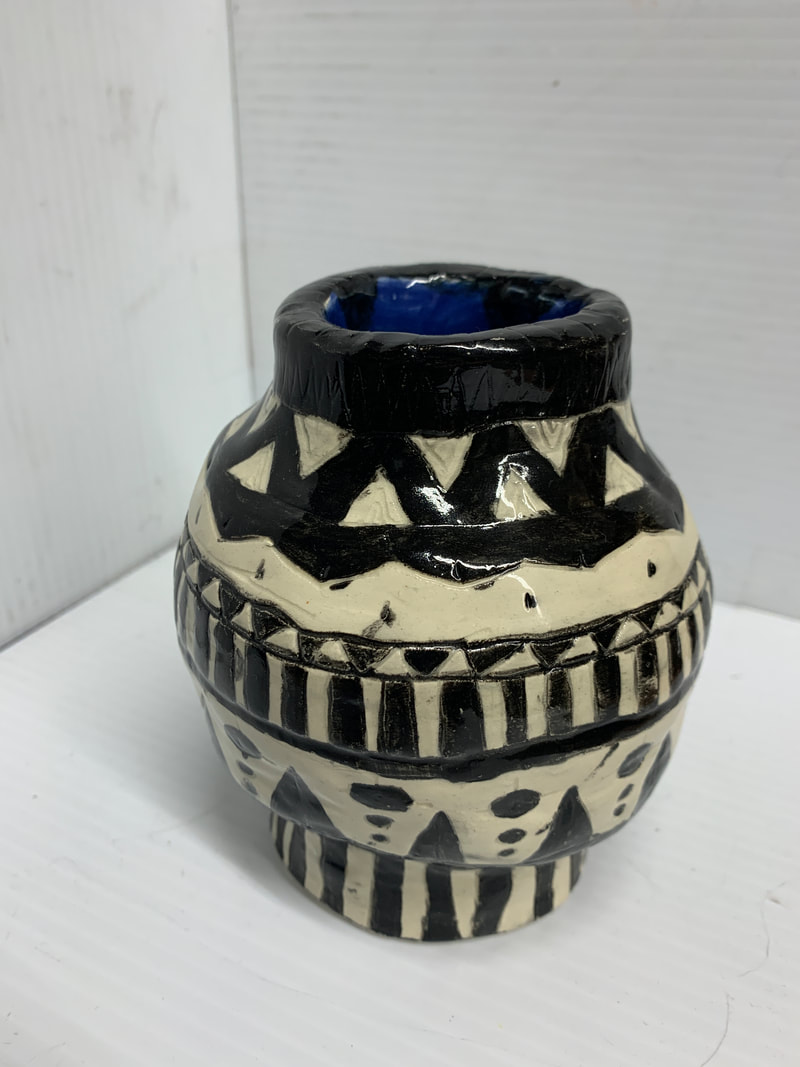
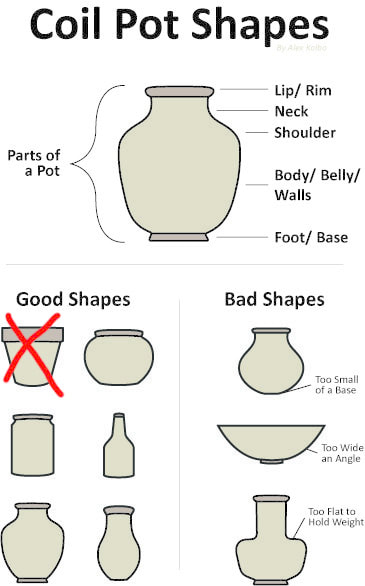
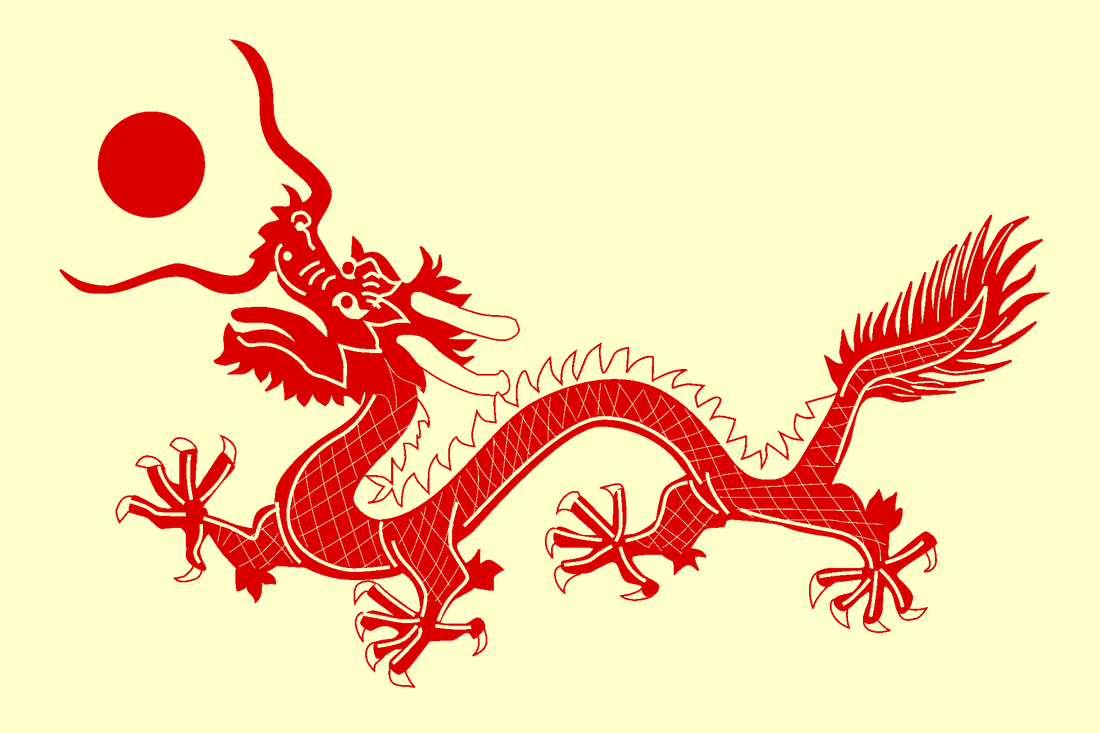
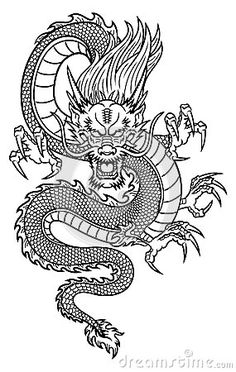
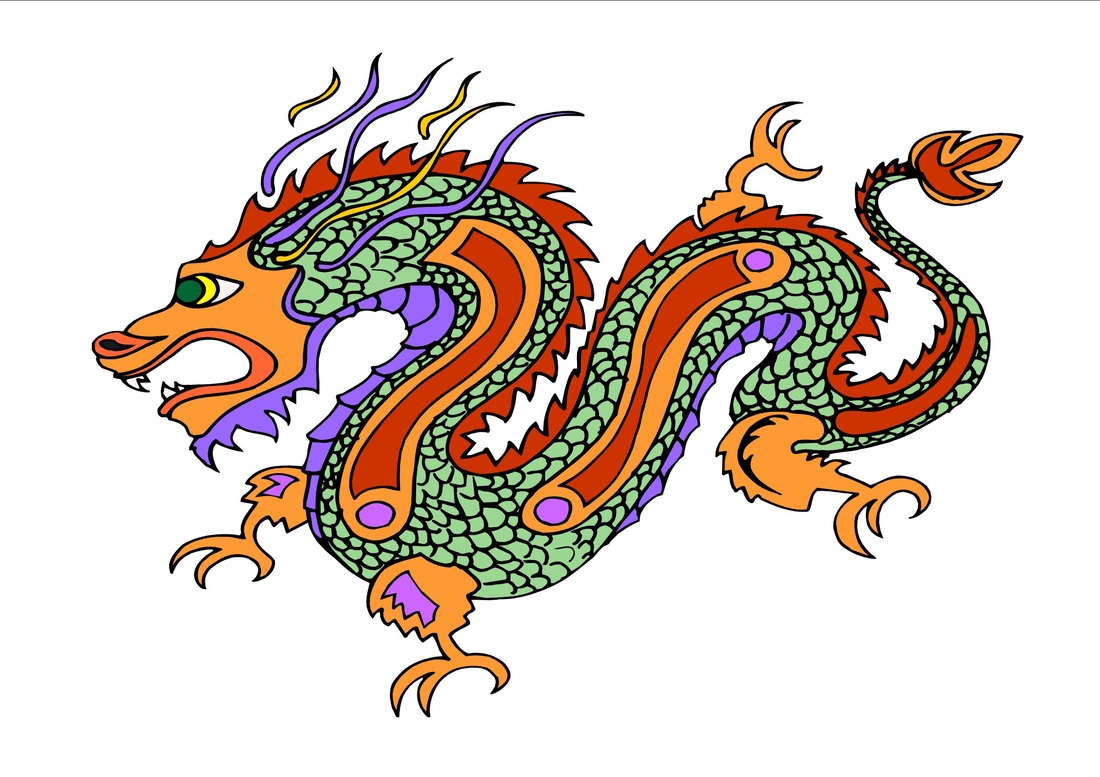
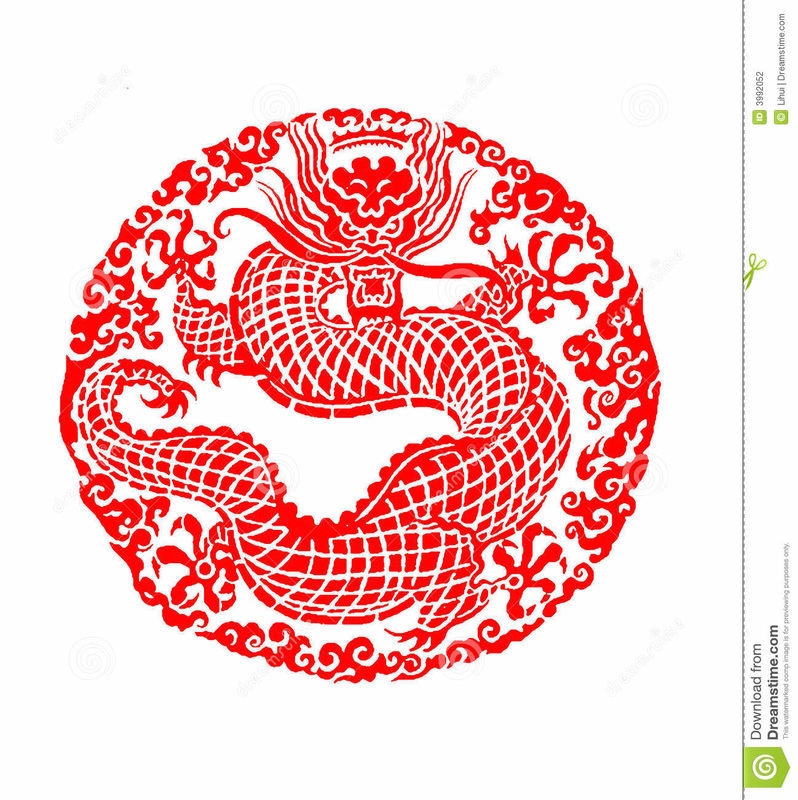
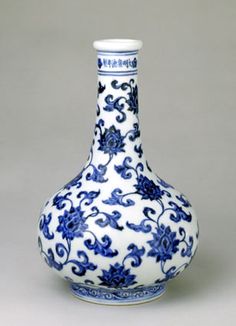
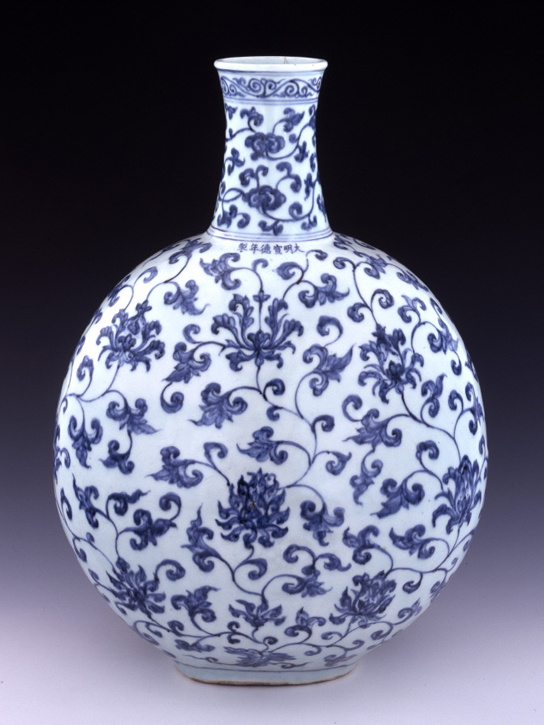
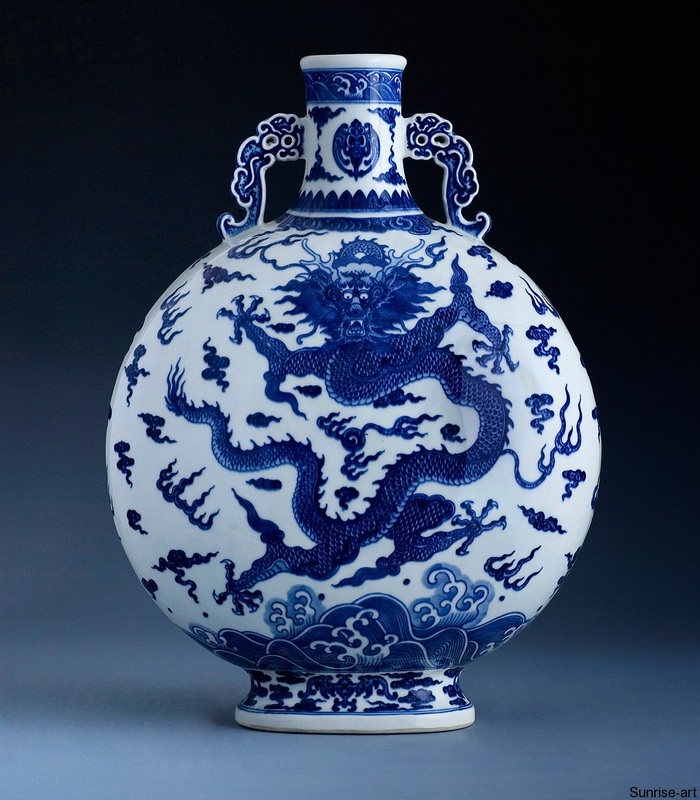
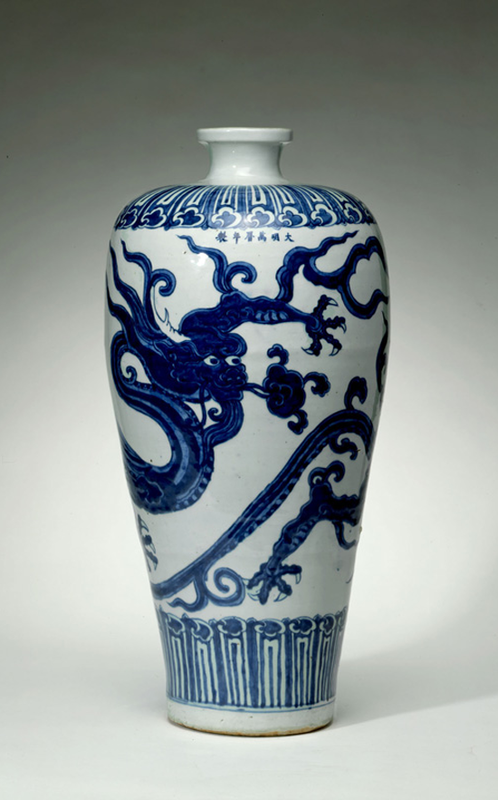
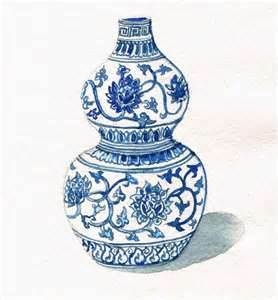
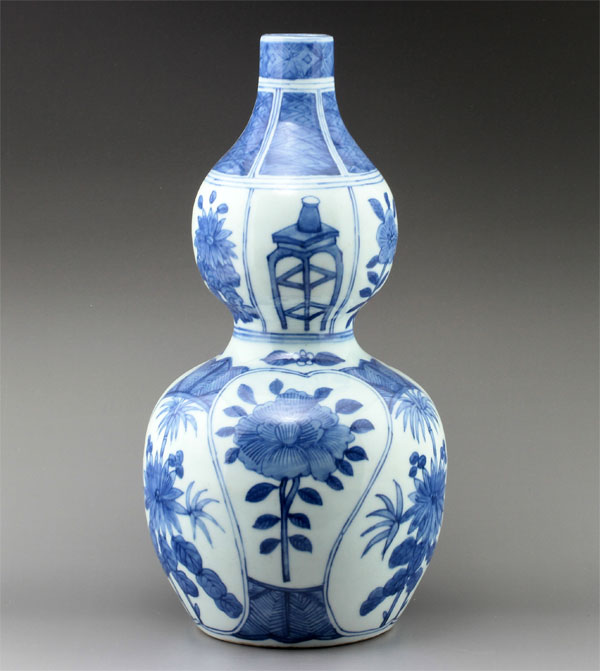
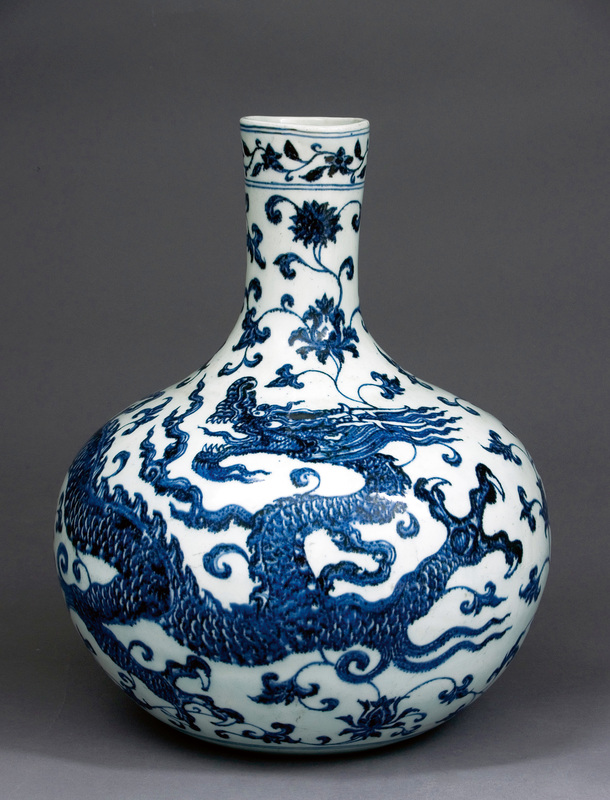
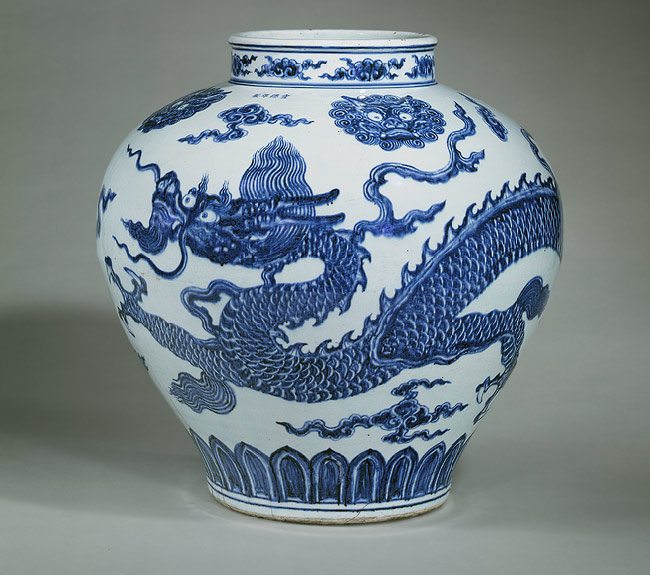
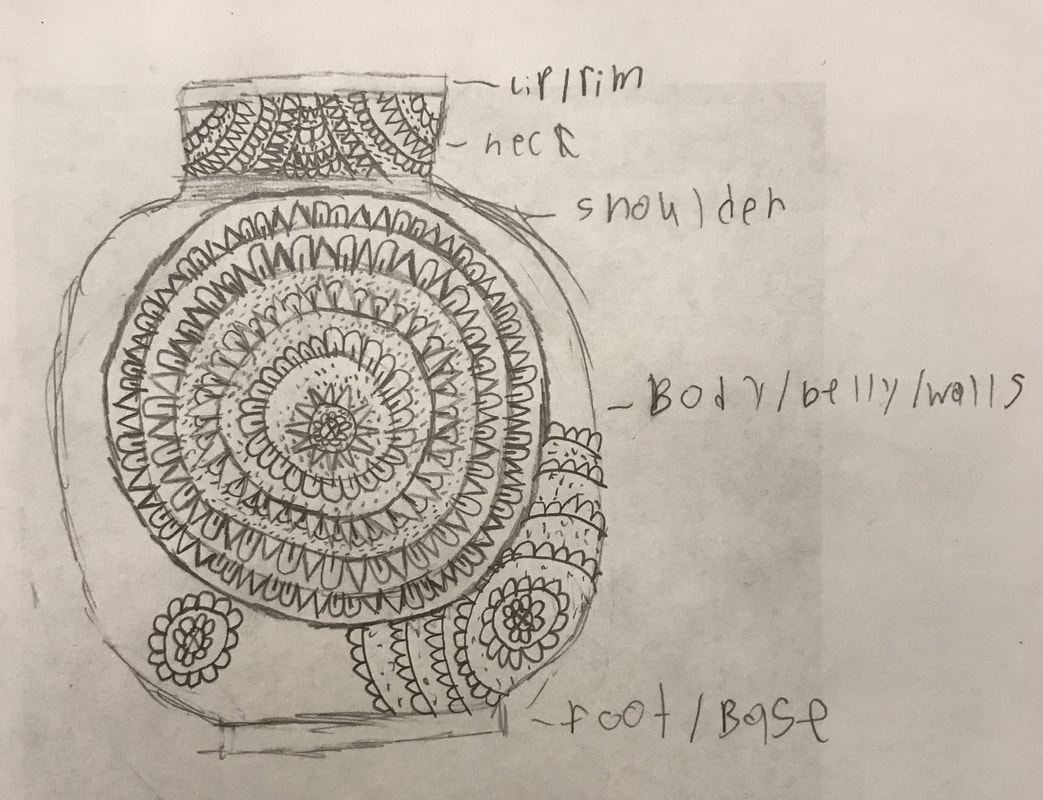
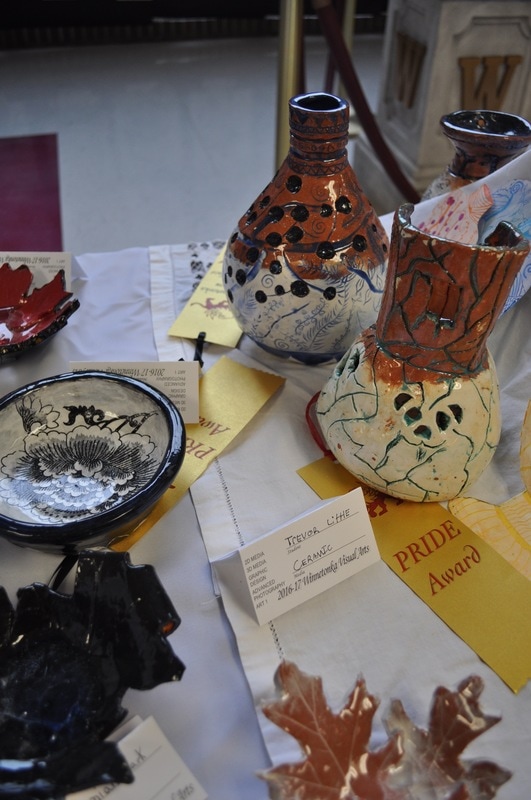
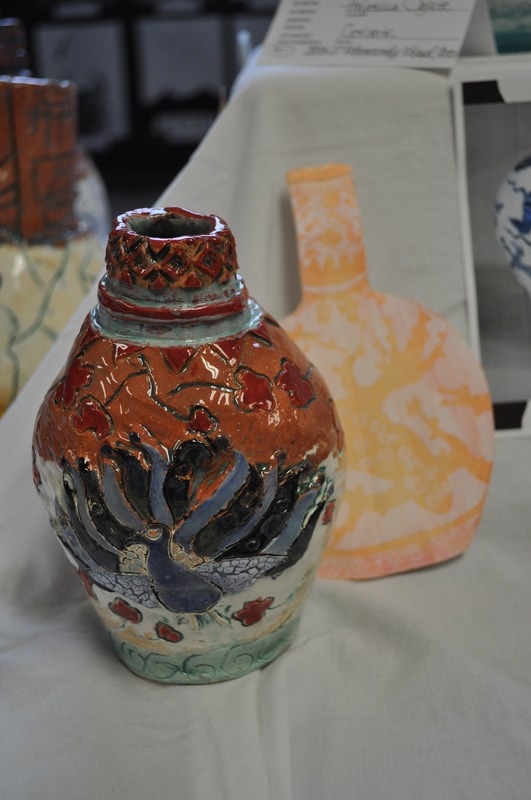
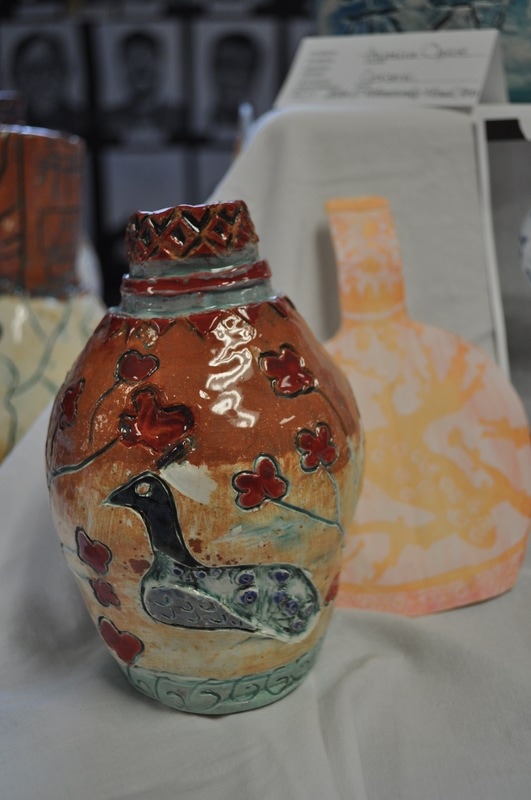
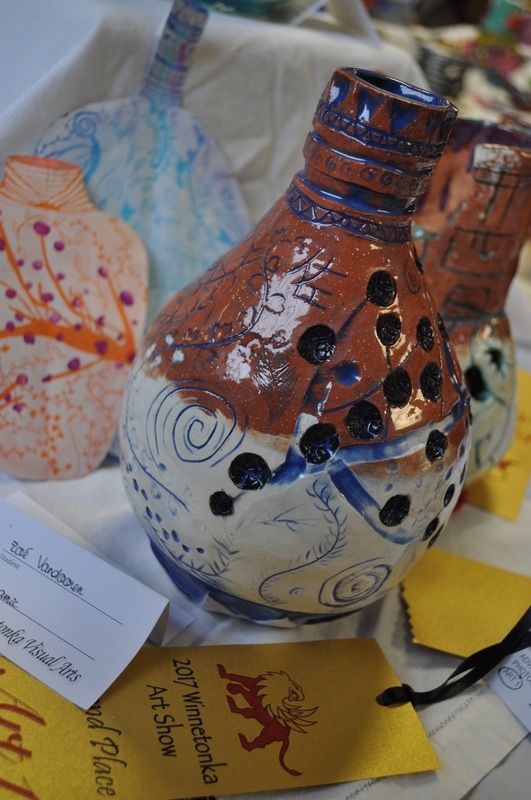
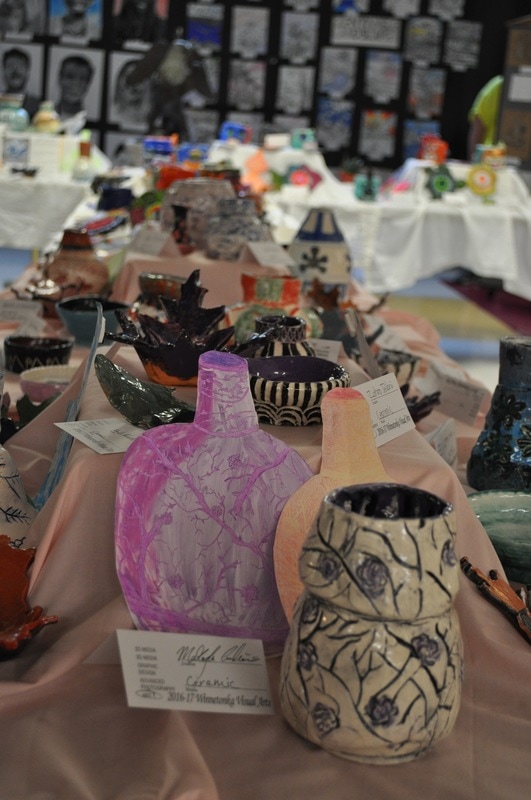
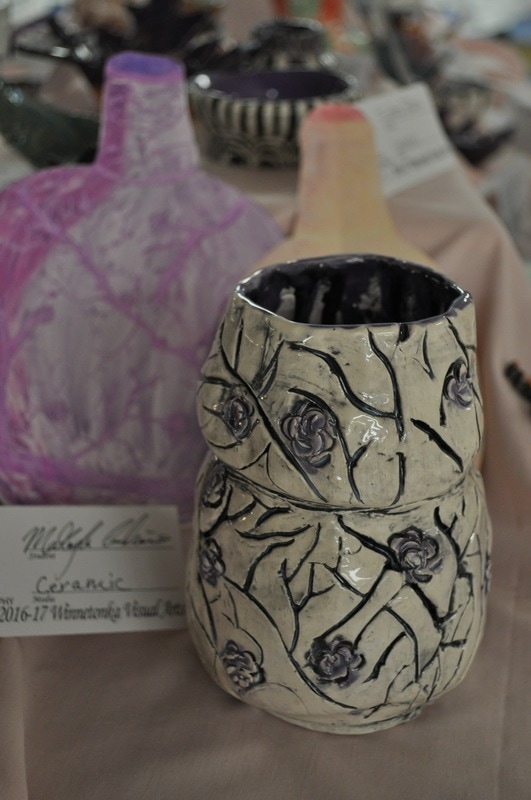
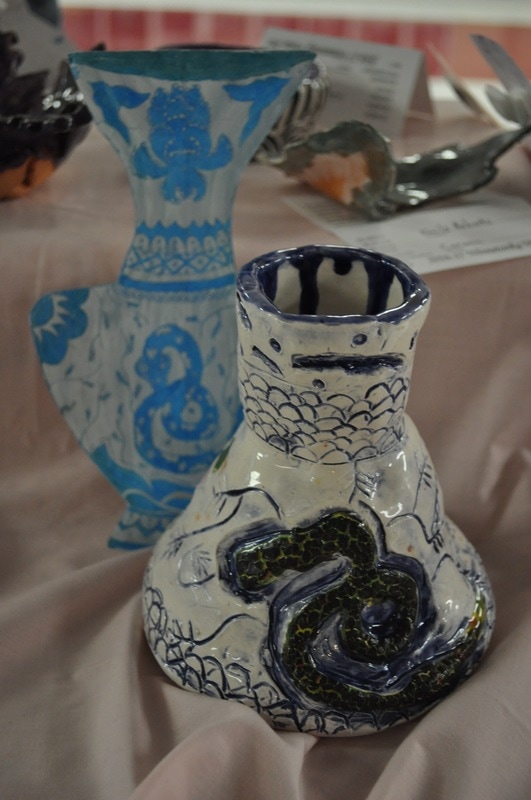
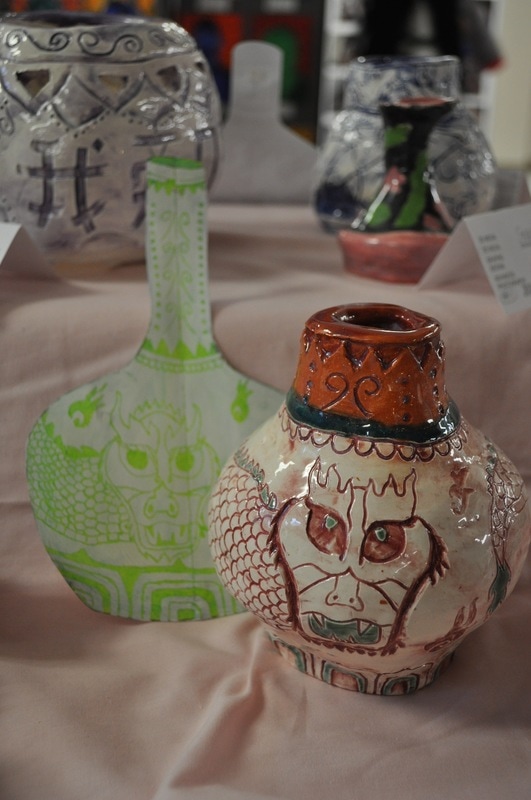
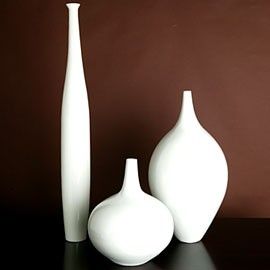
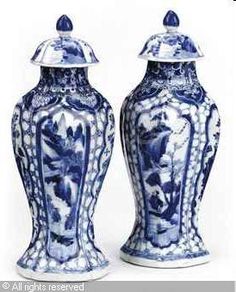
2. Chinese Vase- Planning
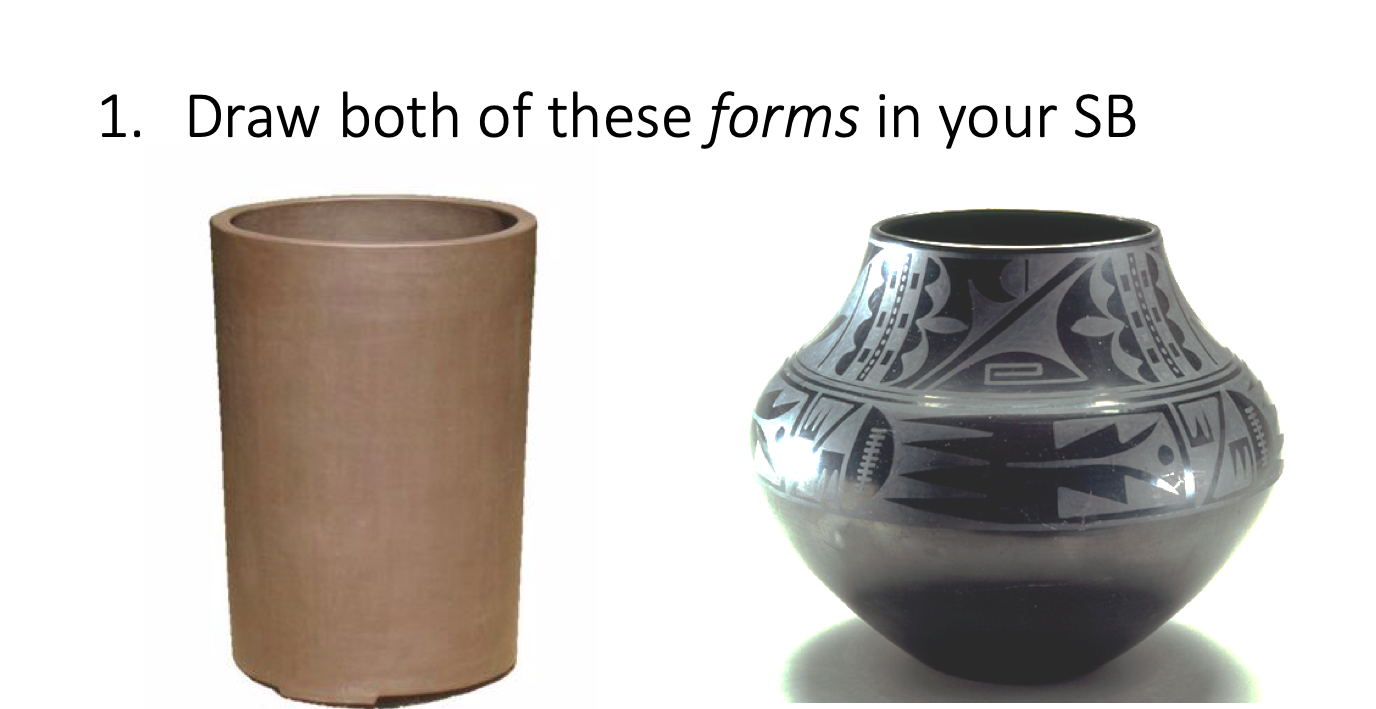
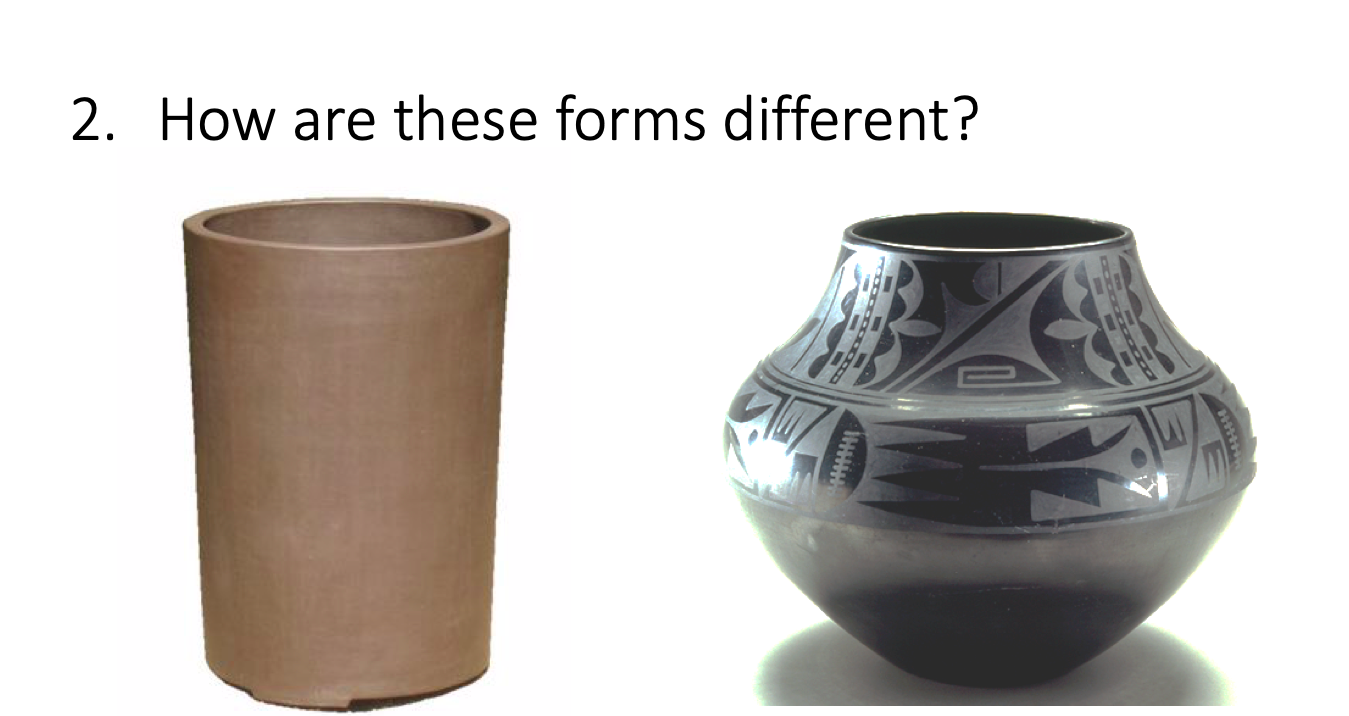
1. On the back of the David Vases/Note page, draw out a Coil Pot Shape that you would like to make. LABEL THE PARTS OF A POT. Draw designs inspired by the Chinese vases (images below). The entire vase should be filled with motifs/designs. No more than a finger-space of white in-between images. Turn in for a grade.
|
|


|
|
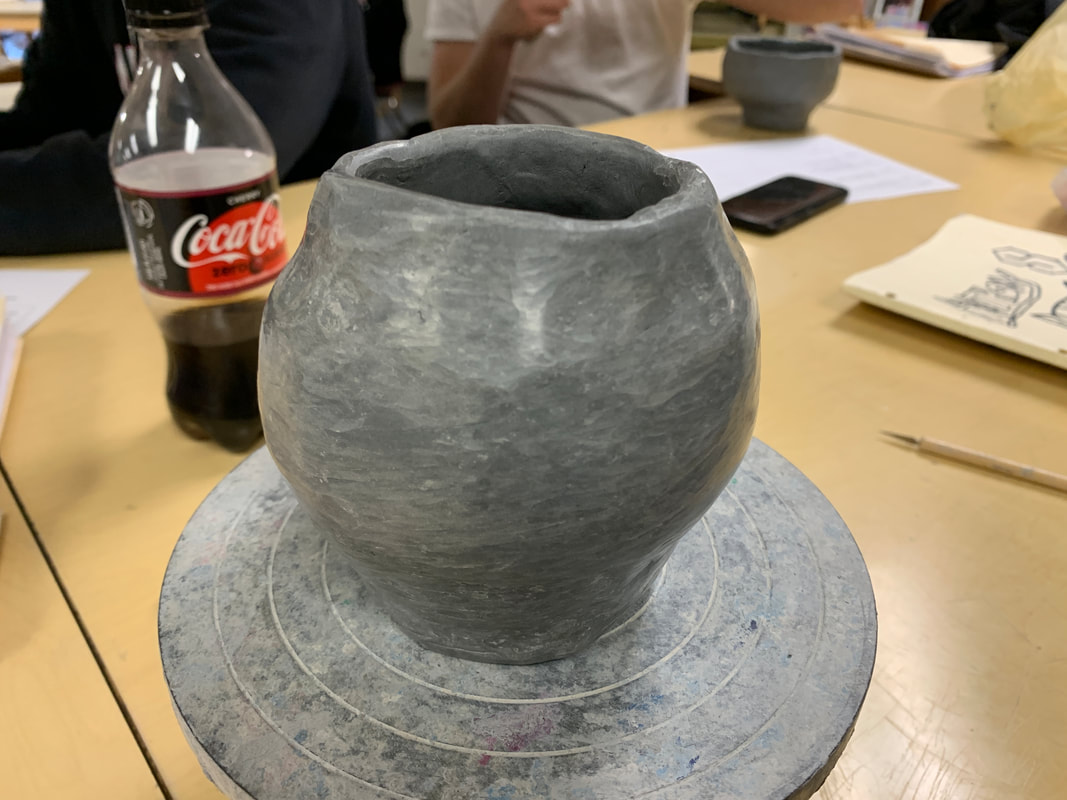
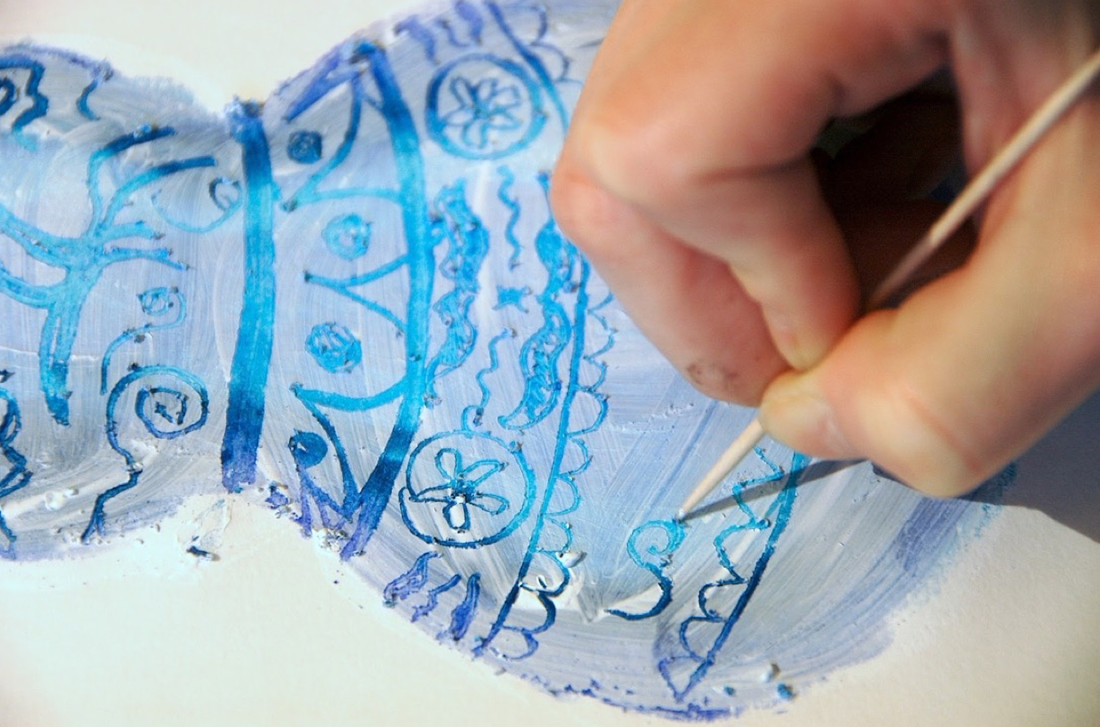
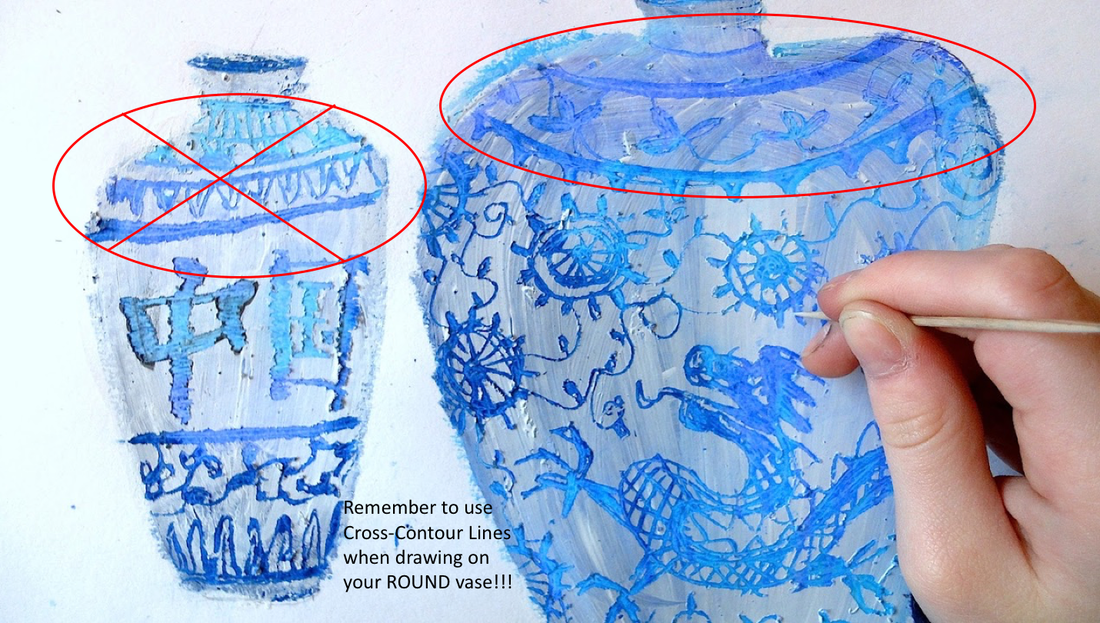
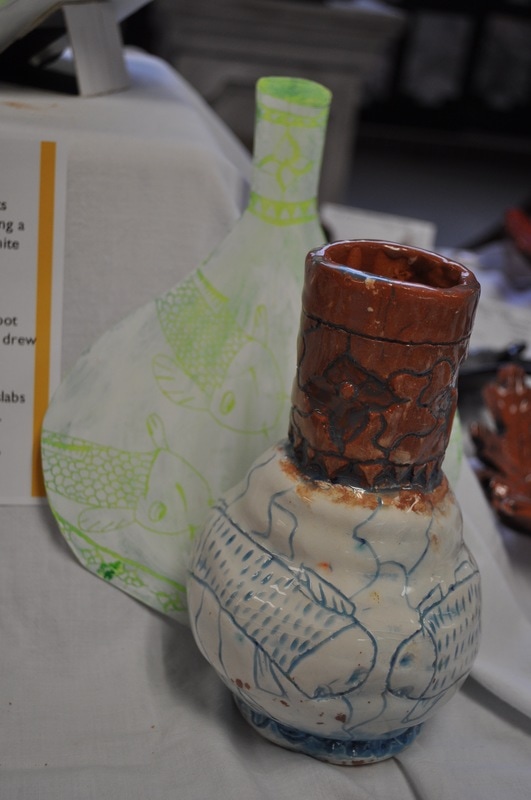
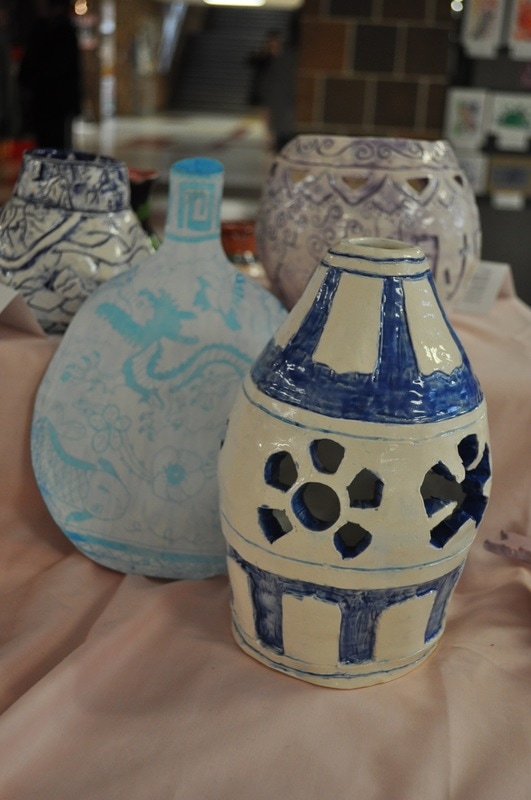
3. Chinese Vase- Scratch Art
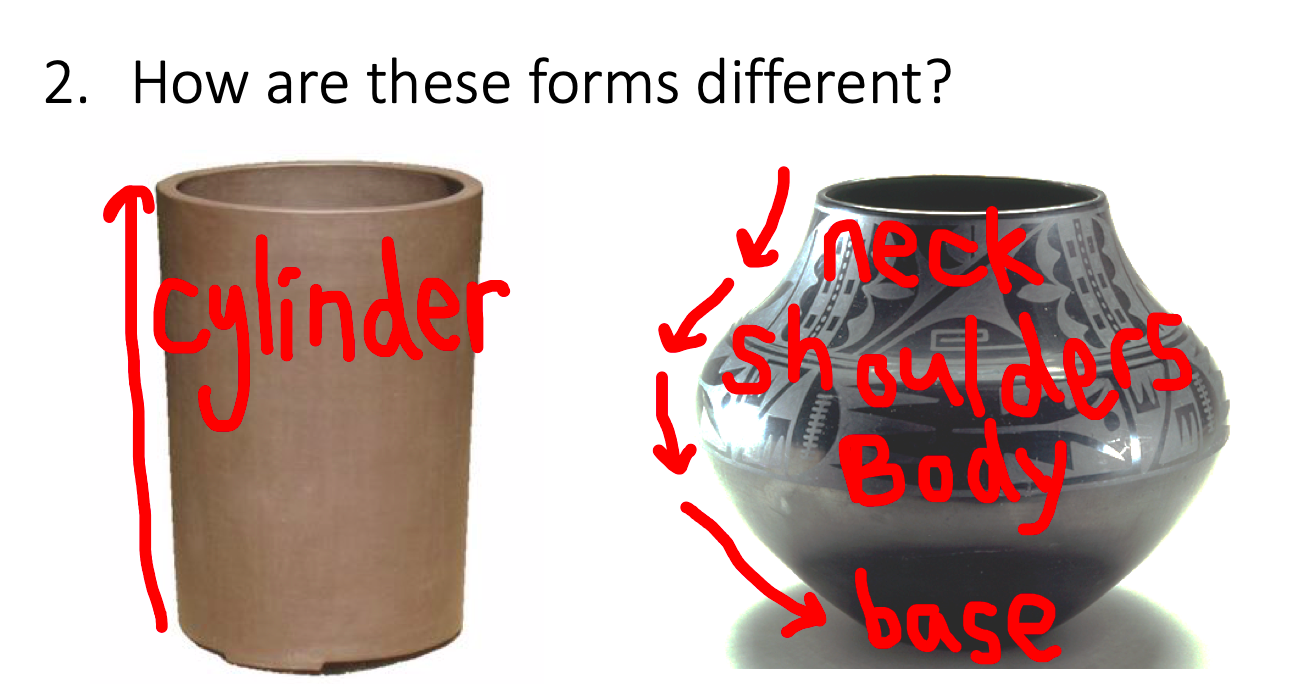
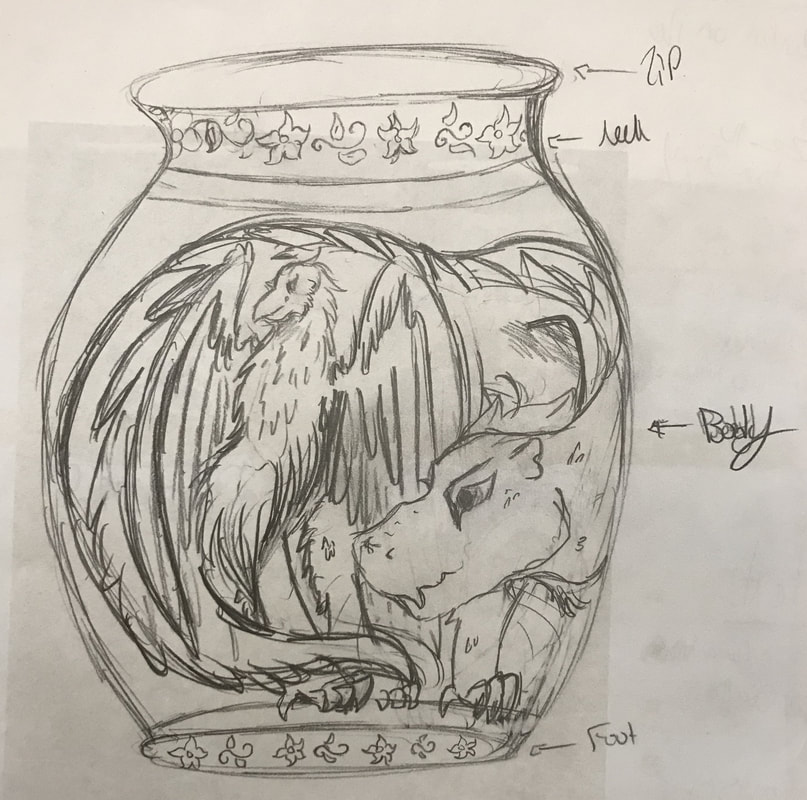
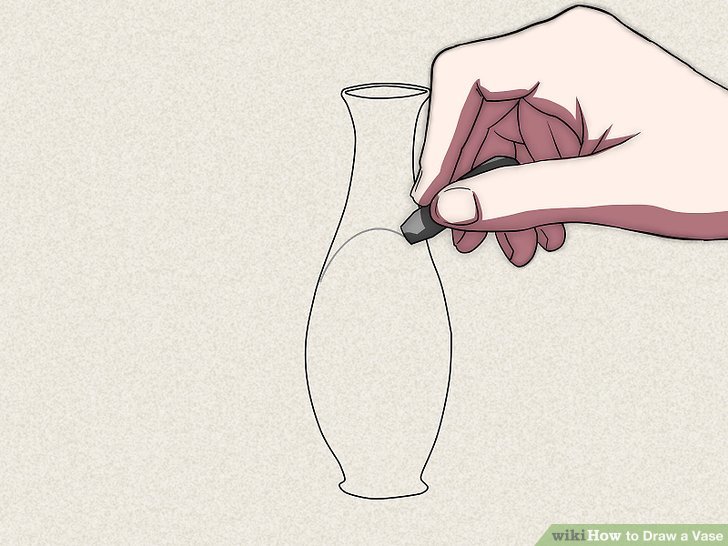
Step 1: On a new sheet of paper, draw out your selected Coil Pot shape. Be sure to make it symmetrical and include all of the Parts of a Pot (lip, neck, shoulder, body & foot). Also- when drawing the lip- make it an ellipse so it looks like you can see inside the top of the vase. This should take up the WHOLE piece of paper. Assessment: symmetrical drawing, full size of paper, including all the parts of a pot
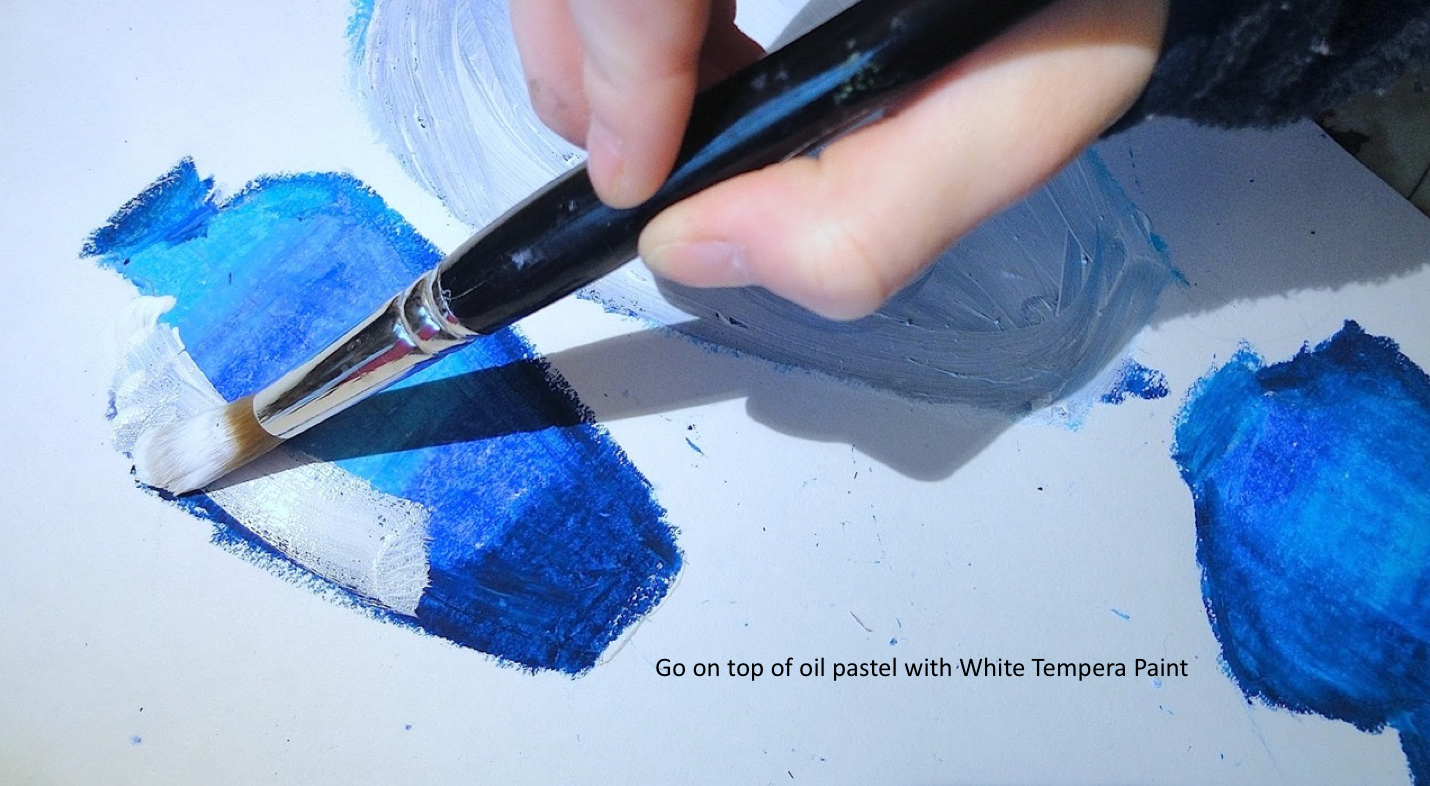
Step 2: Fill in your drawing of the vase with light blue oil pastel. Go around the outside edges, inside the ellipse opening and the bottom of the vase with the darker blue. This should look like it is shaded. Assessment: shading with light and dark blues

Step 3: Cover the blue oil pastel with white tempera paint- one thin coat. Allow 5-10 minutes to dry
Step 4: Use a tack to scratch/etch your designs into the white paint. Remember to curve your lines with the rounded form- Cross-Contour lines!! Fill the vase with motifs/designs. There shouldn't be more than a finger's width of empty white space. Assessment: enough designs to fill in the space, designs wrap around the forms/cross-contour lines, designs are taken from Chinese Vases.
Think of this Latin term when filling your vase with designs- Horror vacui.

|
|
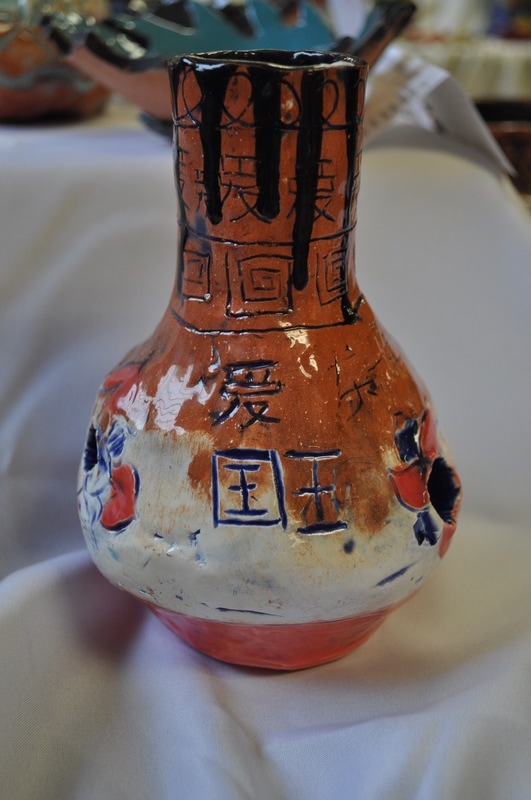
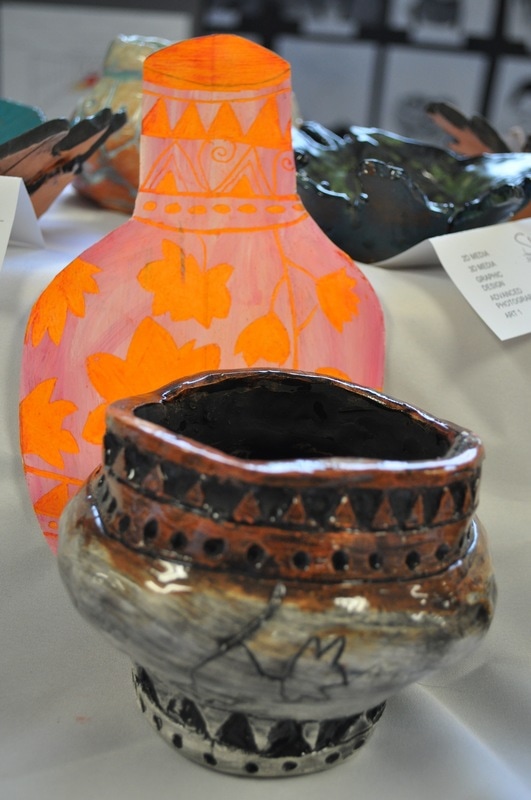
4. Coil Pot with Clay- Chinese Vase
| chinese_vase-clay.pptx |

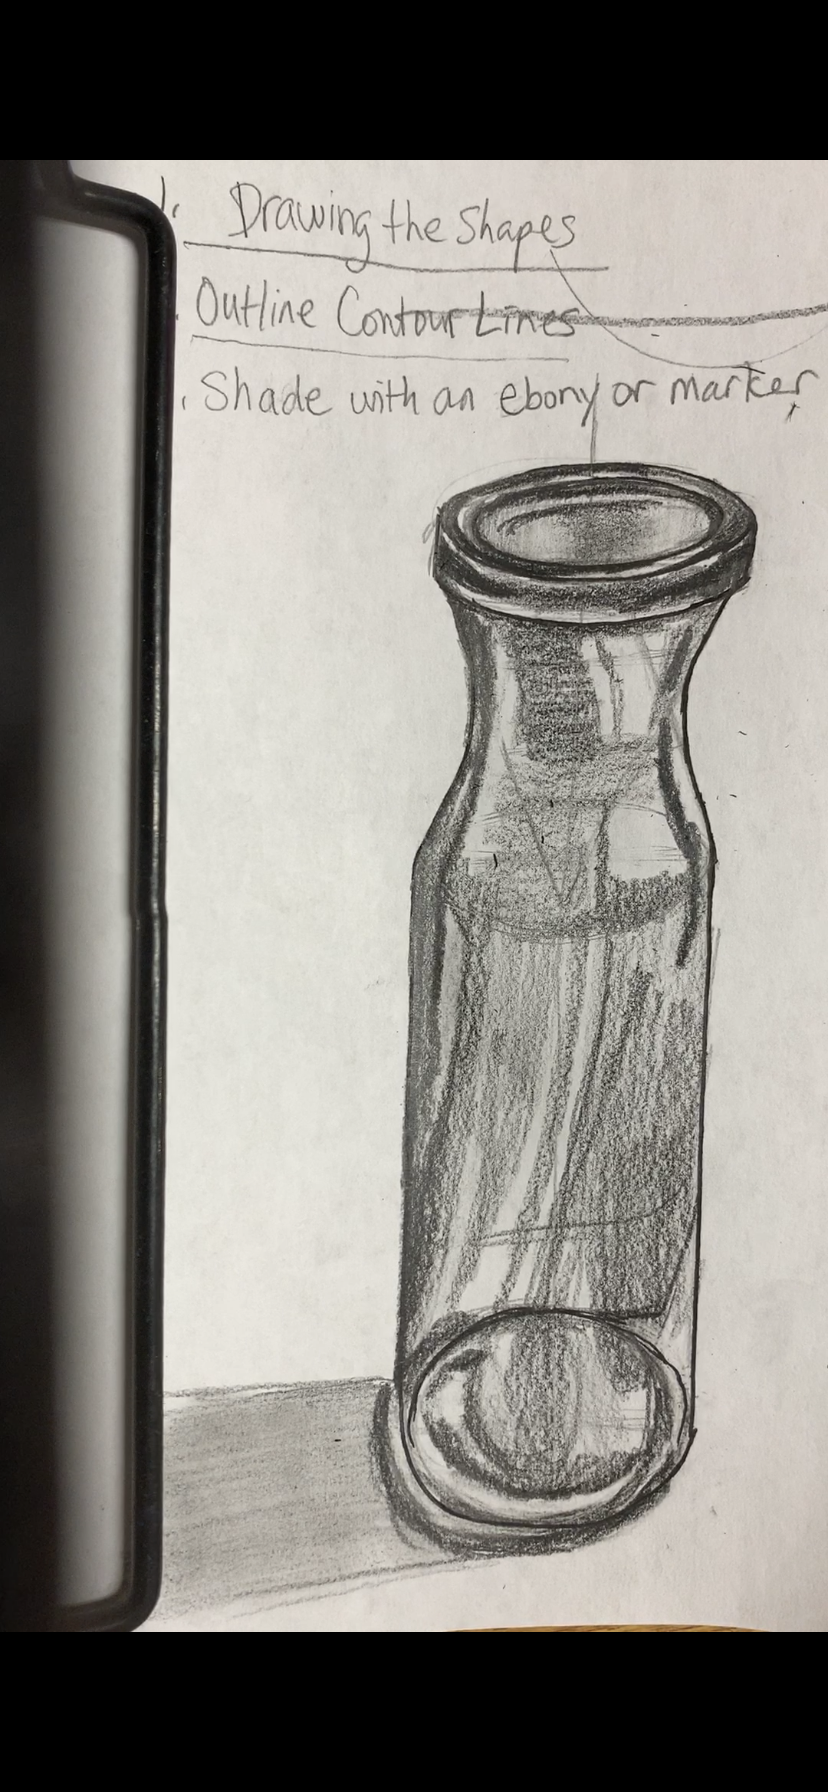
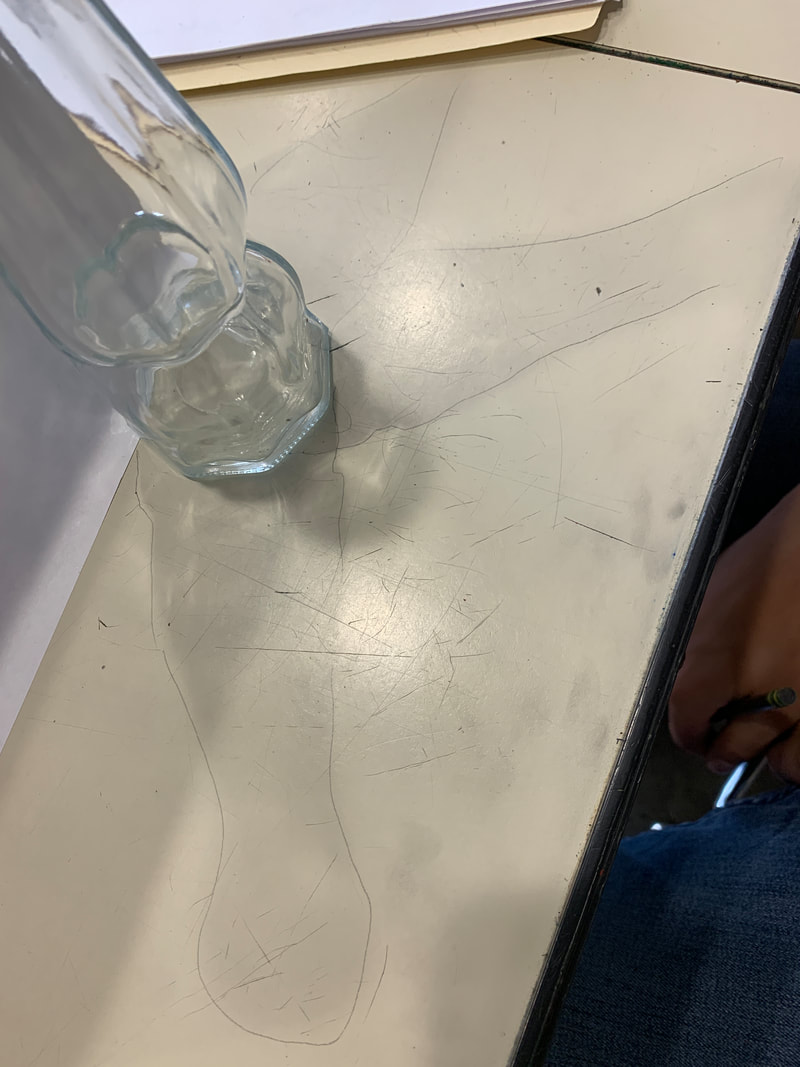
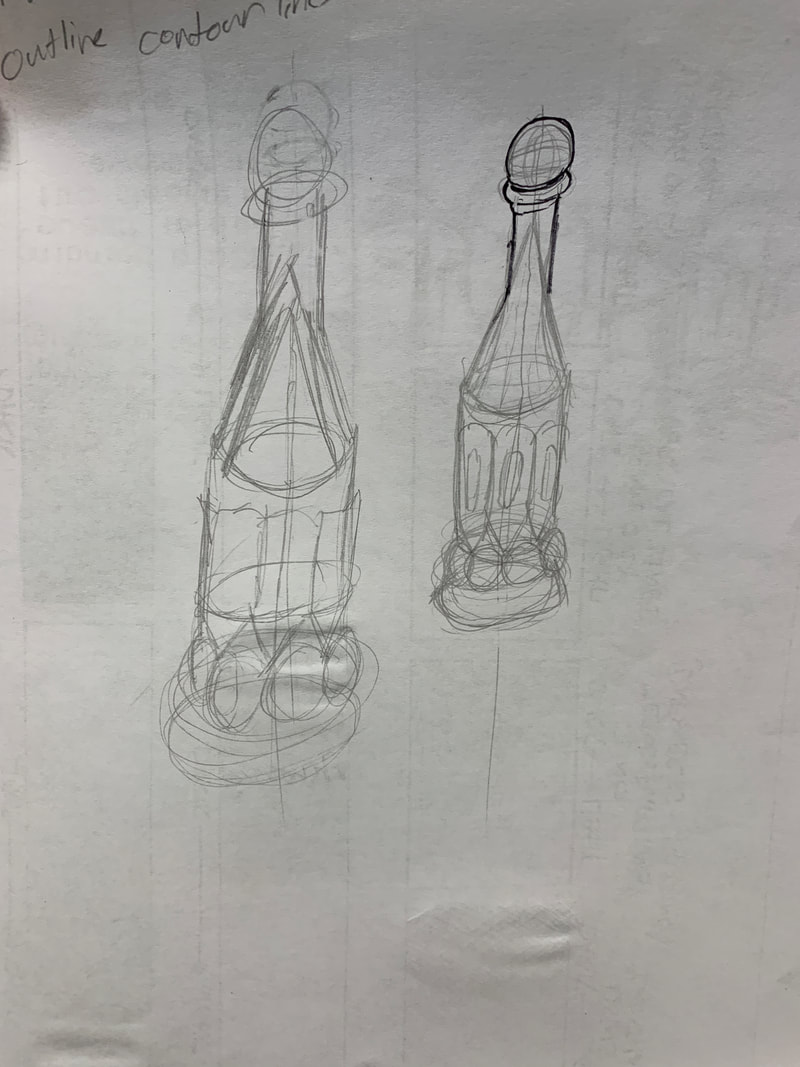
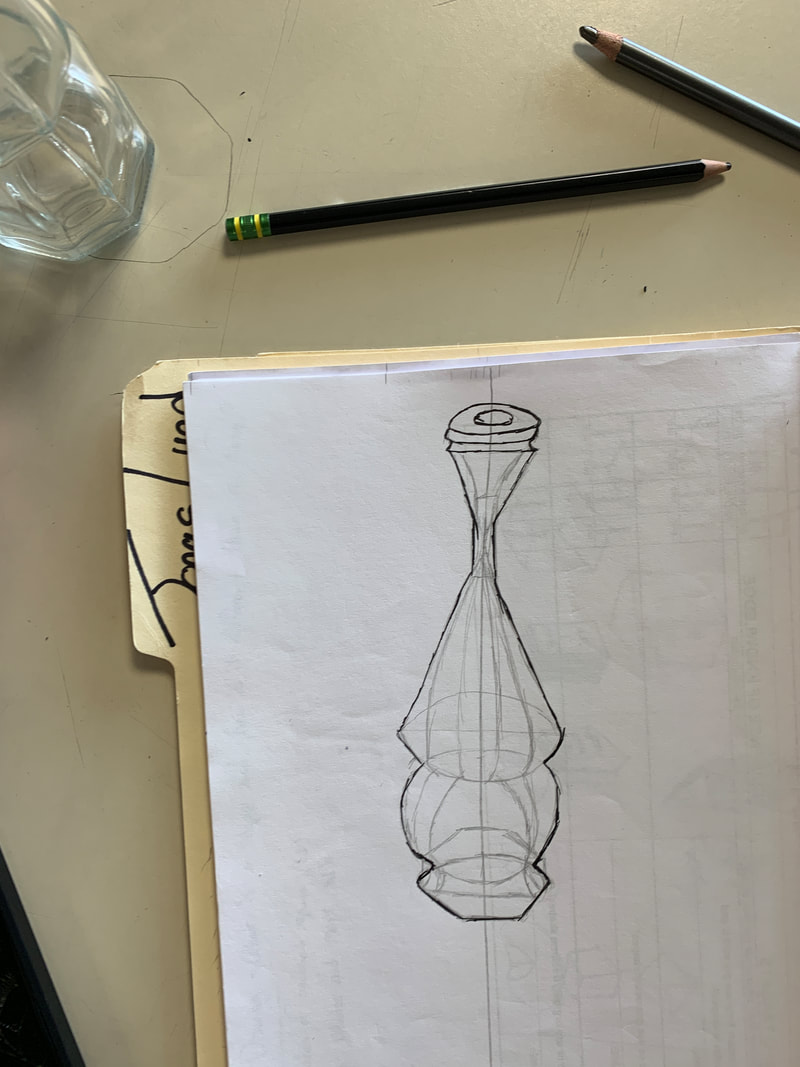
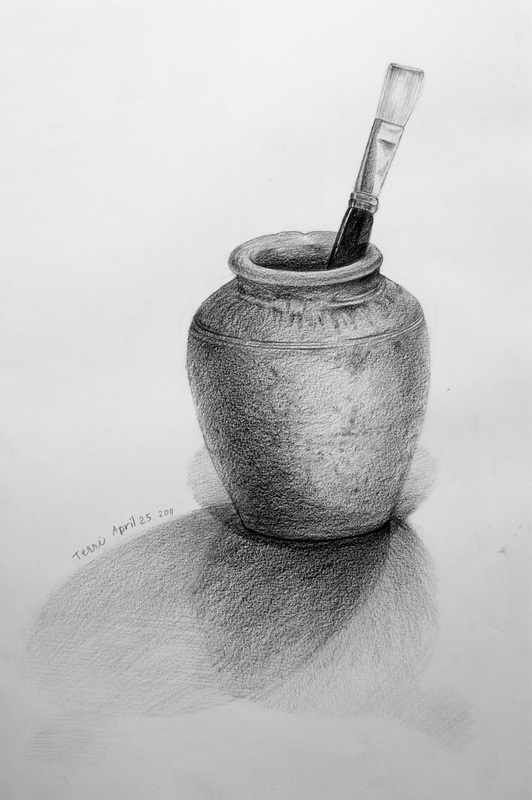
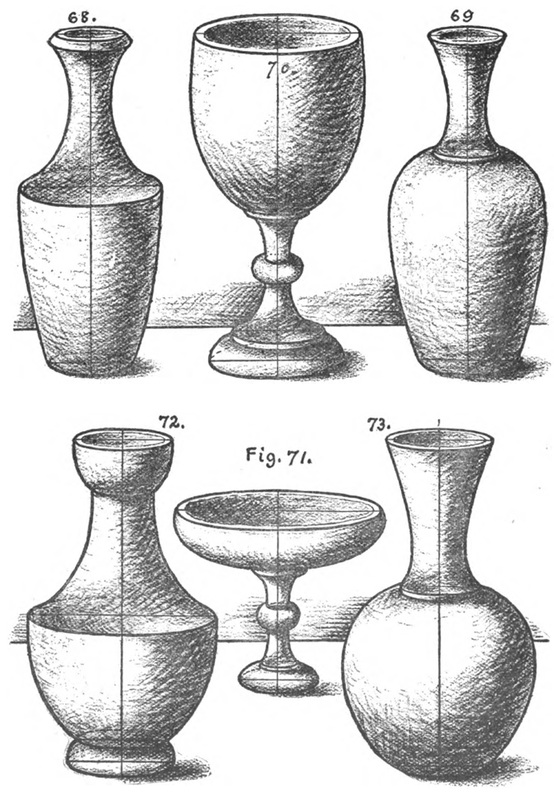
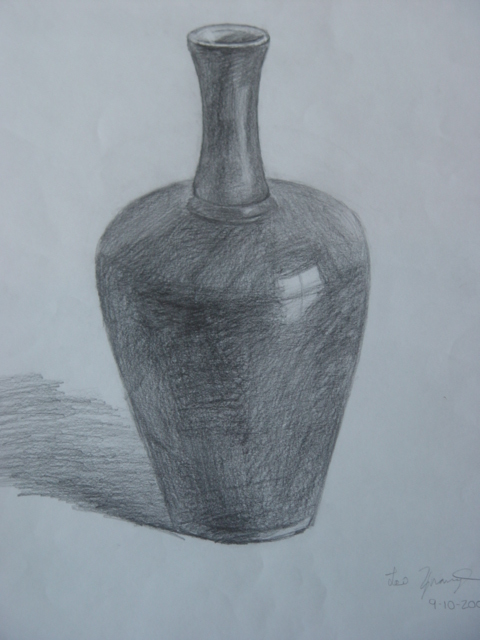
Drawing Vases in Perspective
Objective: To create two drawings of 3Dimensional forms demonstrating values with a light source
Drawing #1
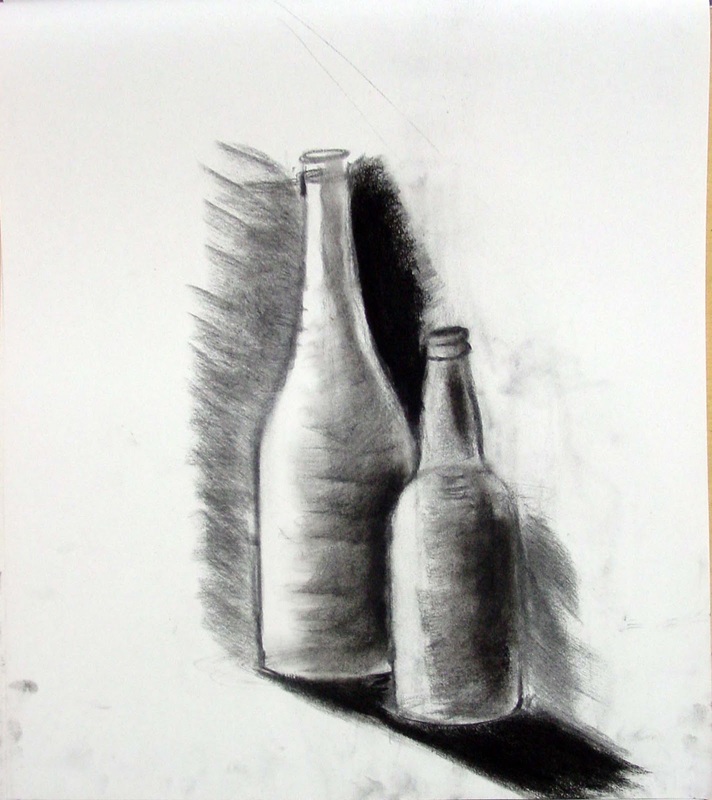
Drawing #2- Subtractive Drawing
Drawing #1
- Draw the two shapes of your Chinese Vases onto white paper. One should be in the foreground (overlapping and a little lower) and one should be in the background (behind the other one and a little higher).
- Designate a light source and shade the two forms using that one light source. Use a pencil, tortillion and eraser as needed.
- Add a cast shadow.
Drawing #2- Subtractive Drawing
- Fill a piece of paper with charcoal and wipe it smooth with a paper towel.
- Set up two vessels to draw from and set up a lamp so you have one direct light source.
- Draw with your eraser and add with an ebony when needed.
- Be sure to include any shadows being cast.


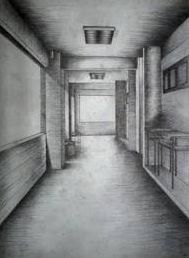
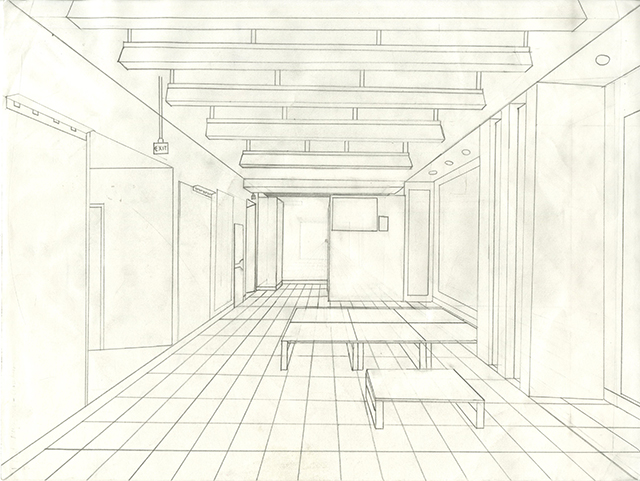
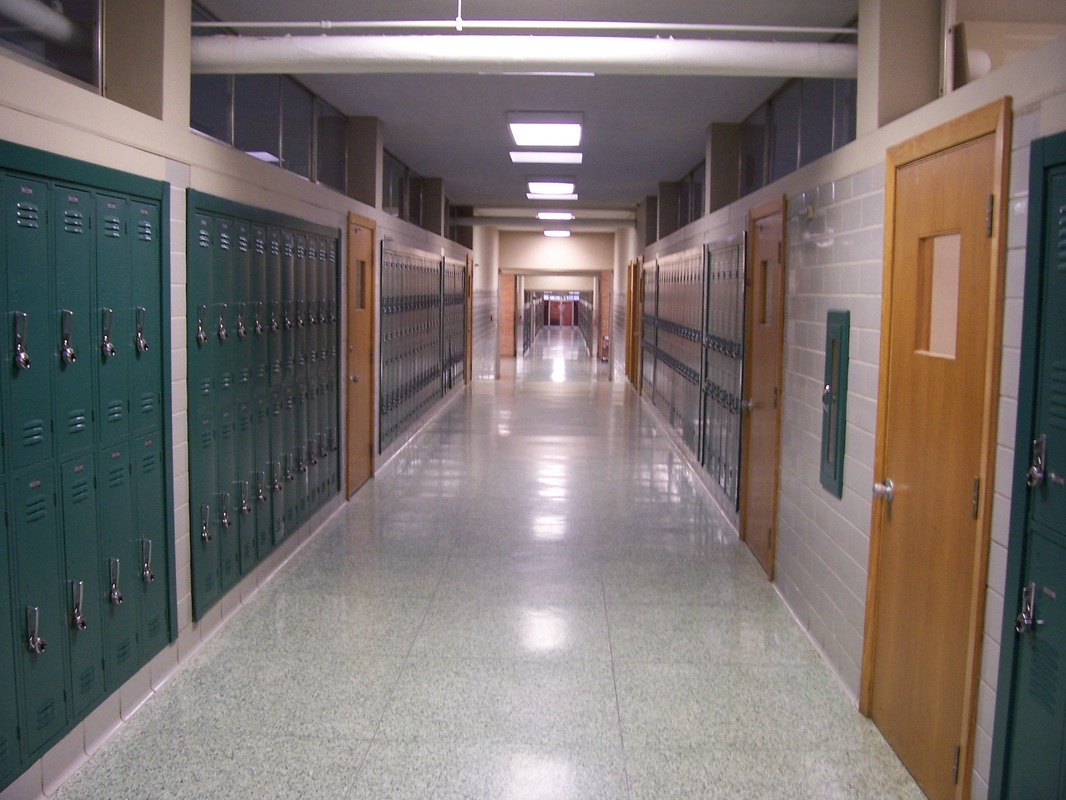
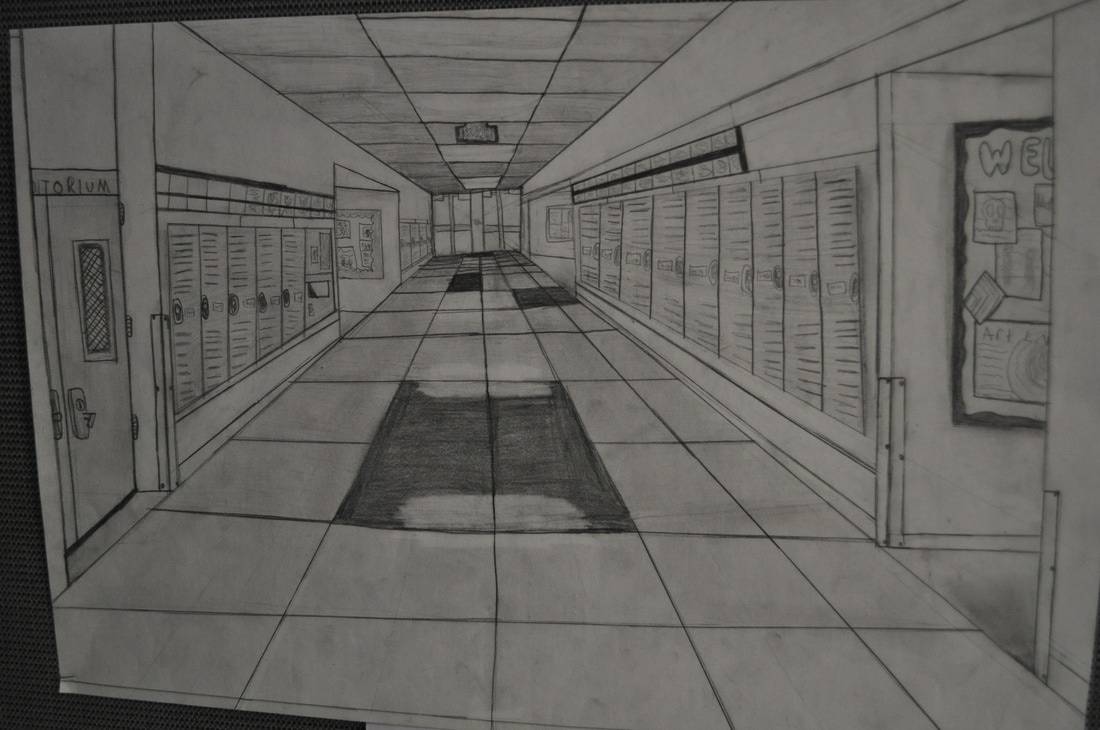
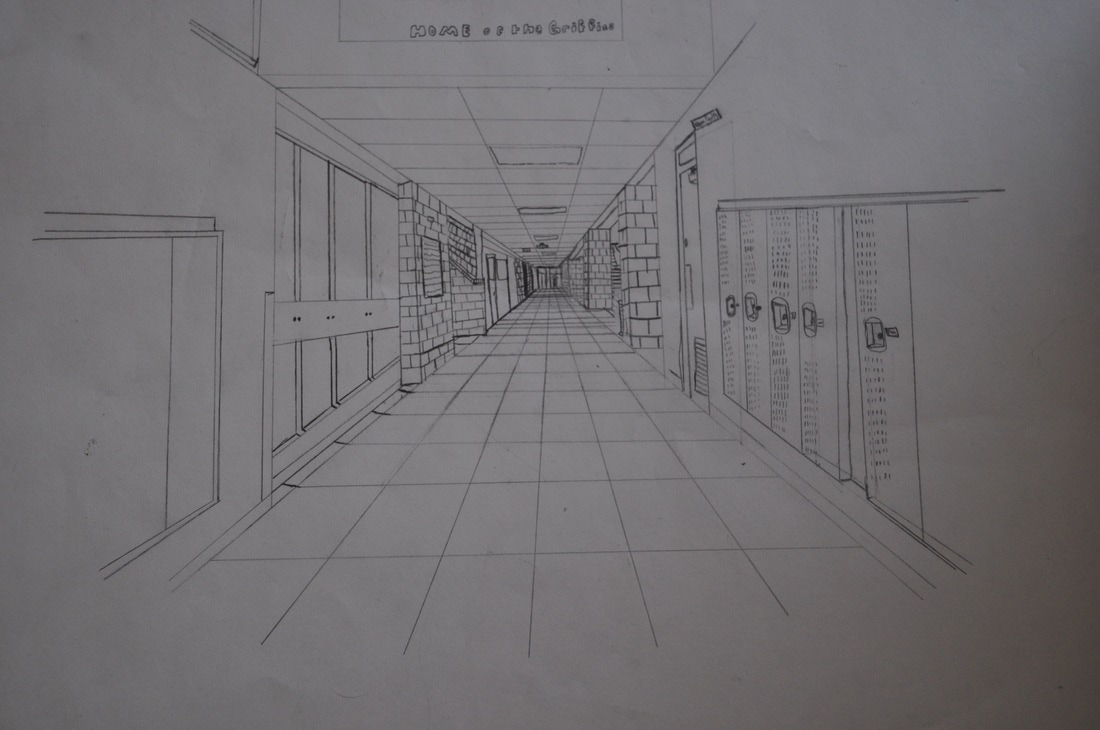
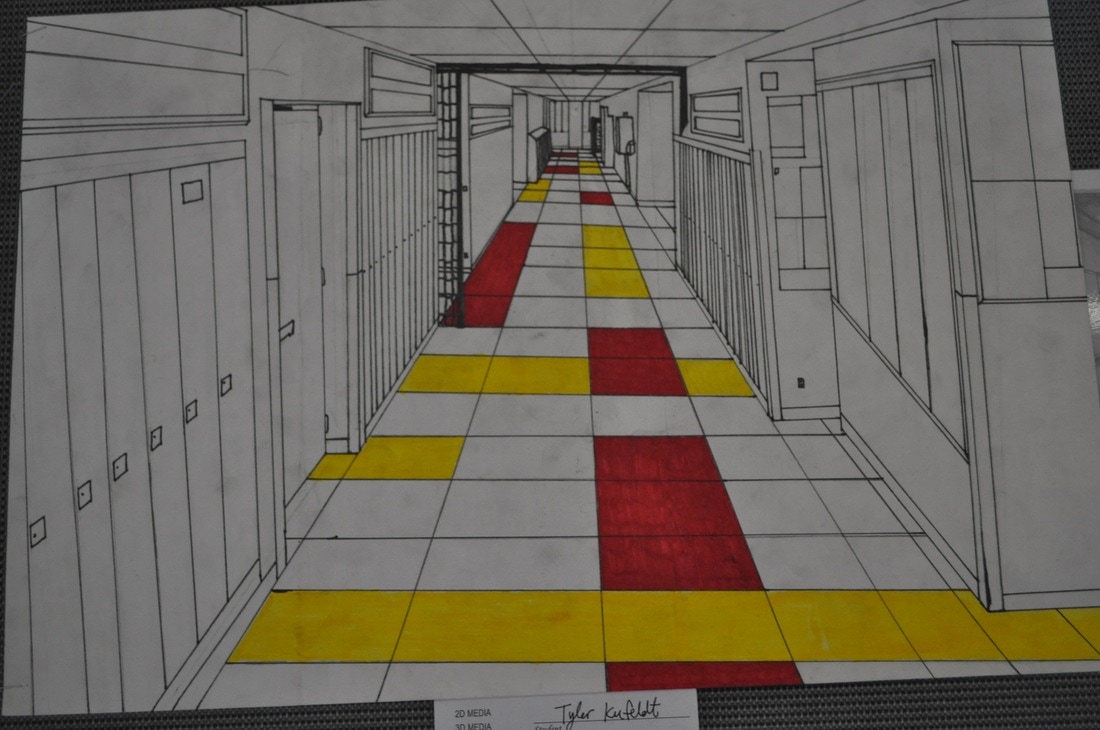
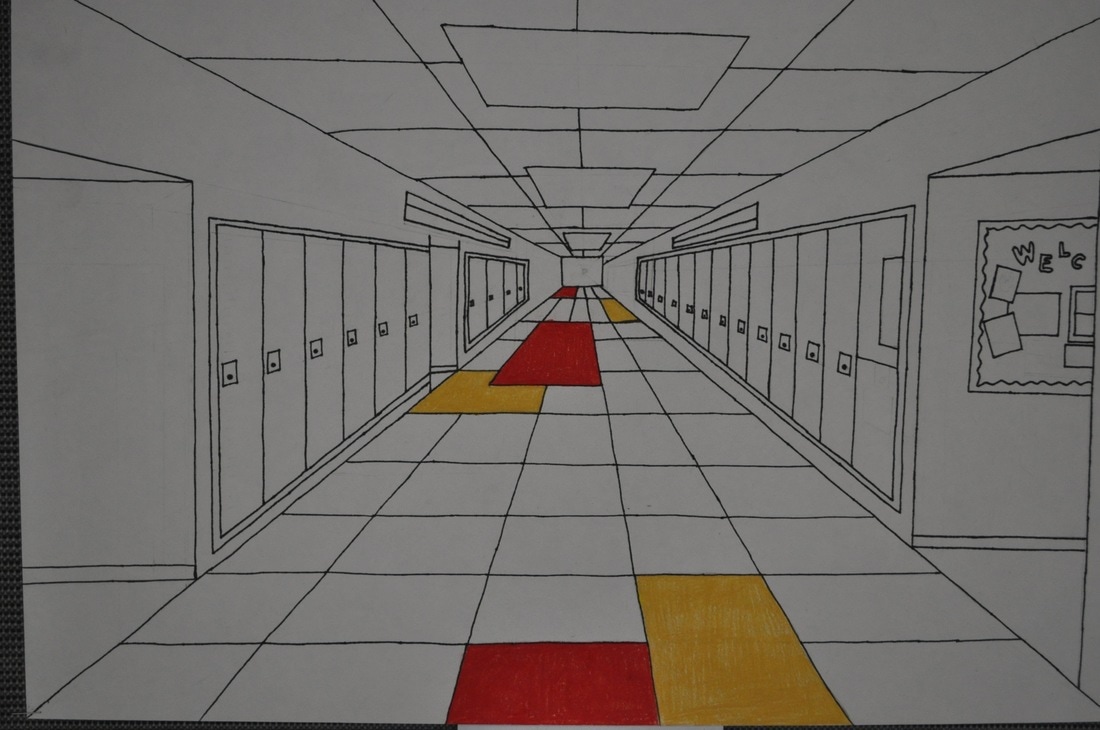
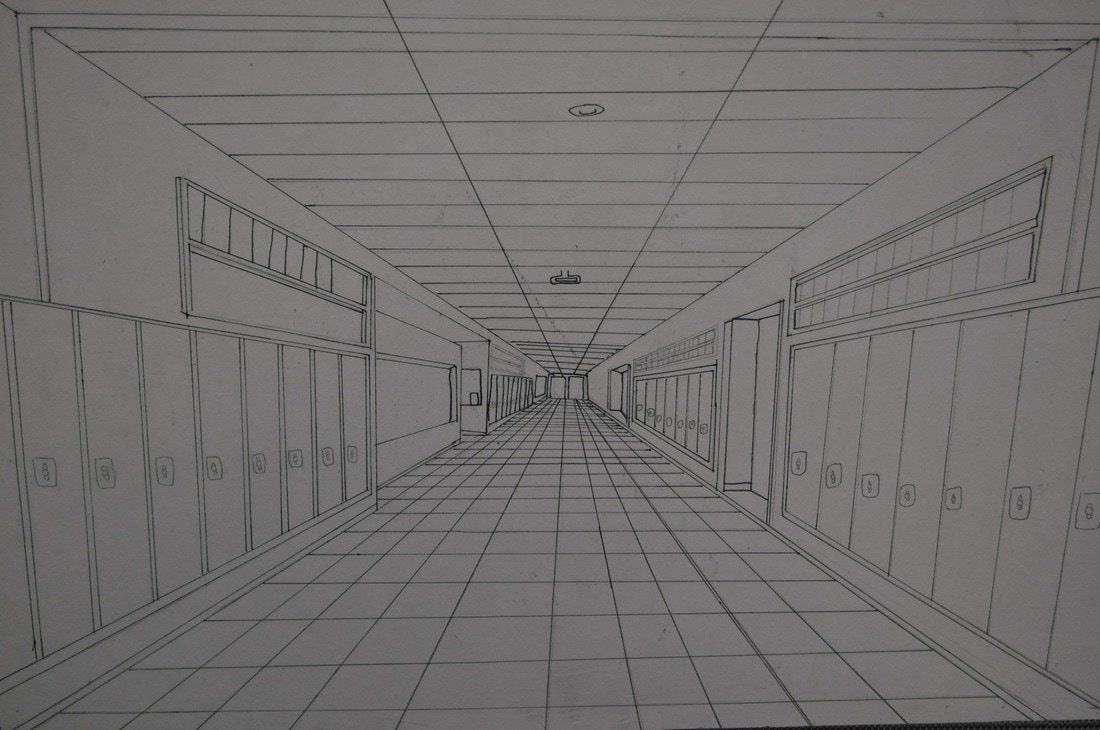
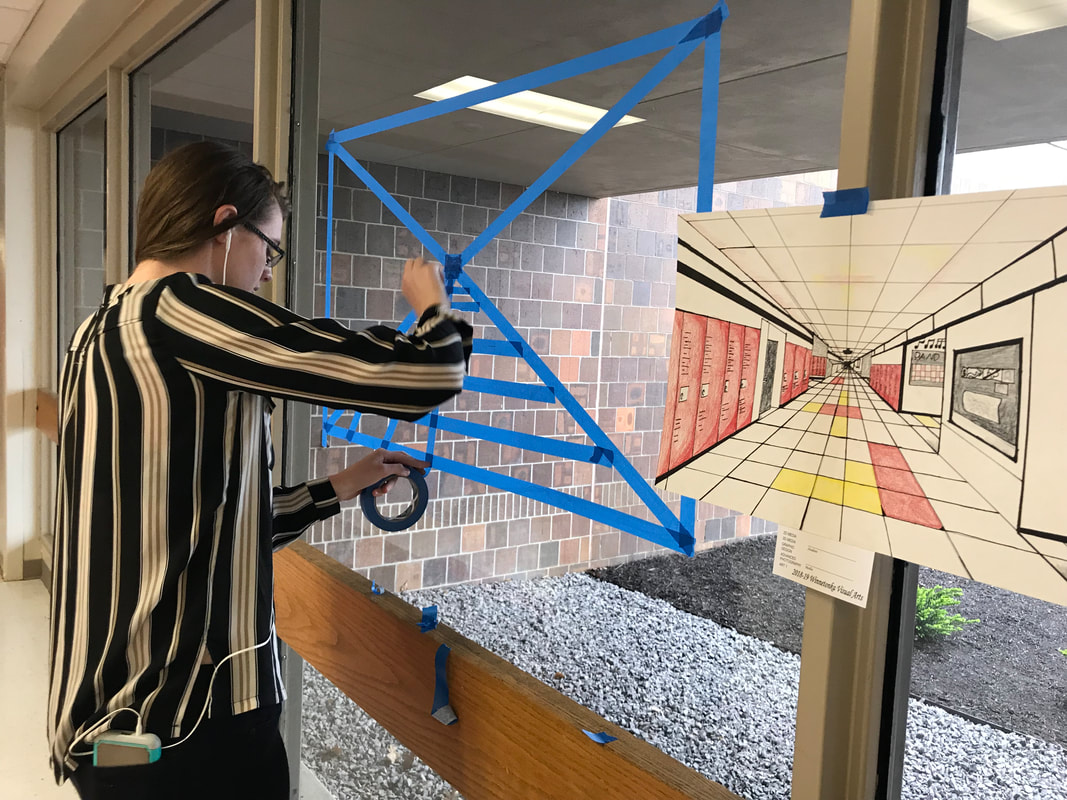
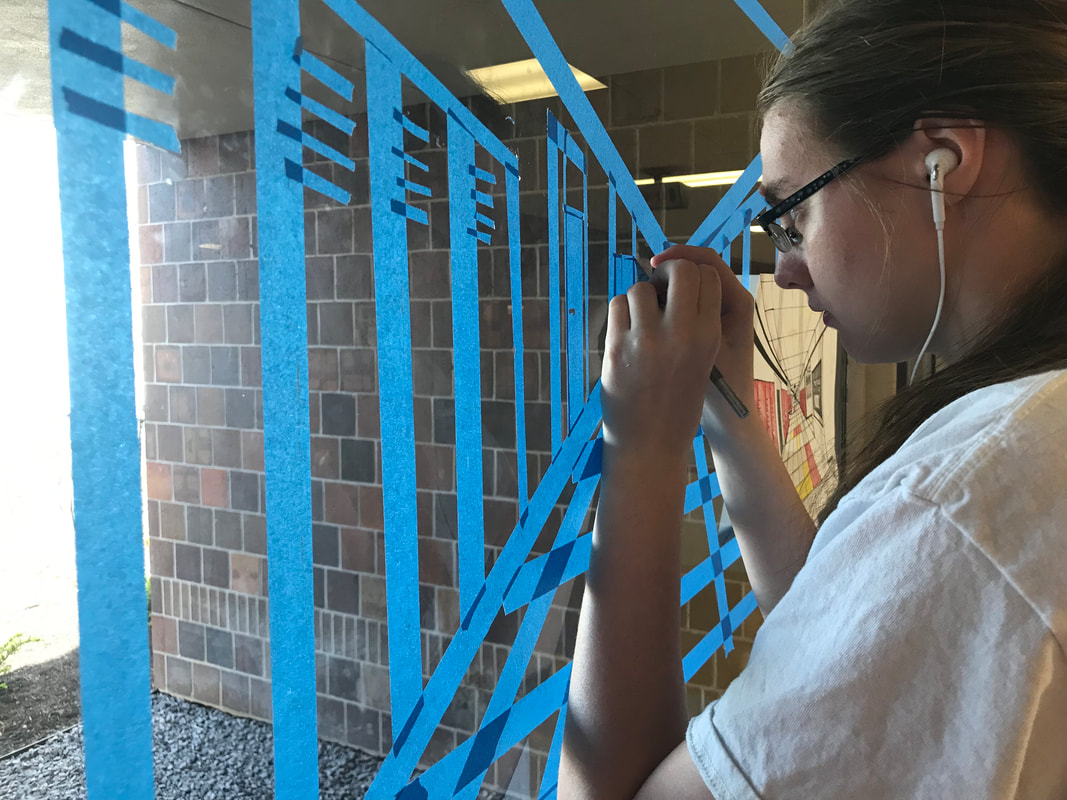
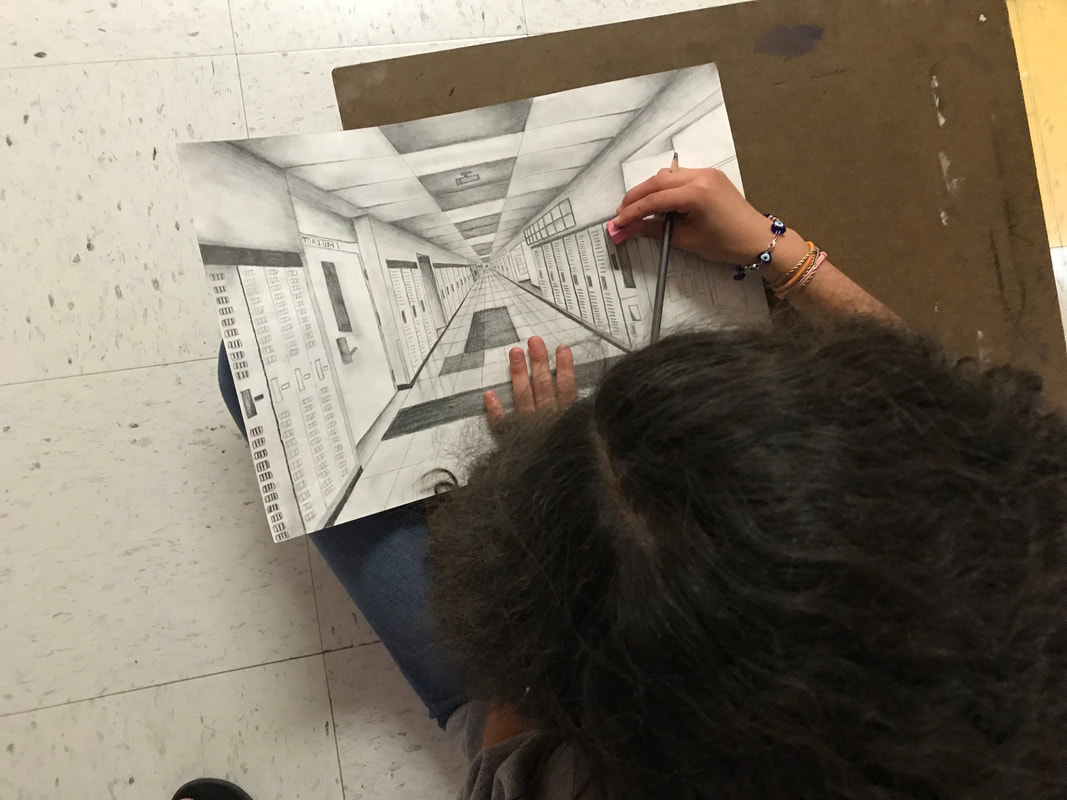
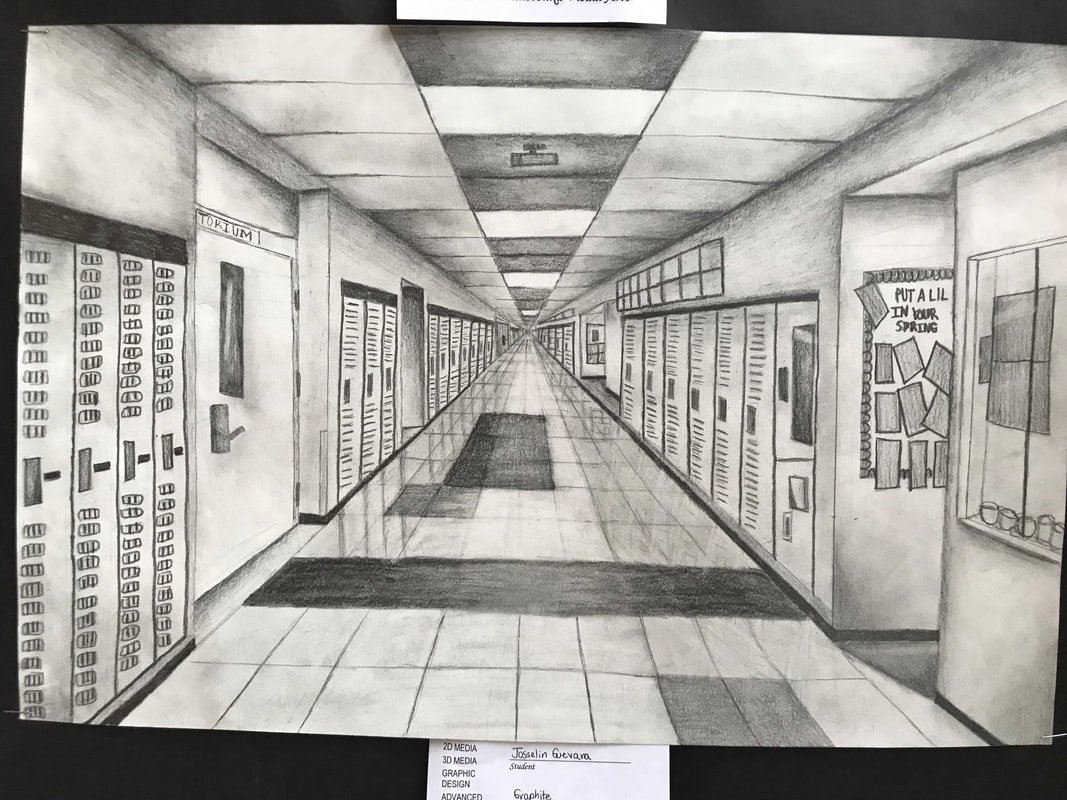
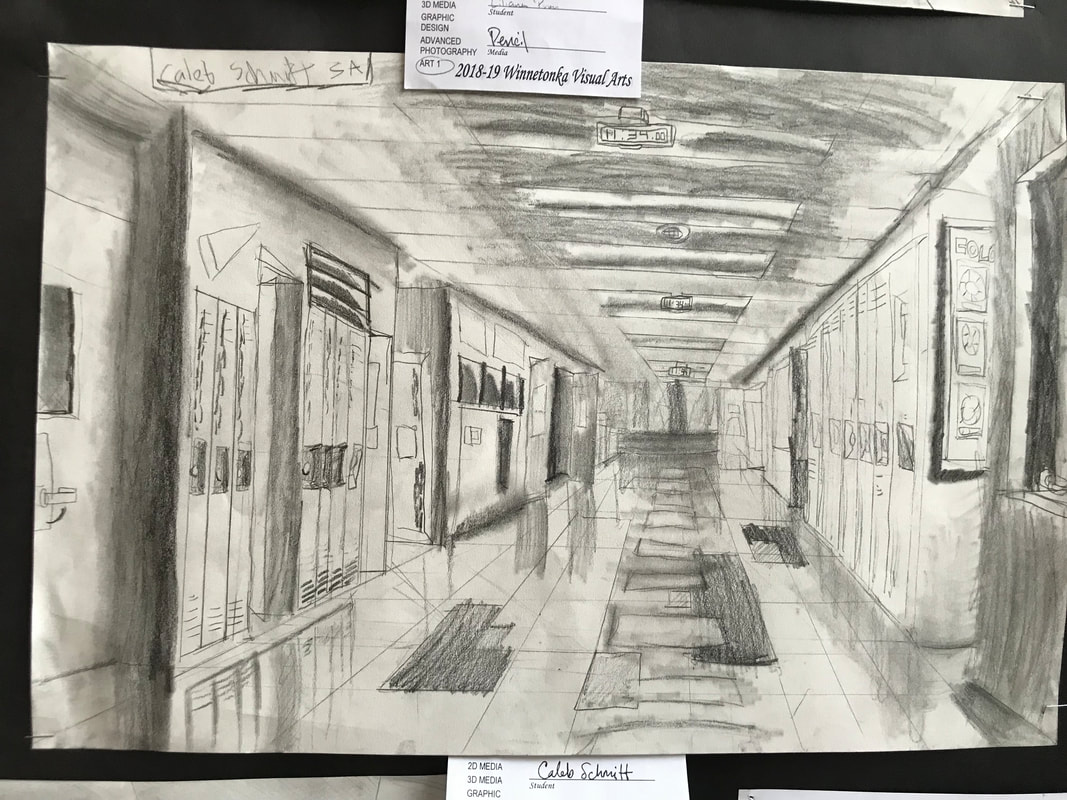
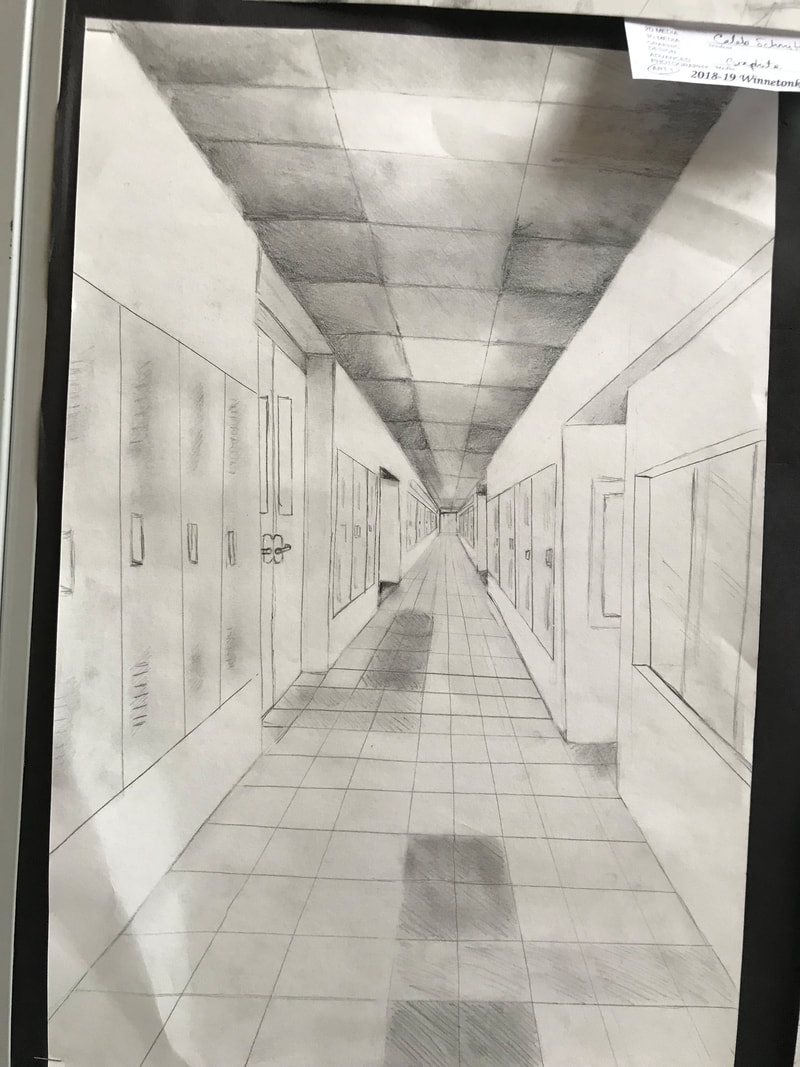
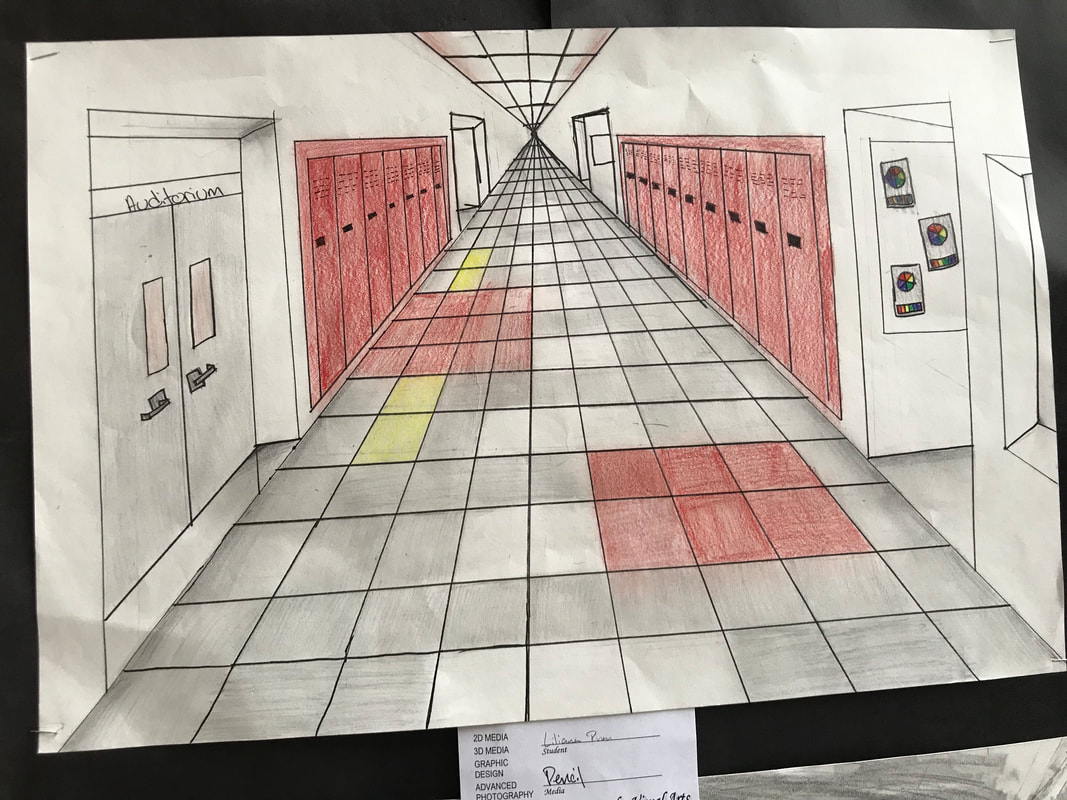
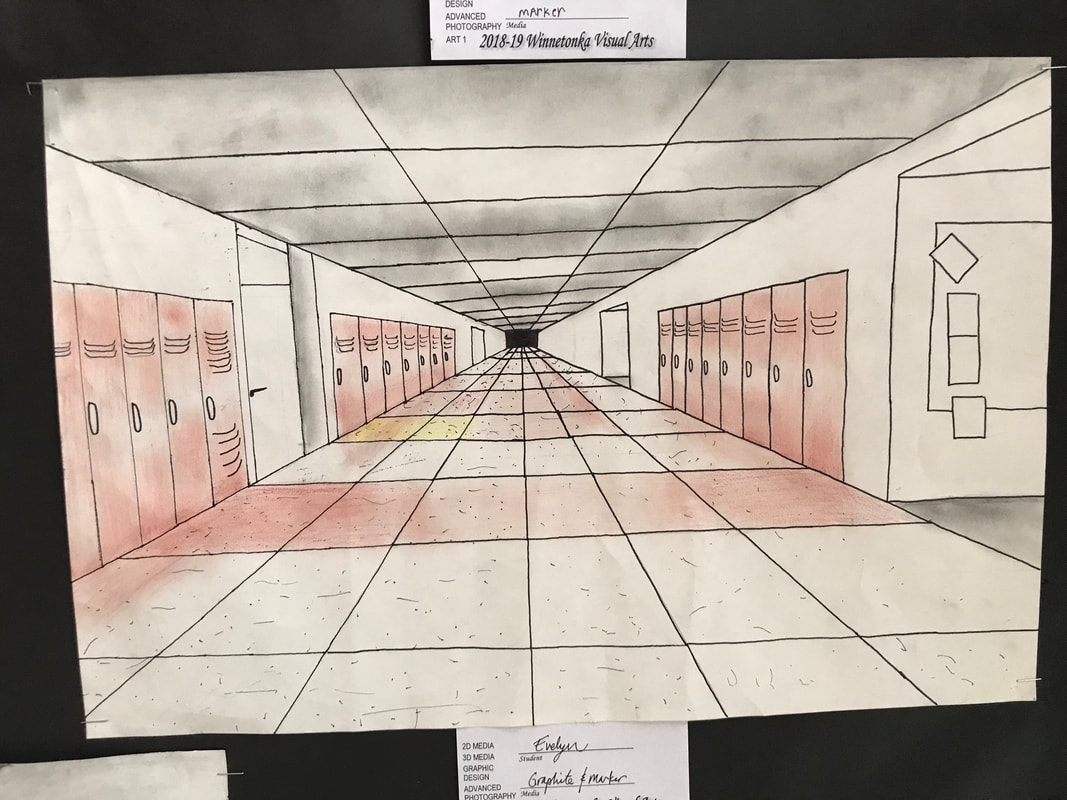
Hallway Perspective Drawing
| |||

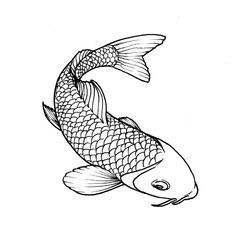
Practice Weaving Drawing for Woven Animals
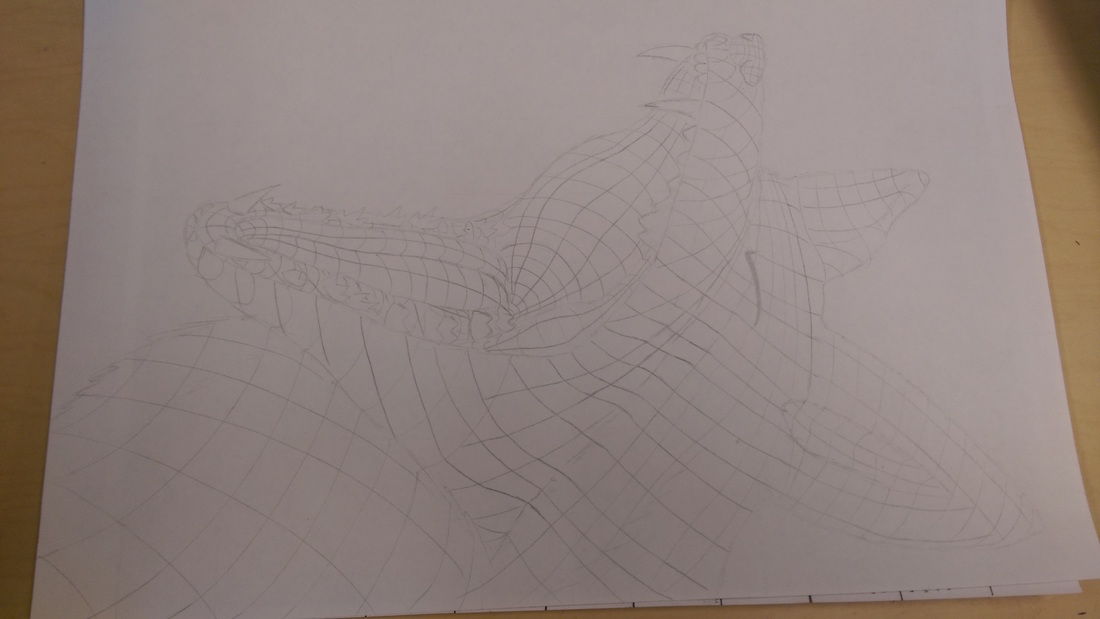
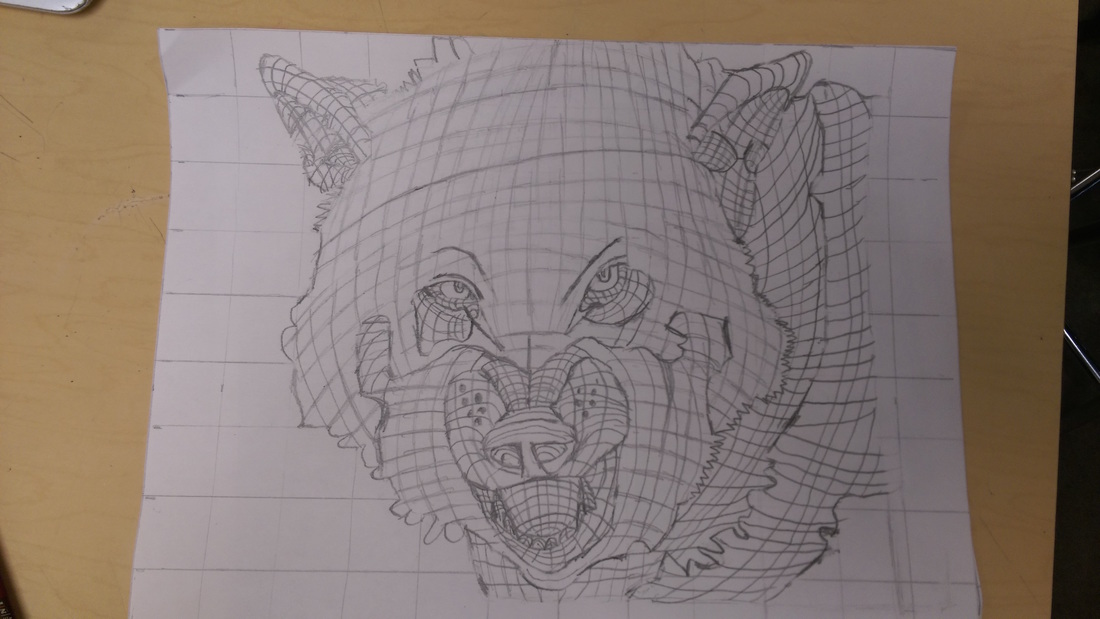
How to create a 1" GRID
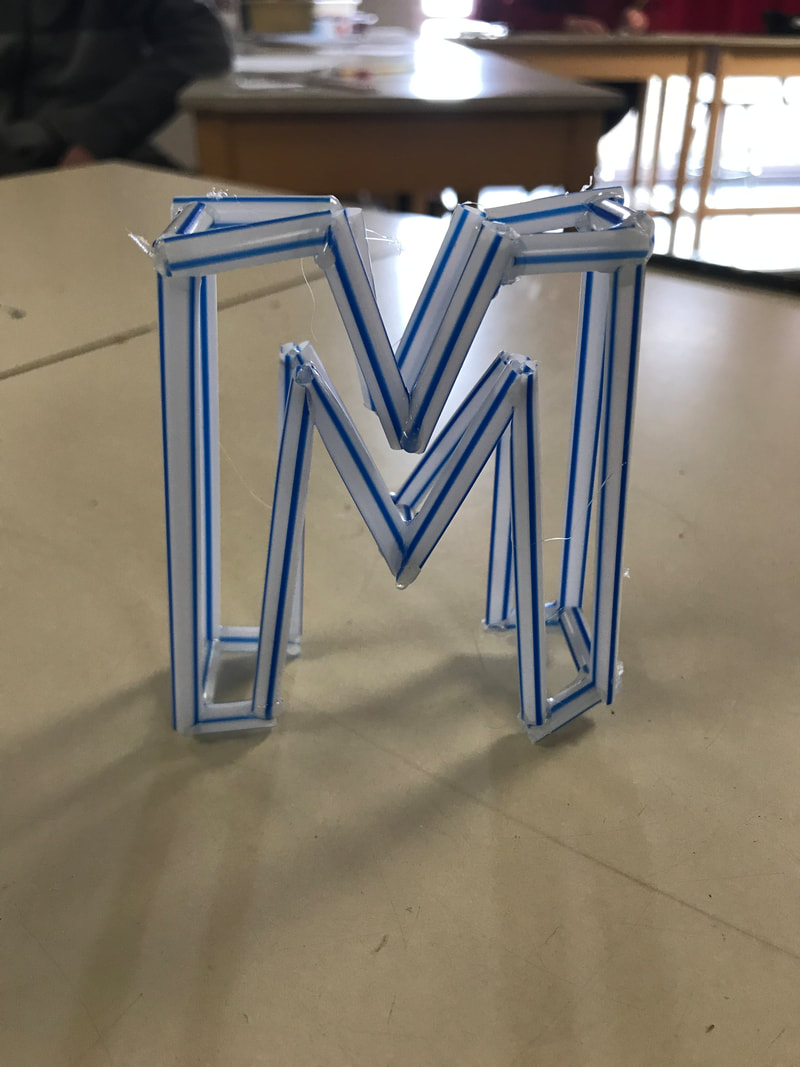
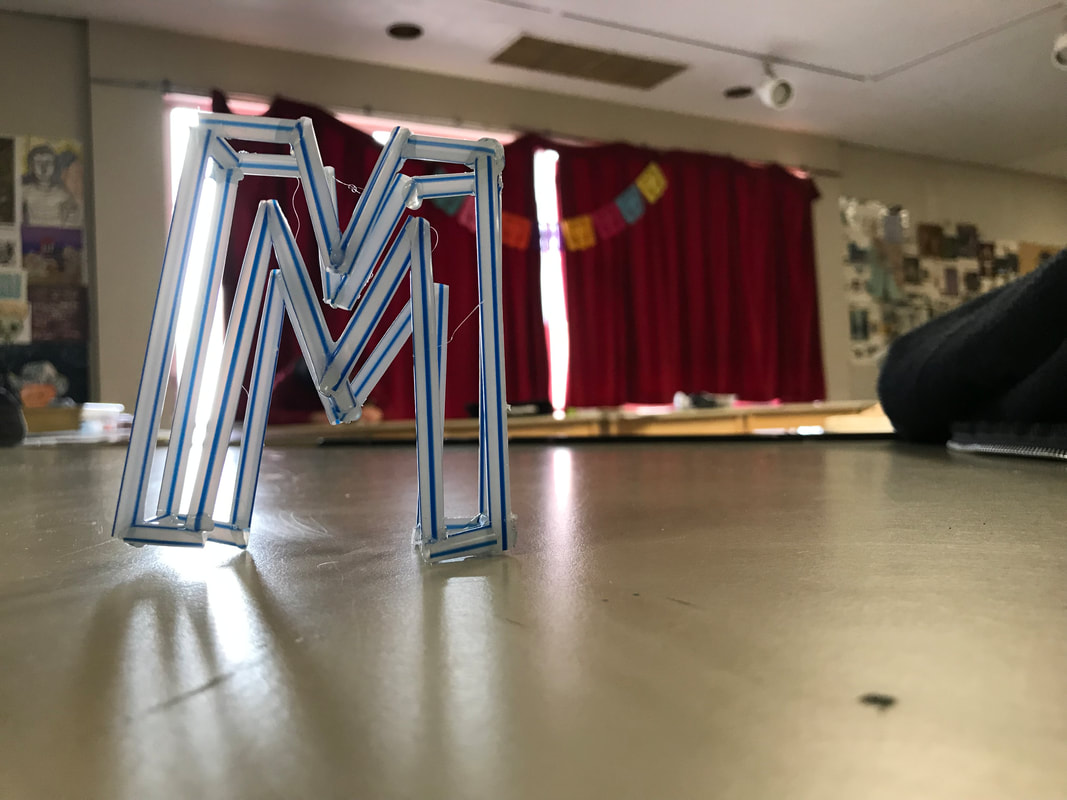
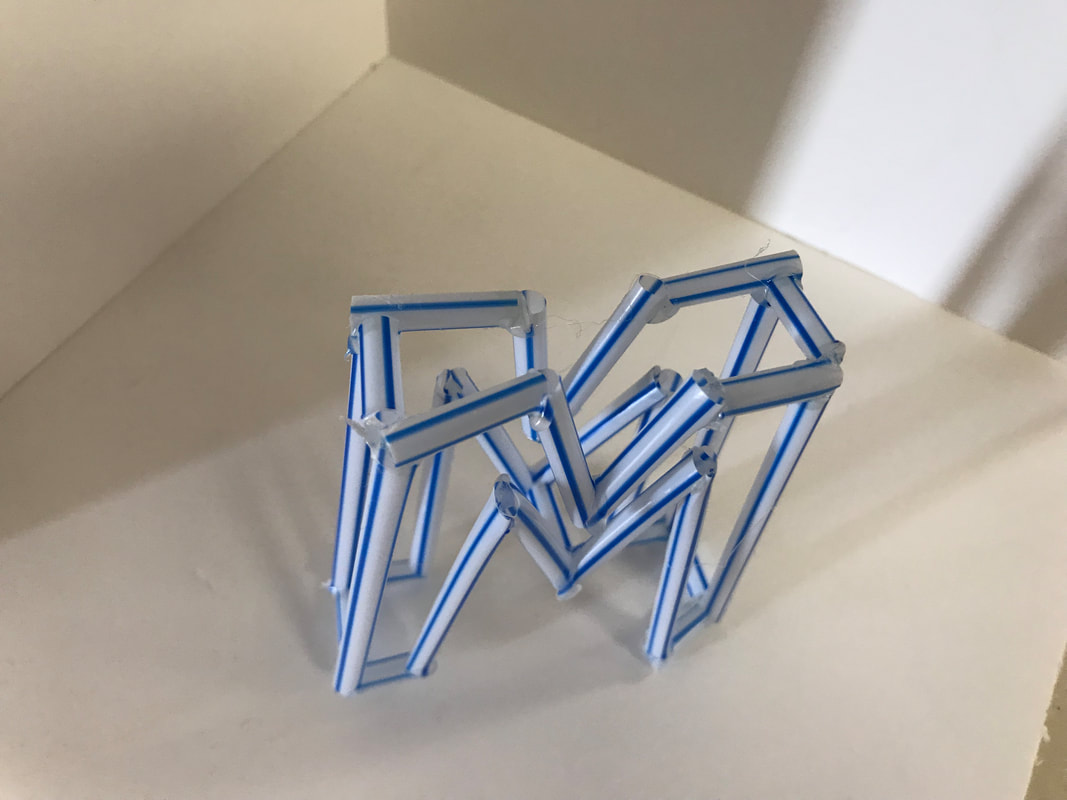
Disscted Forms
|
| ||
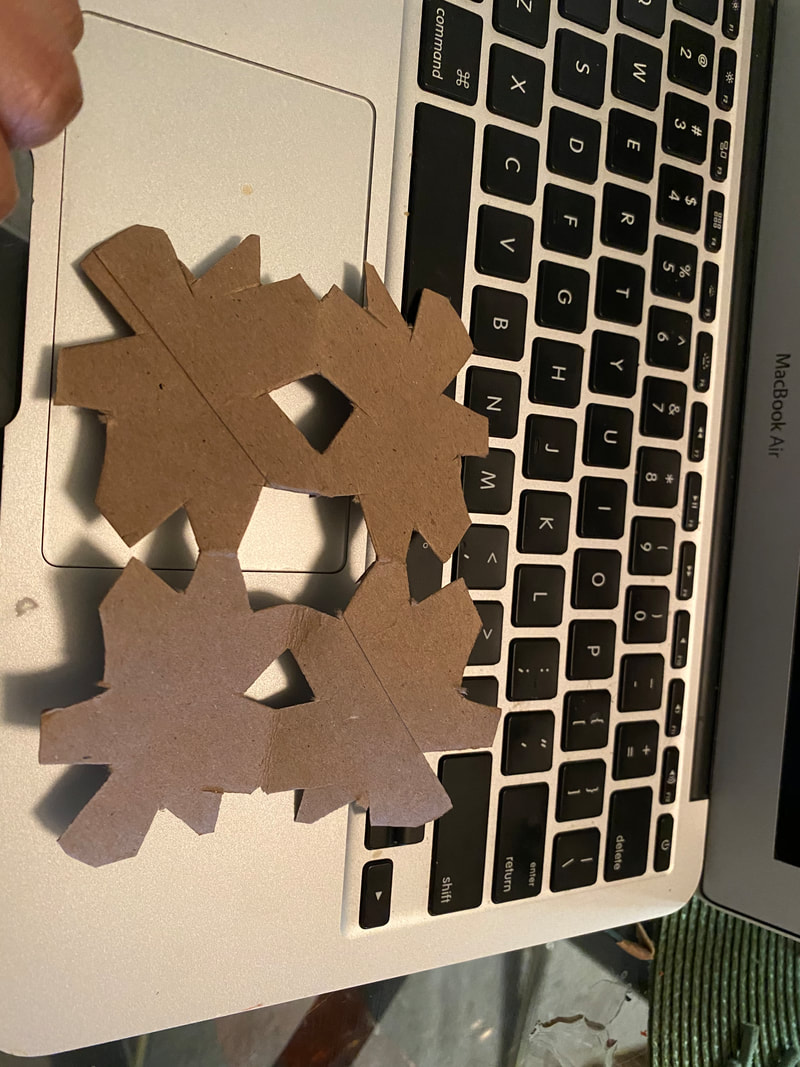
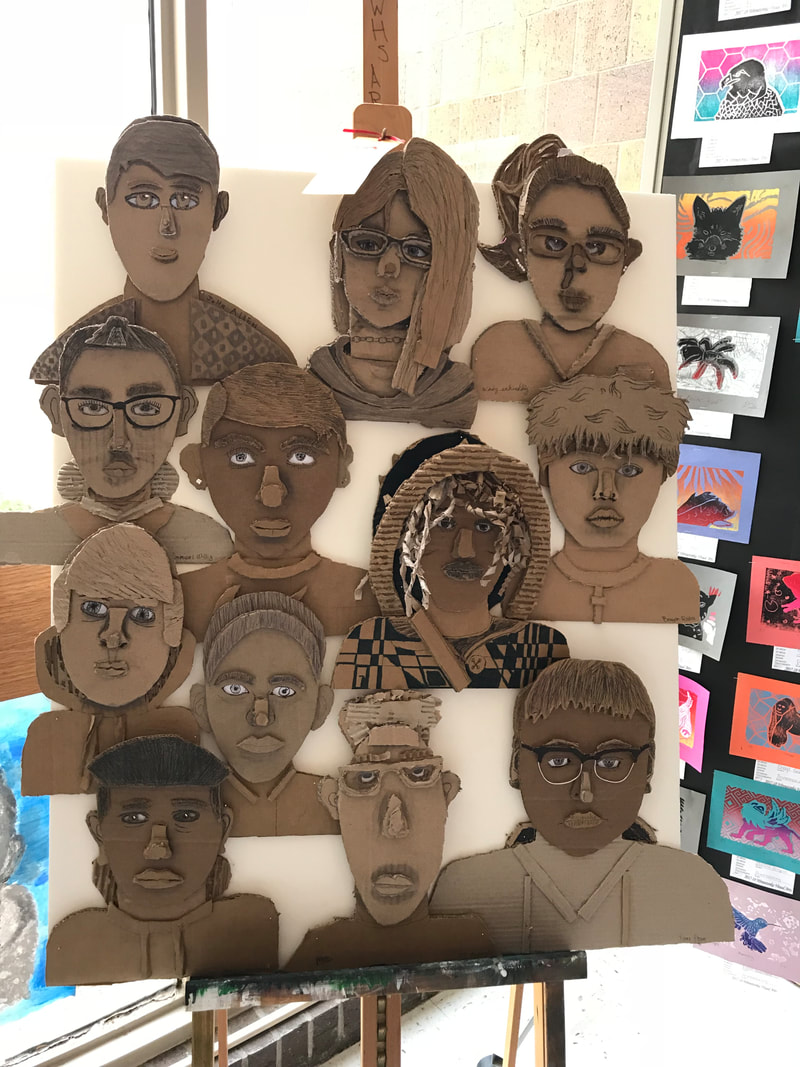
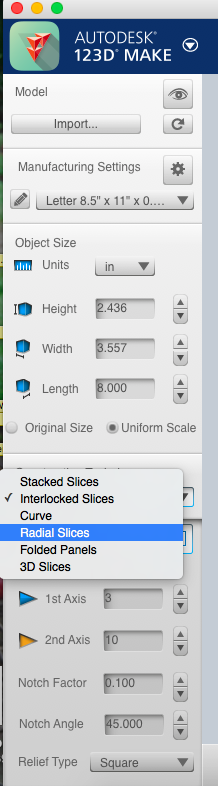
Collaborative Cardboard
Students will work in a team of 3-4 to build a 3D model out of cardboard using the app Autodesk 123D Make.


| 123d_assembly_steps.mov |
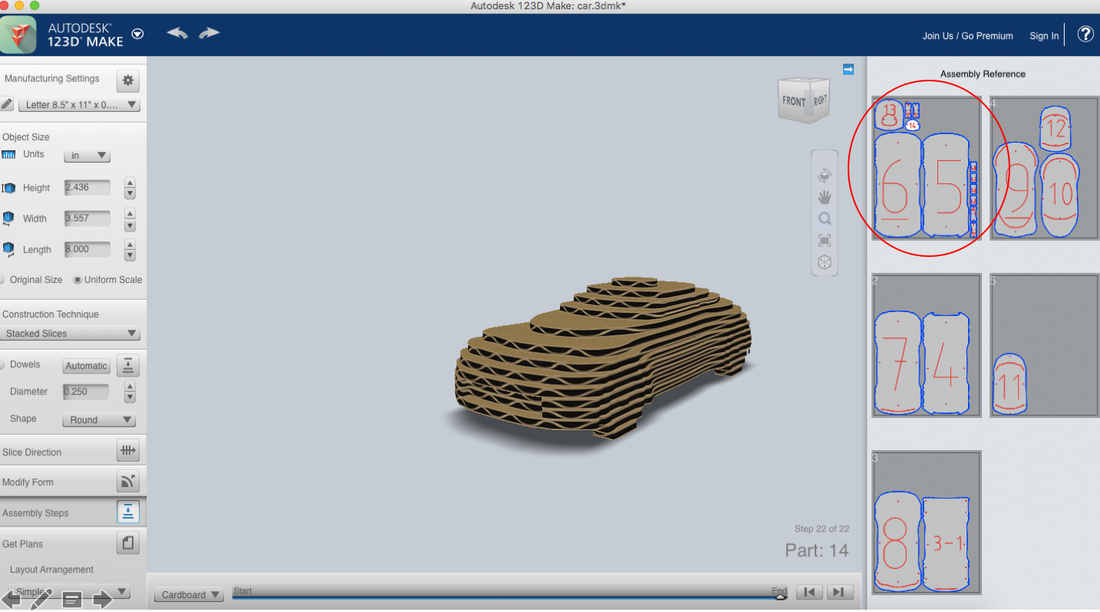
On the right are the individual pages that will be cut out to create your form. Select one page at a time to see it larger and take a screen shot by pushing- command-shift-4. Open up your screen shots and Print them individually. These should be printed on index paper.
| cardboard_portraits_2.ppt |
|
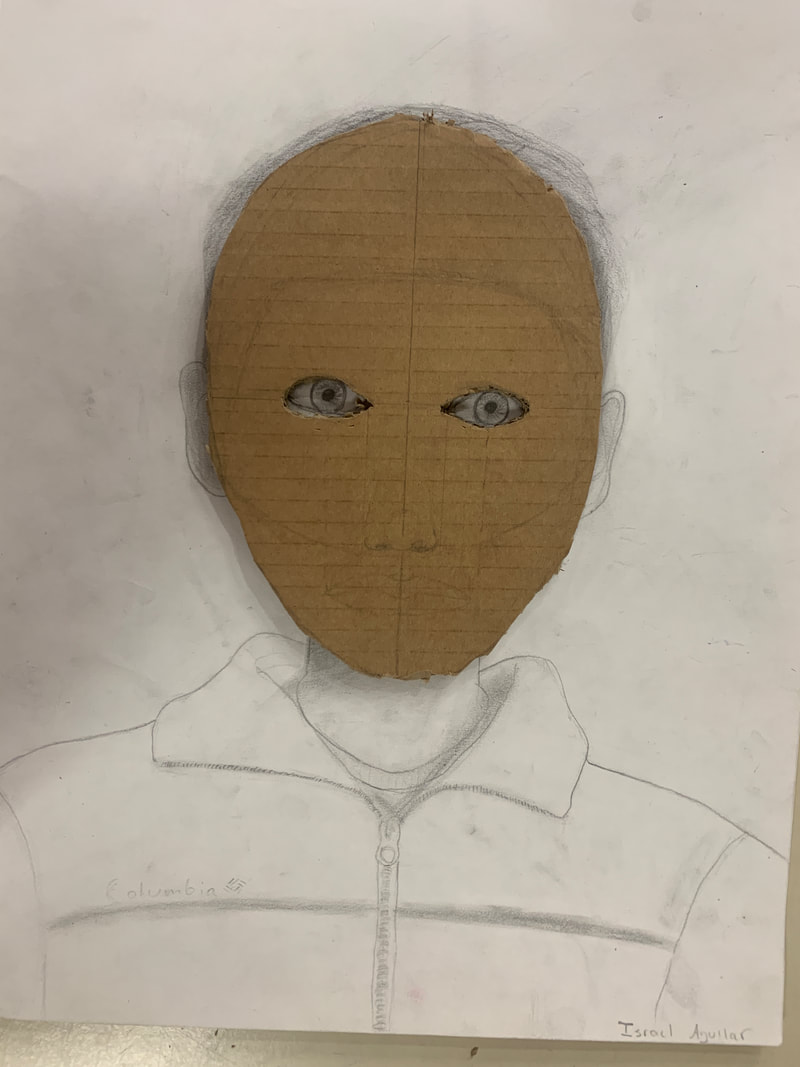
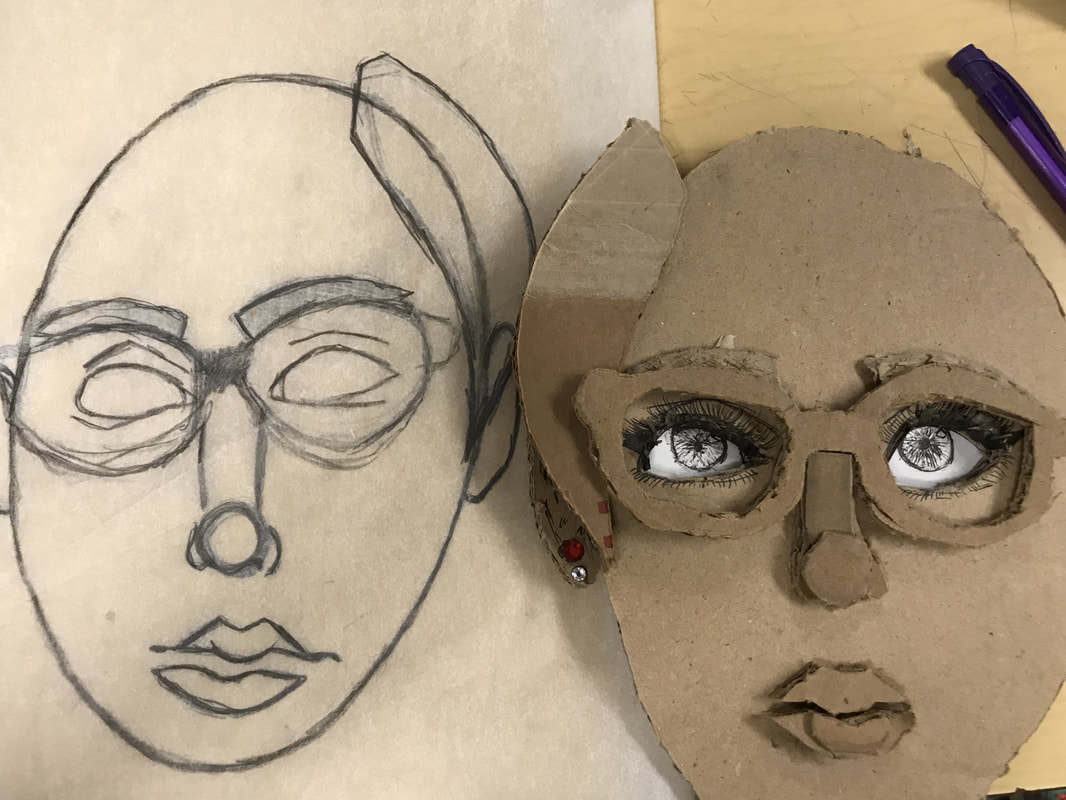
Measuring and Cutting the Head
|
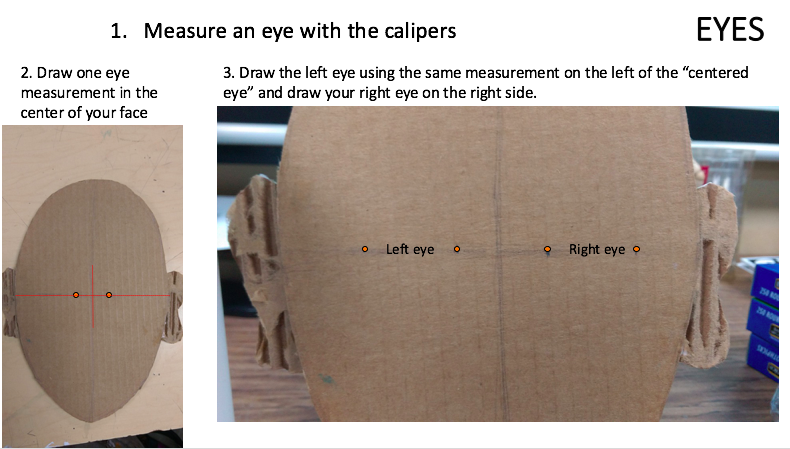
Measuring the Placement for the Eyes
|
|
Drawing the Eyes
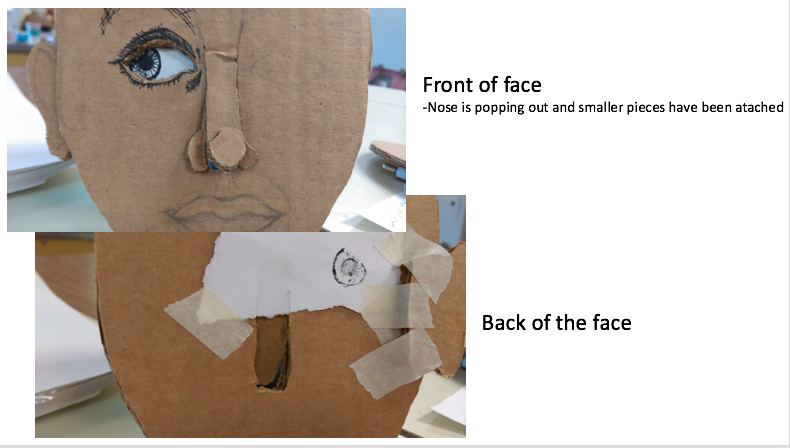
Adding the Nose
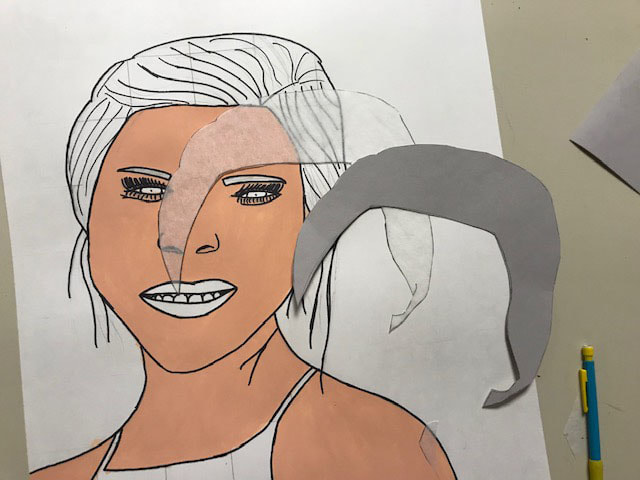
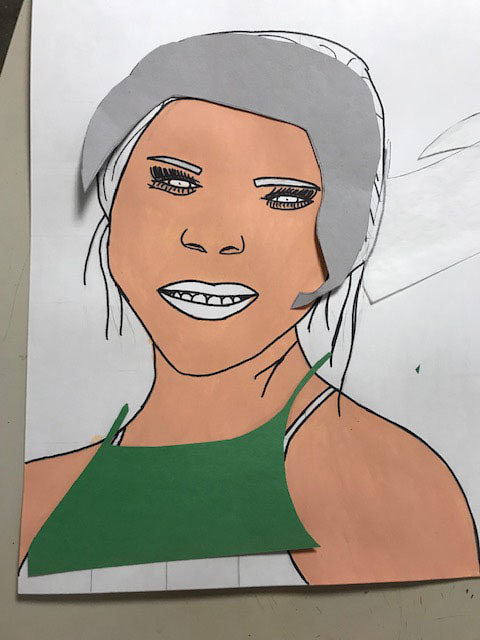
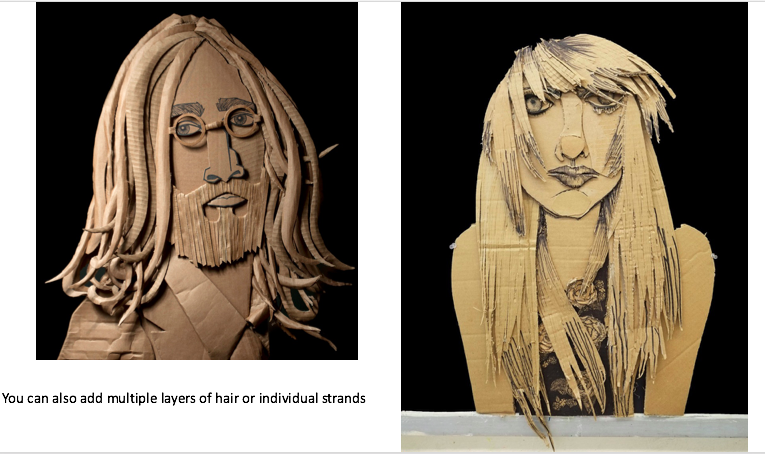
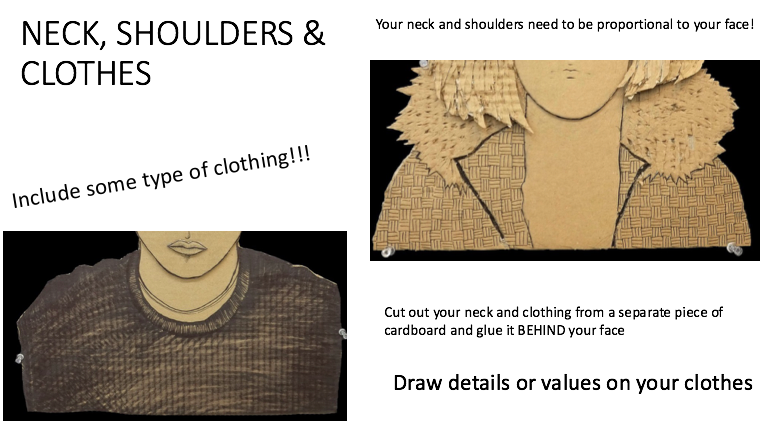
Hair and Clothing
|
Adding Eyebrows
Adding the Mouth
|


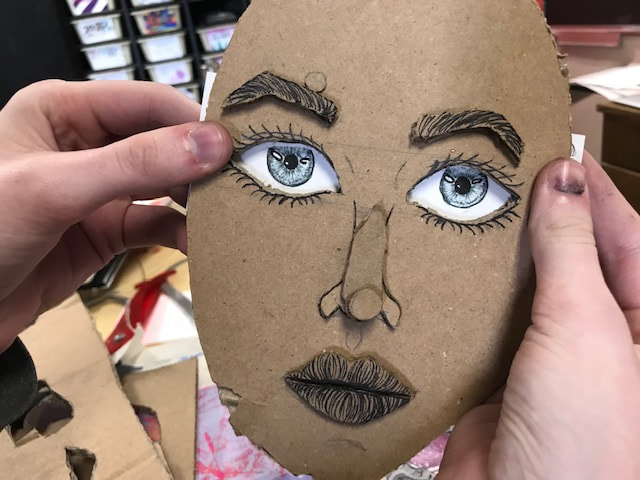

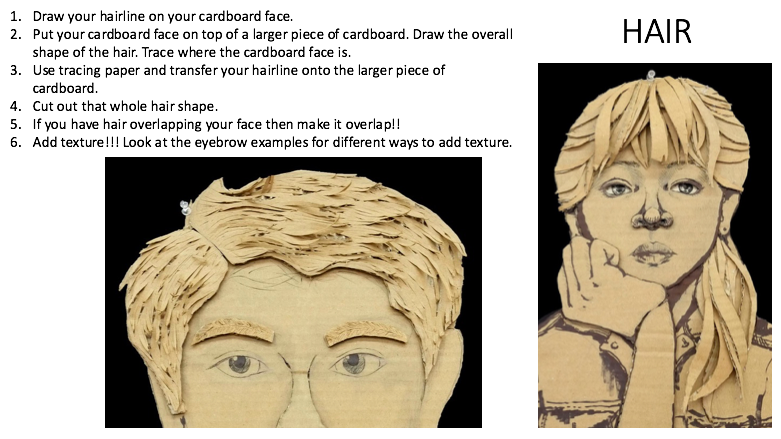
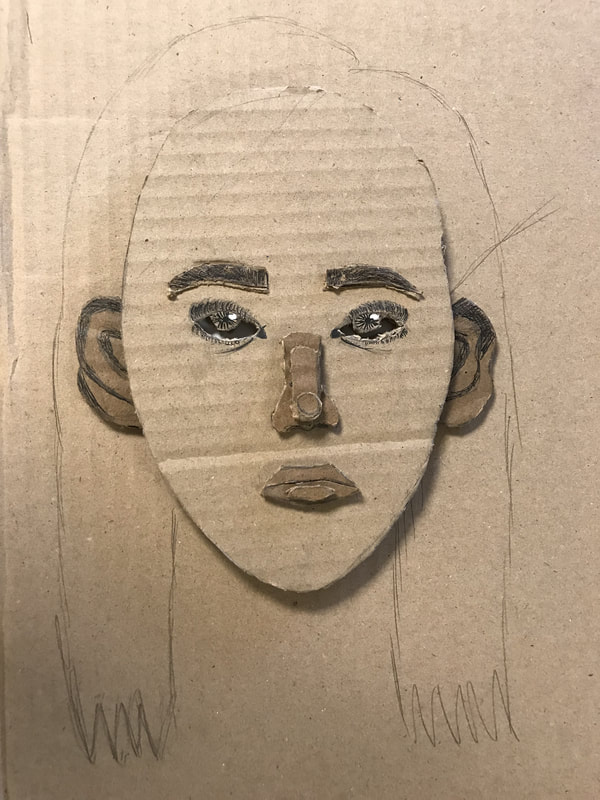

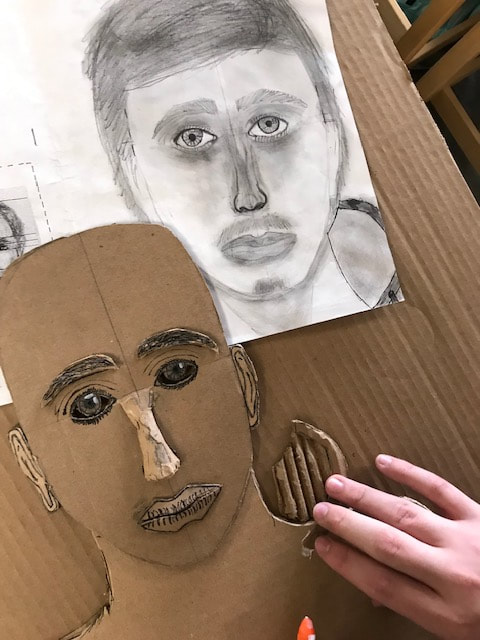
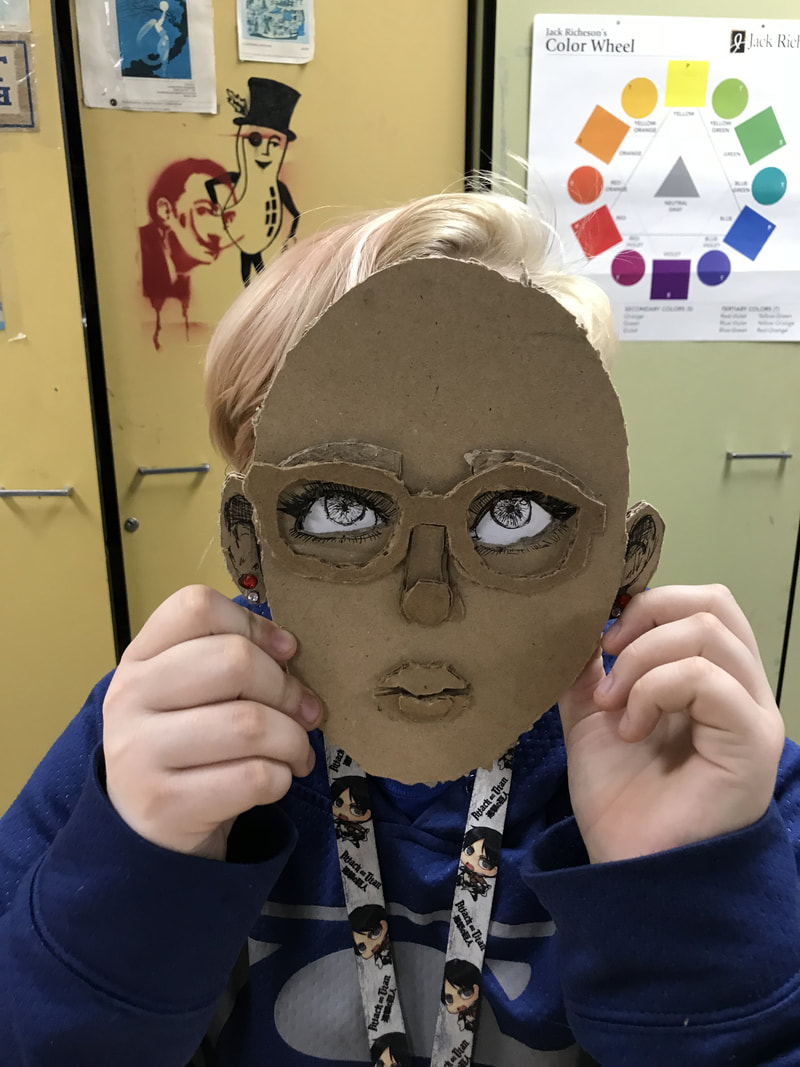
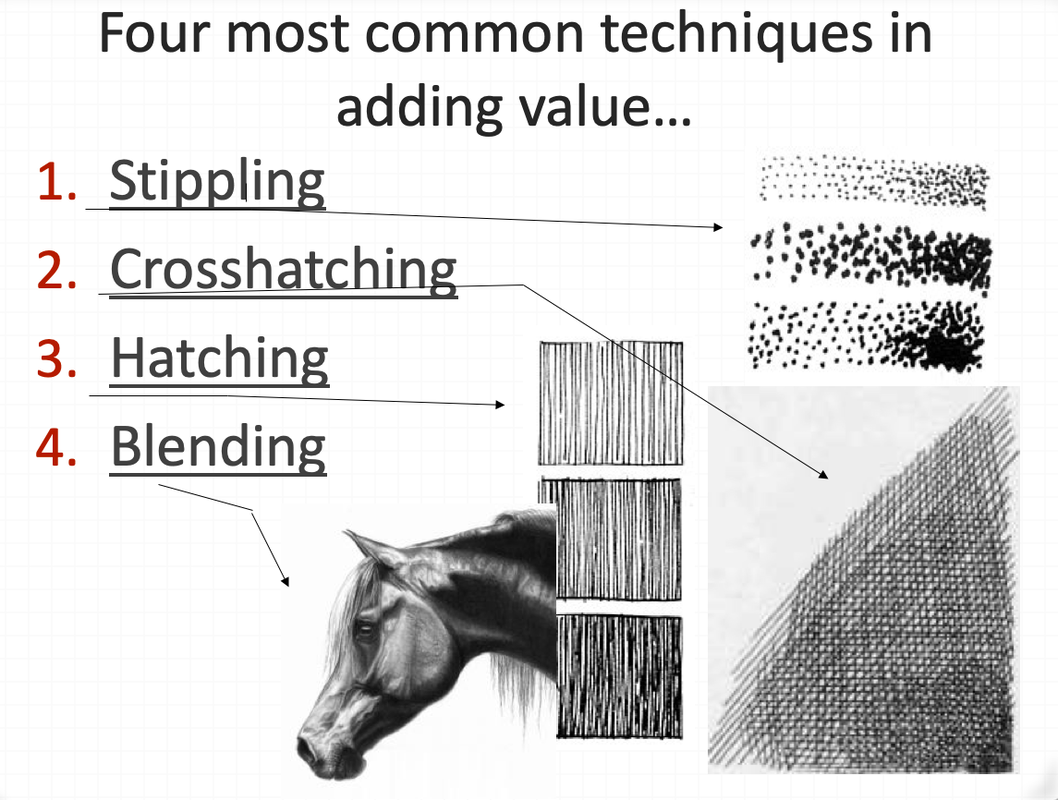
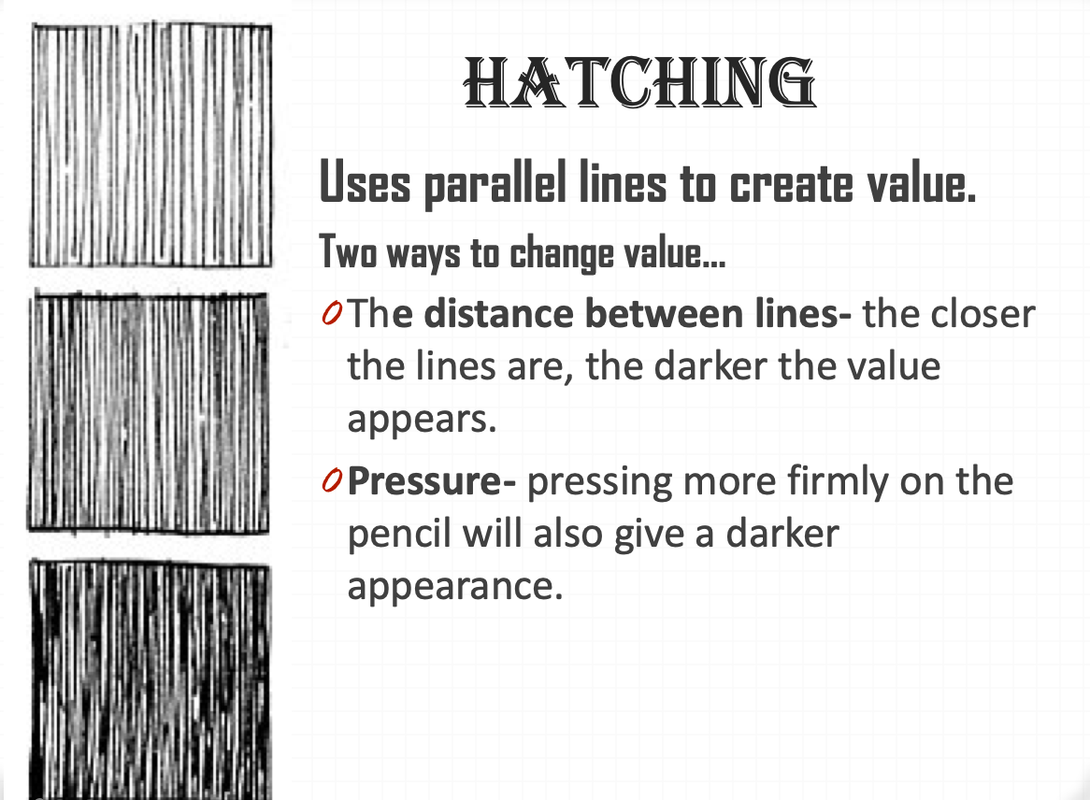
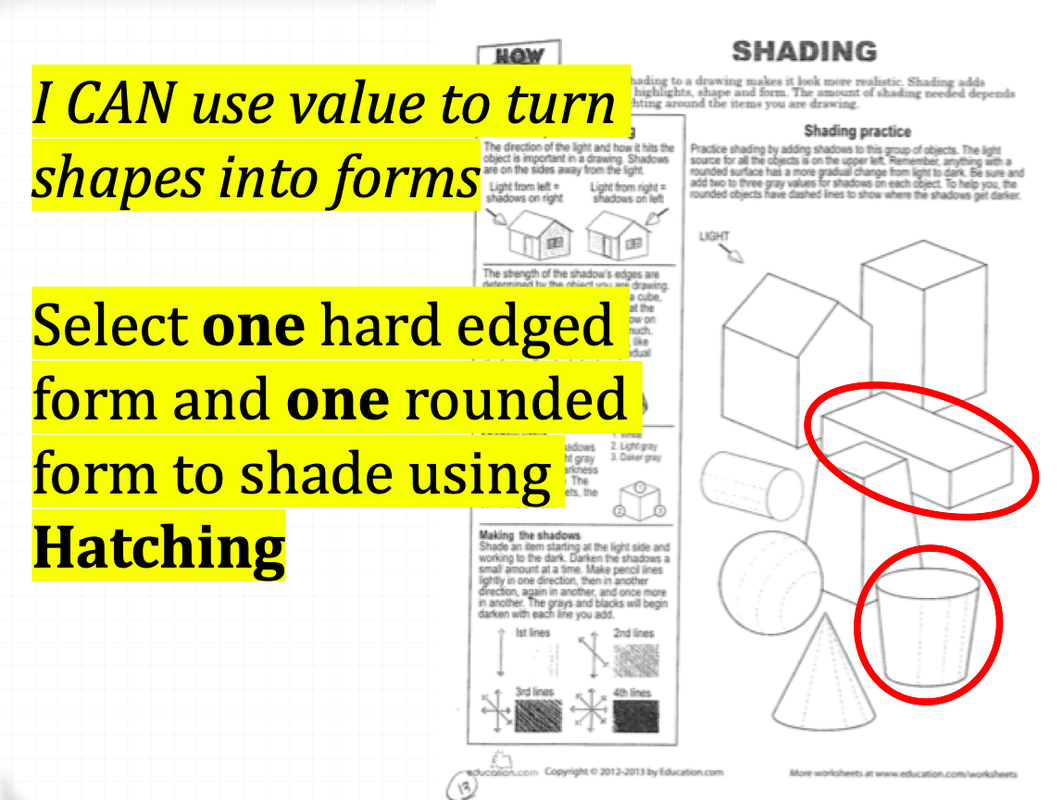
Shade your face!!! You can use a pencil or a pen (hatching & cross-hatching)
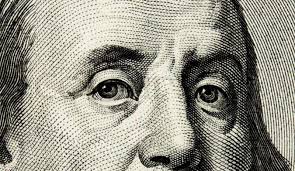
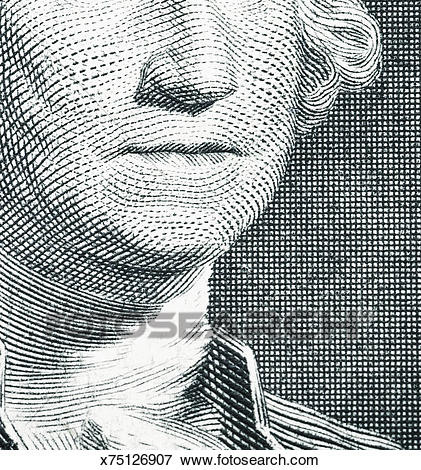
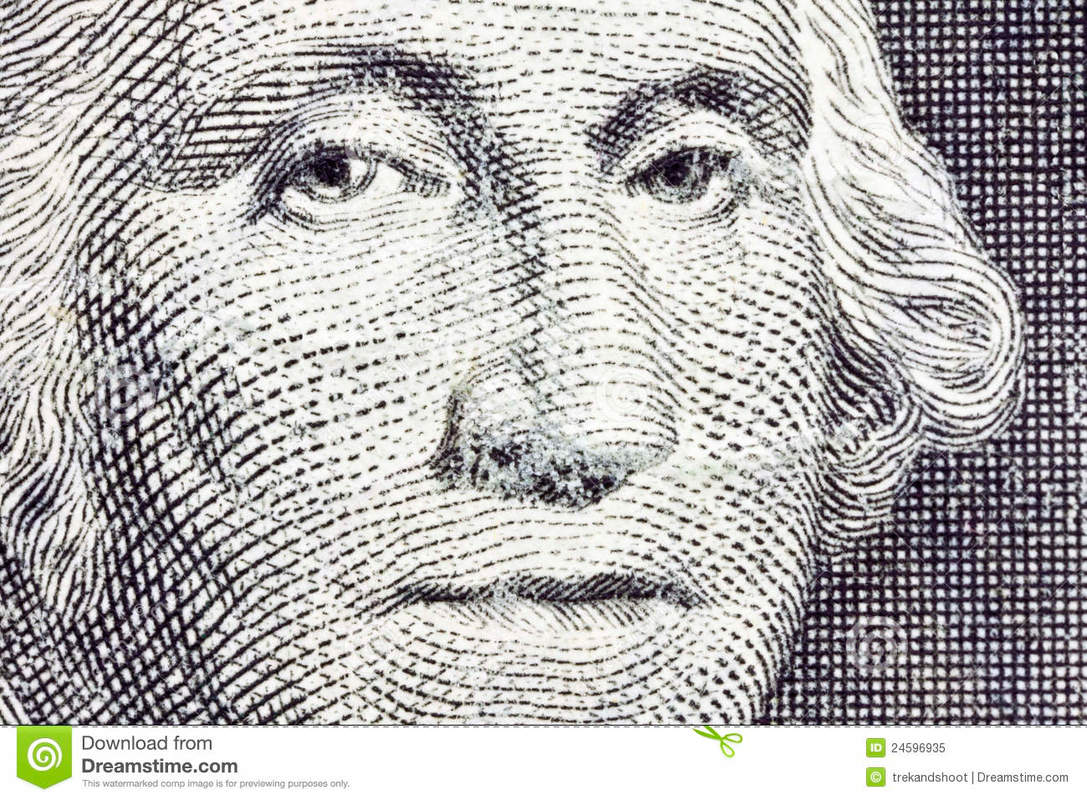
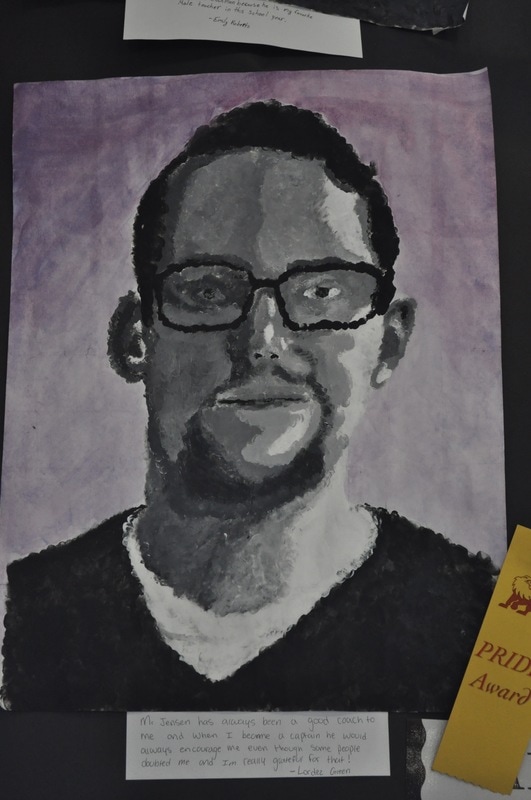
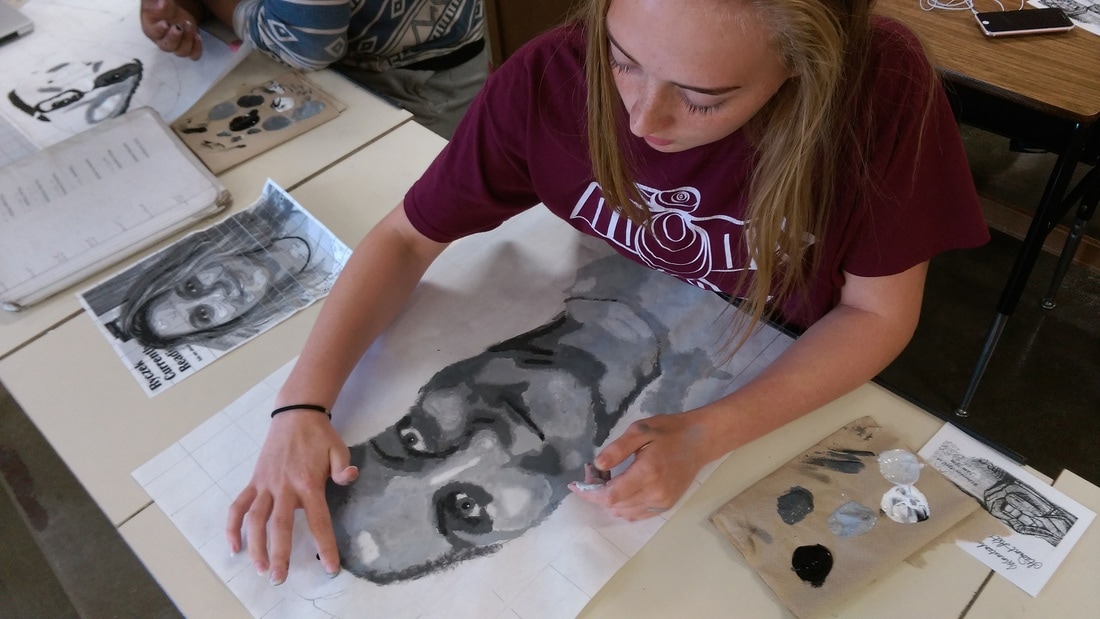
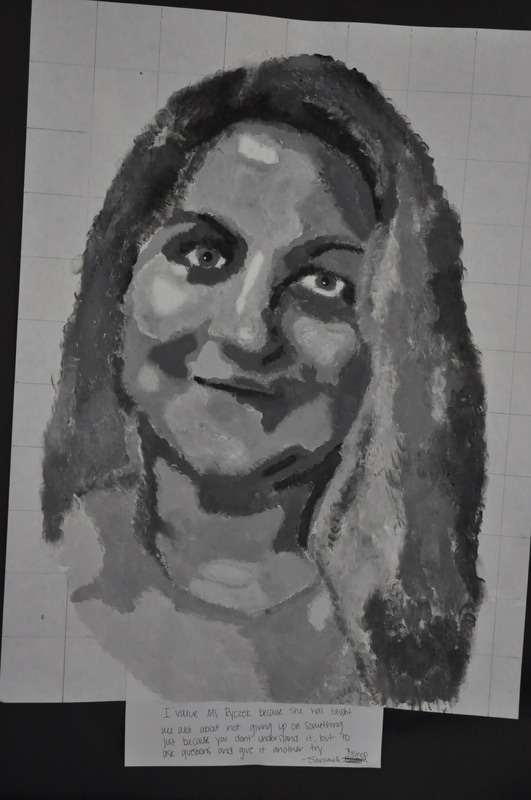
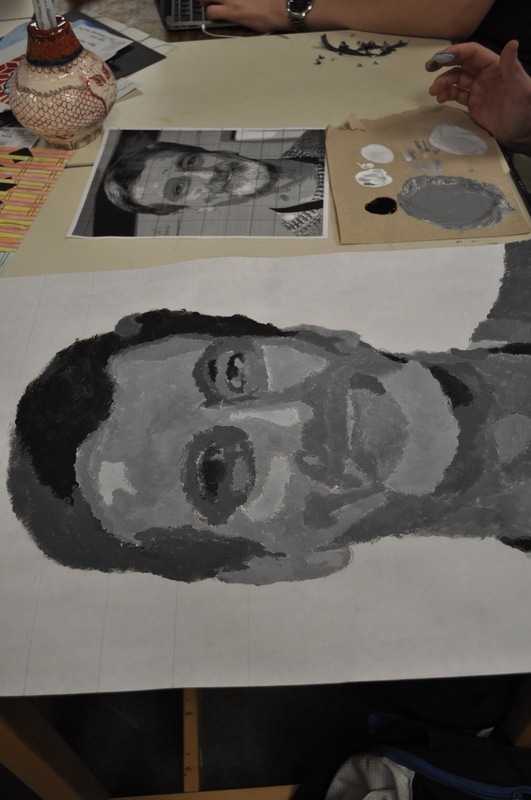
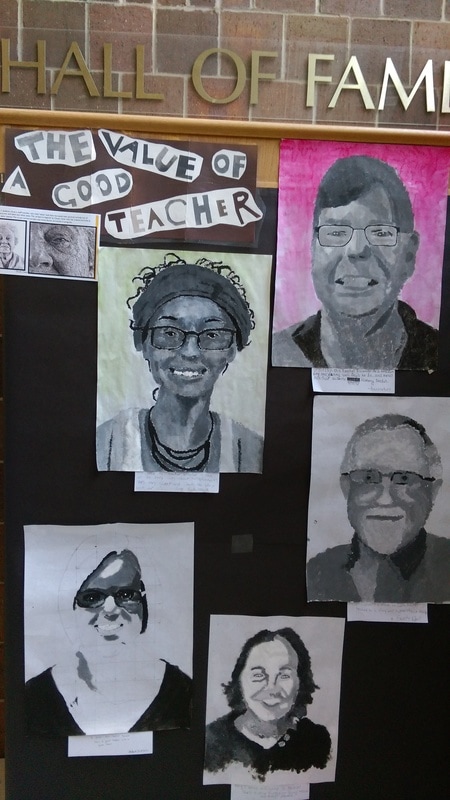
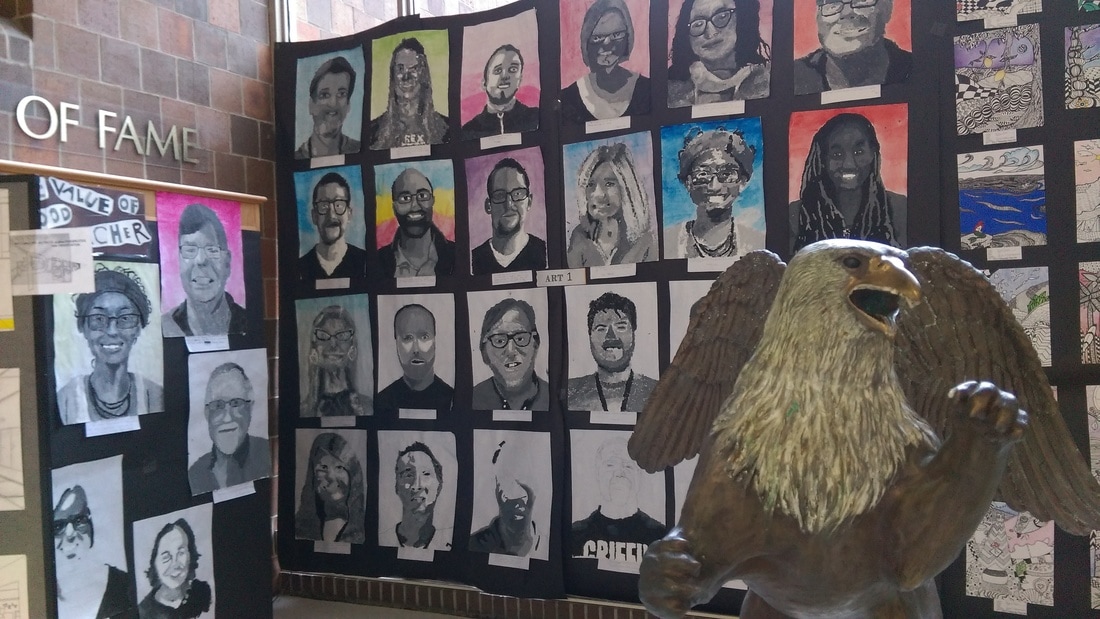
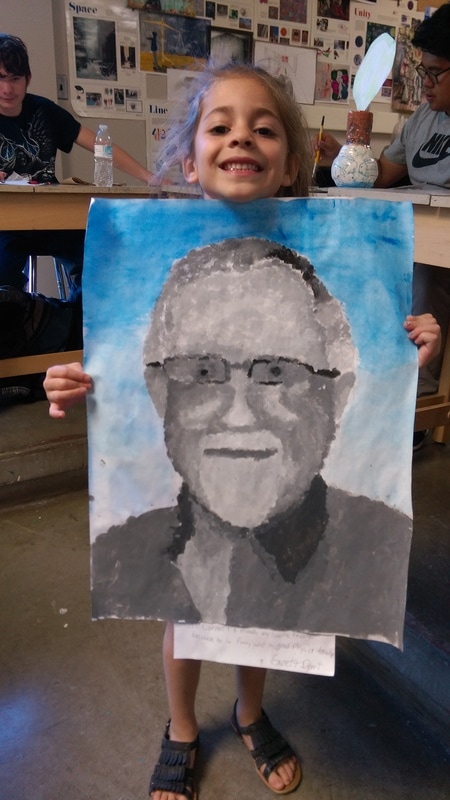
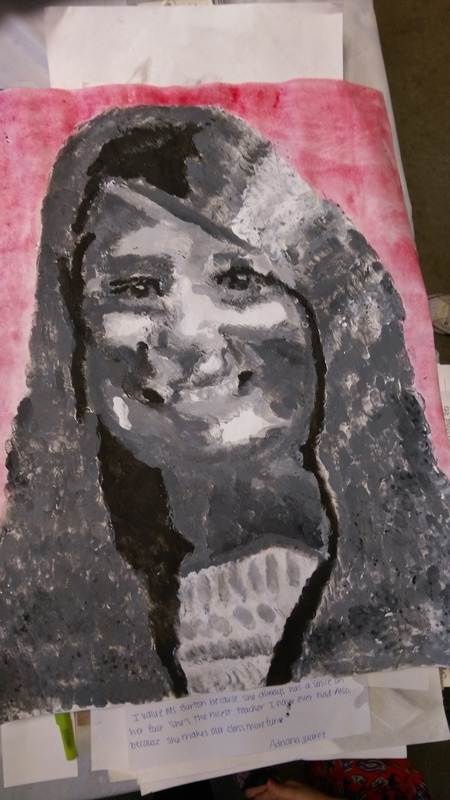
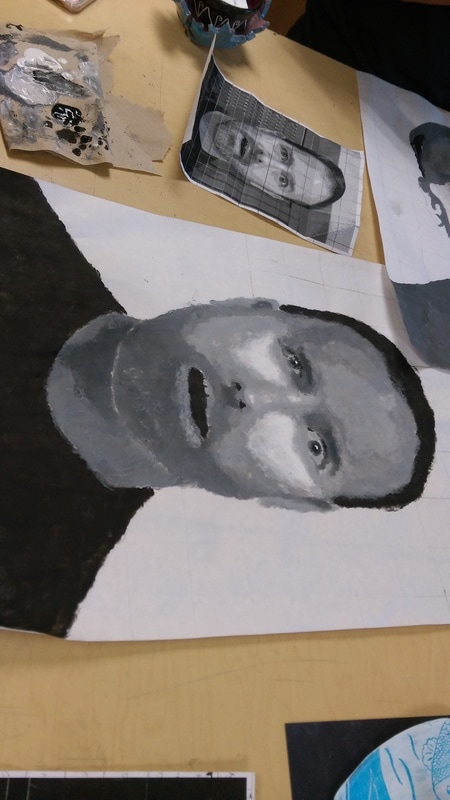
The Value of a Good Teacher/ Chuck Close Finger-Printed Portraits
| finger-printed_portrait.pptx |
Color Theory |
Use the PowerPoint below if you need help filling out the color wheel worksheet
|
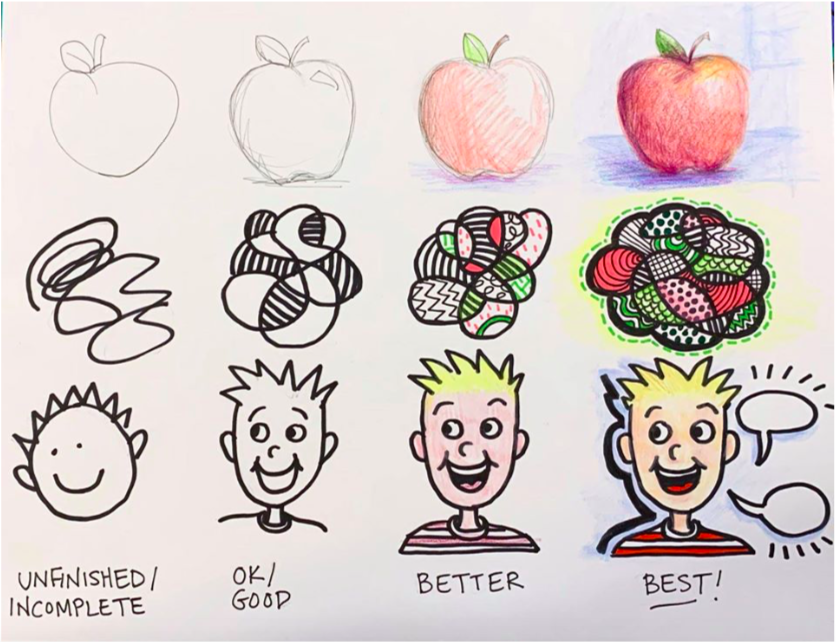
Examples of good and poor craftsmanship...
|
|
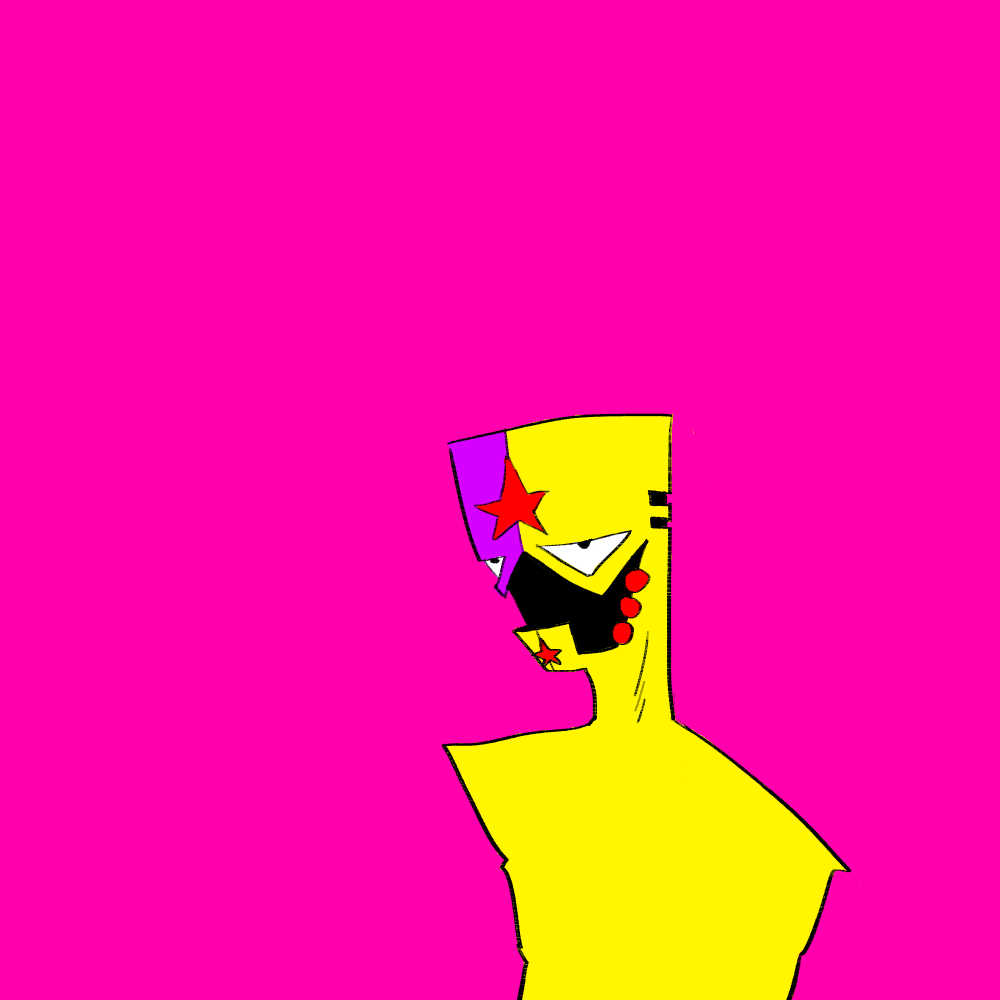
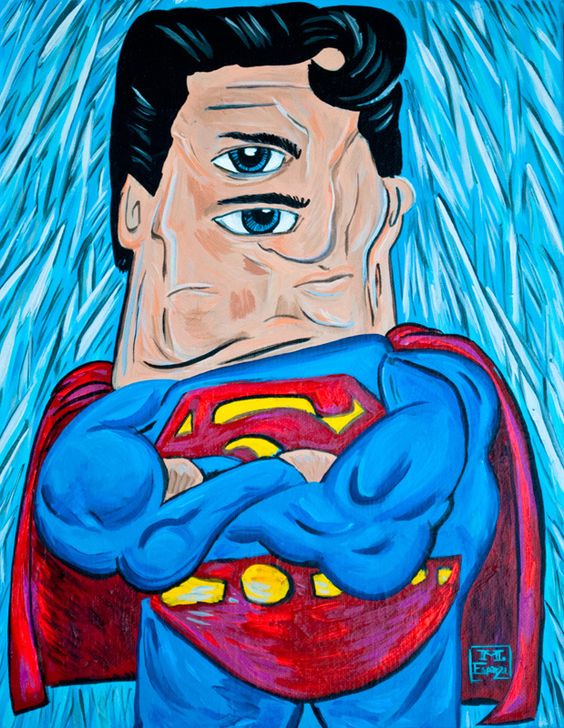
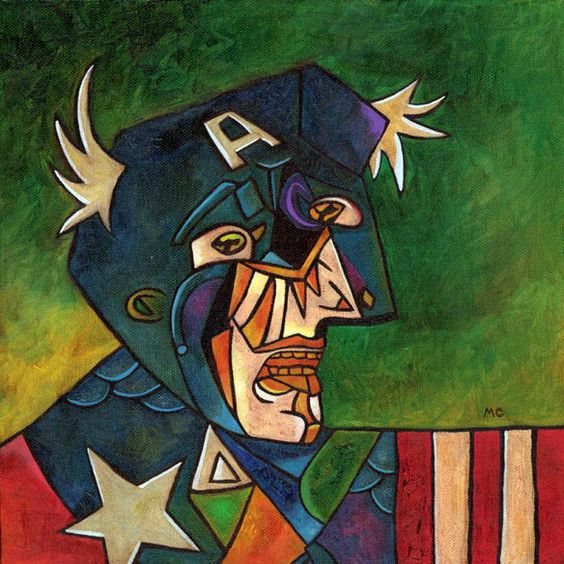
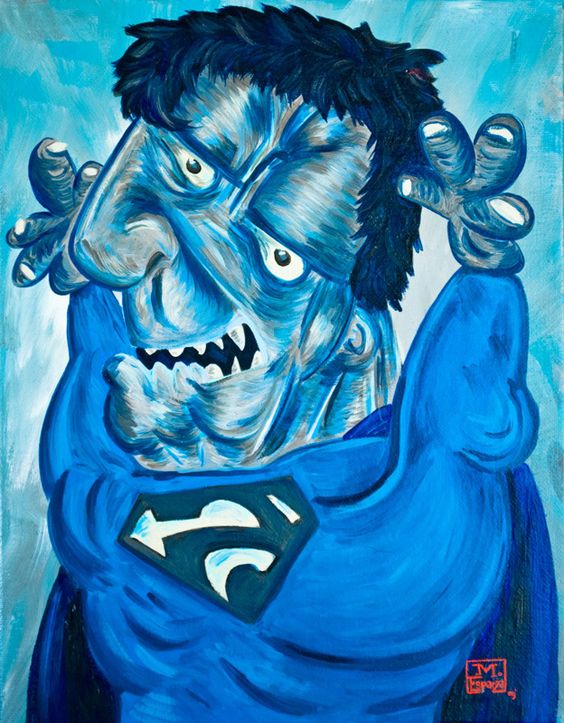
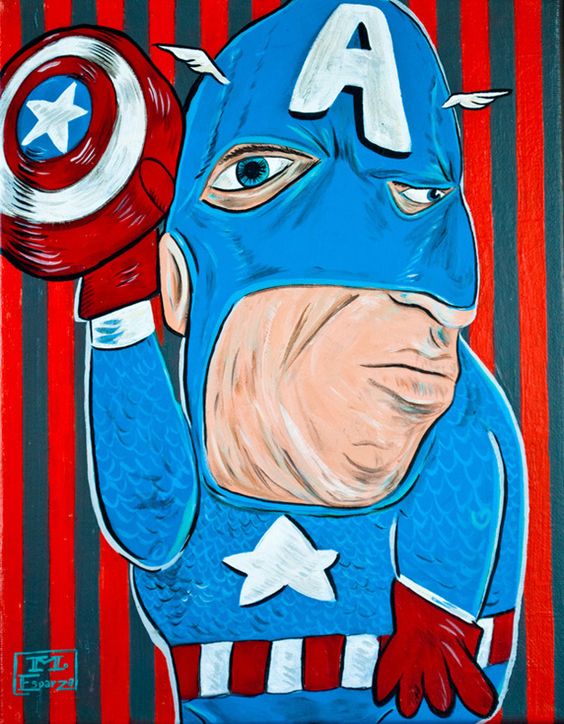
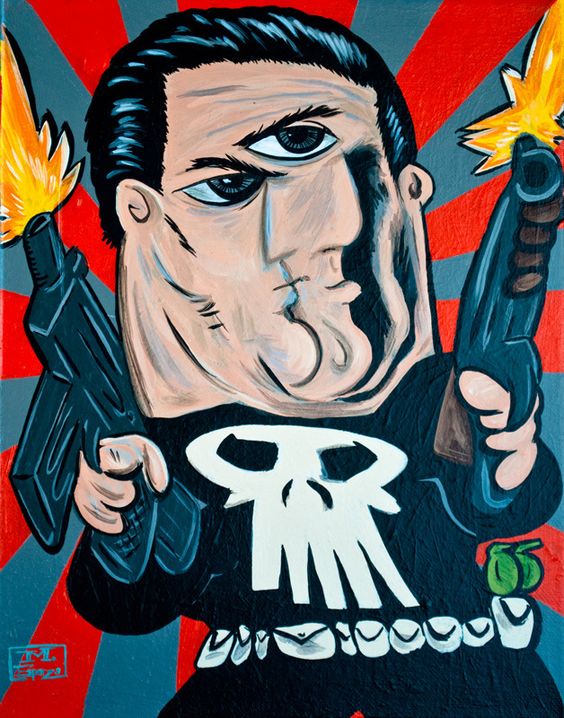
Cubism Characters
|
Notes on Picasso
|
Create a picassohead using multiple perspectives and email to [email protected]
| ||||

Below is a video of how to TINT & SHADE each shape in your painting!
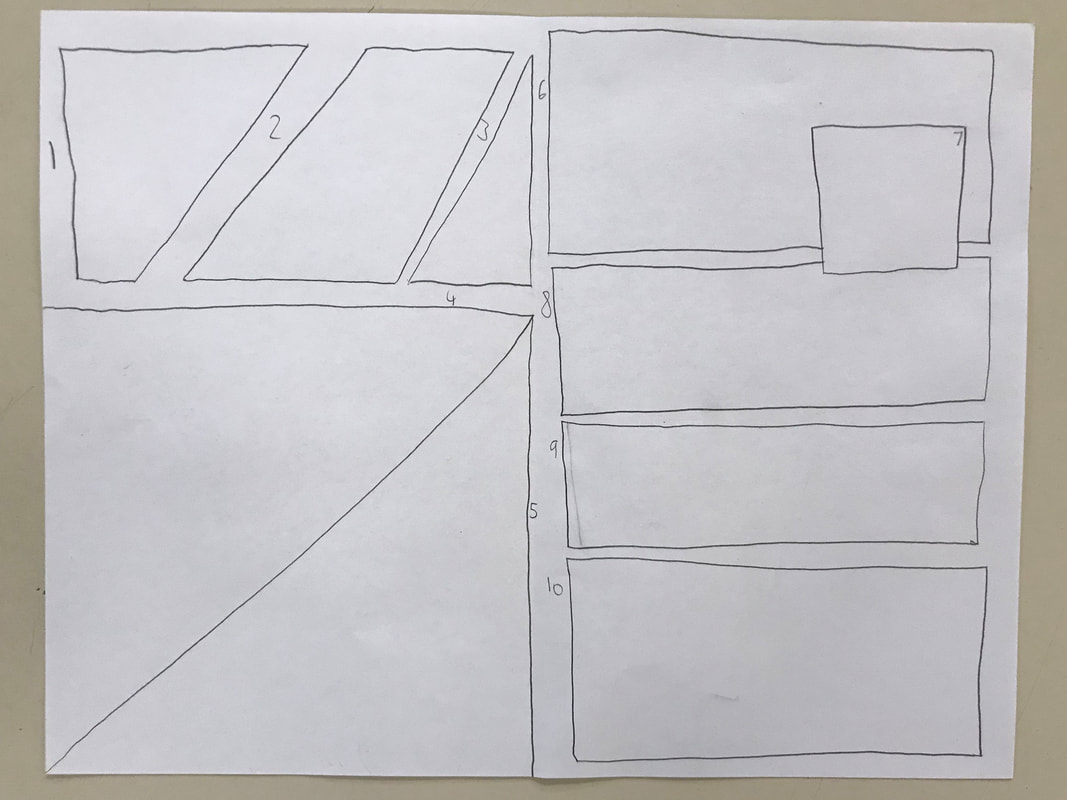
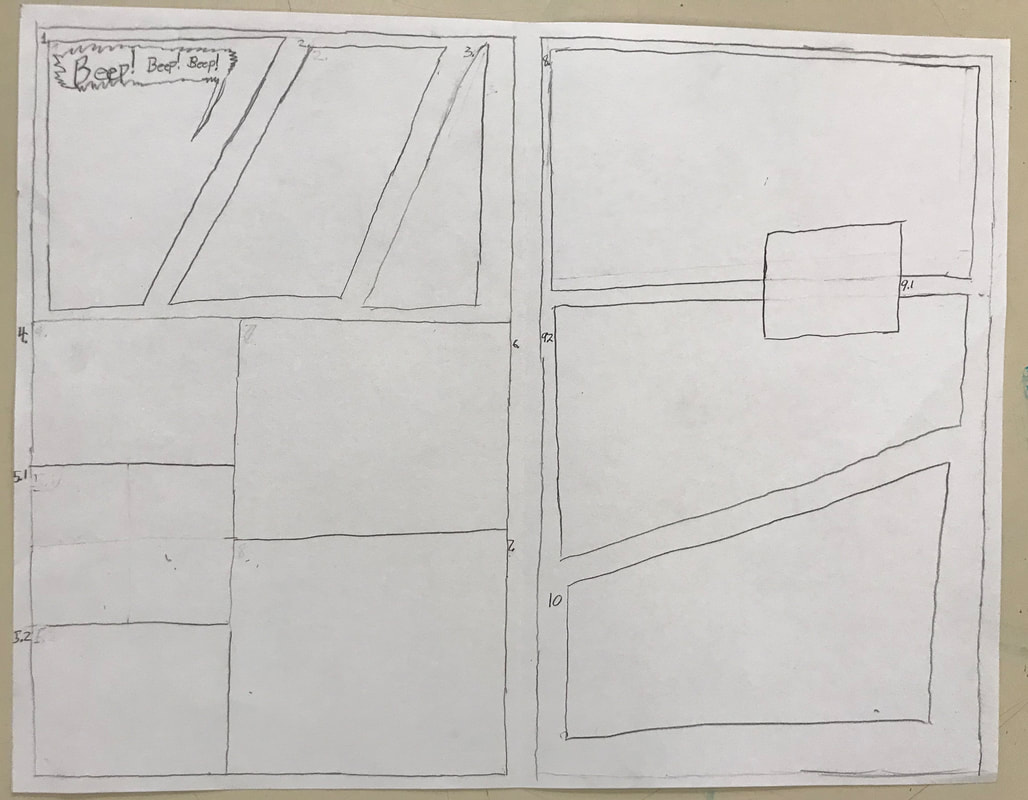
Autobiographical Comic
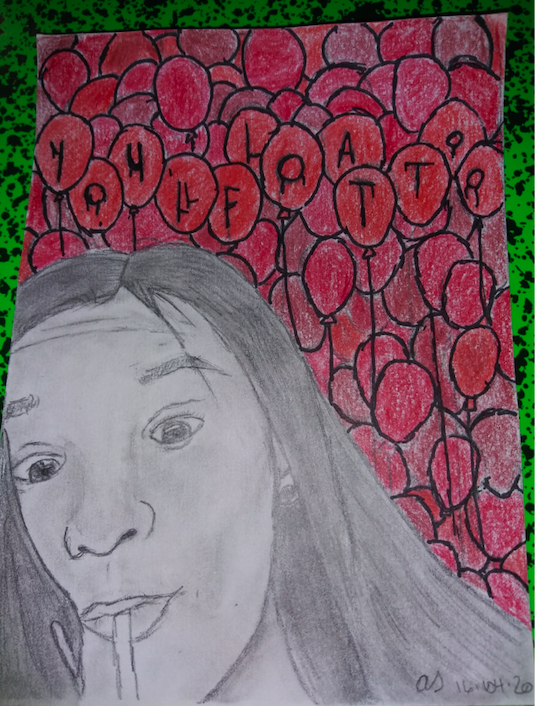
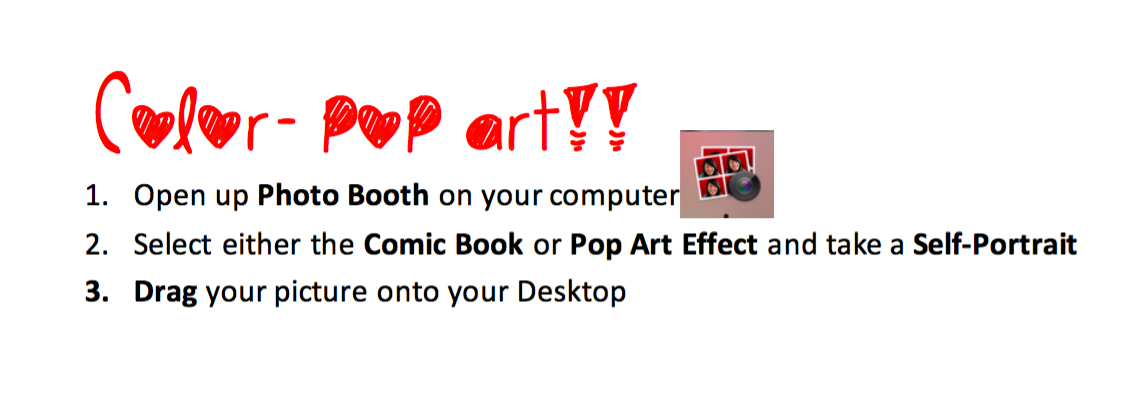
Pop Art Self-Portrait and Reflection
|
|
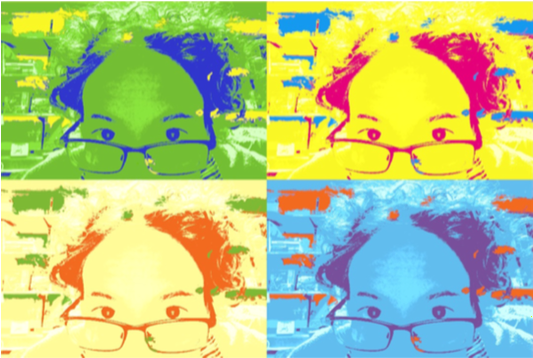
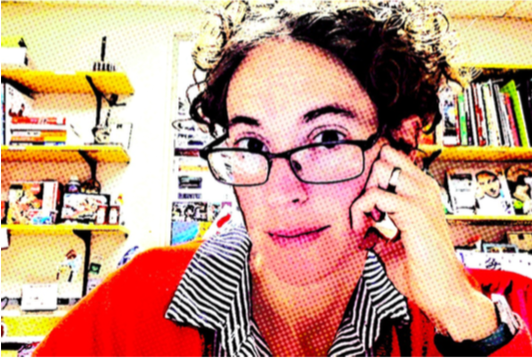
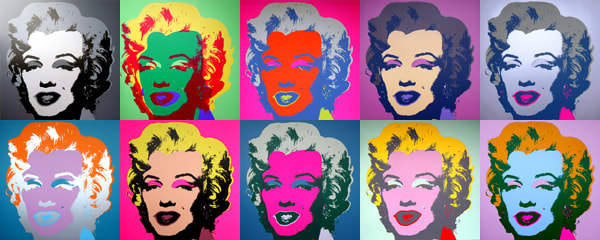
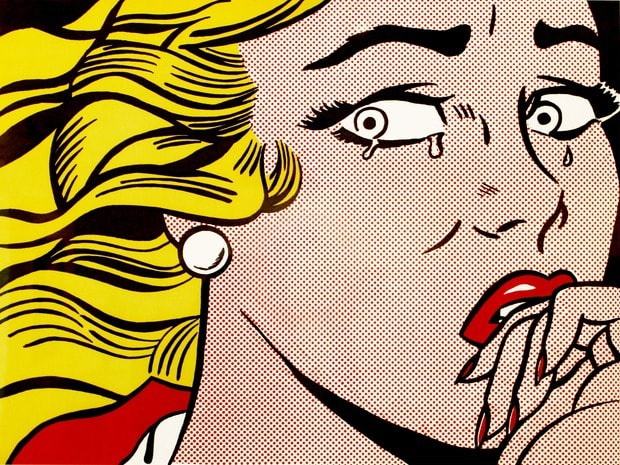
| Pop Art Notes |
Final Reflection
| Final Reflection |
|
|
