Virtual Learning Plan
We will have an Art Assignment a week and these assignments will be uploaded to our canvas site!
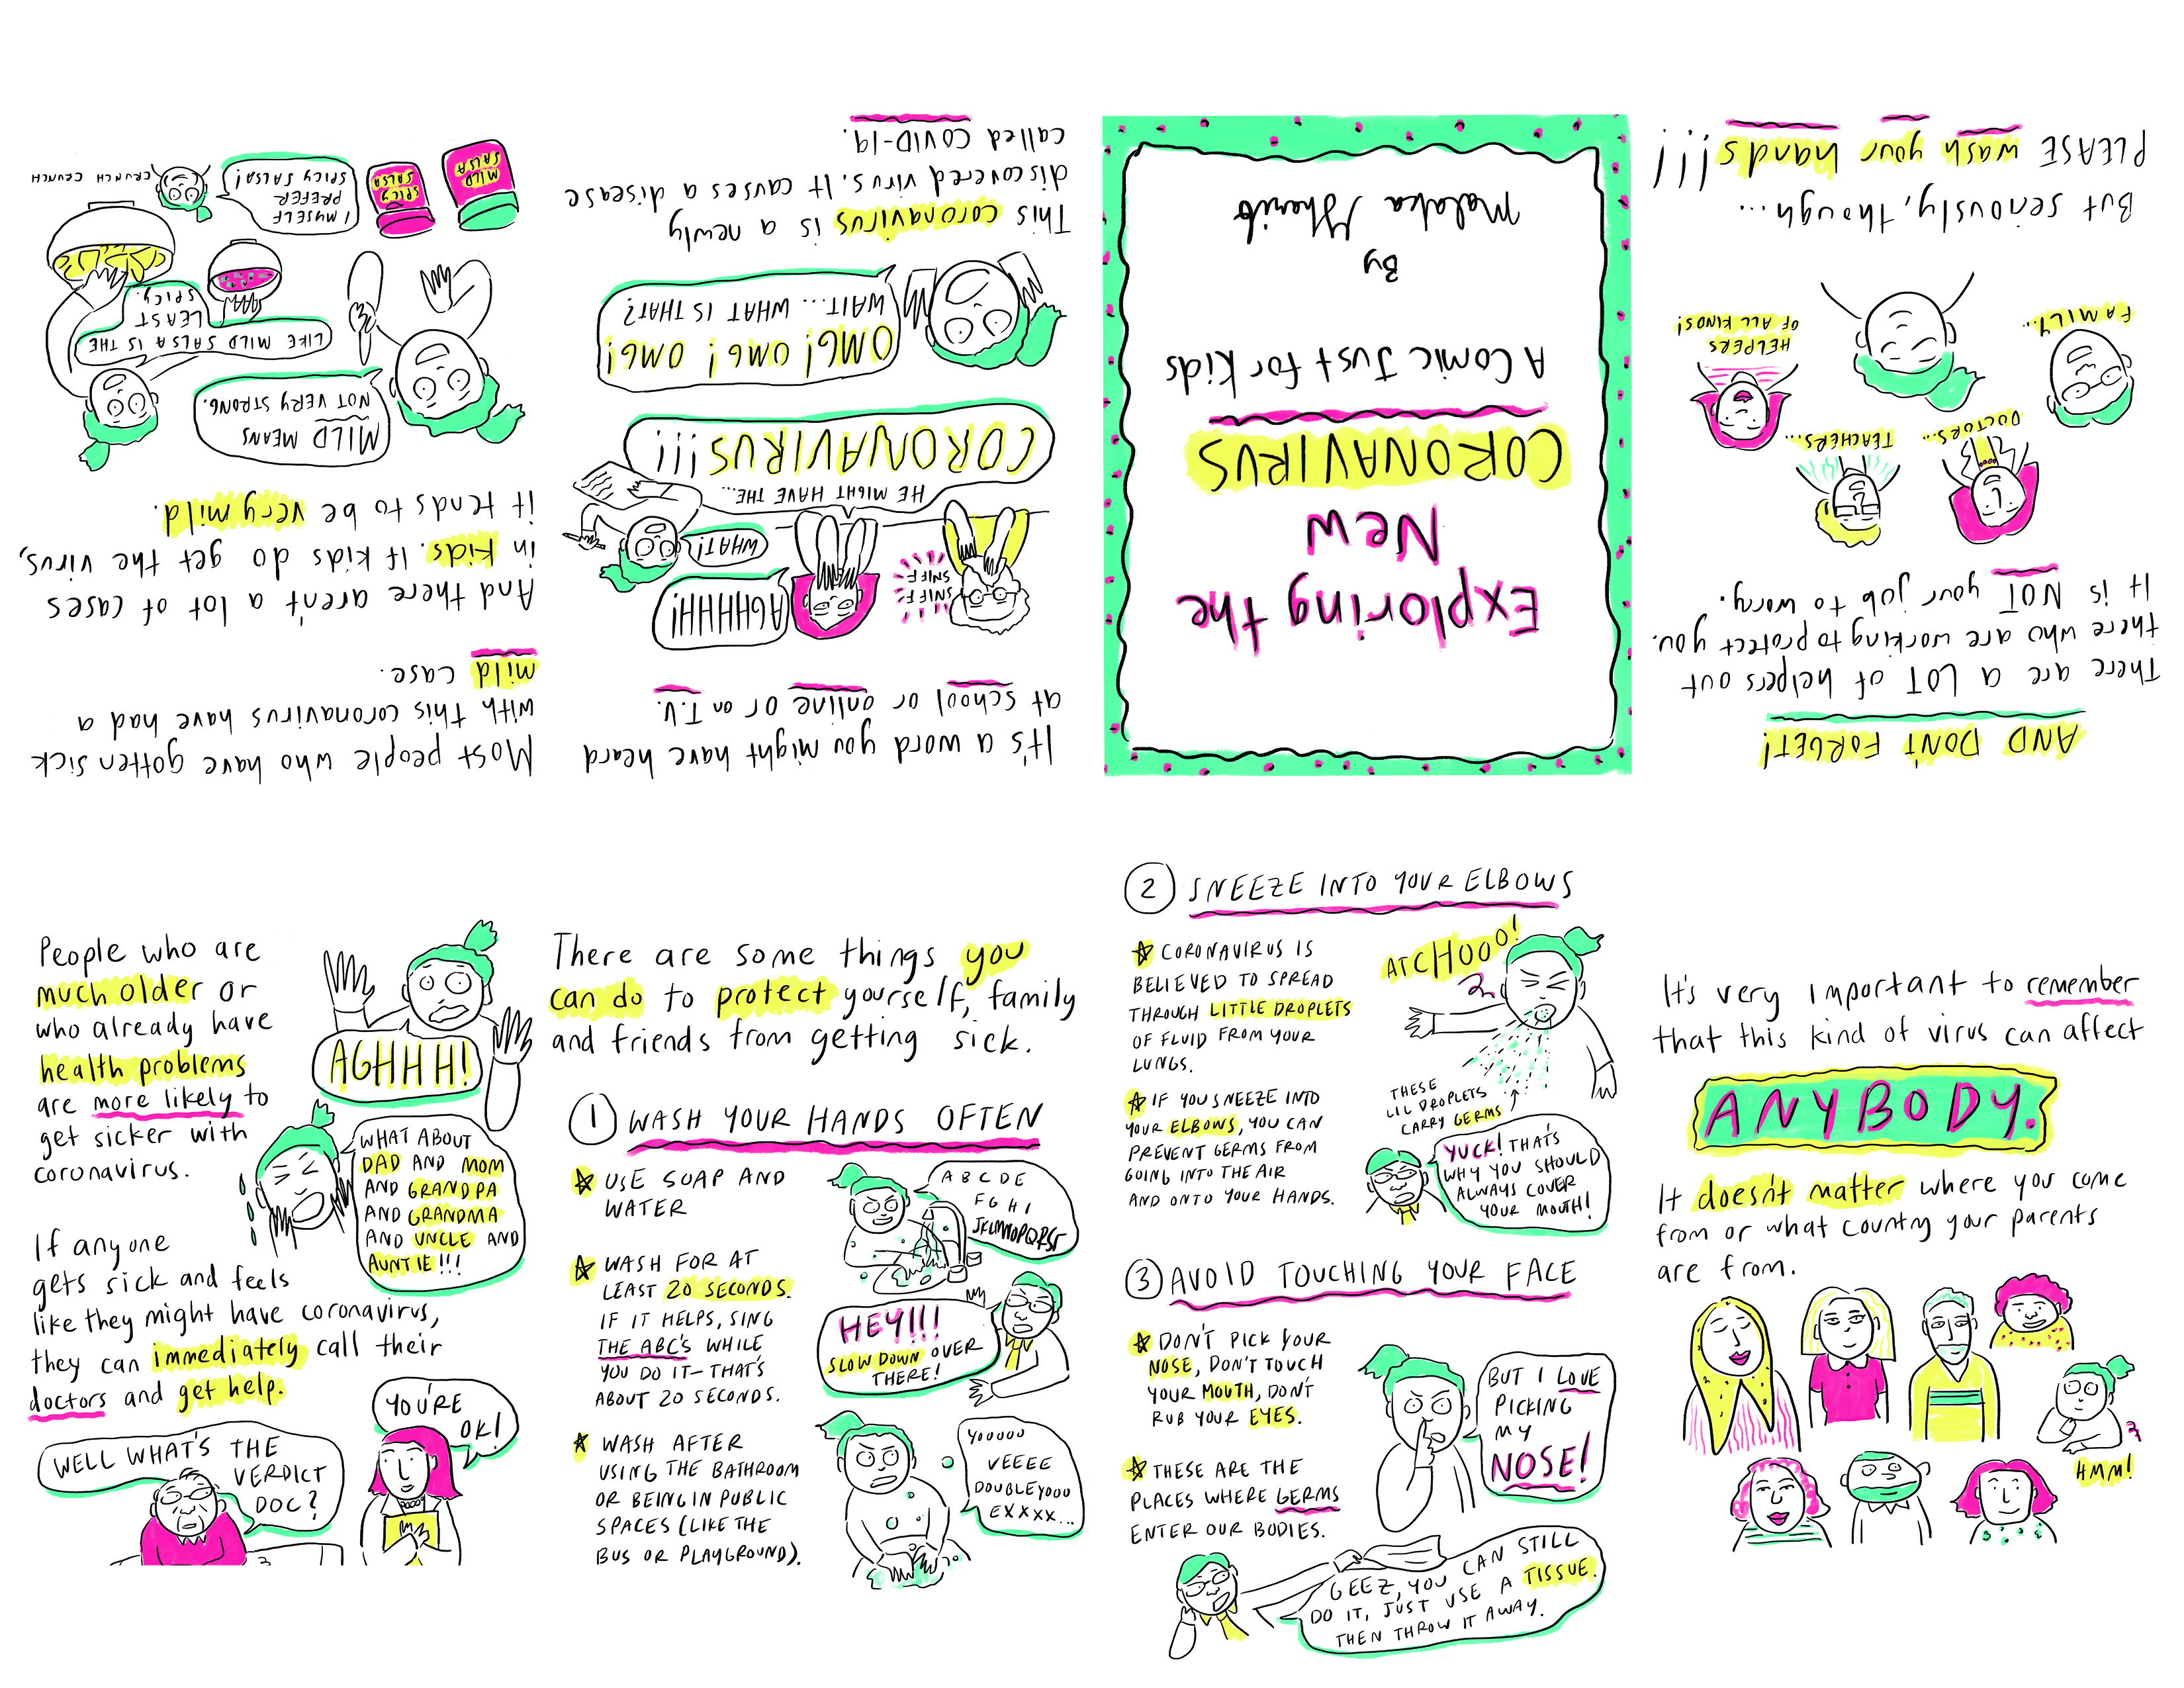
WEEK 1: Check in on canvas & complete your ZINE from before Spring Break
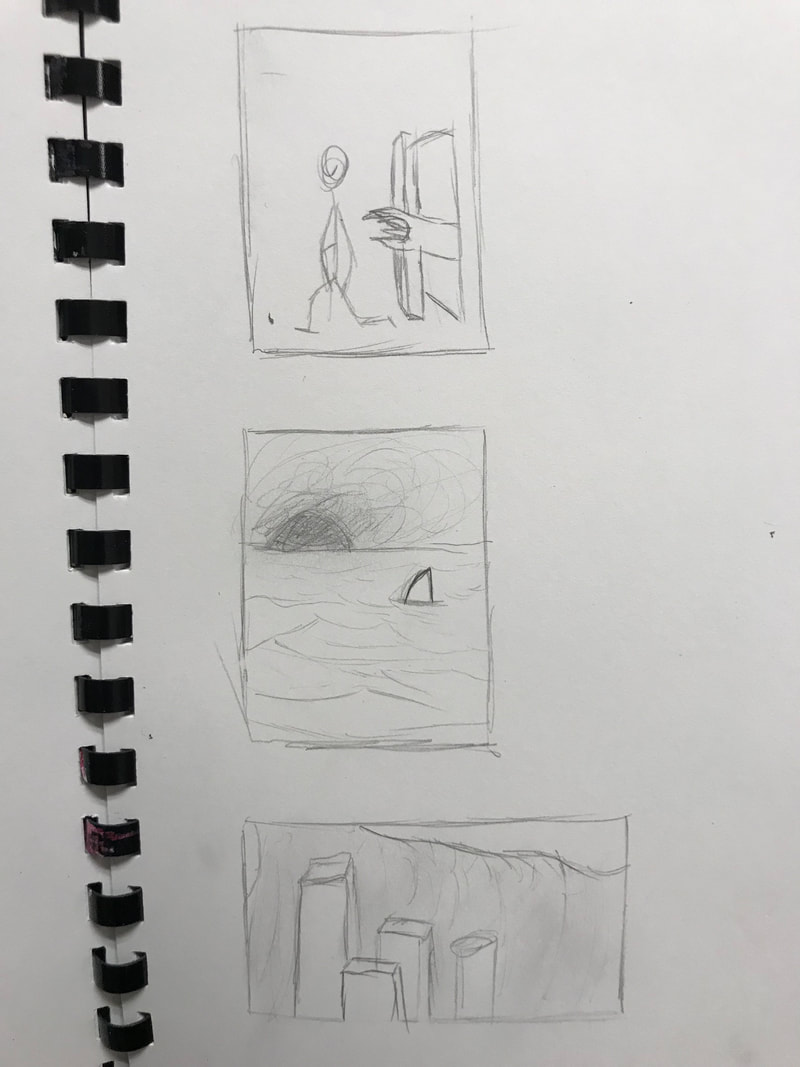
WEEK 2: Perspective Sketches
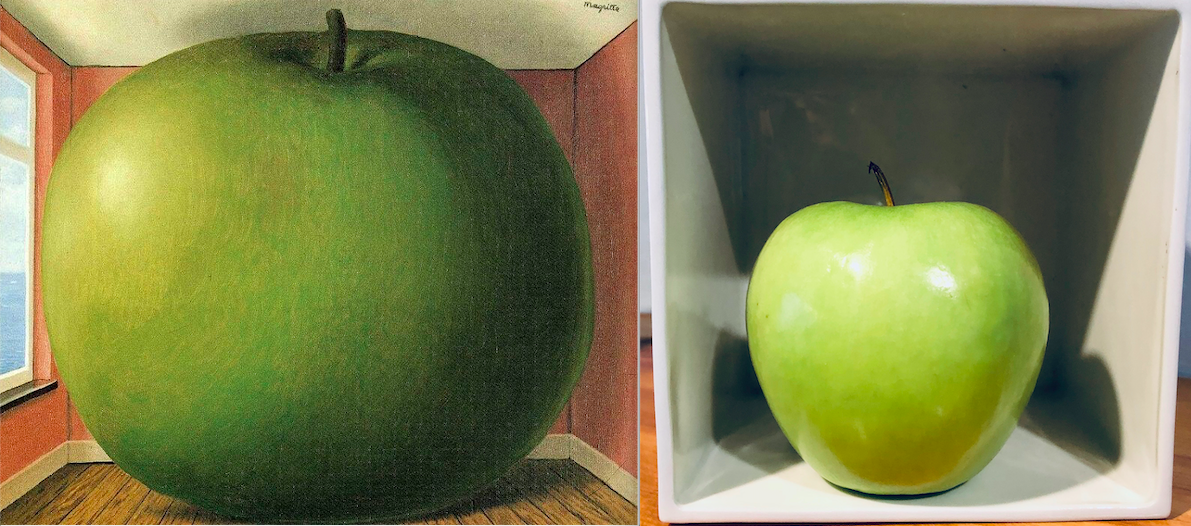
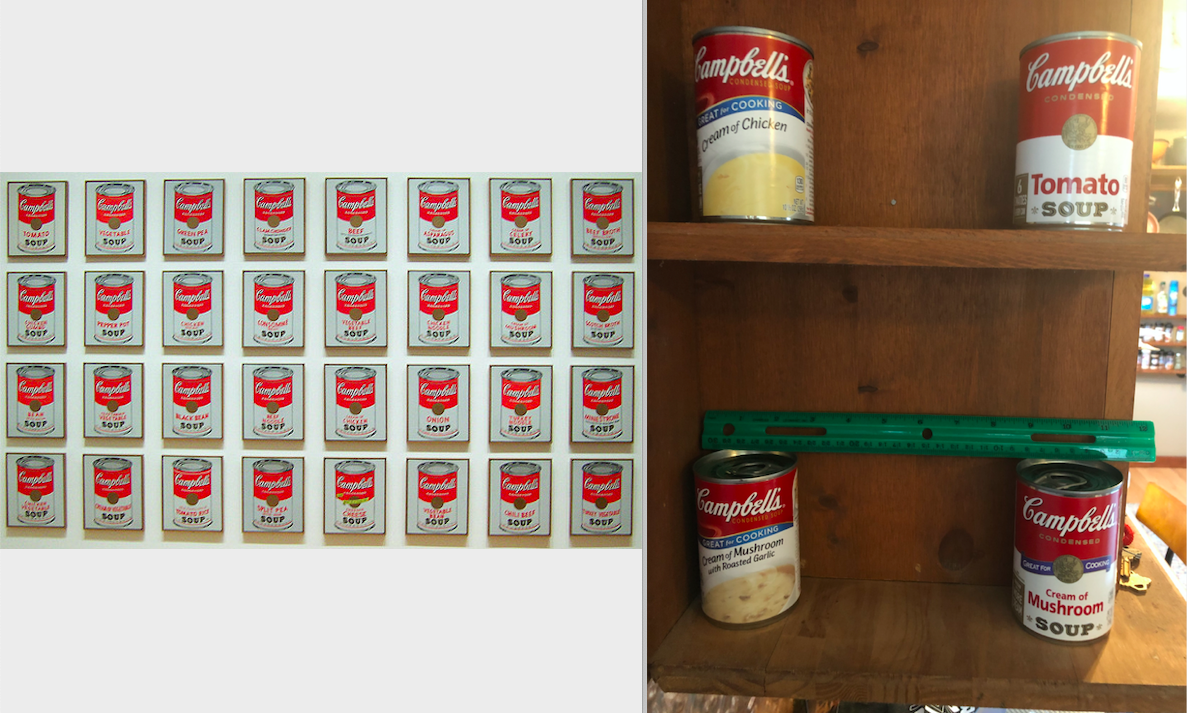
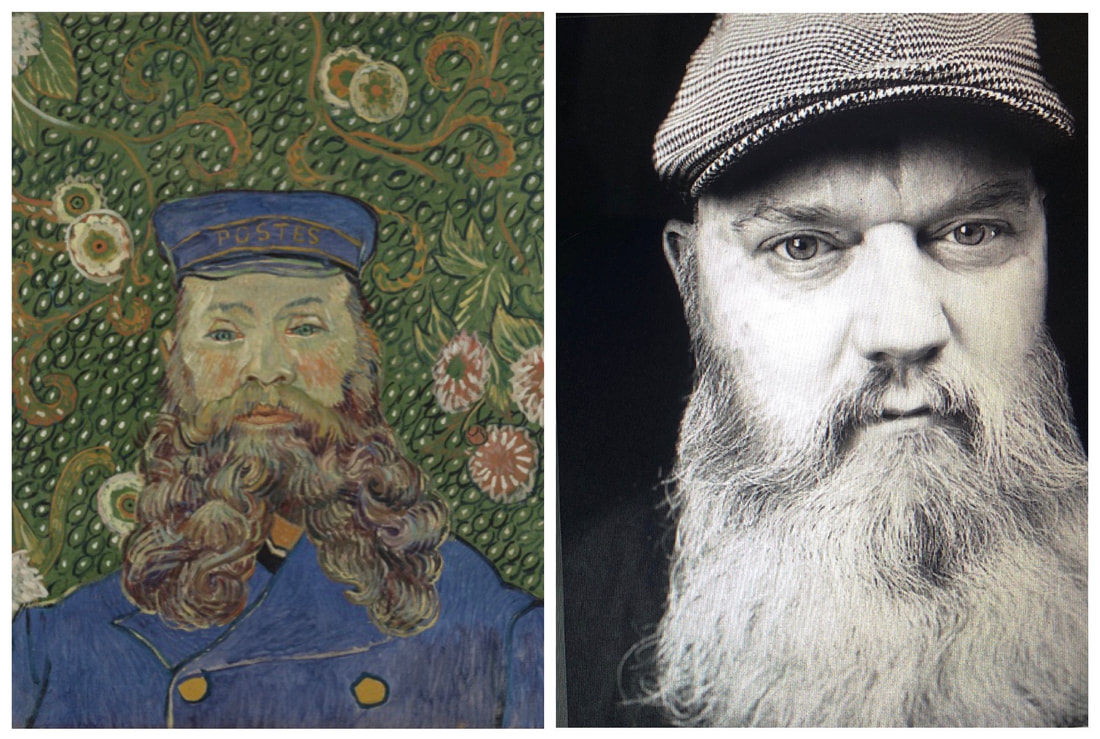
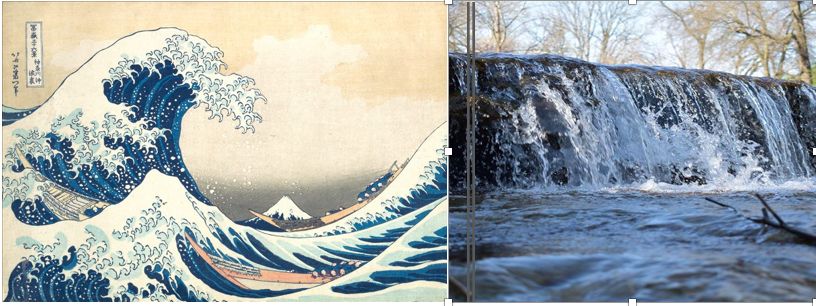
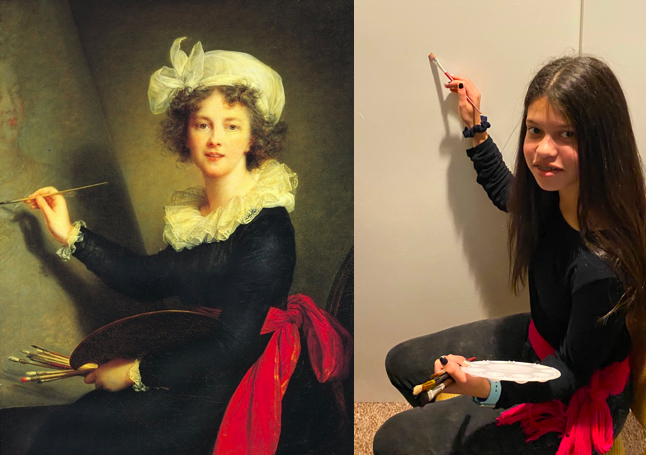
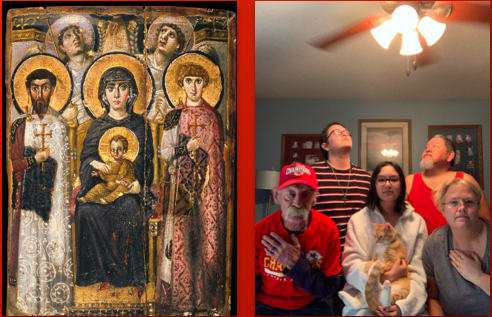
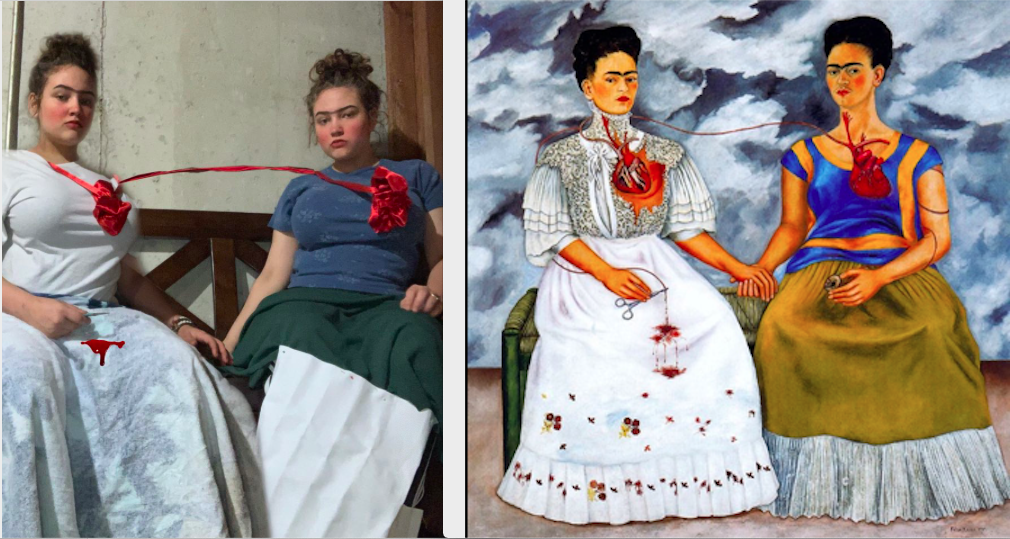
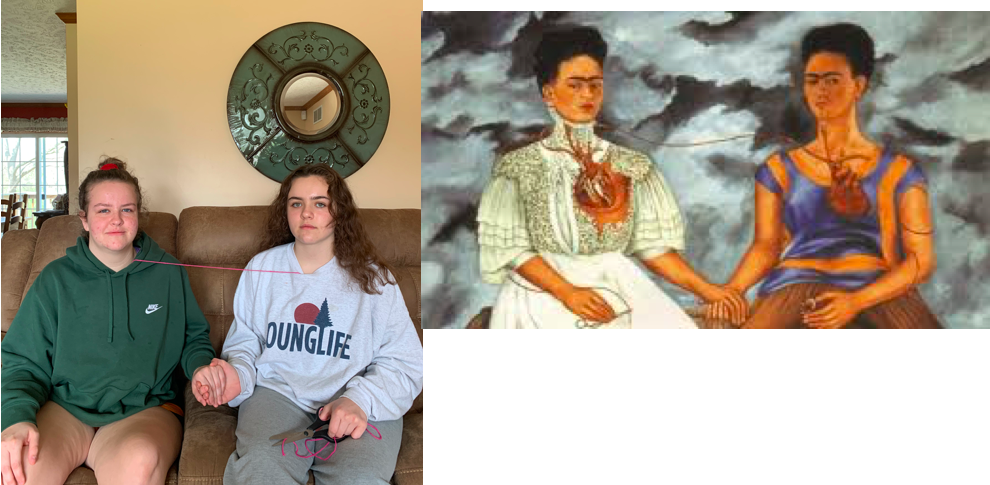
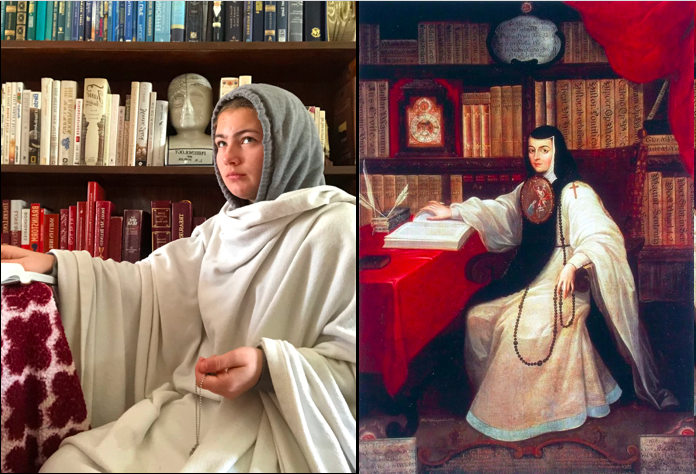
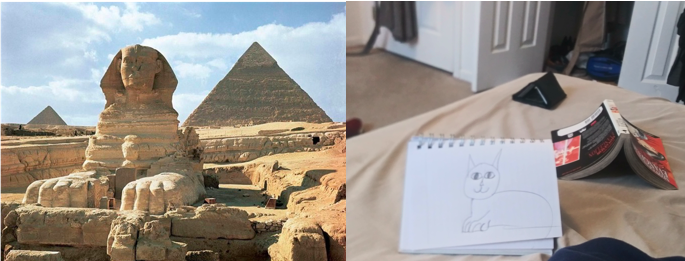
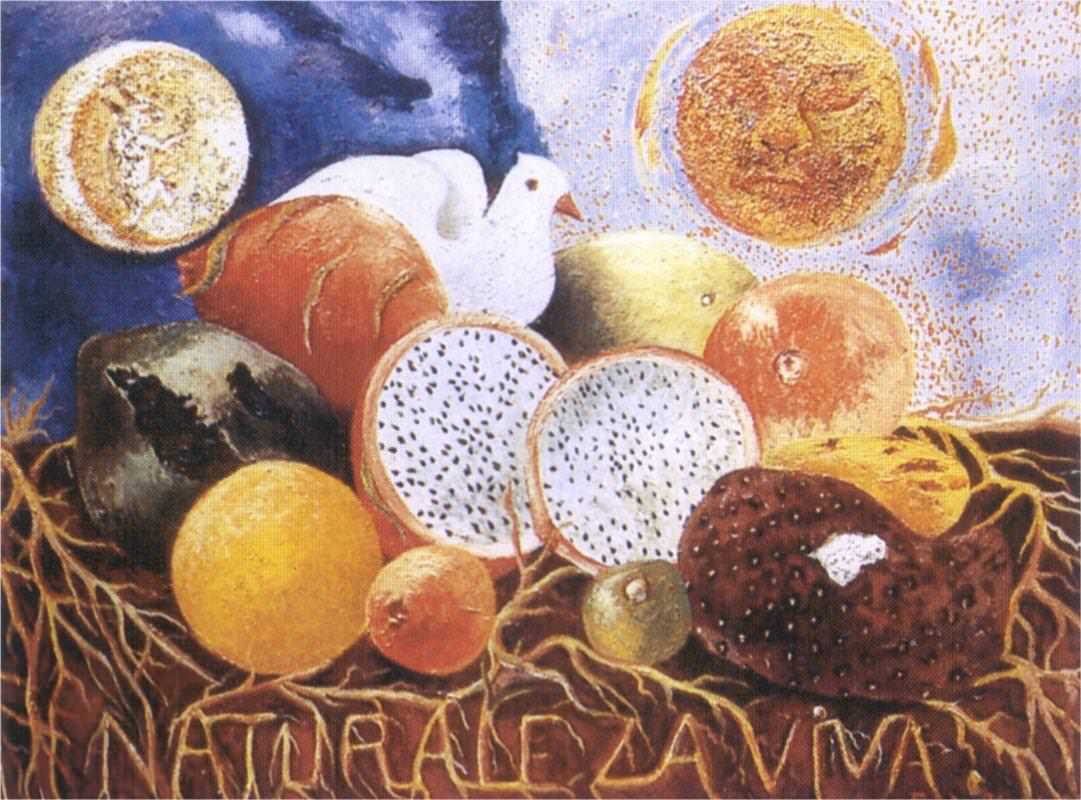
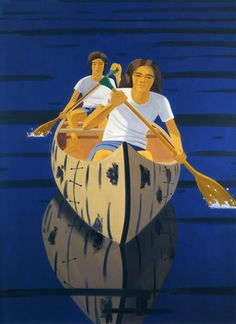
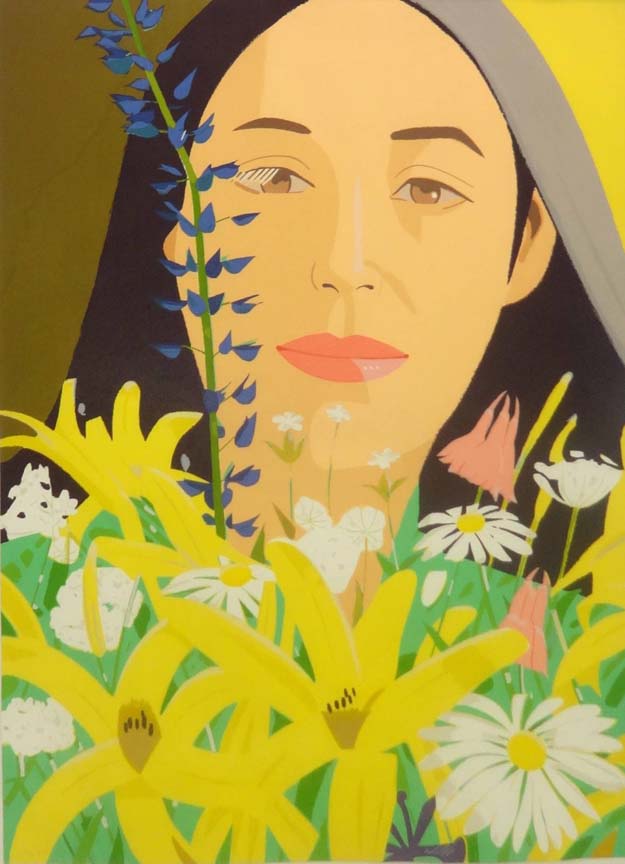
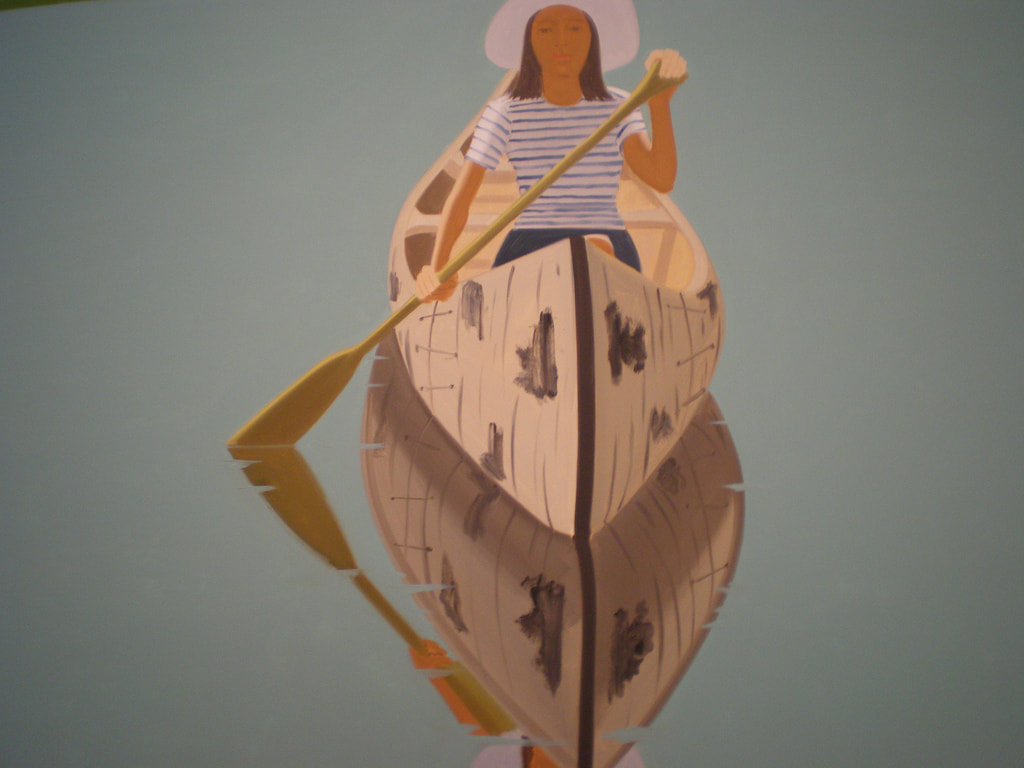
WEEK 3: YOU ARE A MASTERPIECE- recreate a work of art with you in the photo
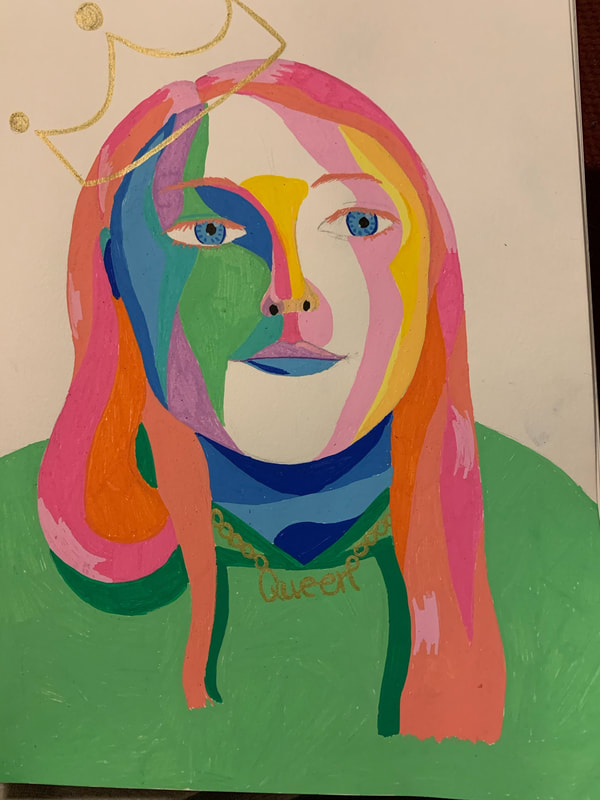
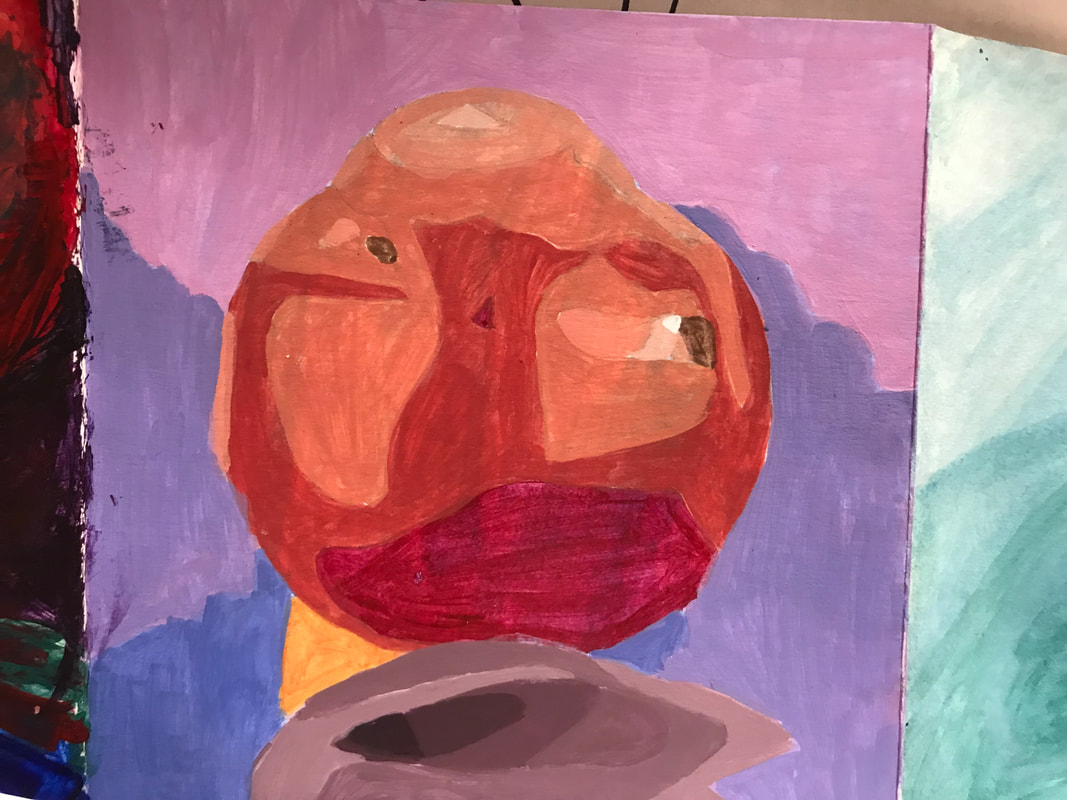
WEEK 4: Here's Looking at You/Self Portrait
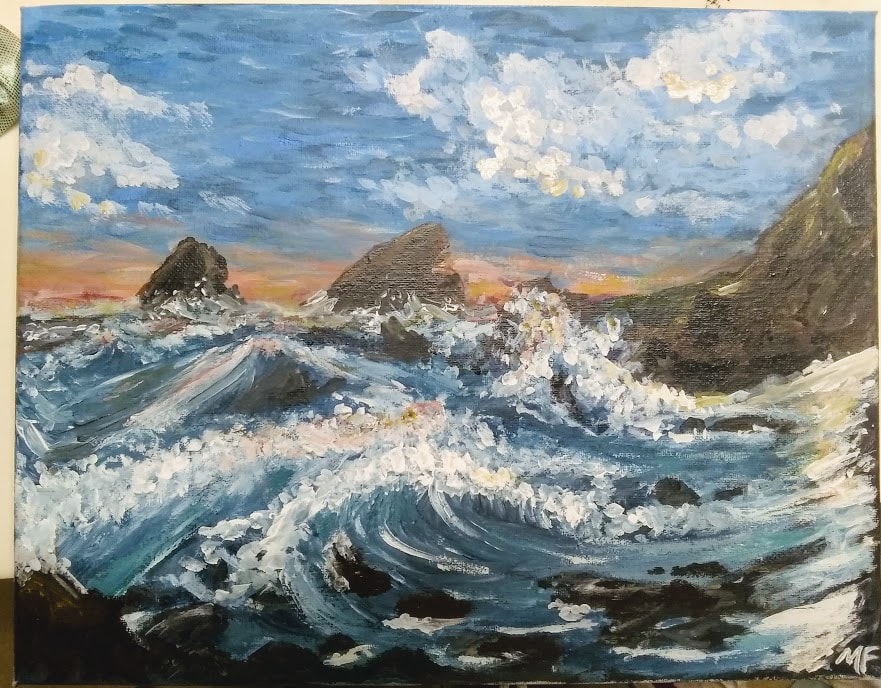
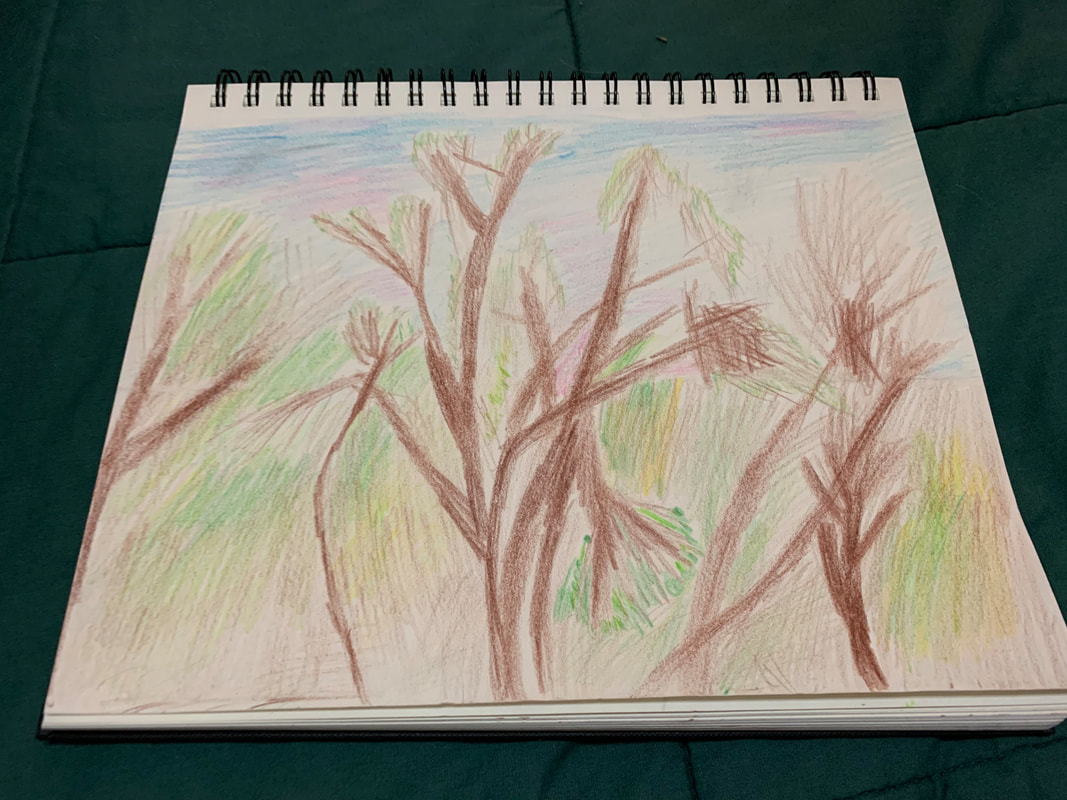
WEEK 5: Impersonate an Impressionist
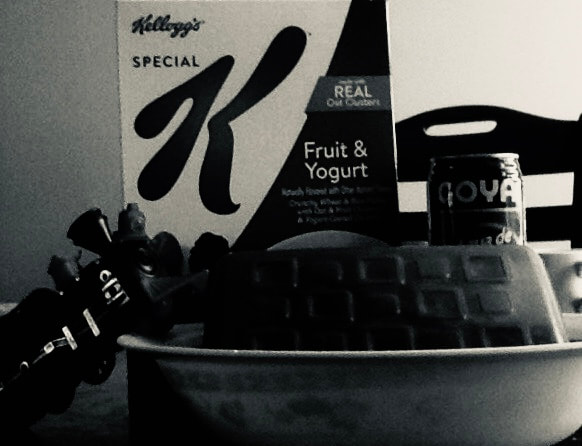
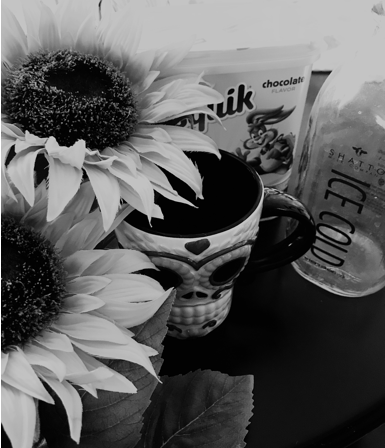
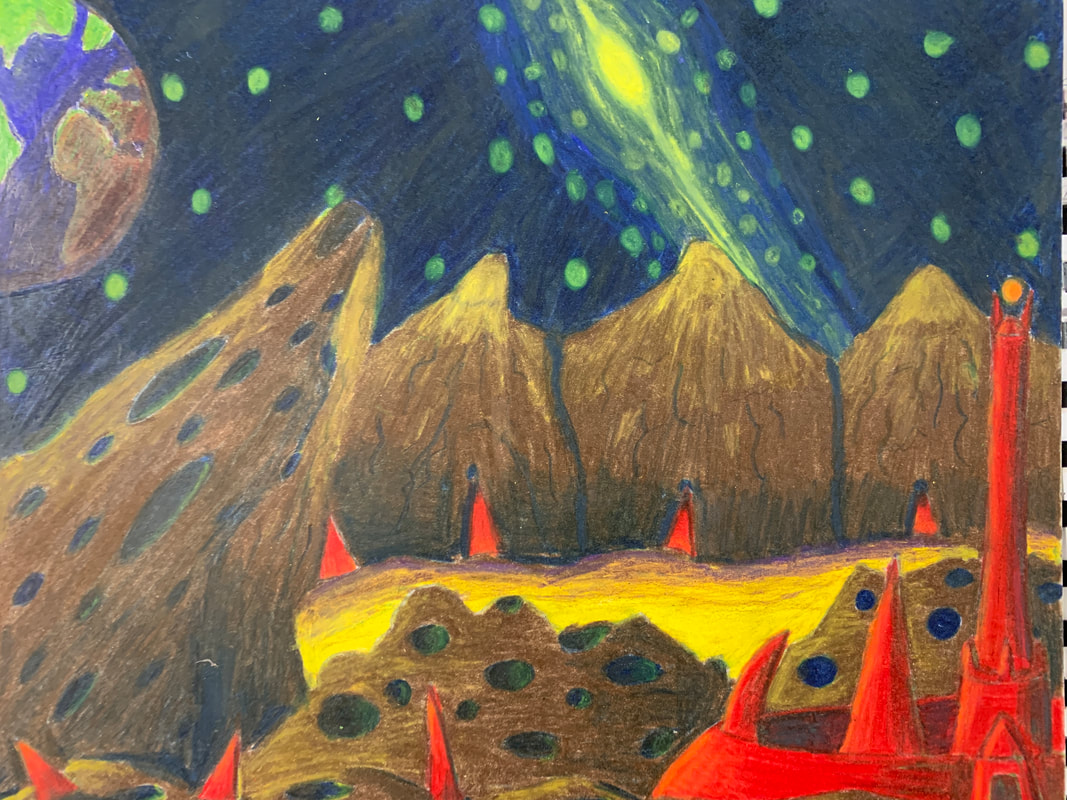
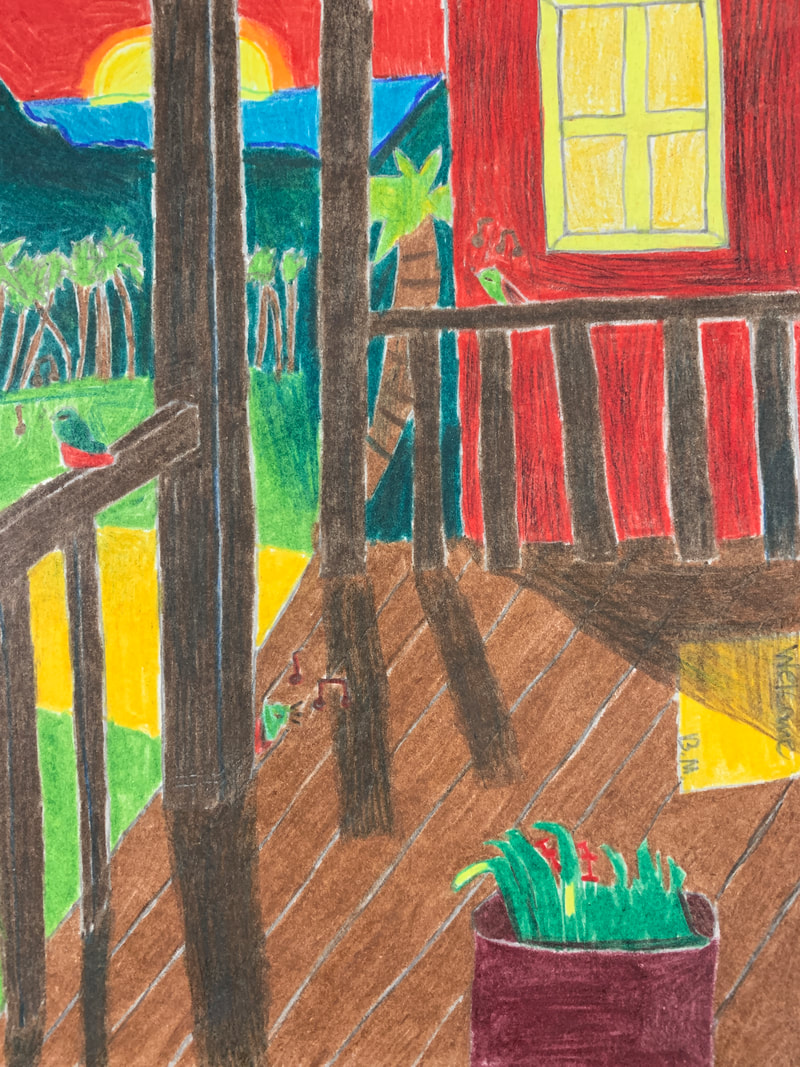
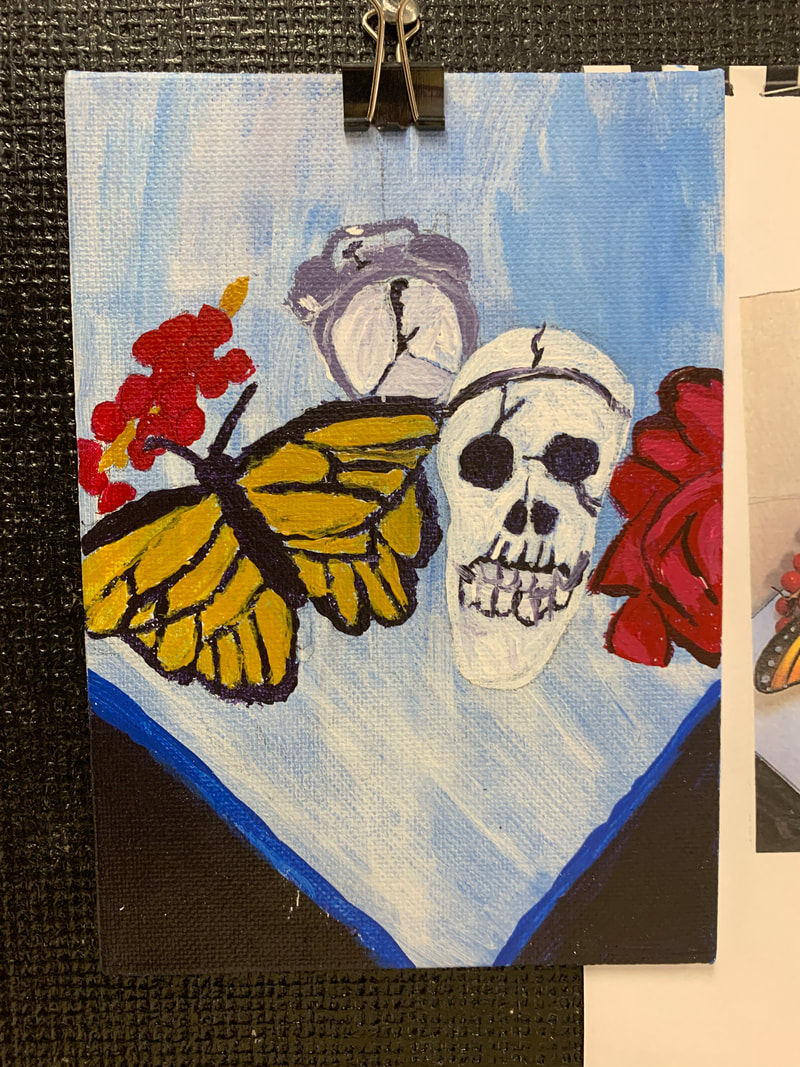
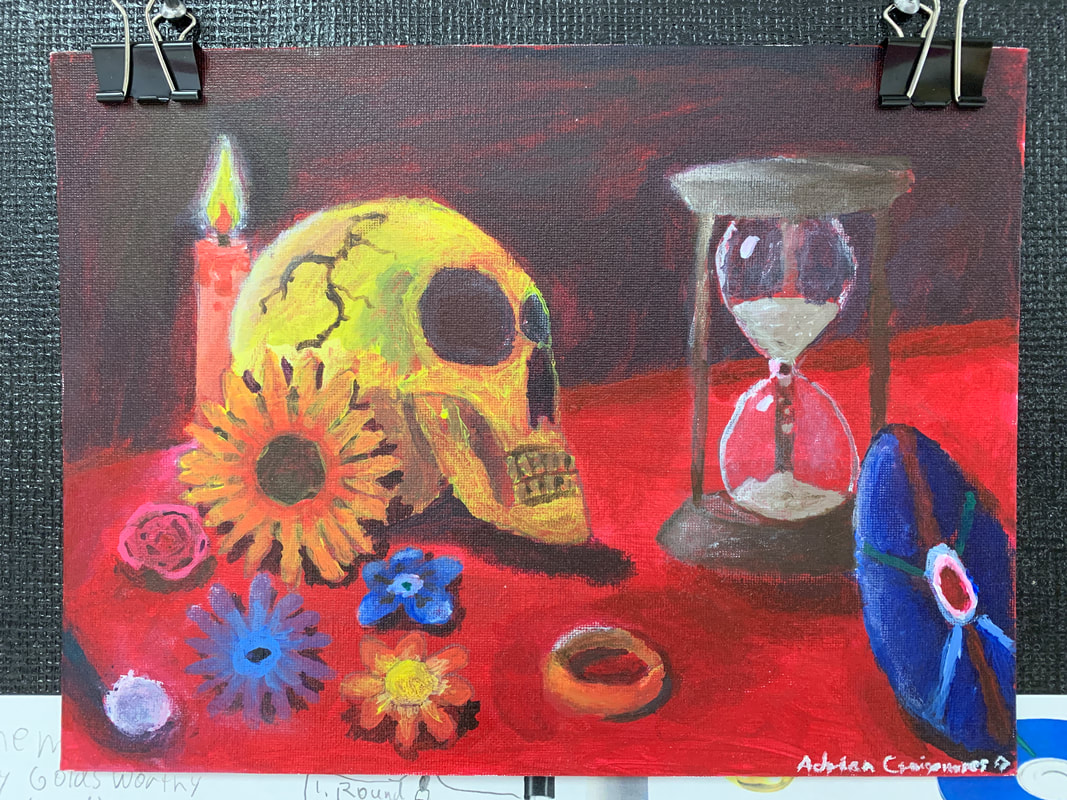
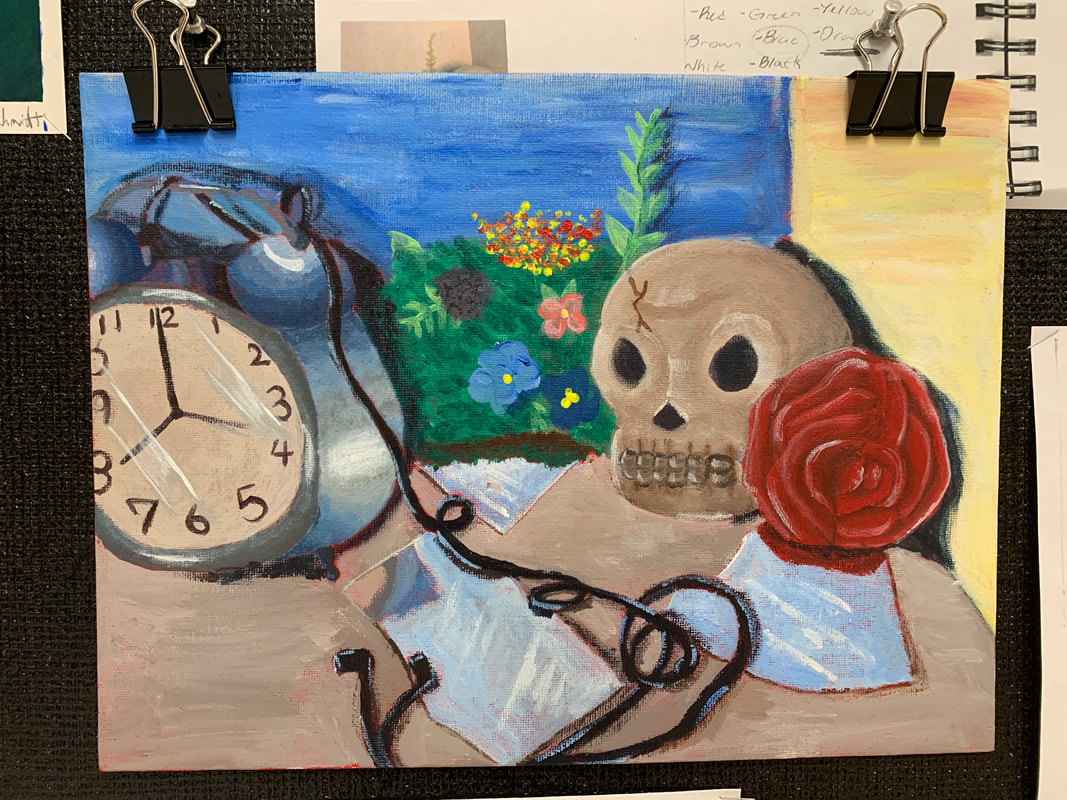
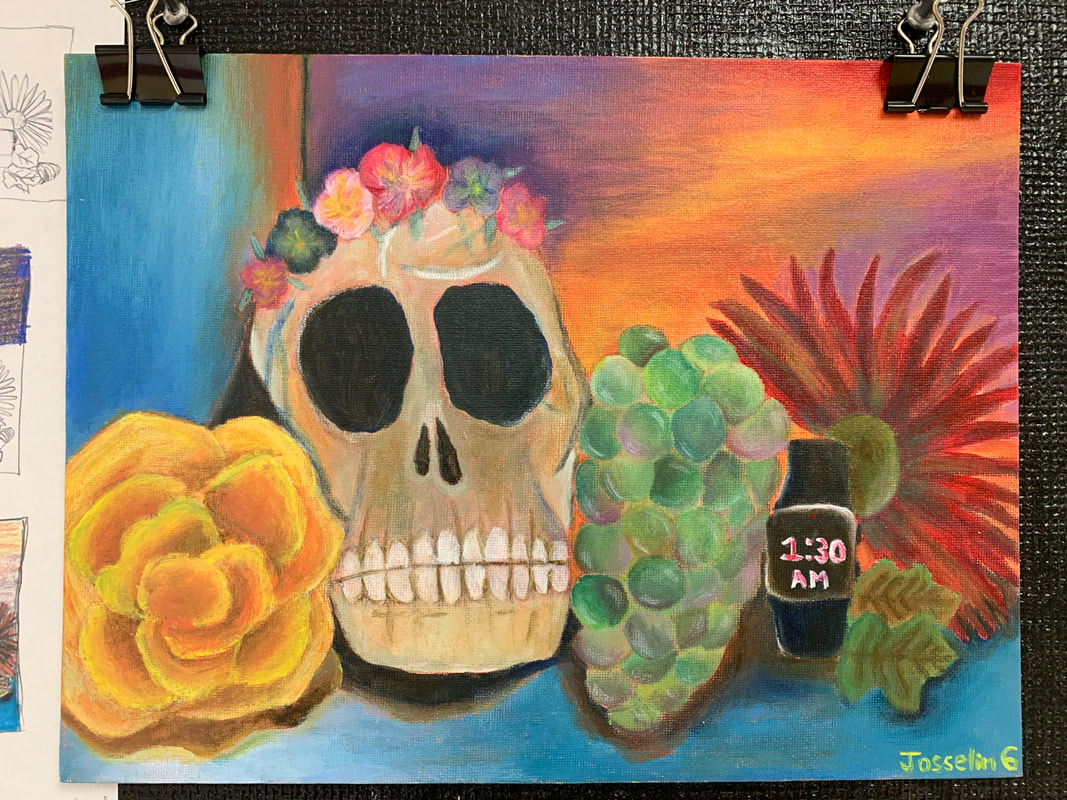
WEEK 6: Still Life at Home
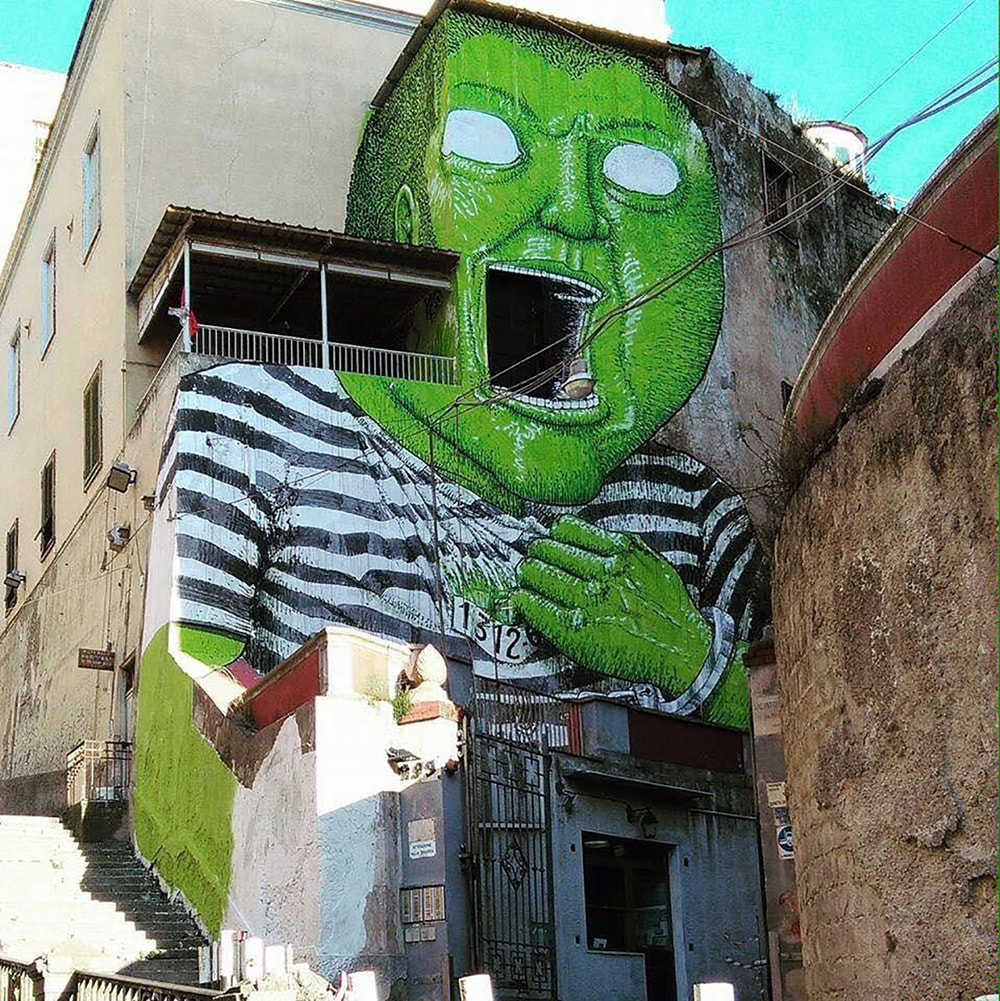
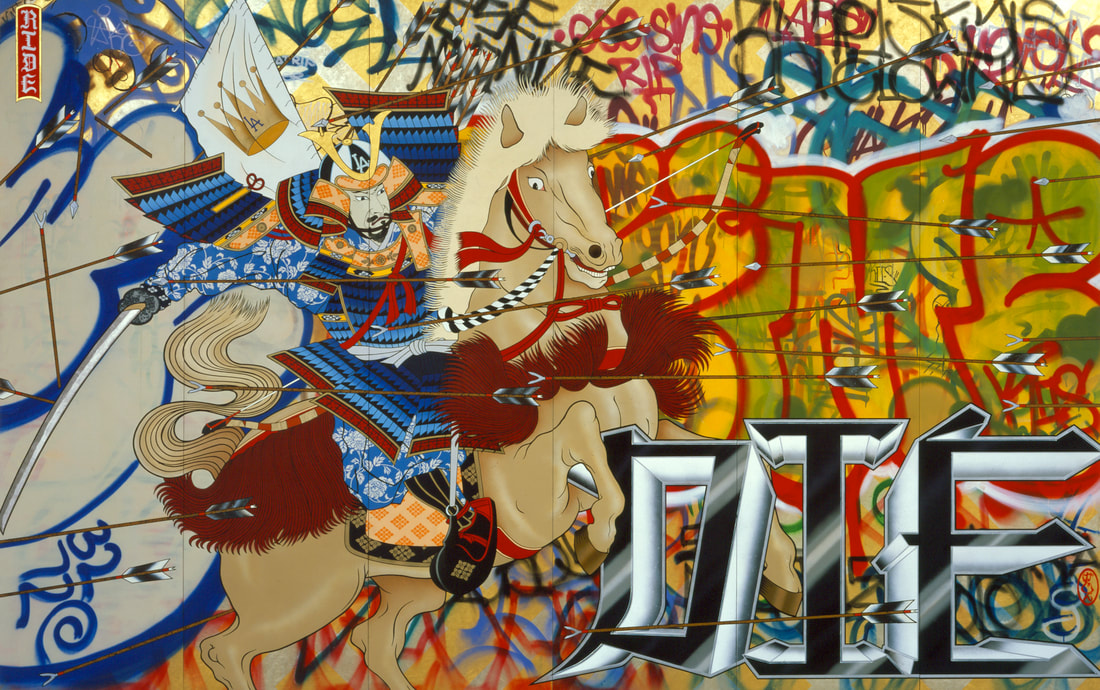
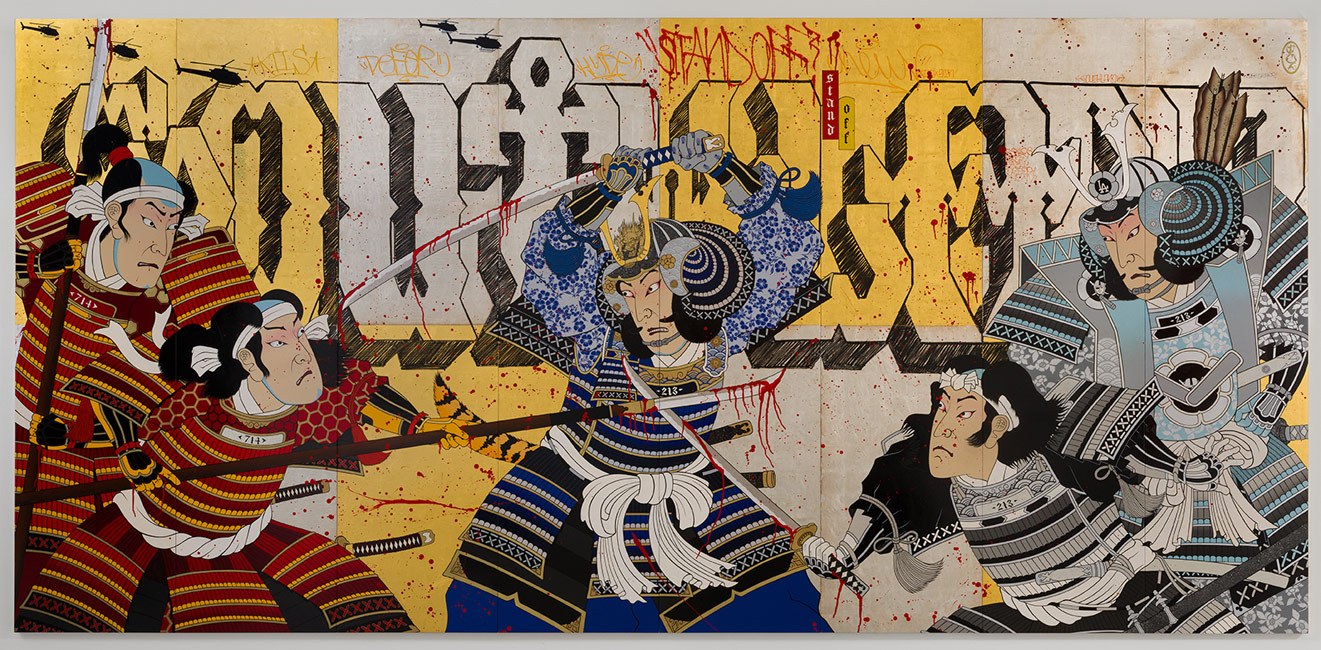
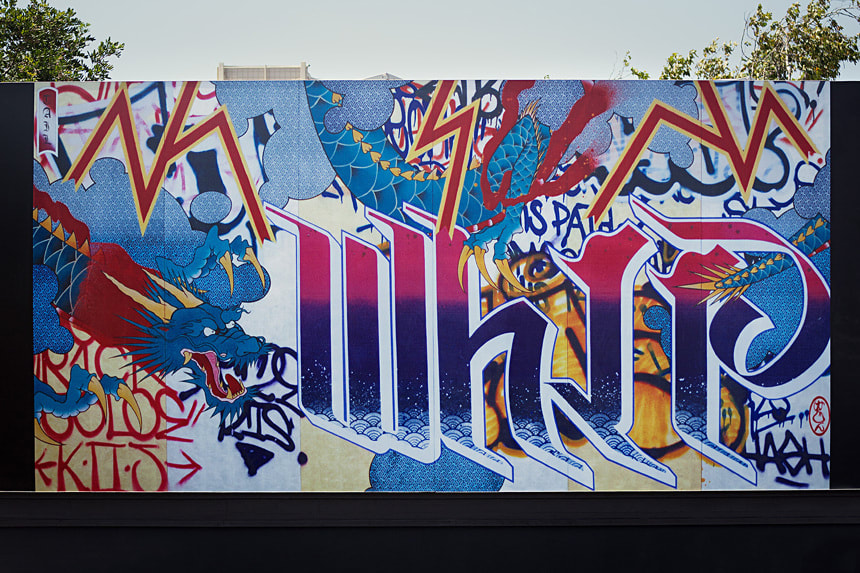
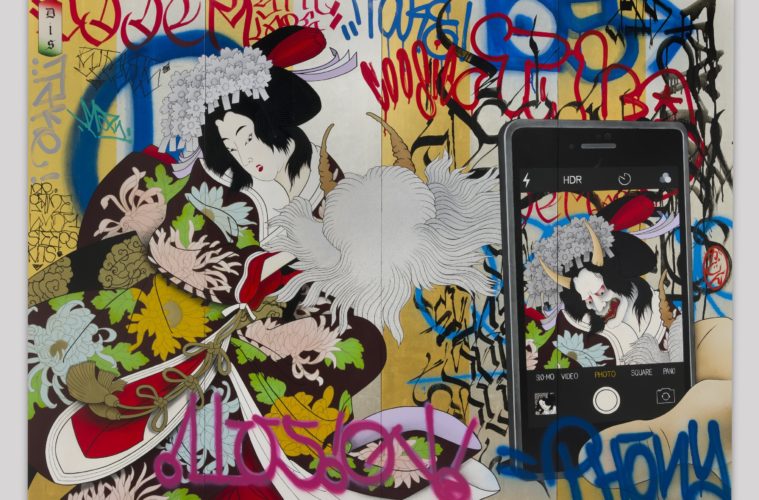
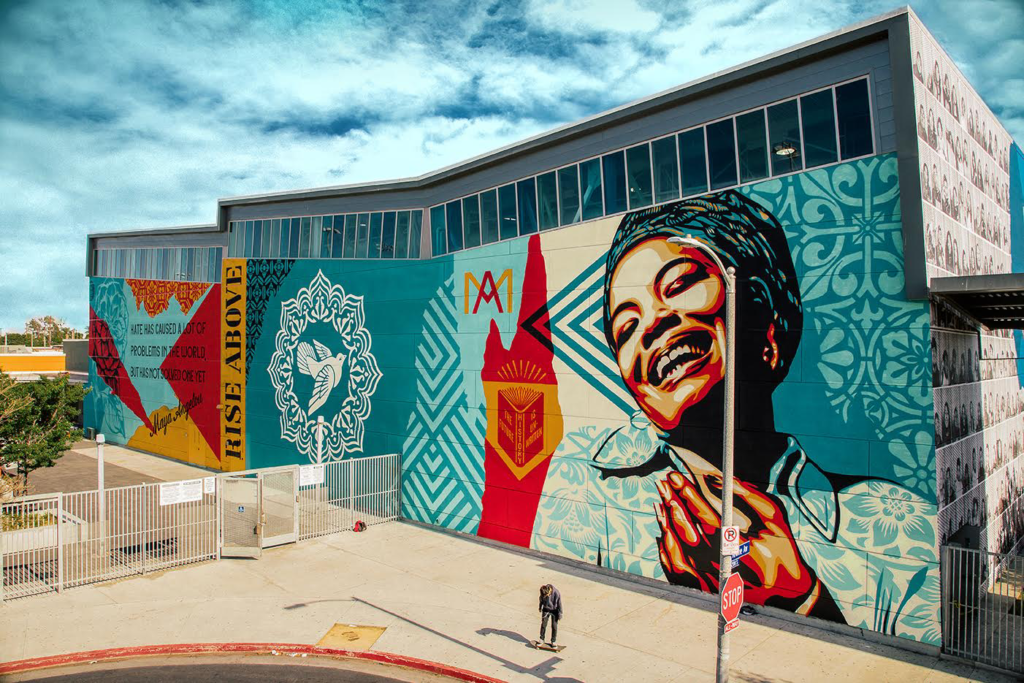
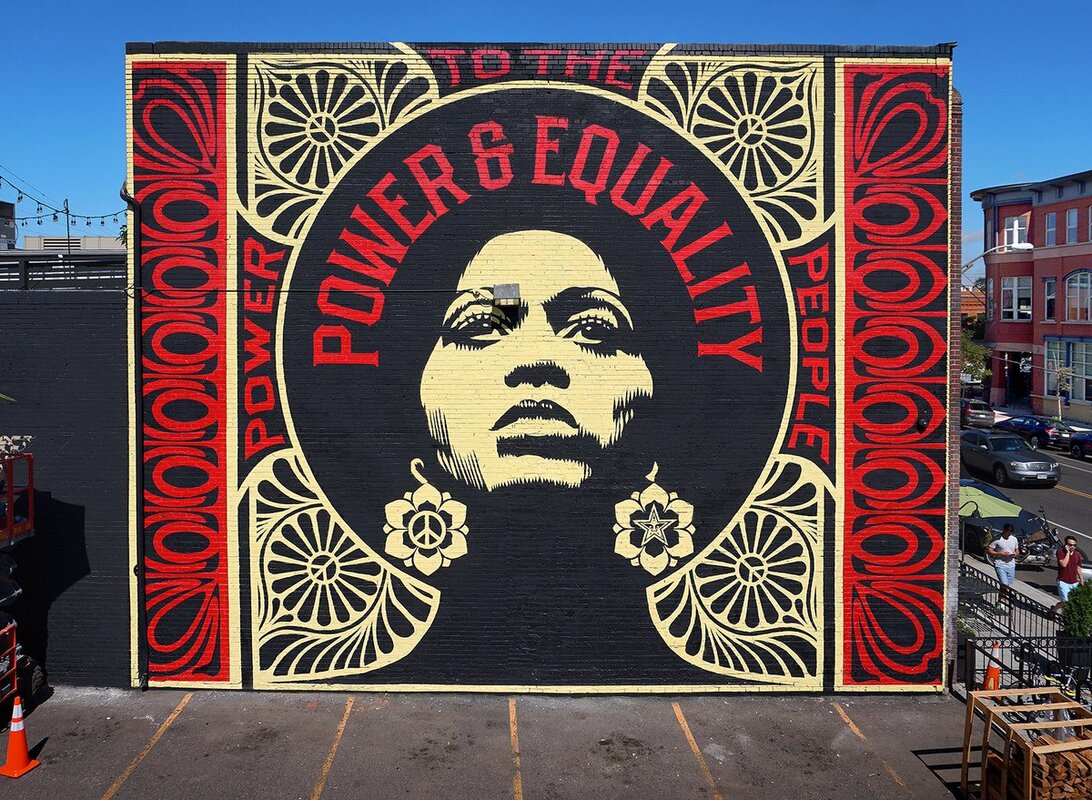
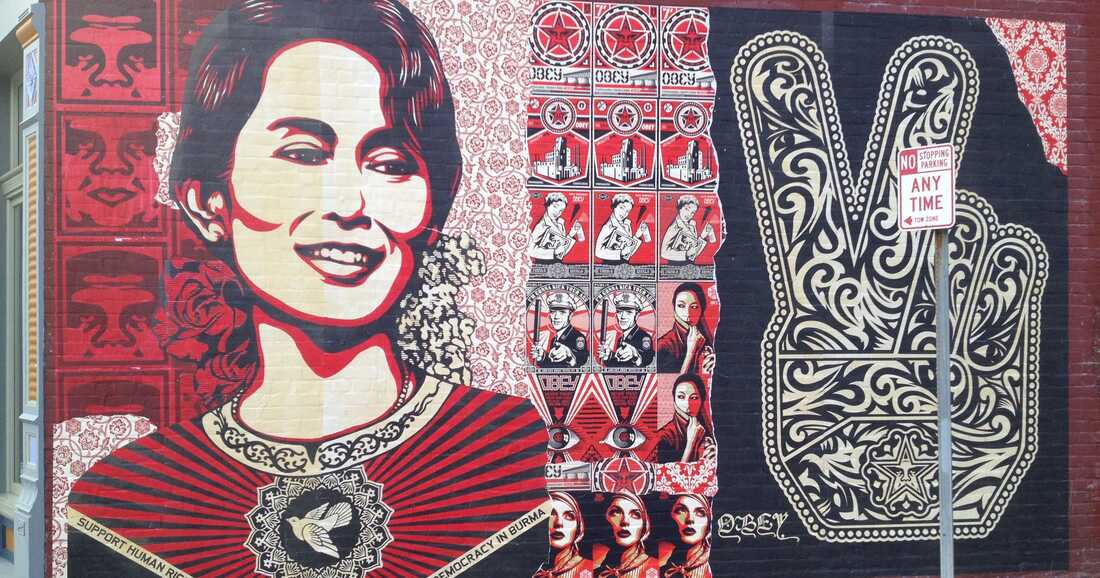
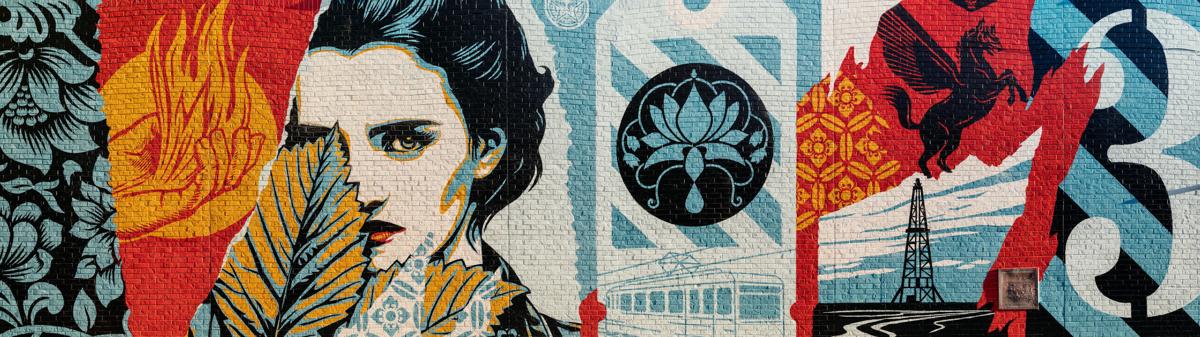
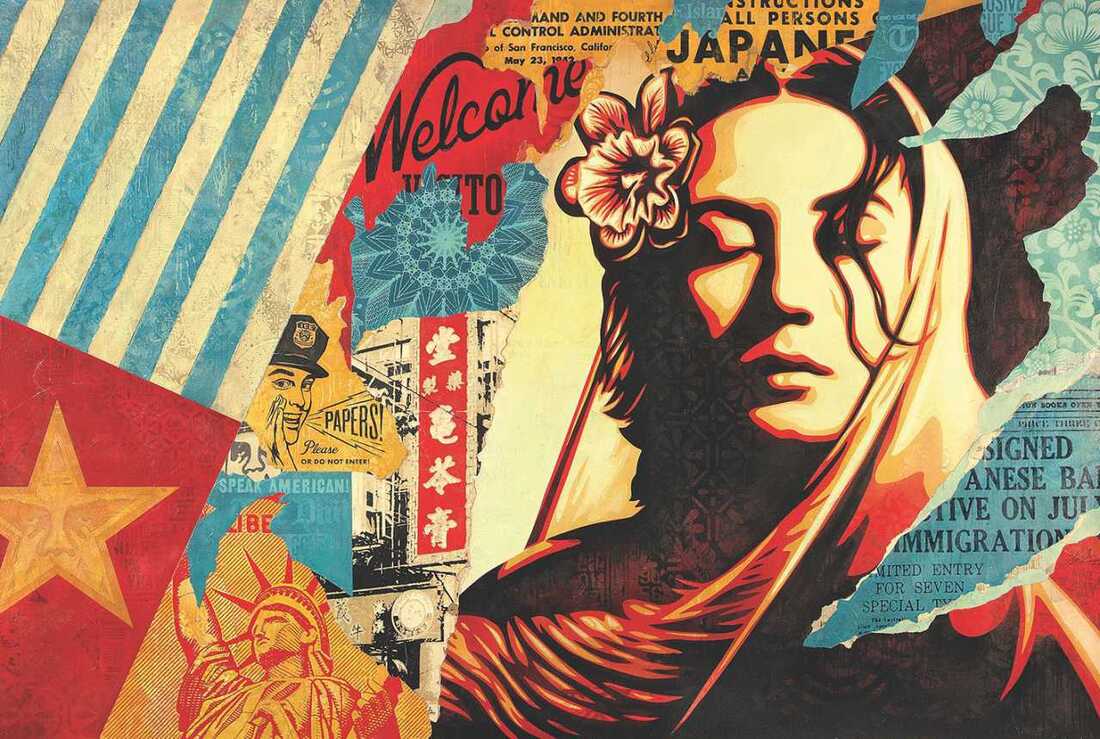
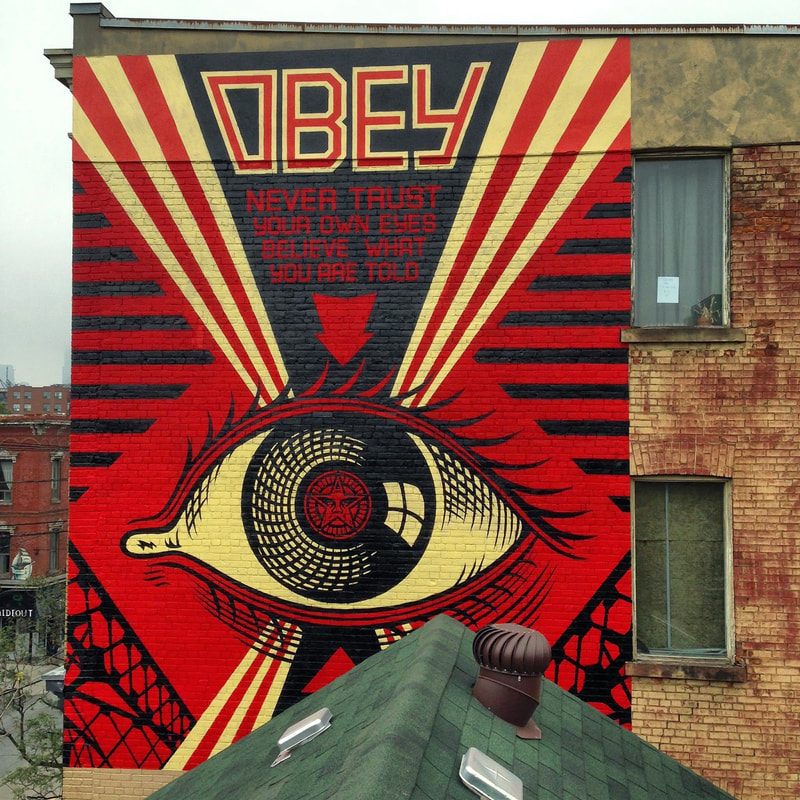
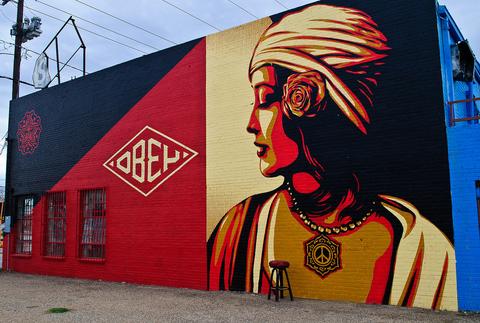
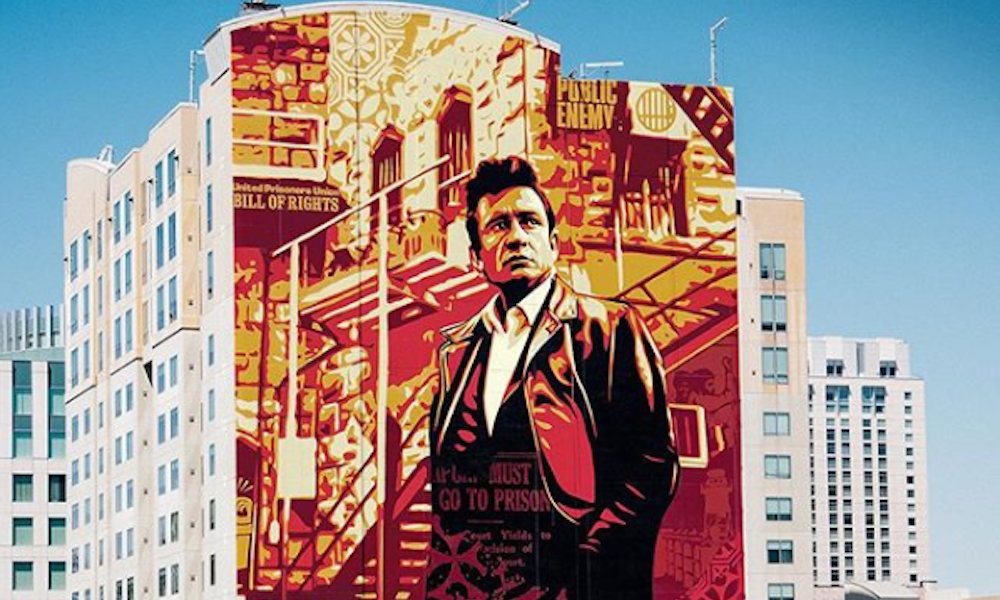
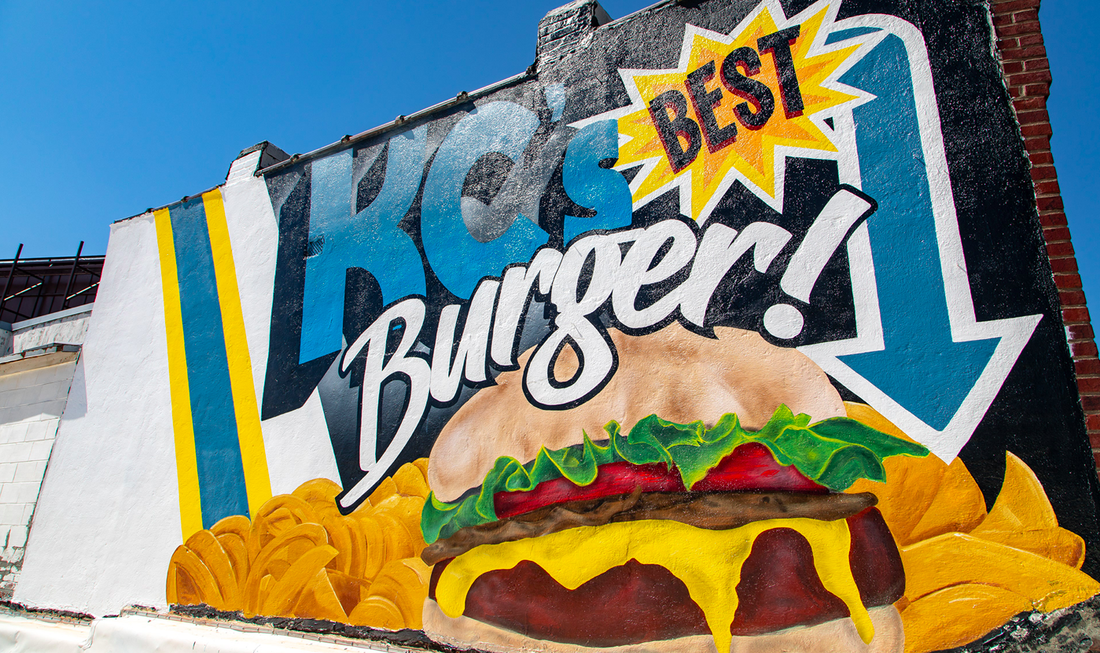
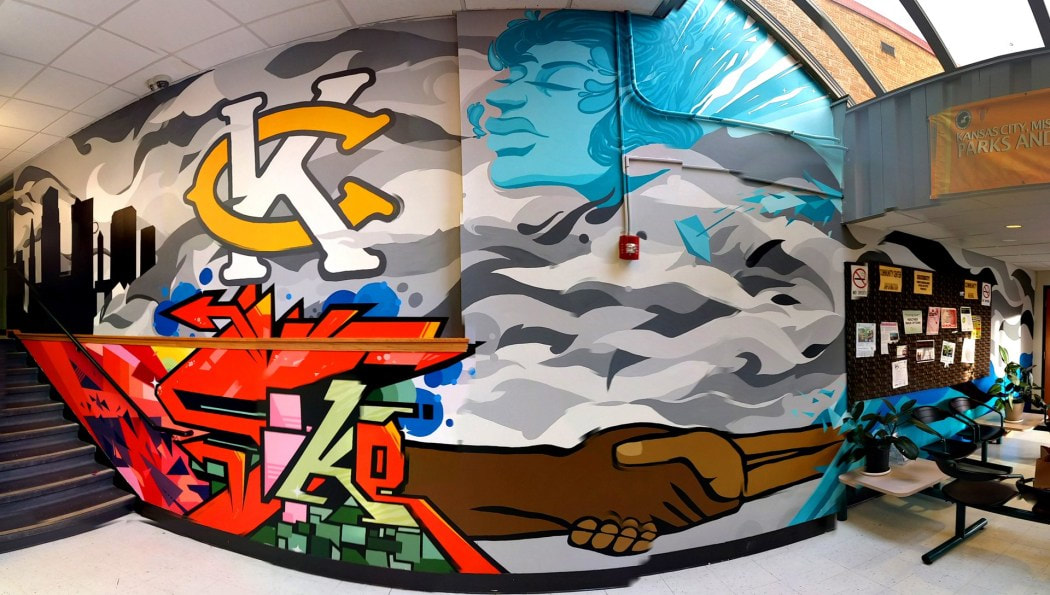
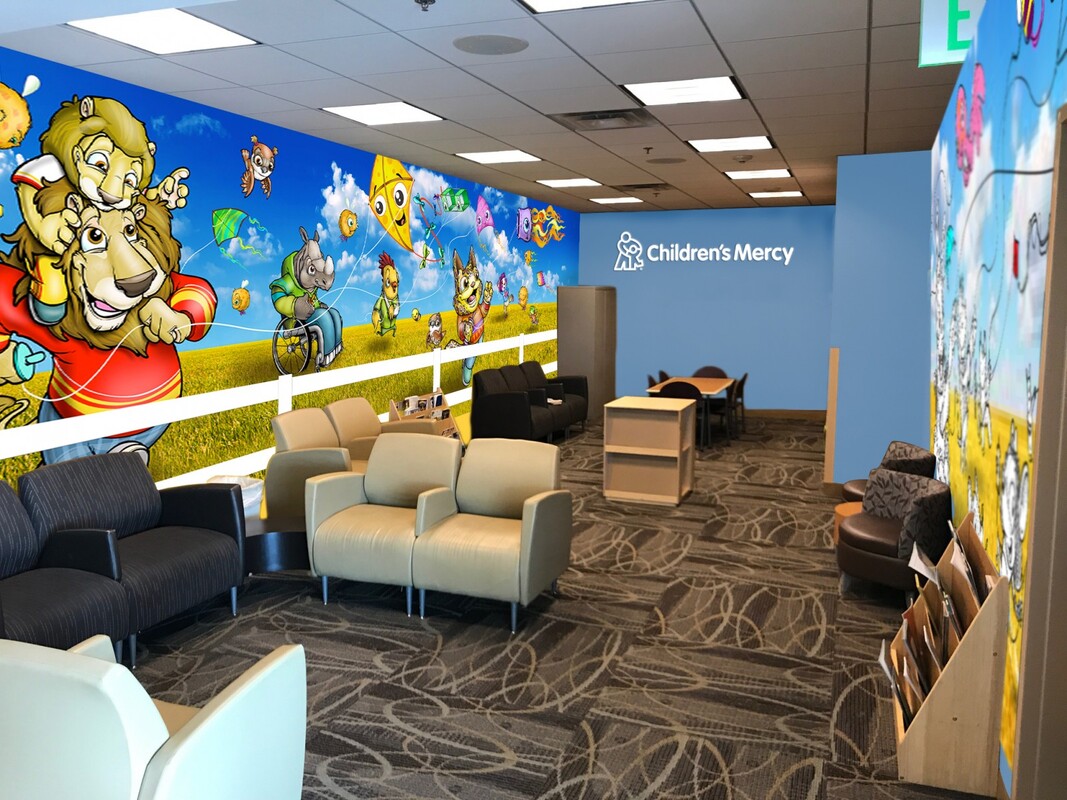
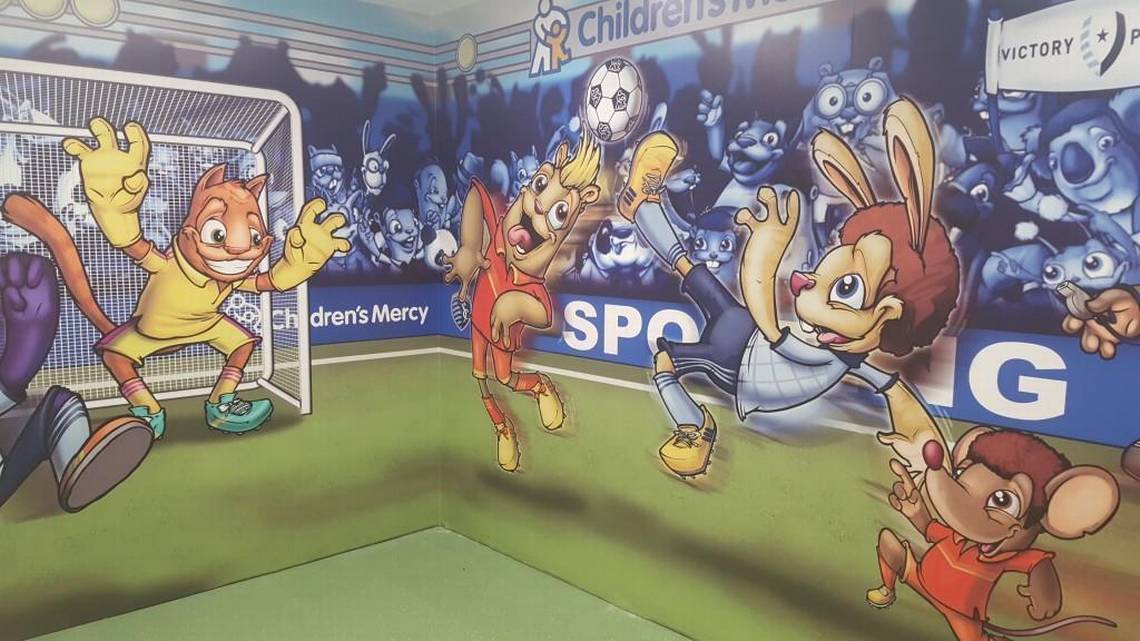
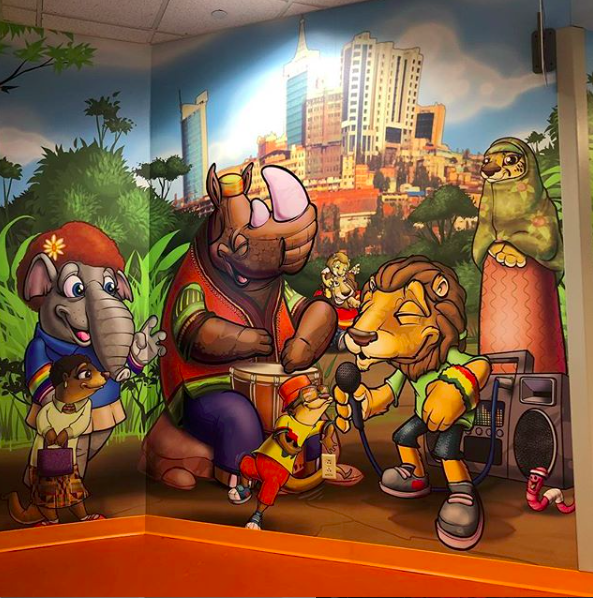
WEEK 7: Murals/Public Art Then & Now
WEEK 1: Check in on canvas & complete your ZINE from before Spring Break
WEEK 2: Perspective Sketches
WEEK 3: YOU ARE A MASTERPIECE- recreate a work of art with you in the photo
WEEK 4: Here's Looking at You/Self Portrait
WEEK 5: Impersonate an Impressionist
WEEK 6: Still Life at Home
WEEK 7: Murals/Public Art Then & Now
WEEK 7: Murals/Public Art Then & Now
Listen to me rant about Street art going on now and early examples of murals in art history. Turn in your artwork on Friday please!
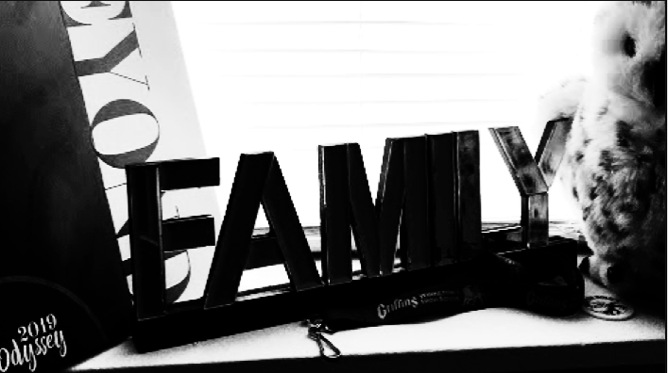
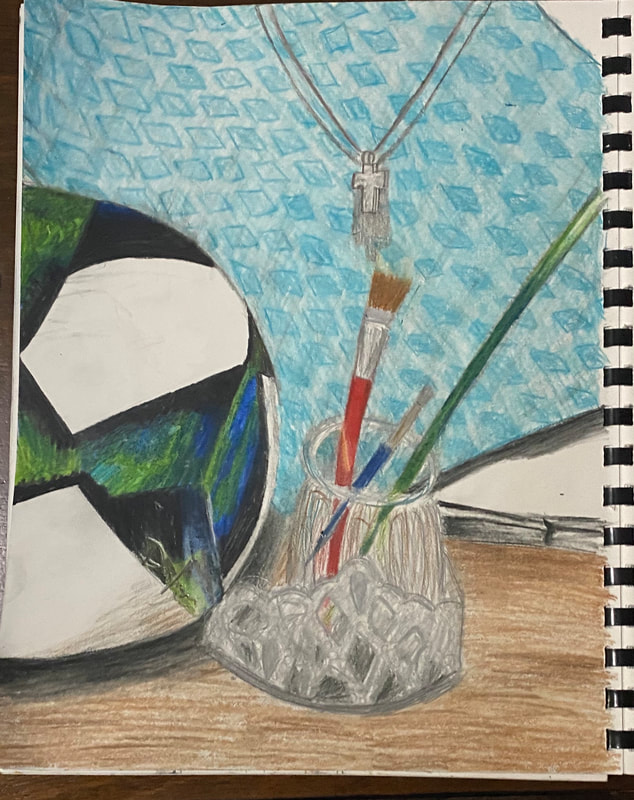
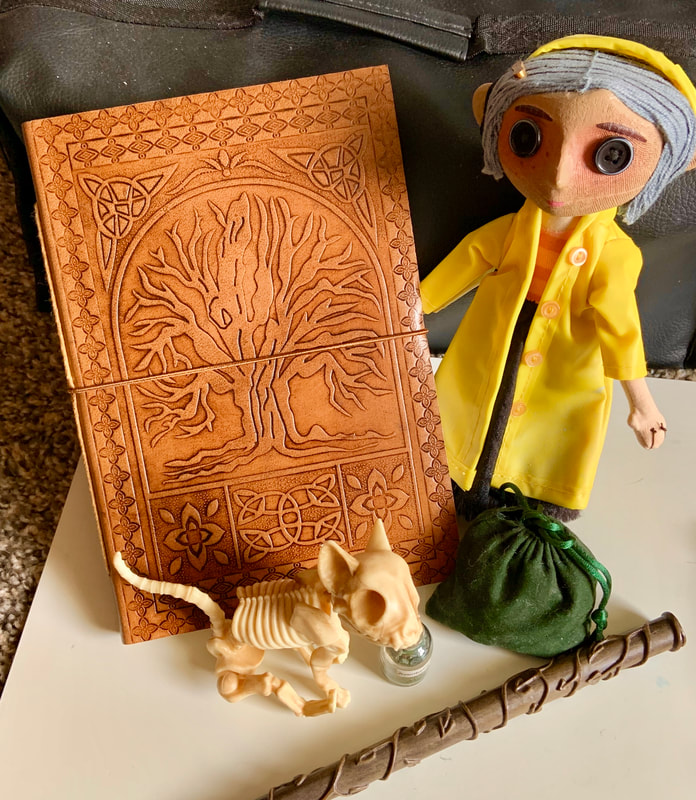
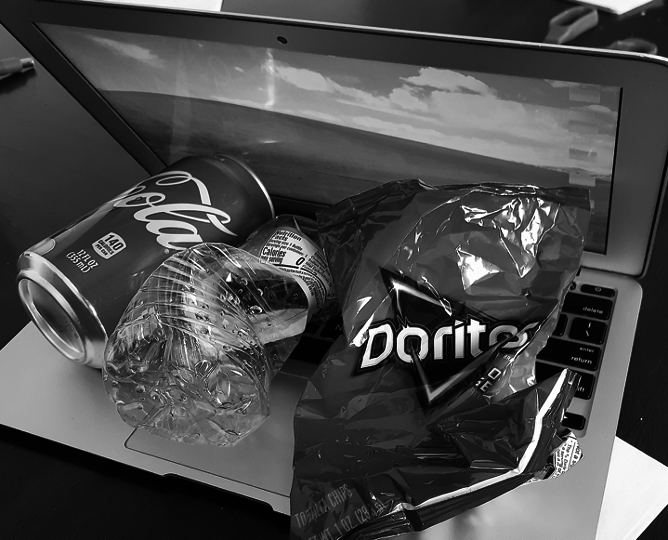
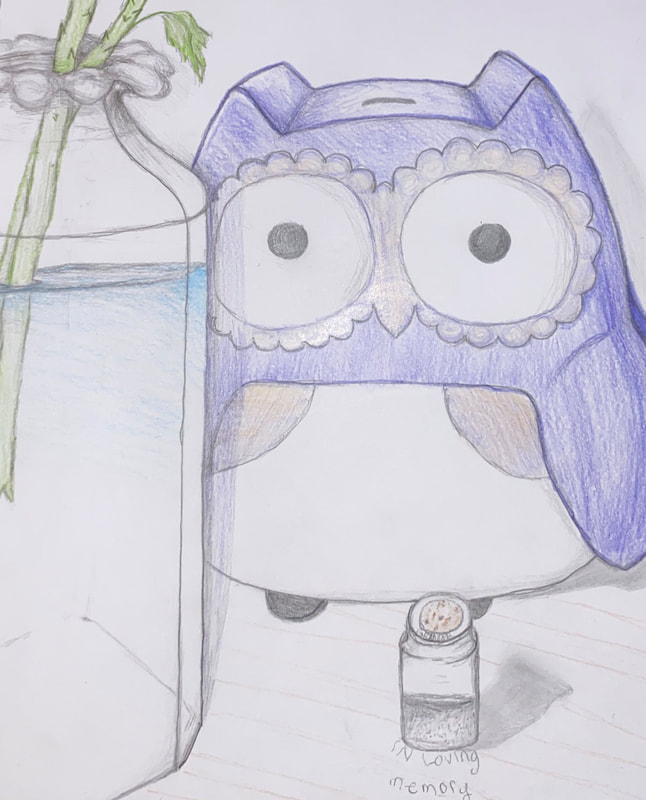
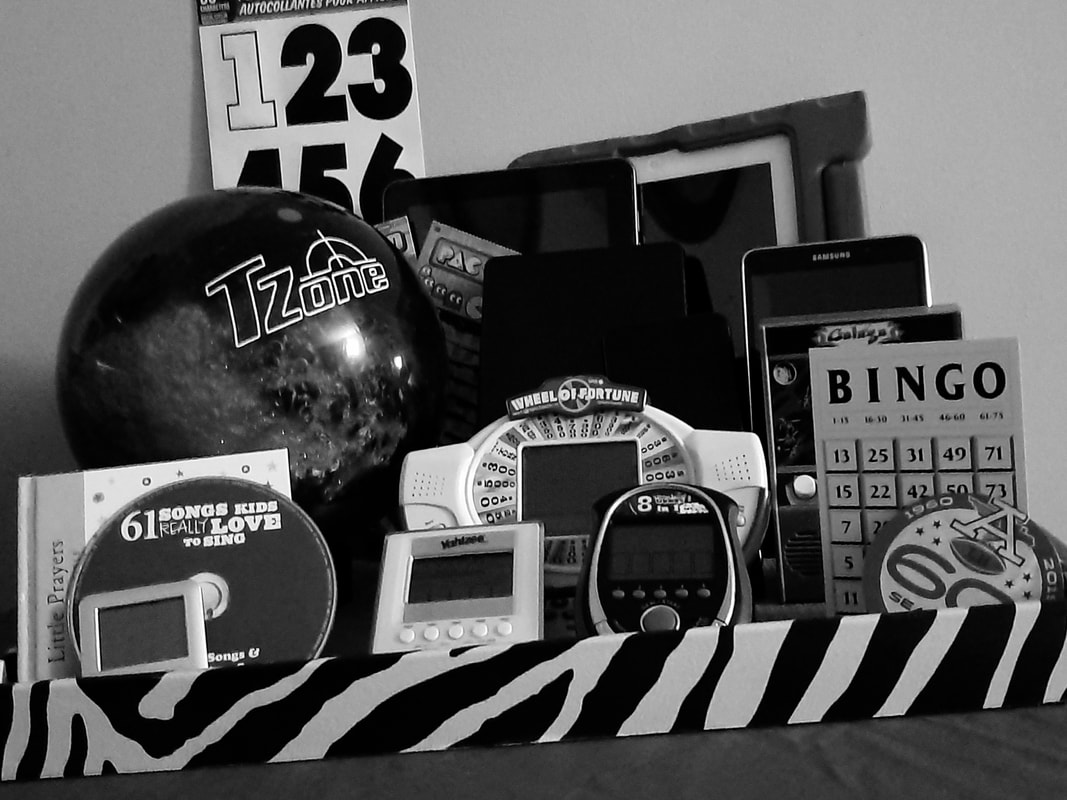
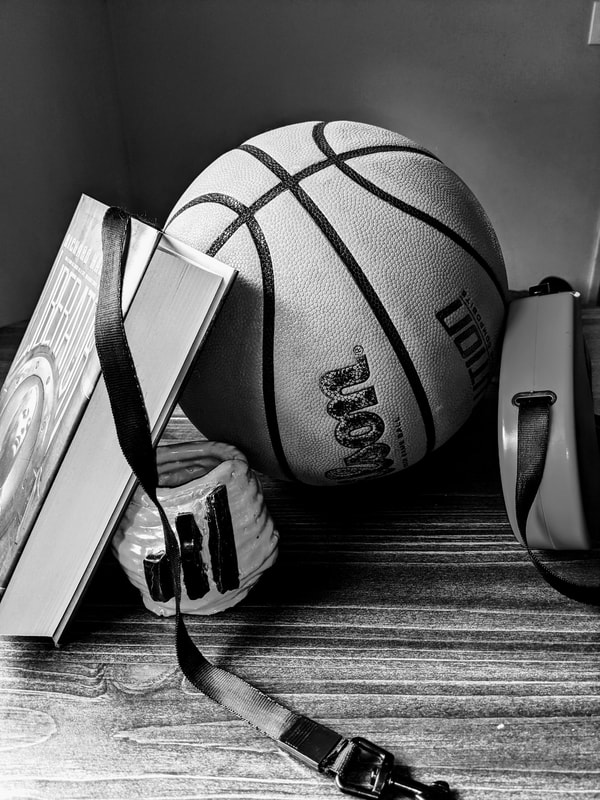
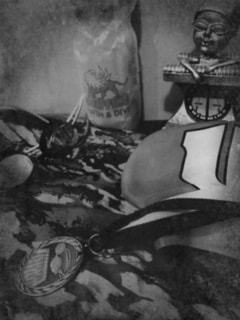
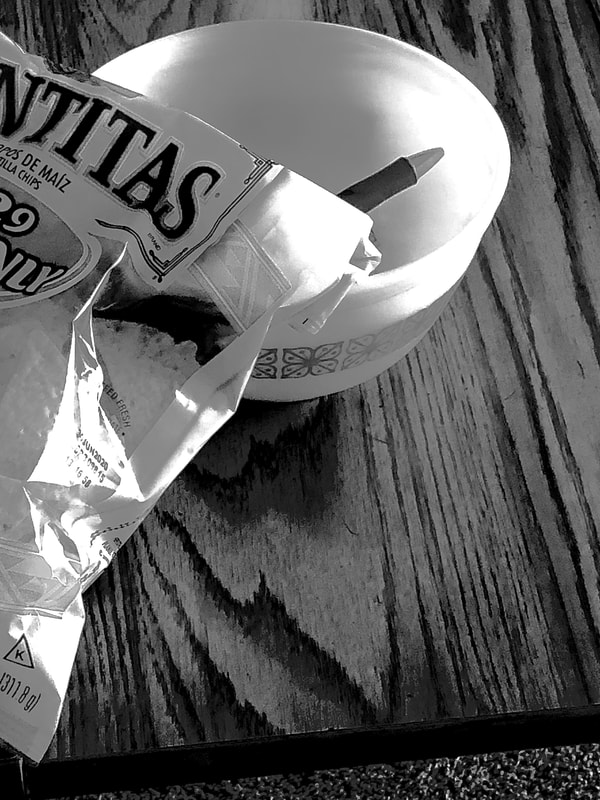
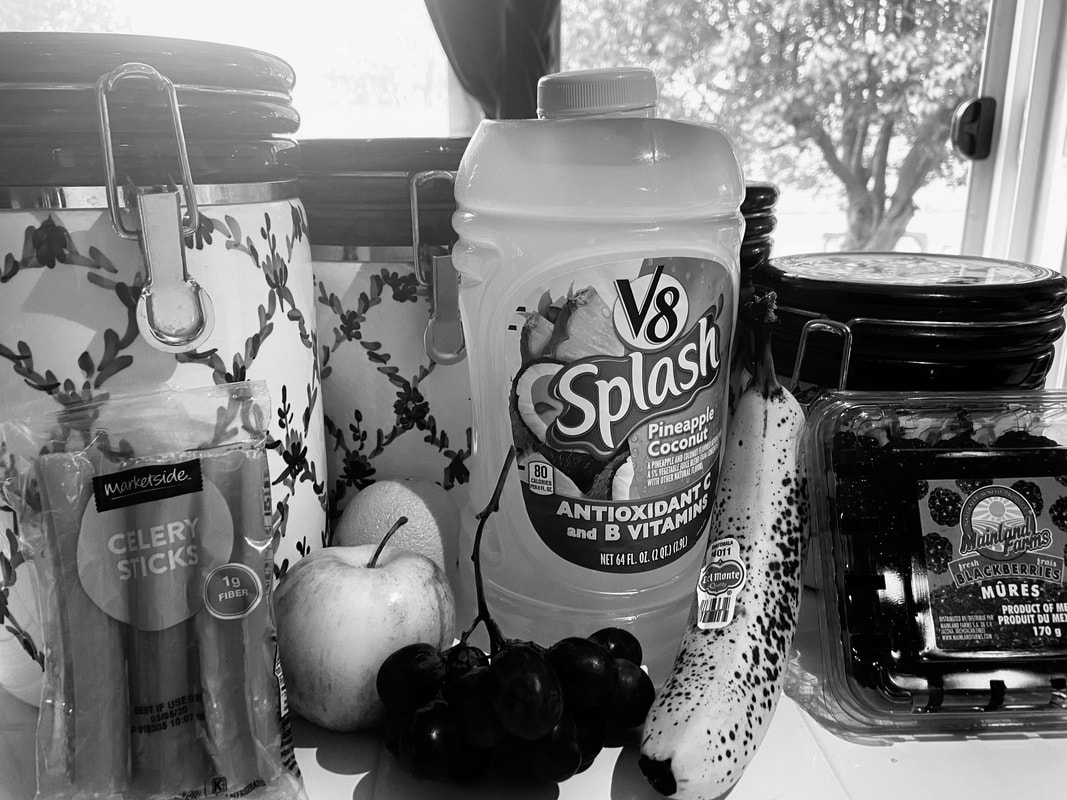
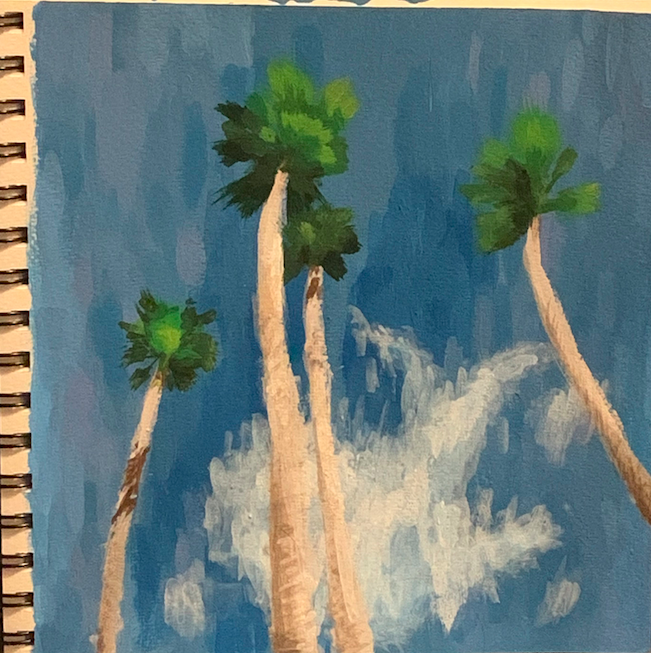
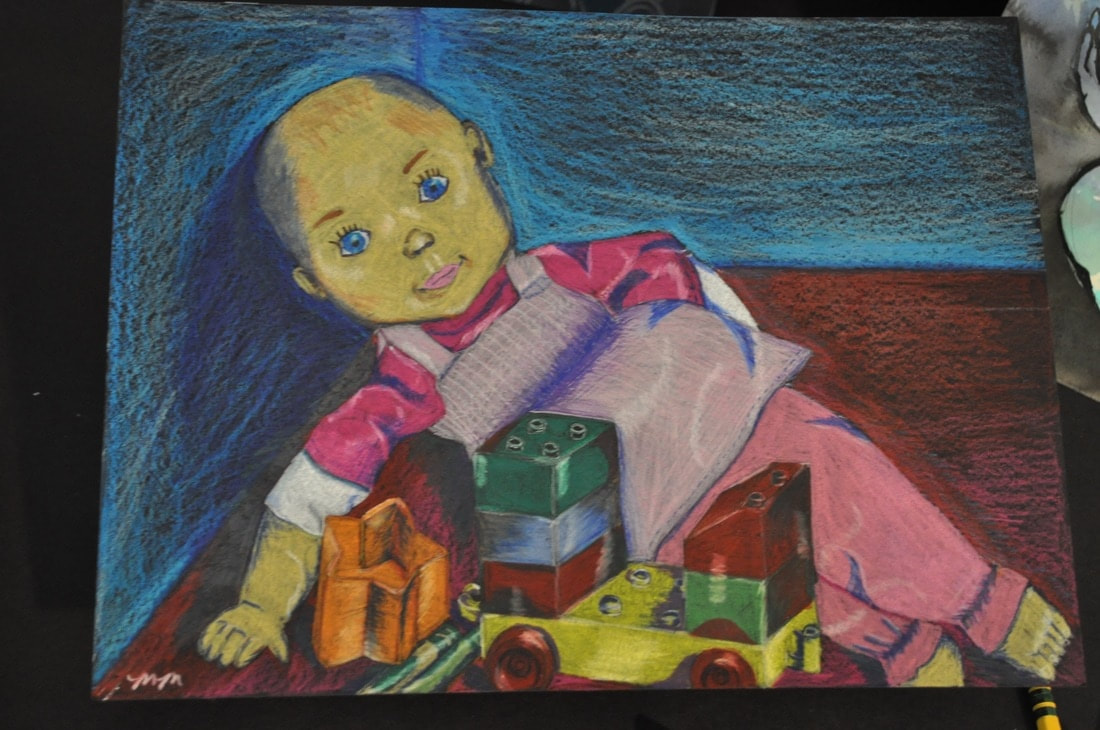
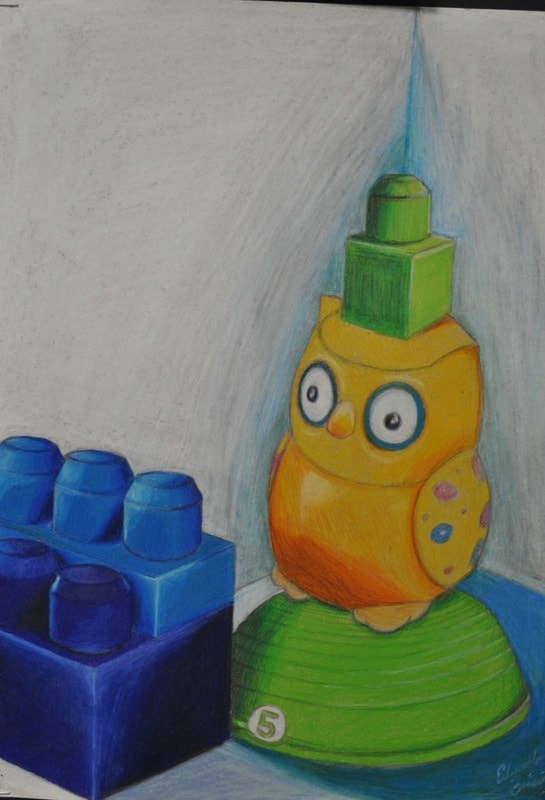
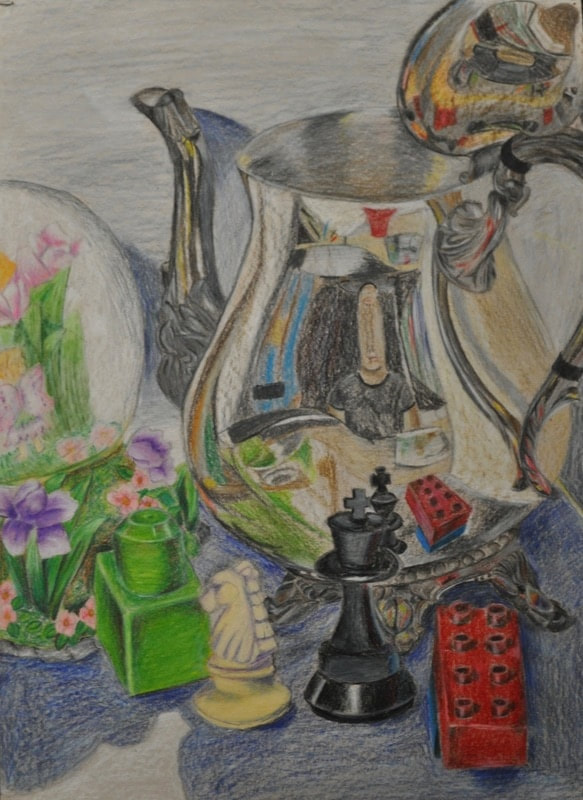
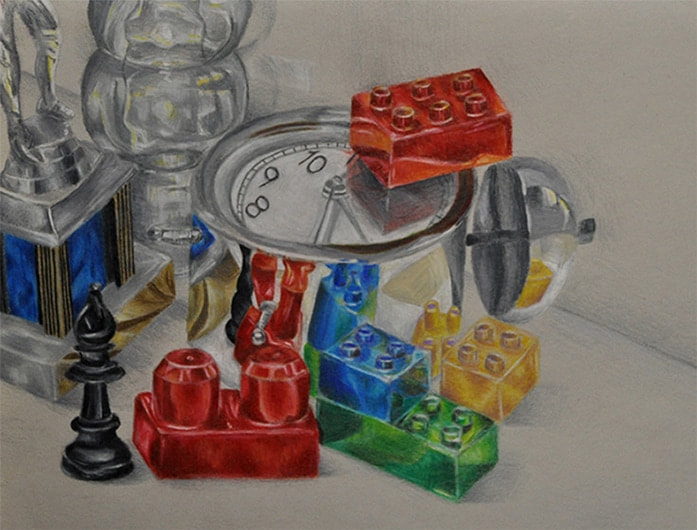
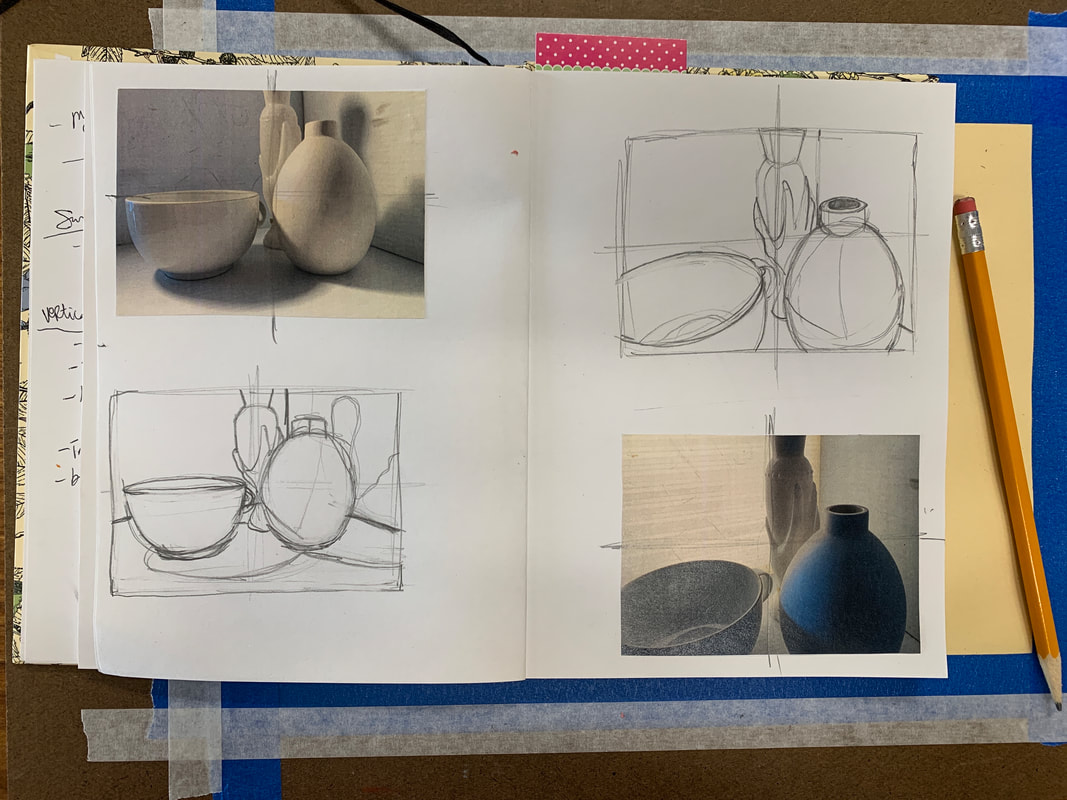
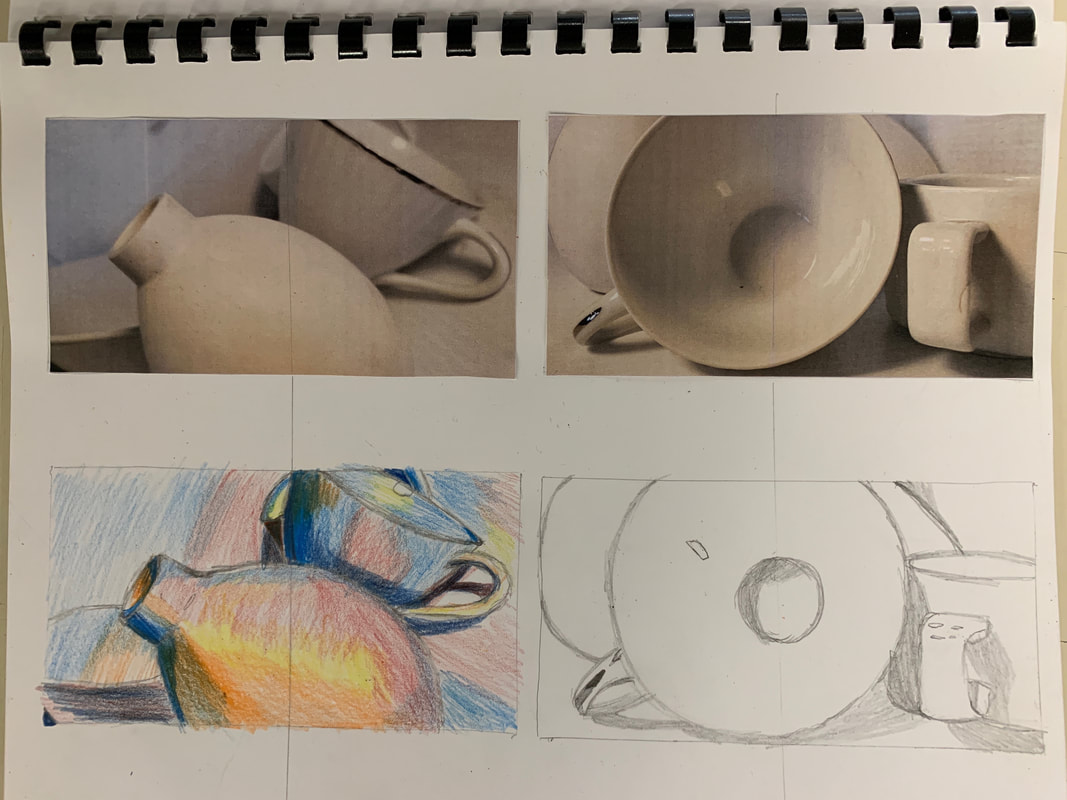
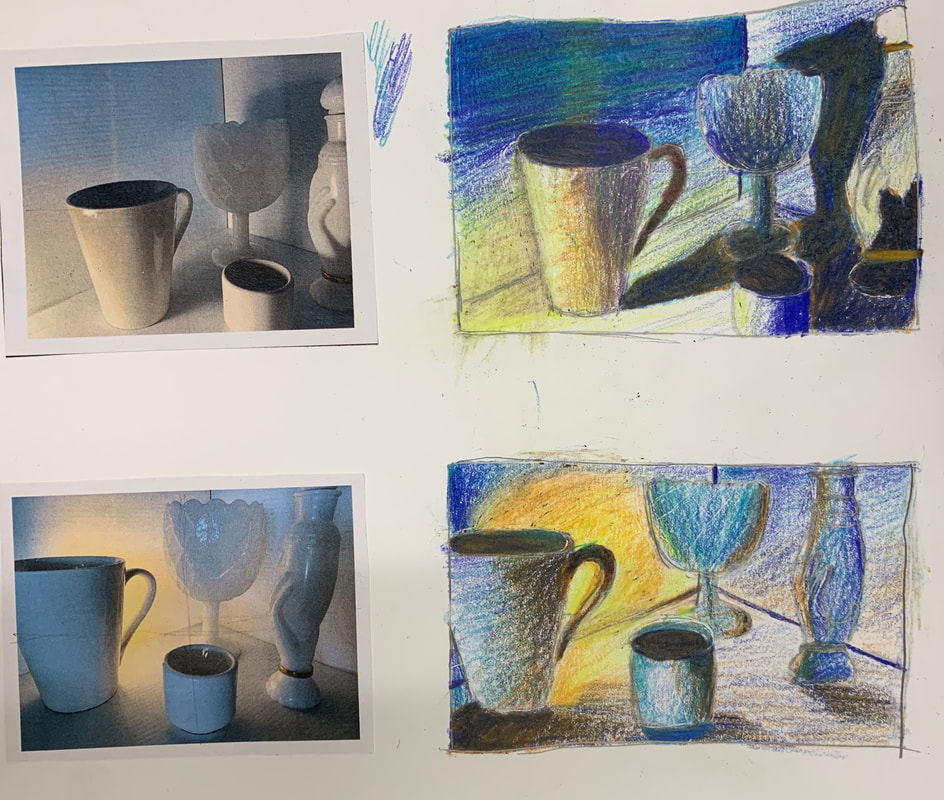
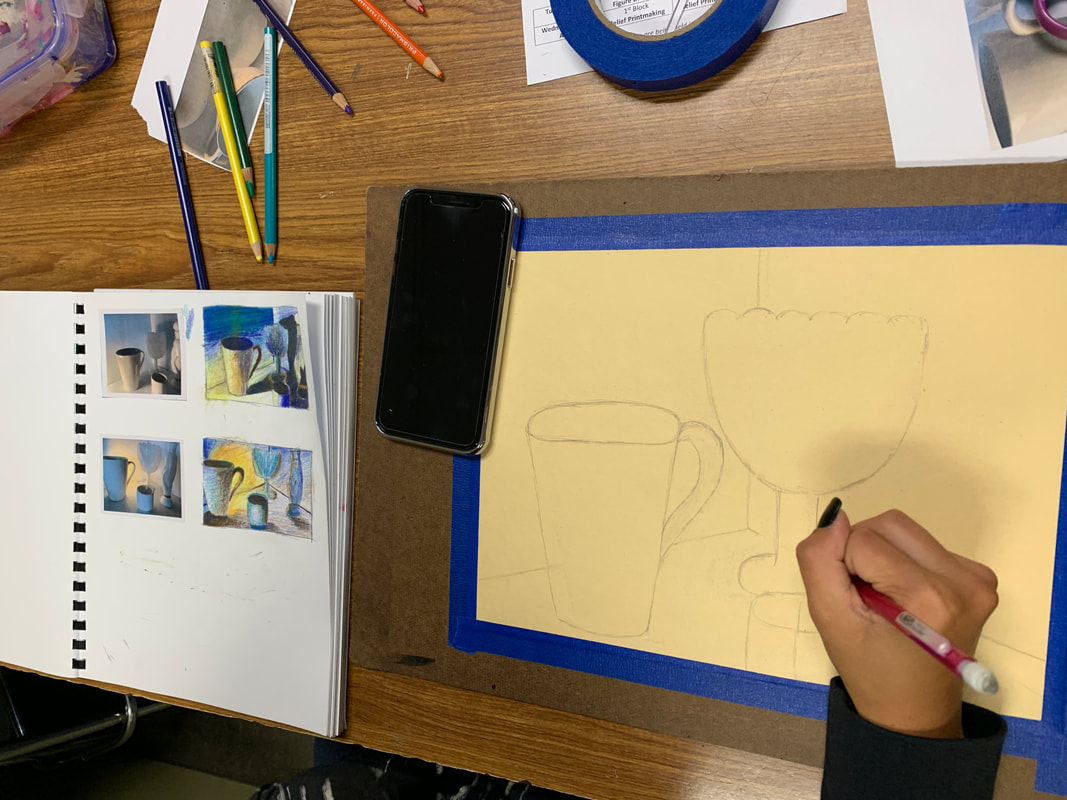
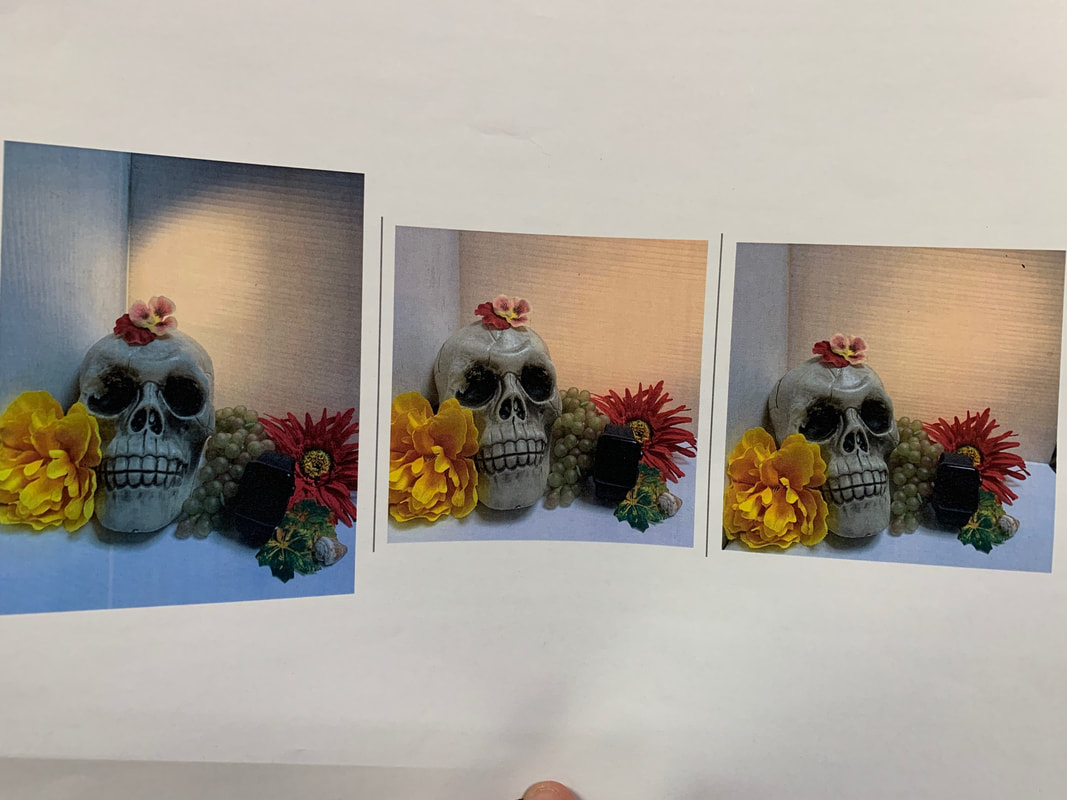
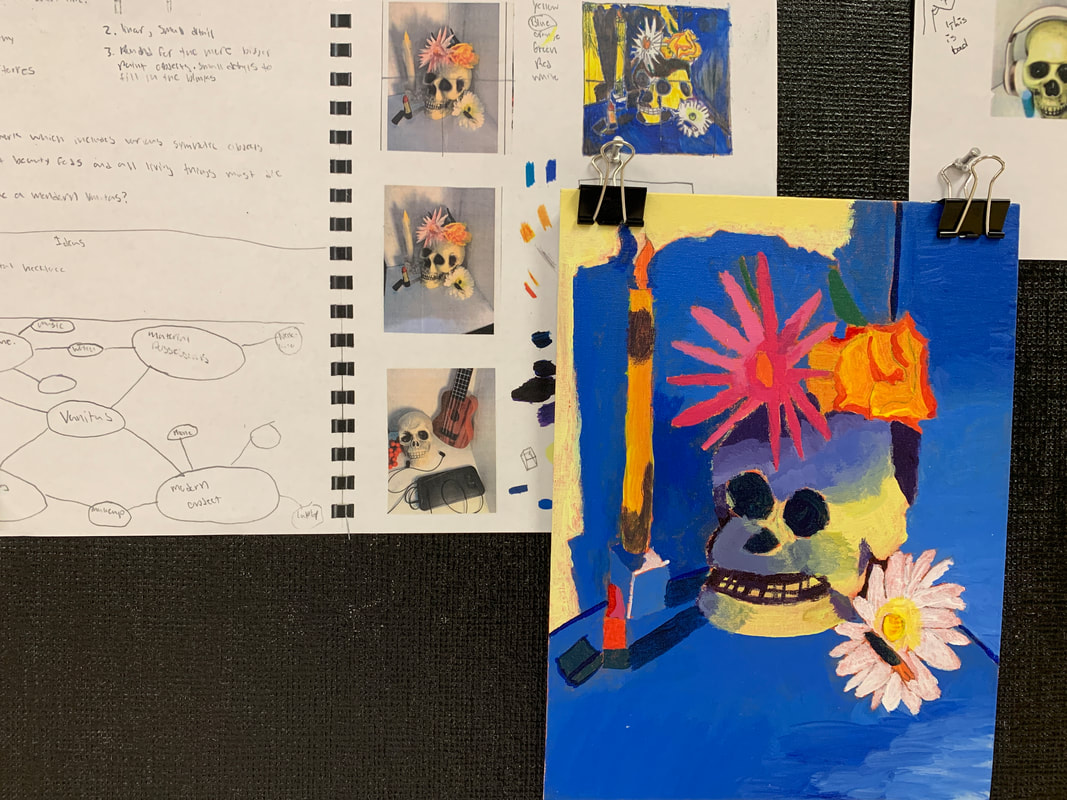
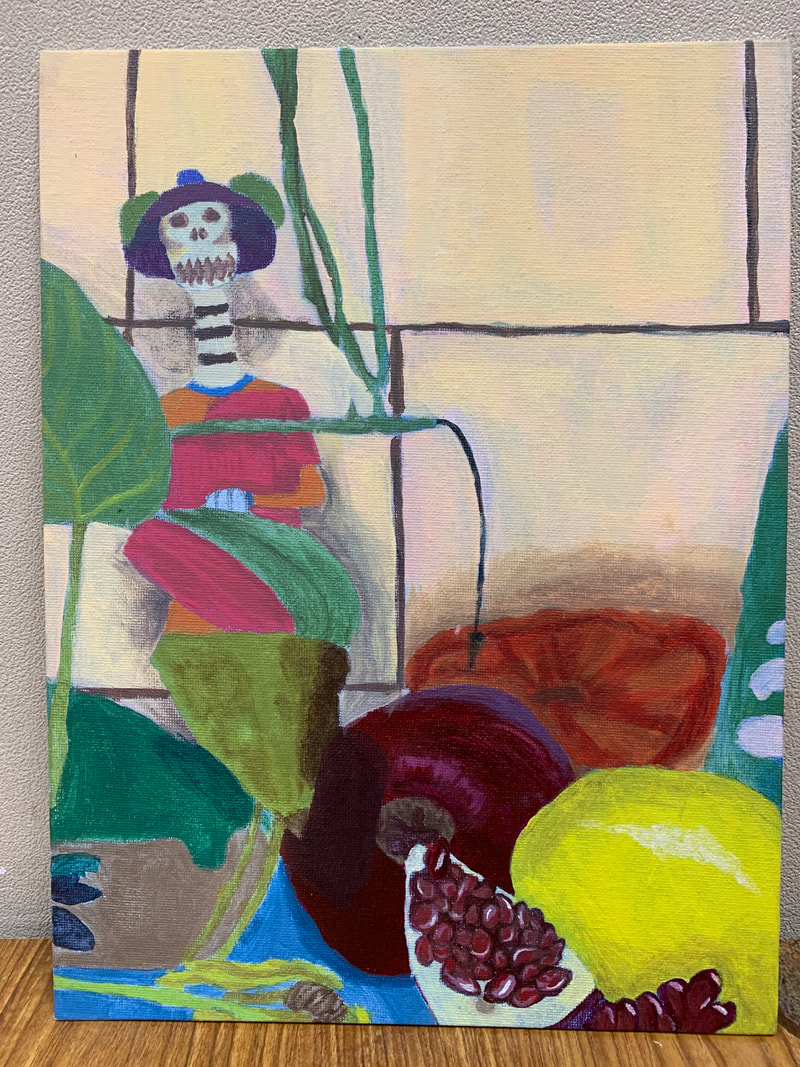
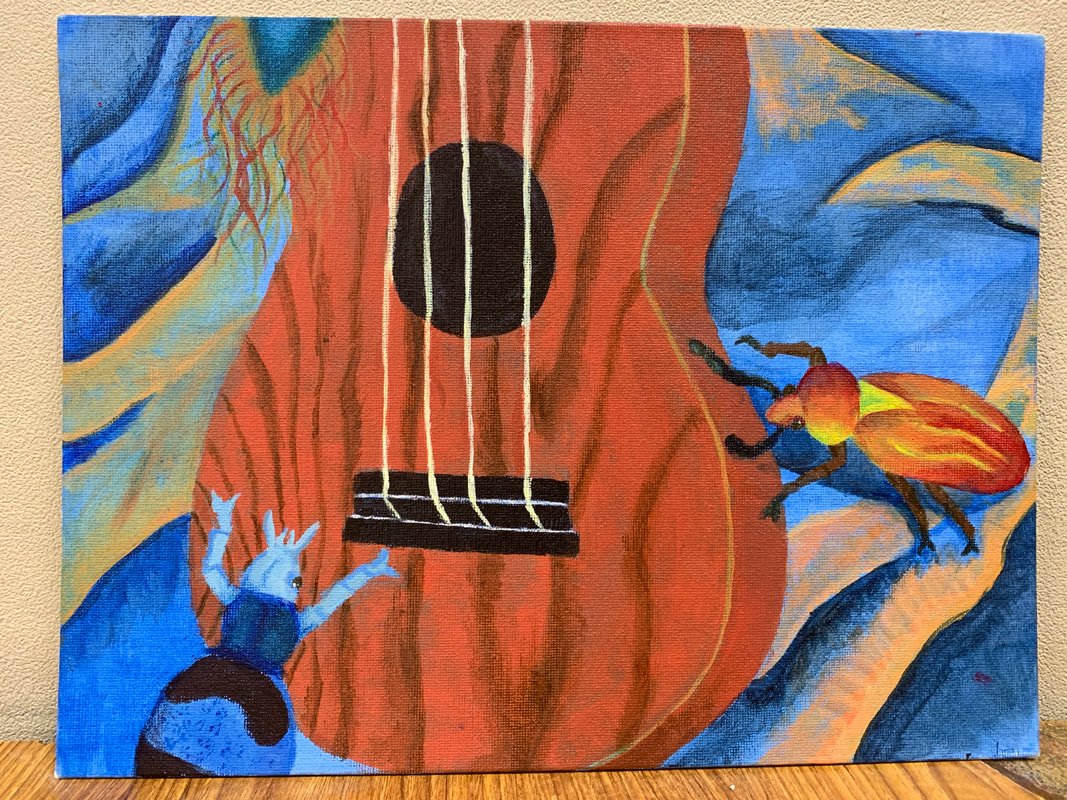
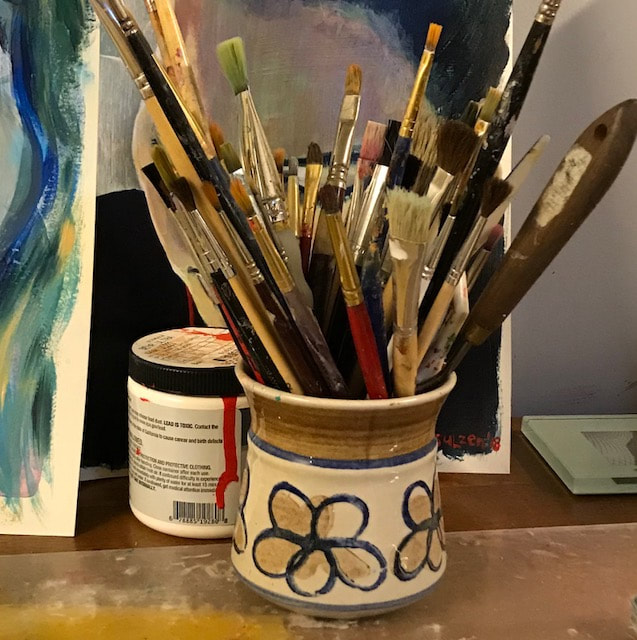
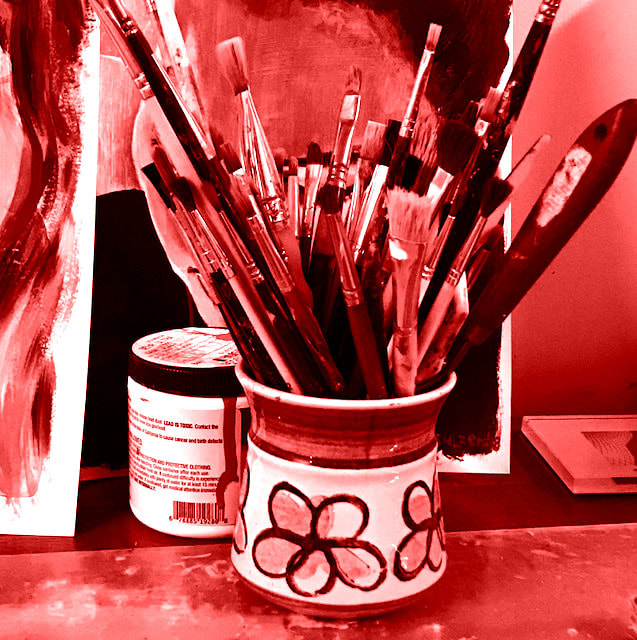
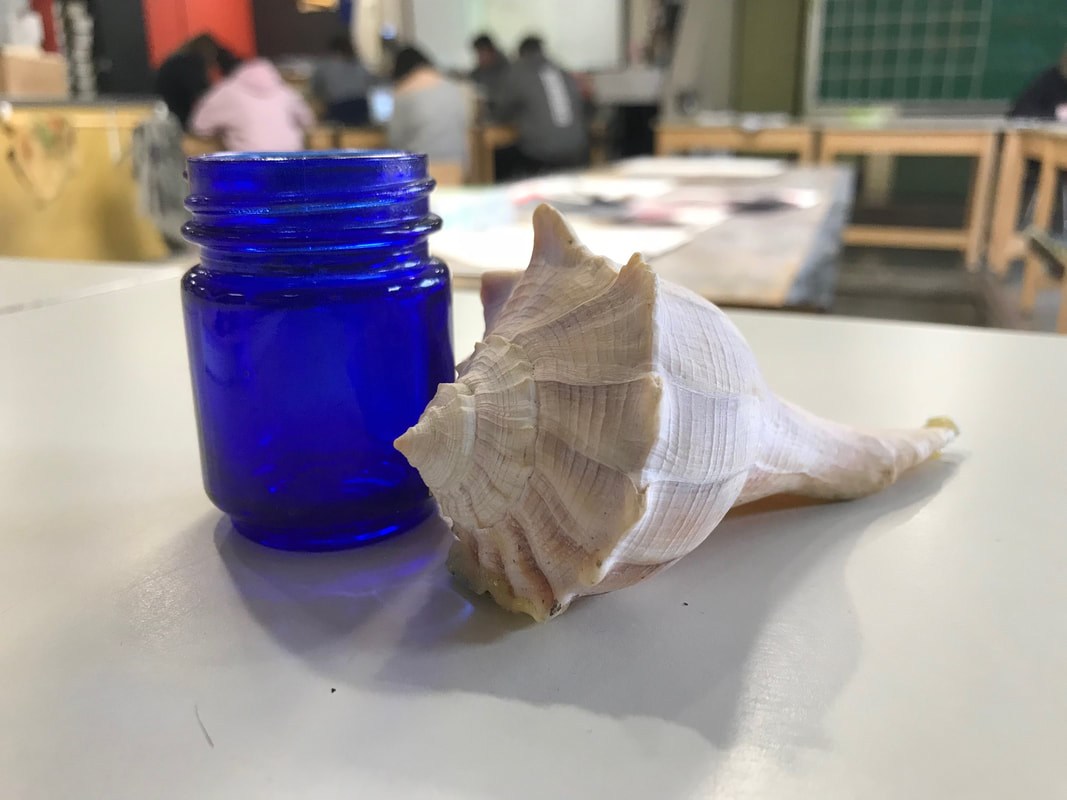
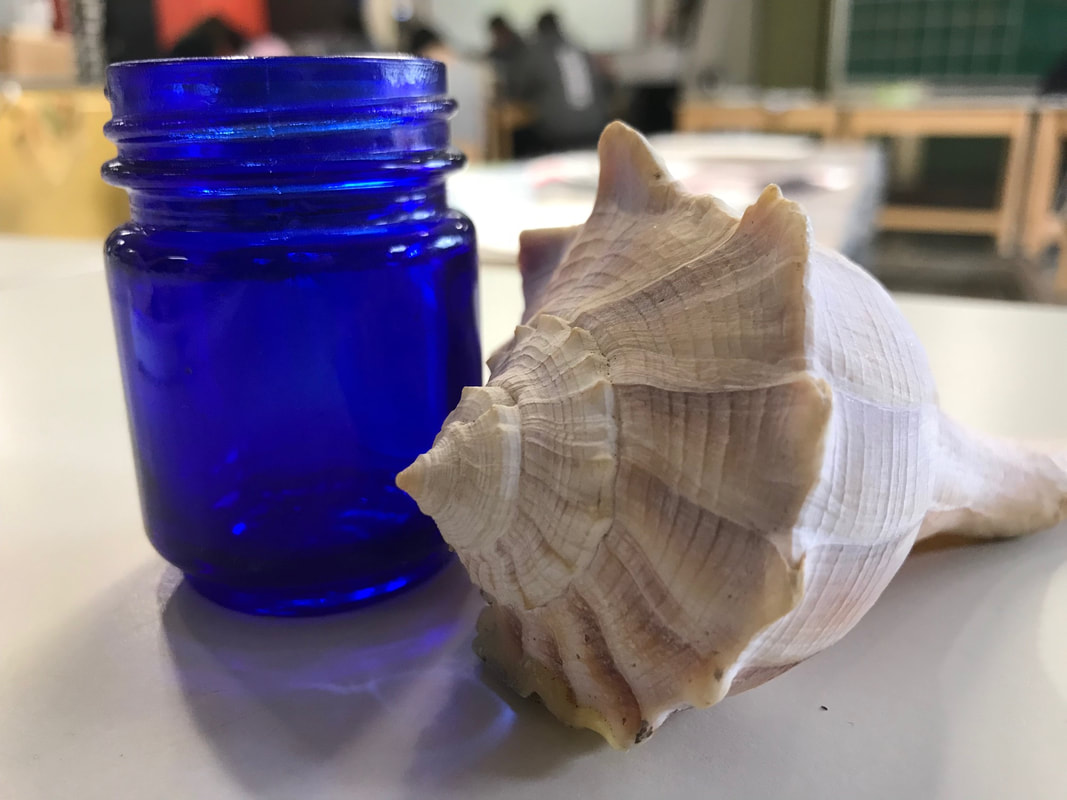
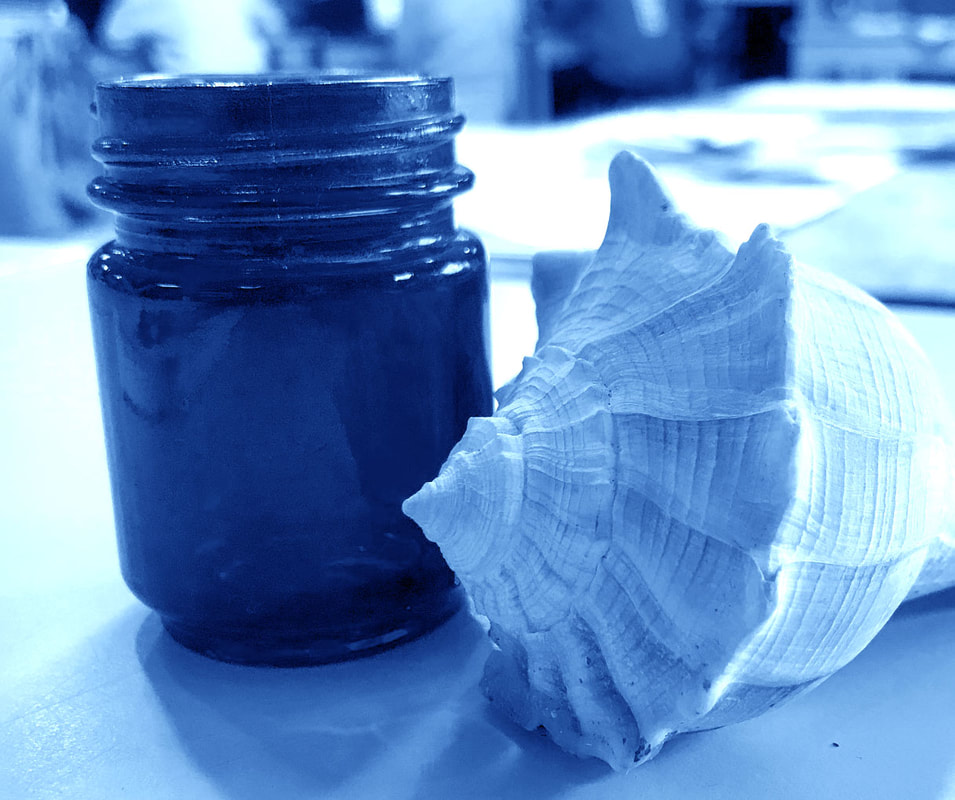
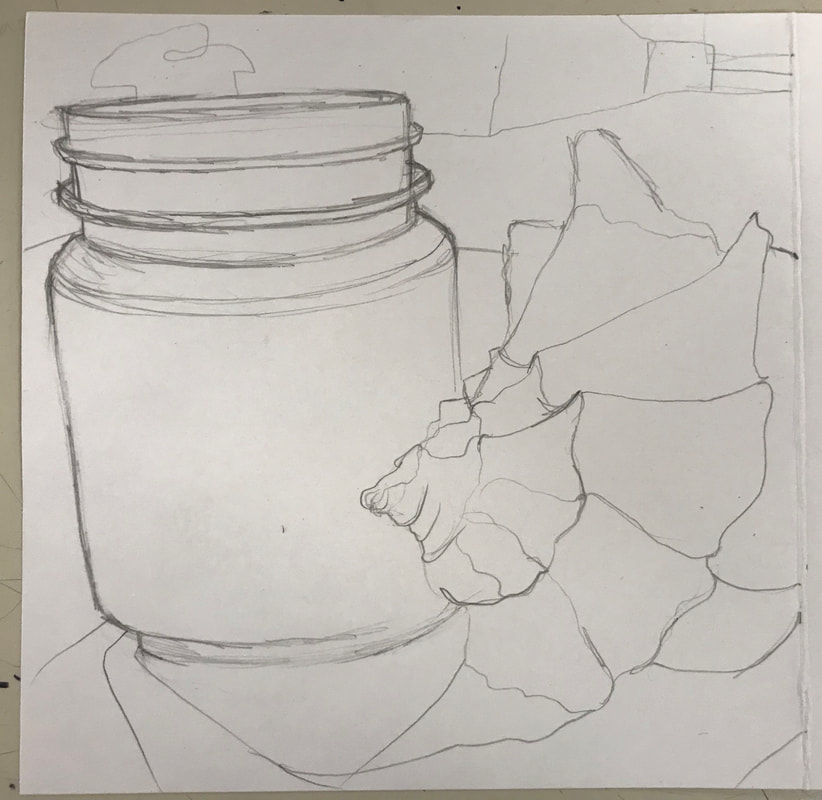
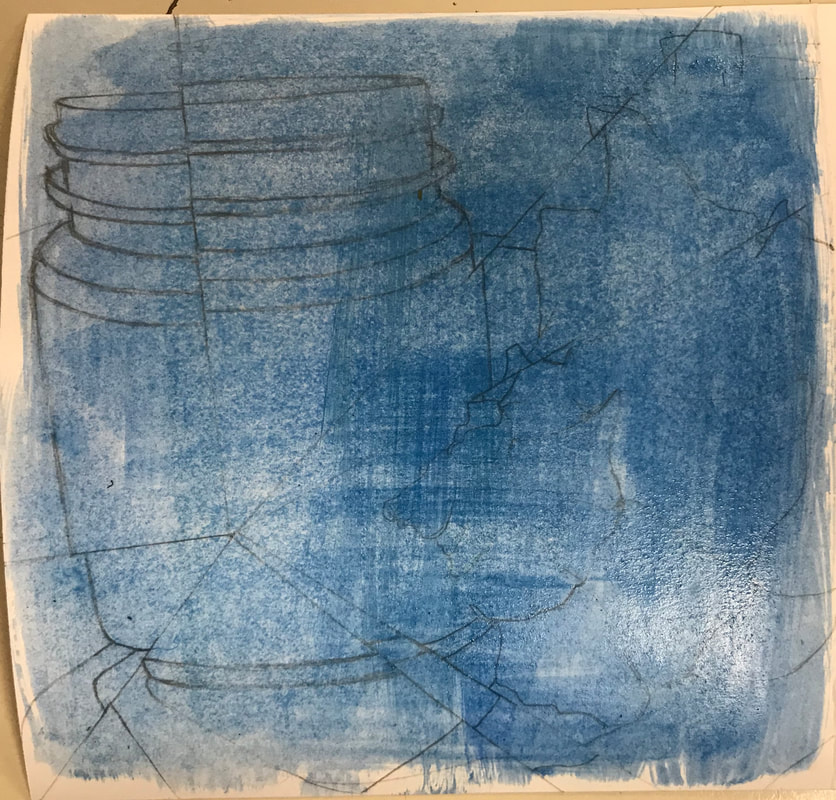
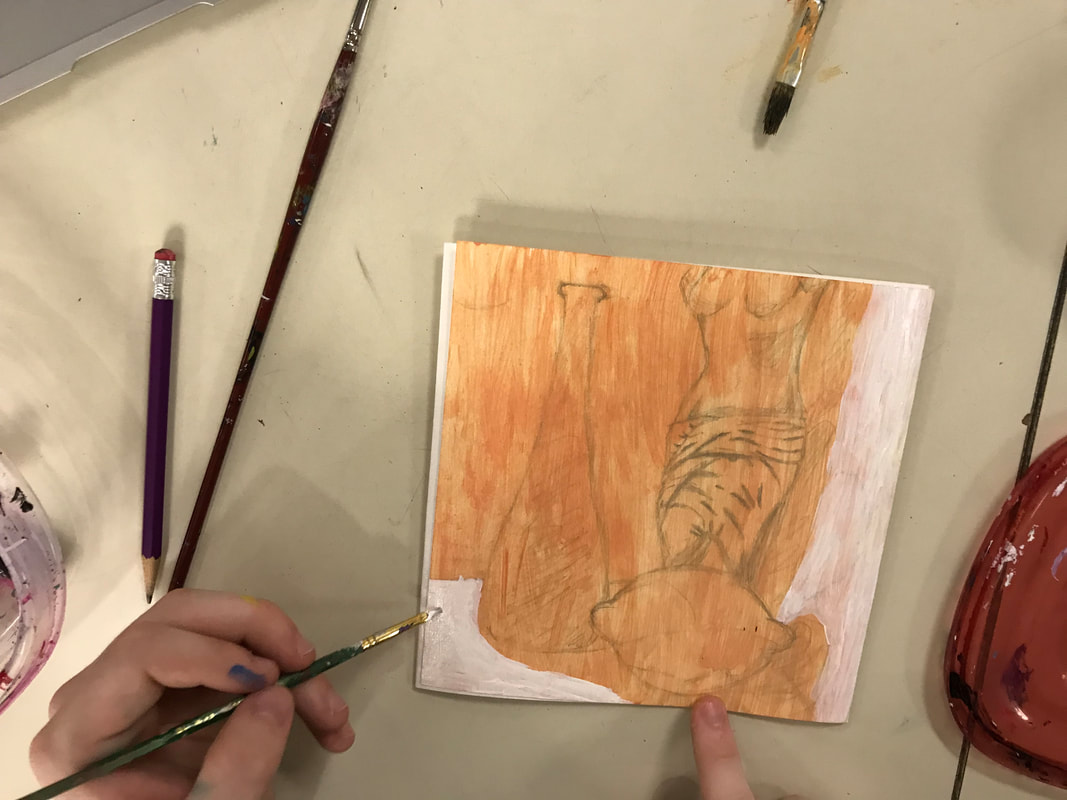
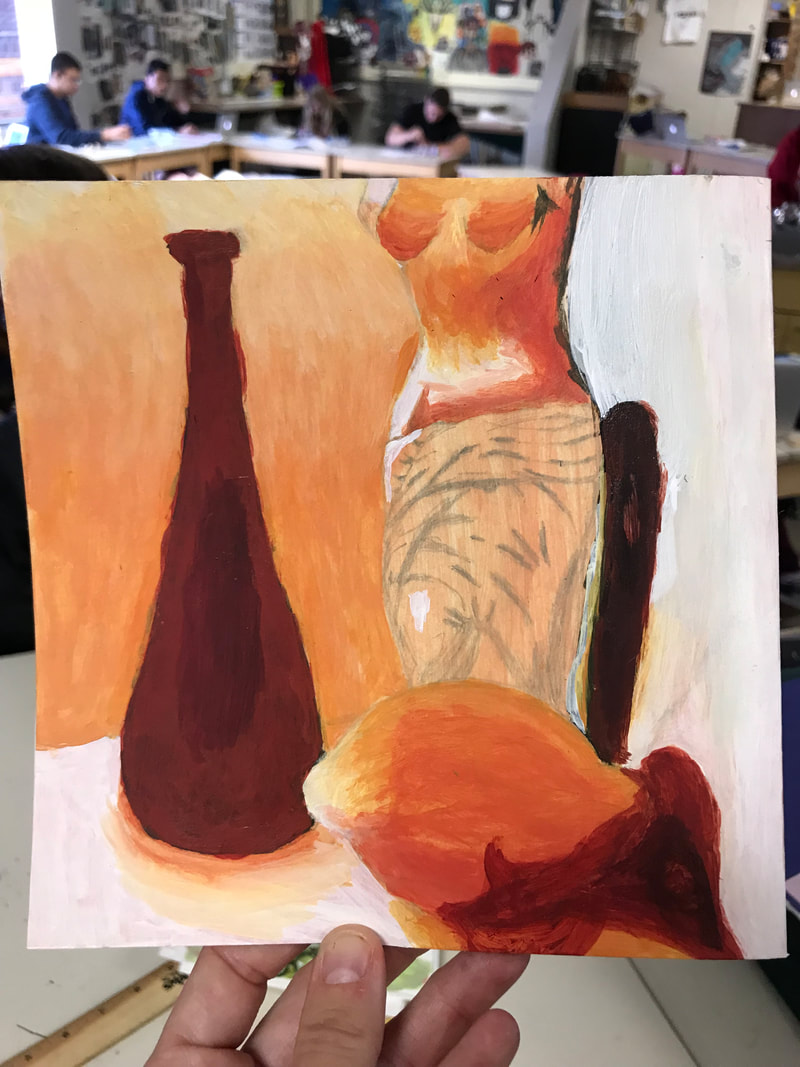
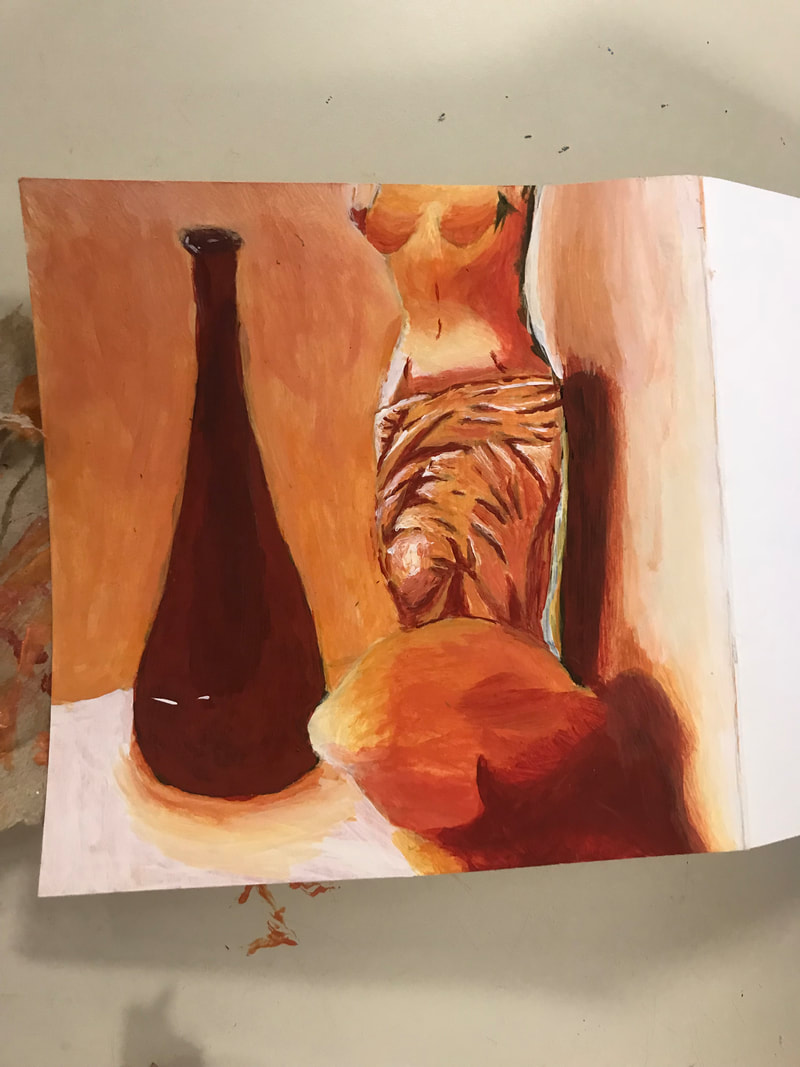
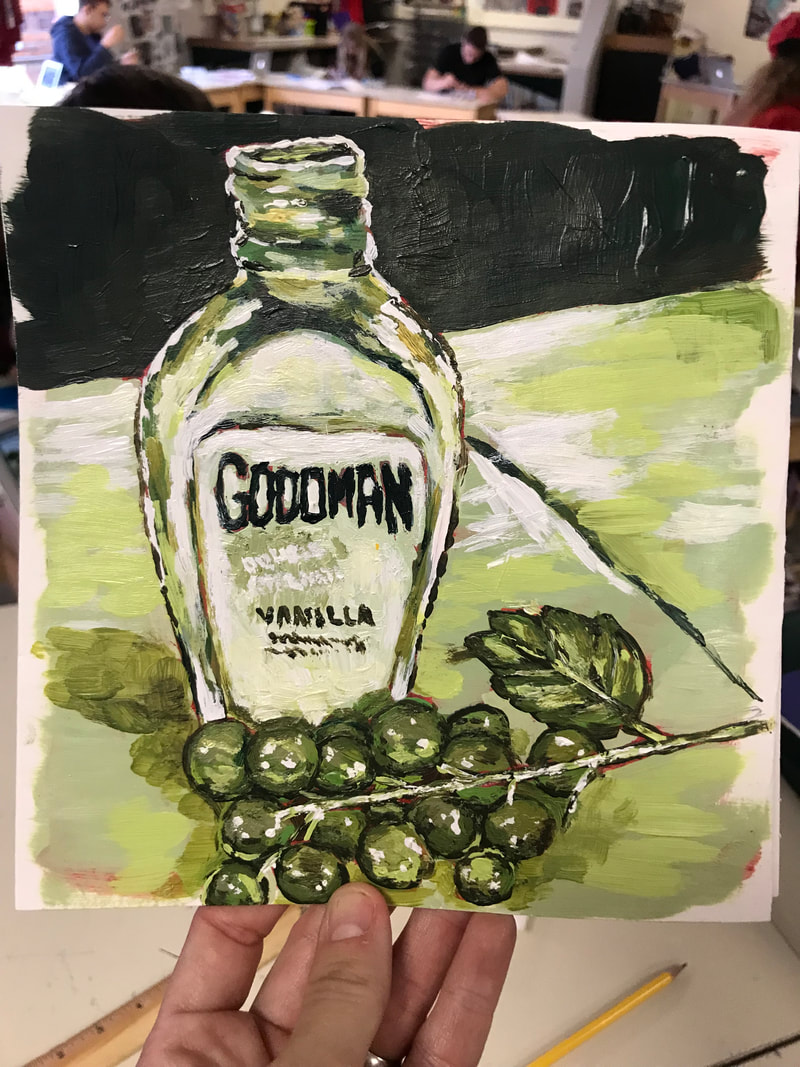
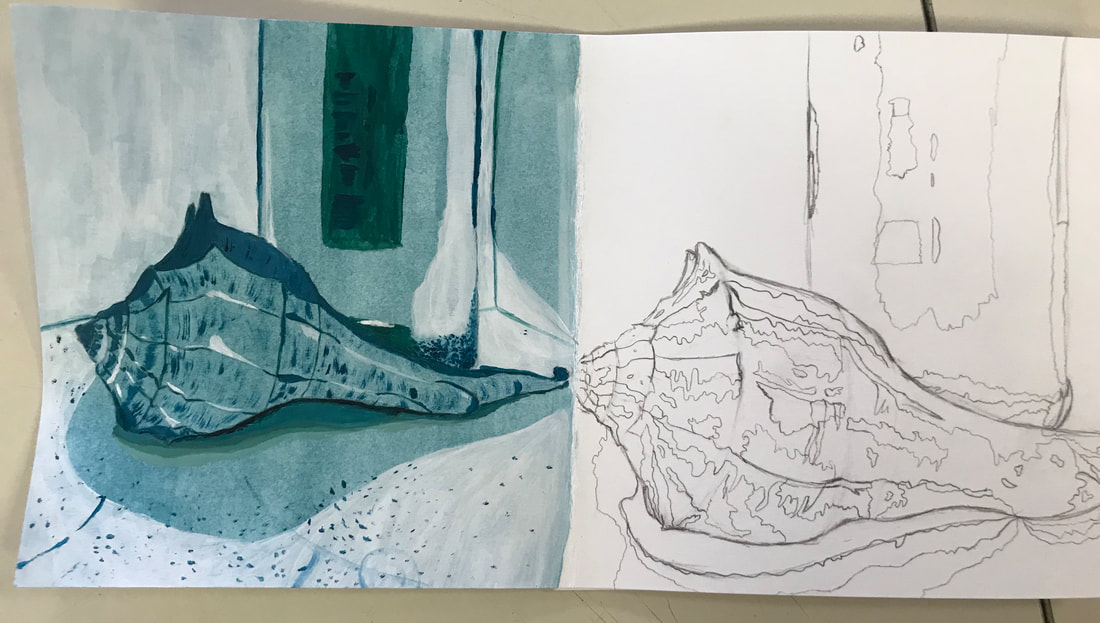
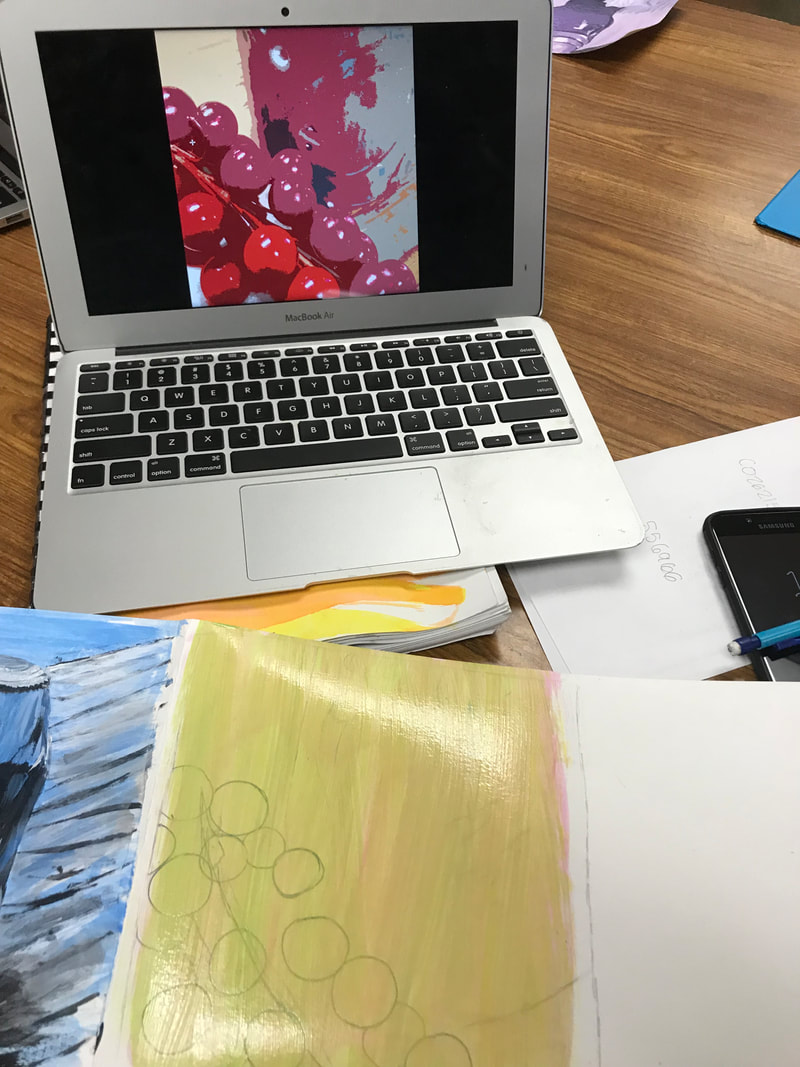
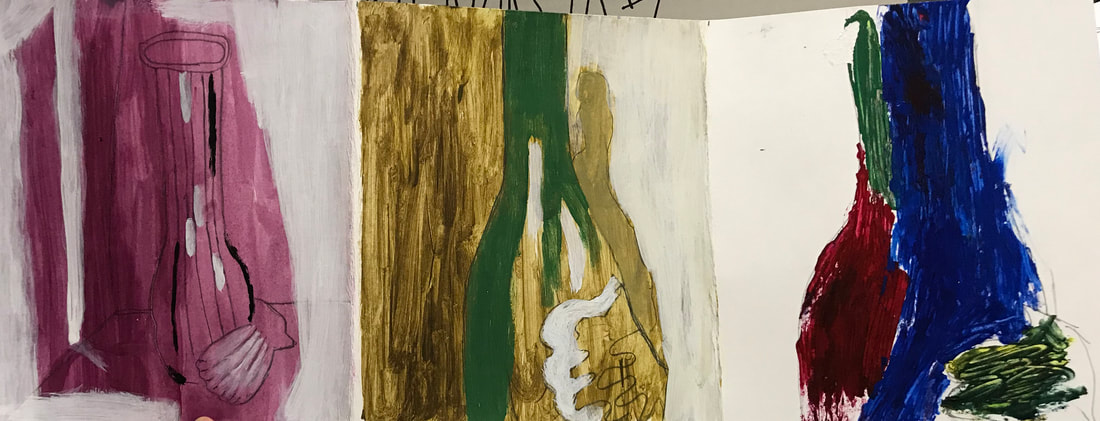
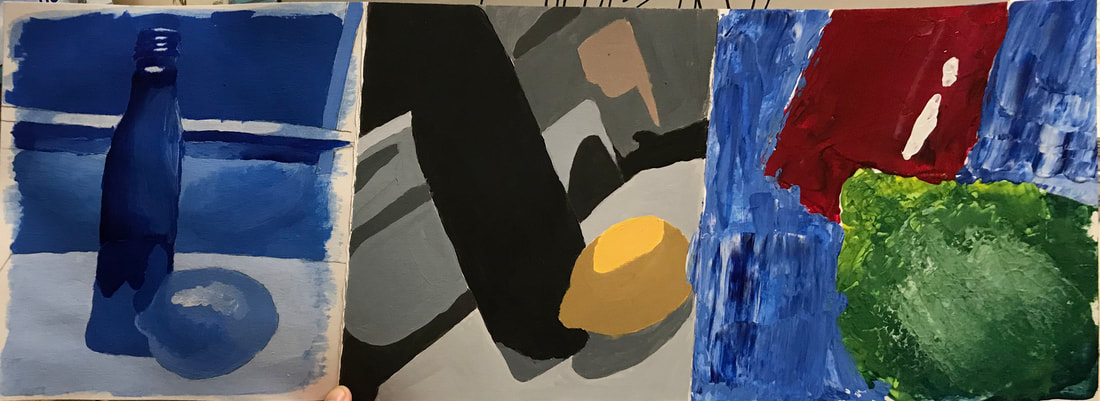
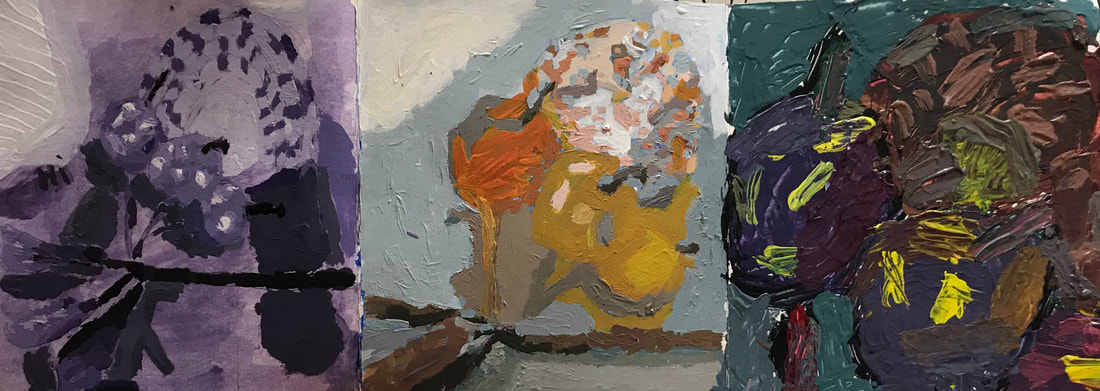
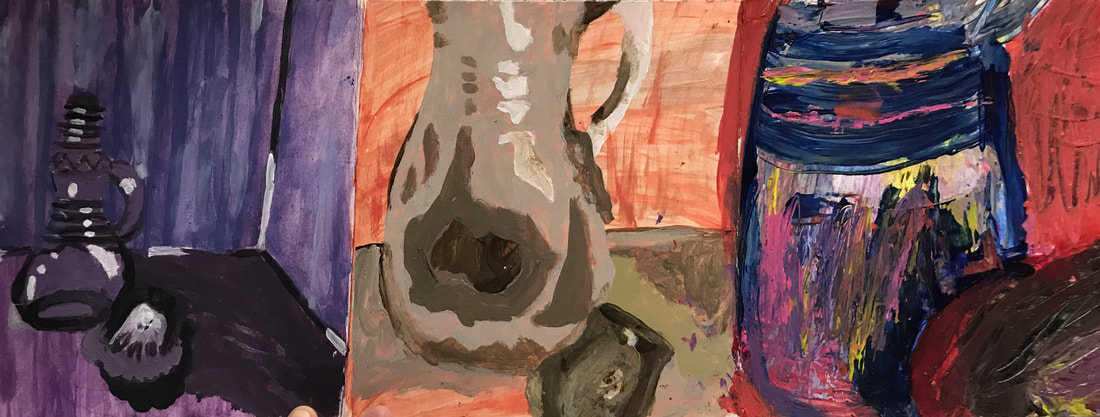
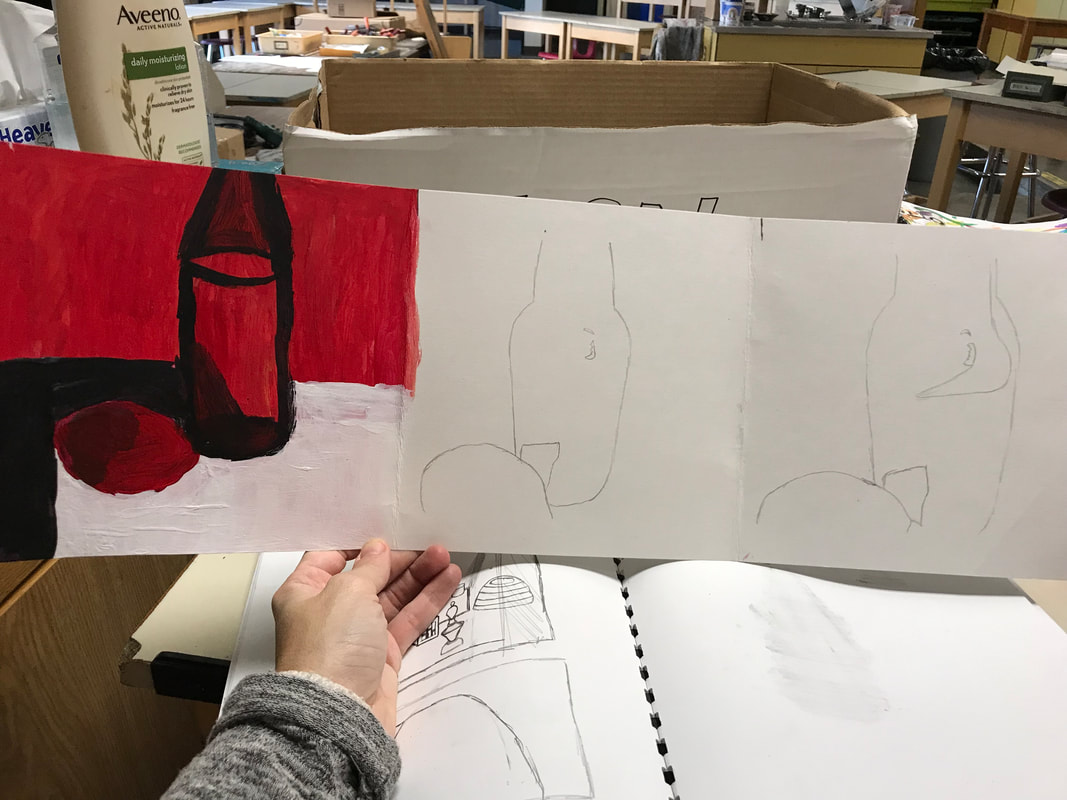
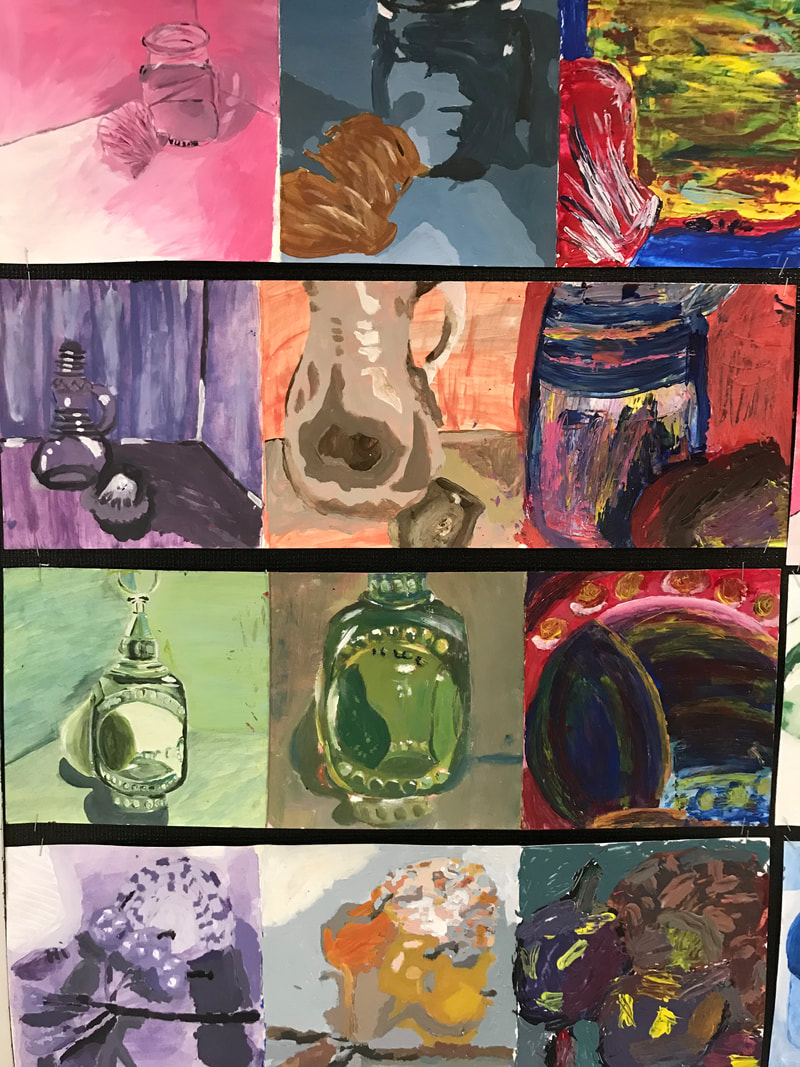
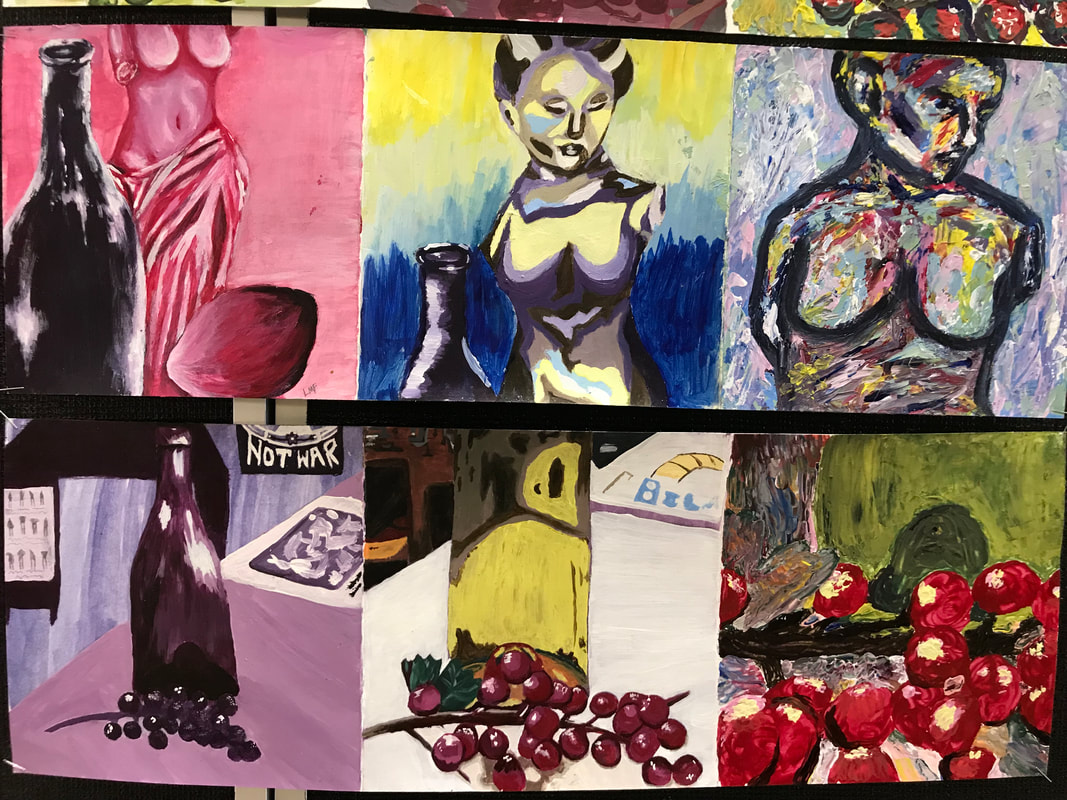
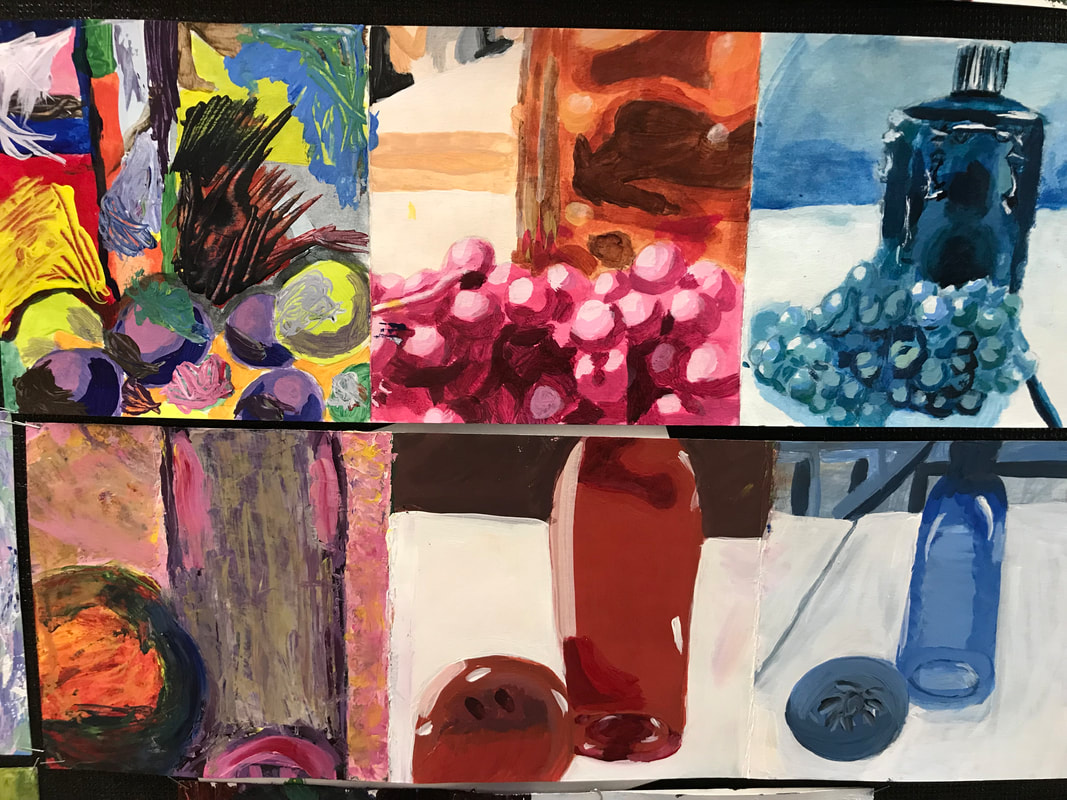
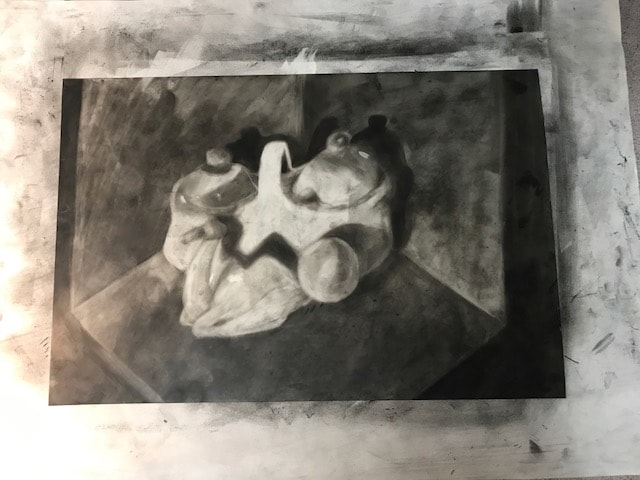
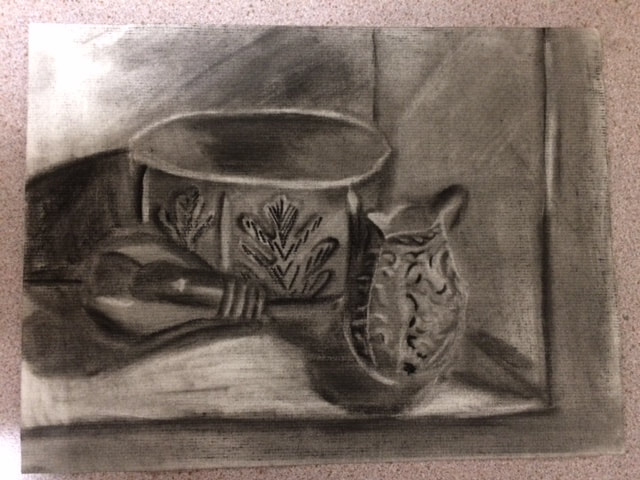
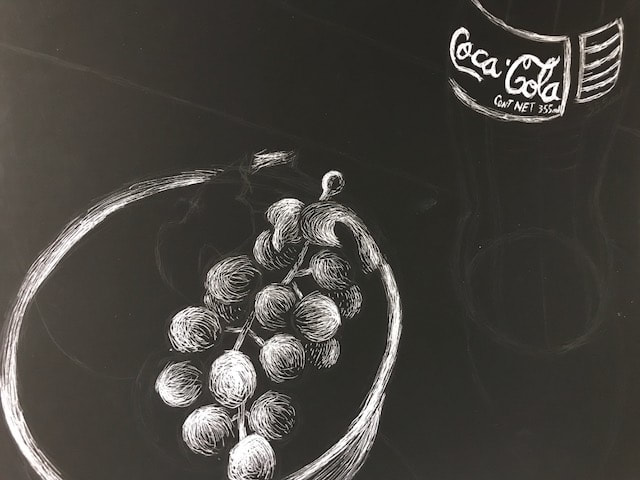
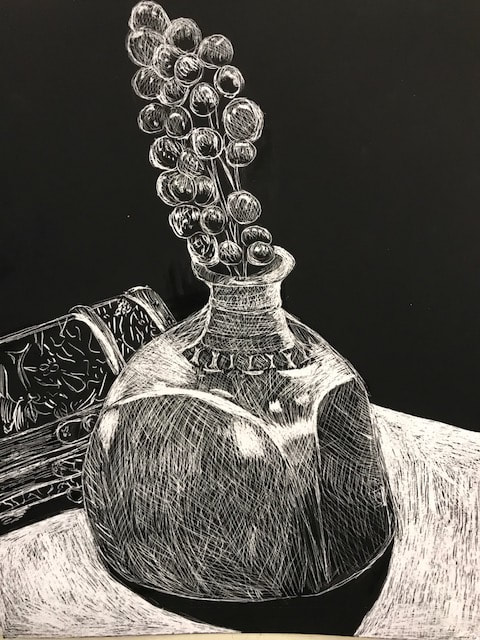
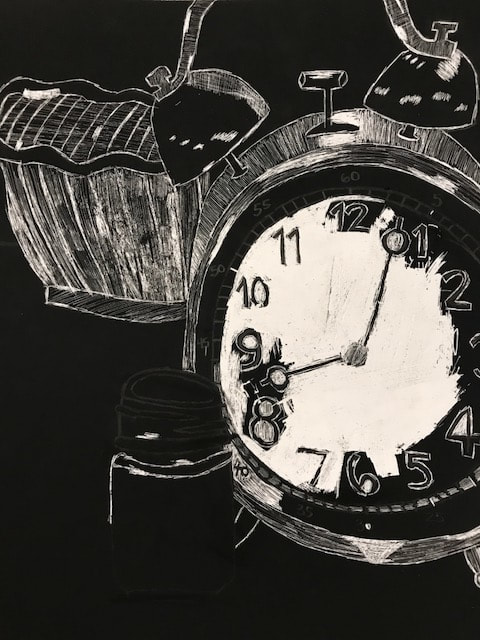
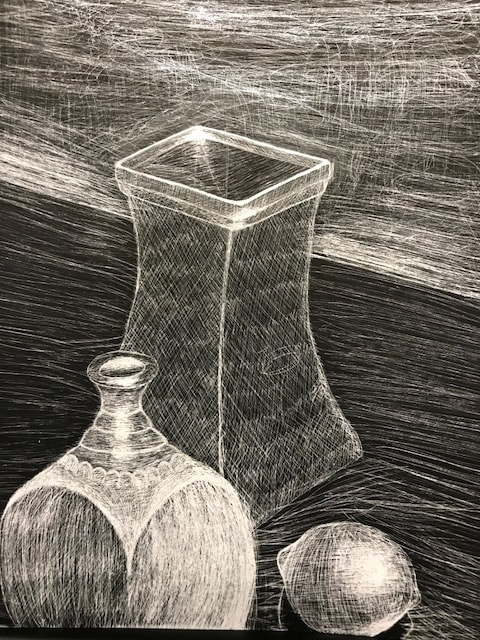
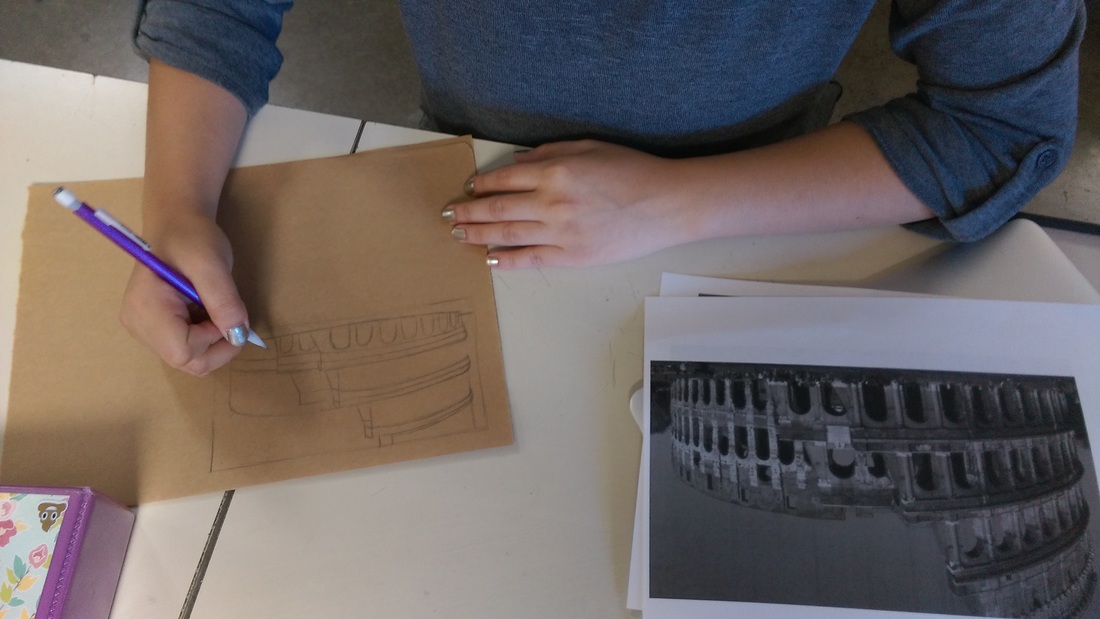
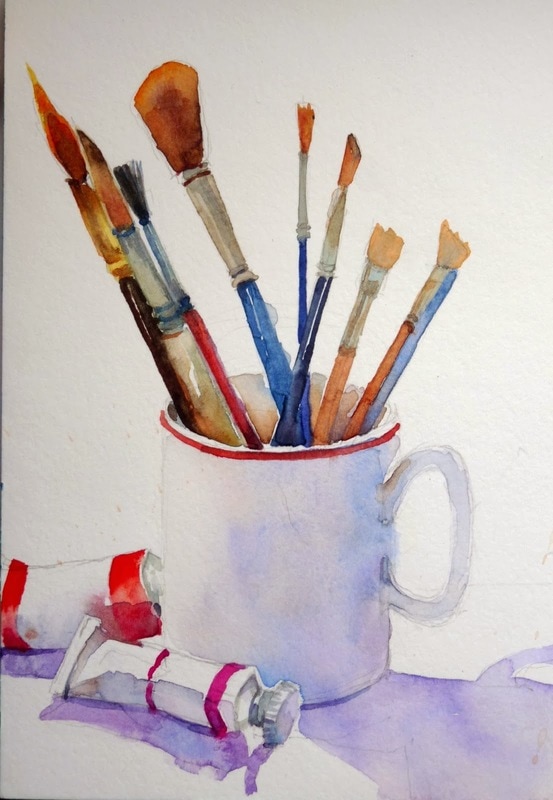
WEEK 6: Still Life at Home
- Watch my video on Still-lifes (I tried for hours to upload my video and finally had to give up and create a YouTube account.. hope it works!)
- You have two different options for this assignment- 1 photograph OR a drawing or painting
- Assignment is due on canvas on Friday and the contest is also due on Friday at Rice Gallery-OPTIONAL (info is at the end of my video!!)
- Your finished Still-Life will by uploaded here by next week!
|
|
|

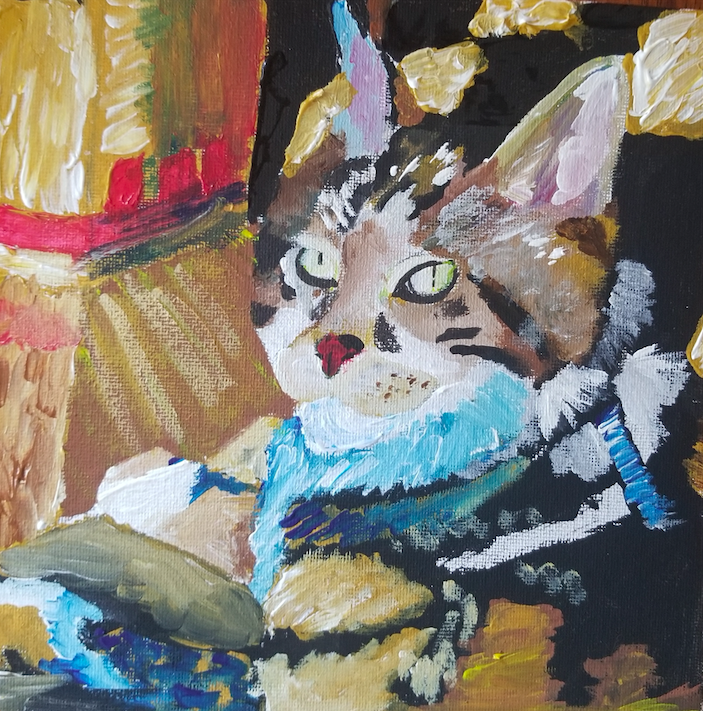
WEEK 5: Impersonate an Impressionist
- Watch my video on Impressionism.
- You have two different options for this assignment- 5 photographs OR a drawing or painting
- IF you want more information on Impressionism, there is an optional video you can watch below my video.
- Assignment is due on canvas on Friday and the contest is also due on Friday at Rice Gallery-OPTIONAL (info is at the end of my video!!)
|
|

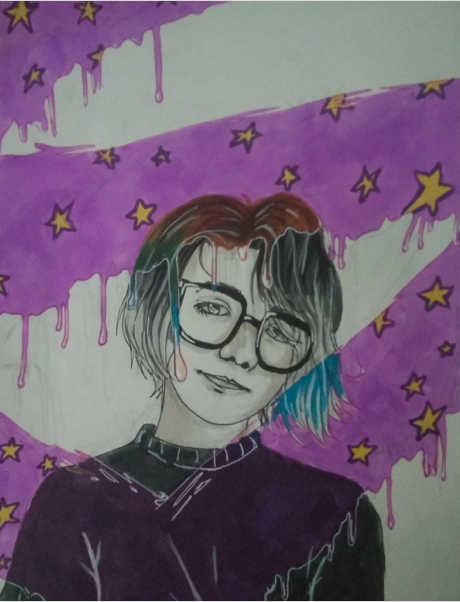
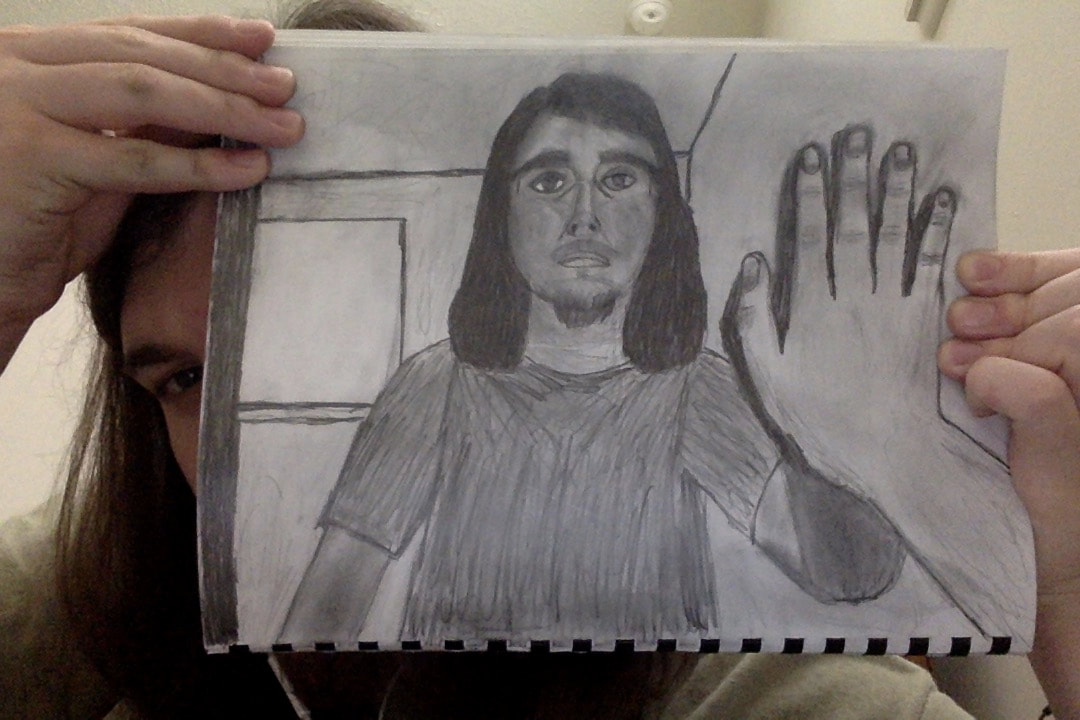
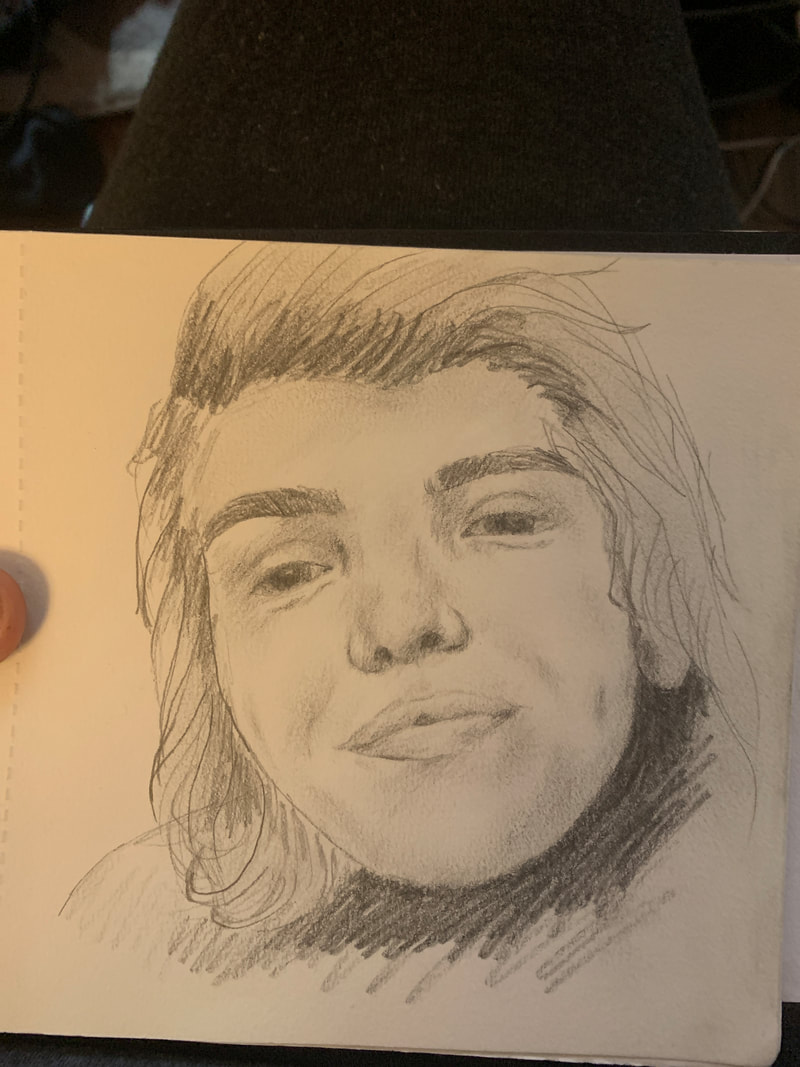
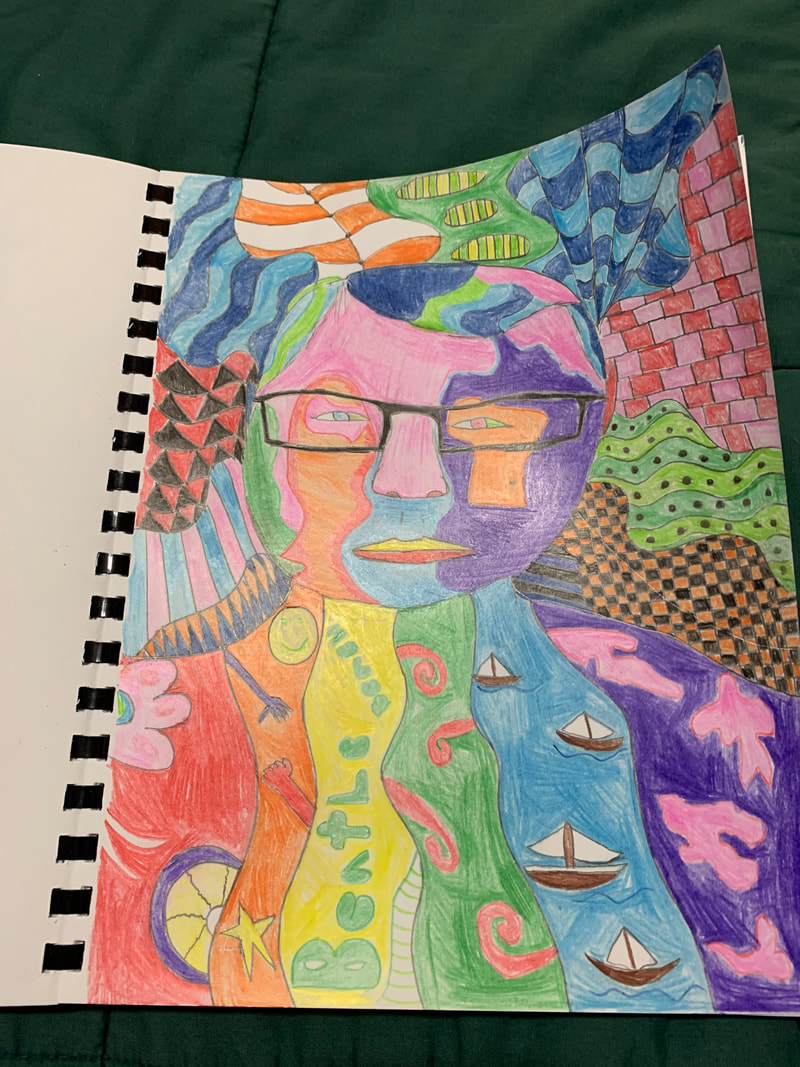
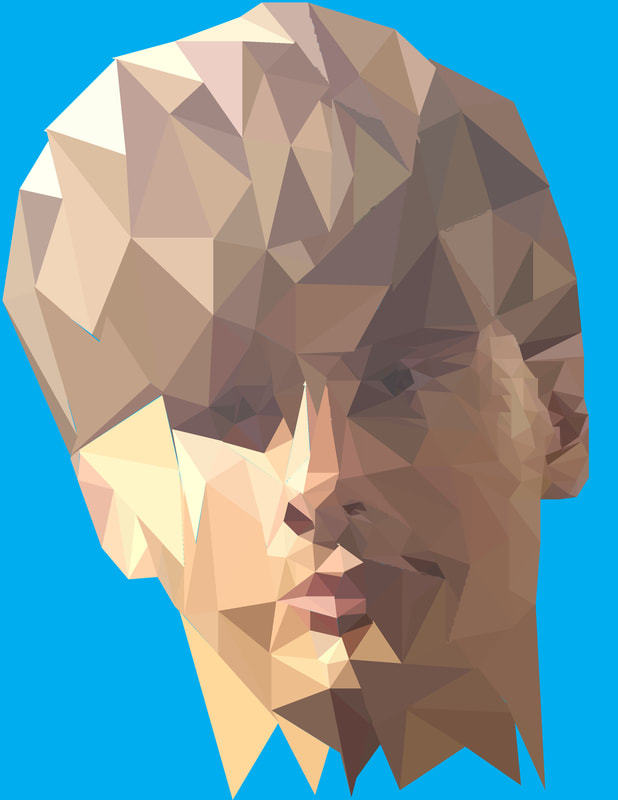
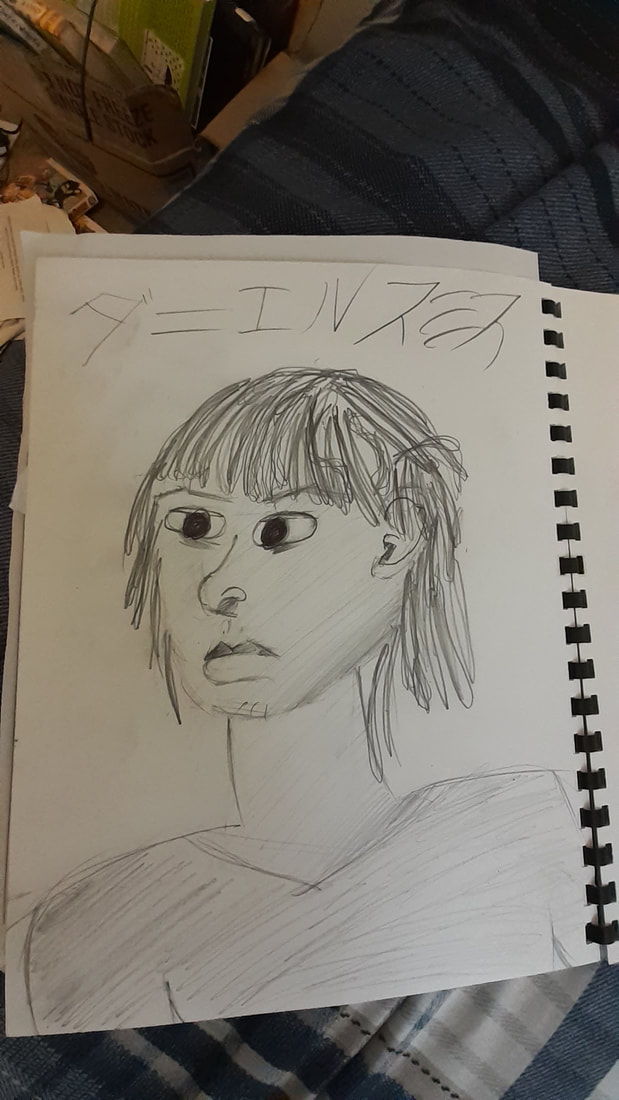
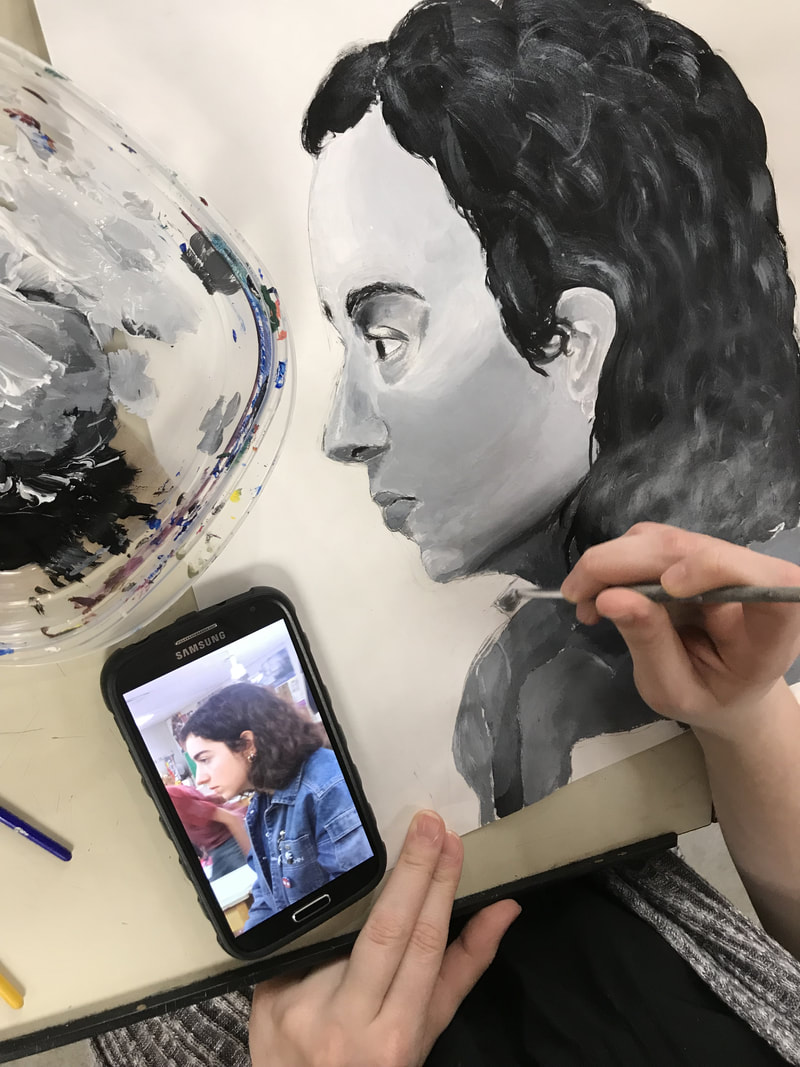
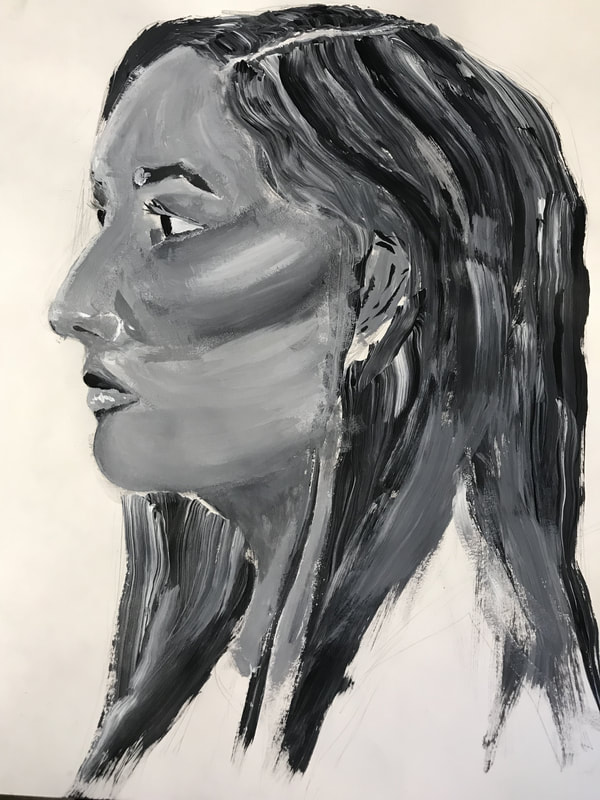
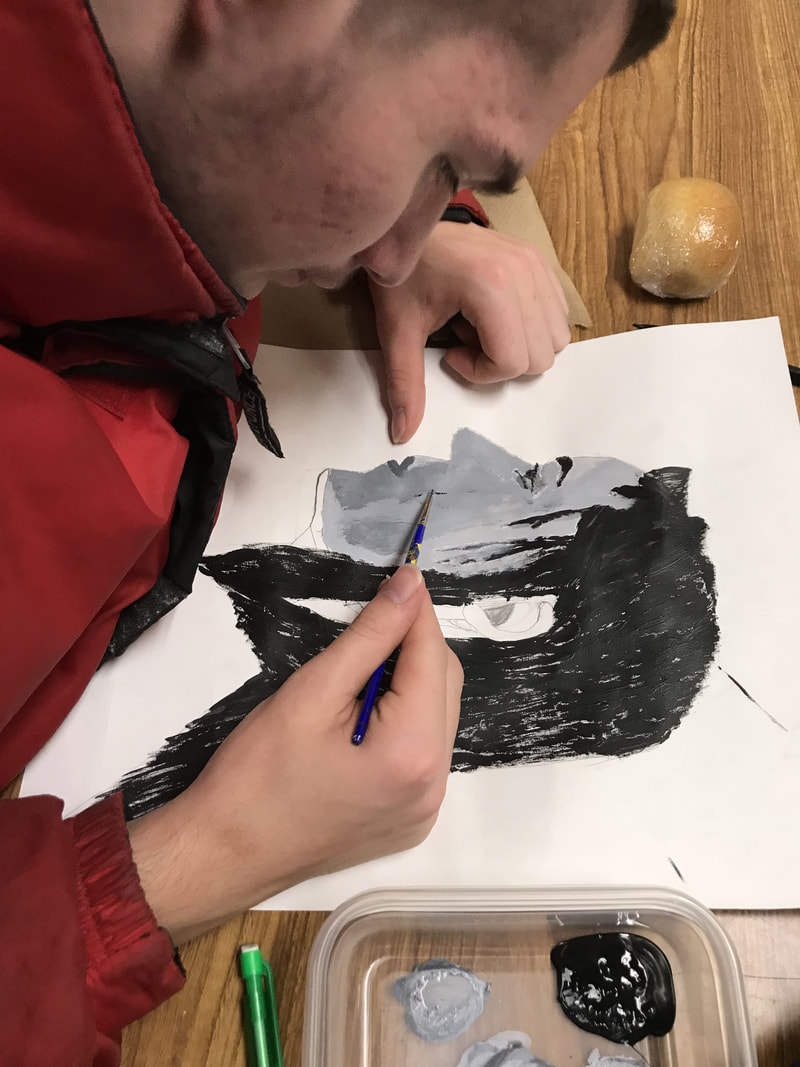
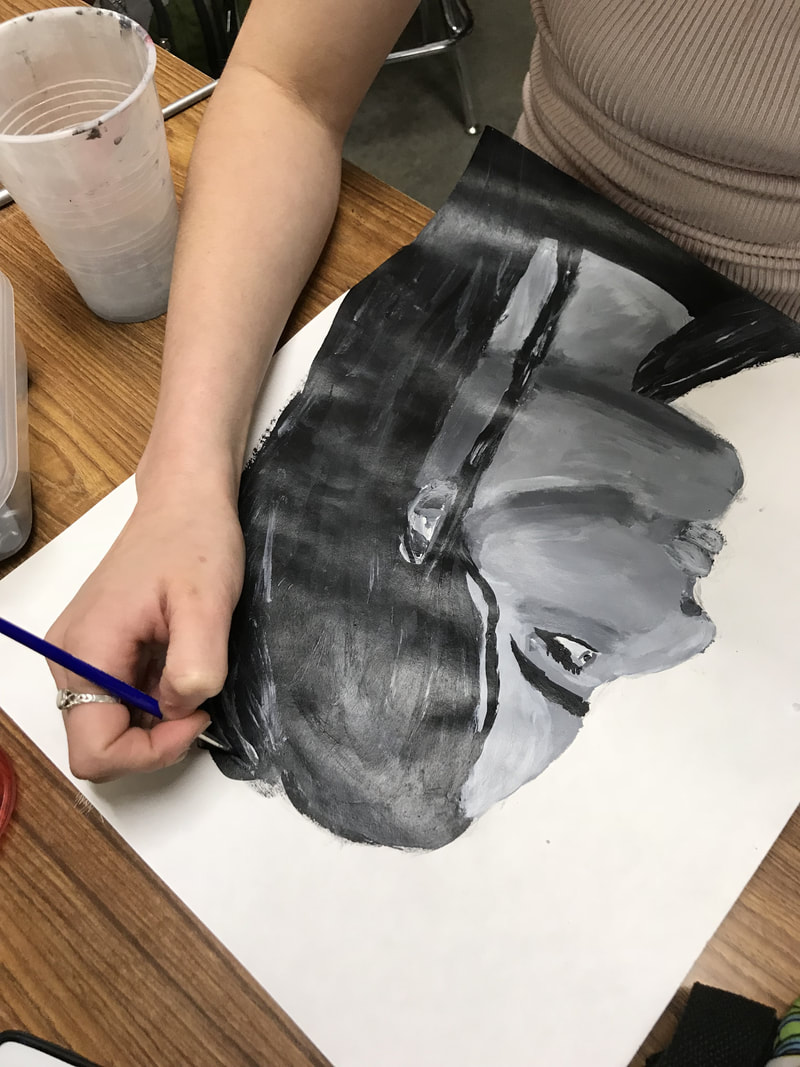
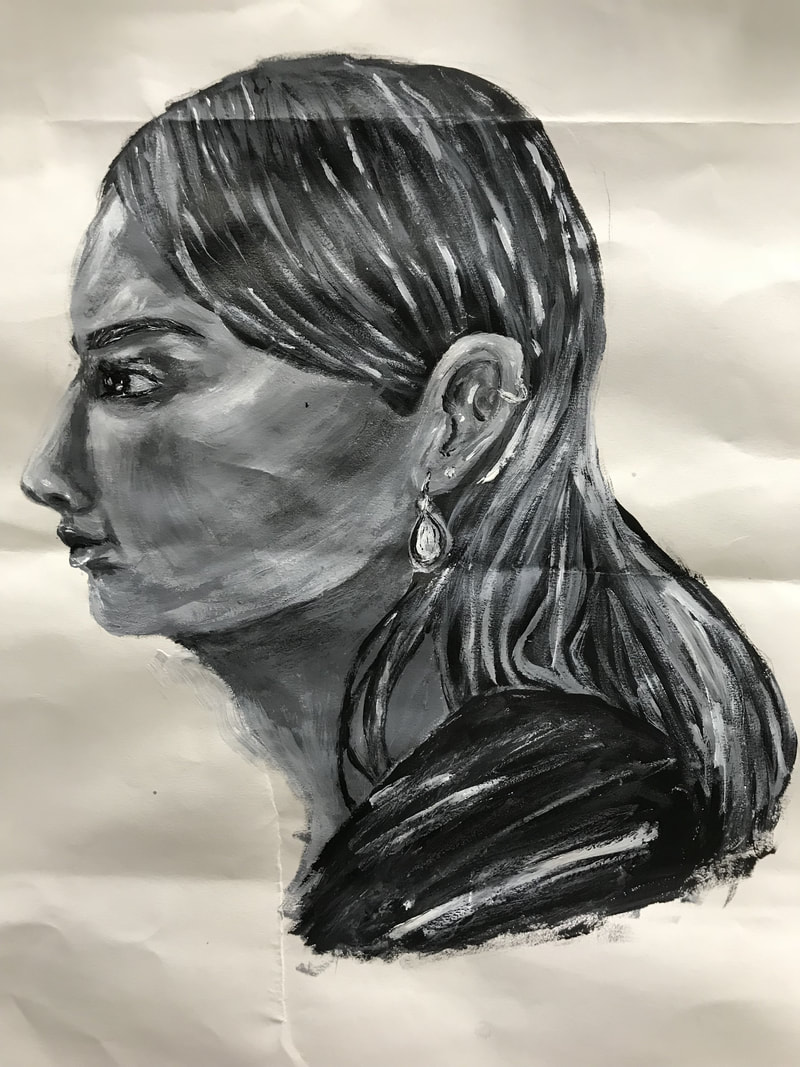
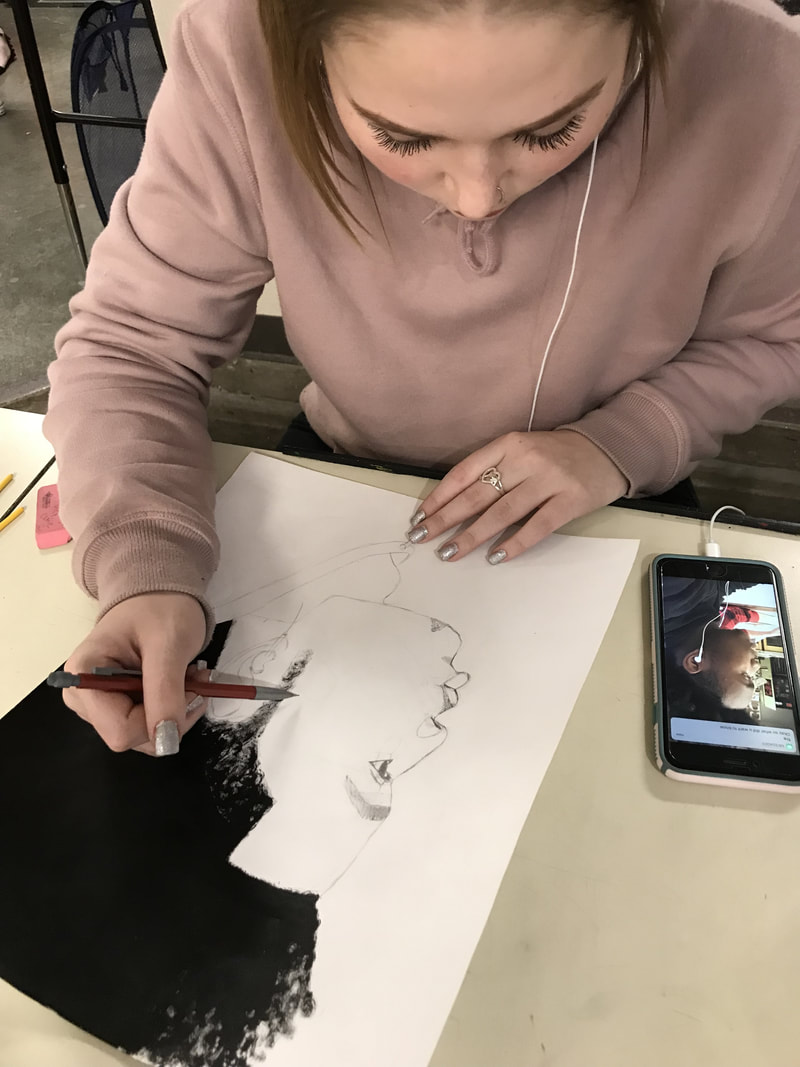
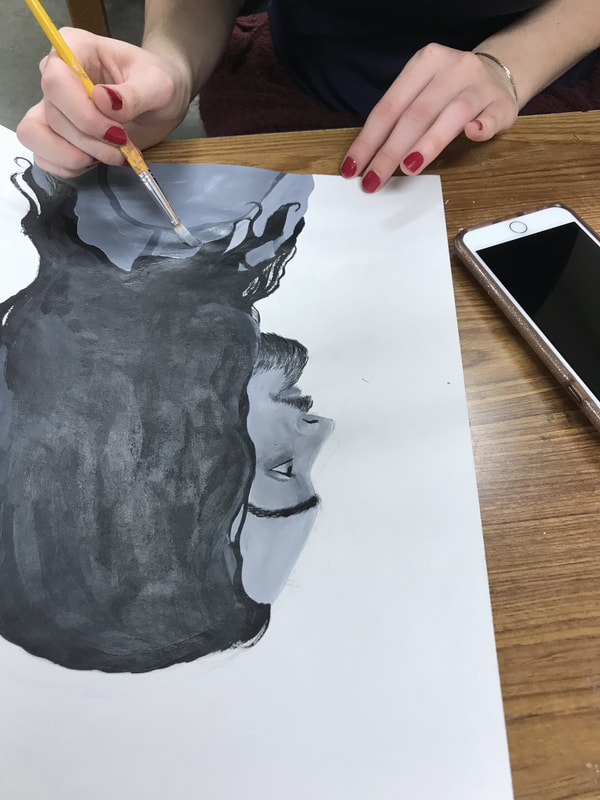
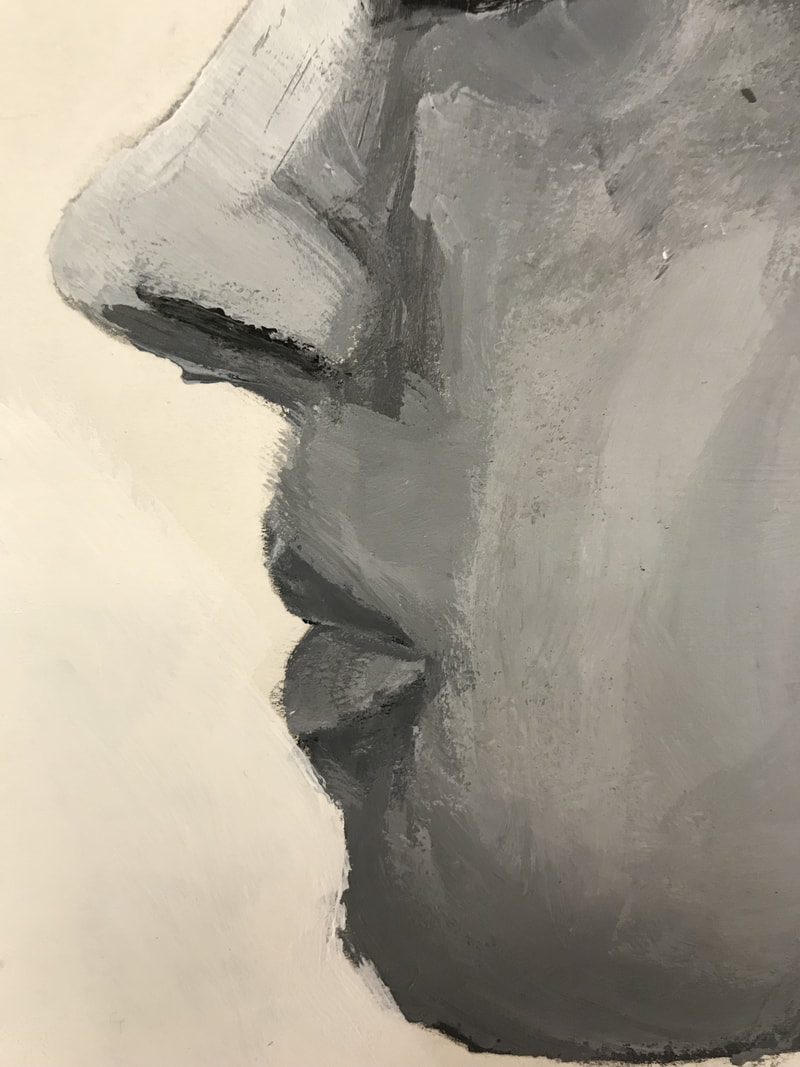
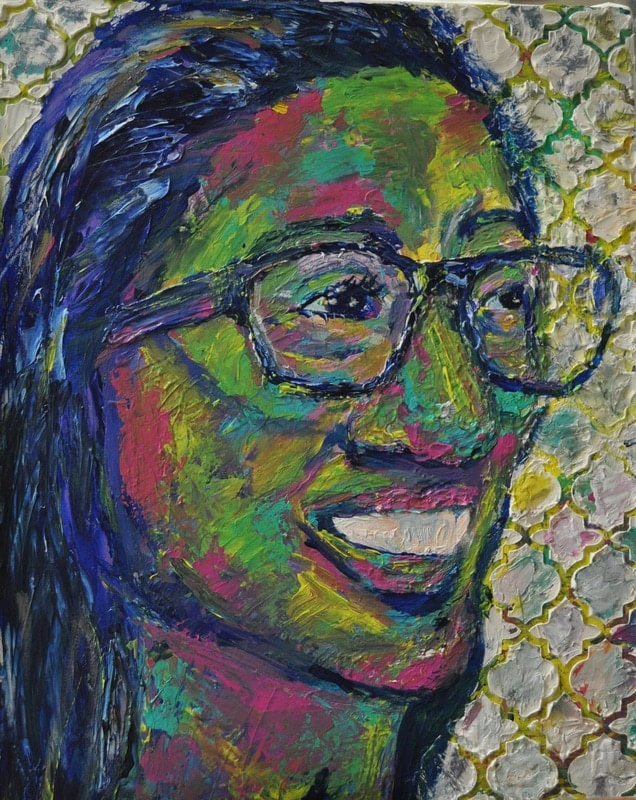
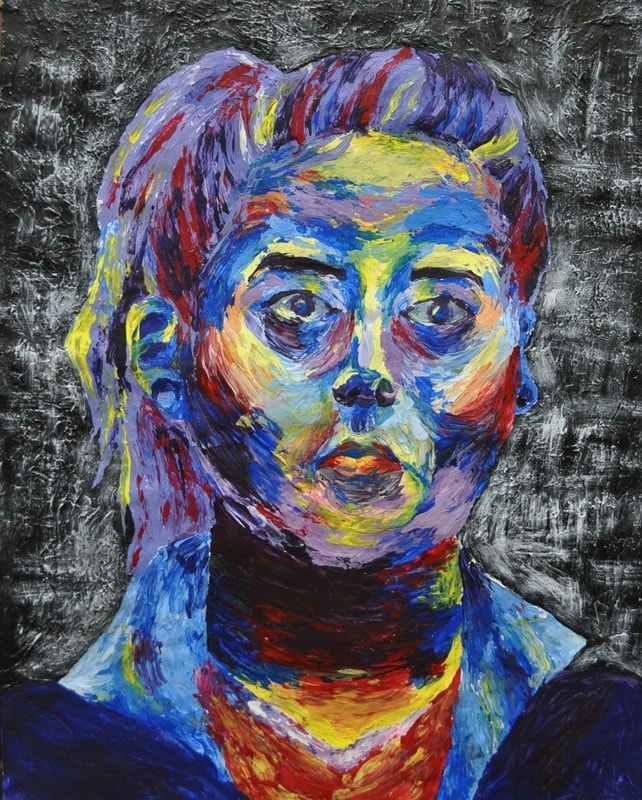
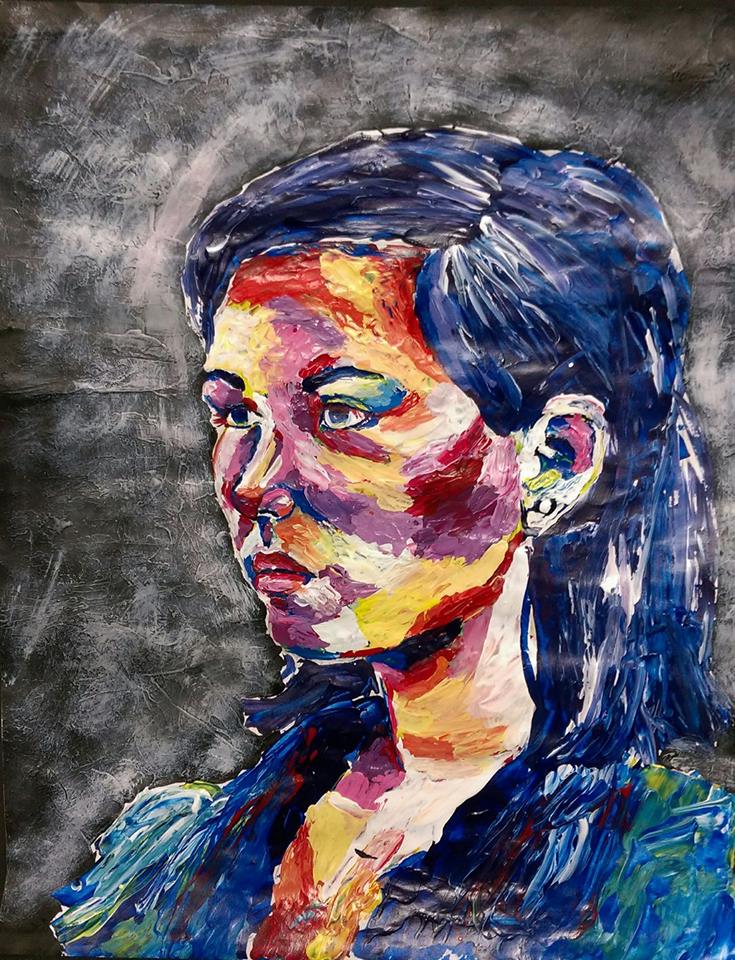
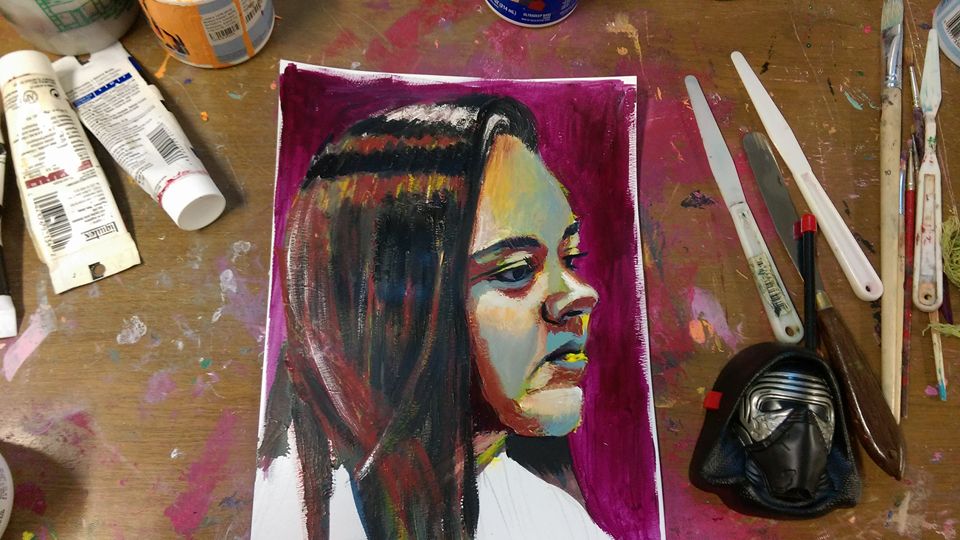
WEEK 4: Here's Lookin at You/Self Portrait!
|
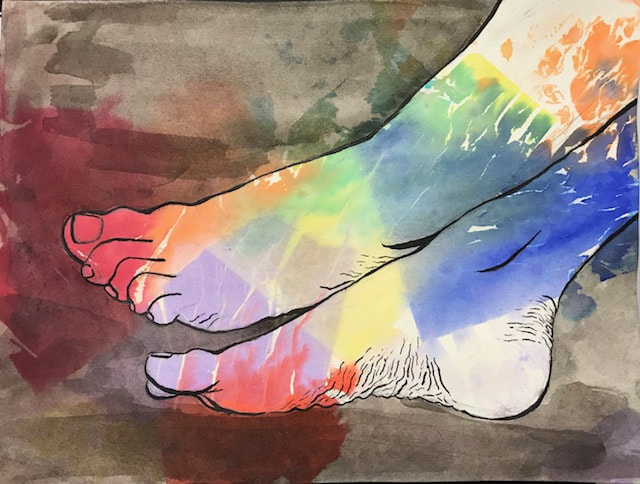
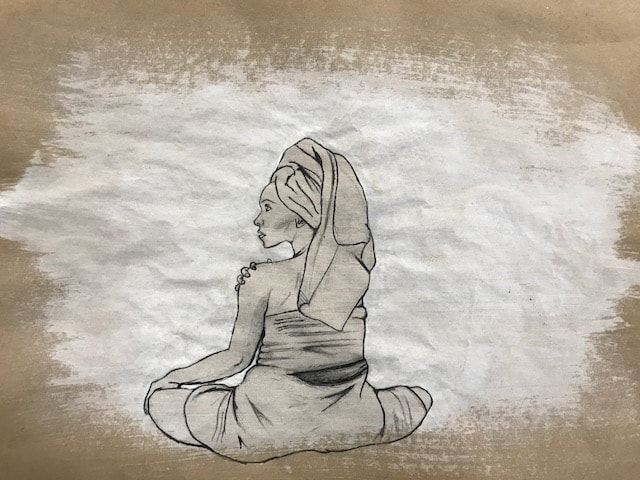
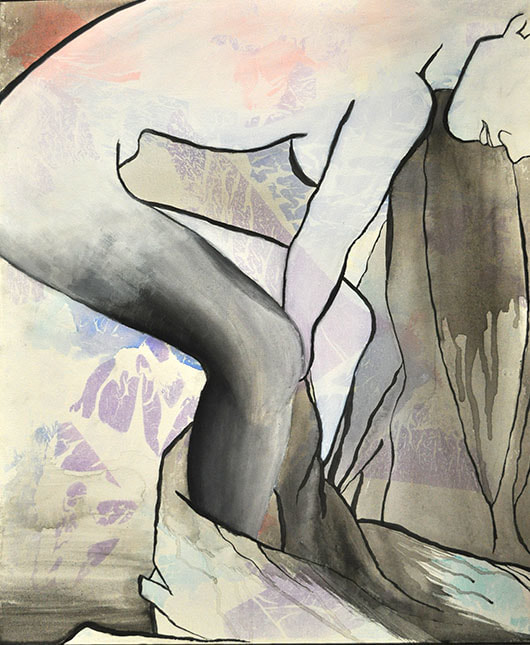
For this week's Art Assignment you will be creating a self-portrait at home using whatever art materials are available to you... pencil, chalk, food coloring, paint, whatever!
|
|


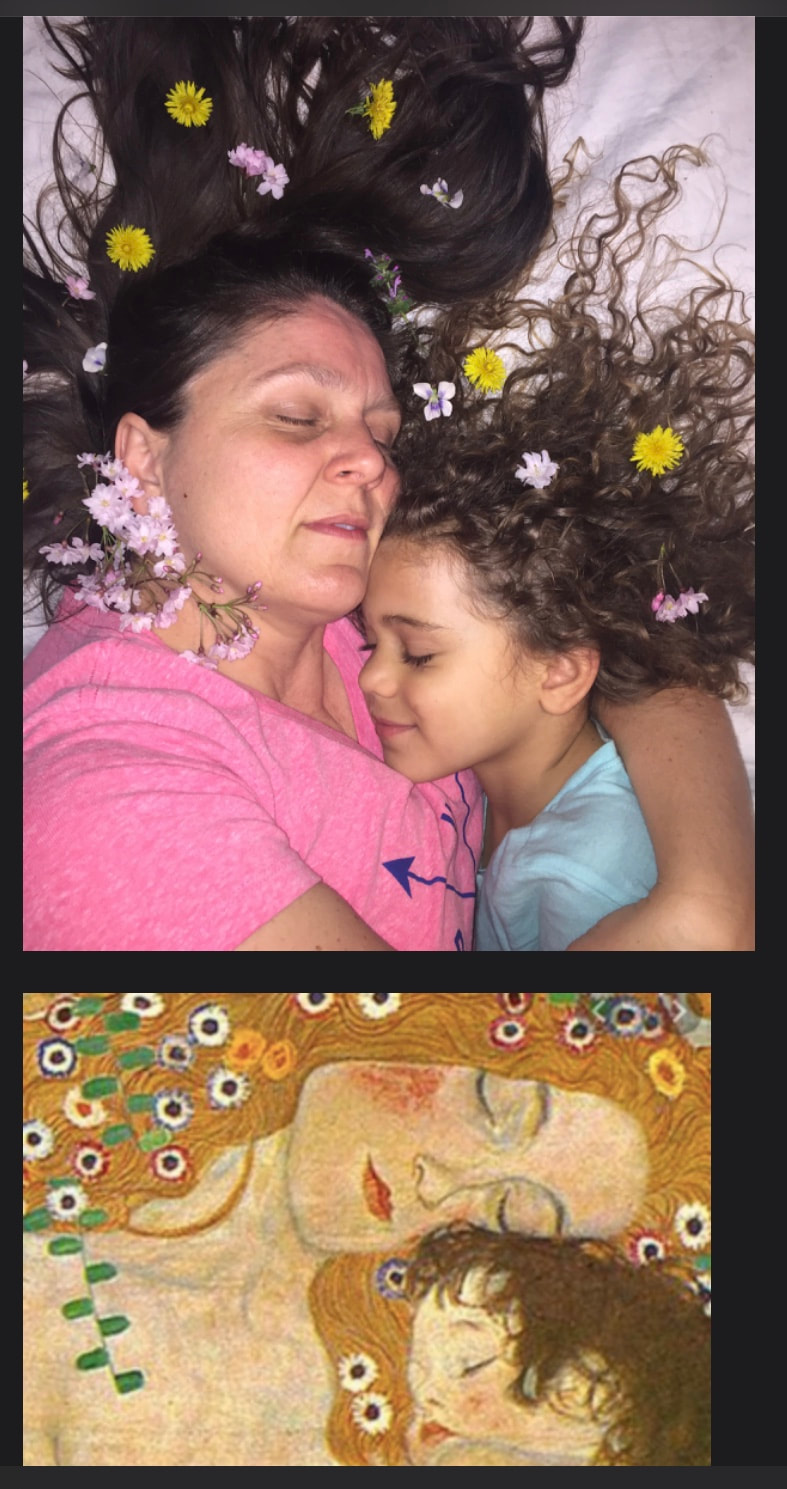
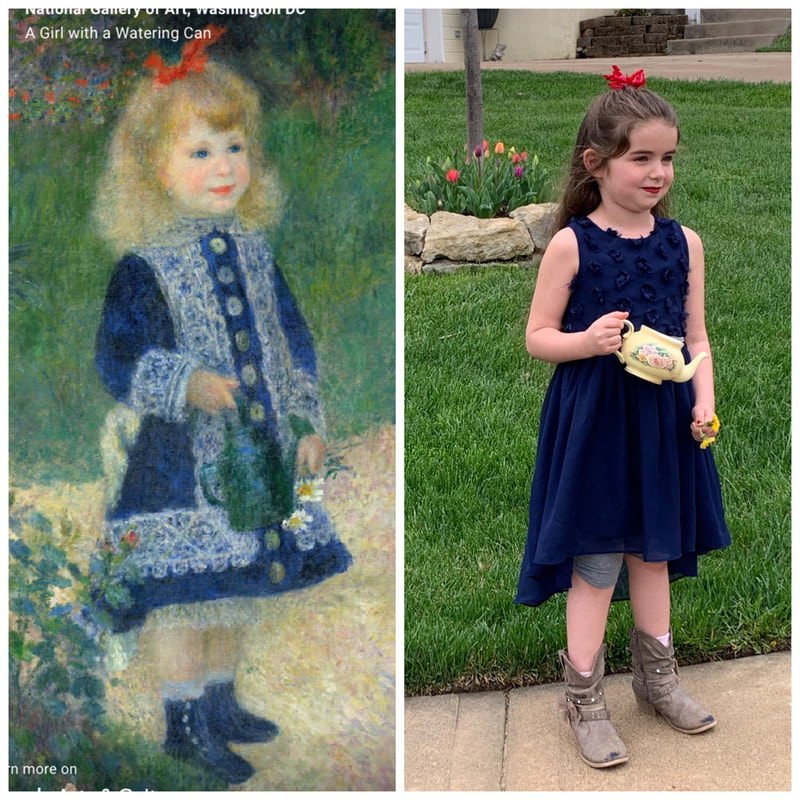
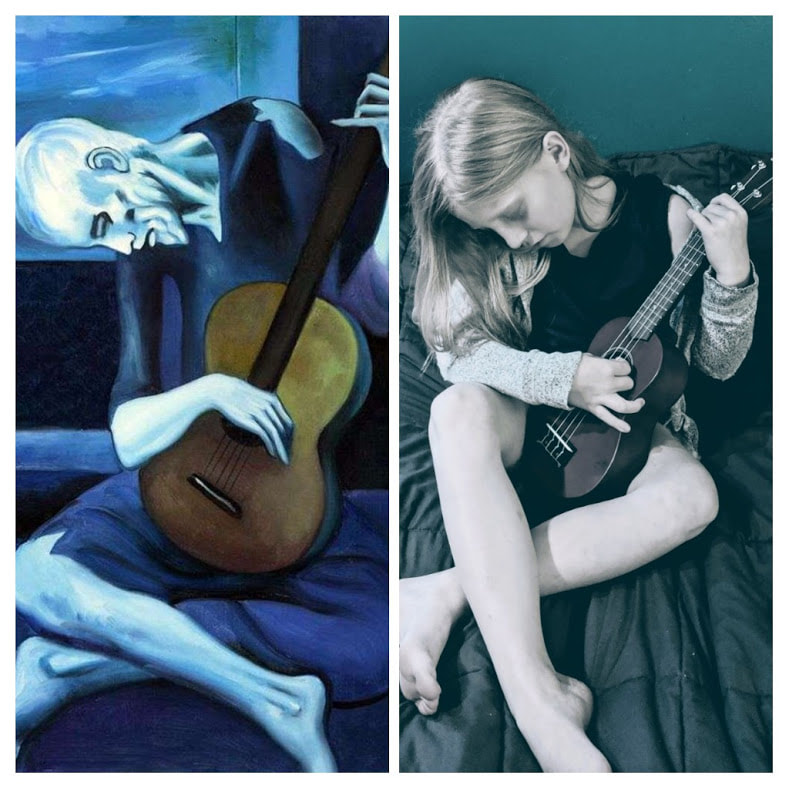
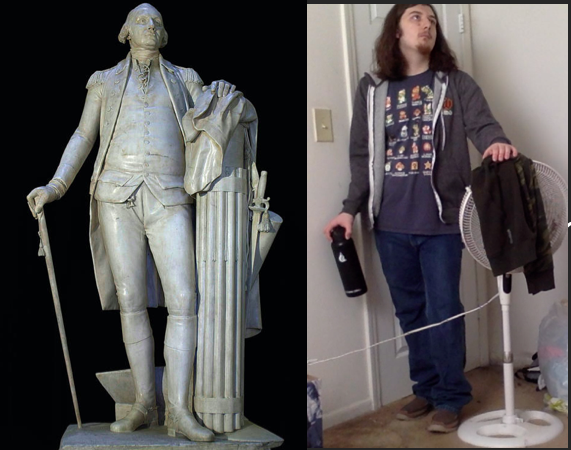
WEEK 3: YOU ARE A MASTERPIECE- recreate a work of art with you in the photo
- Instructions for the Assignment are on the PowerPoint "you_are_a_masterpiece"
- Teacher examples are in the gallery below
- Submit your PowerPoint to Canvas- Assignments-You Are A Masterpiece- by Friday, April 10th
- I can't wait to see what you do!!!
| you_are_a_masterpiece.pptx |
|
|

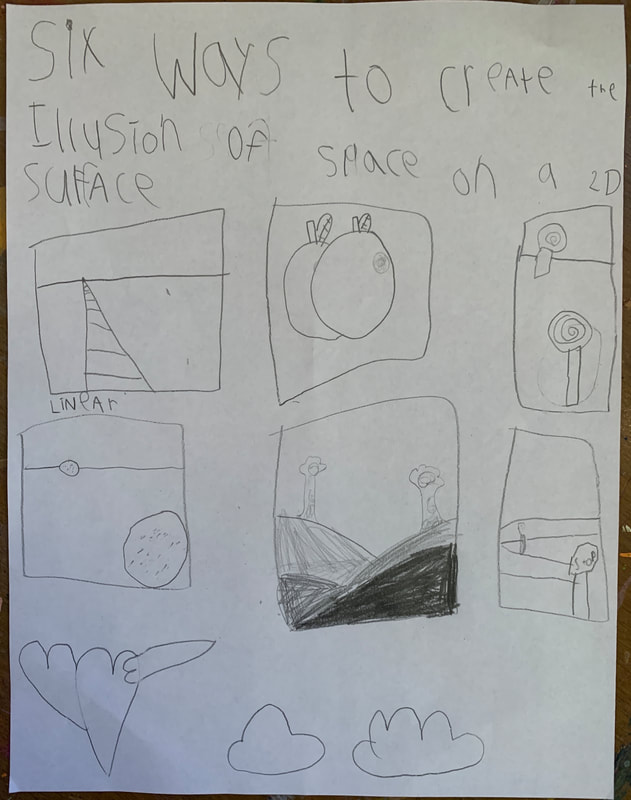
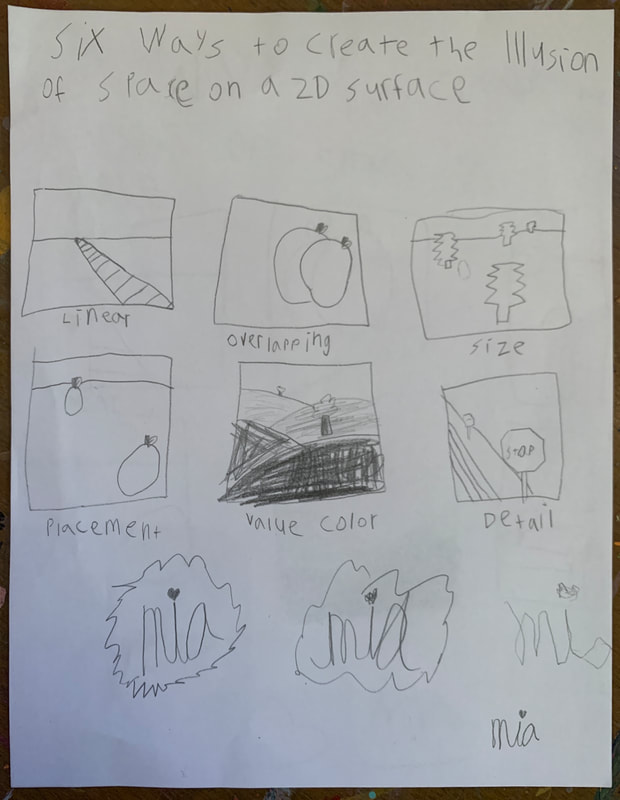
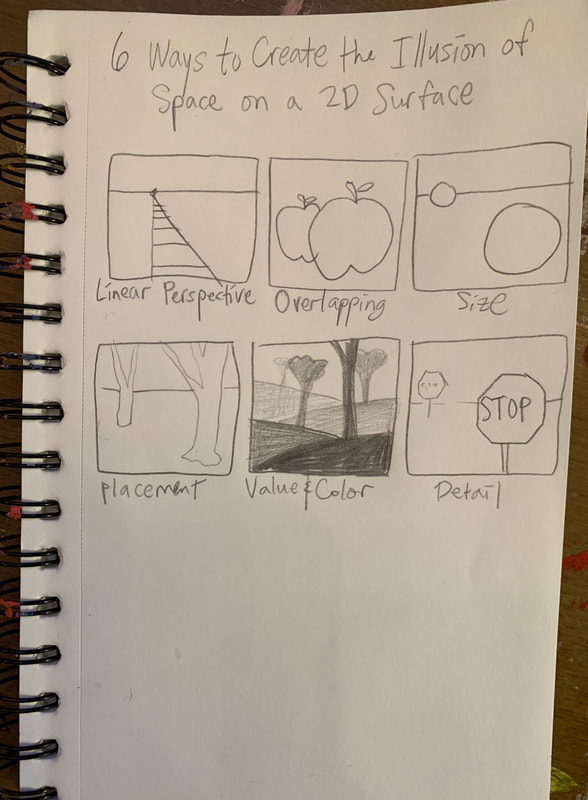
Week 2 at home: Perspective Sketches
STEP 1: Sketchbook Thumbnail drawings. I can demonstrate 6 different ways to draw perspective.
- Watch the video link "6 ways to Draw Perspective." This should be a review of learning perspective techniques from Art 1. Create 6 thumbnail drawings in your sketchbook (on one page) showing these 6 different techniques. You can also watch the video of me teaching this to my kids, who are now my new coworkers.
- Use your computer or phone to take a photo of your sketchbook. Upload this picture from your sketchbook (or paper if you don't have your SB) and Submit it on Canvas to Assignments: 6 Ways to Draw Perspective, Thumbnails
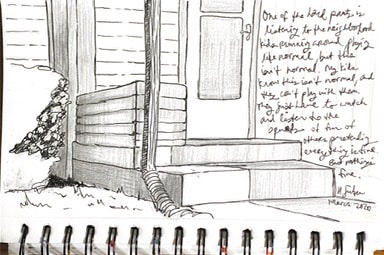
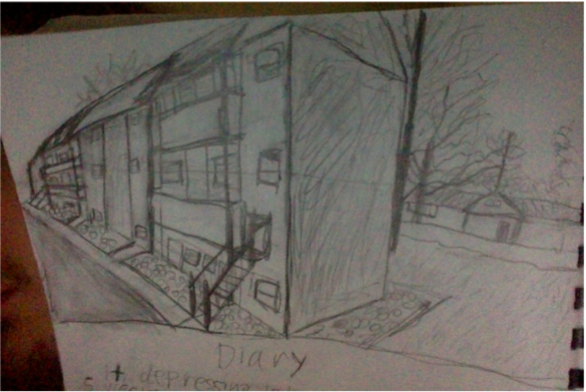
STEP 2: Two-Point Perspective: I can create a 2-point perspective drawing from observation
- Watch the videos below of Ms. Kapperman drawing 2-point perspective practices. Draw with her in your Sketchbook, photograph this.
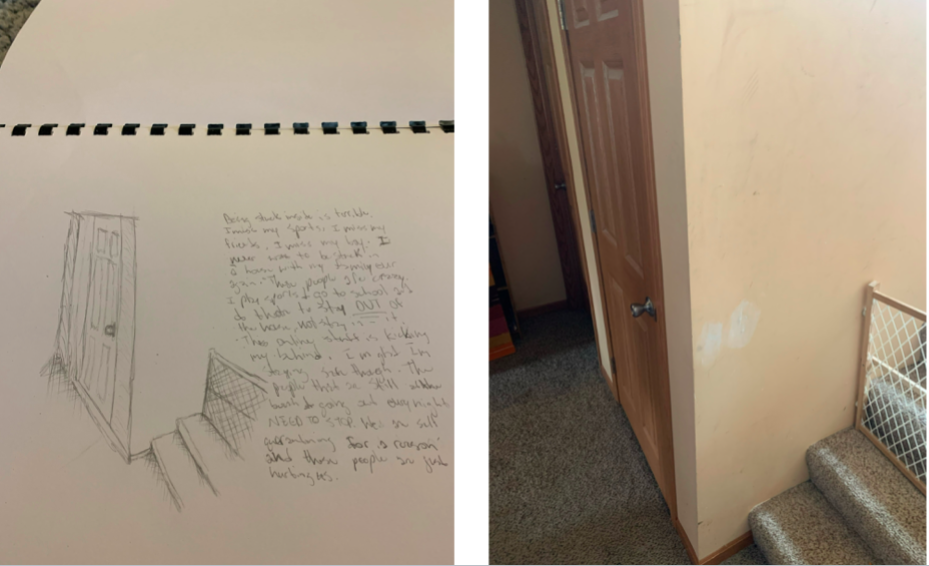
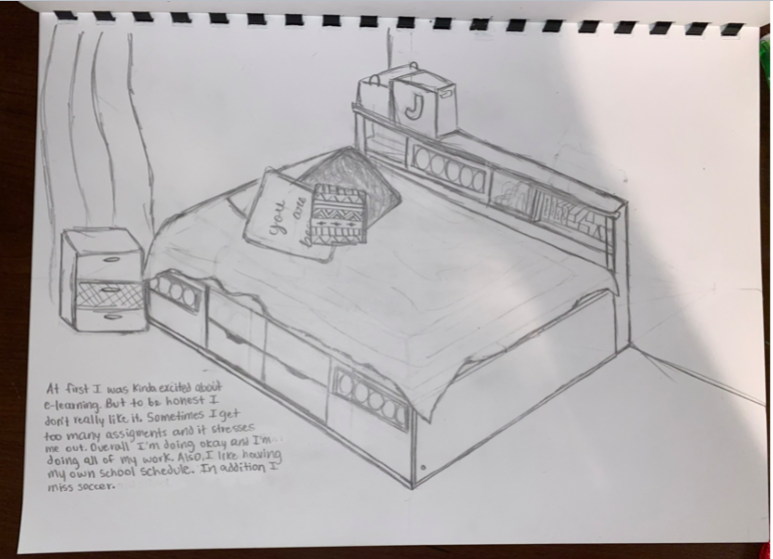
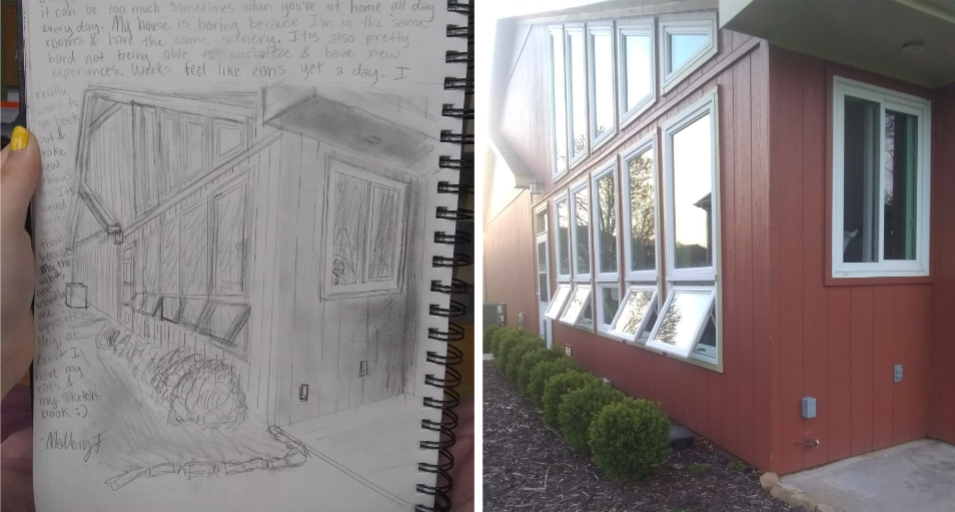
- Select an area inside or outside your house and create a 2-point perspective drawing that takes up half of a sketchbook page. You can use any material to do this. Photograph what you are drawing from the angle you are drawing it at.
- On the same sketchbook page, use the paper as a diary page- write about what you're thinking or feeling about being stuck at home. Write about this experience, how is it affecting you, your friends, family? What is the worst part or the best part about being stuck at home?
- Use your computer or phone to take a photo of this drawing. Arrange your photographs into a PowerPoint to submit to the Assignment on canvas: 2-Point Perspective from Observation
| |||
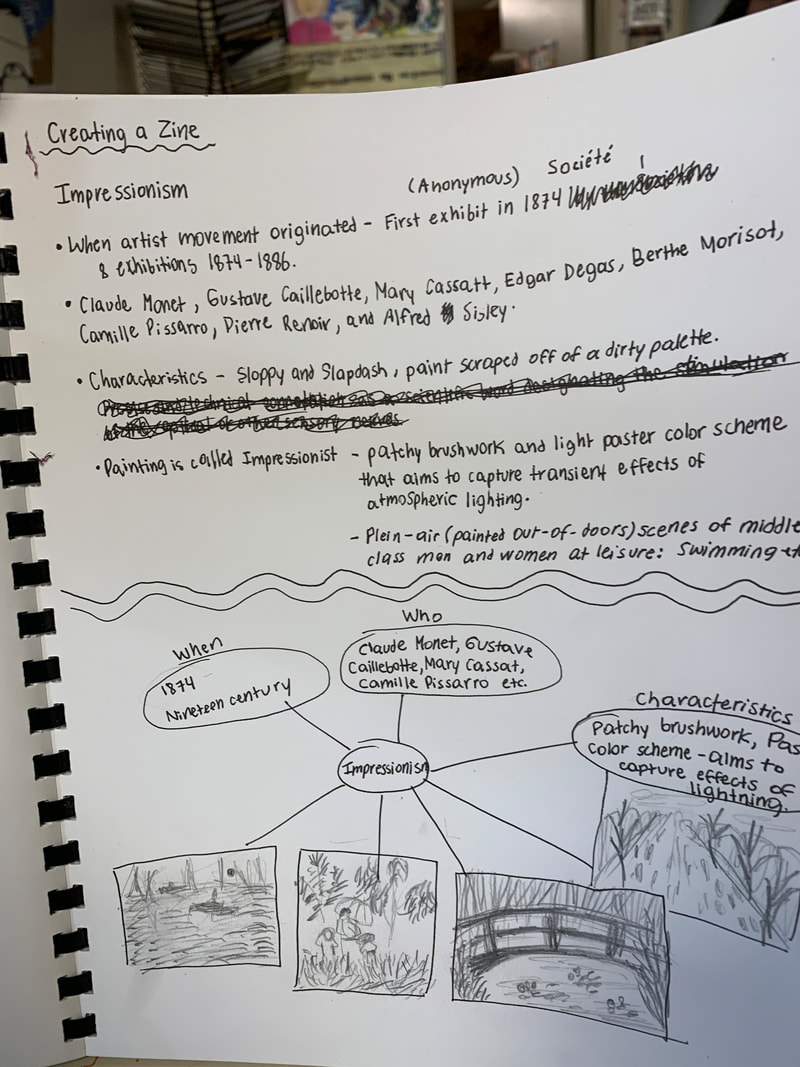
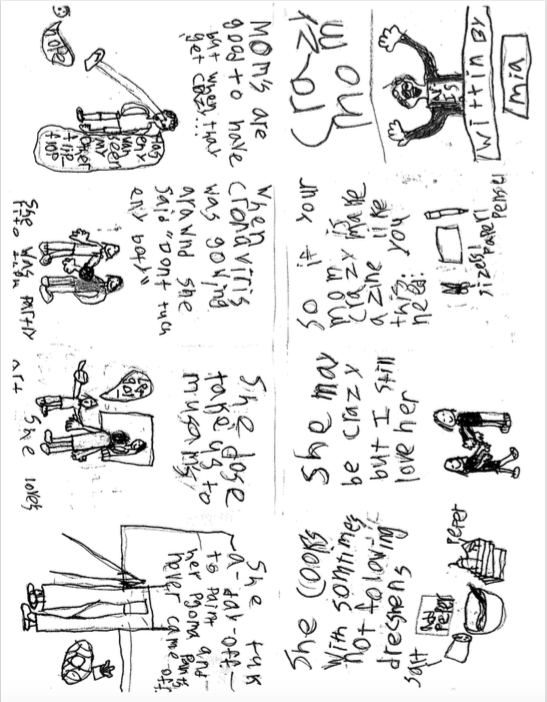
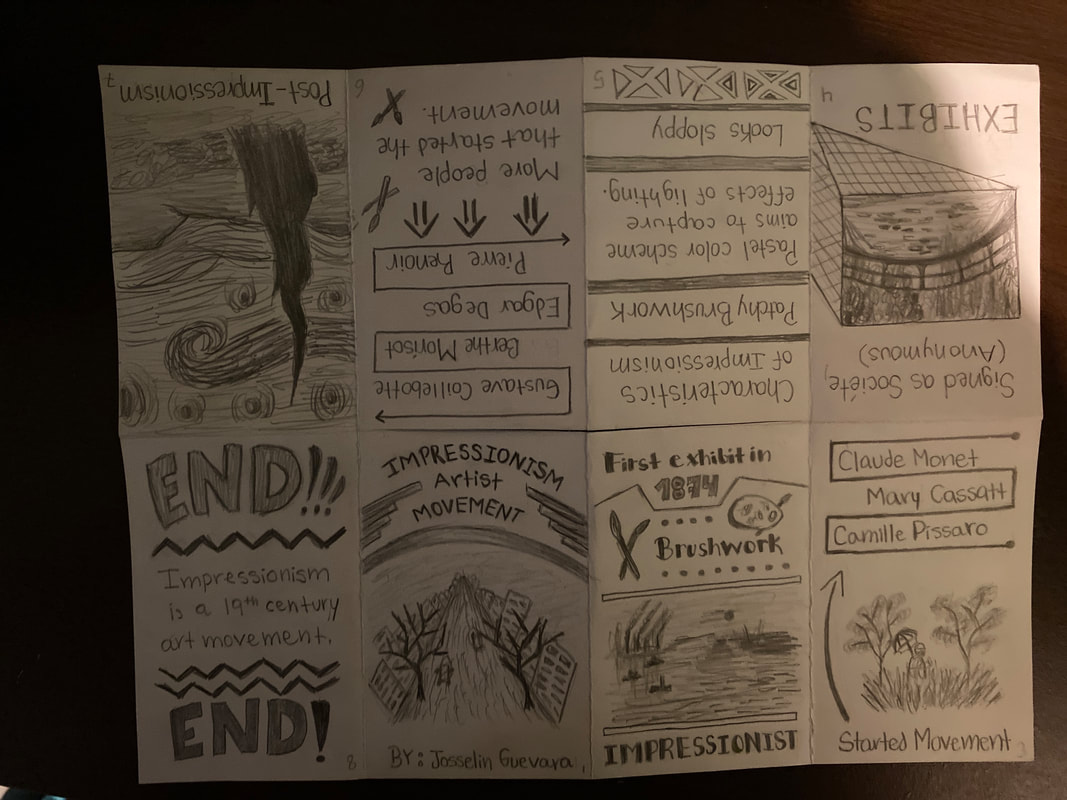
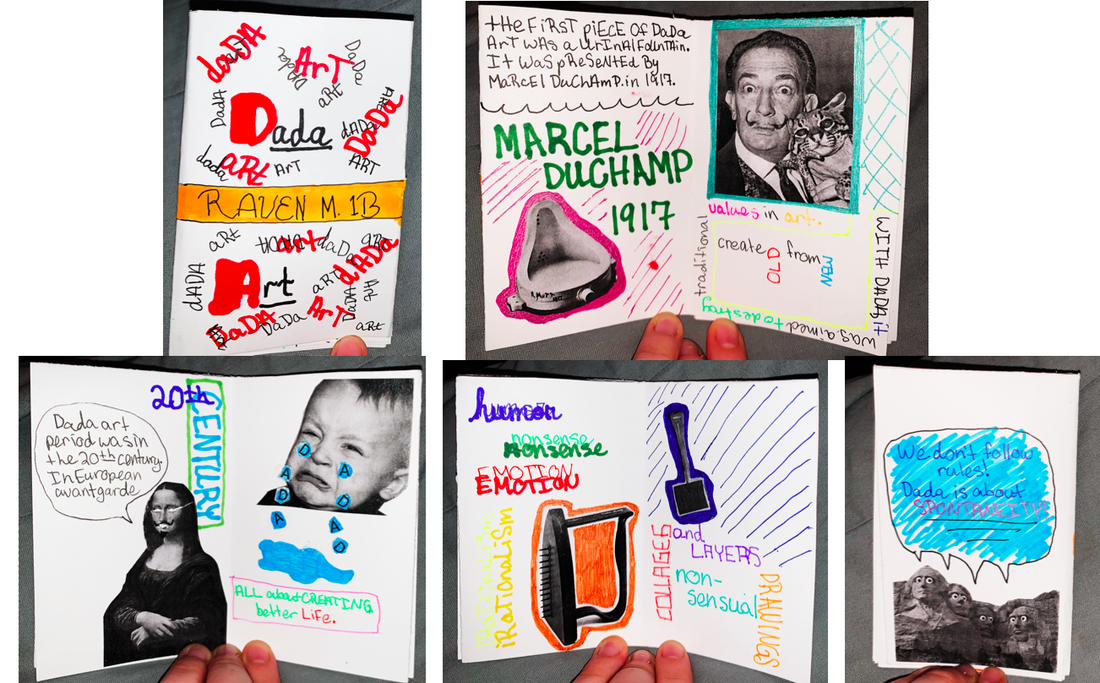
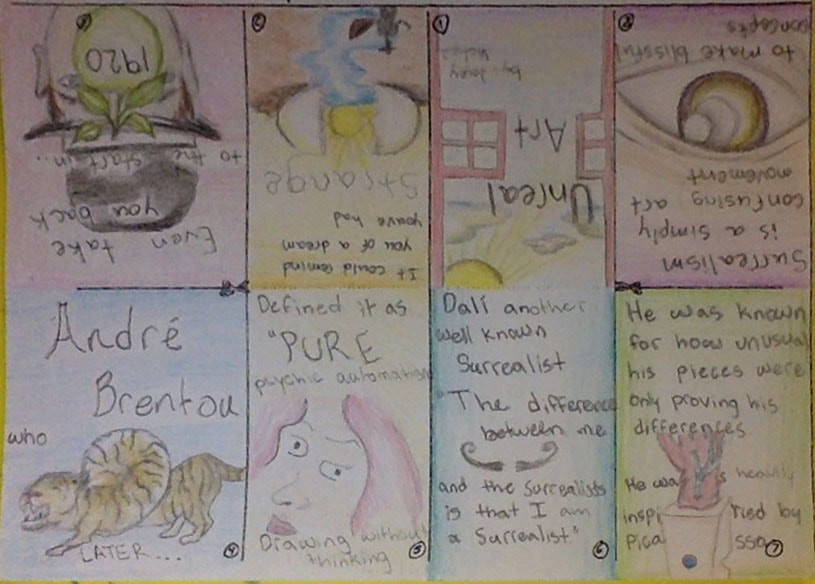
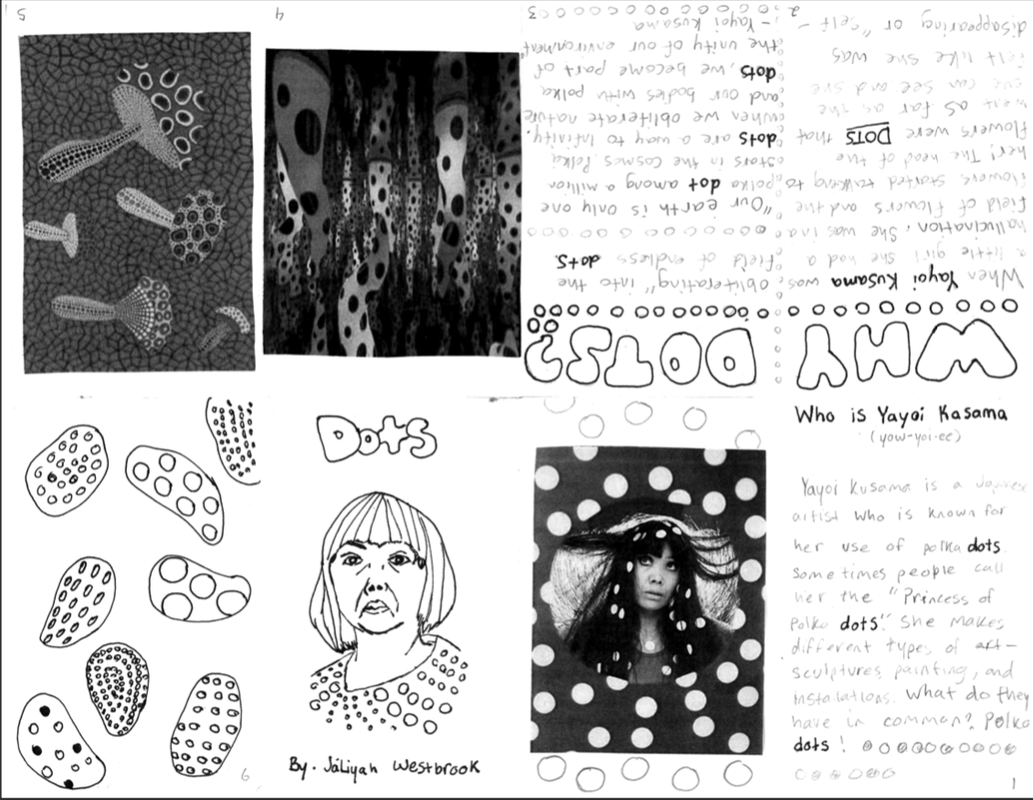
WHAT IS A ZINE? A self-published magazine reproduced via photocopier.
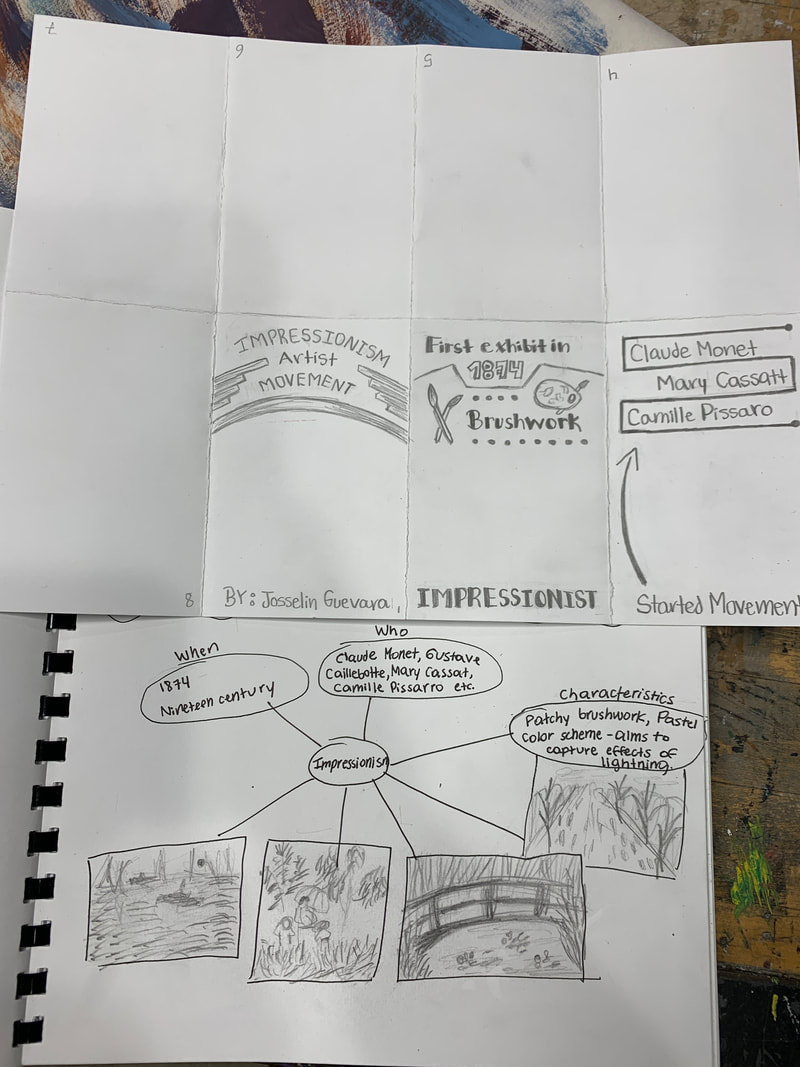
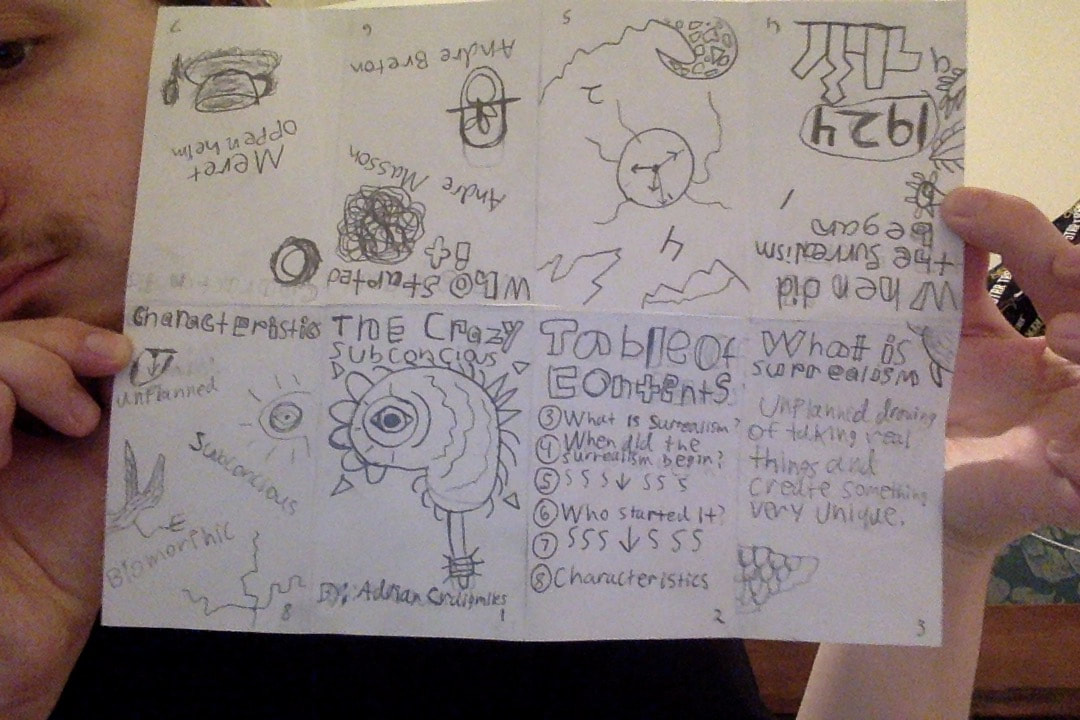
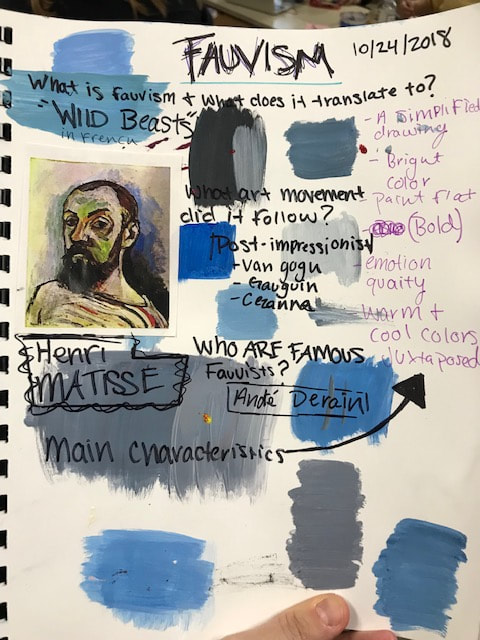
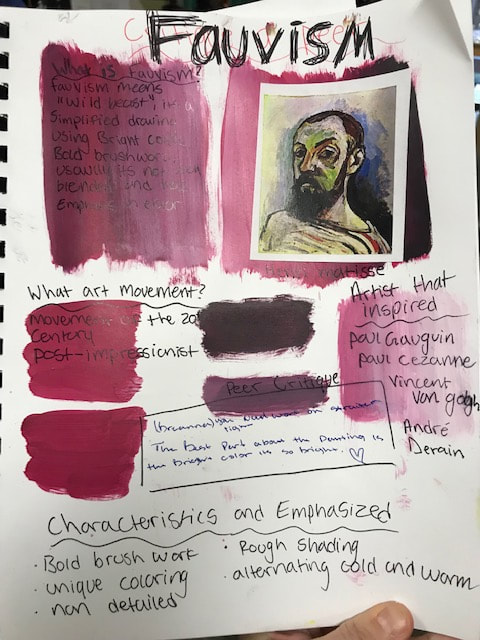
Step 1: I can create a mind map with research about a chosen art movement for my zine.
Step 1: I can create a mind map with research about a chosen art movement for my zine.
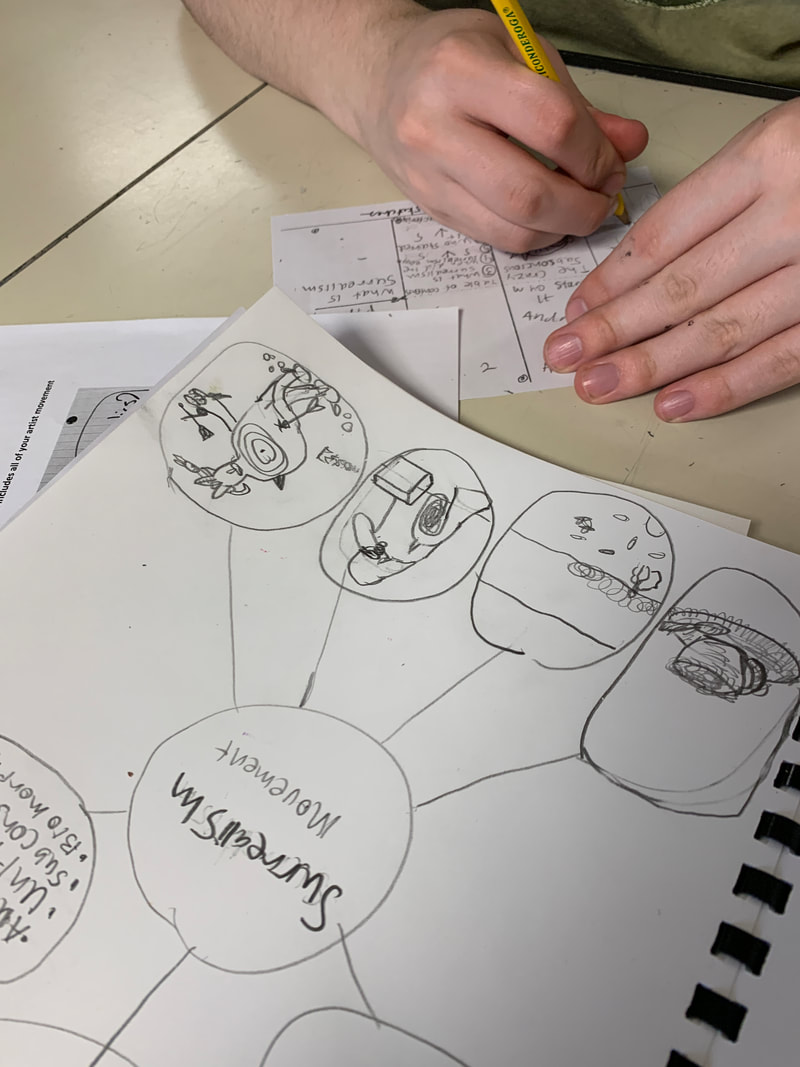
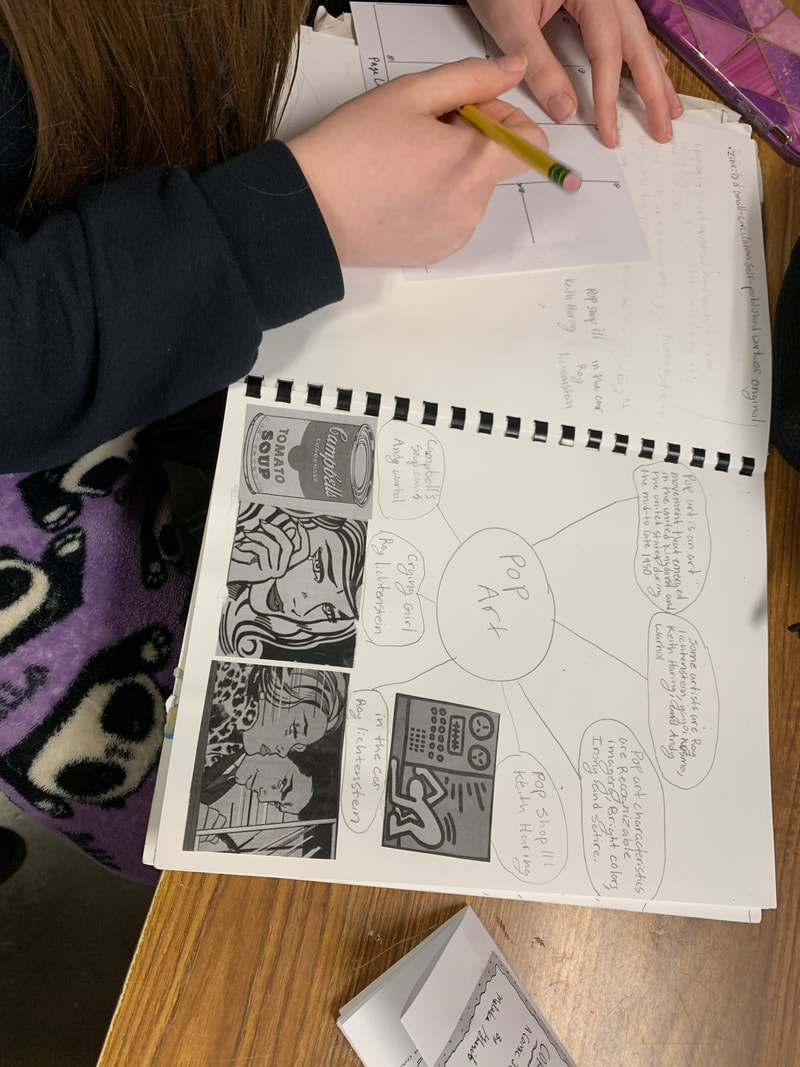
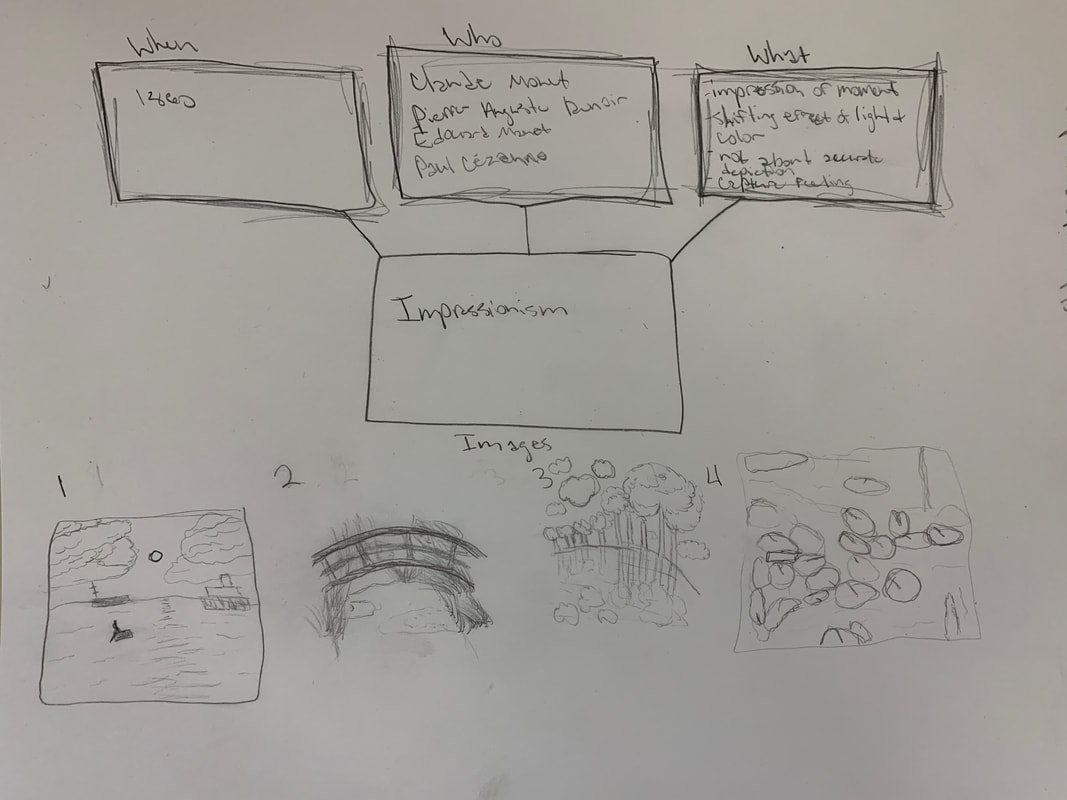
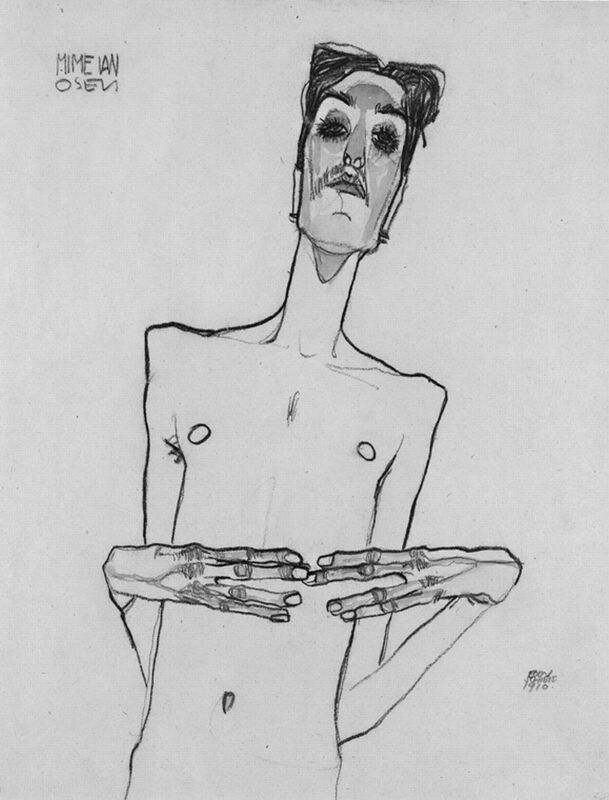
- Choose either Pop Art, Dada, Surrealism, Harlem Renaissance, Impressionism or German Expressionism
- Go to khan academy (link is above on right) and type the name of your chosen art movement to research.
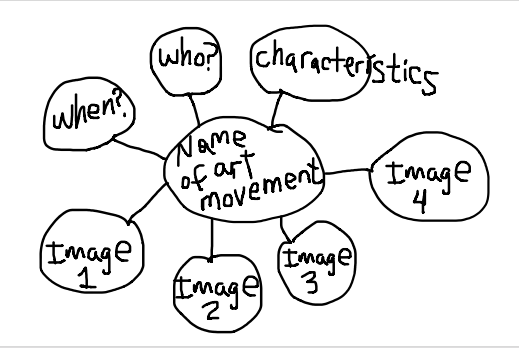
- Answer the following questions about your art movement in the form of a mind map (seen in the first image below)
- When did the art movement begin and how long did it last?
- Who were the leading figures in the art movement?
- What are the characteristics of the artwork from that movement (what did the artwork look like?)?
- Find four artworks that represent that movement. They should be from the leading artists of that movement. Draw (or print out) small examples of what the artwork looked like on your mind map.
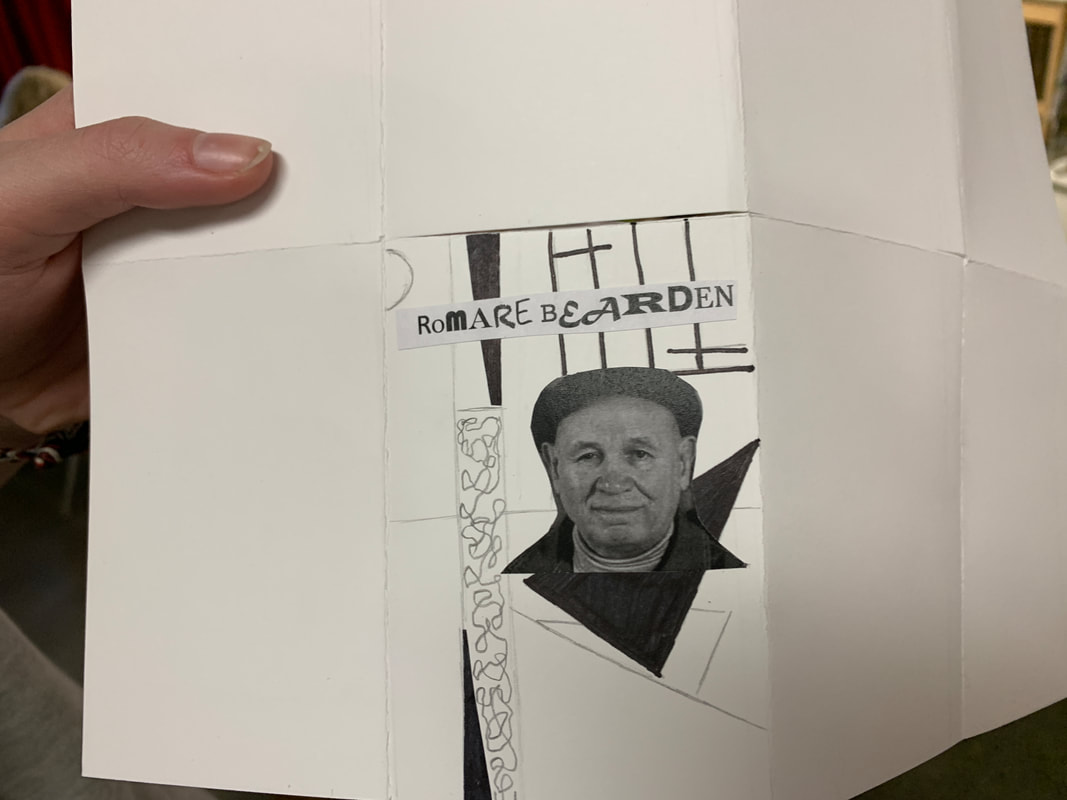
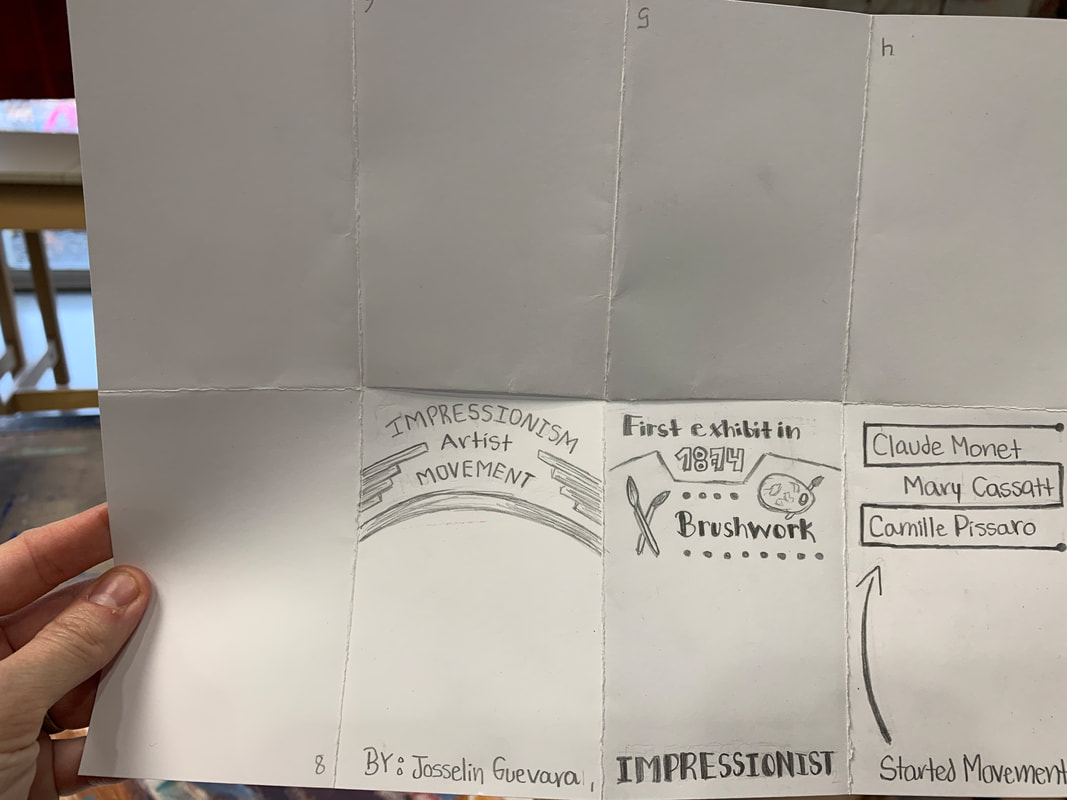
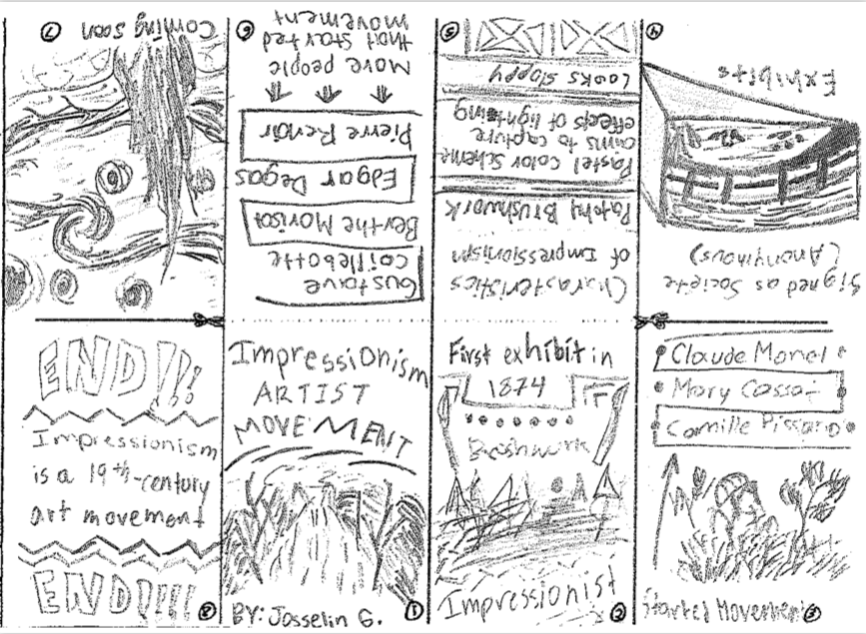
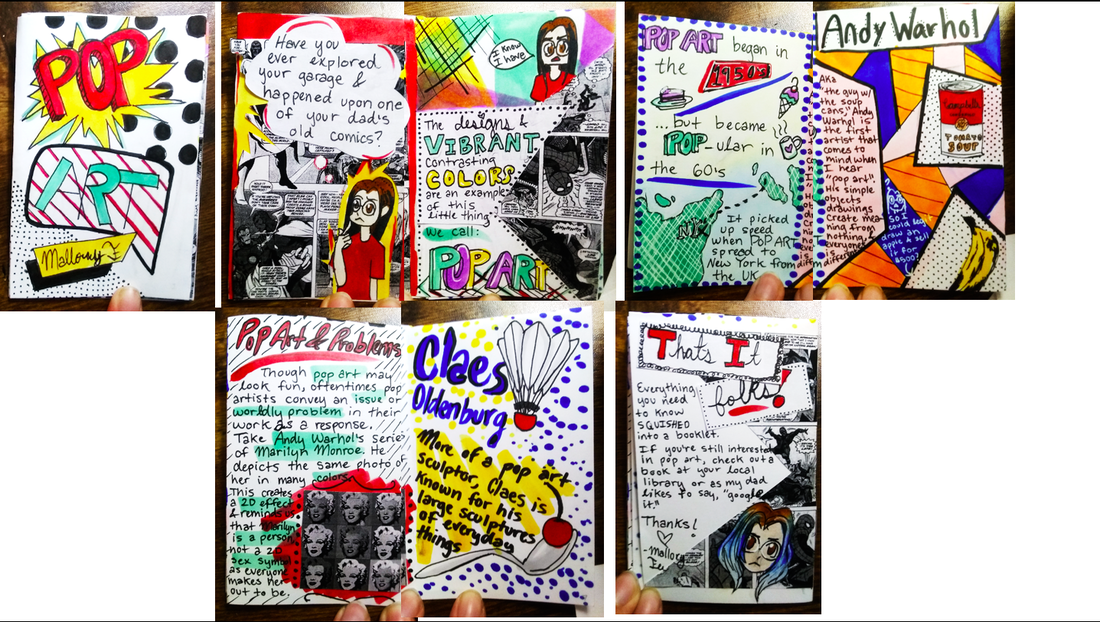
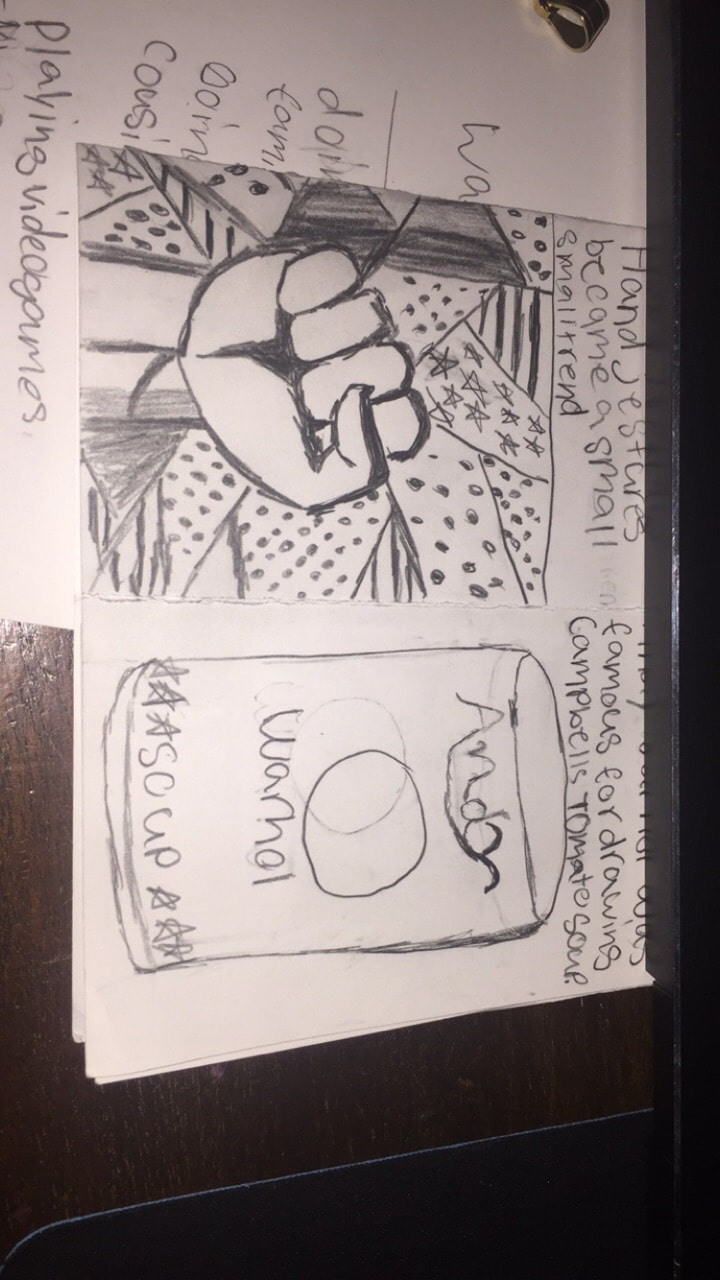
Step 2: I can create a one-page-zine using the research from my mind map
- Watch the video link above titled "How to fold a zine" and fold a piece of paper while watching.
- Label the pages 1-8 and start designing what will go on each page
- The title page will be on page number 1 and it should have a title of your zine and your name.
- Use all of the research from your mind map in your zine.
- Include the 4 artworks that represent the art movement. You can print out text and artwork or you can write and draw or you can do a combination of both.
- The pages in your zine should all be full and each page should be thought out and well designed. Examples are below.
|
| ||||
Mural Design
EQ: How can I plan a mural for a particular audience?
LT: I can select a place to design a mural and incorporate several artistic techniques.
STEP 1: Go through the BOLD numbers 1-4 below and keep all of your answers and drawings on one Sketchbook Research page. This will be submitted for a grade on Canvas
LT: I can select a place to design a mural and incorporate several artistic techniques.
STEP 1: Go through the BOLD numbers 1-4 below and keep all of your answers and drawings on one Sketchbook Research page. This will be submitted for a grade on Canvas
1. Read the History of Murals and answer these questions in your Sketchbook
- What is the meaning and purpose of a mural?
- When did murals become a tool to communicate the opinions of the people?
- What is an early method of mural painting and a current technique used today?
- What are they trying to say with their work? Is there a message they are trying to communicate?
- How do you think their mural connects to the space it is in?


|
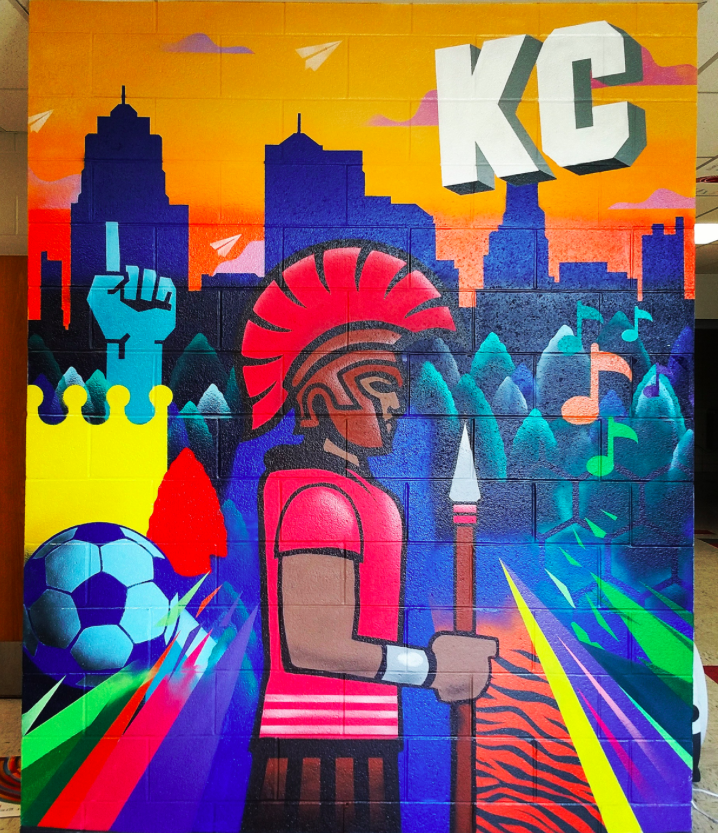
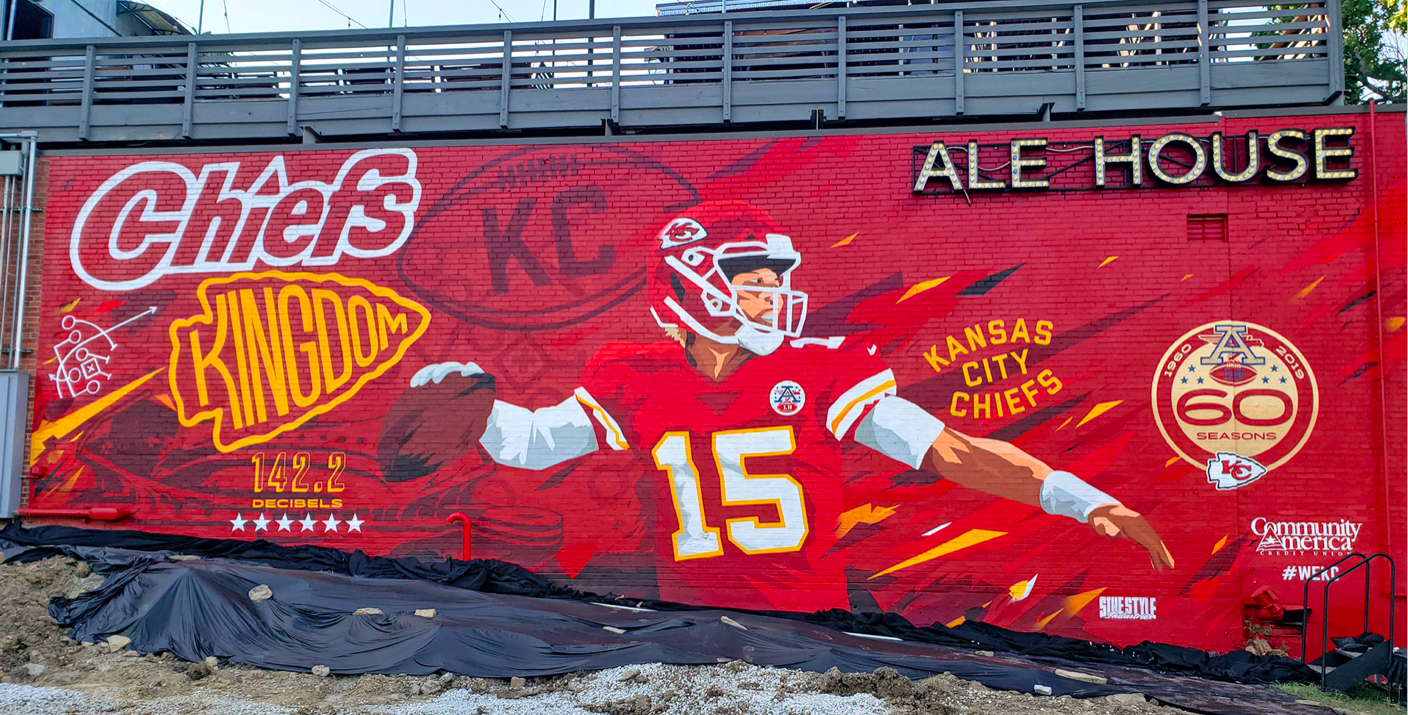
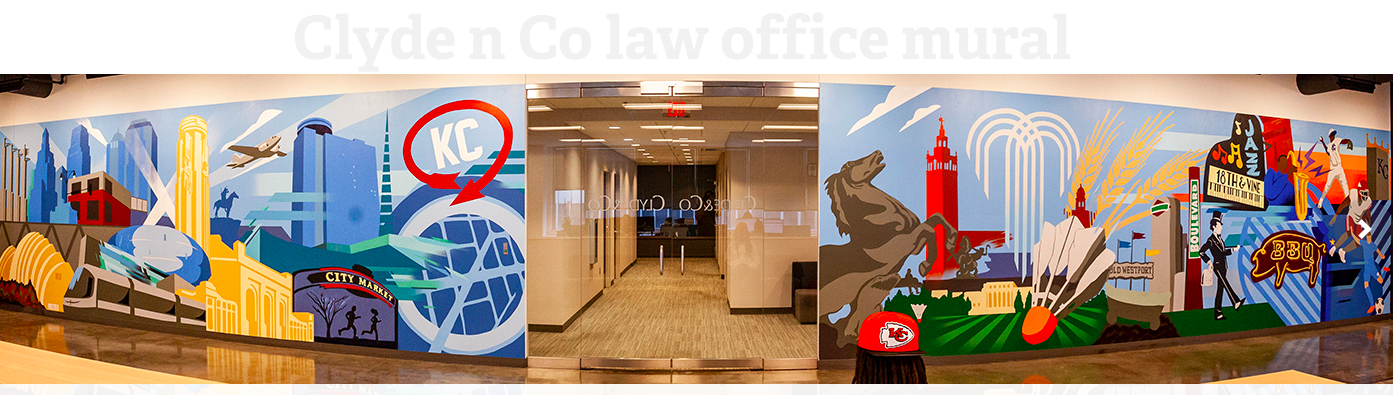
3. Who will your intended audience be? A music studio, architecture firm, car company, gaming store, coffee shop, clothing store, KC outside wall, art supply store, kids hospital? Is your mural promoting a social message or connecting with a product?
|
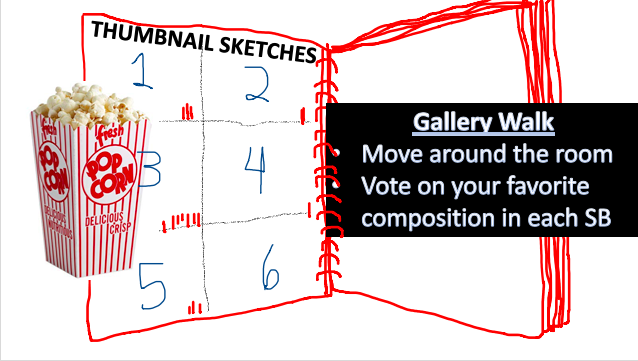
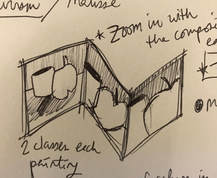
4. Create 3 different thumbnail sketches where you are trying different compositions/arrangements.
- Remember to be thinking of the following art concepts; overlapping, shading, different fonts, variety, movement, pattern, repetition
STEP 2: Select one of your thumbnail sketches to use for your Mural Design. This will be done in your sketchbook or on a piece of paper.
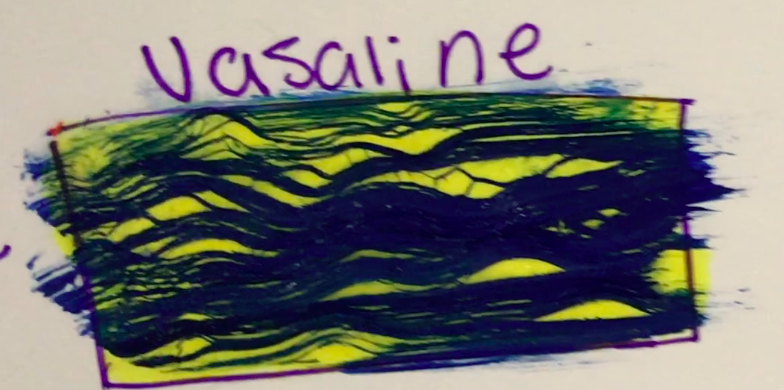
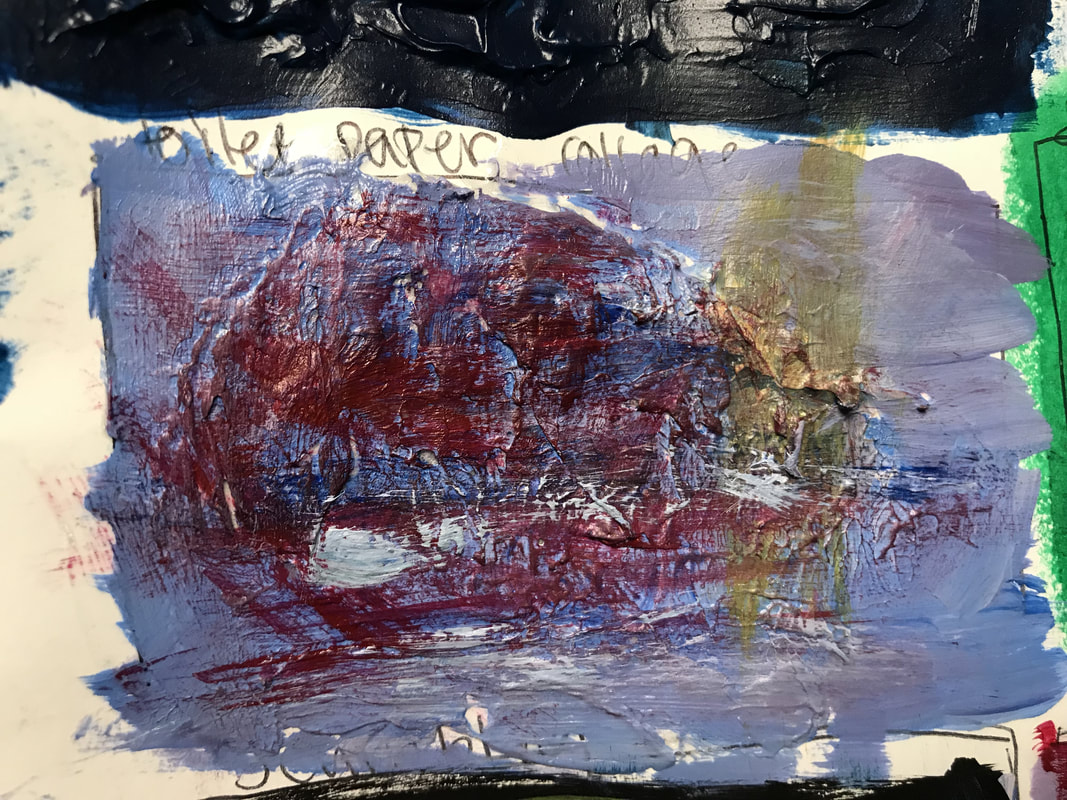
1. Beginning Activities/ Drawing Popcorn


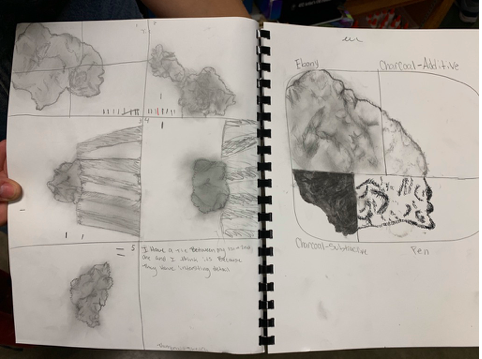

2. Stained Paper Drawing |
|

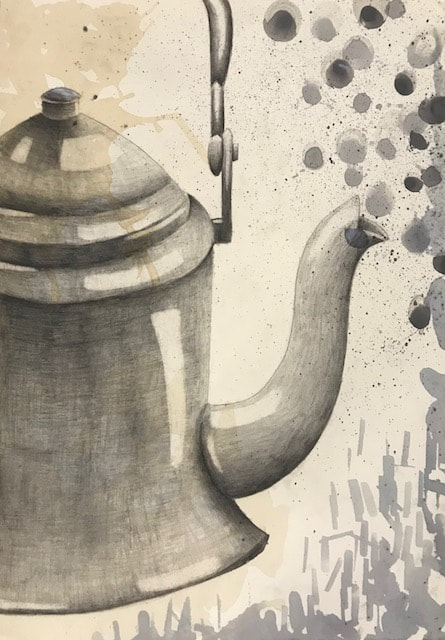

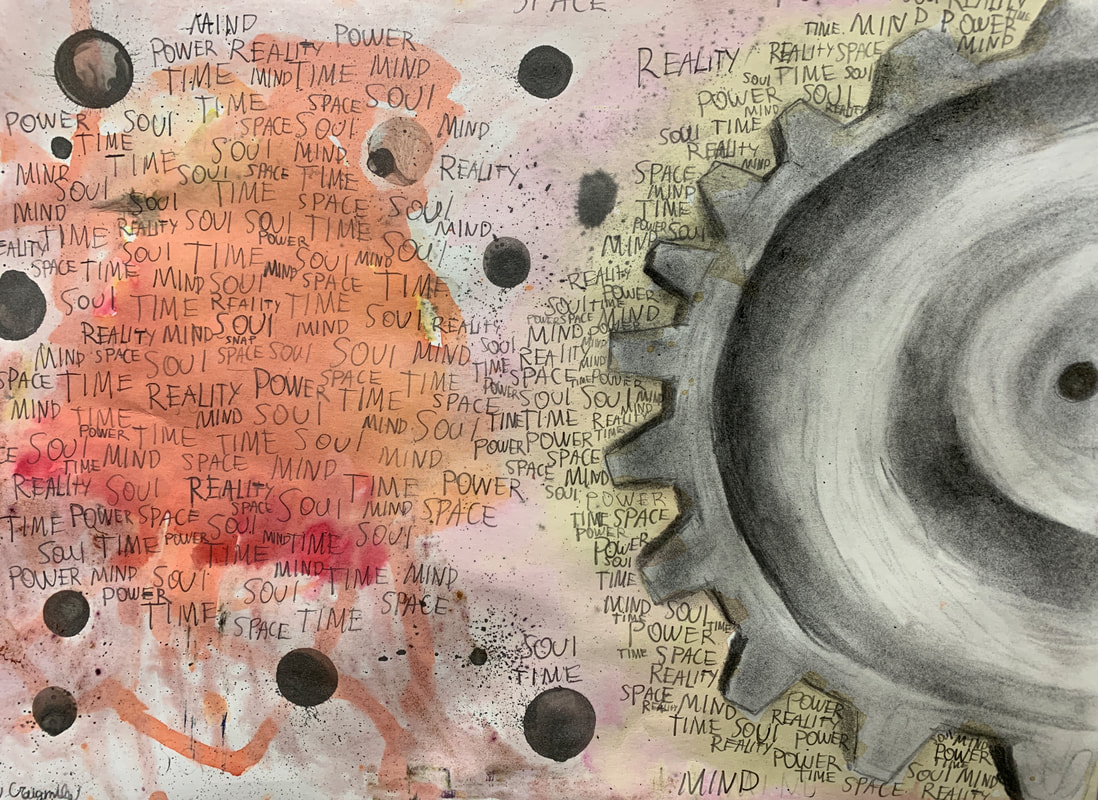
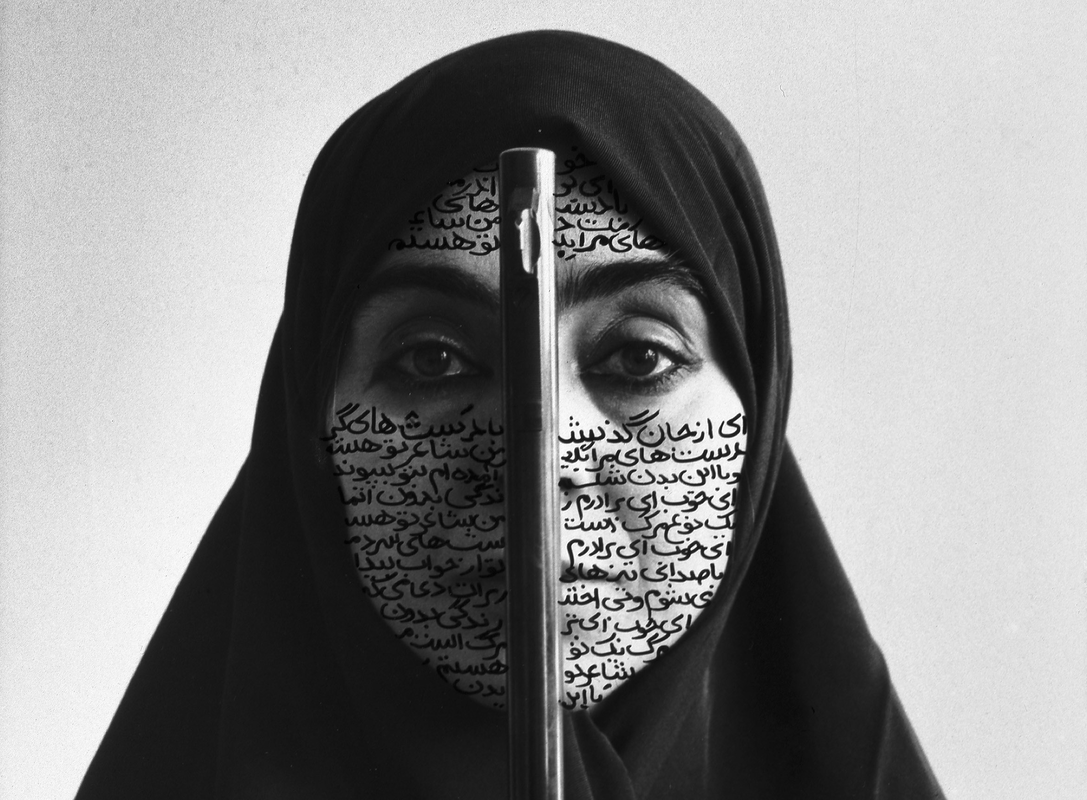
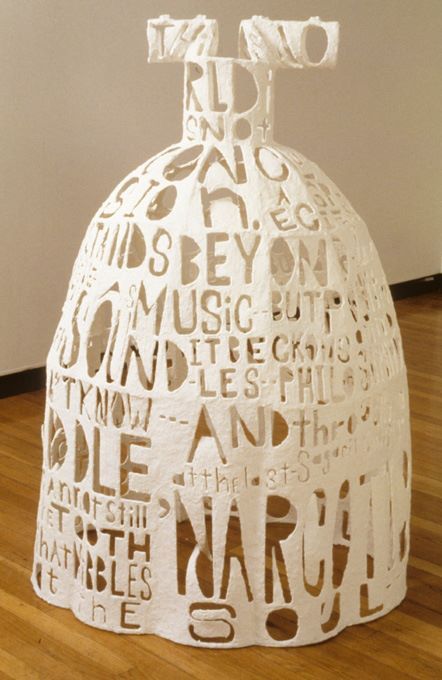
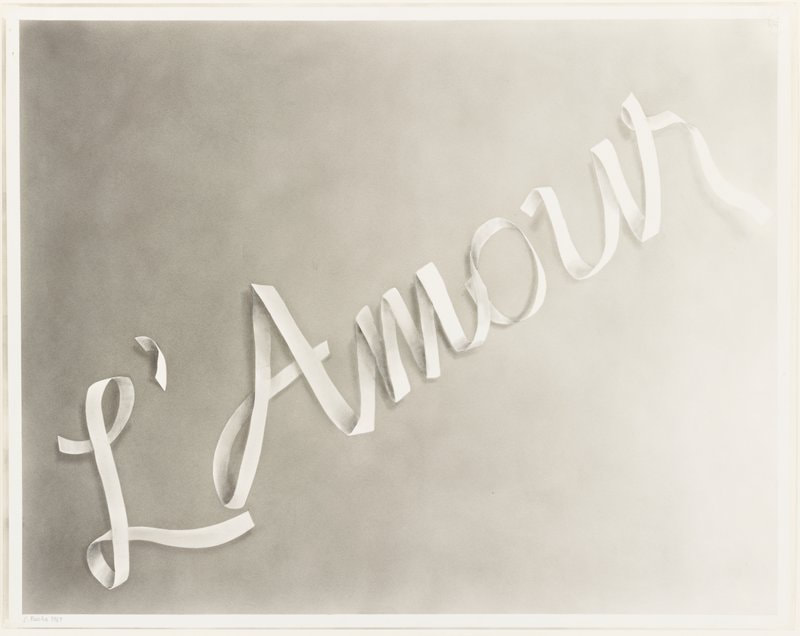
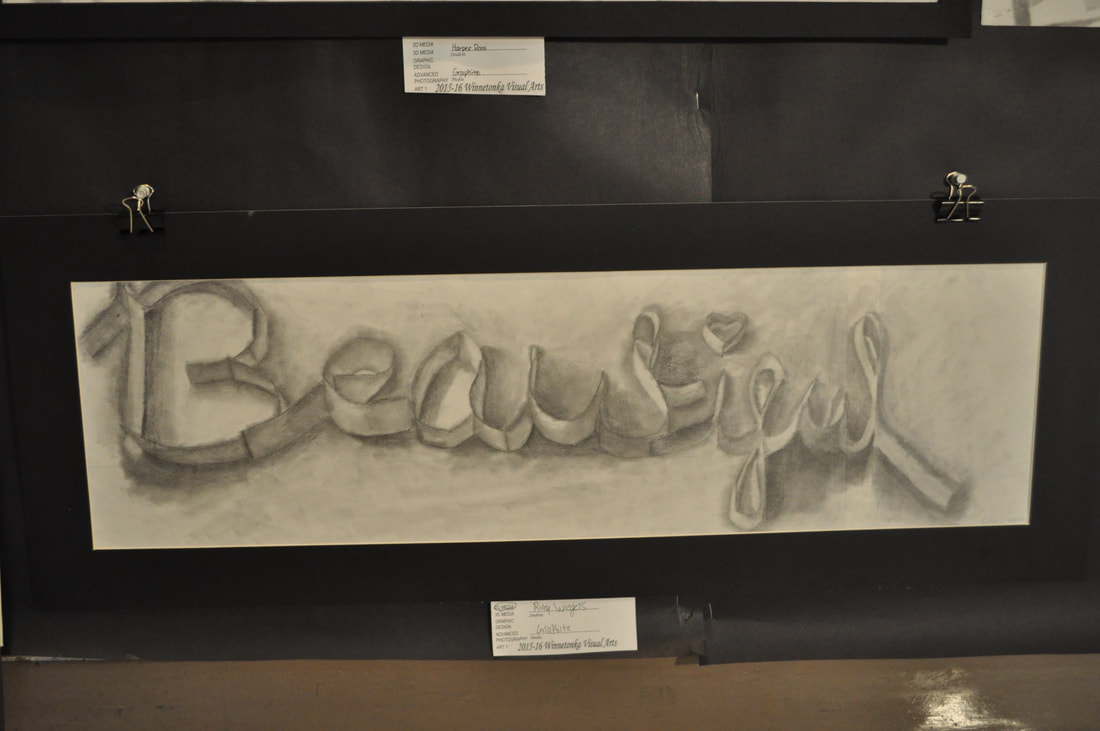
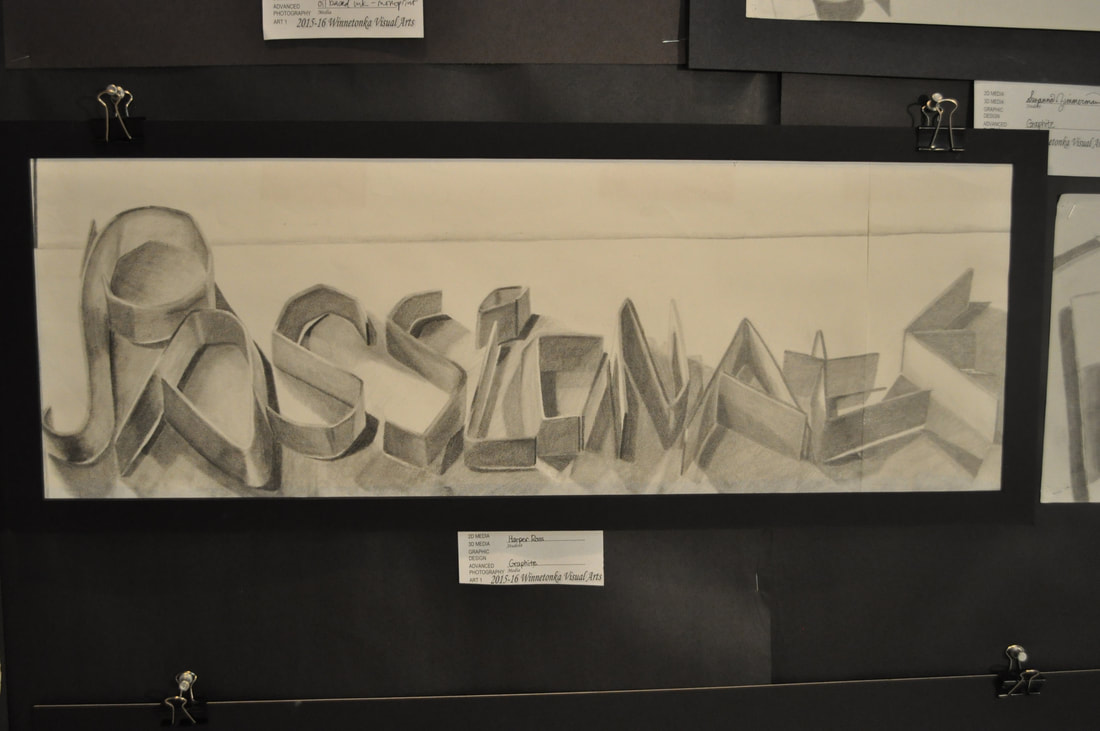
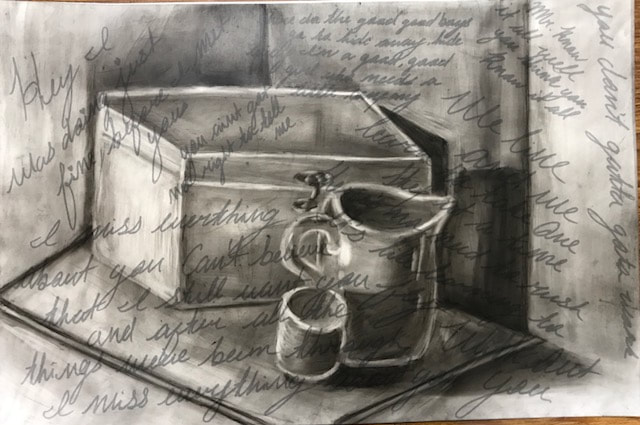
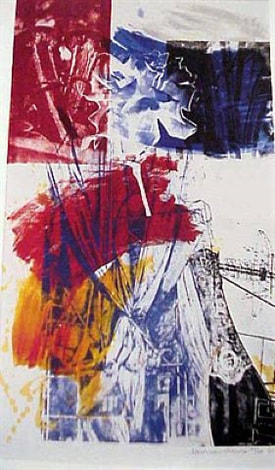
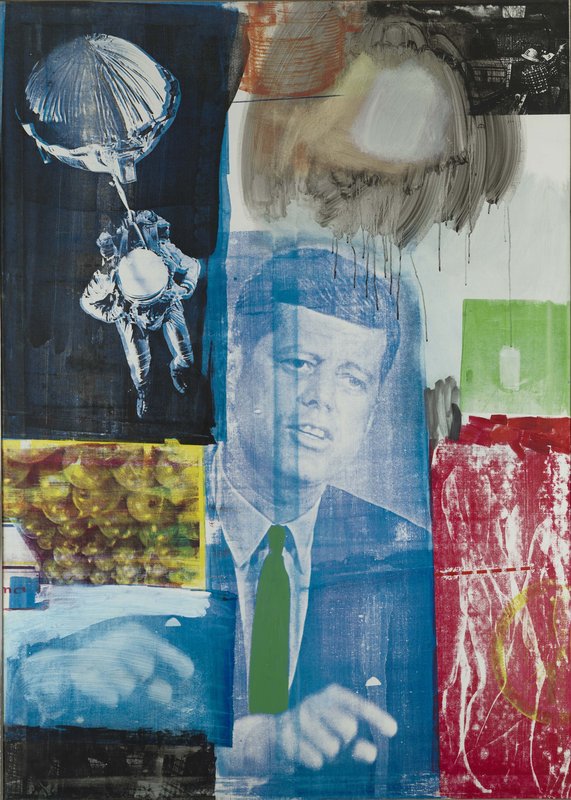
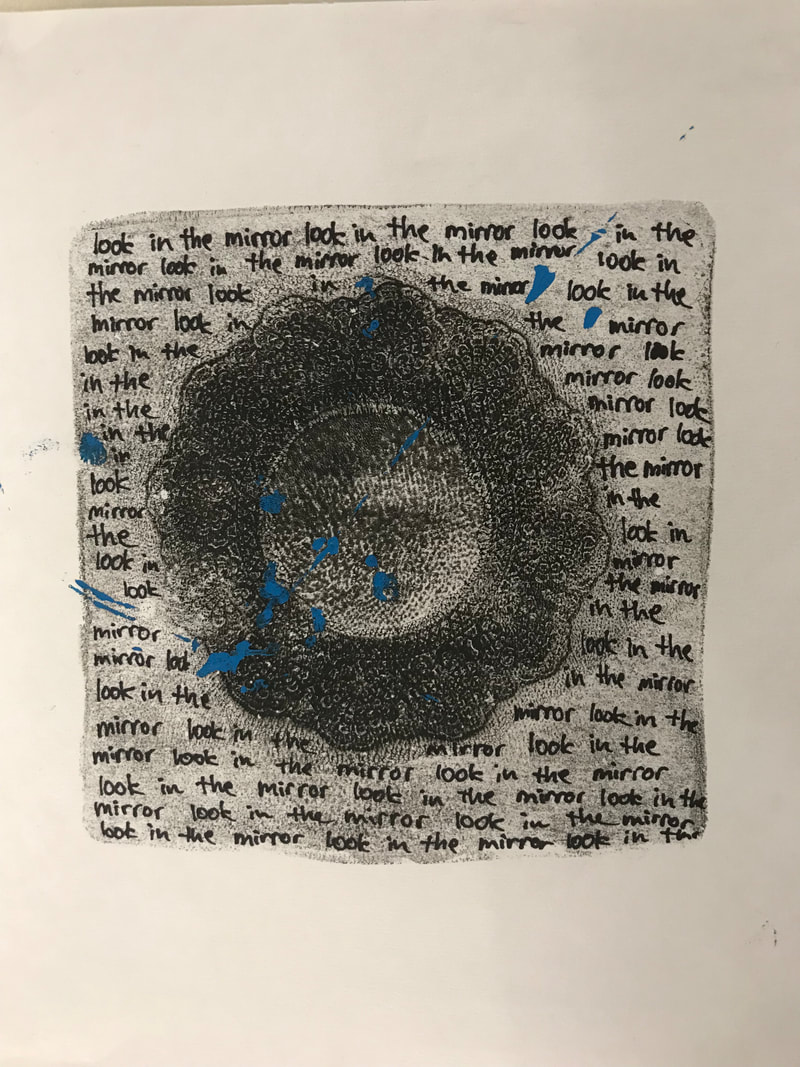
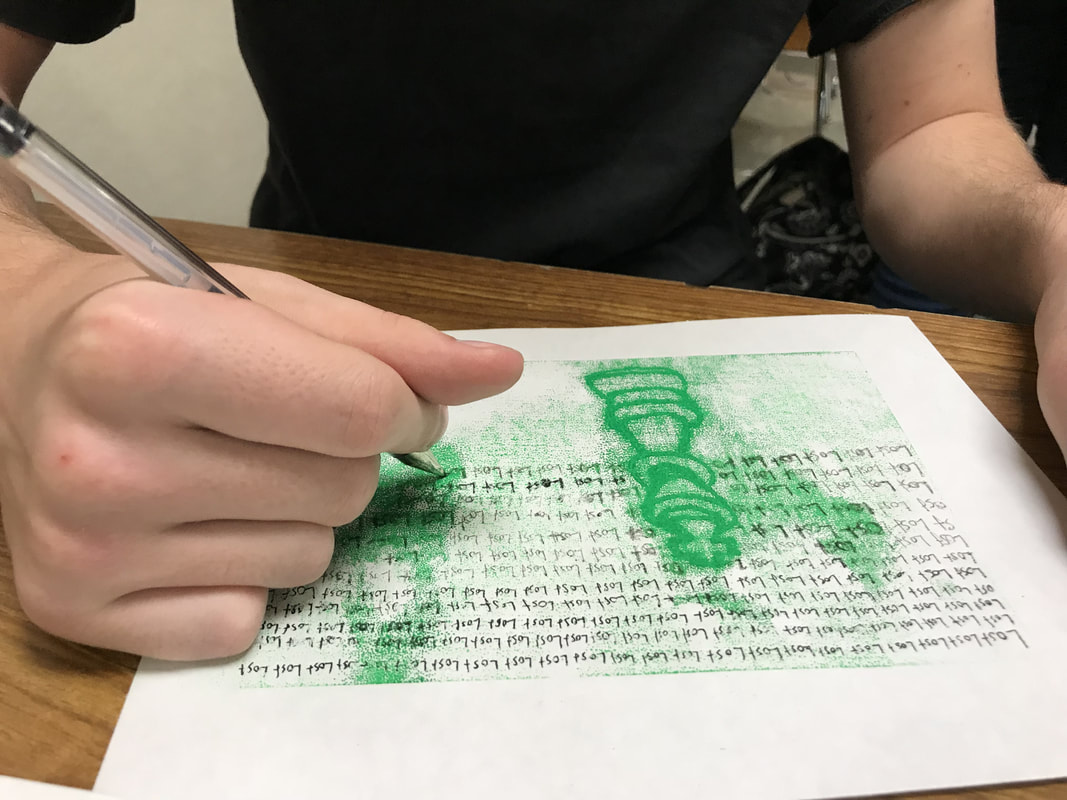
If there is too much empty space in your artwork you can help balance the composition by adding TEXT. Here's some ideas to think about...
- Dark or light? Do you want the words to stand out, or be more in the background. This will help determine your material, dark or light/marker or pencil?
- Legible or messy? Do you want the viewer to be able to read the words or do want it to be illegible?
- What size? How big or small should you make the words? Maybe some words are large and others are small, some can be dark and some light.
- What will you write? You can repeat one word over and over again. Maybe you are writing a fictional story about the object. Maybe you can write about your day or weekend from waking up to going to bed
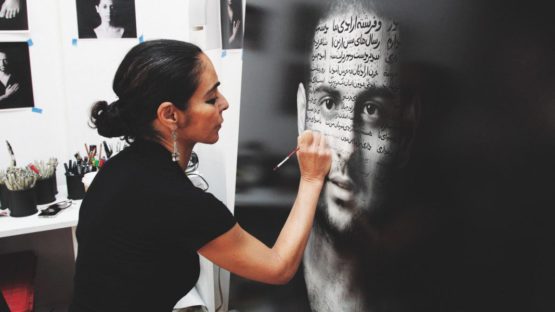
Different artists using TEXT
|
| ||||
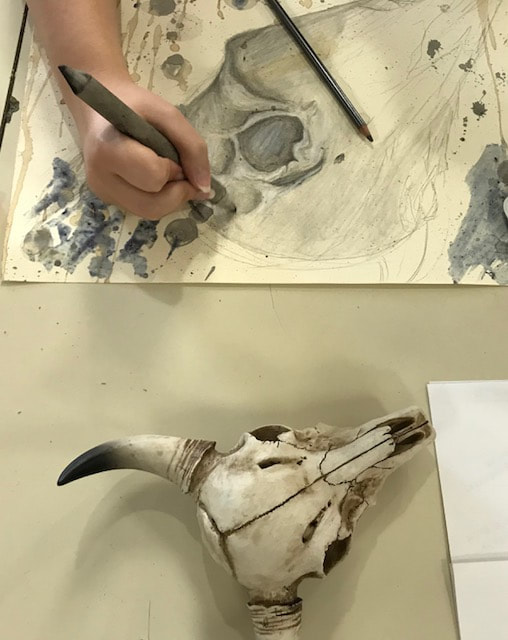
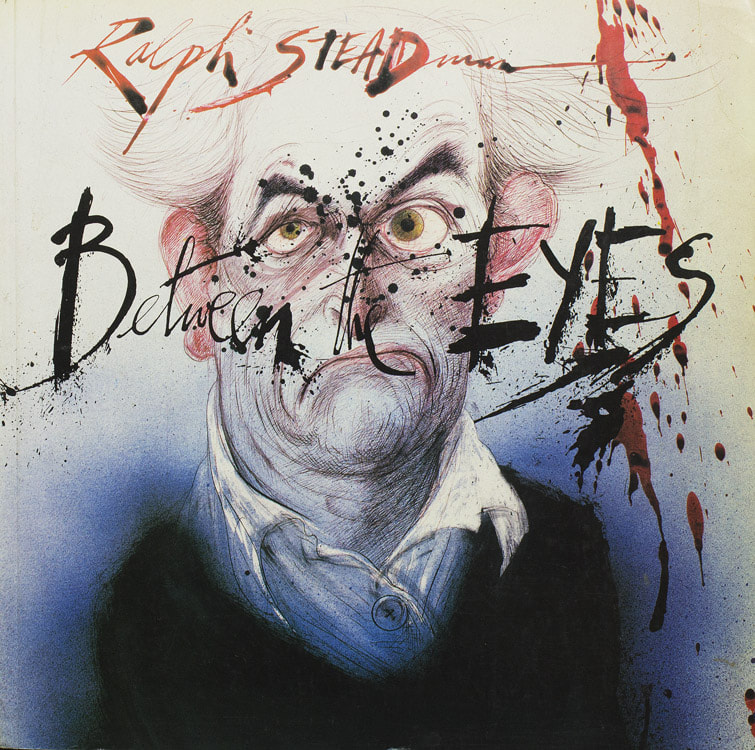
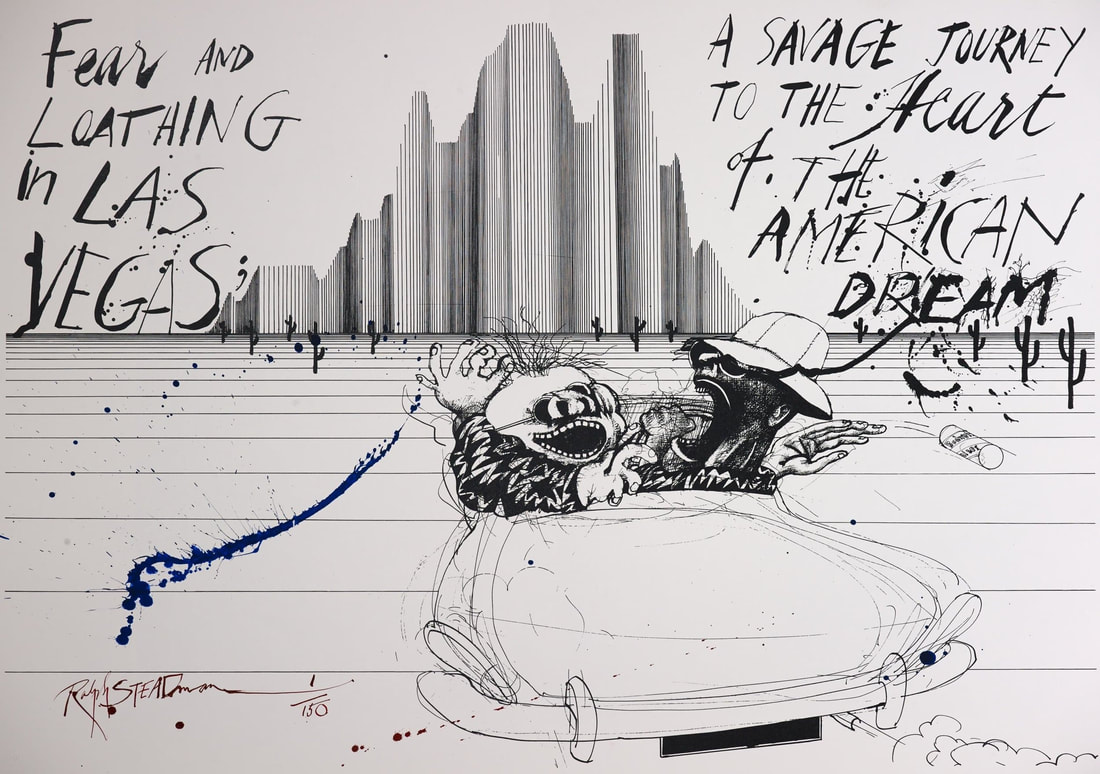
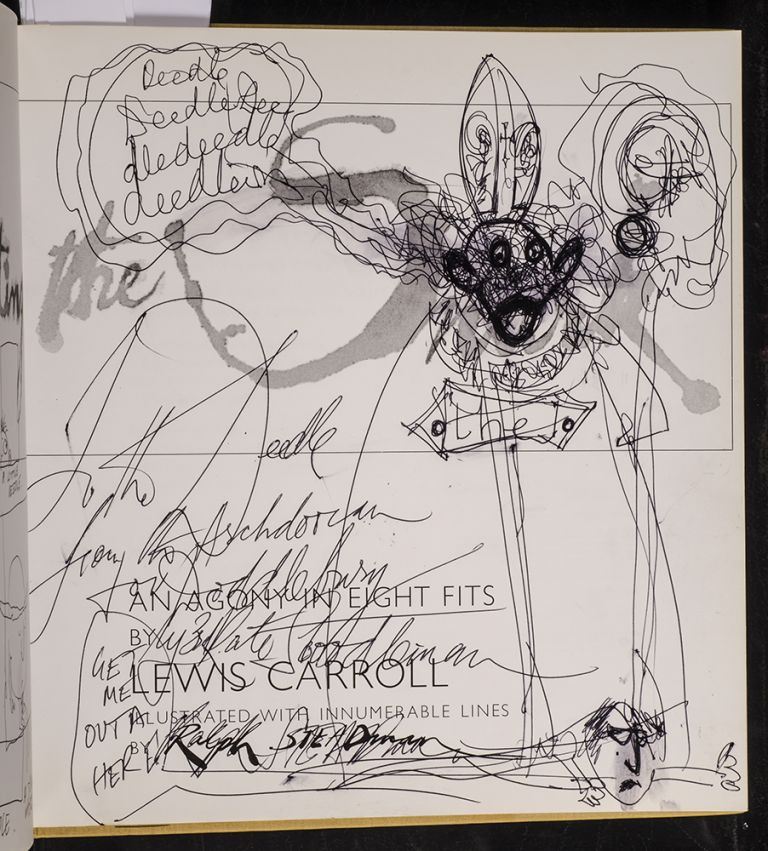
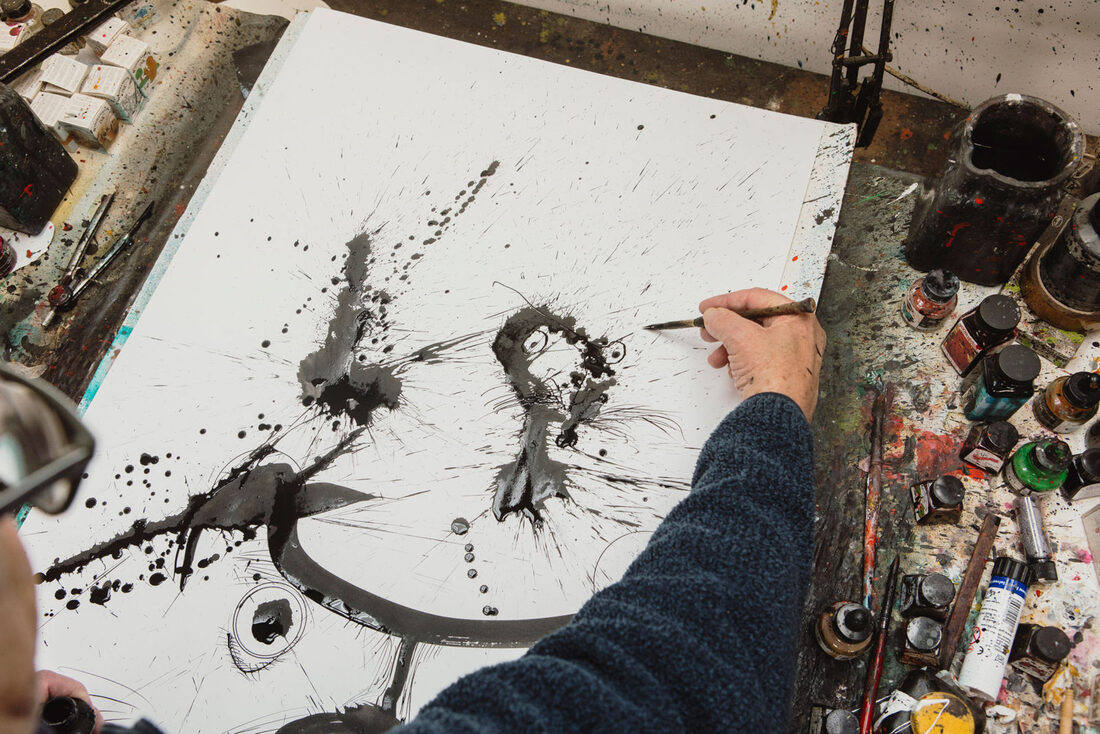
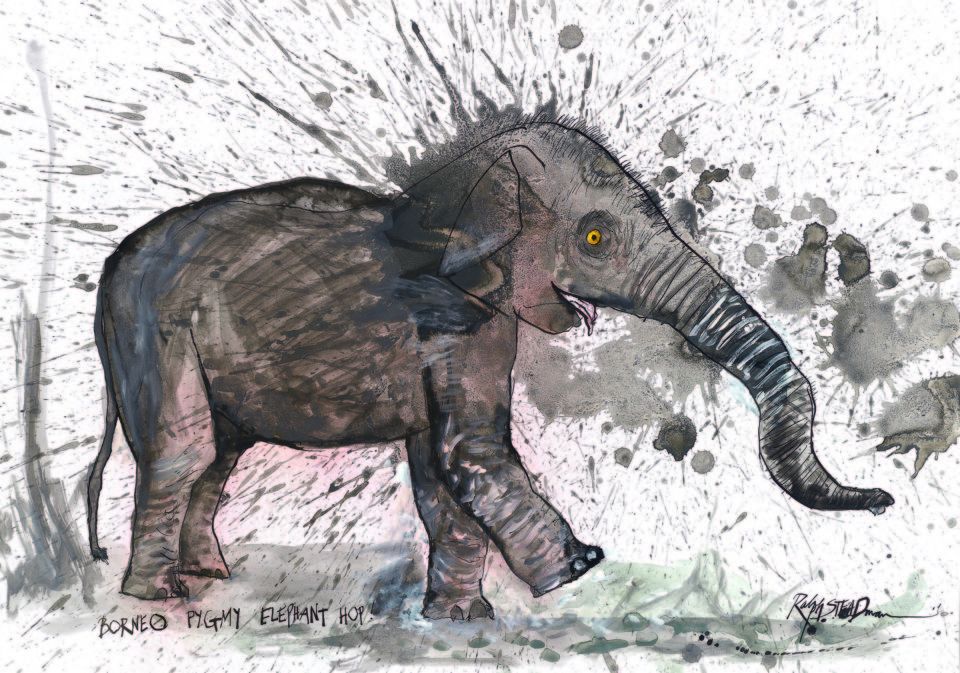
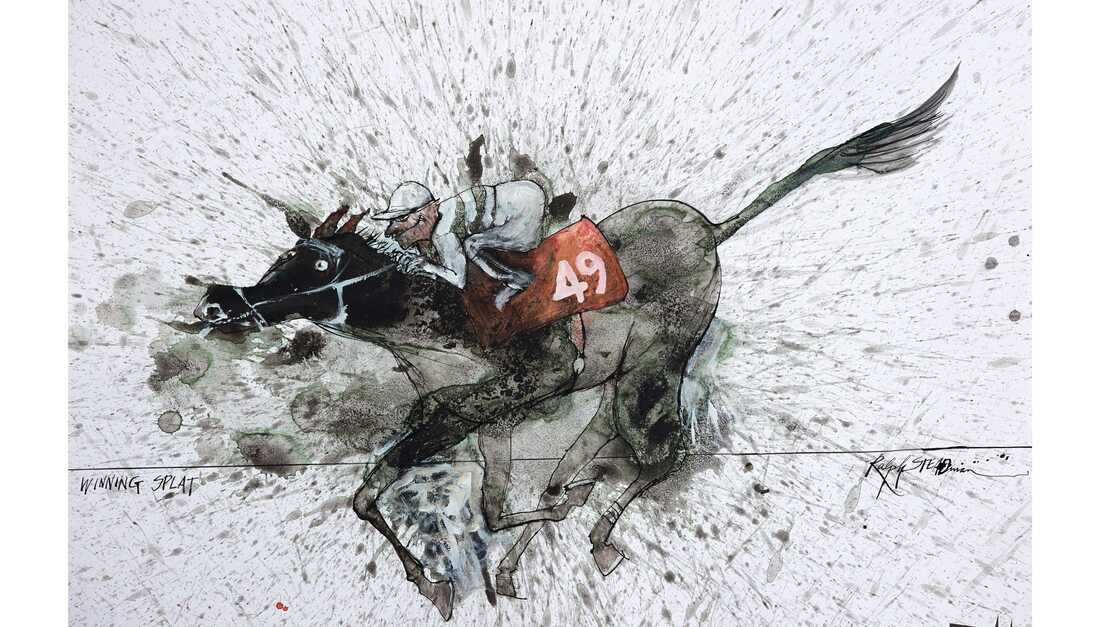
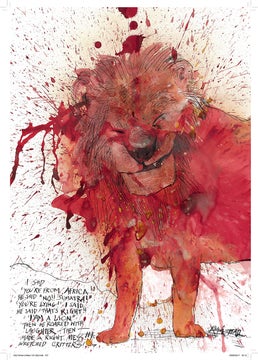
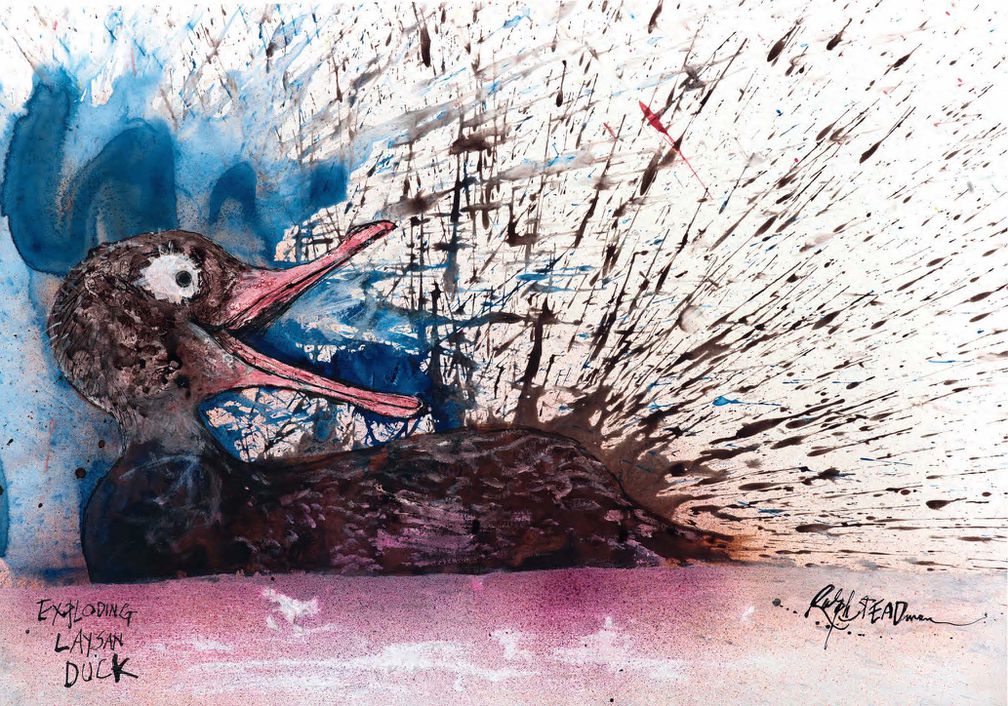
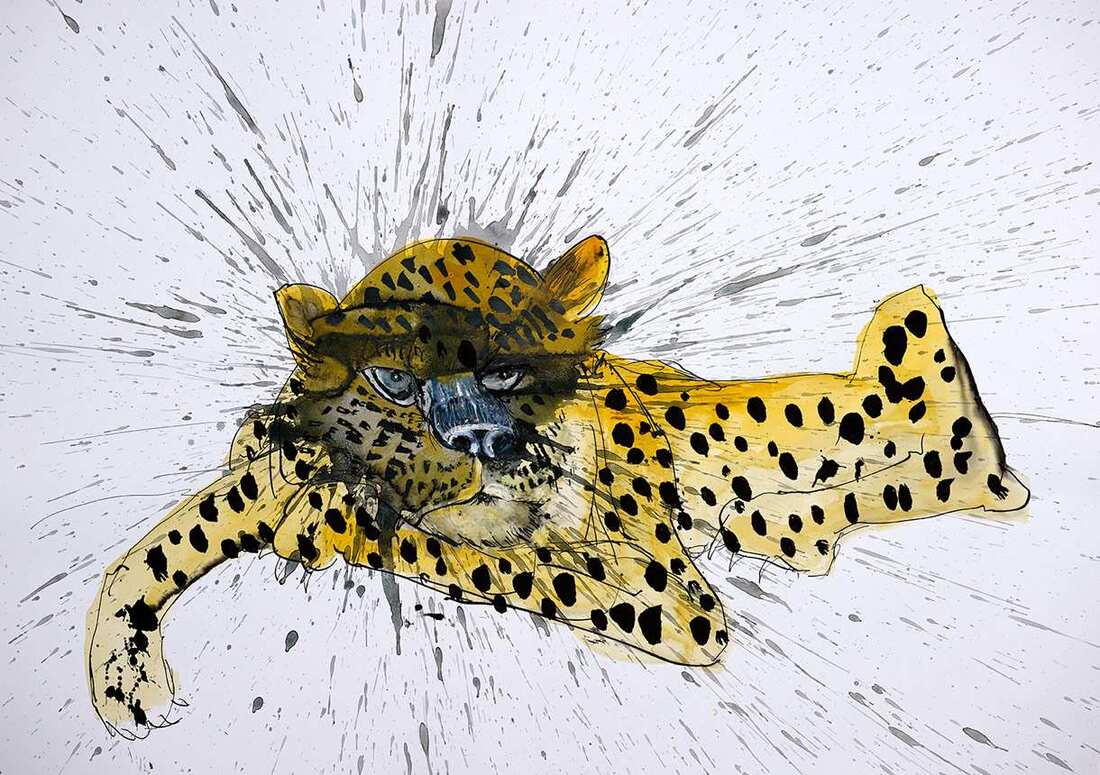
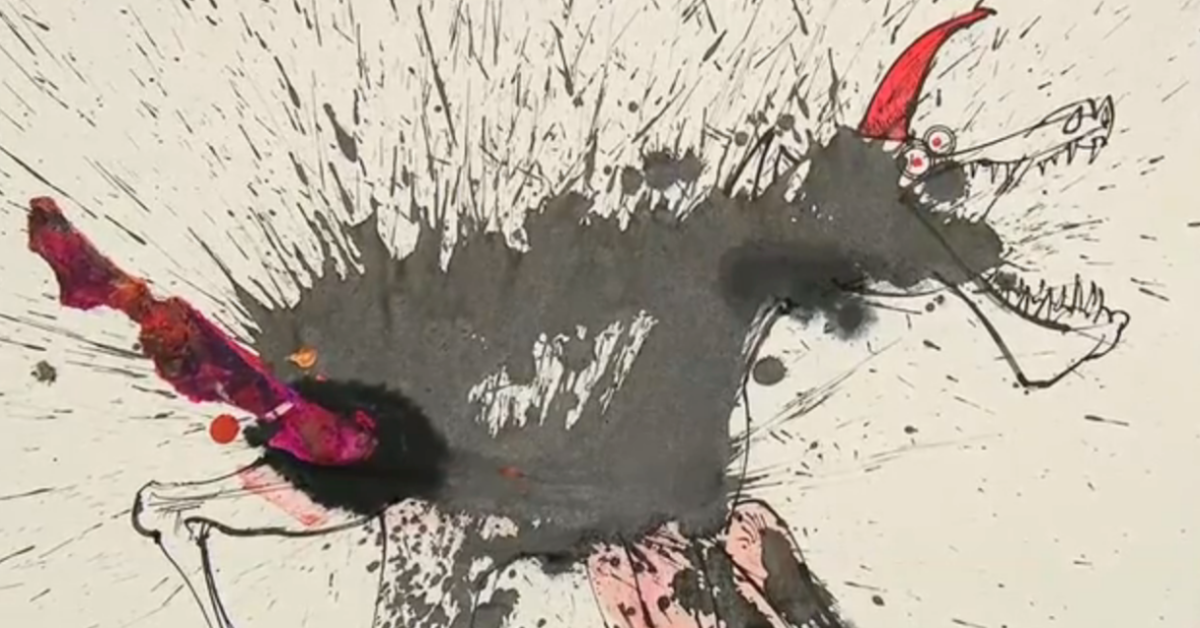
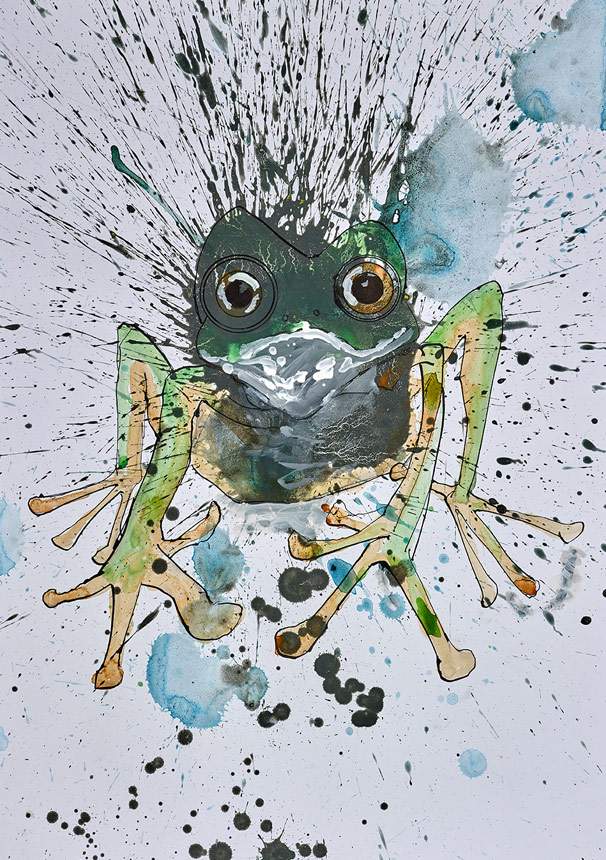
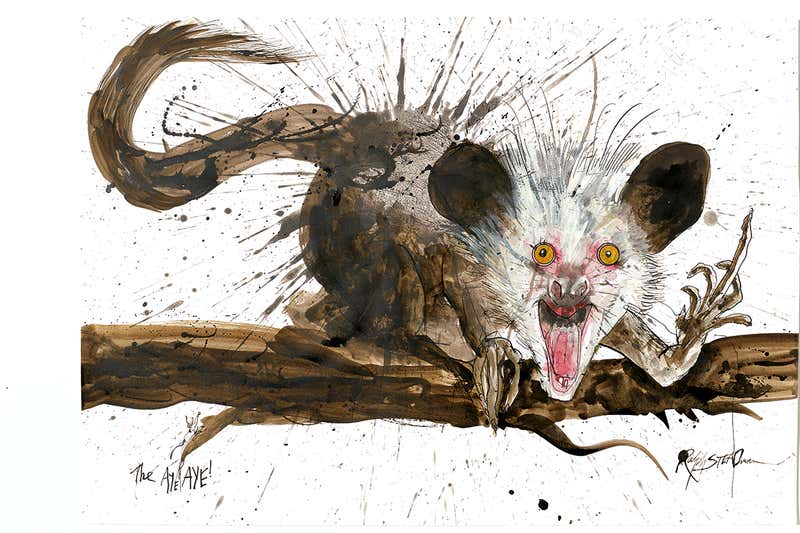
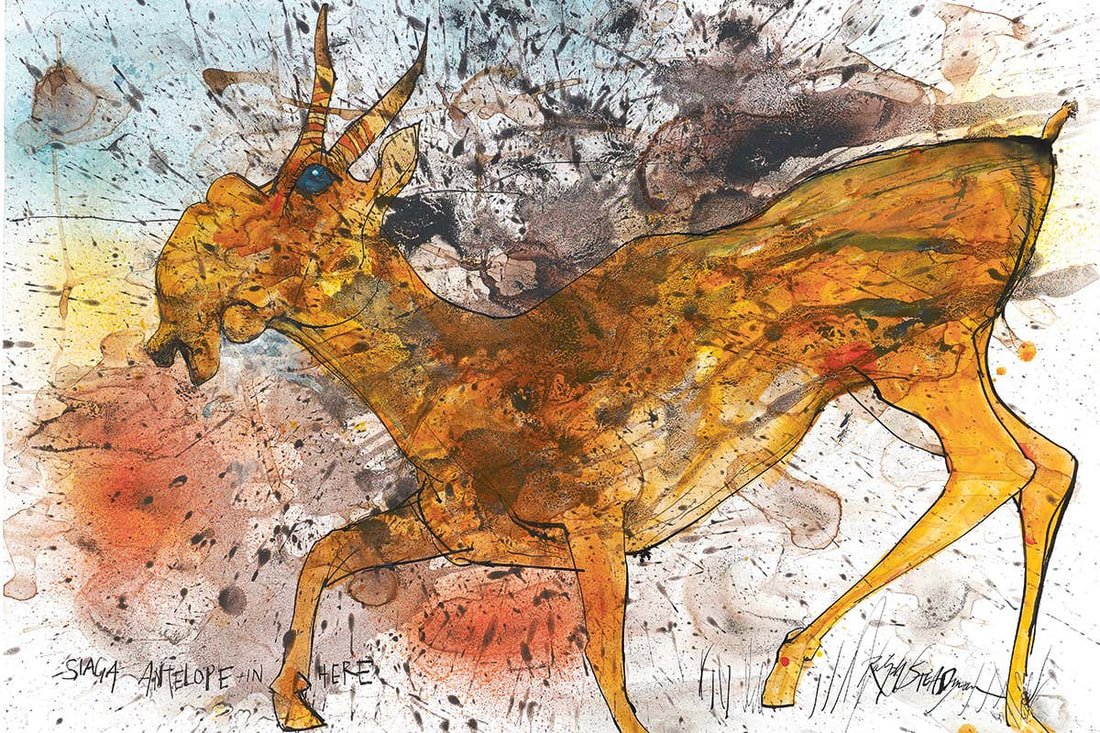
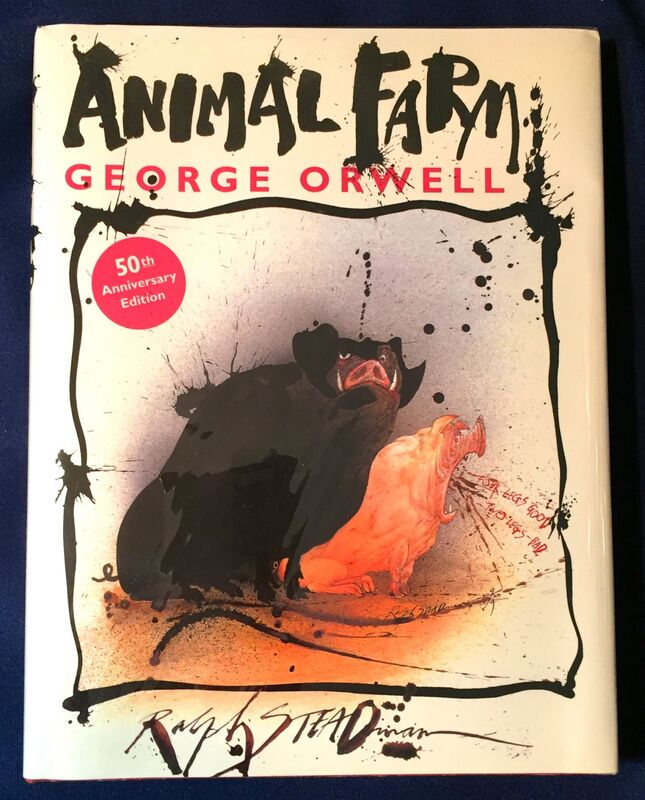
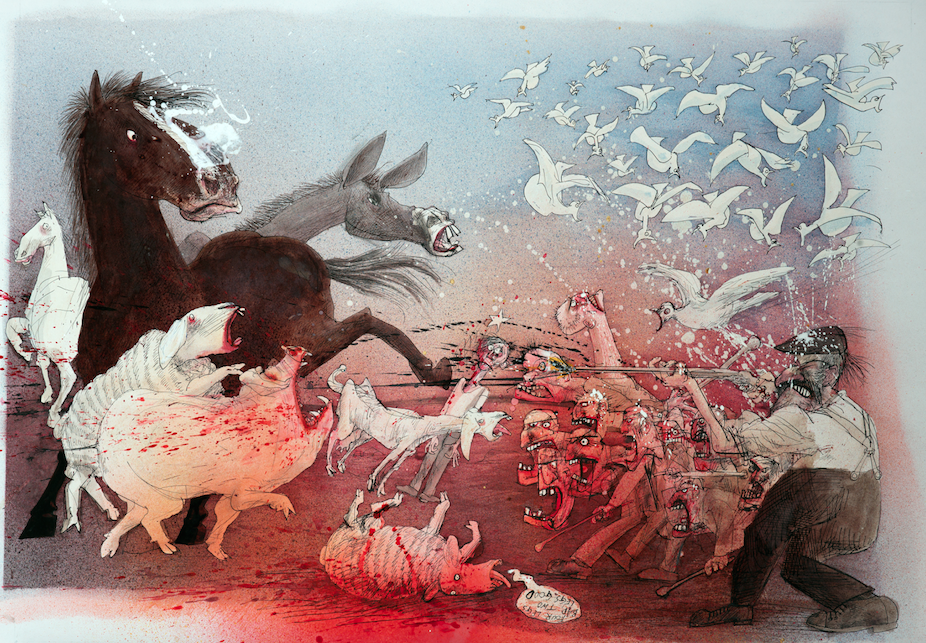
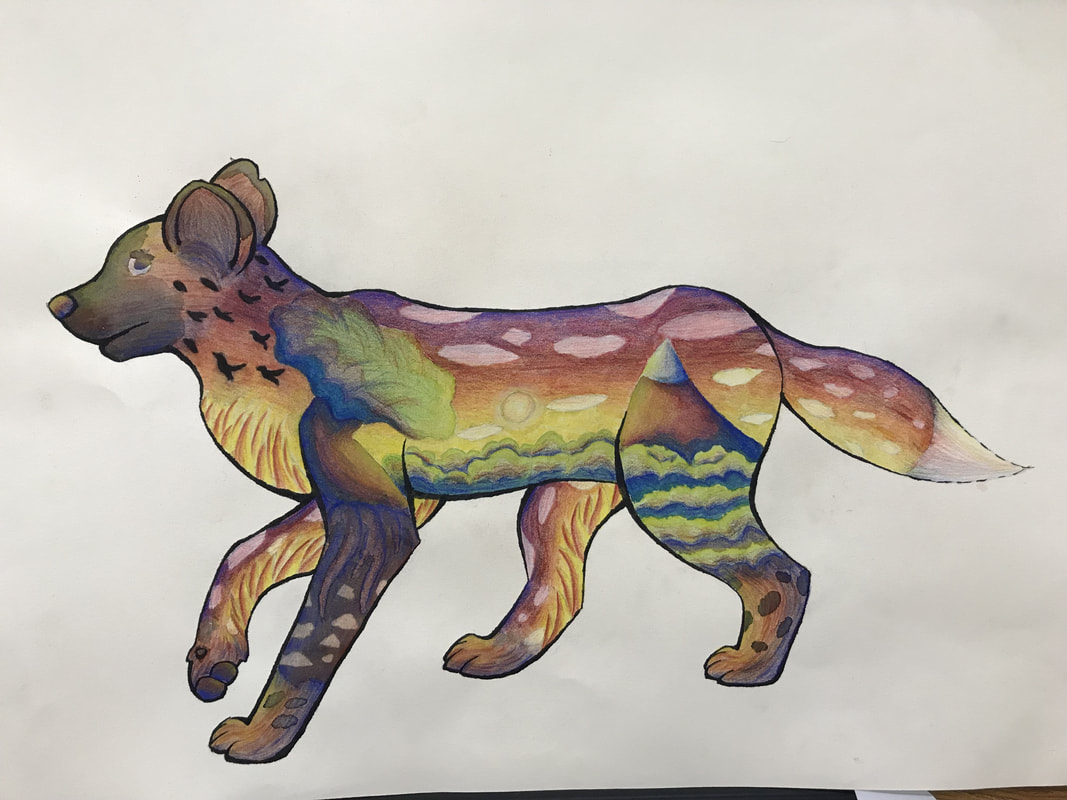
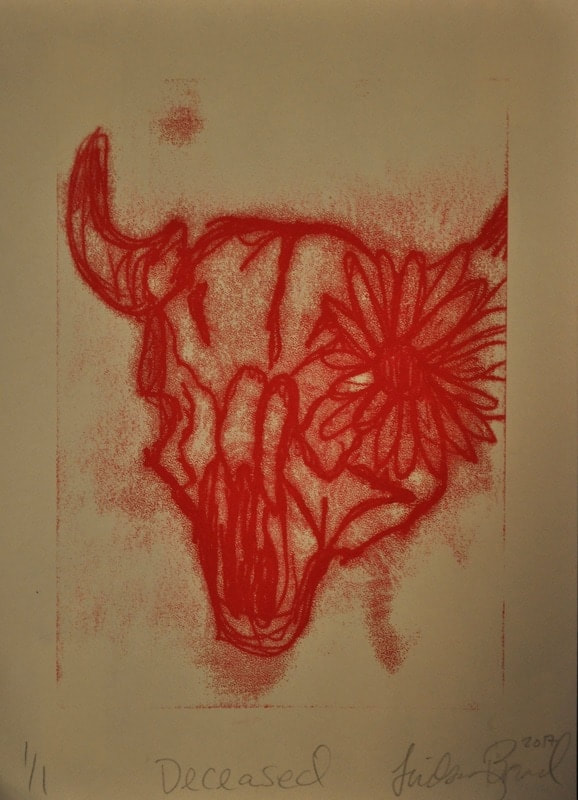
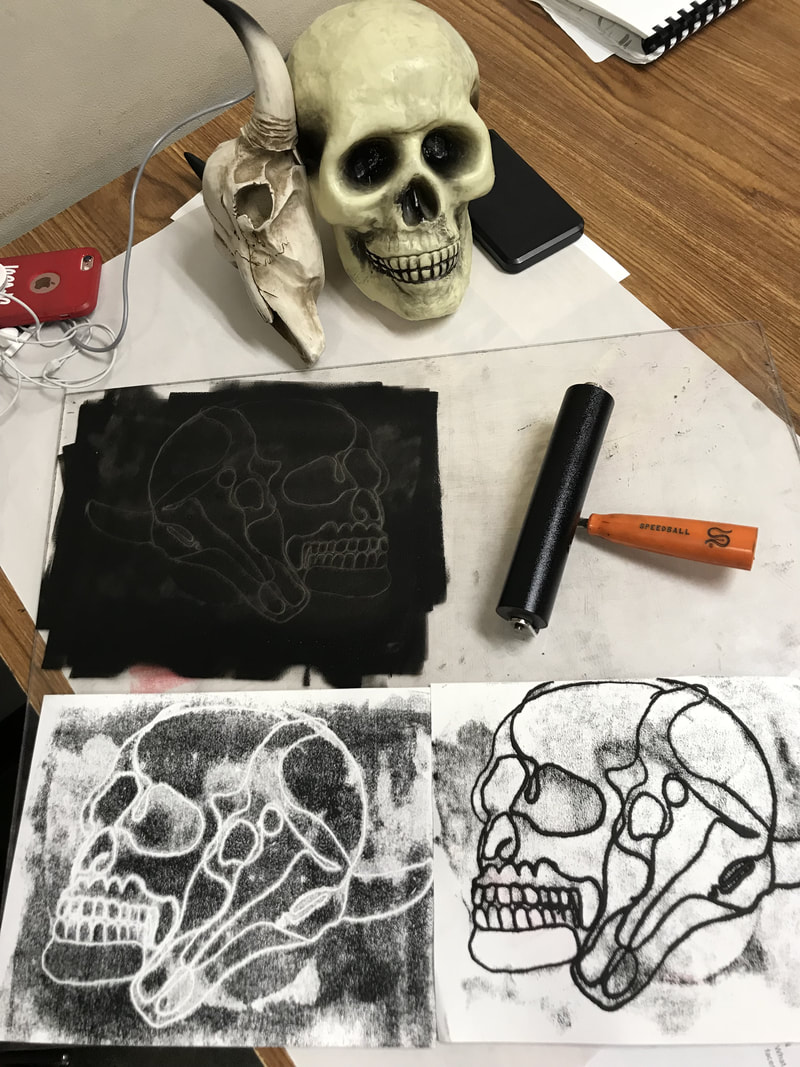
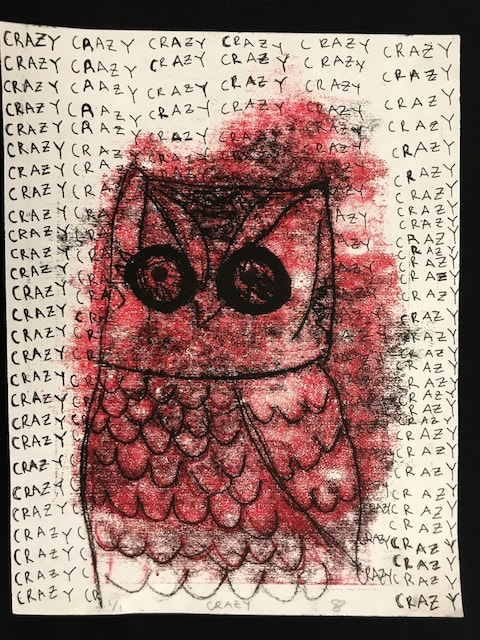
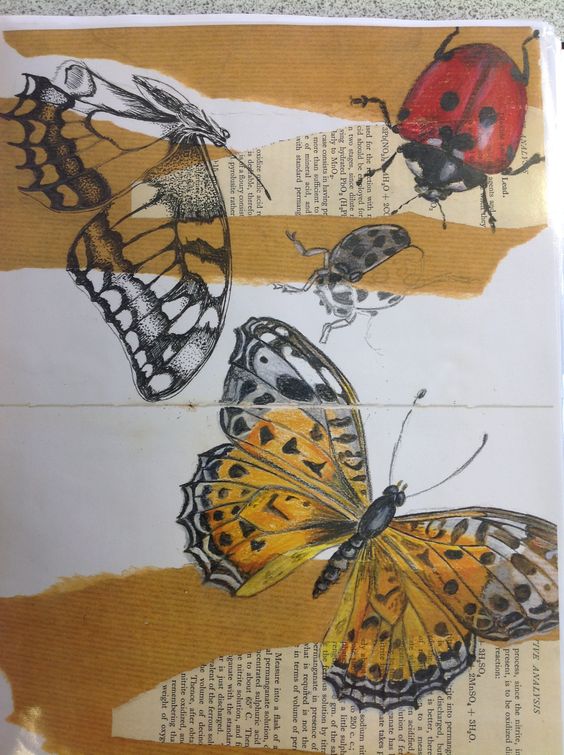
2D ADVANCED- Ink Stained Animals
Inspiration: The artwork of illustrator, Ralph Steadman
ESSENTIAL QUESTION: How can I use a variety of line and mark-making to create an expressive animal that is my own and not infringing on copyright laws?
ESSENTIAL QUESTION: How can I use a variety of line and mark-making to create an expressive animal that is my own and not infringing on copyright laws?
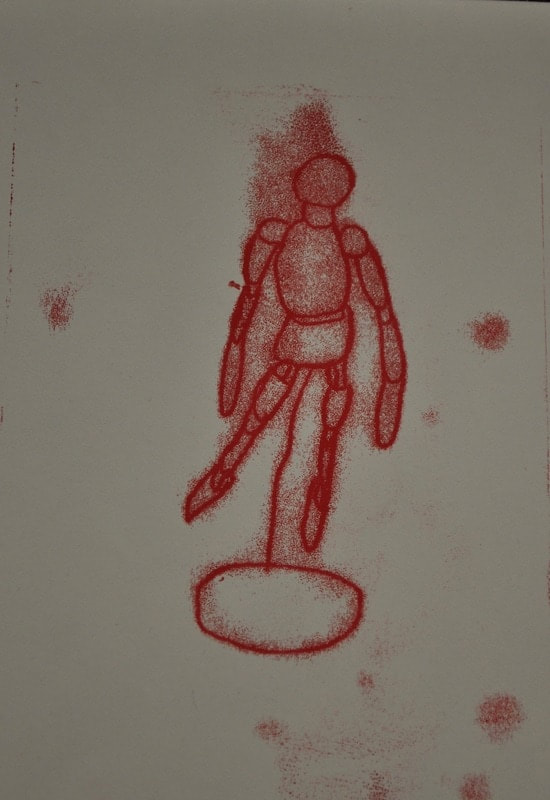
ACTIVITY 1: LEARNING TARGET: I can loosen up my line.
Do at least 3 blind contour drawings using the human figure. You can draw a hand, your reflection in the mirror or a classmate
Do at least 3 blind contour drawings using the human figure. You can draw a hand, your reflection in the mirror or a classmate

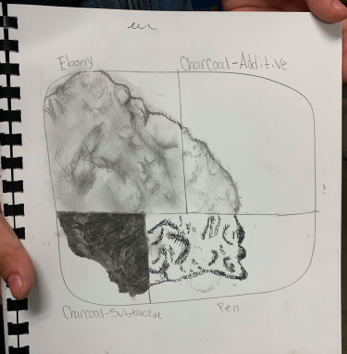
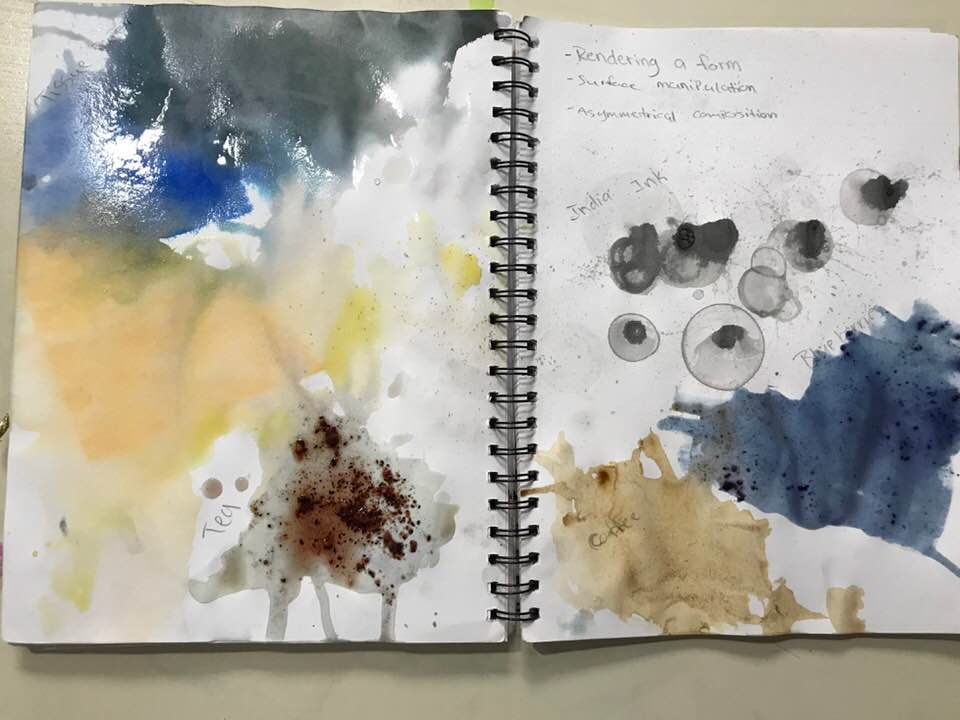
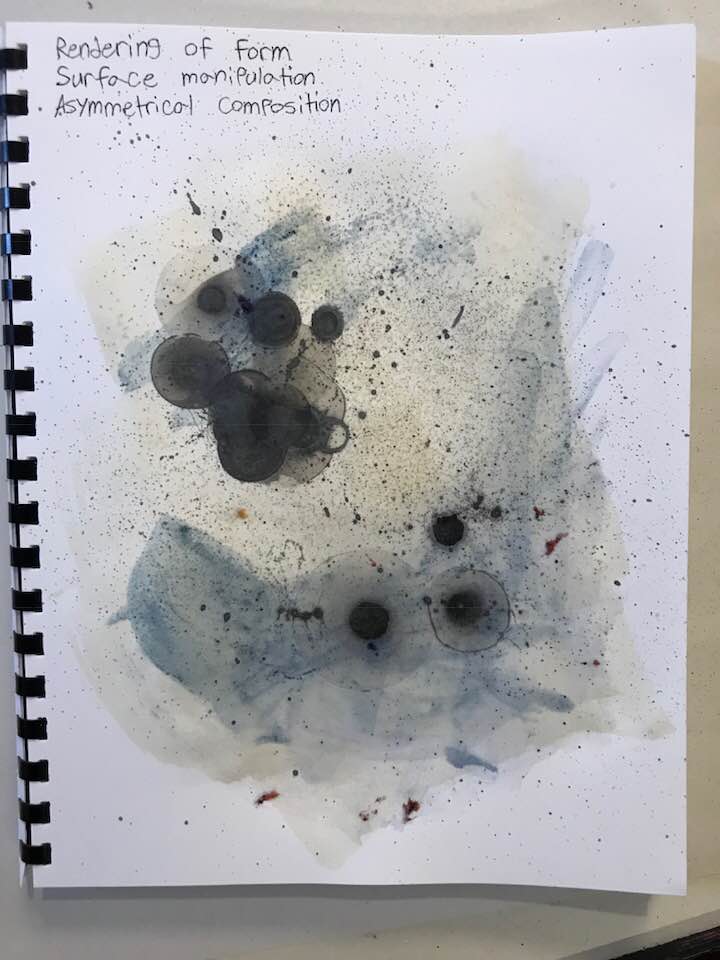
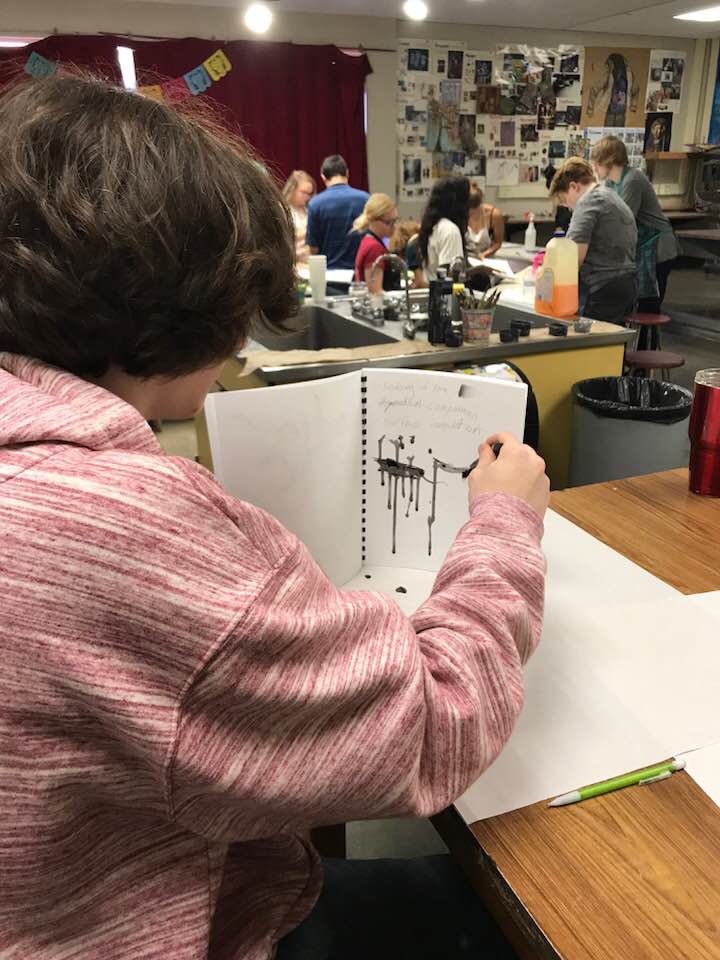
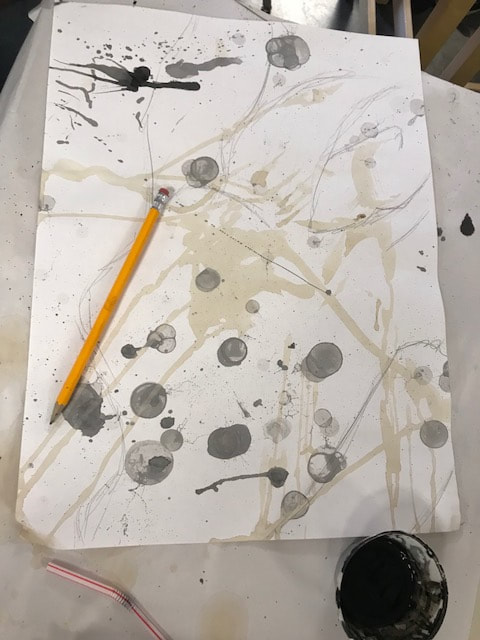
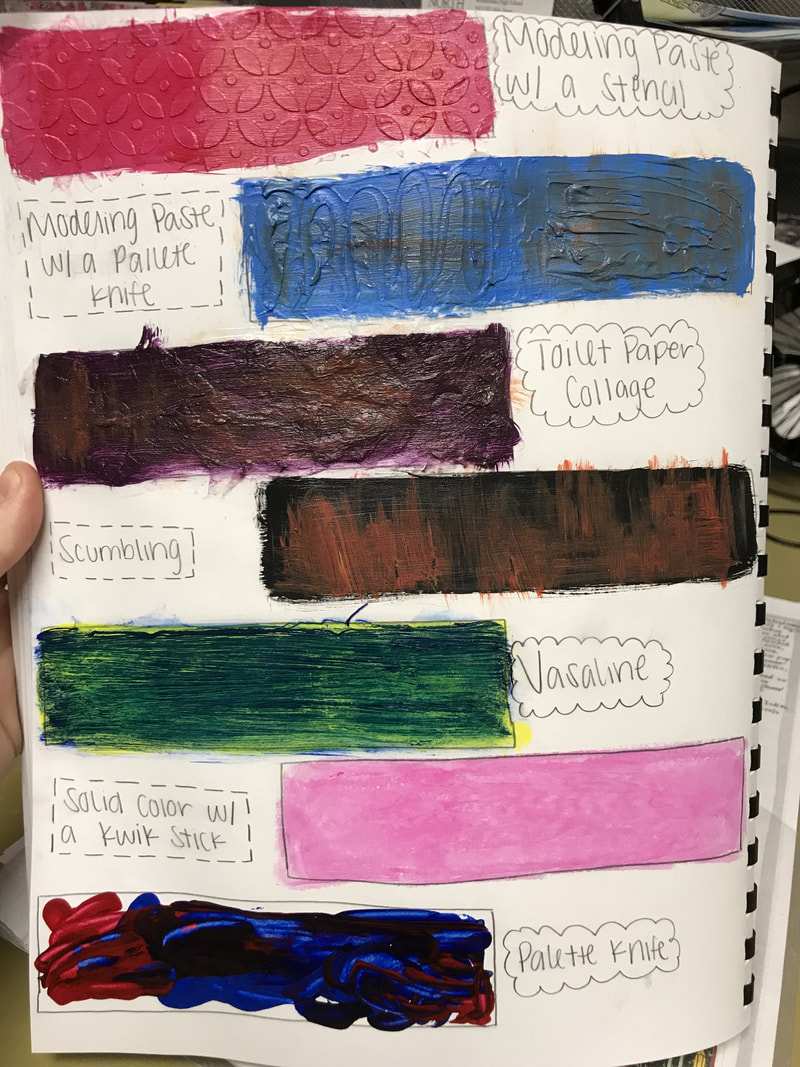
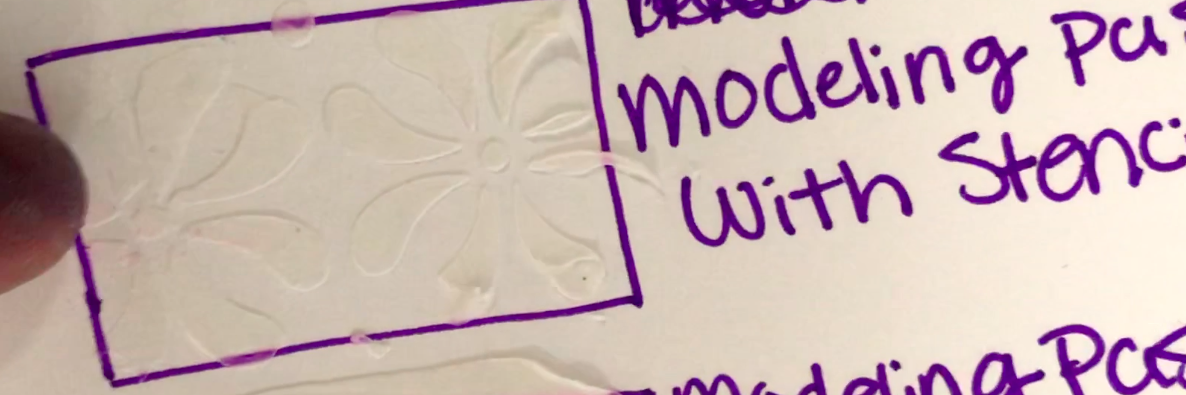
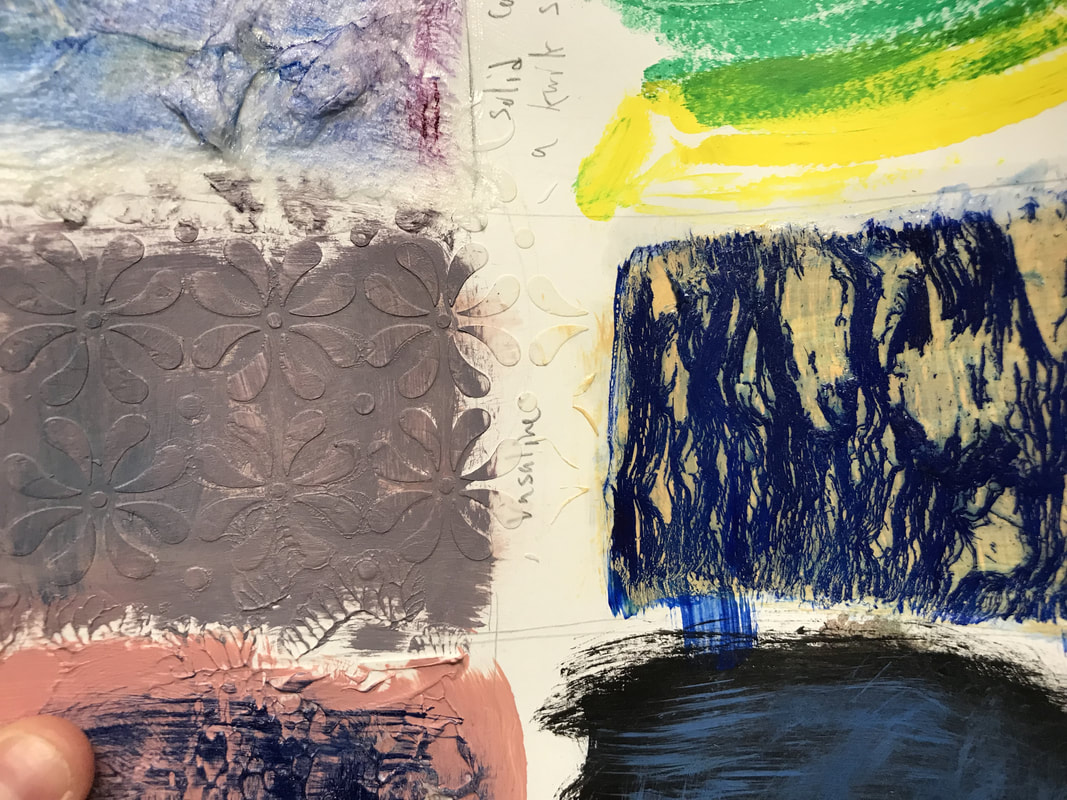
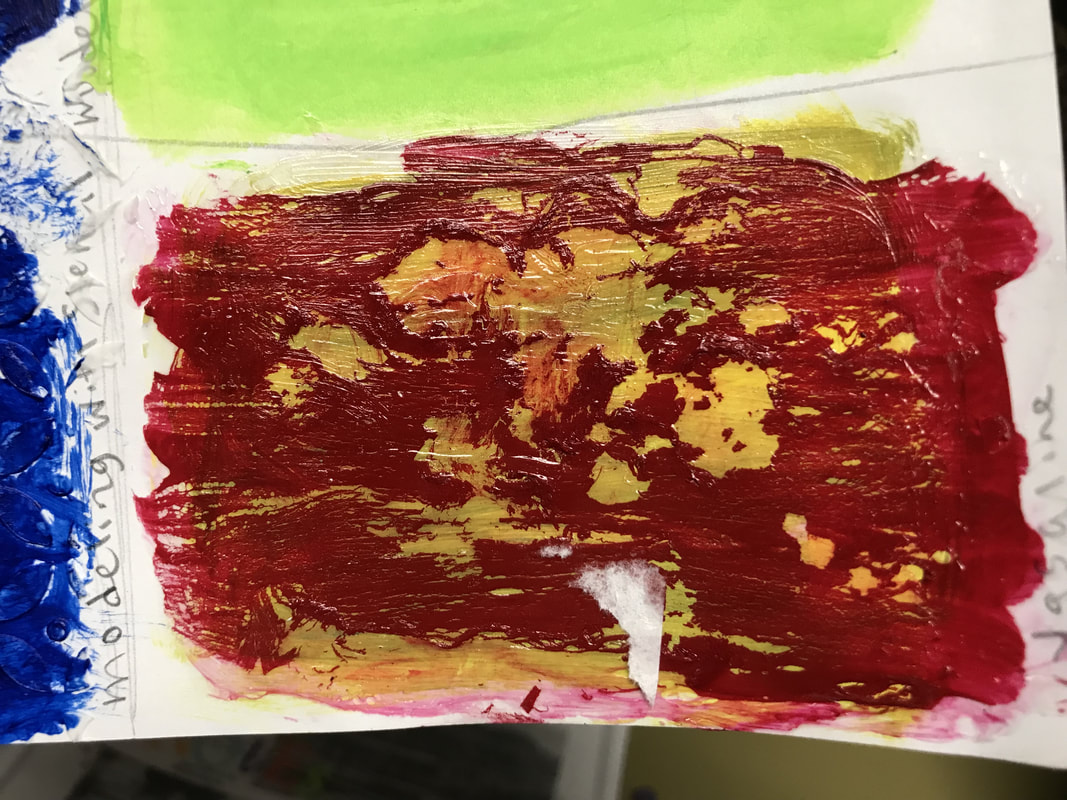
ACTIVITY 2: LEARNING TARGET: I can experiment with mark-making using different materials in my sketchbook
Create a double-page-spread making different types of marks using and layering charcoal, chalk pastel, tissue paper staining, watercolor and India ink
Create a double-page-spread making different types of marks using and layering charcoal, chalk pastel, tissue paper staining, watercolor and India ink
Select a photograph of an animal to use for your artwork. Remember that when you recreate it, it needs to be so different that you are not stealing the photographers image! You are changing the image by exaggerating lines, expressions, leaving lines out, changing the color, etc.
|
| ||||
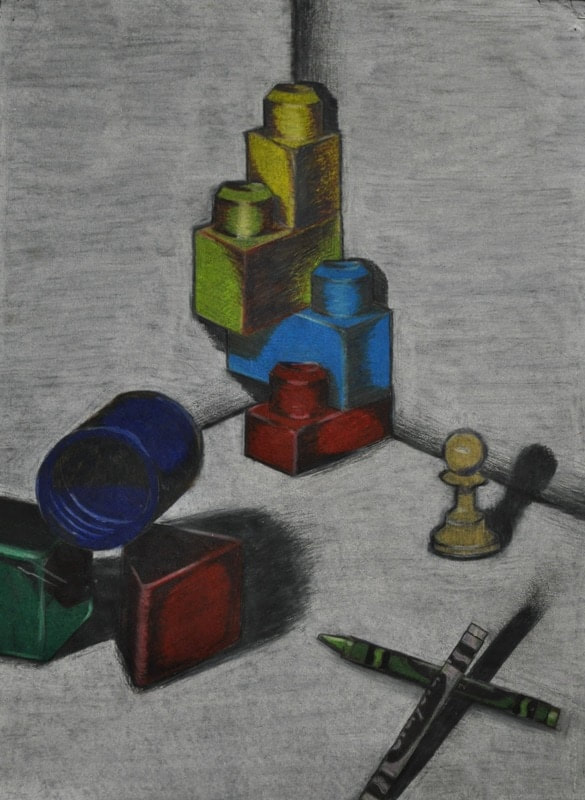
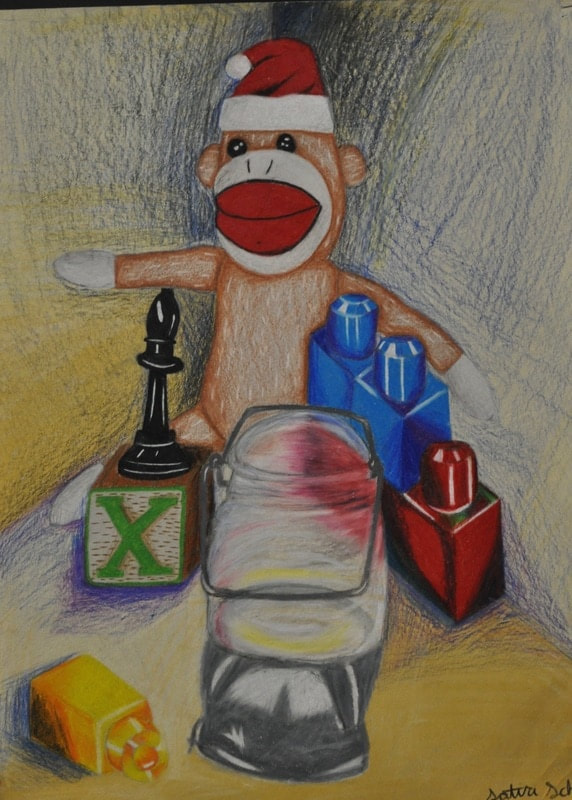
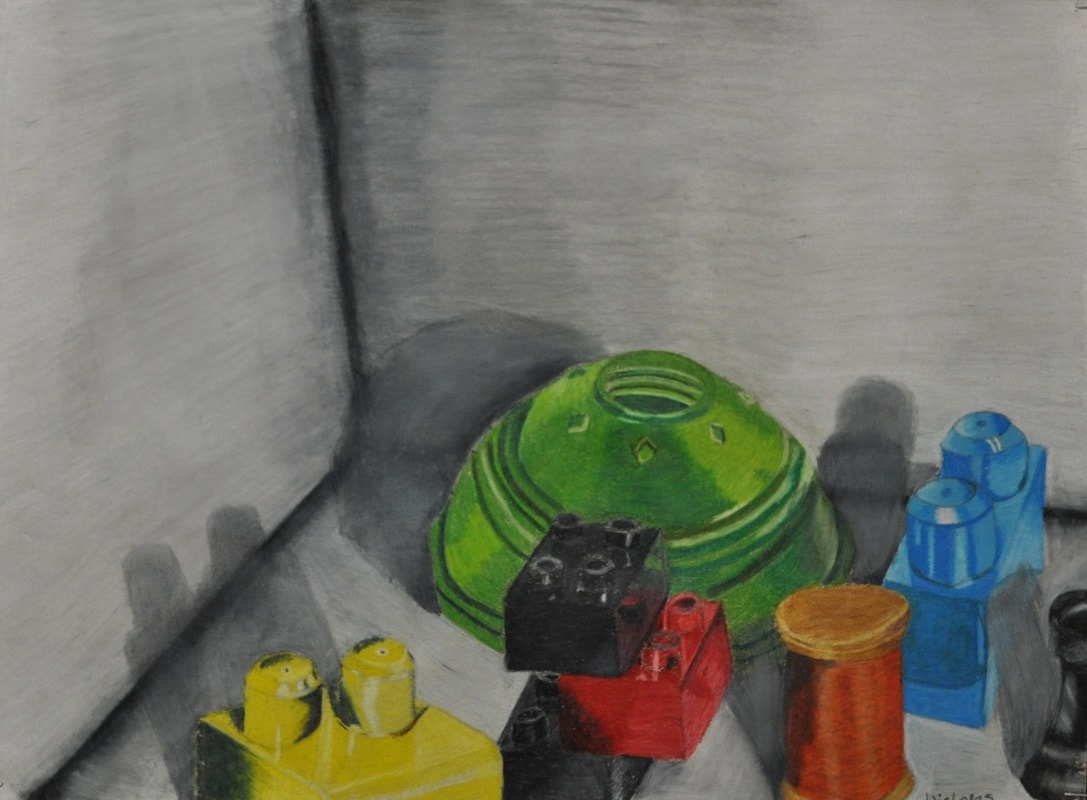
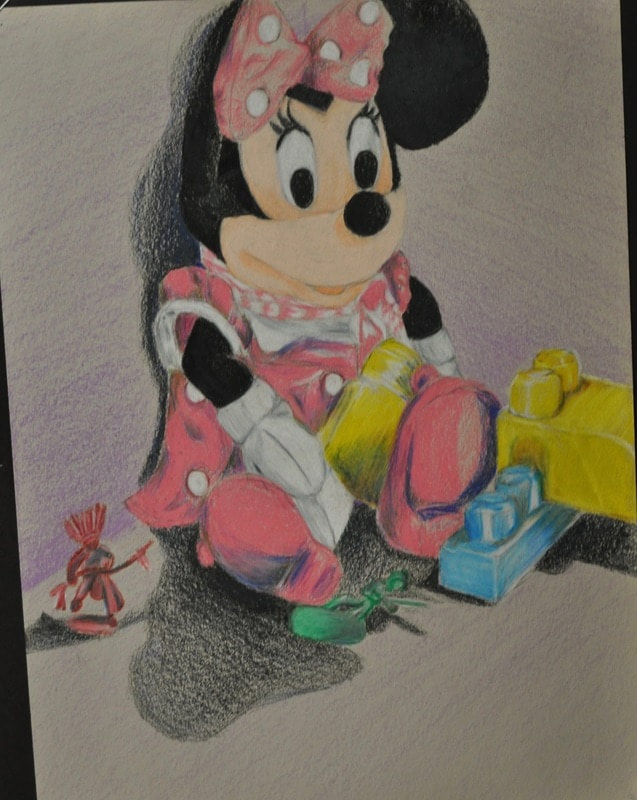
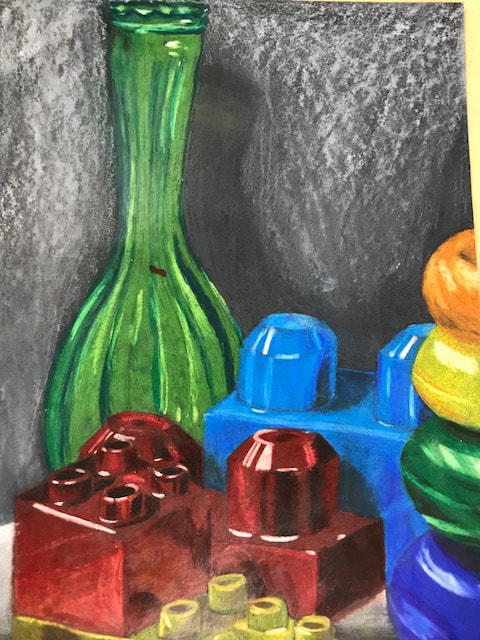
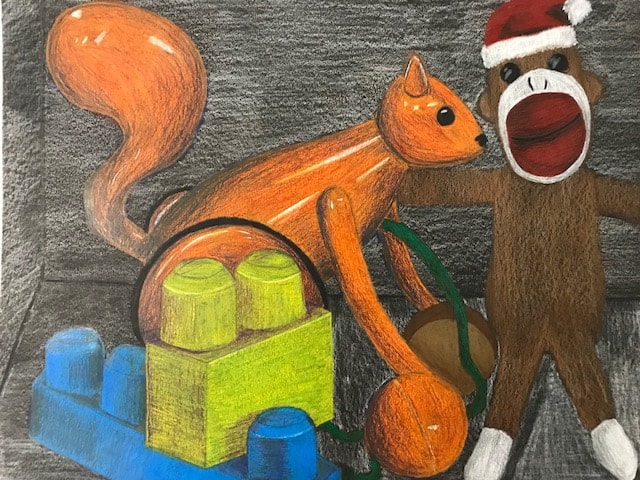
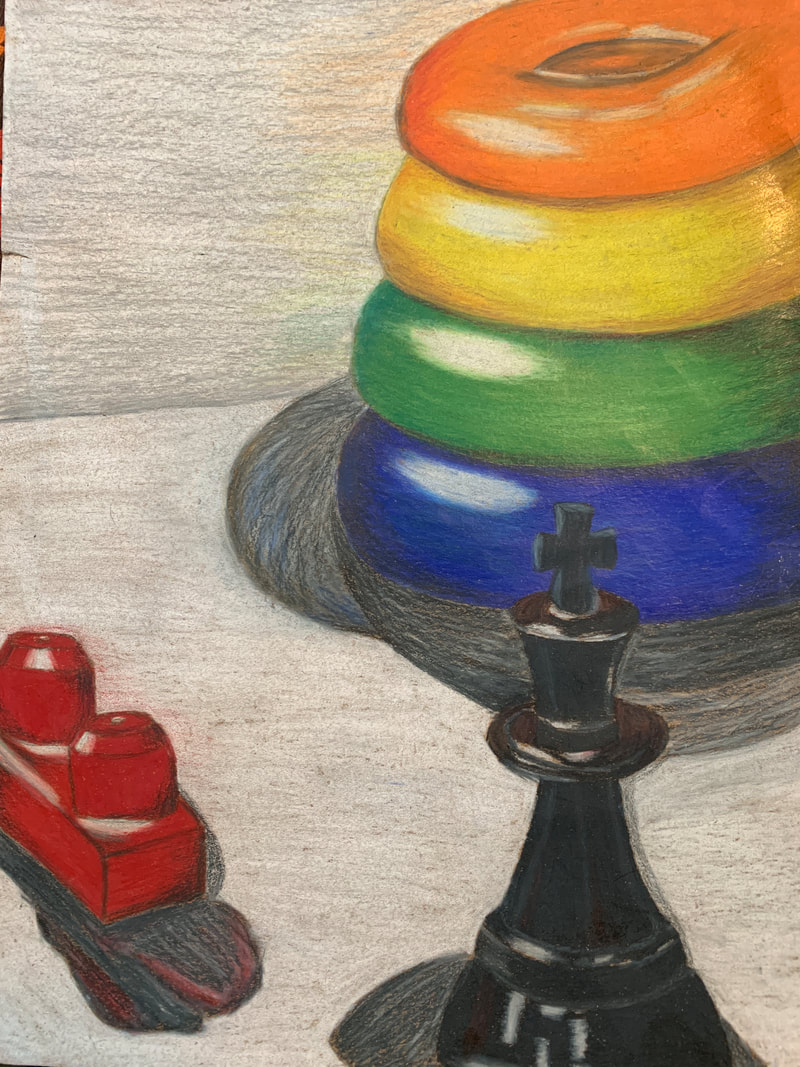
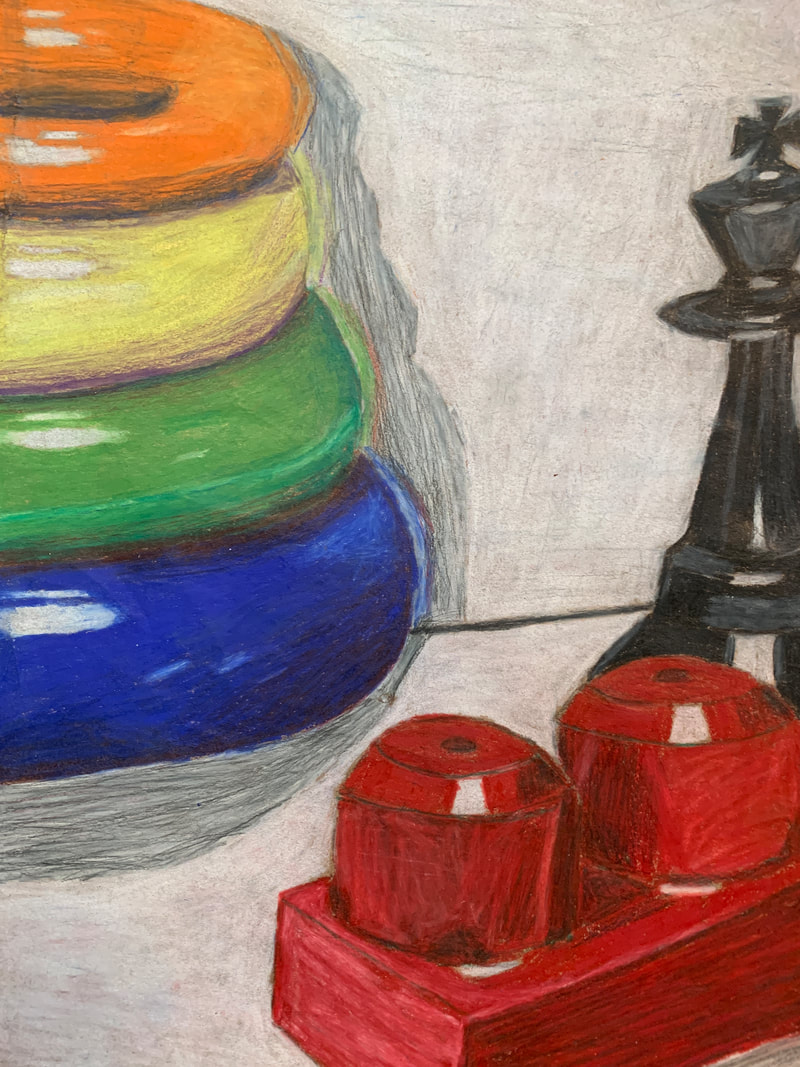
3. Prismacolor Toy Drawing
| 2d_toy_drawing_rubric.pdf |
EQ: How can I shade and tint with color?
LT: I can draw a still life while shading and tinting using color.
Steps to start this drawing...
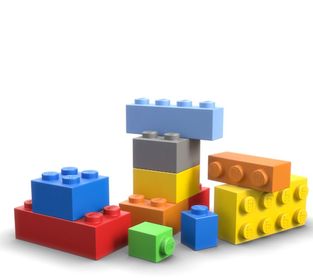
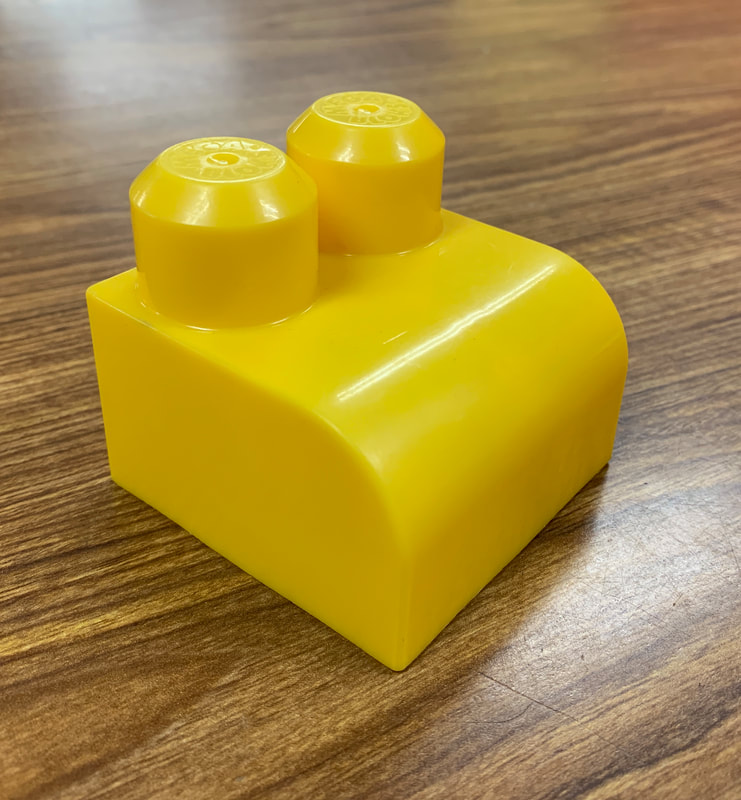
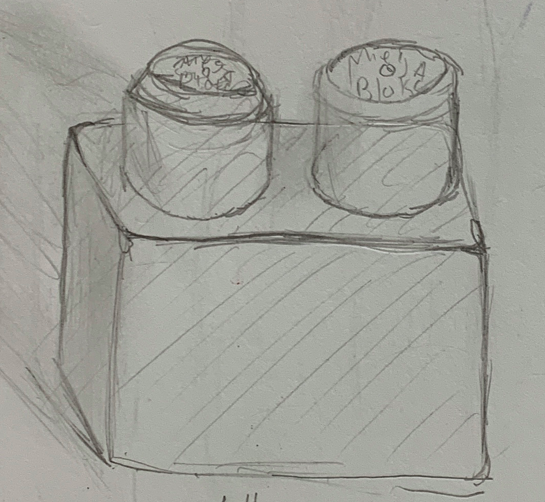
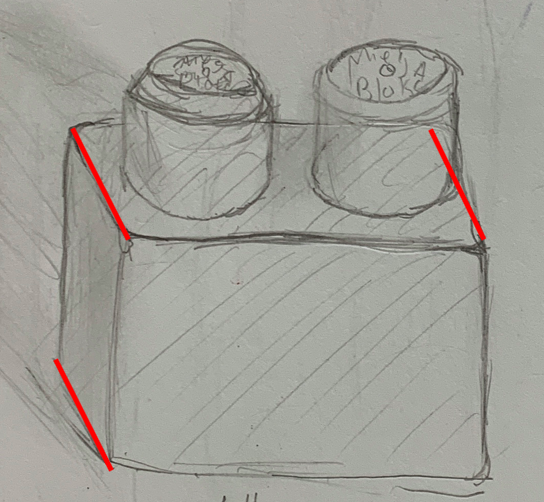
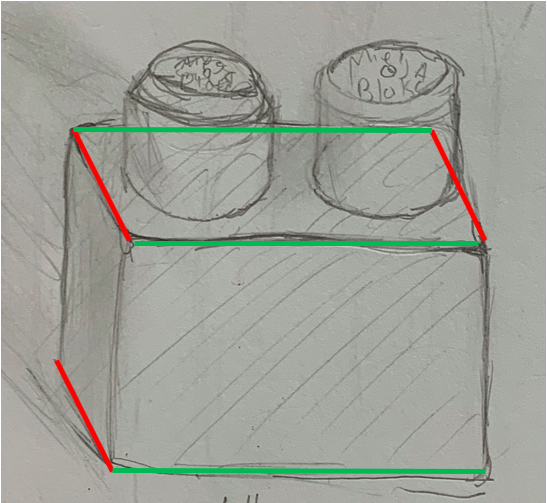
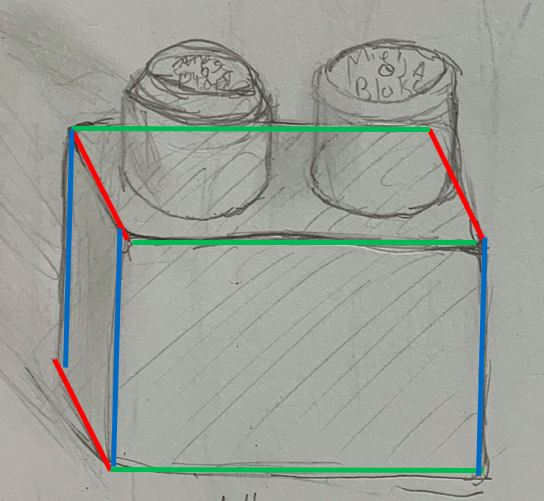
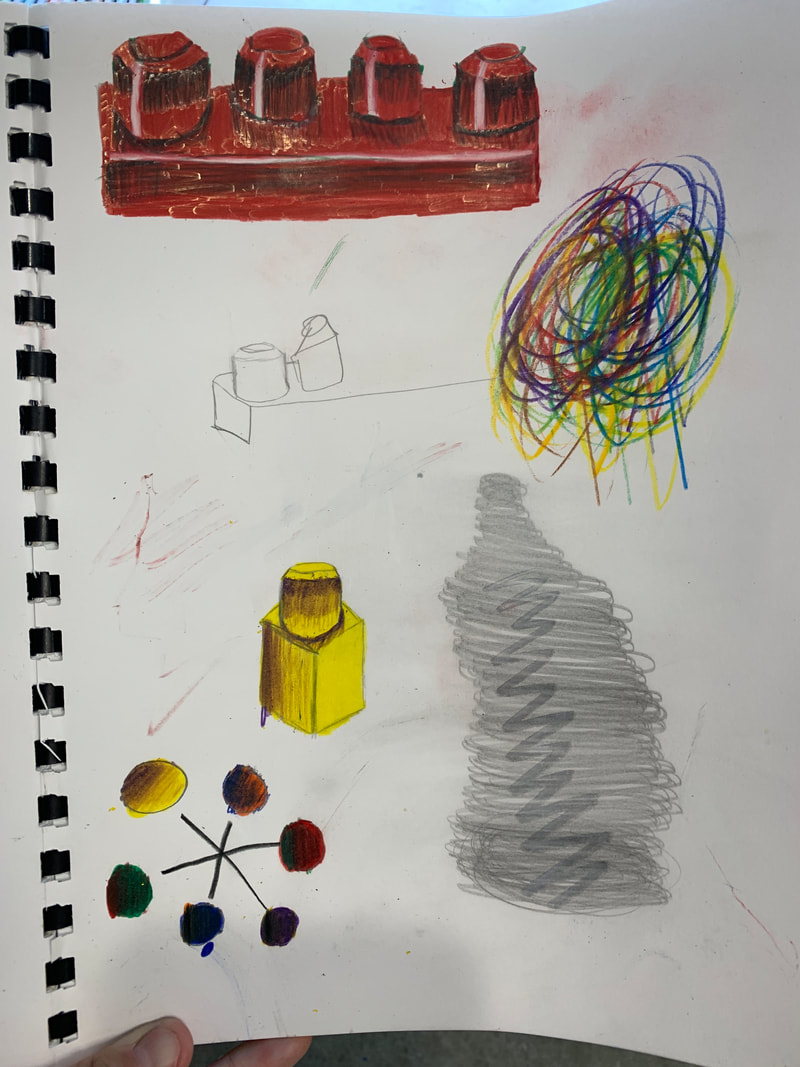
1. Draw one lego/MEGA Block FROM OBSERVATION in your sketchbook.
Discuss parallel lines together!
LT: I can draw a still life while shading and tinting using color.
Steps to start this drawing...
1. Draw one lego/MEGA Block FROM OBSERVATION in your sketchbook.
Discuss parallel lines together!

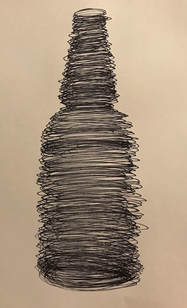
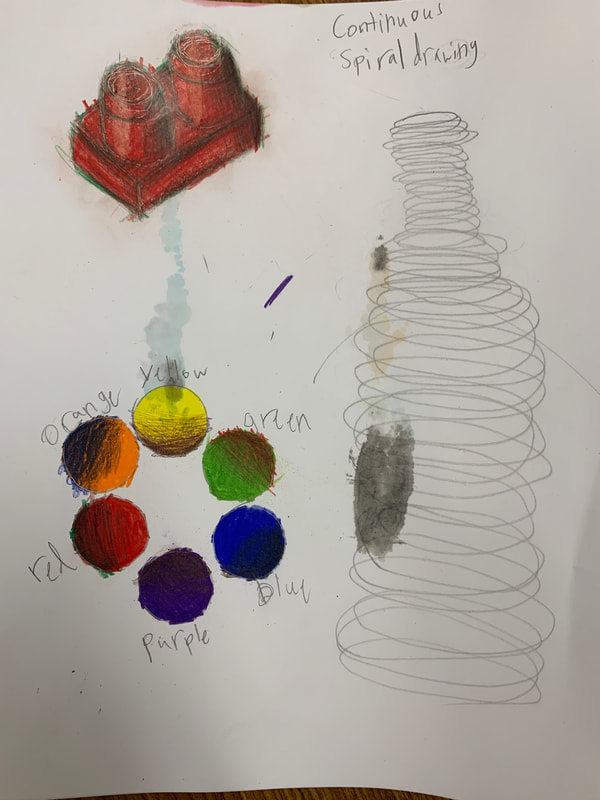
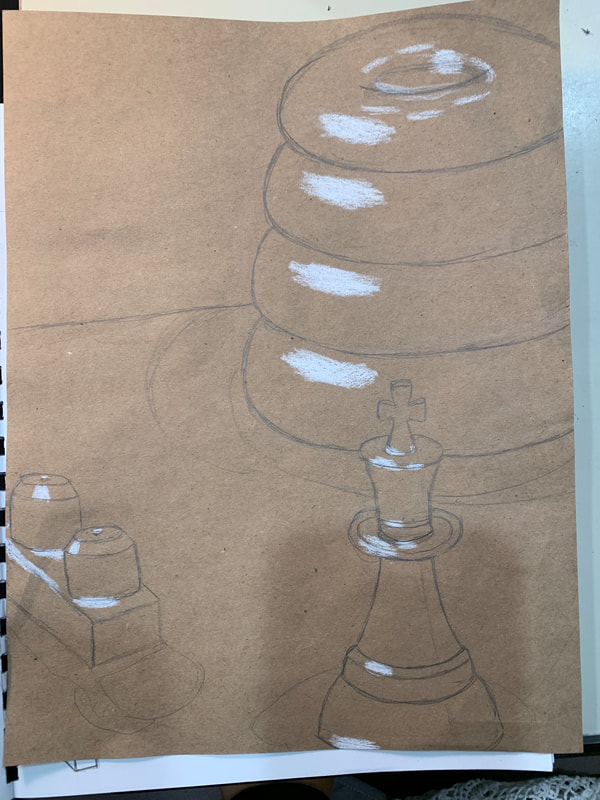
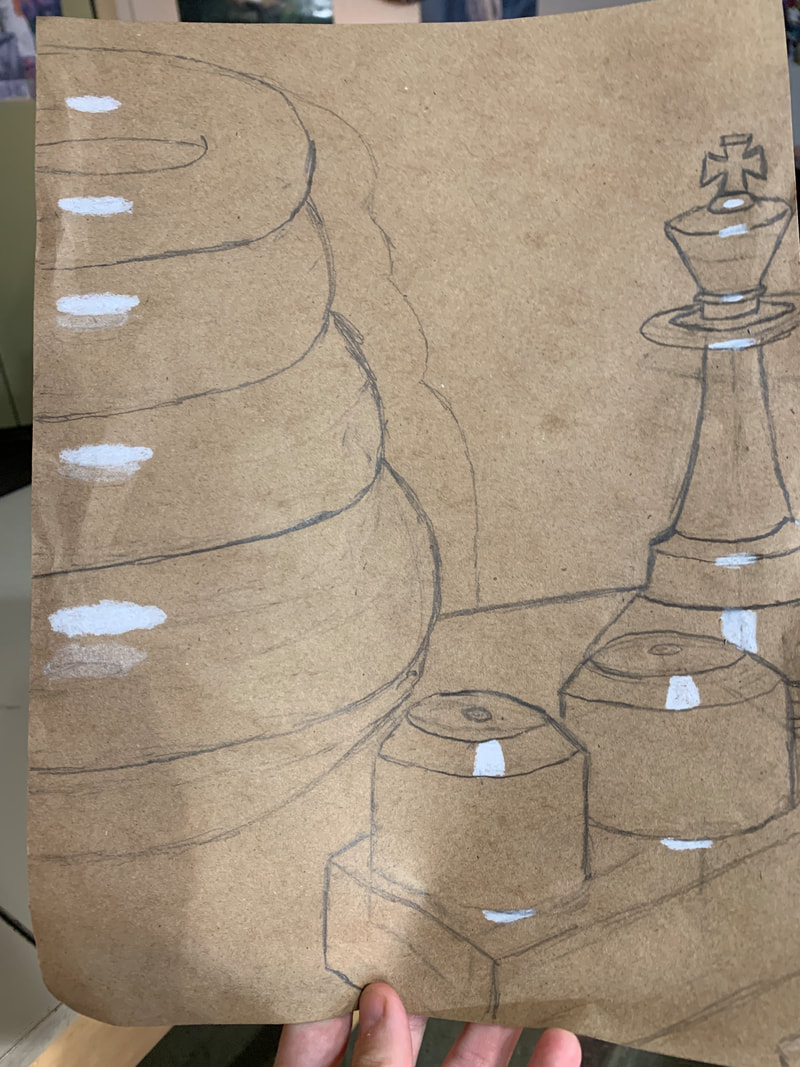
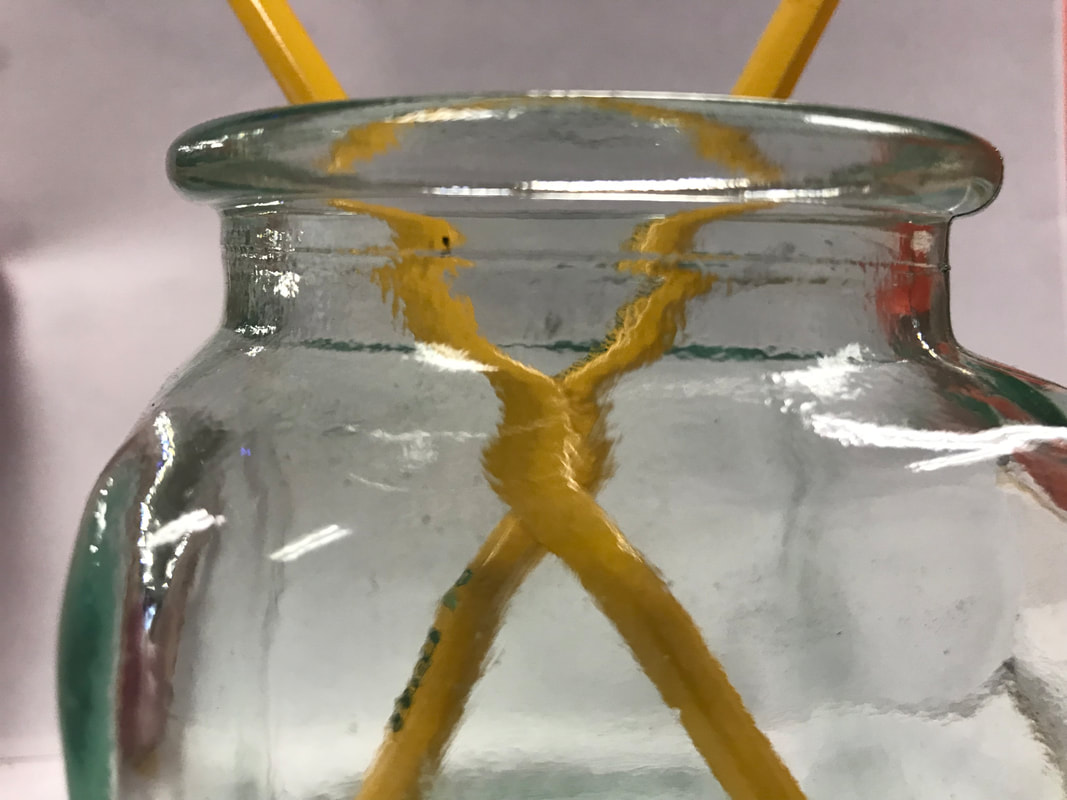
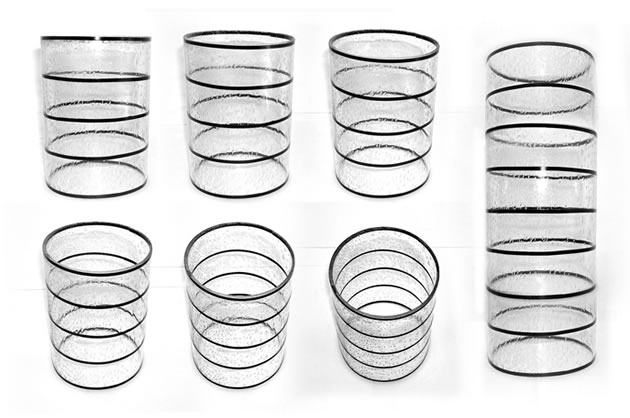
2. Practice drawing ellipses by drawing a glass jar or bottle using the continuous spiral method (drawing like a tornado!) in your sketchbook, example is below.
Below is a document to help you draw an ellipse
Below is a document to help you draw an ellipse
| how-to-sketch-an-ellipse.jpg |
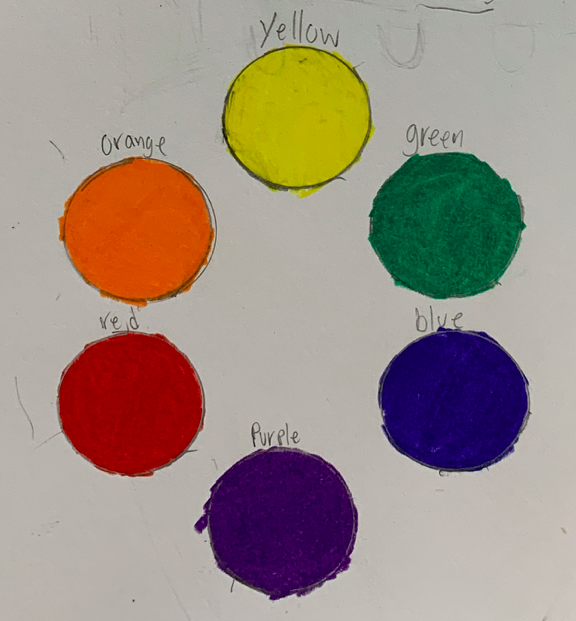
3. Create color studies in your sketchbook! Trace a quarter and draw six circles going in a circle. Fill the circles in using the three primary and three secondary colors
|

These are examples of what your sketchbook page should look like
|
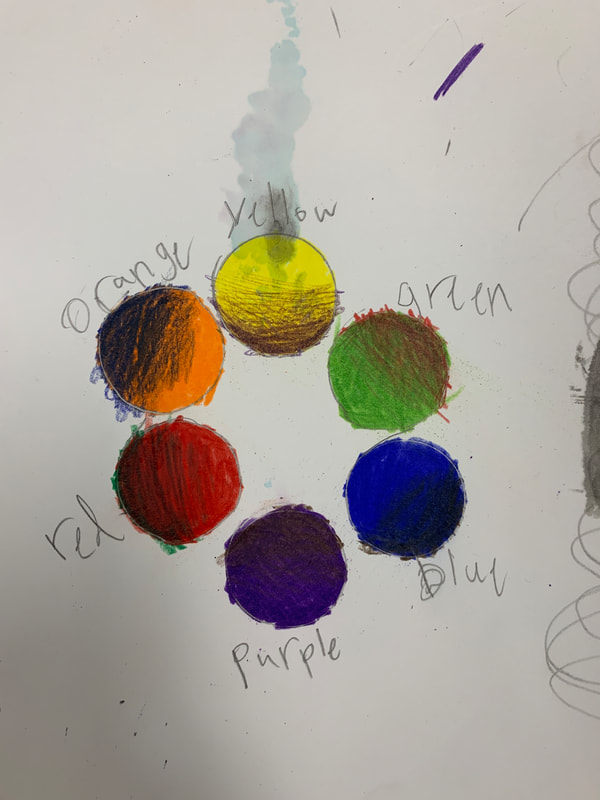
4. Shade each color using its COMPLIMENTARY COLOR (the color opposite it on the color wheel). For purple and blue, you can shade it with brown. Try to push hard with the pencil and go dark on one side then fade it out lightly as you move across the circle.
|
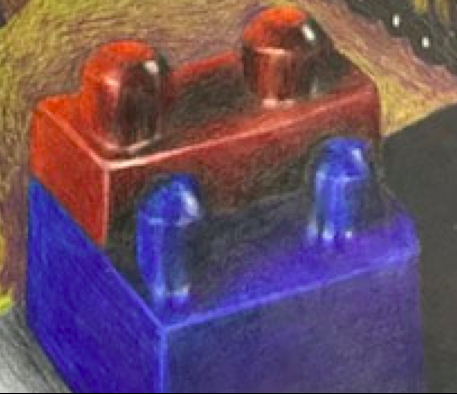
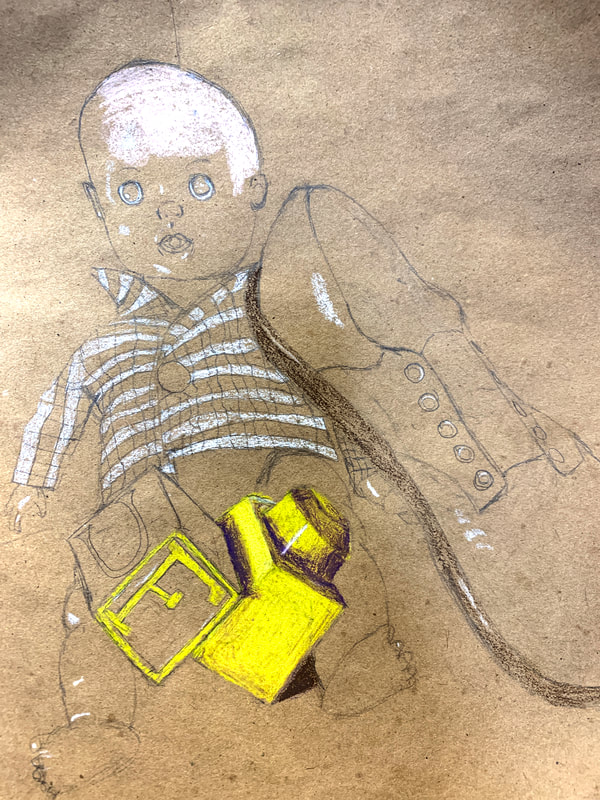
5. Go get your lego/MEGA block that you first drew. Where are the white highlights? Draw where those highlights are first so they stay white. Now you can color in the lego the color it is (if it's a red lego- color it in red). Push hard with the colored pencil and make it solid. Next, add darks by using the complimentary color!
- How can we make it look plastic???
|
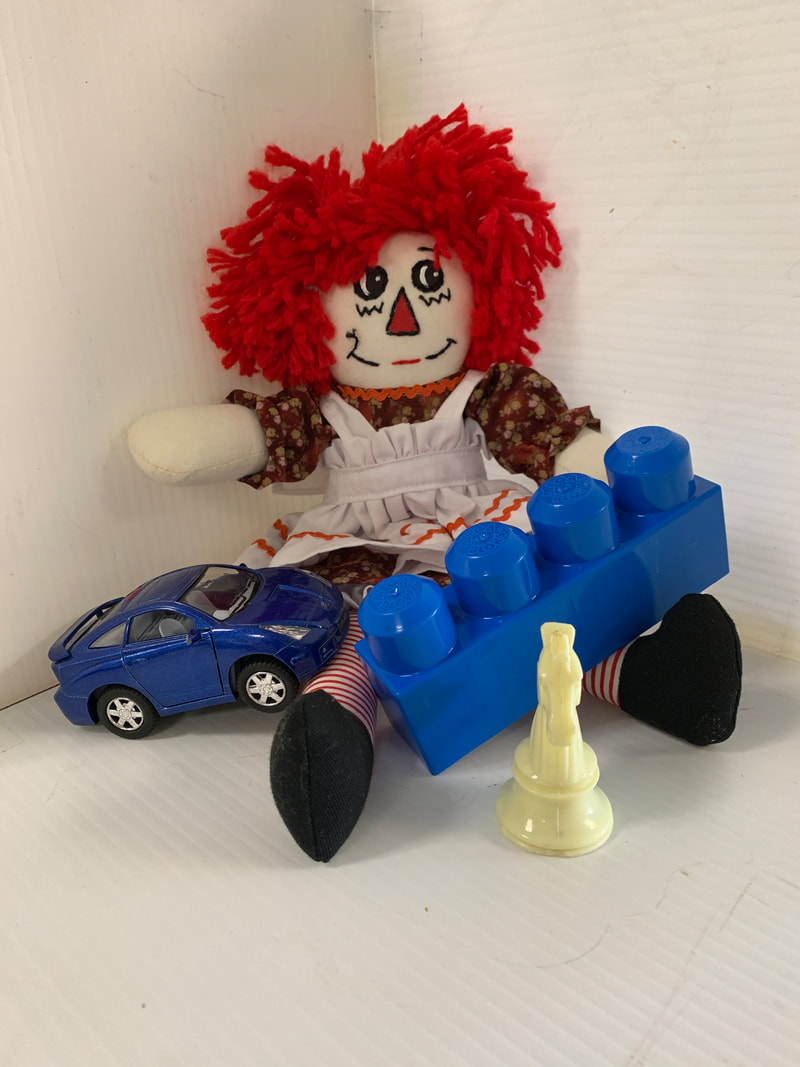
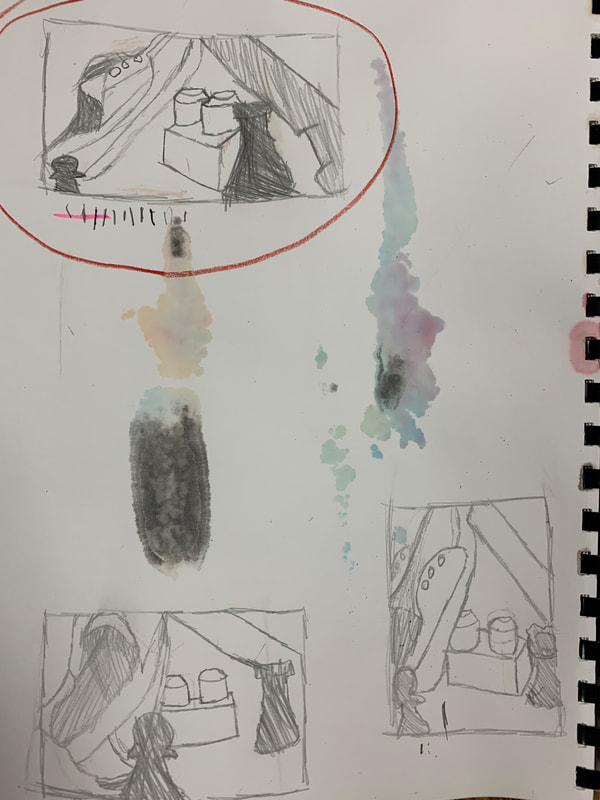
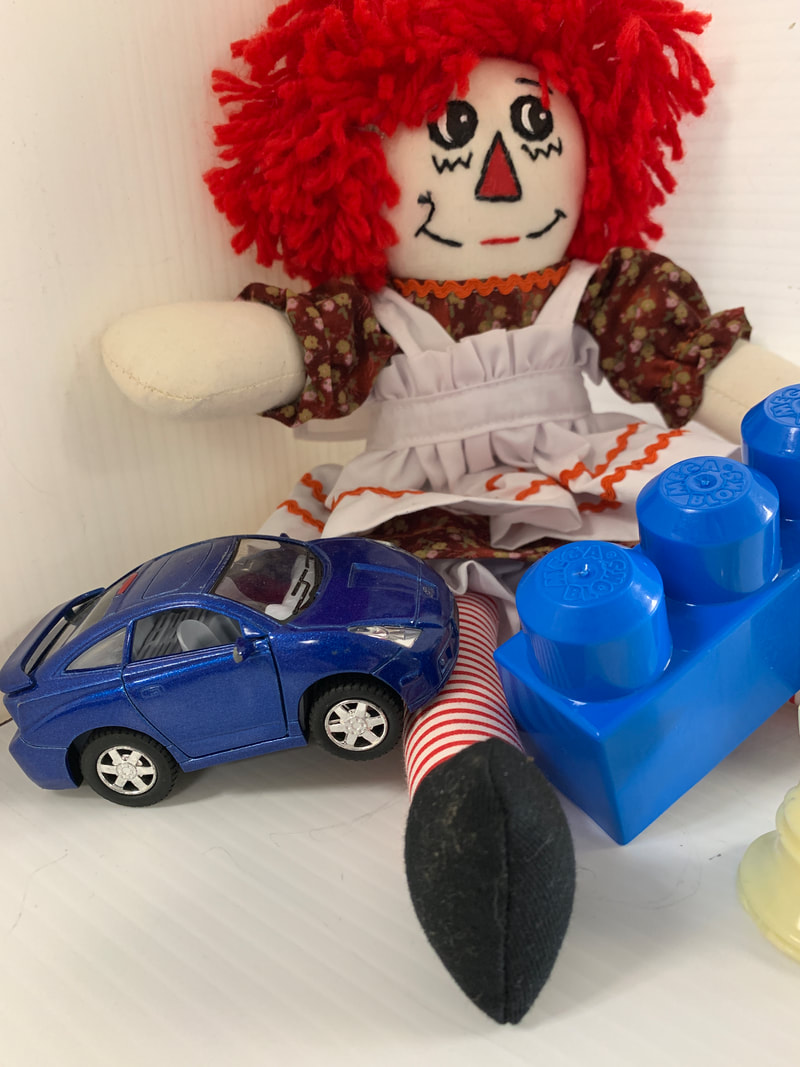
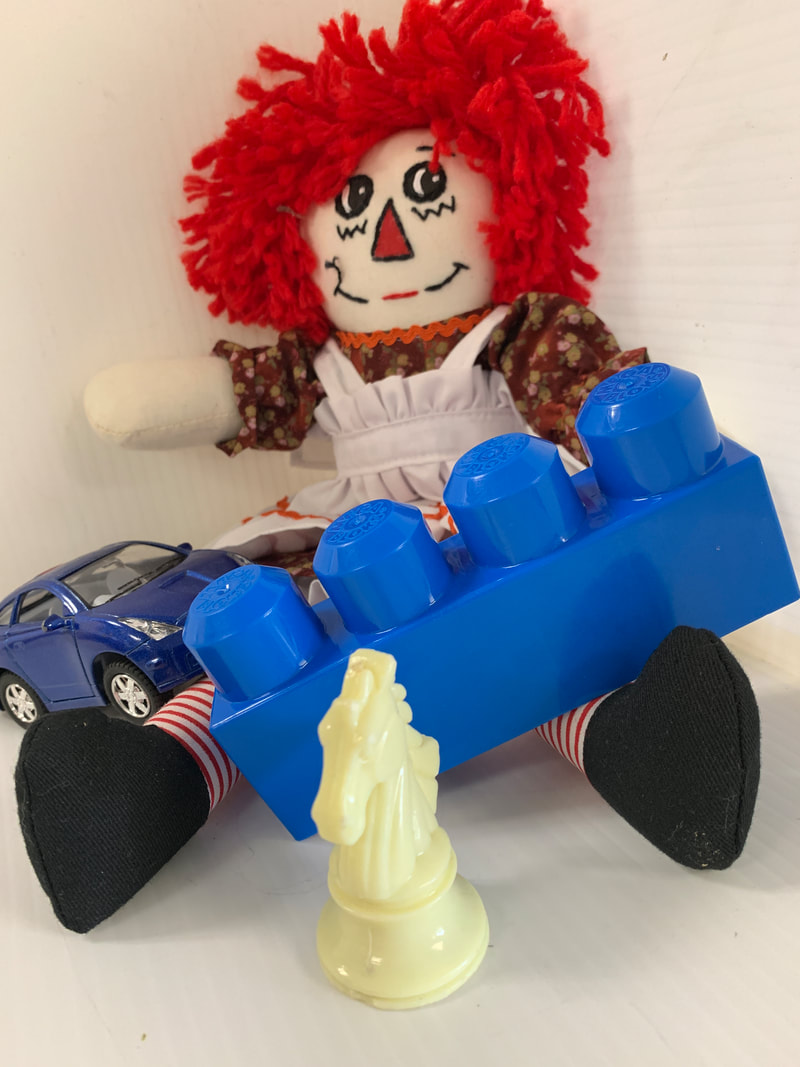
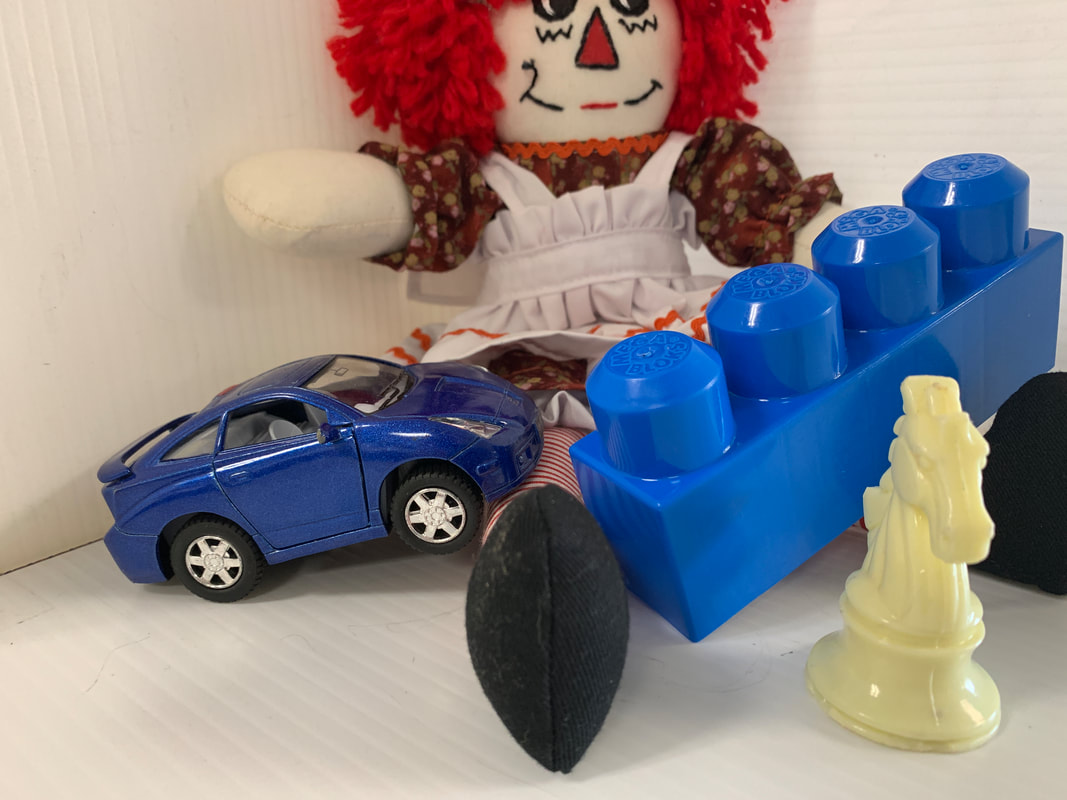
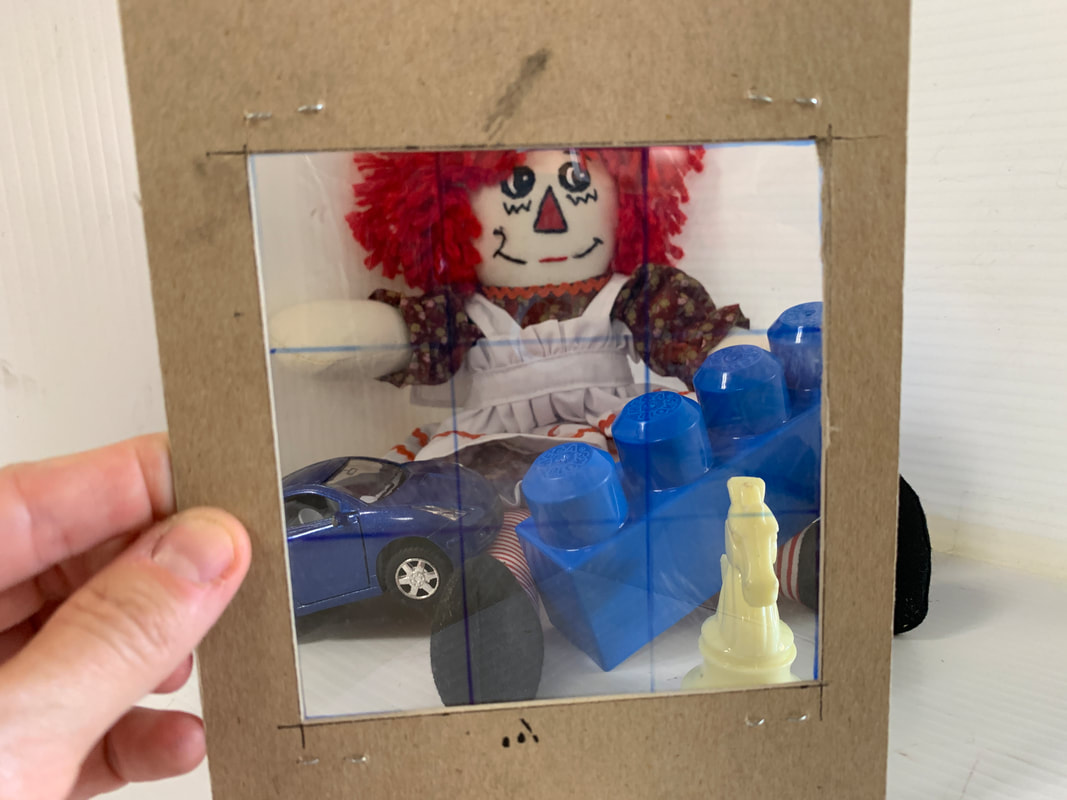
6. You and the person next to you will be drawing a still-life together. Select 4-5 objects from the center table and arrange them in a 3 sided-white box (center table)
|
|
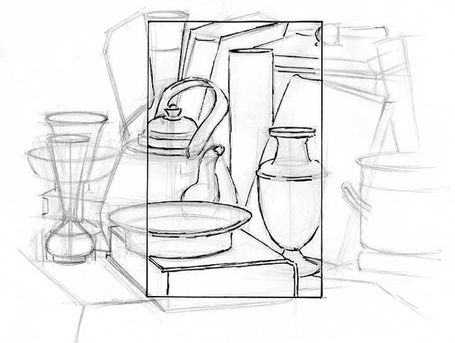
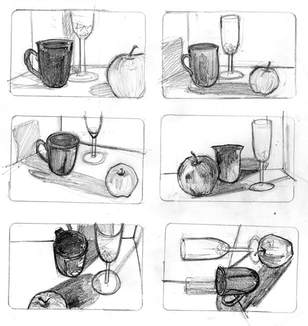
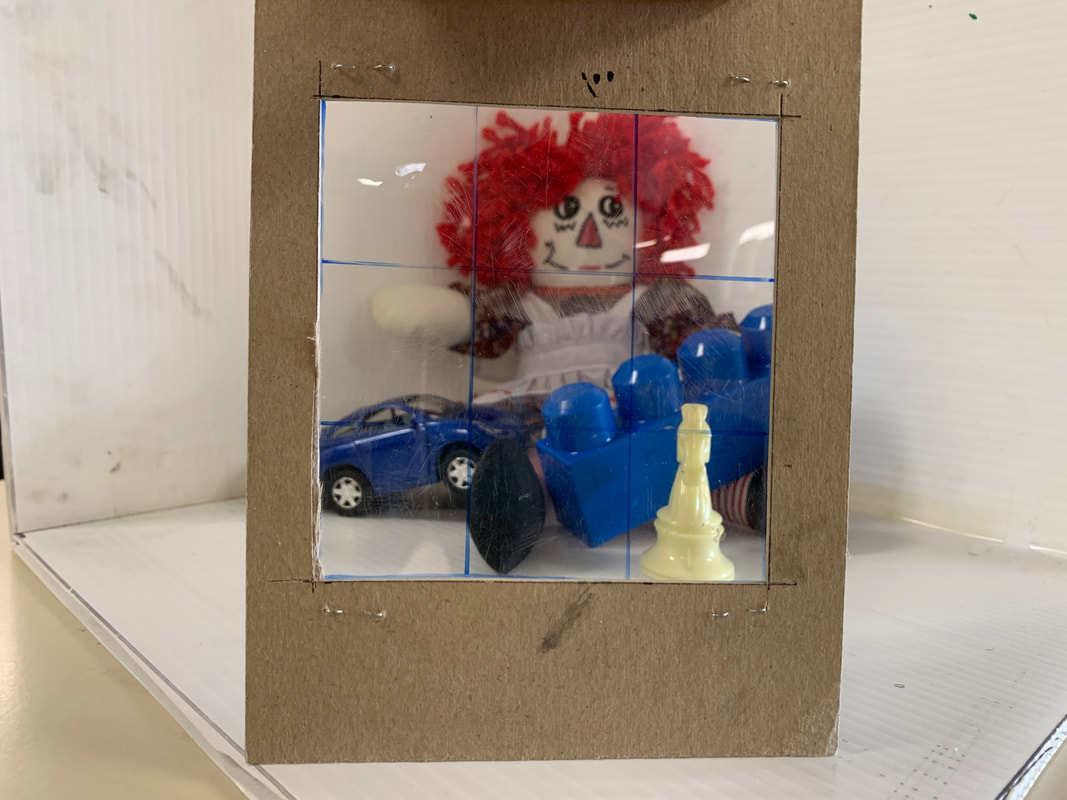
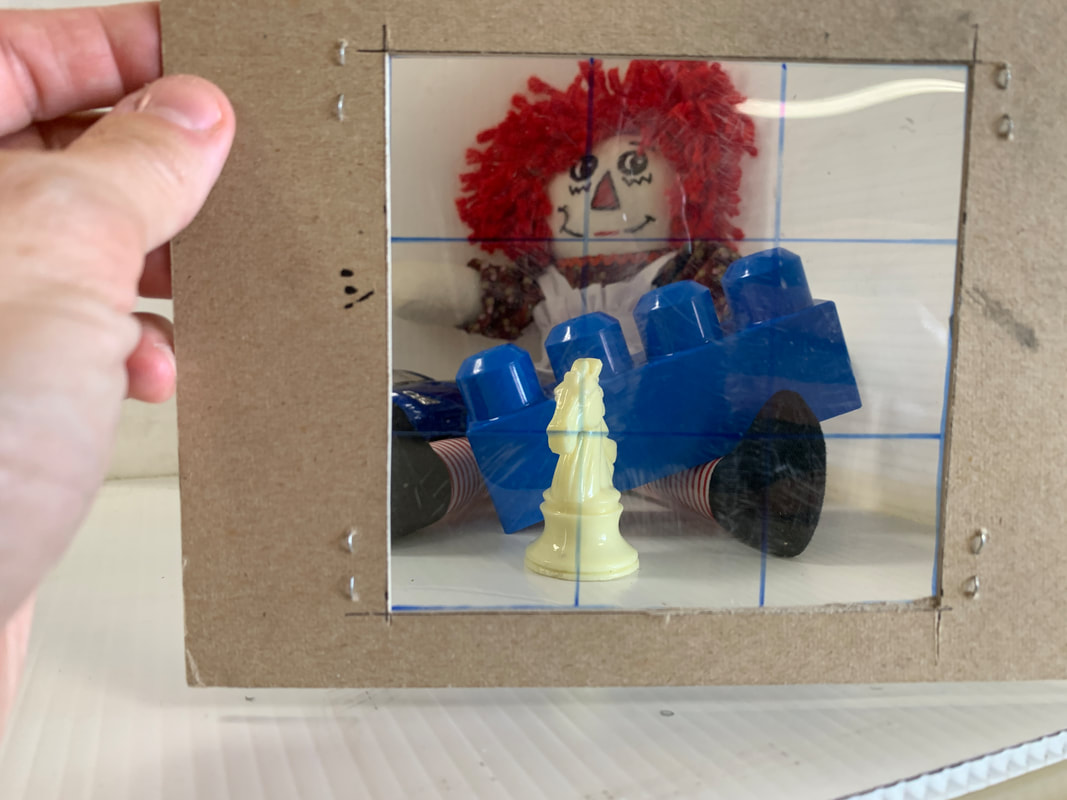
7. Create 3 different thumbnail sketches WITHOUT MOVING THE TOYS.
- What is a viewfinder??
- Move your viewpoint, try zooming in, try turning your rectangle vertically
- Have toys going off the edges of your paper.
- Have a diagonal line in your composition... WHY?
|
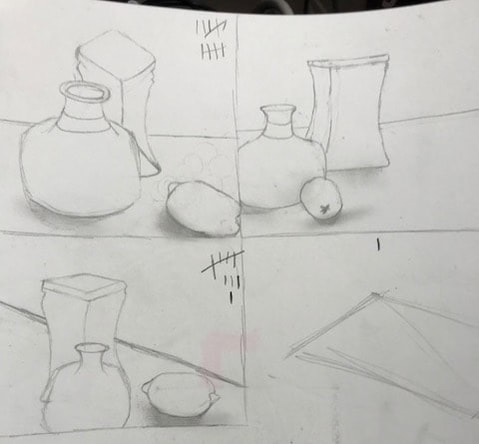
|
|
|
Discuss your sketches with your partner. Do you have...
1. A zoomed in view of the objects? 2. Objects going off the paper? 3. A lego or block? 4. A diagonal line(s)? 5. Too much empty space? |
Assessment aligned with APSA rubric
|
|

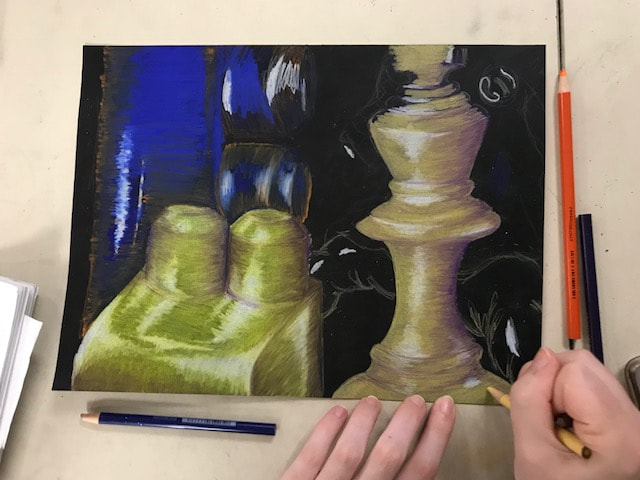
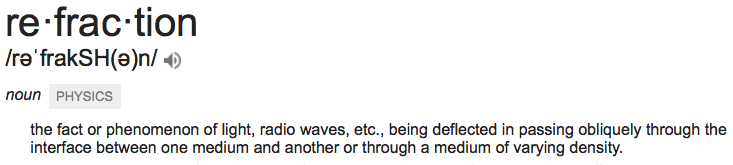
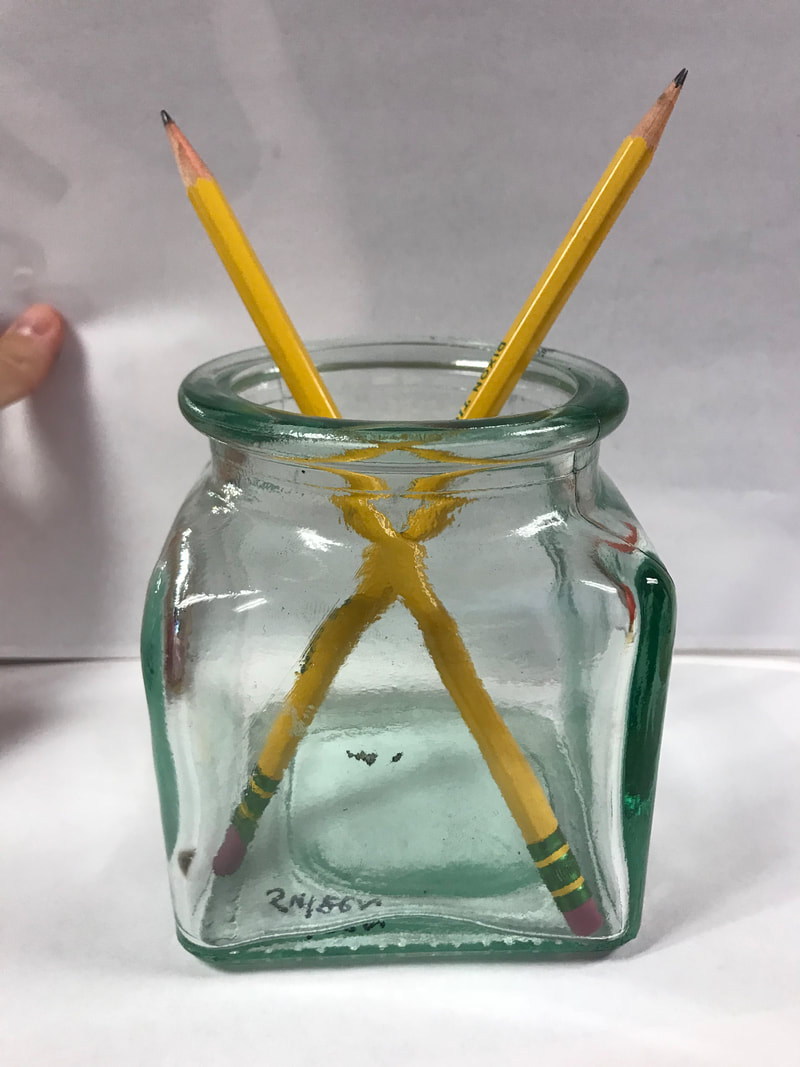
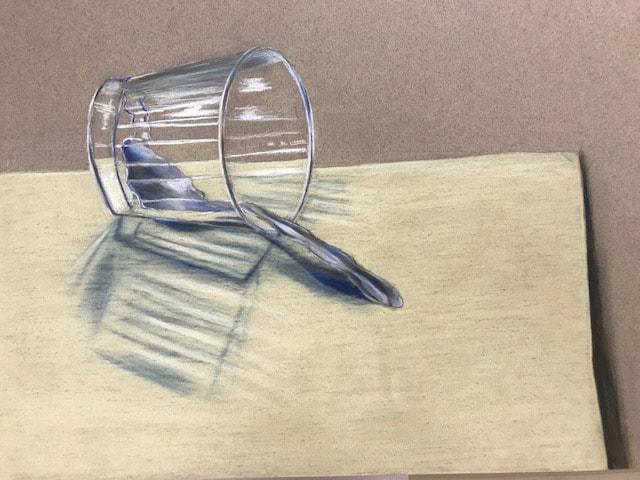
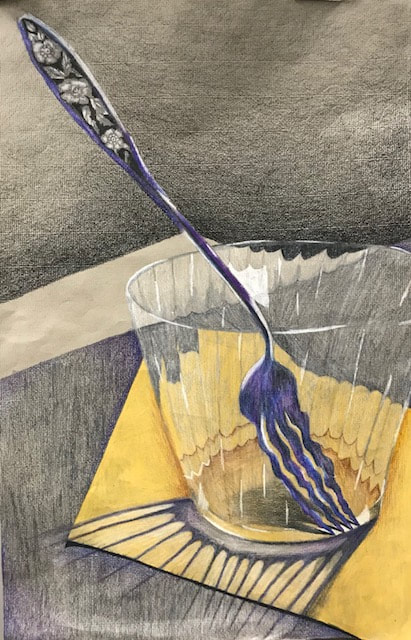
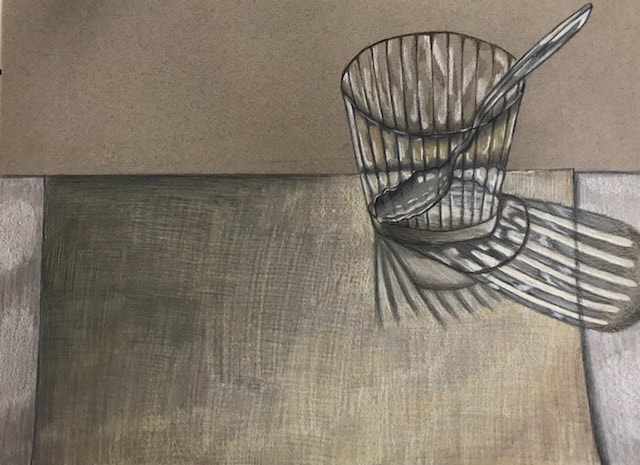
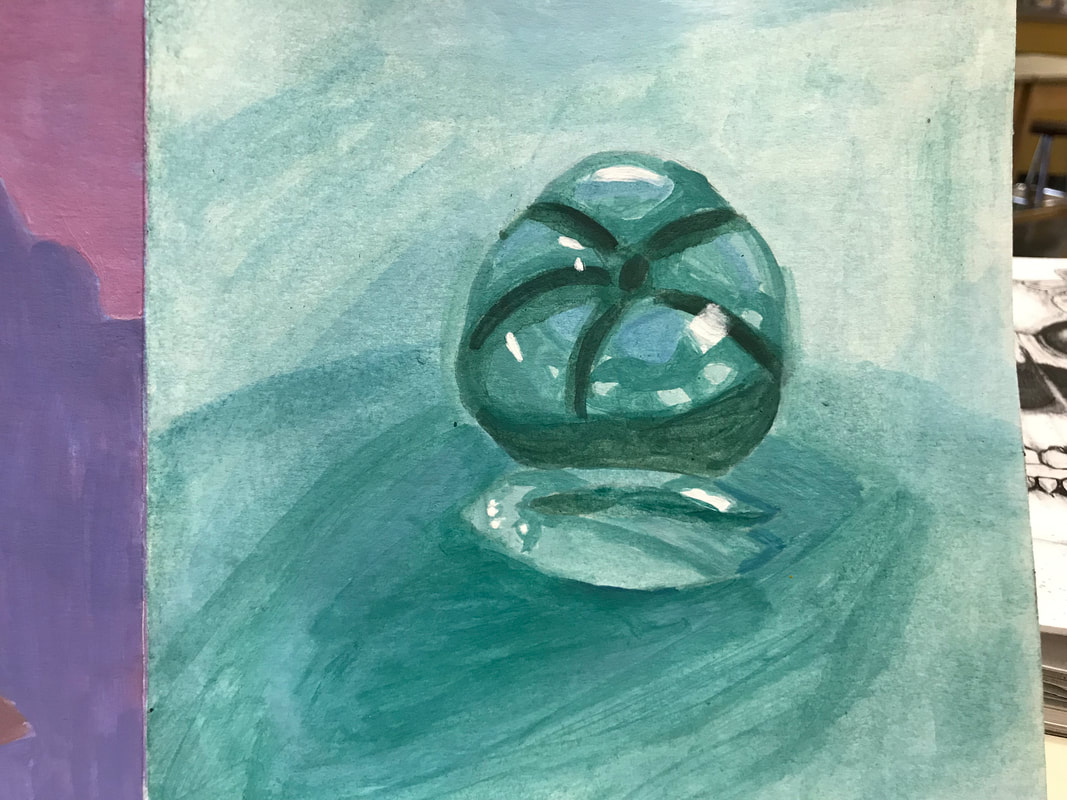
2D Advanced students will be creating a colored pencil drawing of objects inside a glass vessel. They are to focus on the refraction/what happens when the object enters the glass, reflections and composition. Objects should look as realistic as possible and colors should be used to shade.
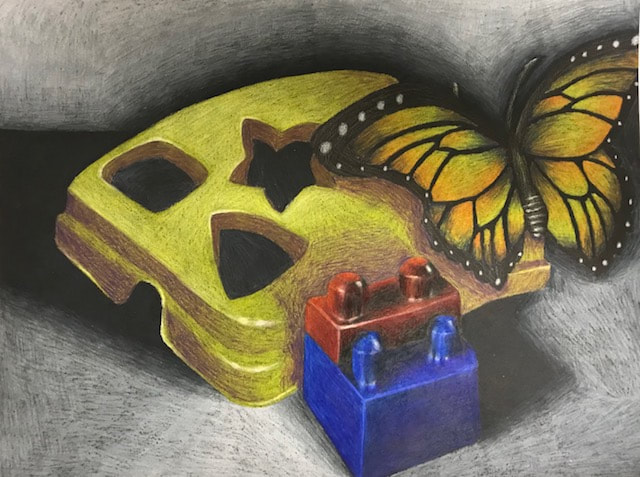
4. Prismacolor again- Depict a Song lyric, dream/nightmare or scene from a book
|
| ||||
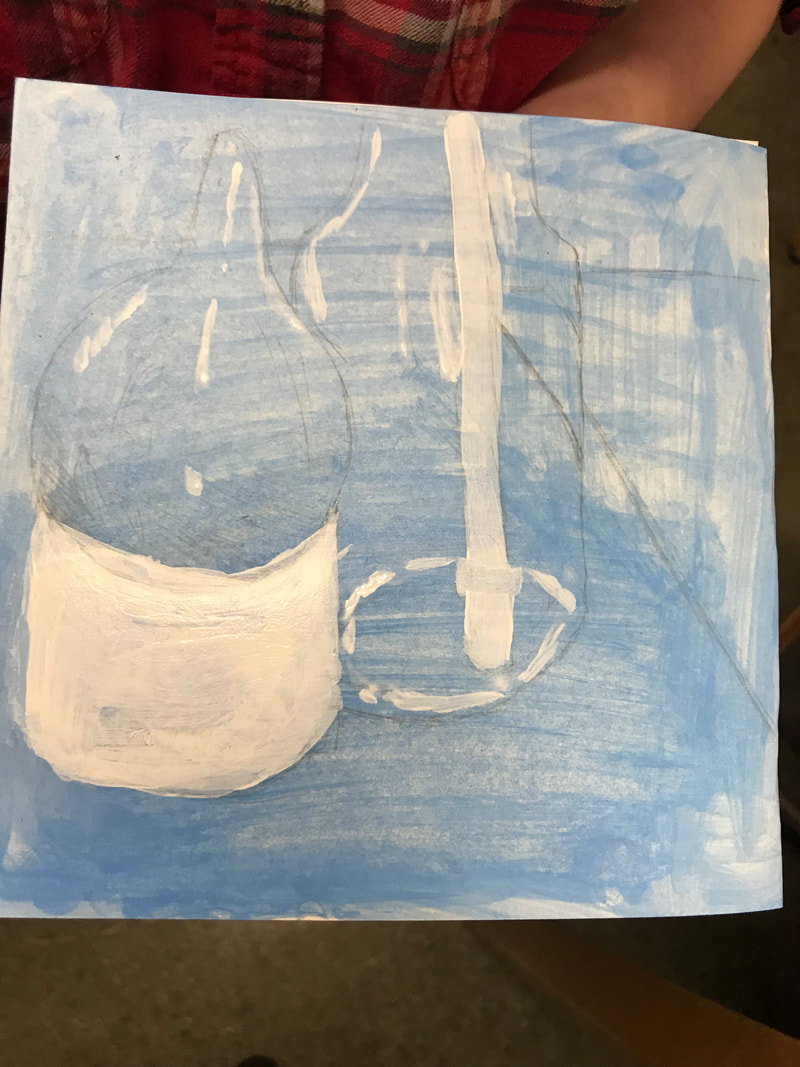
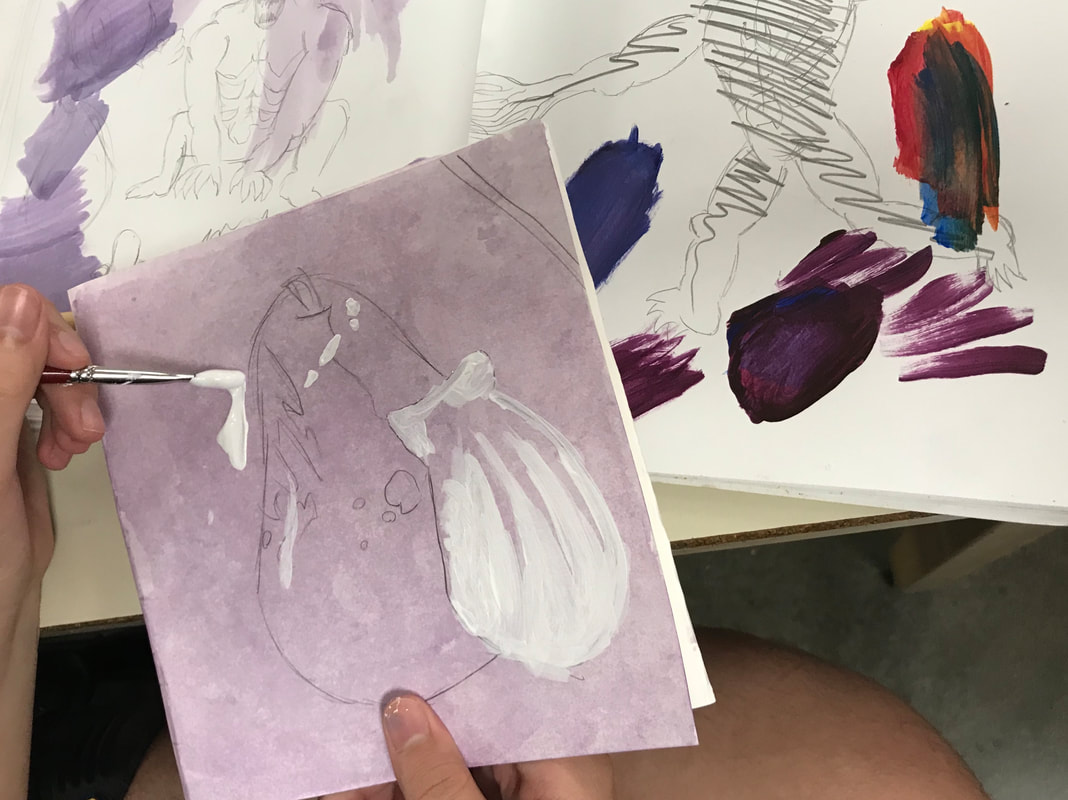
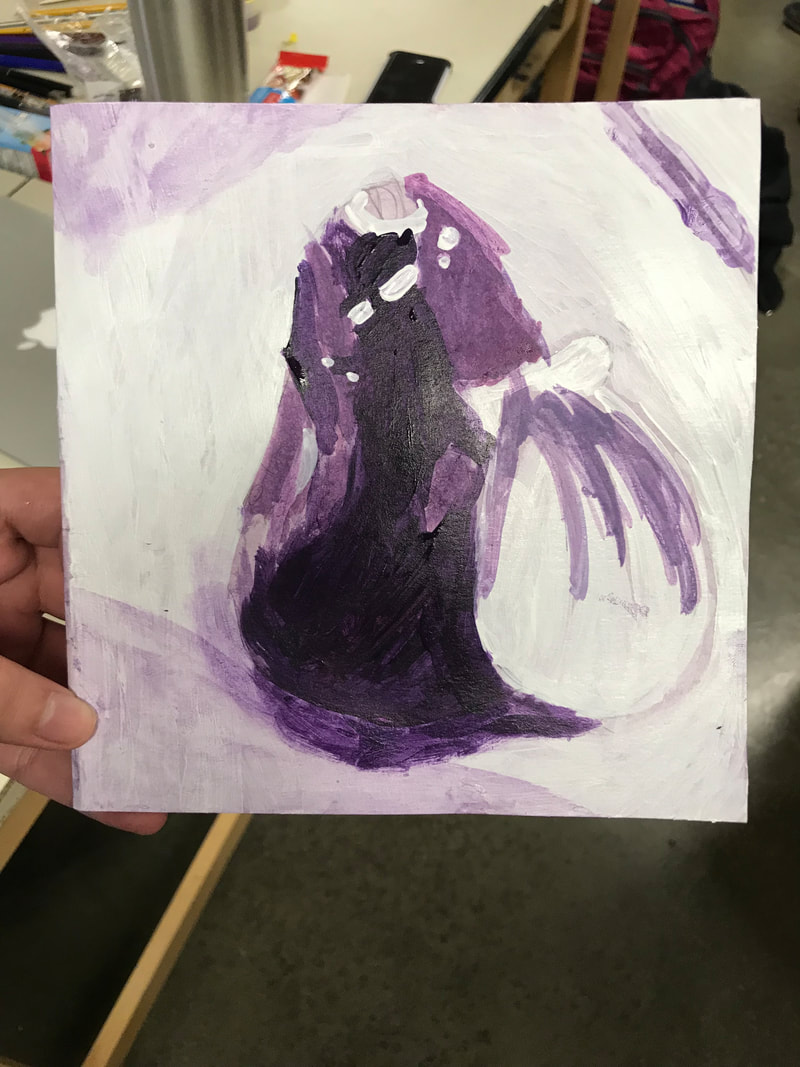
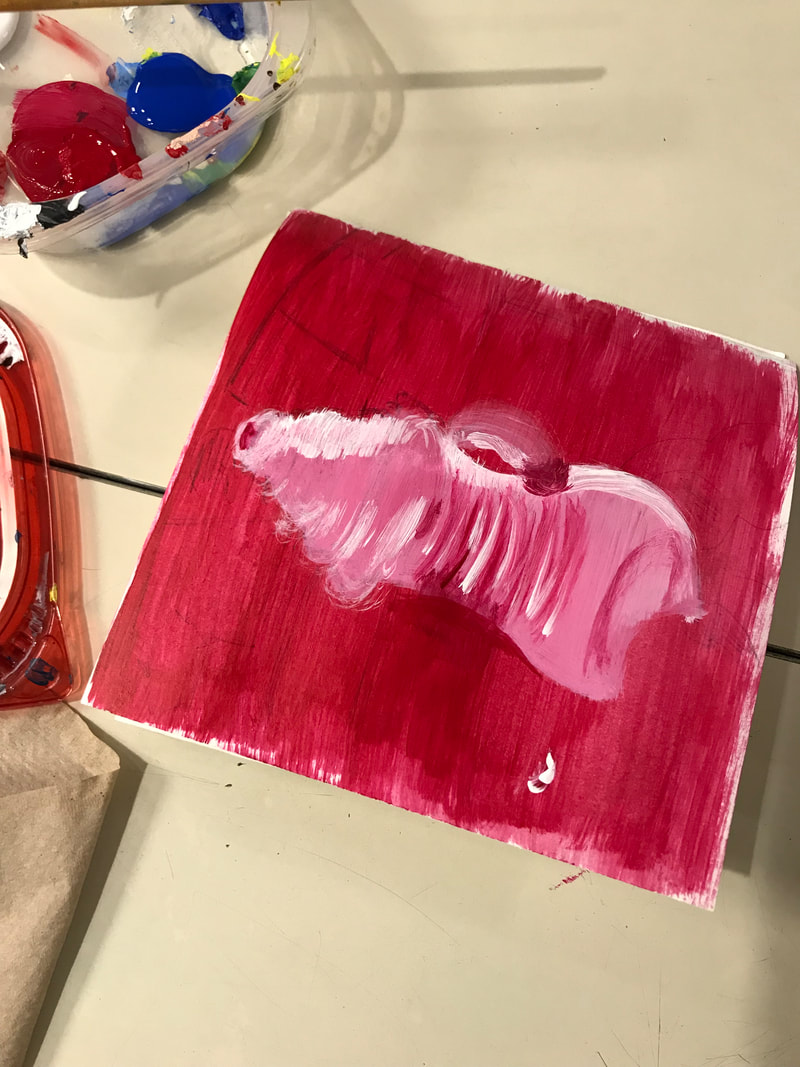
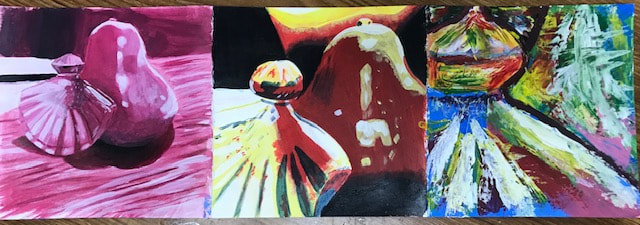
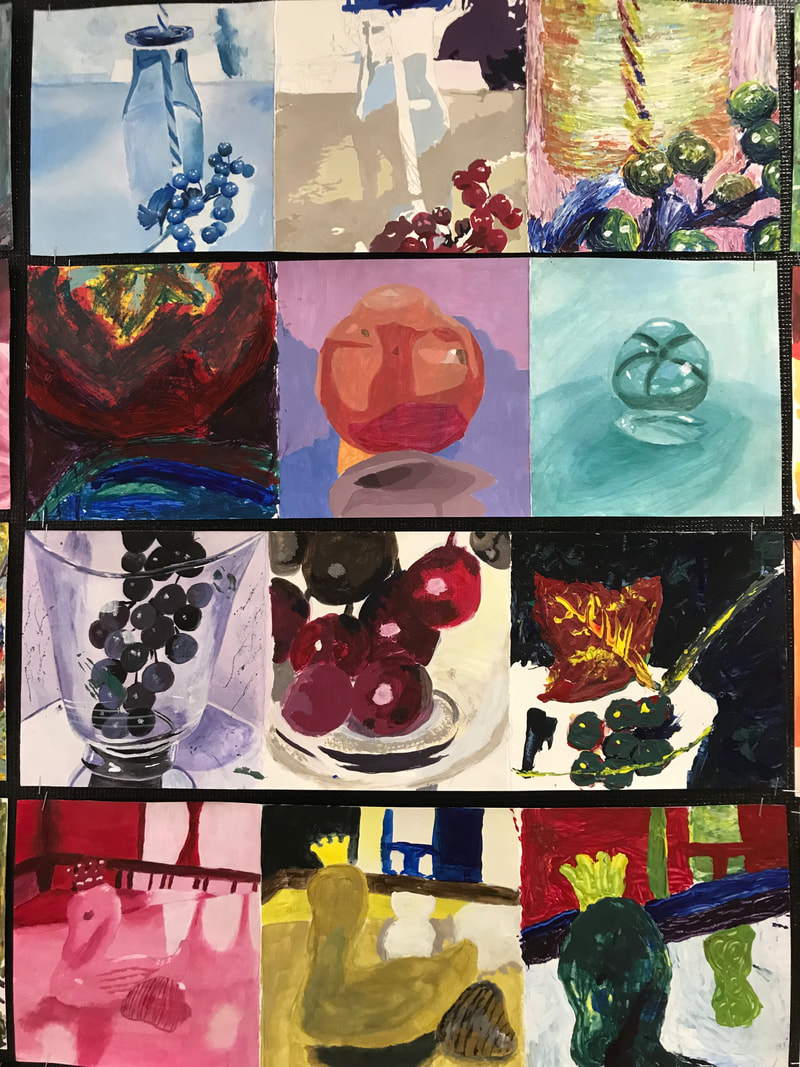
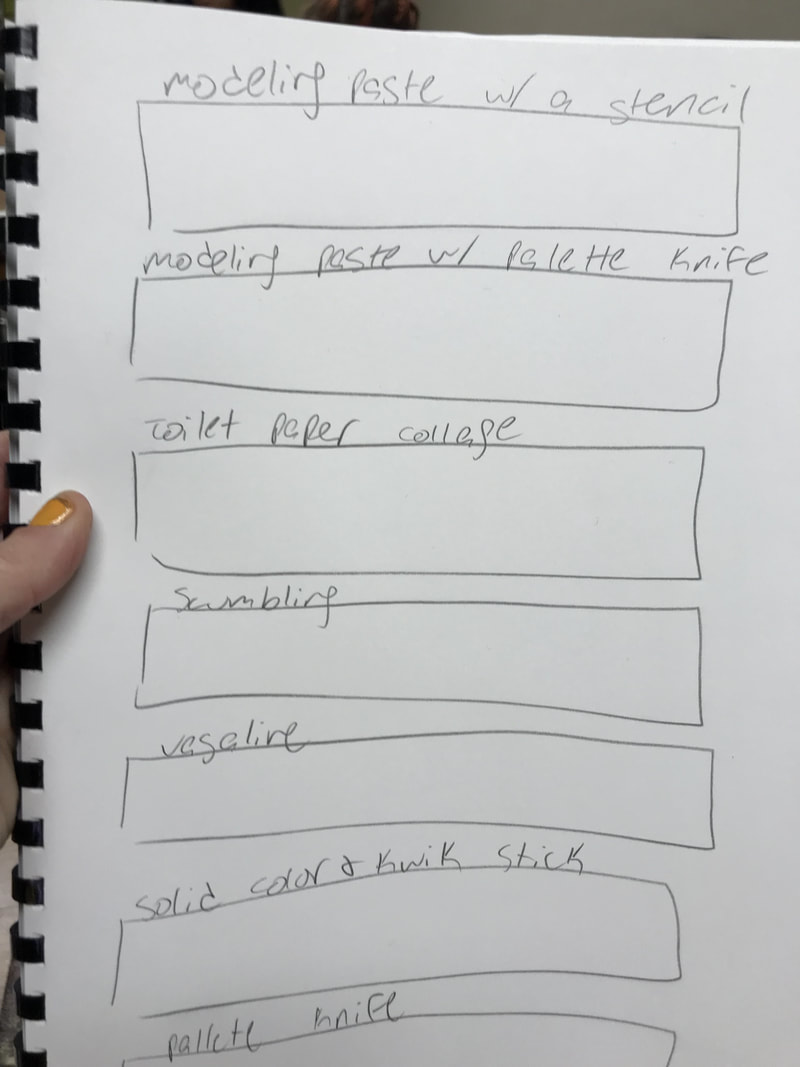
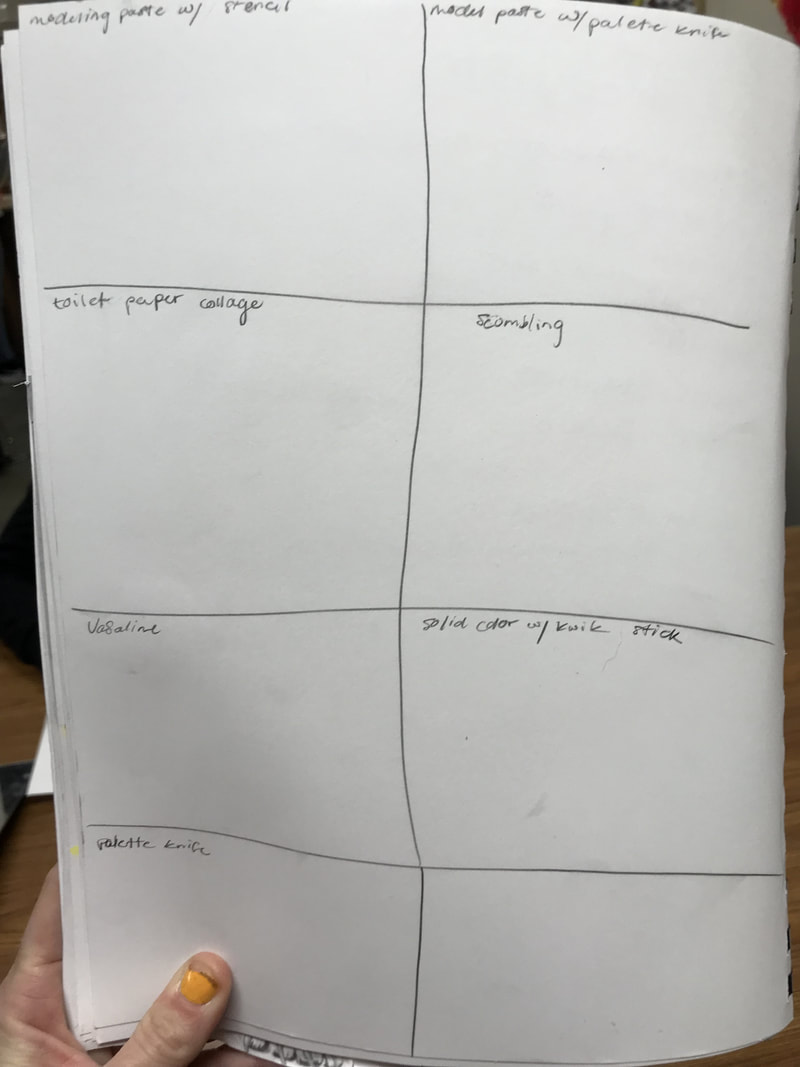
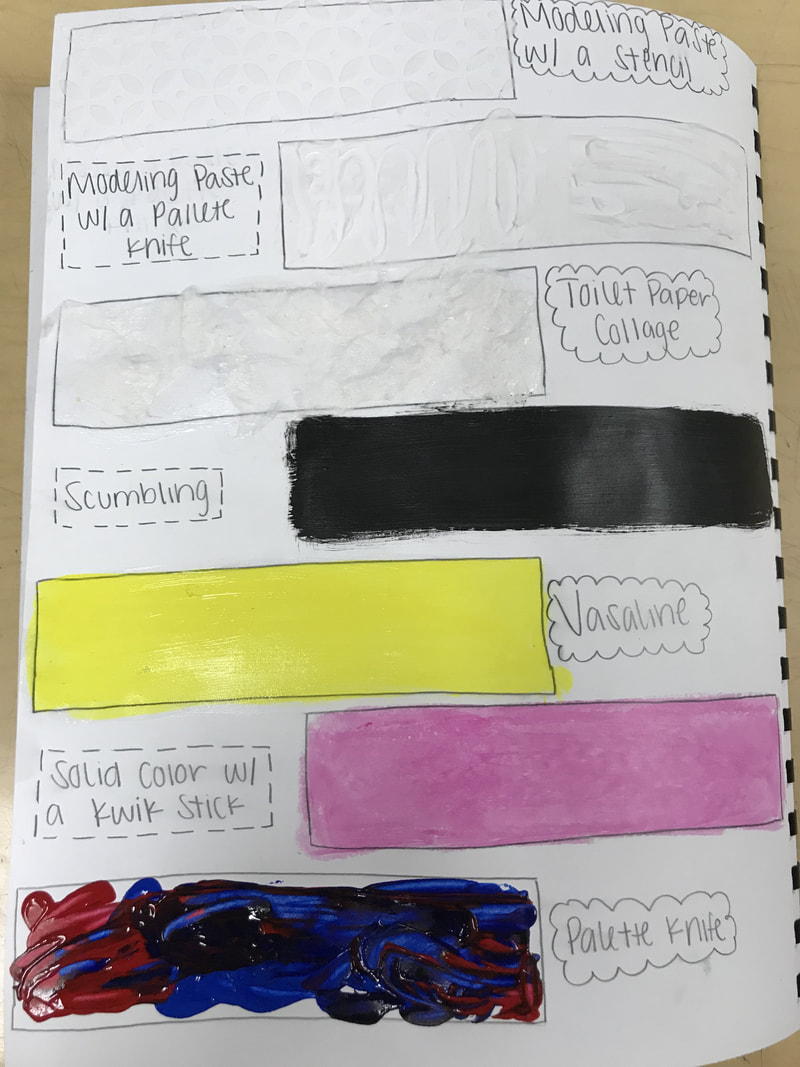
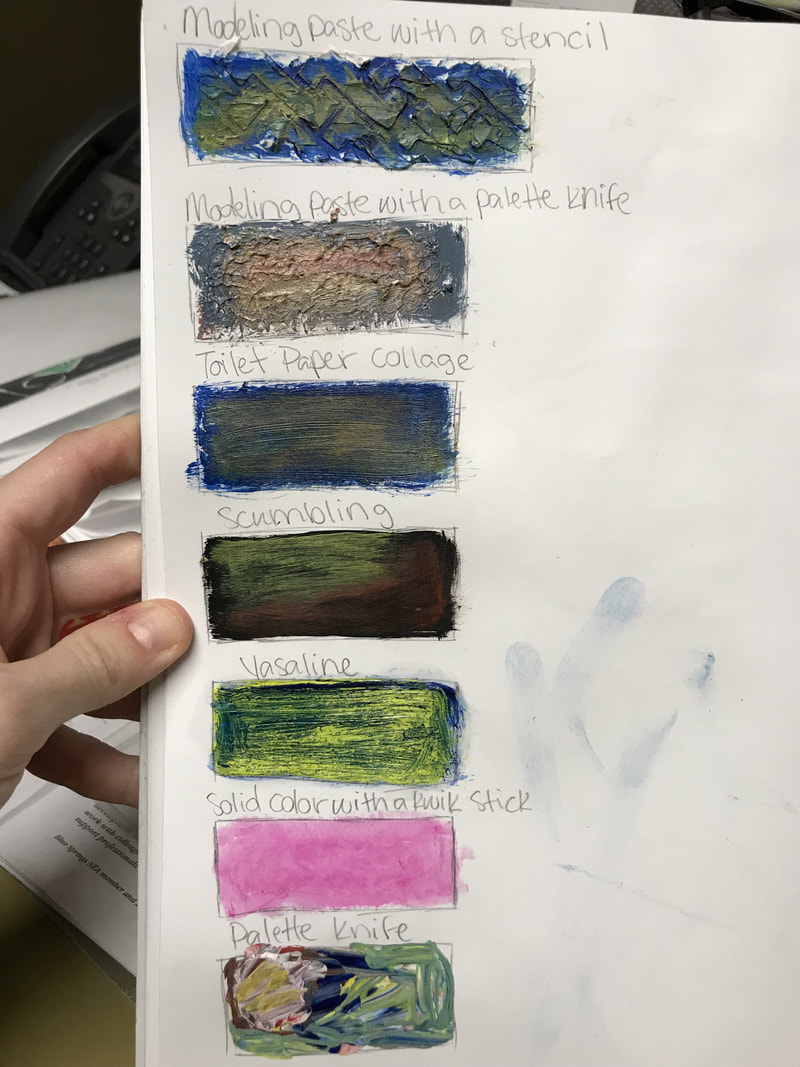
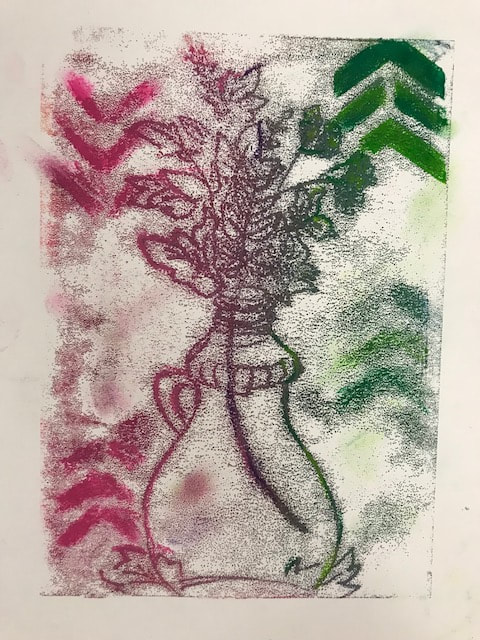
5. Practice Painting
I can use color to shade and tint a Still-Life Painting of all white objects
REFLECTION in sketchbook: How did the idea of layering colored pencils translate into paint? How did you make the dark colors with your paint? What was the hardest and the easiest part about creating this painting?
|
| ||||
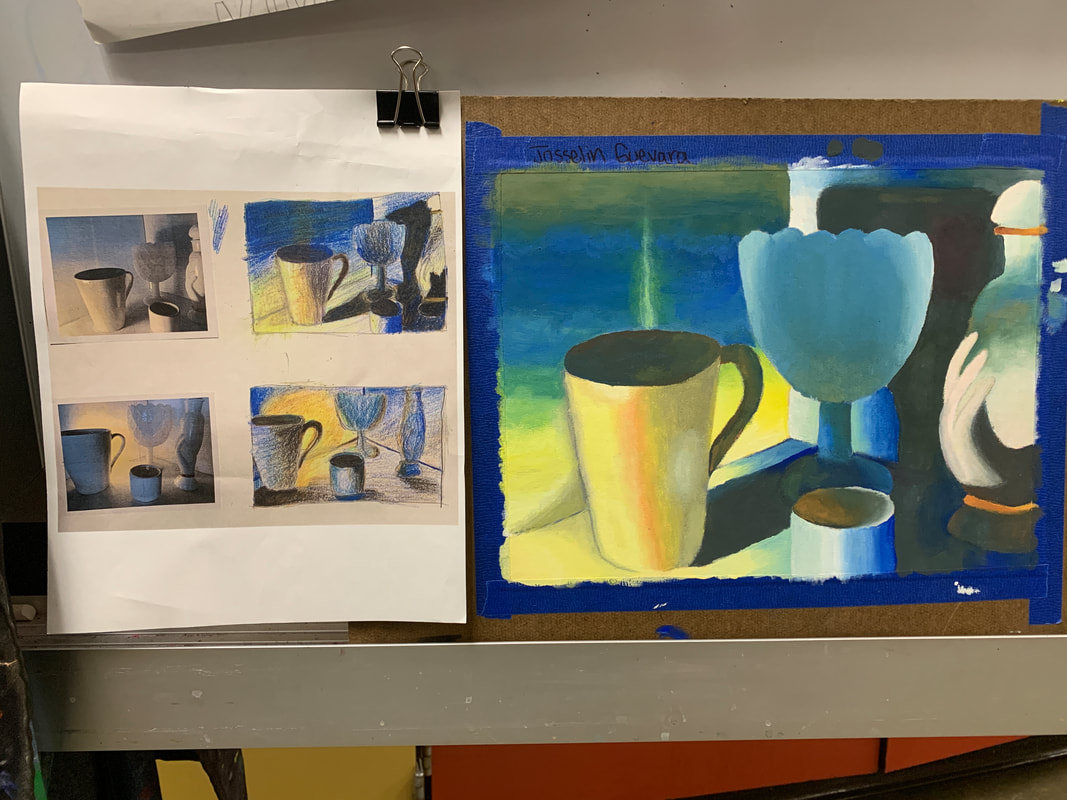
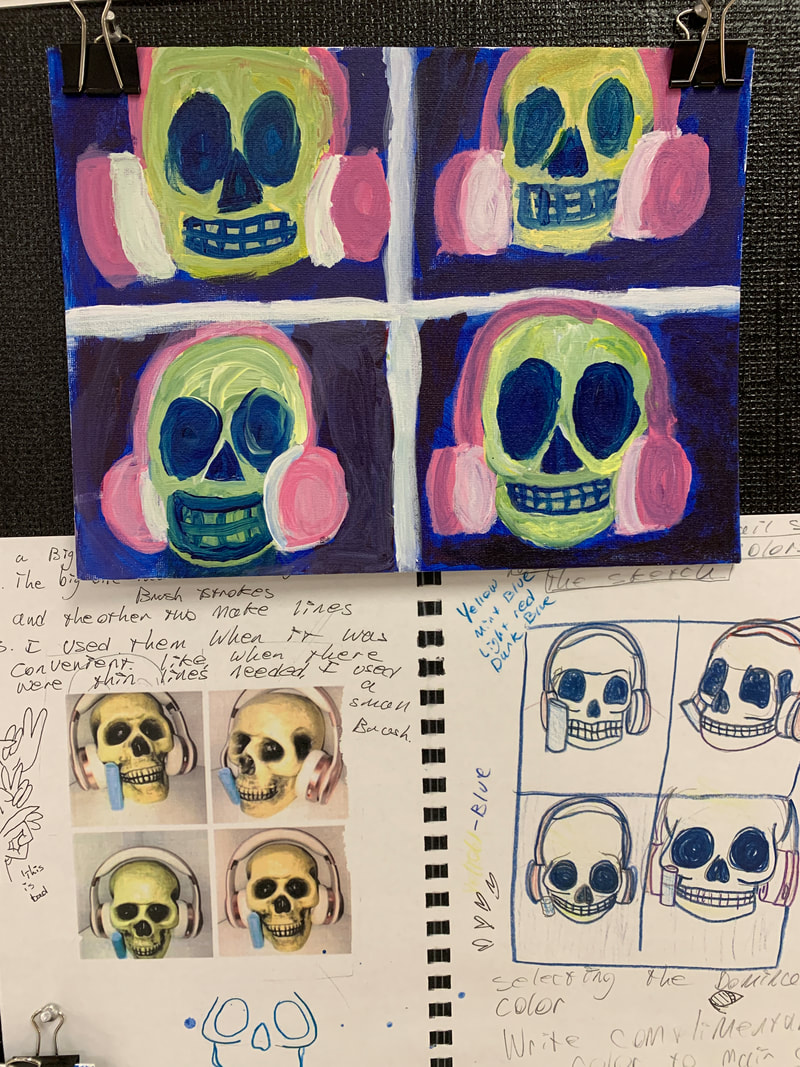
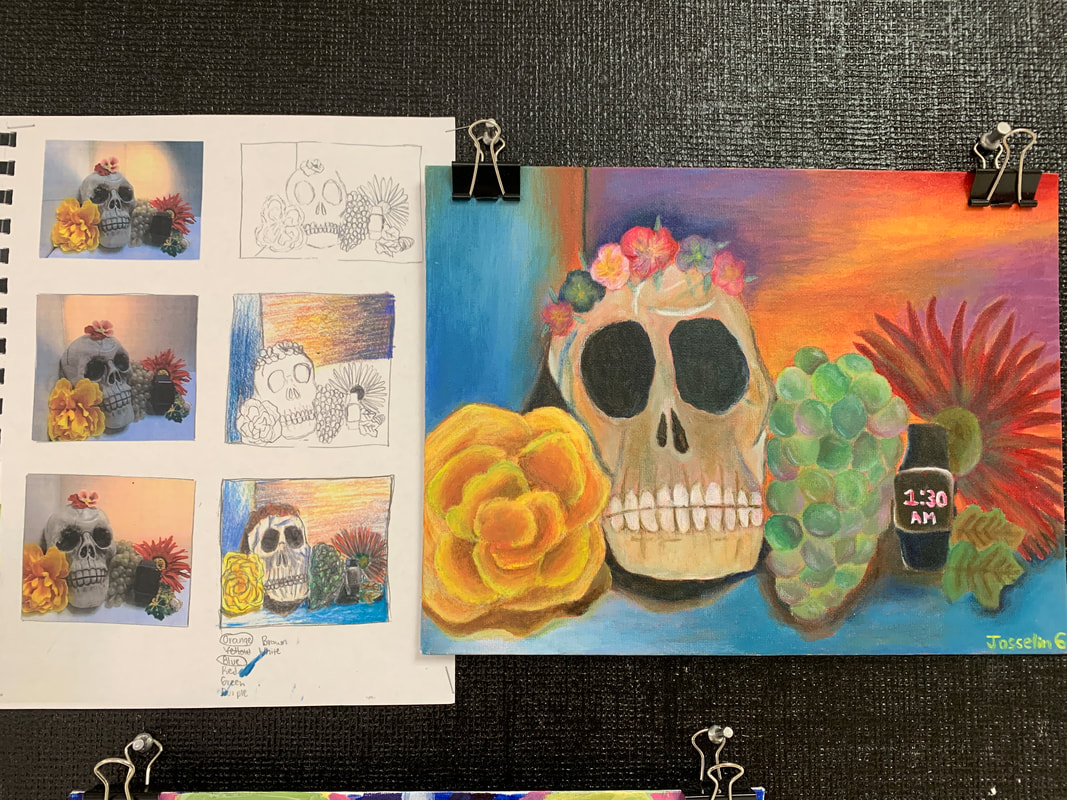
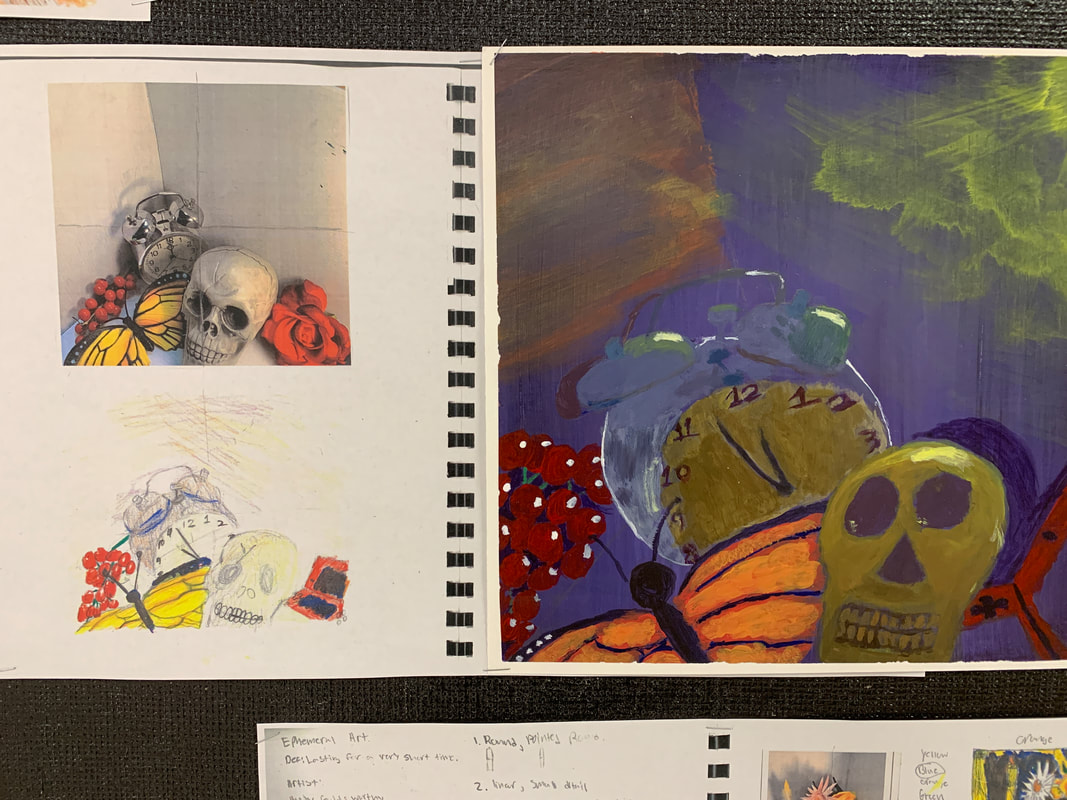
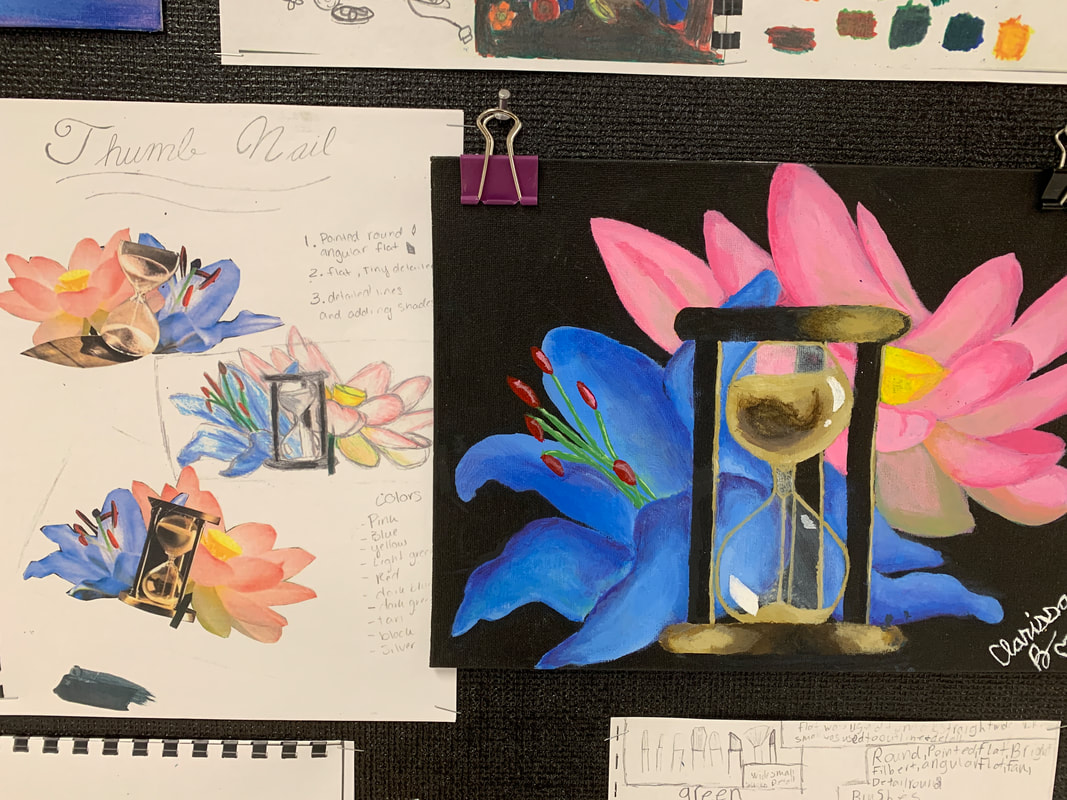
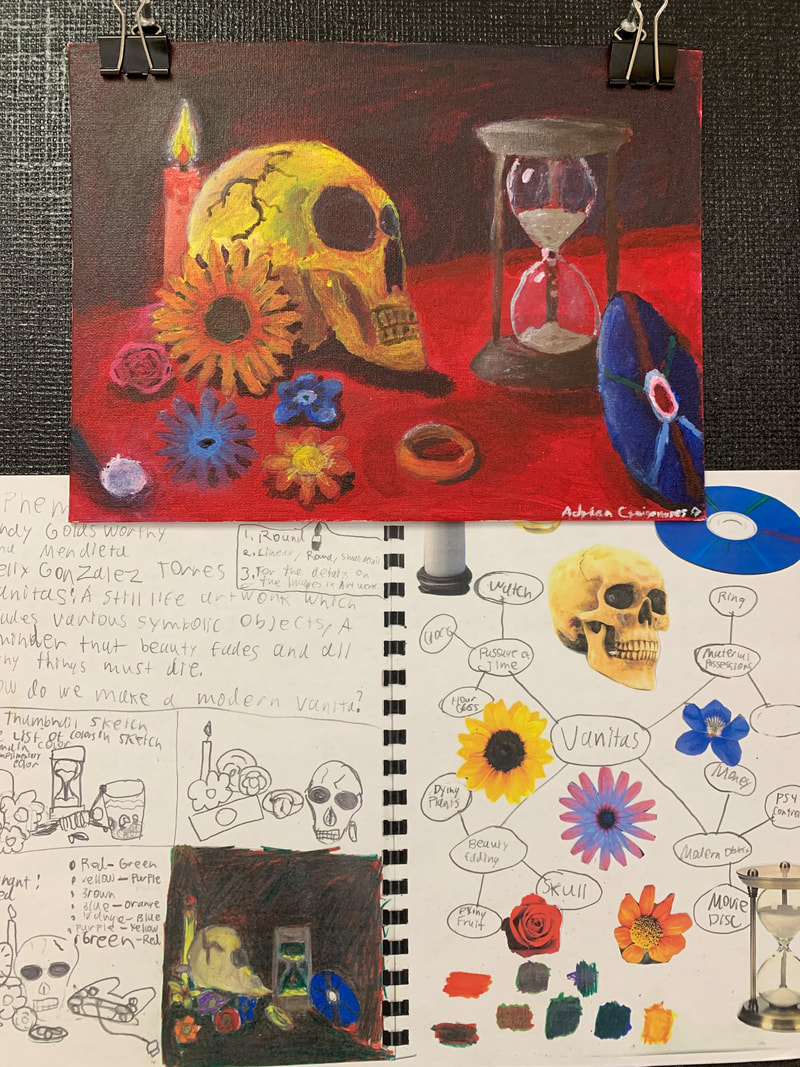
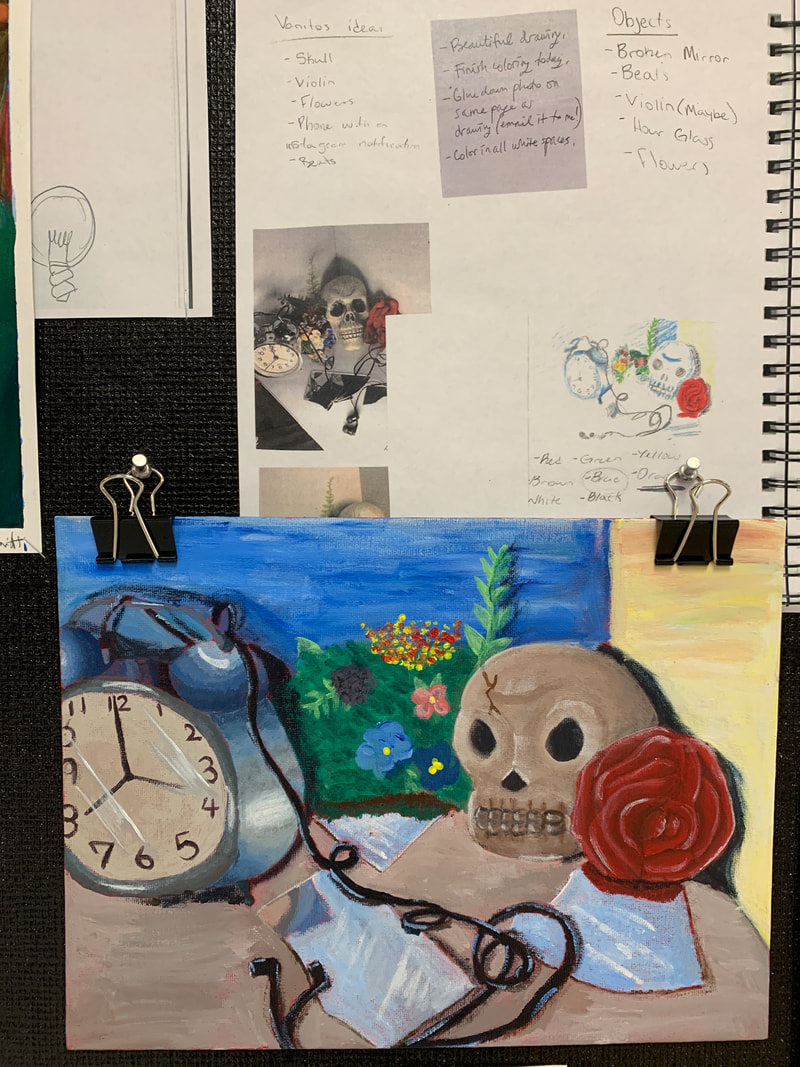
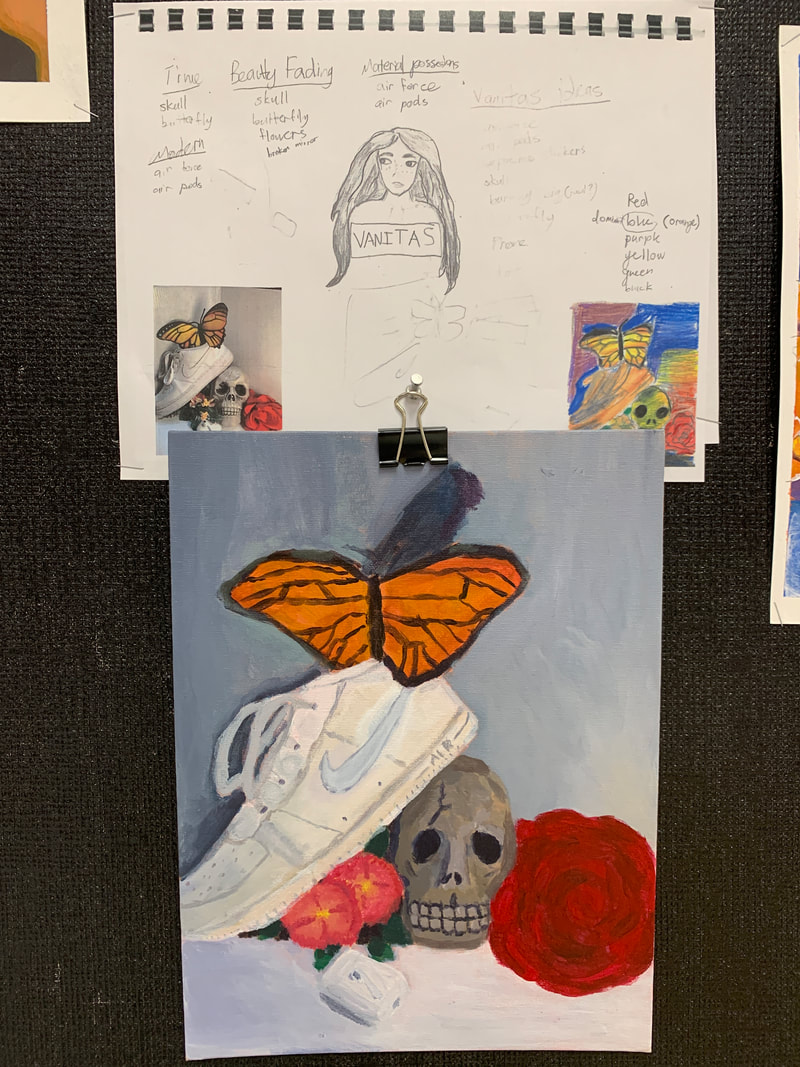
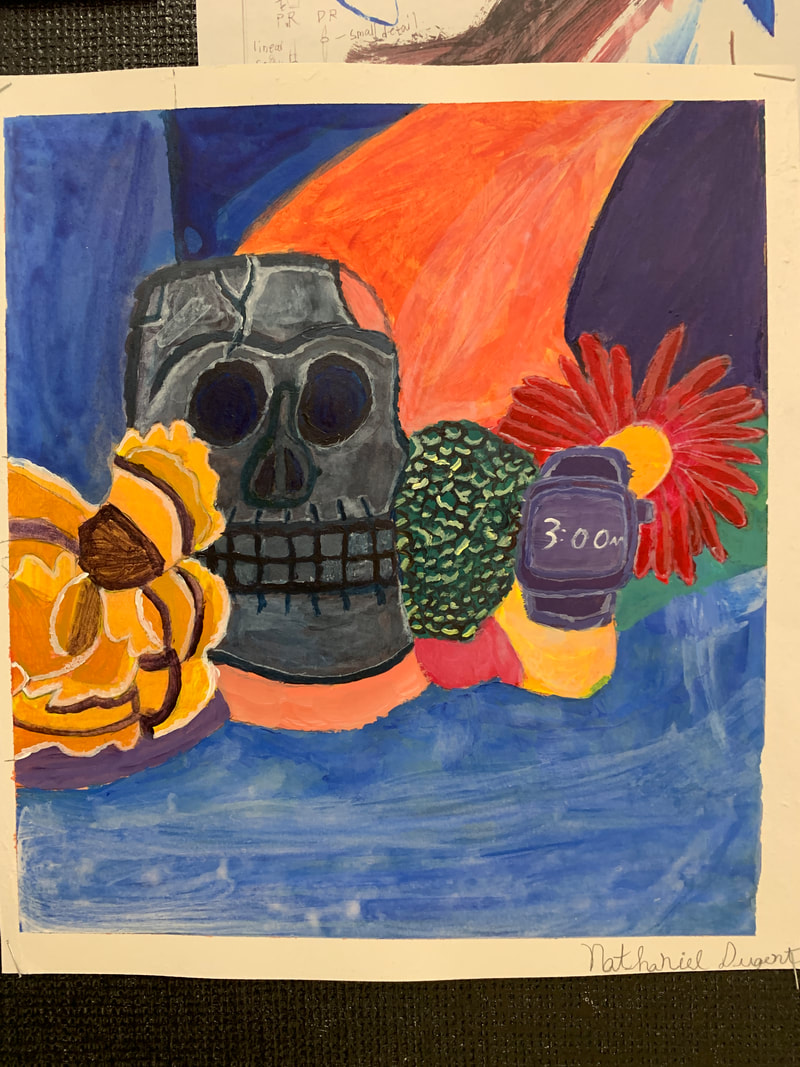
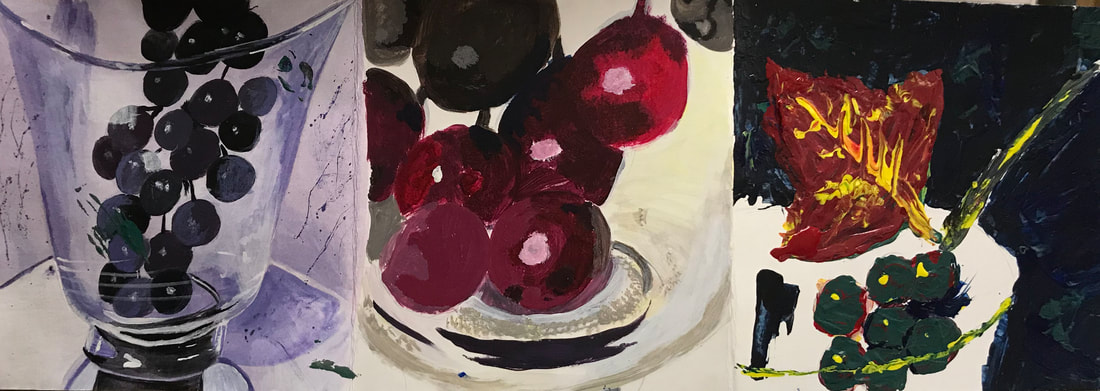
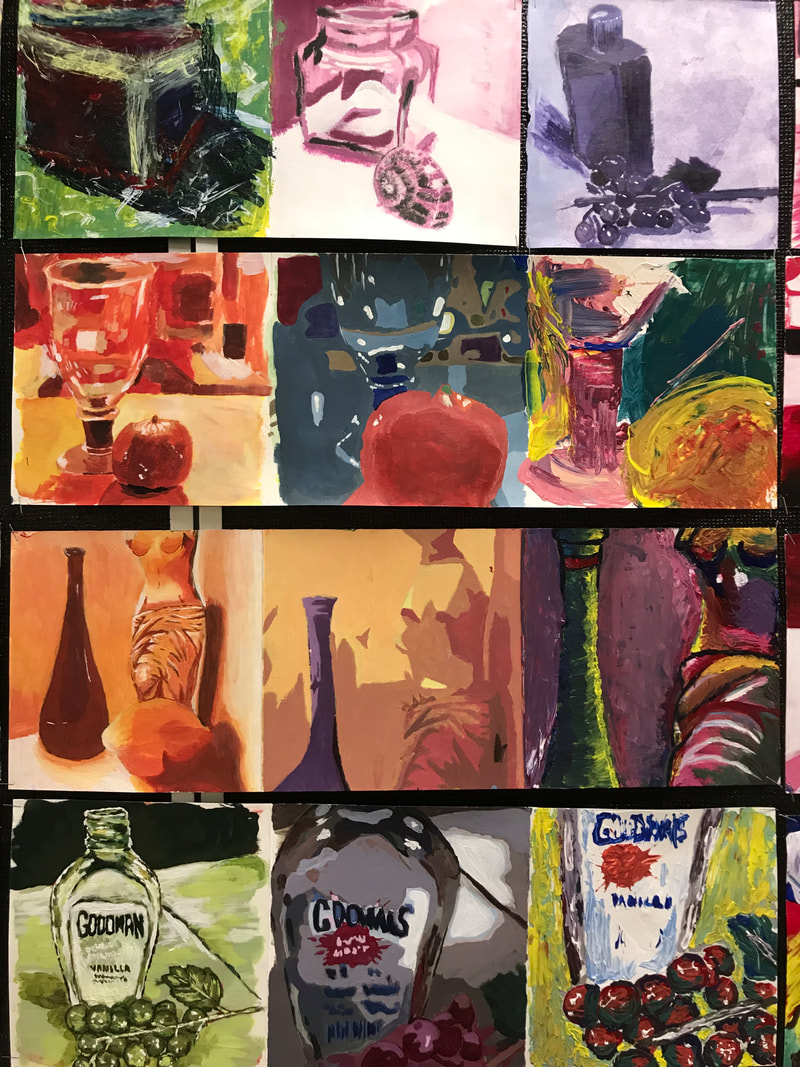
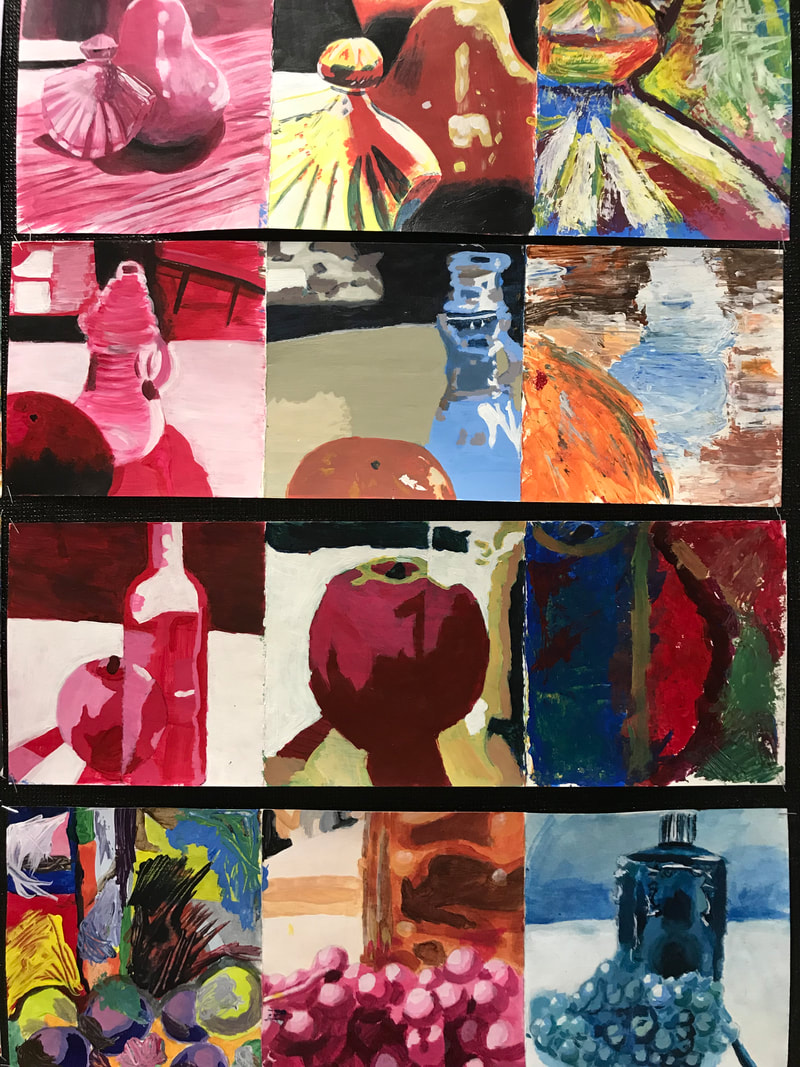
6. Vanitas Painting with Acrylic
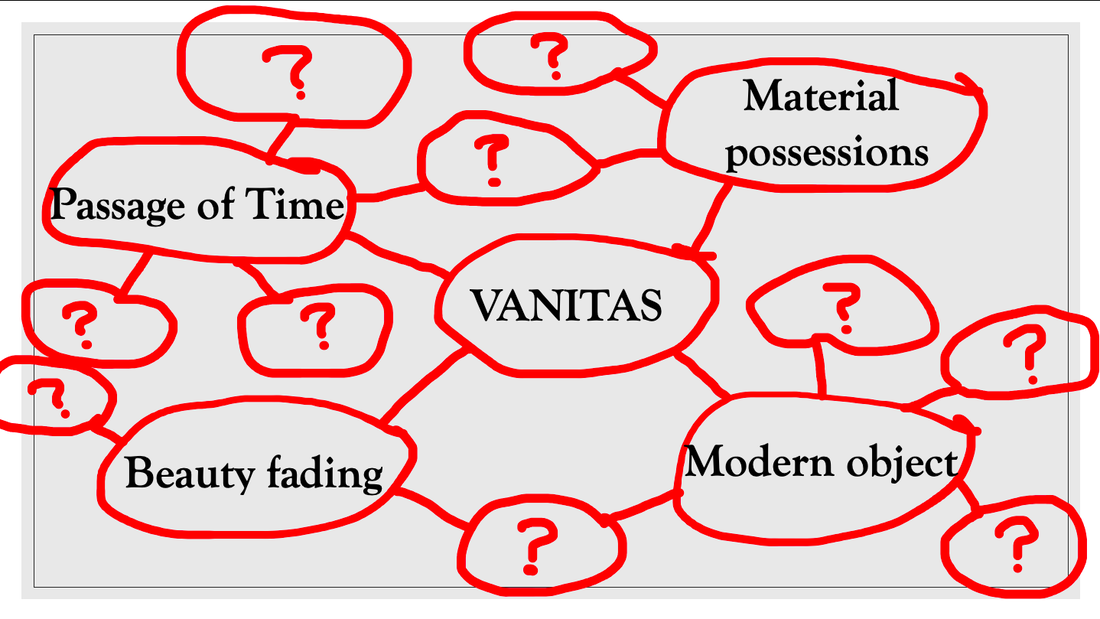
1. Go over the Vanitas Still Life Painting assignment, taking notes in SB
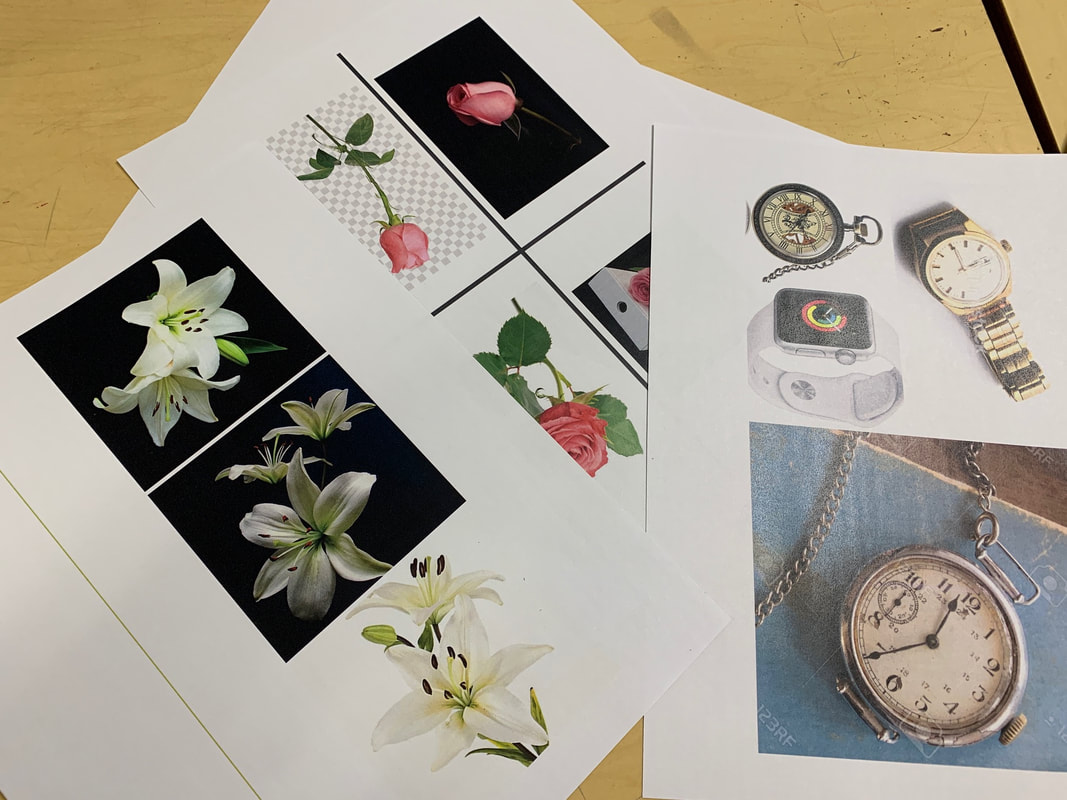
2. Create a Mind Map in your SB, coming up with objects to go with the four different concepts
3. How are you going to capture a photograph of your object to draw from??
2. Create a Mind Map in your SB, coming up with objects to go with the four different concepts
3. How are you going to capture a photograph of your object to draw from??
|
OPTION 1: Collect individual photographs from online or taking pictures of your objects
|
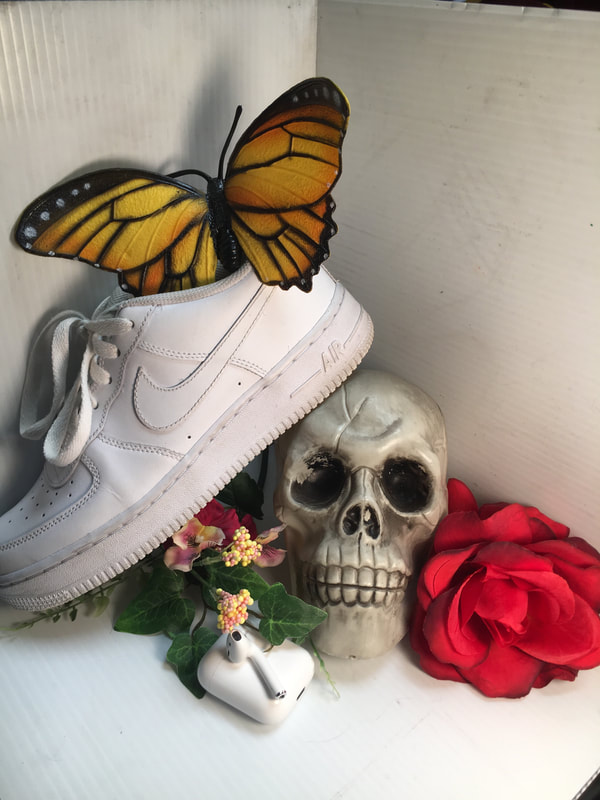
OPTION 2: Arrange a Still Life and photograph it 3-4 times changing the lighting and angles of camera
|
Arrange your photographs on a Powerpoint slide so they they become thumbnail size. Email the PP to [email protected] to be printed in color.
|
4. Cut your photos out and glue them into your SB. Draw your favorite photograph of the arranged still life OR arrange your individual photos of objects into a Still Life. Do you want to add anything imaginative into your still life THAT STILL RELATES TO THE THEME?
5. Color your drawn thumbnail sketch with colored pencils, not including black. Be sure to shade by adding values and layering complimentary colors on top of each other. Same as in the practice painting!!
|
| ||||


| mural_examples.pdf |
Sketchbook check
- Either an elliptical drawing of a bottle OR a realistically rendered lego
- 3 thumbnail sketches of toy still life
- Color Theory with Prismacolor pencils
Zoom Painting
|
|
| ||
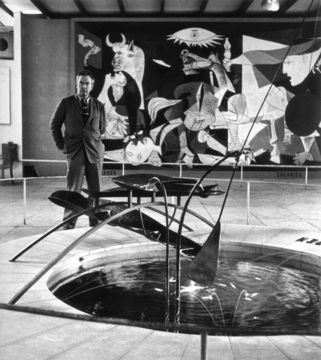
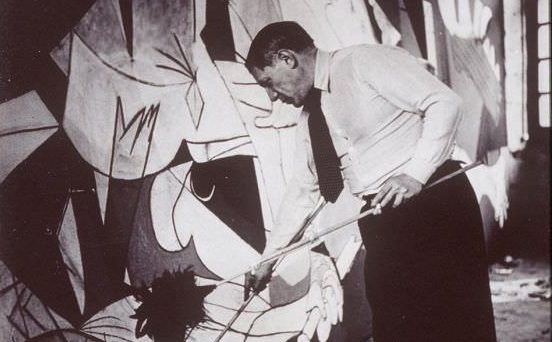
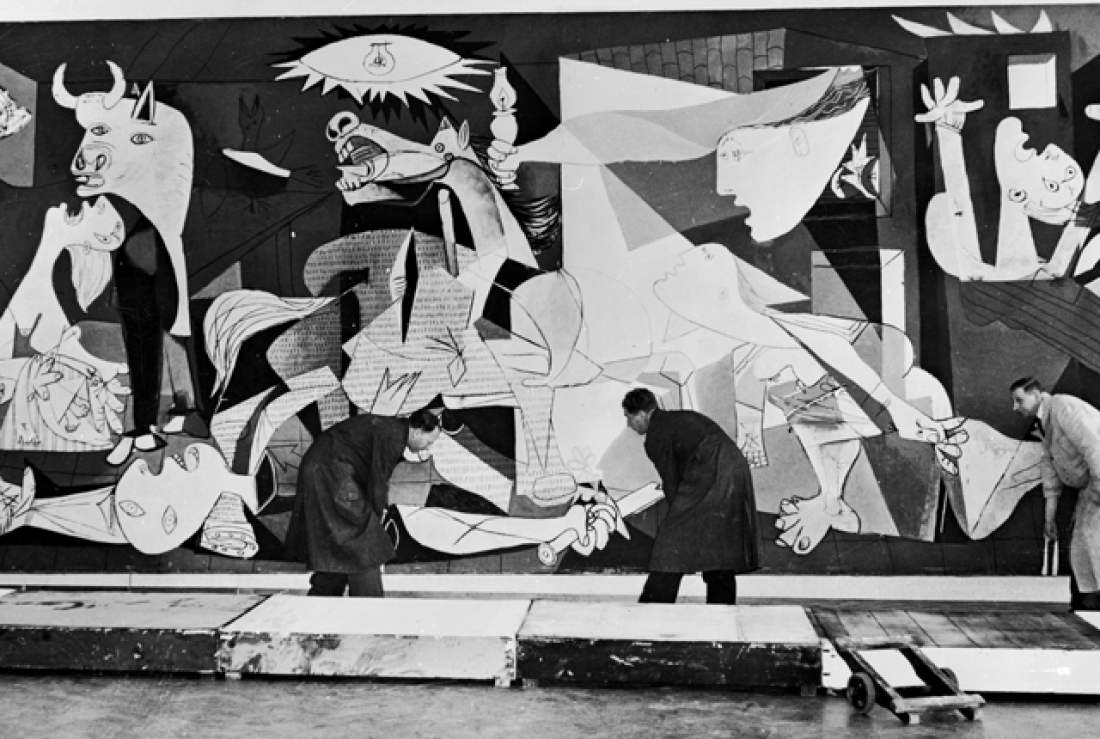
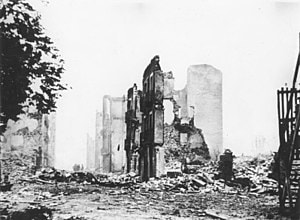
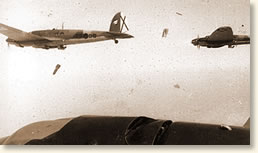
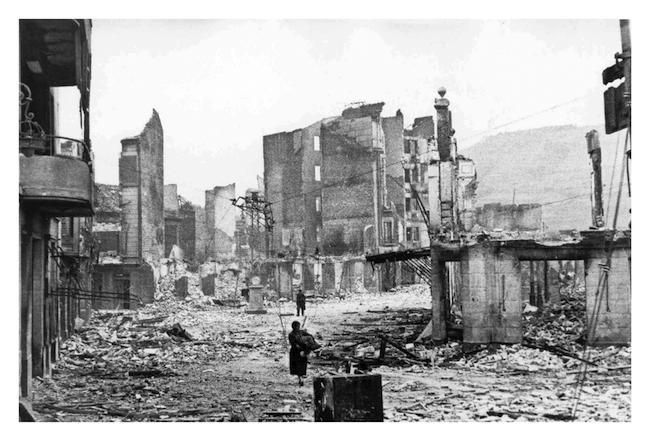
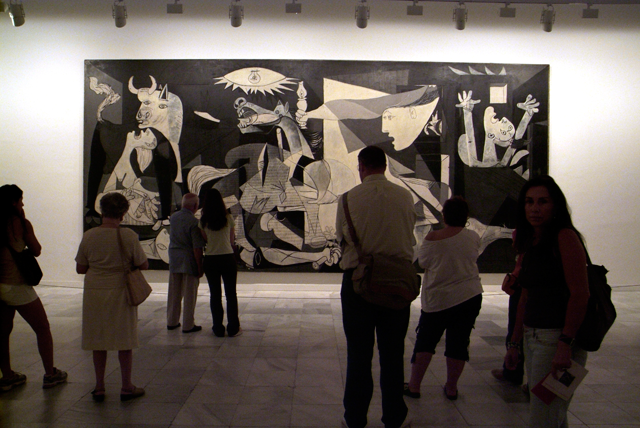
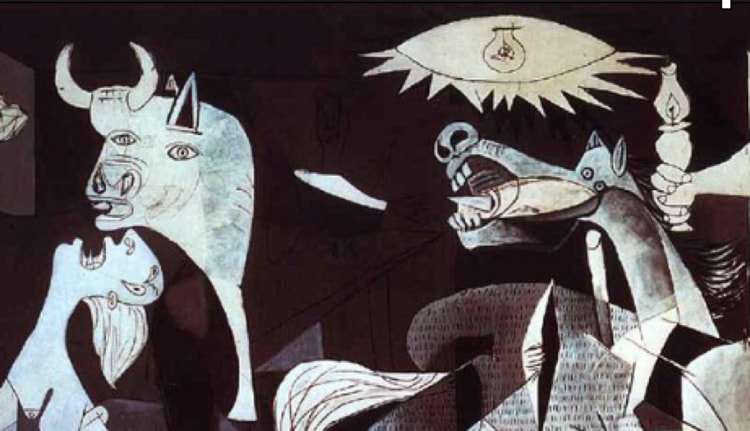
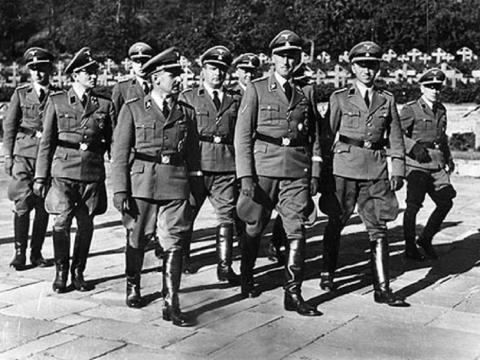
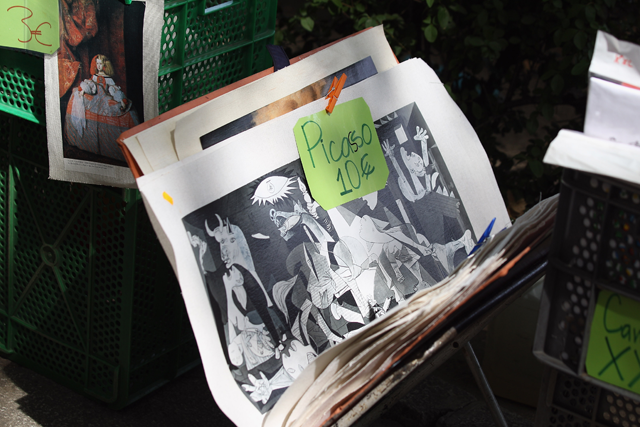
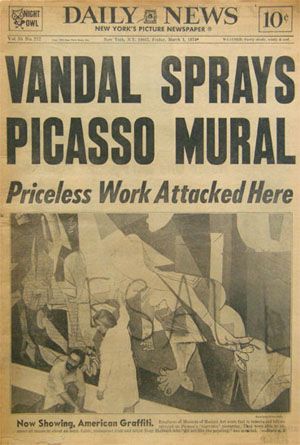
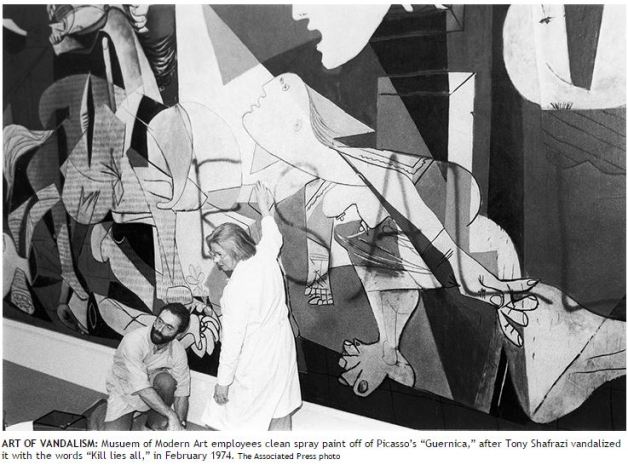
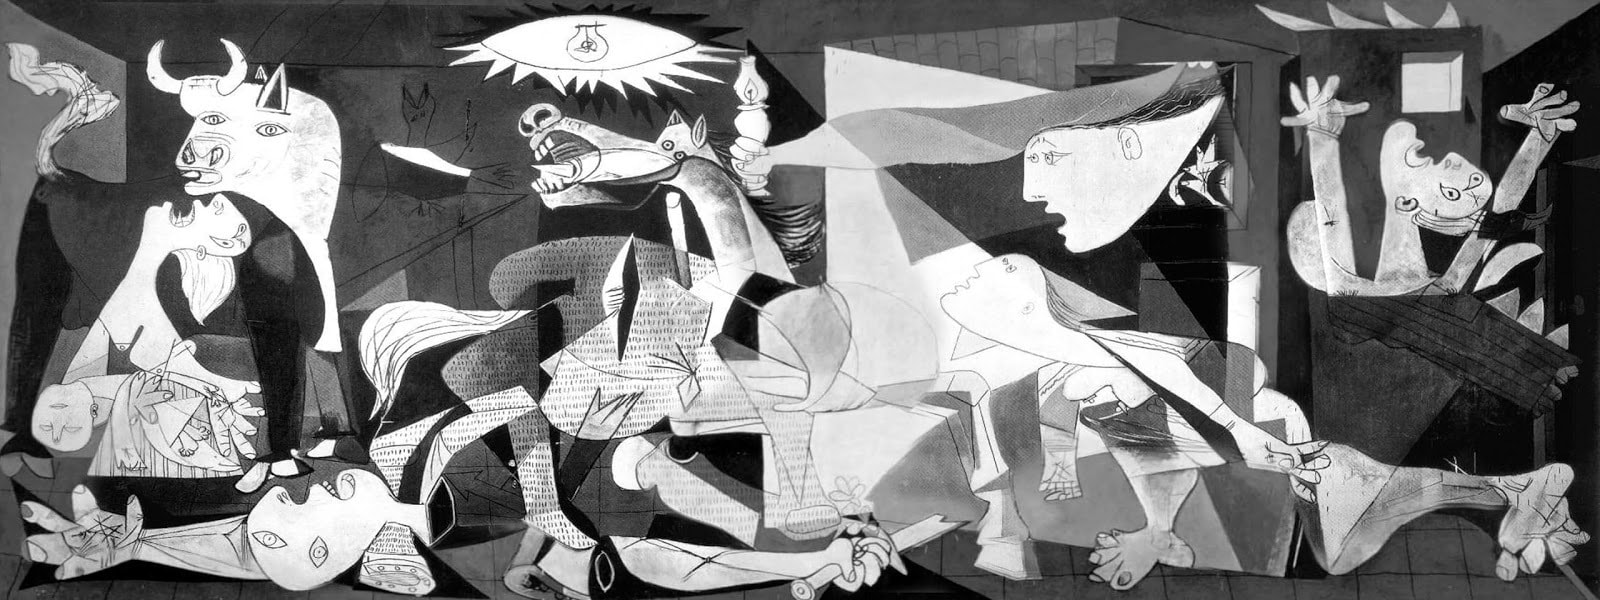
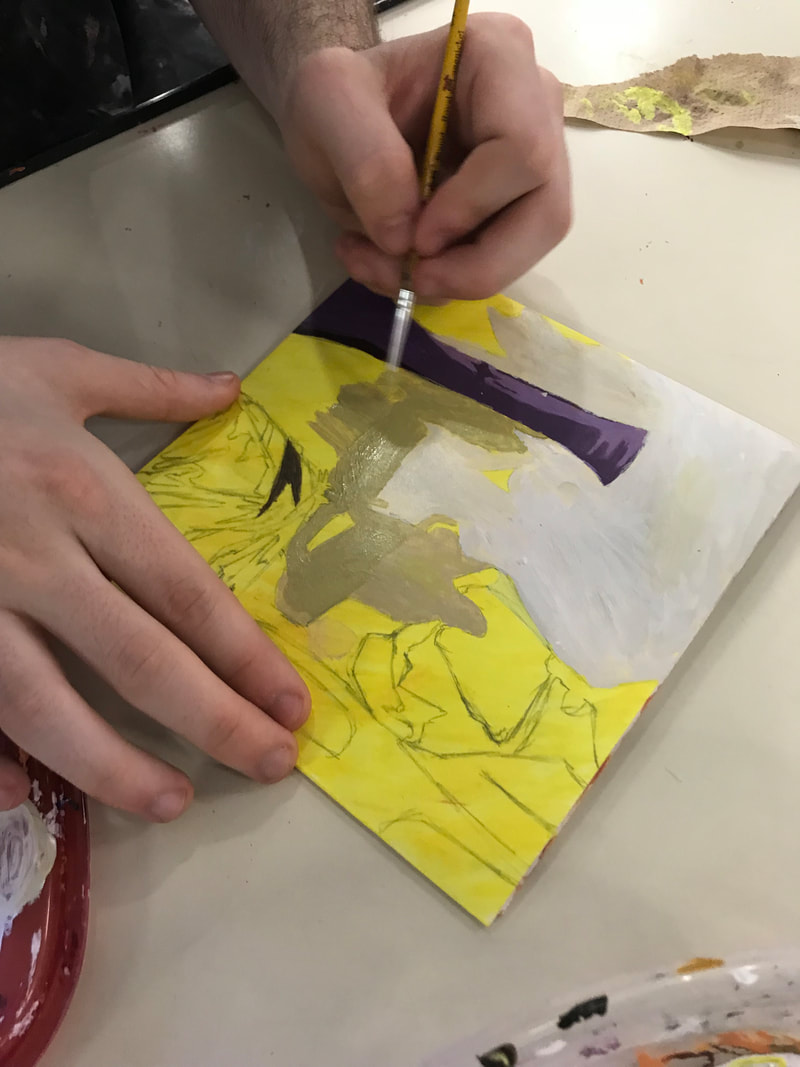
1st PAINTING: MONOCHROMATIC
- LT: I can take notes on Guernica using the gallery of images below. EQ: Why is this one of the most famous paintings of the 20th century?
- Answer the EQ in your sketchbook with a partner after taking notes.

| |||
|
|
|
|
| ||||||


|
2nd PAINTING: HARD EDGE
|
| ||||||||||||
|
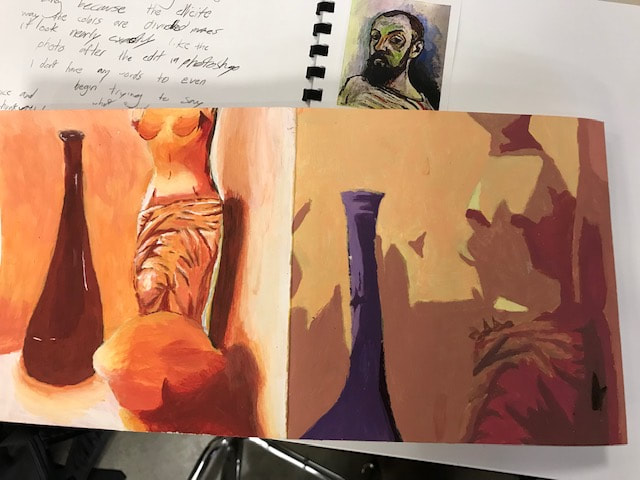
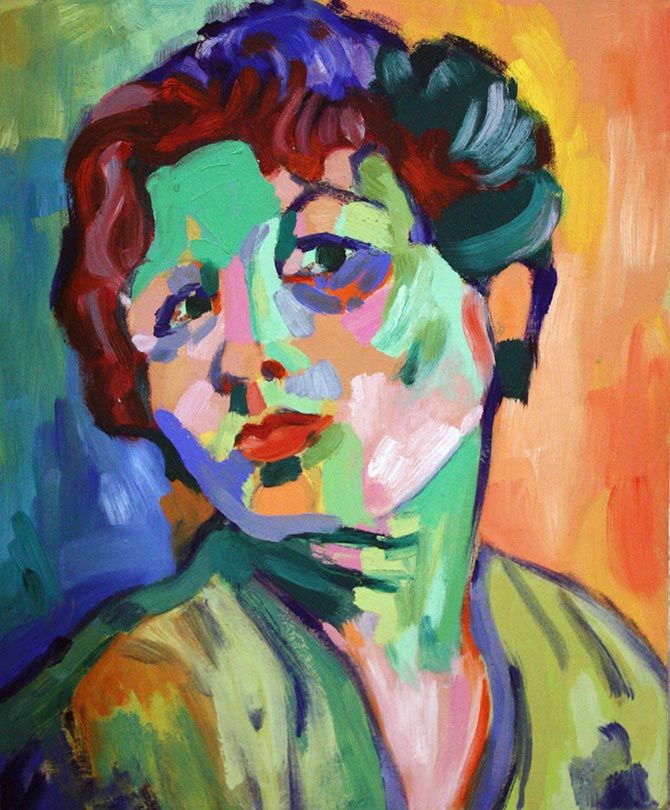
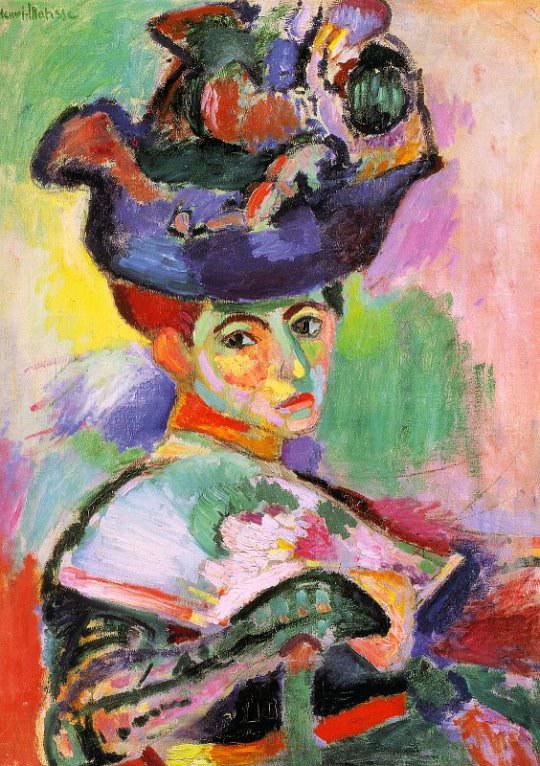
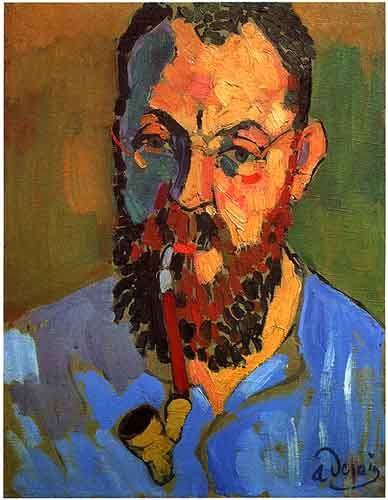
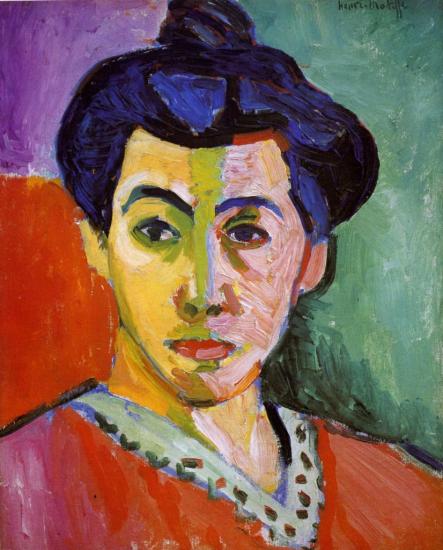
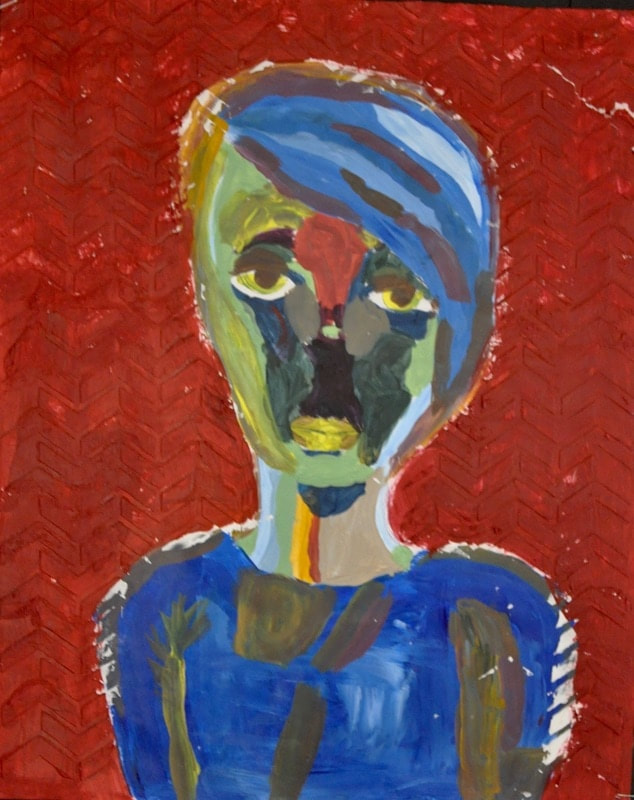
3rd PAINTING: FAUVISM
|
|

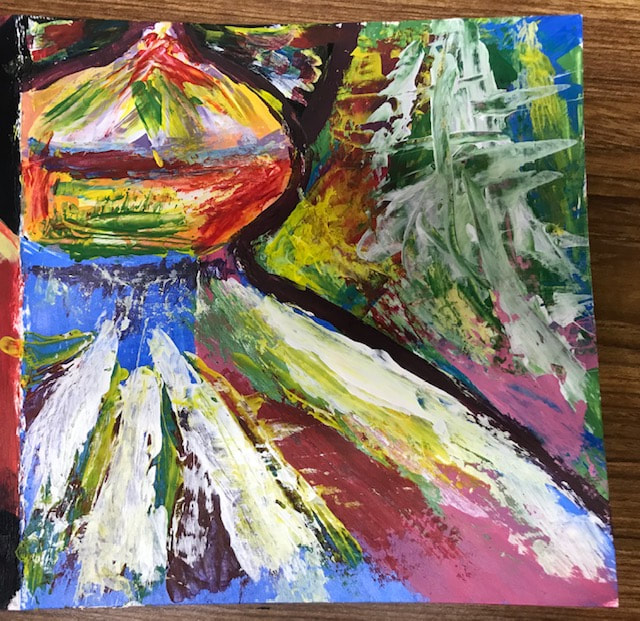
Finished Examples

|
PHILOSOPHICAL CHAIRS about using a wash under your painting
|
REFLECTION QUESTIONS IN SKETCHBOOK
|
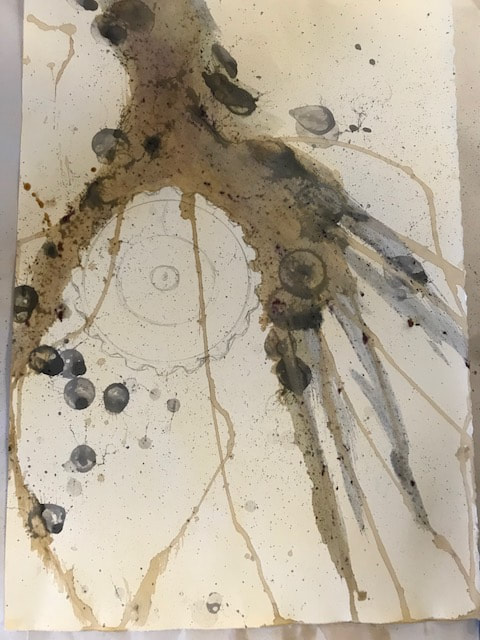
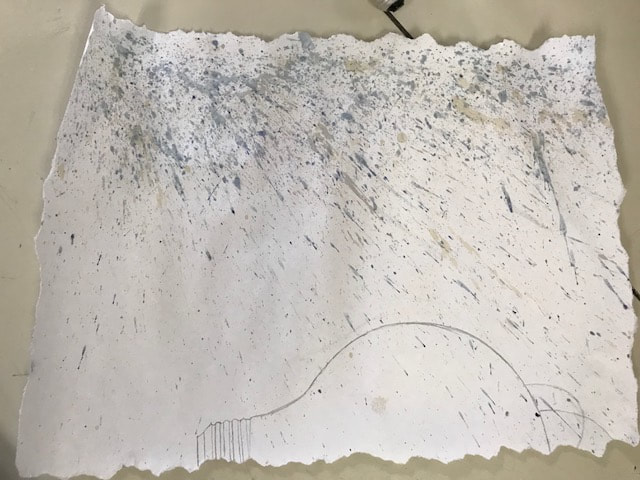
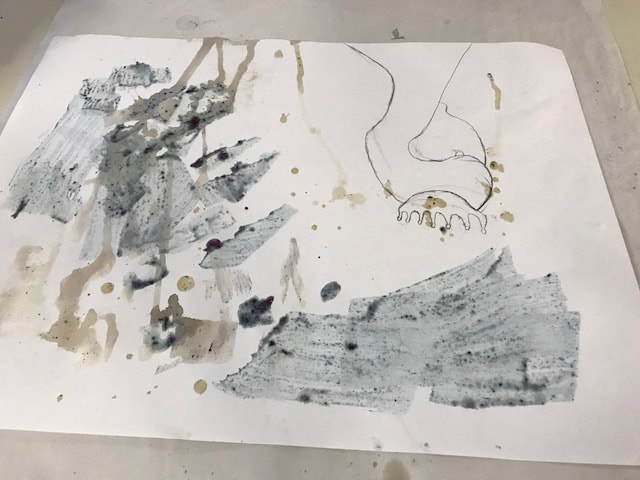
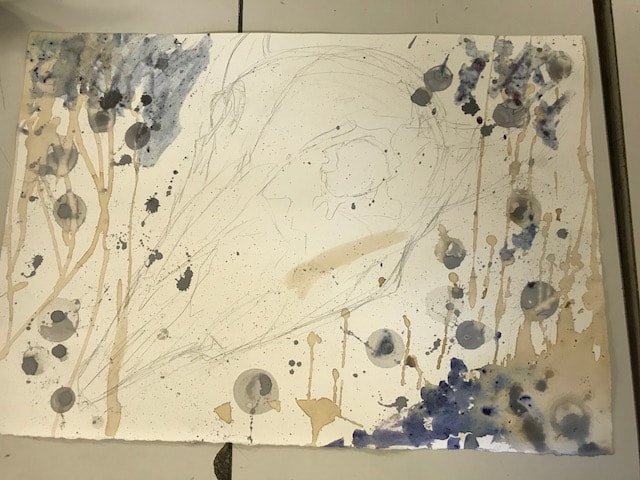
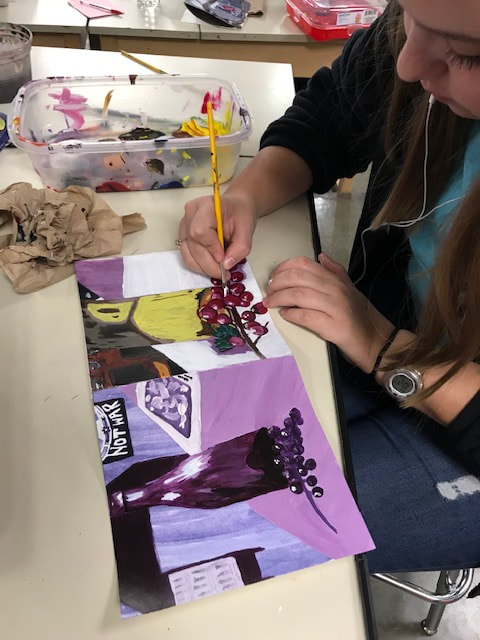
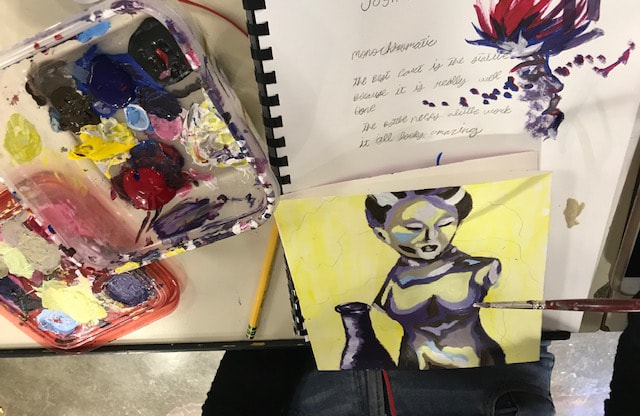
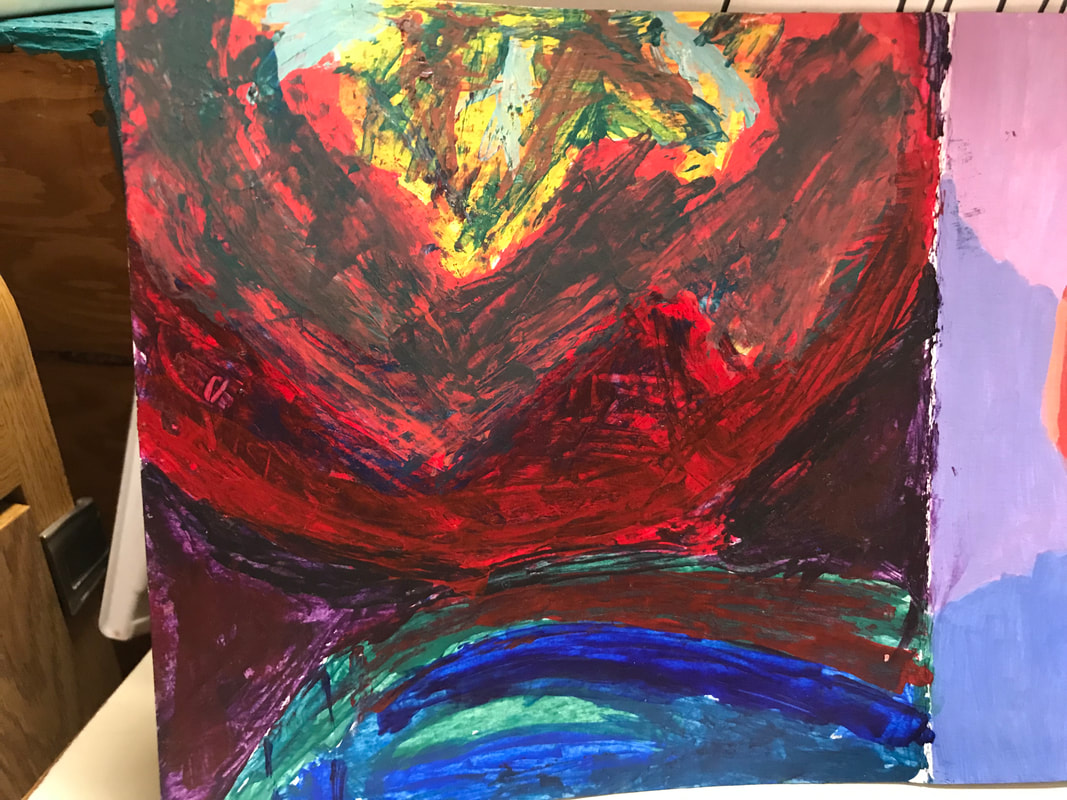
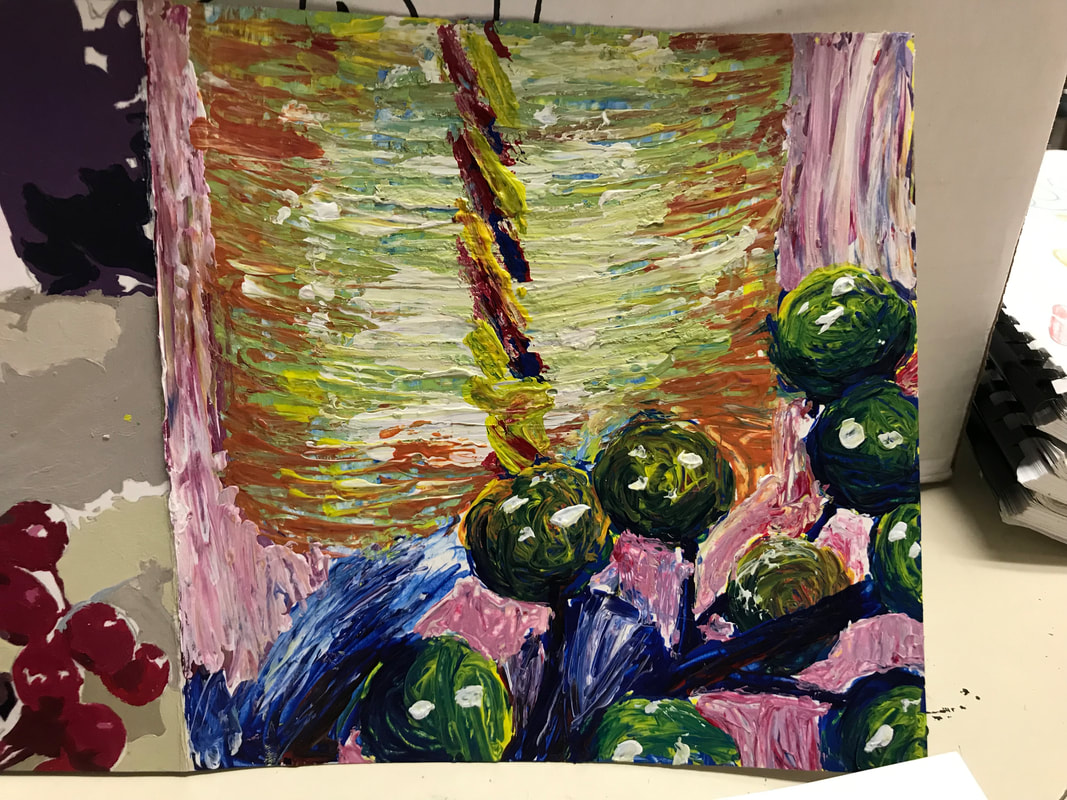
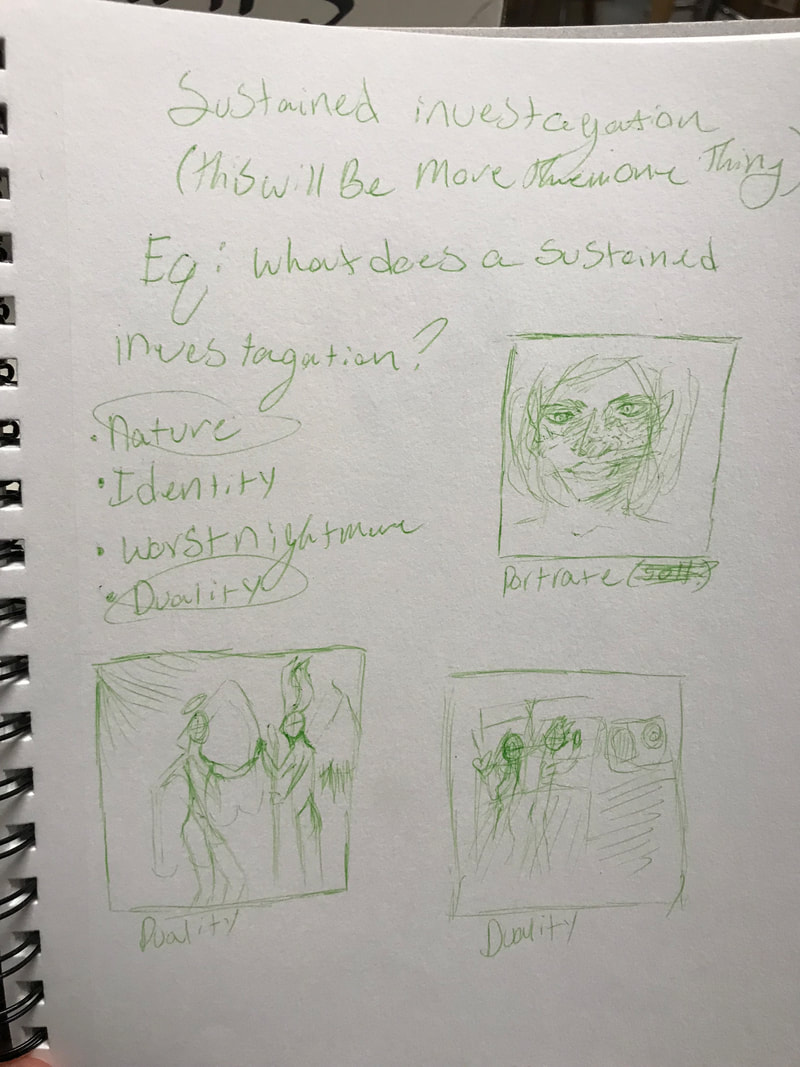
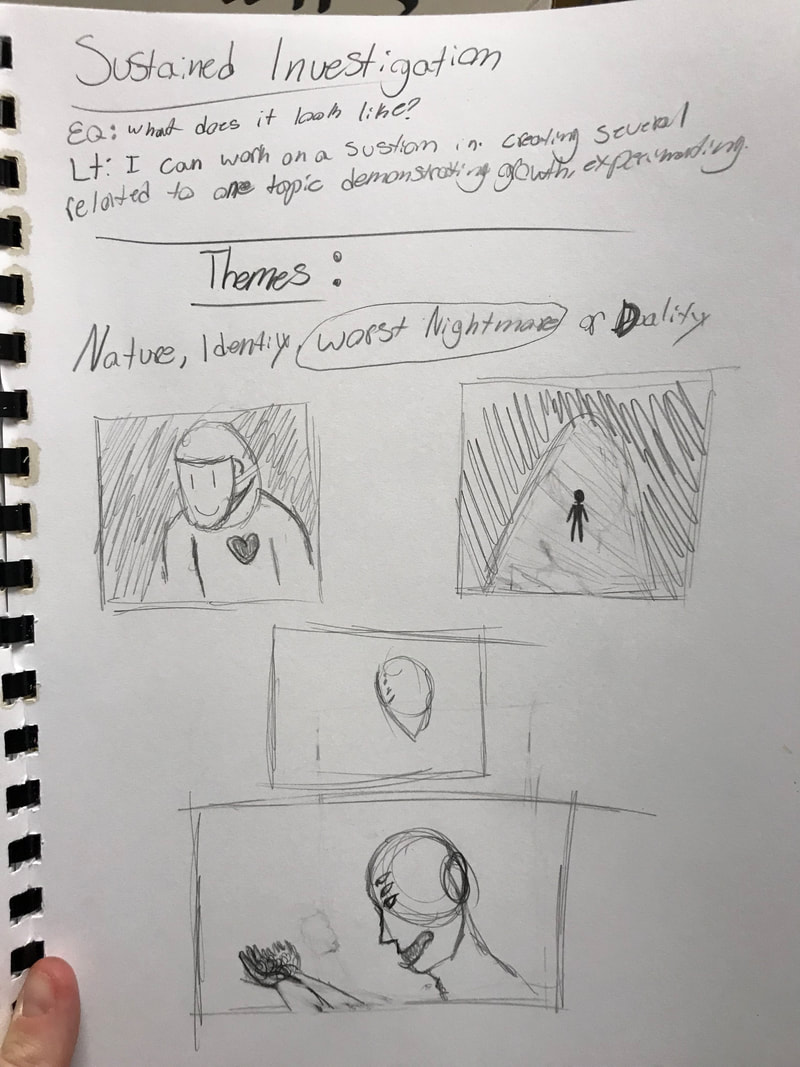
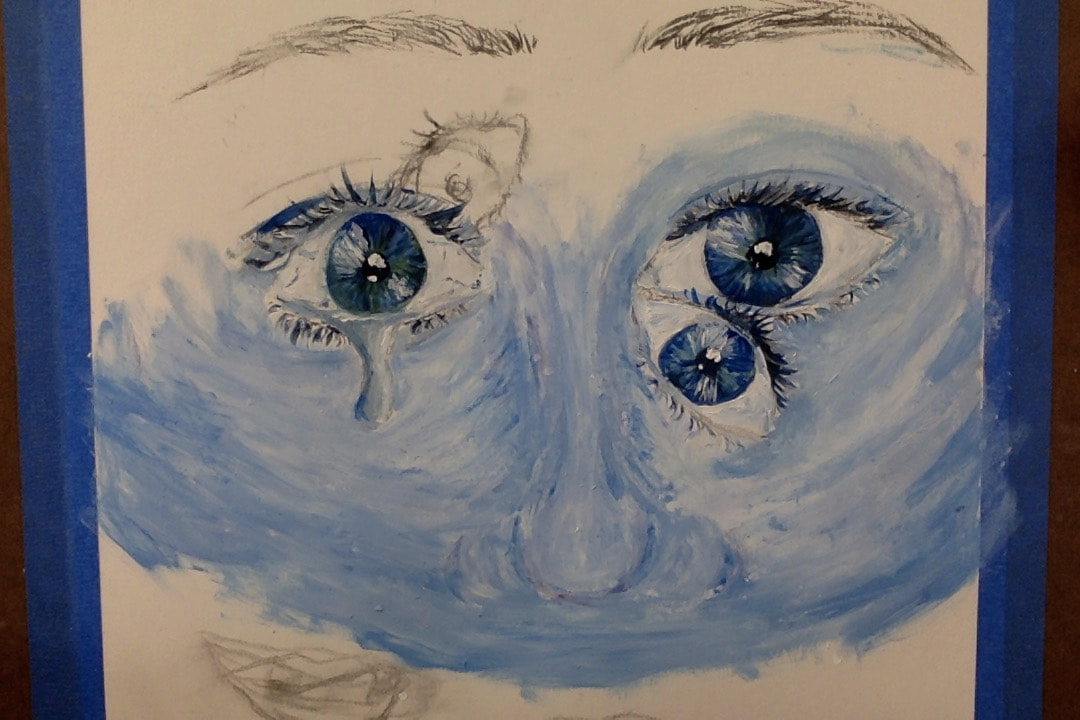
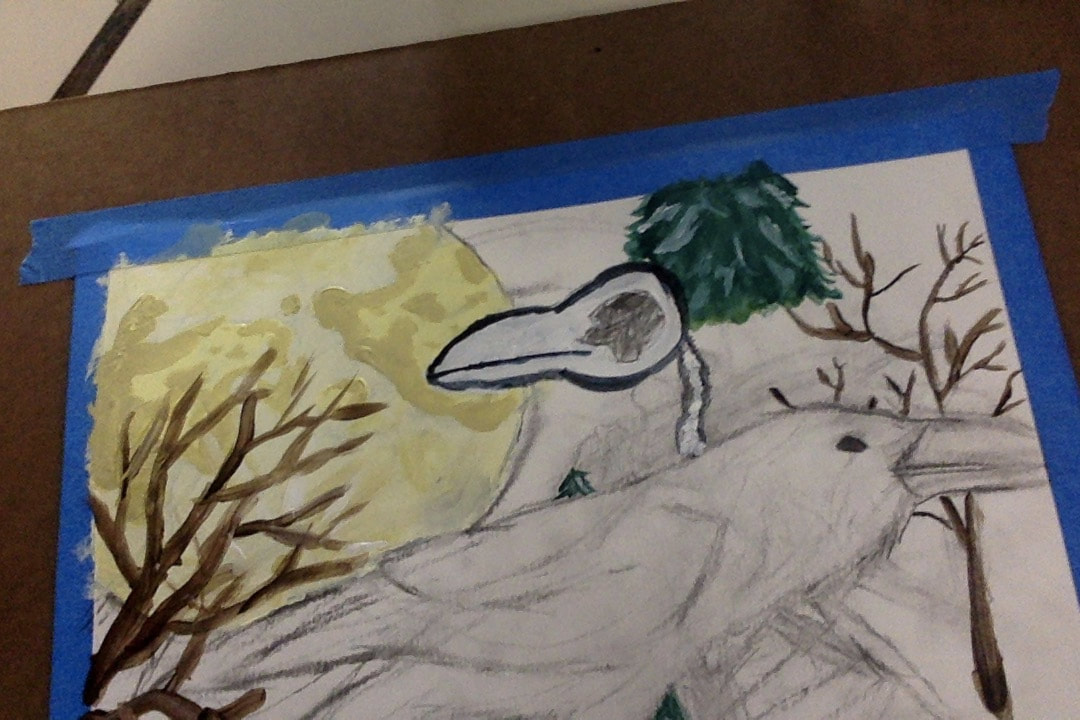
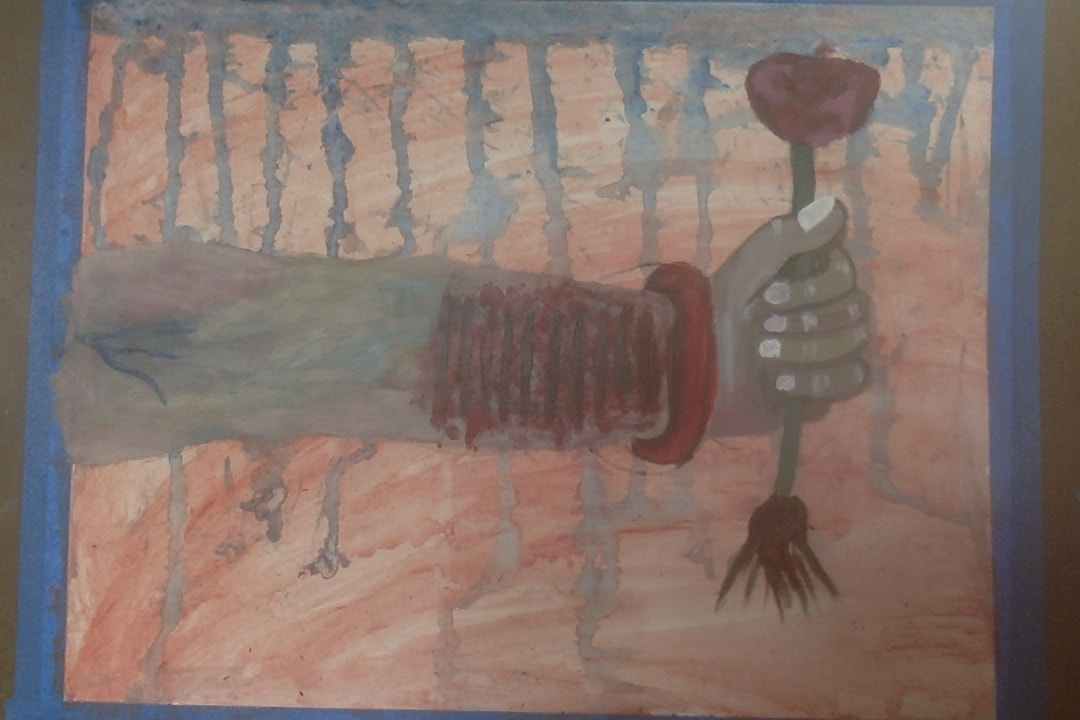
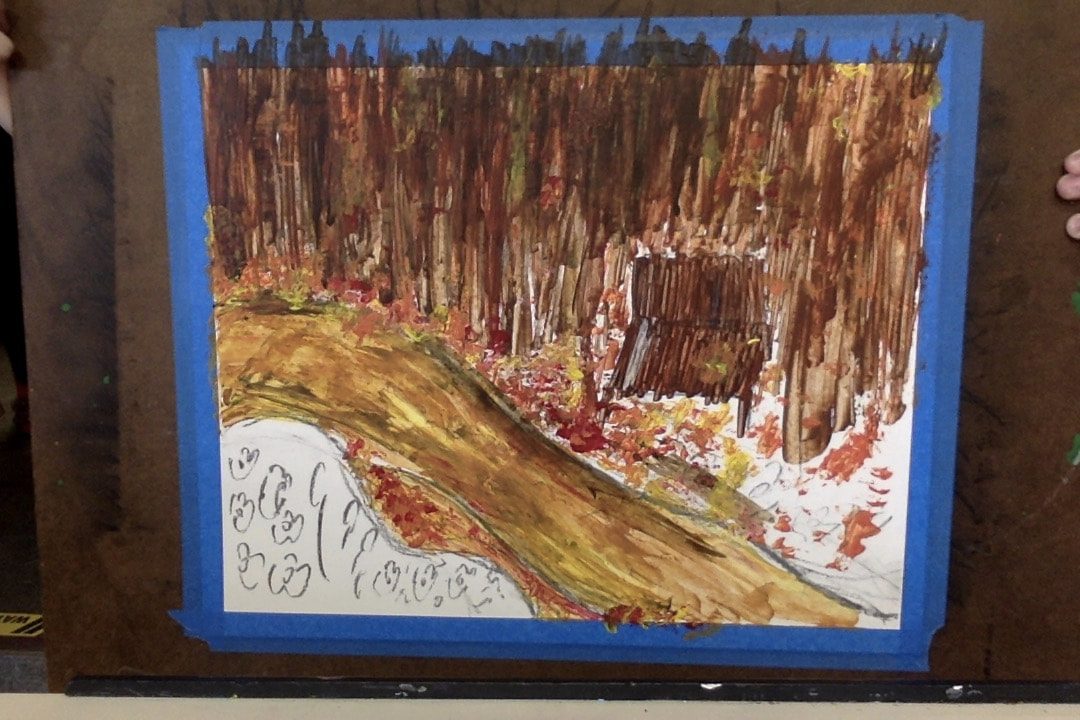
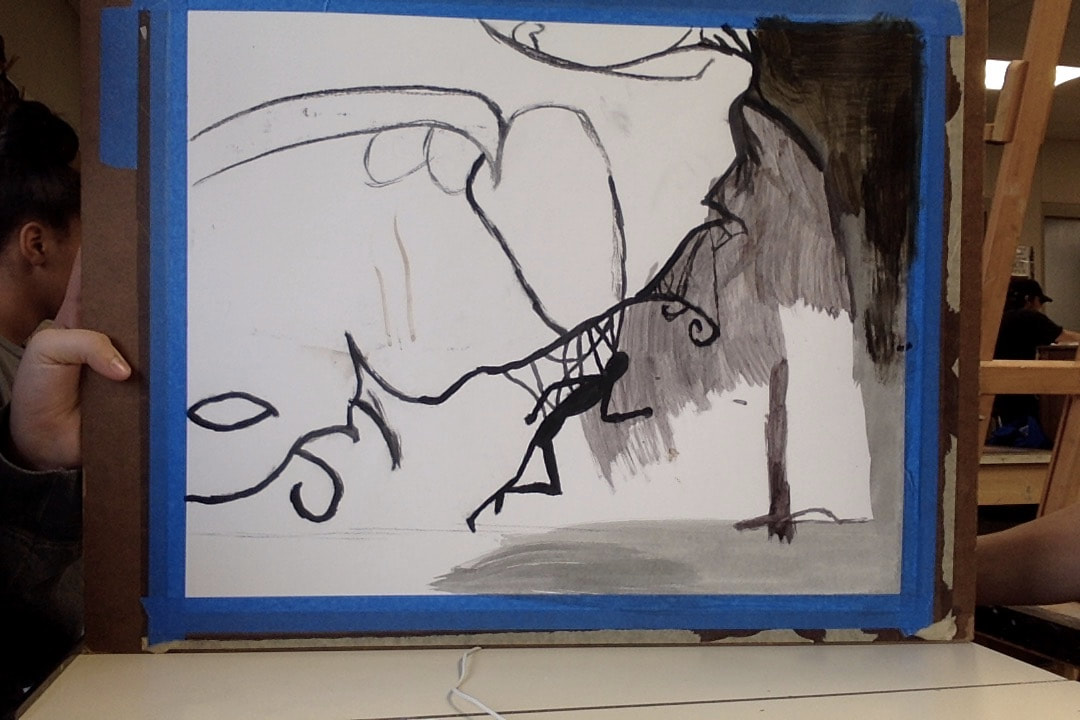
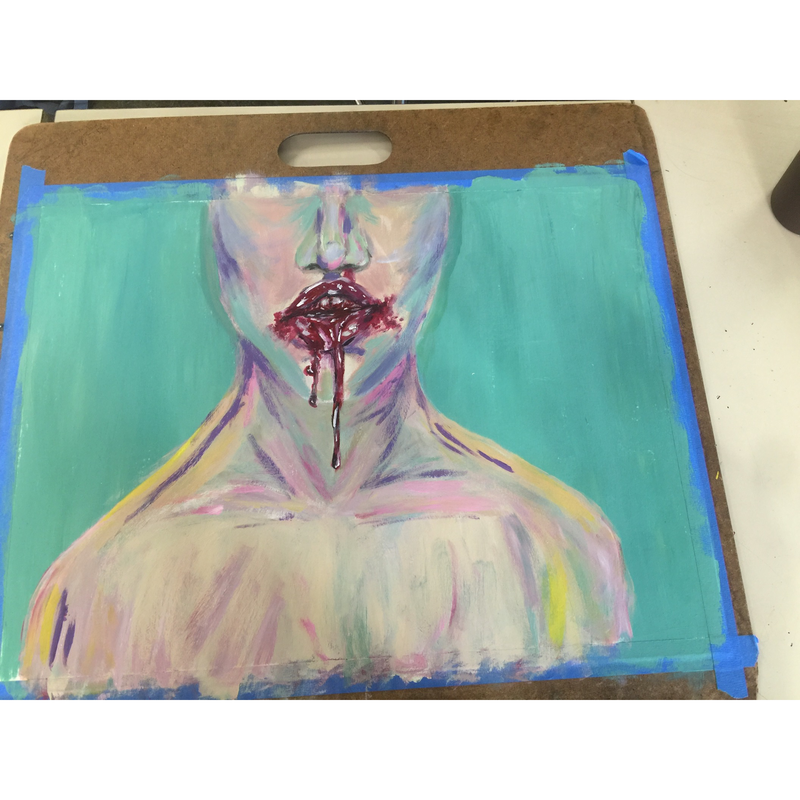
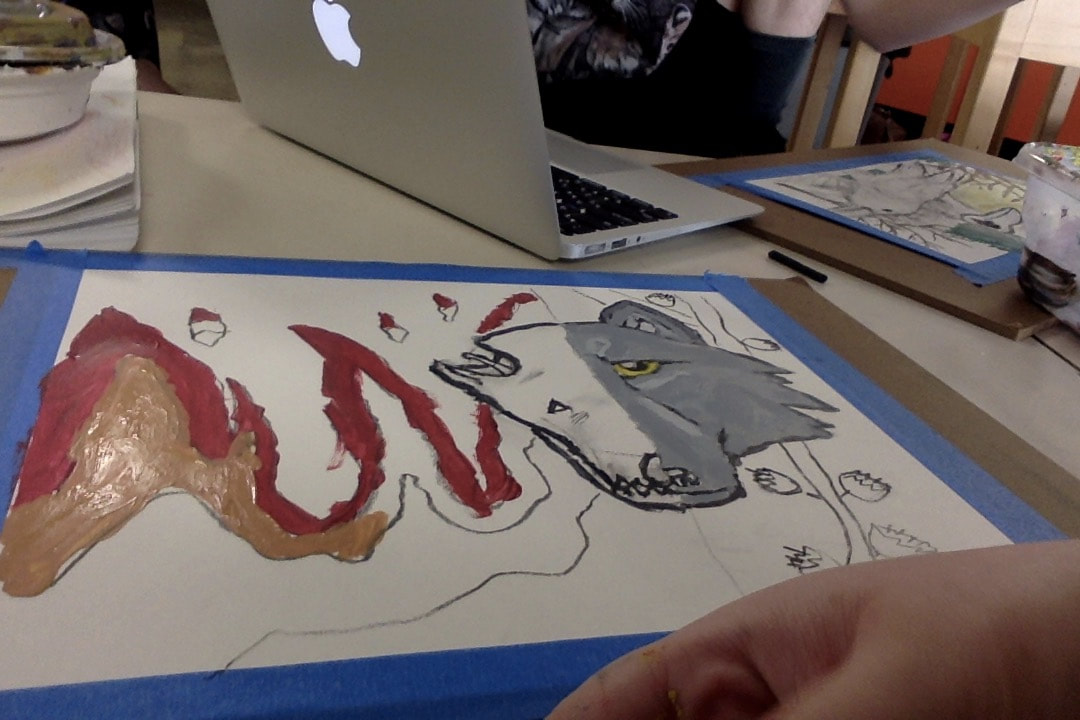
Sustained InvestigationEQ: What does a sustained investigation look like?
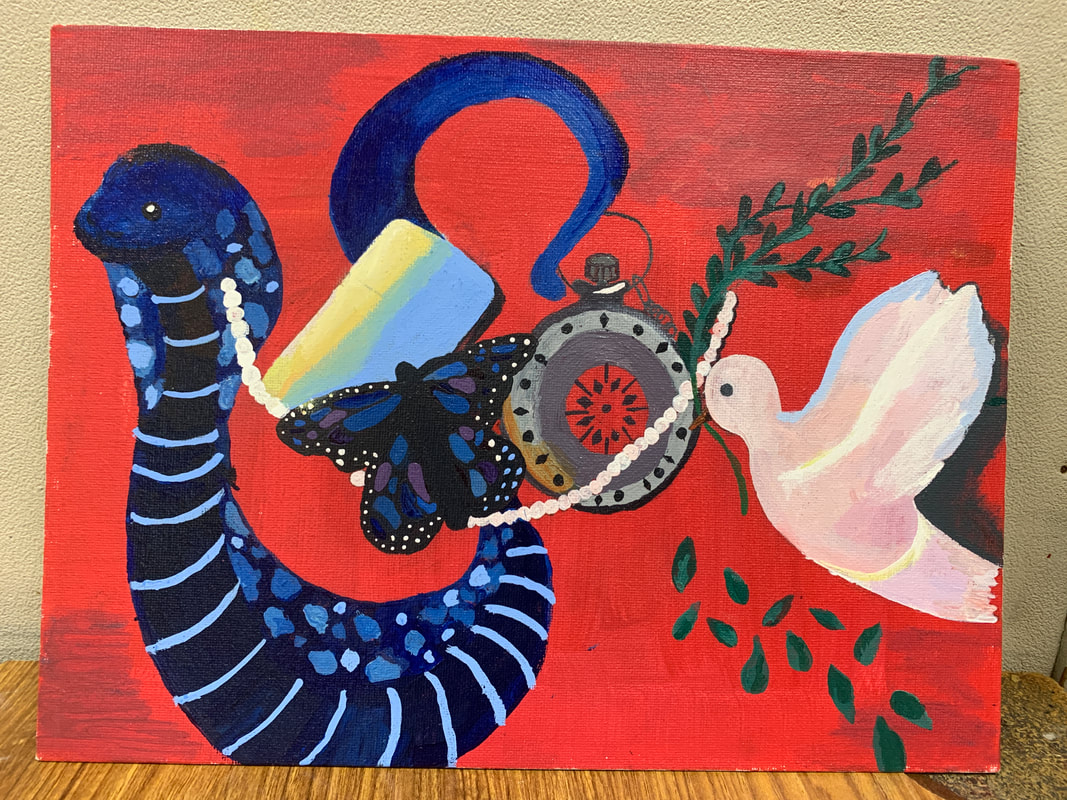
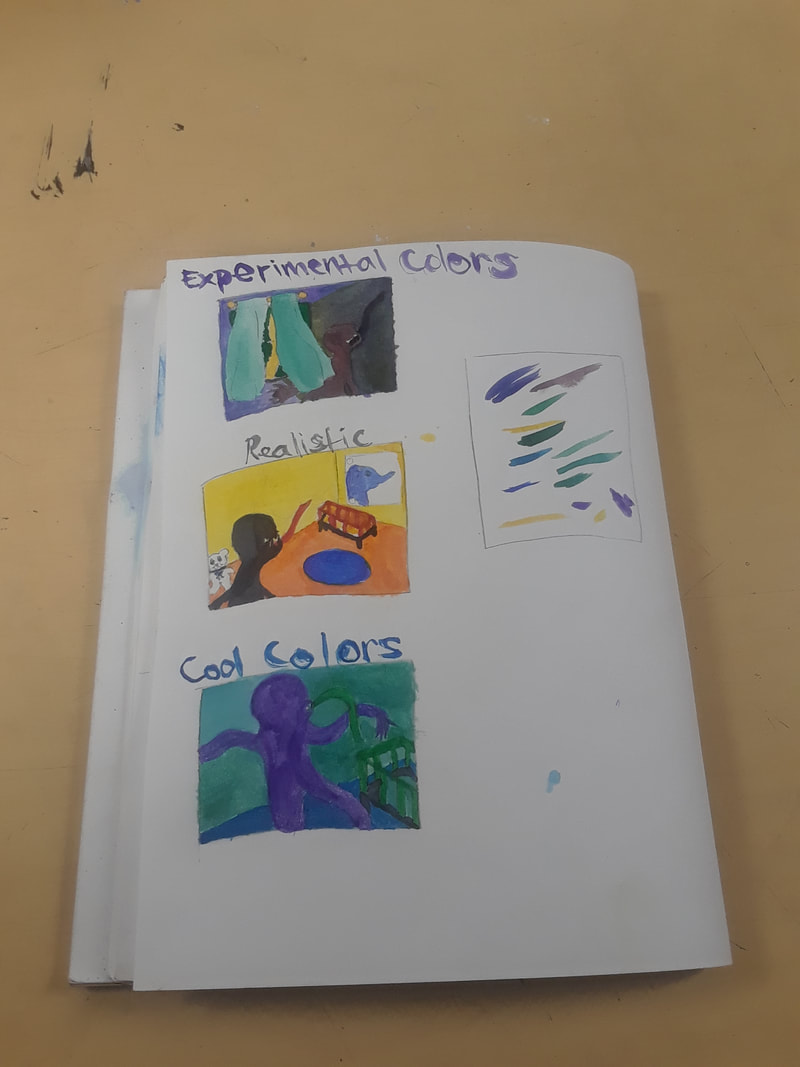
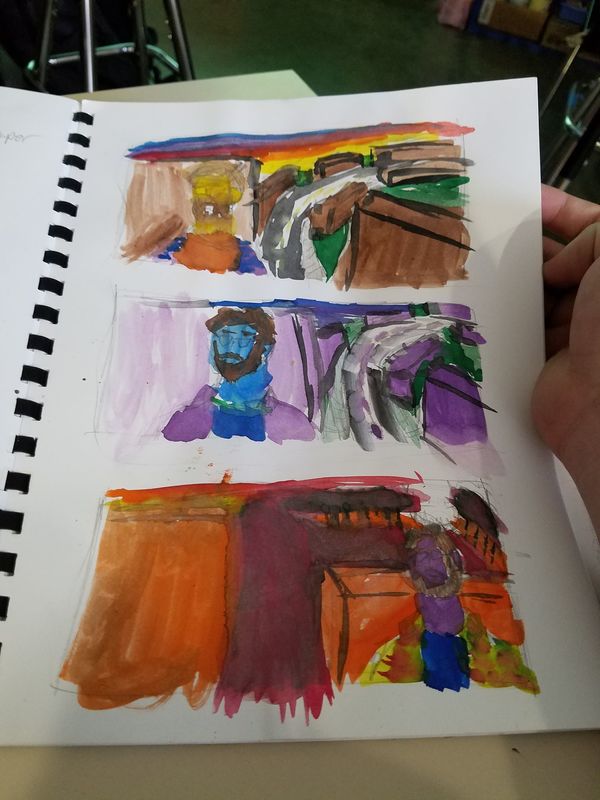
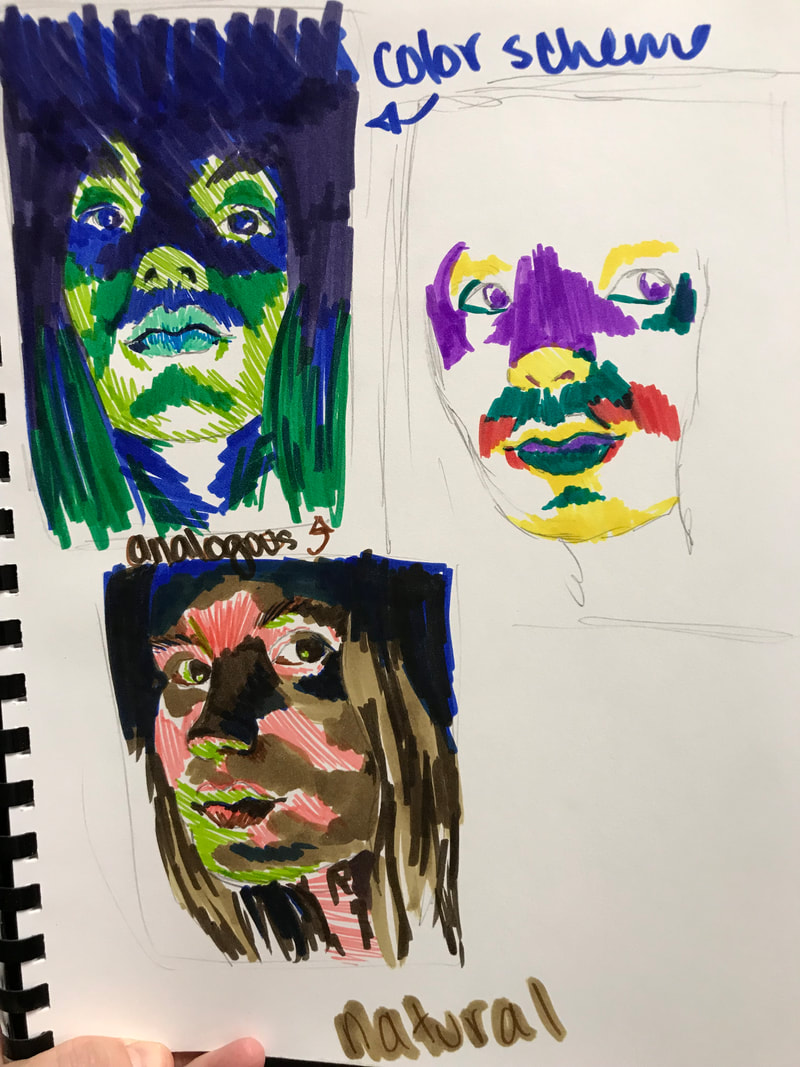
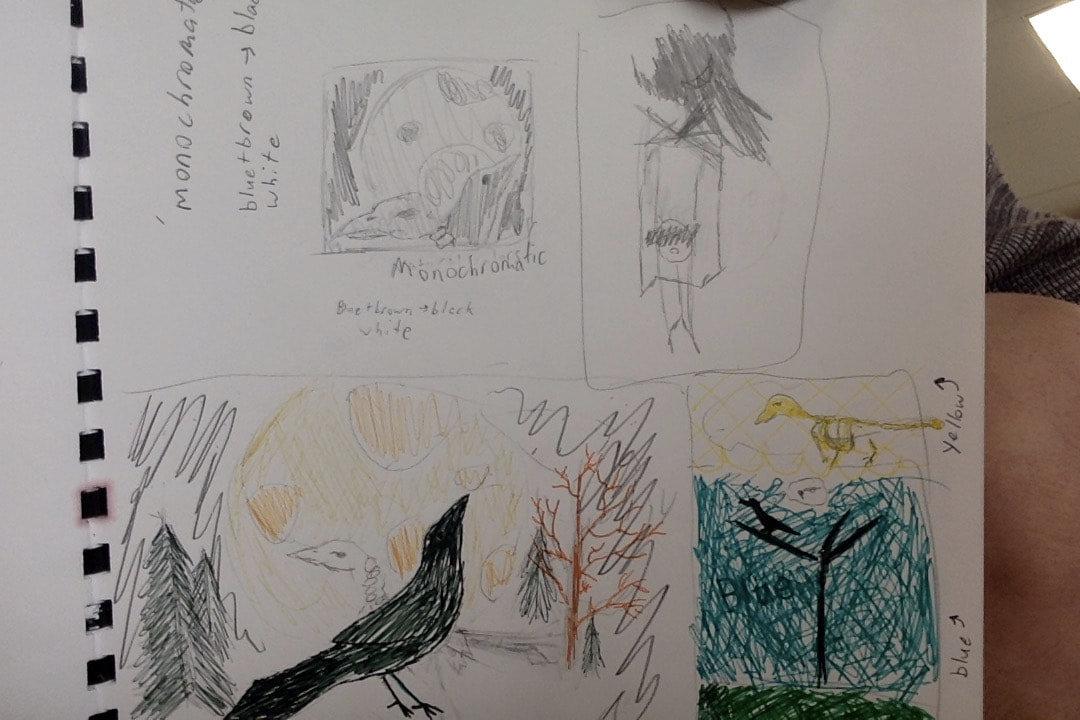
LT: I can work on a sustained investigation creating several pieces of art all related to one topic demonstrating growth, experimentation and student-voice. ARTWORK #1 STEP 1: What theme will you use for your sustained investigation? Nature, Identity, Worst Nightmare or Duality? STEP 2: Draw out three thumbnail sketches using one or more of the themes. Decide on one composition with the teacher. STEP 3: Using one of the compositions, sketch out 2 more thumbnail sketches changing the composition (maybe zoom in, move something around, etc.). STEP 4: Use watercolor and paint three thumbnail sketches using different color groupings; 1.Natural colors, 2.Color Scheme, 3.Limited Color Palette STEP 5: Word Association- come up with a list of words that you want the viewer to feel when they look at your painting.
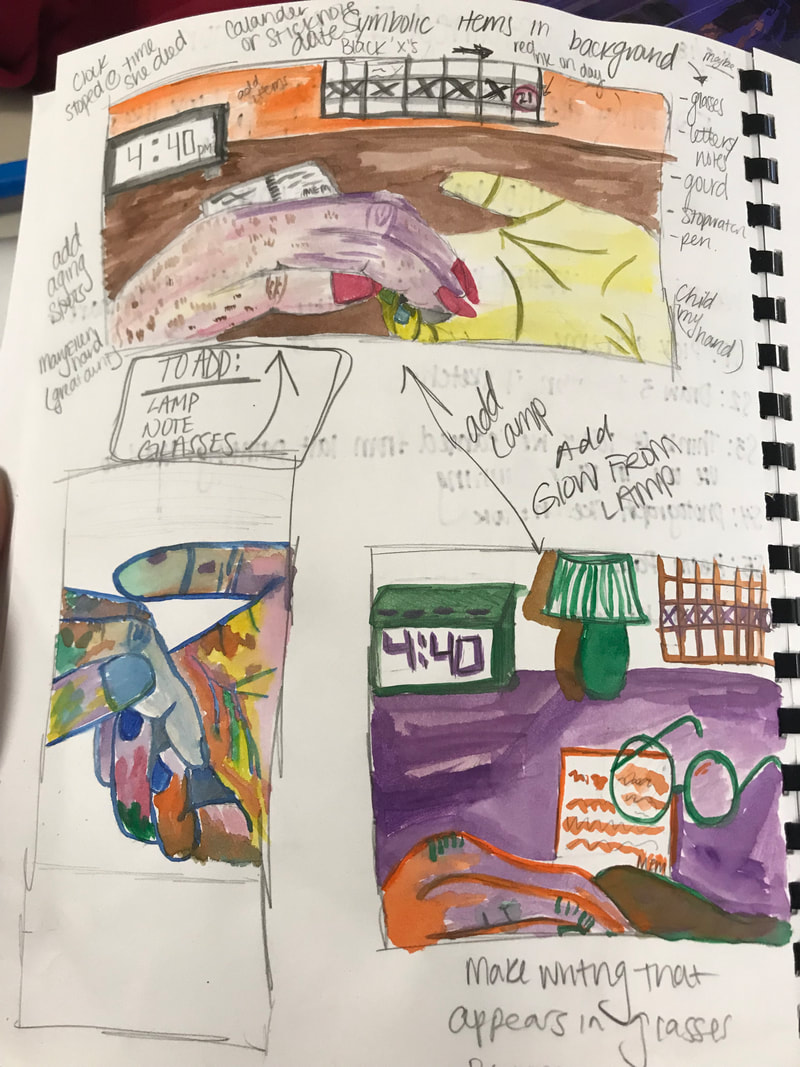
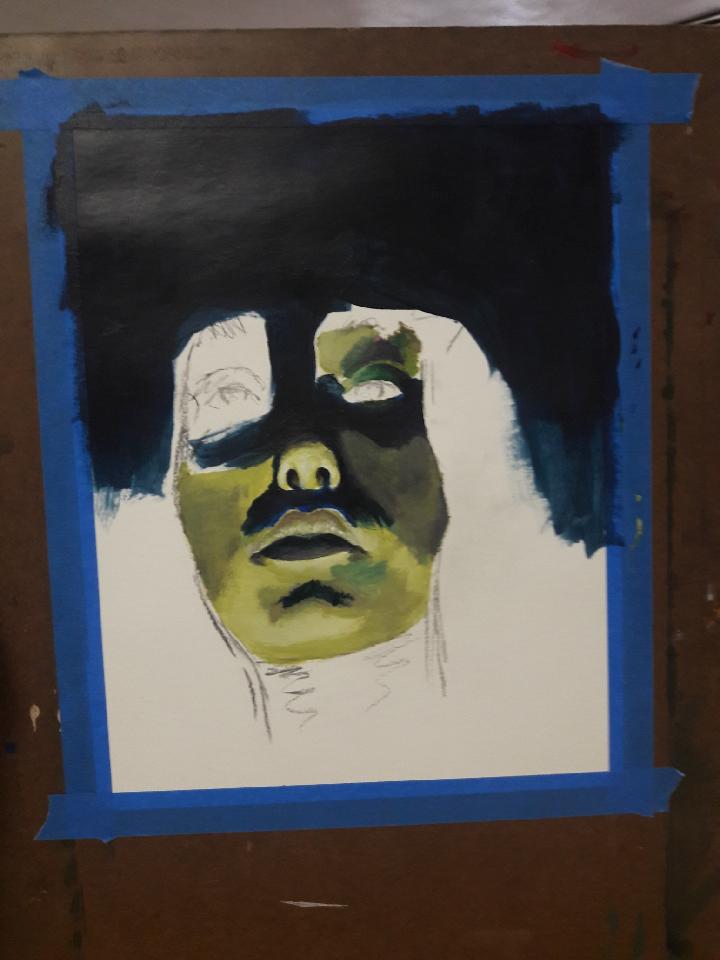
STEP 6: Photograph the sketchbook page and email photo to teacher. STEP 7: Begin painting the first of the sustained investigation ***think about adding...
STEP 9: Reflect on your work in your sketchbook throughout the process. |
Sketchbook Photos
Works in Progress
|
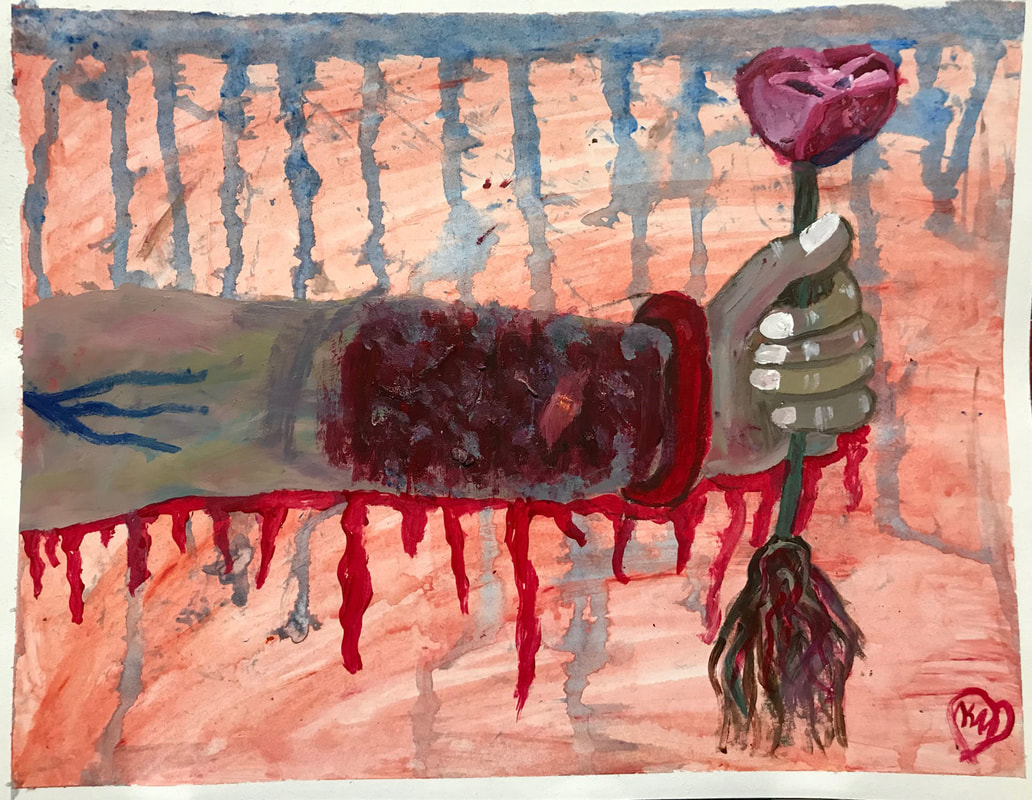
ARTWORK #2
EQ: How can I create an art piece that grows from the previous one?
LT: I can plan and execute a work of art that has developed from the process of working on the first from this series.
STEP 1: Brainstorm a list of ideas of what you learned from making the first artwork... What did you learn about yourself, about art materials, about colors, about composition, etc.?
STEP 2: Draw out three thumbnail sketches using the same theme as your ARTWORK #1. Use what you learned from the first artwork.
This second artwork should stem/grow/develop from the first!! Decide on one composition with the teacher
STEP 4: Photograph the sketchbook page and email to the teacher
STEP 5: Work on your second sustained investigation piece- OPEN MEDIA!
STEP 6: Document your work in progress! Photograph your work at the end of each class. At least one of these photos will be needed but it's good to have many to choose from.
STEP 7: Reflect on your work in your sketchbook throughout the process.
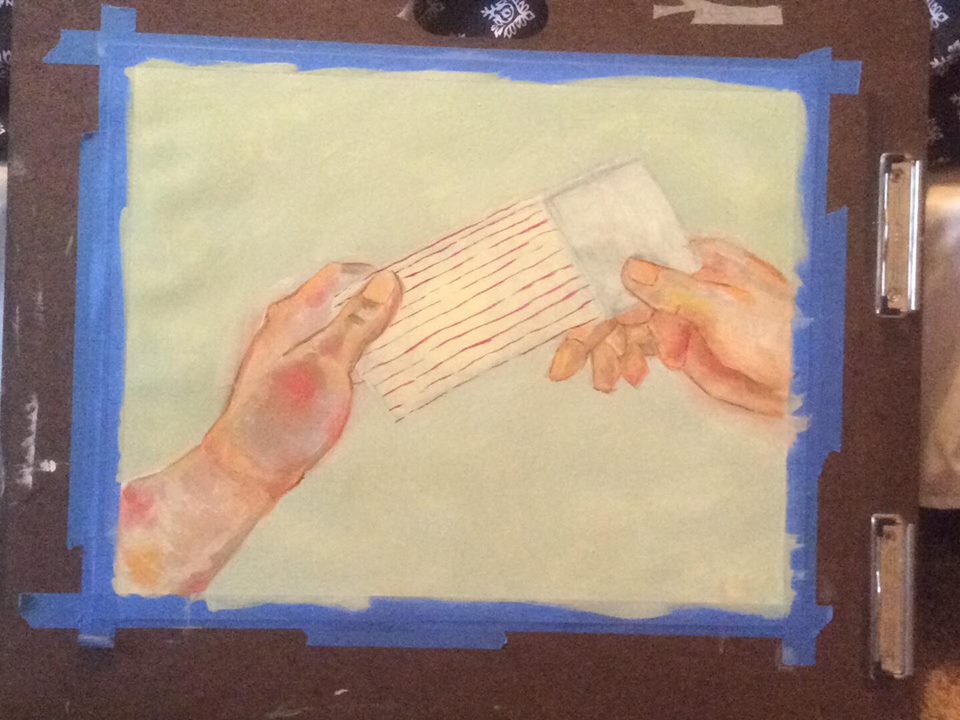
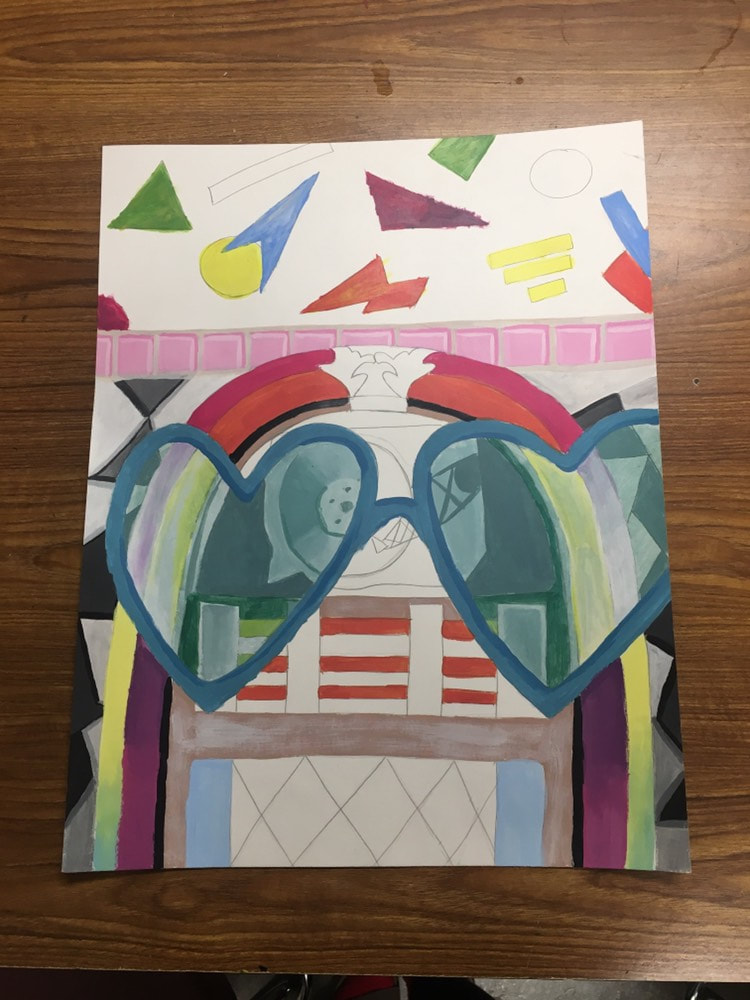
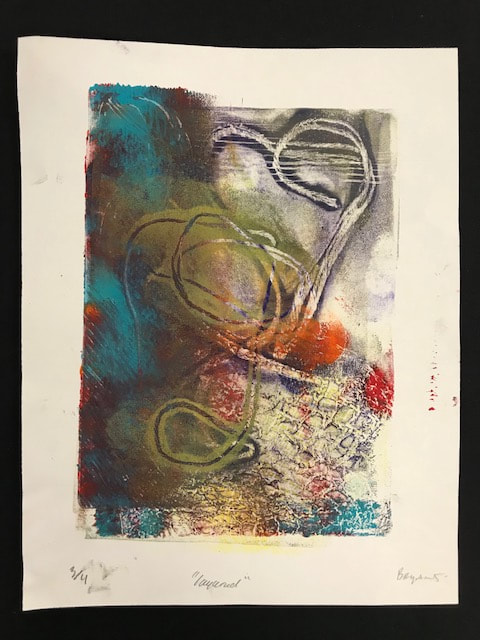
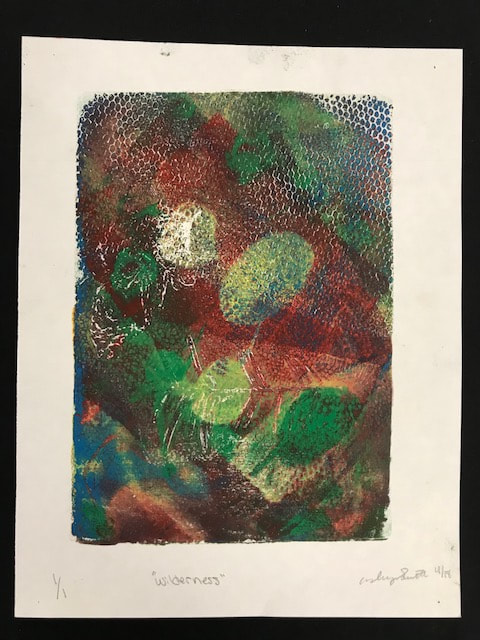
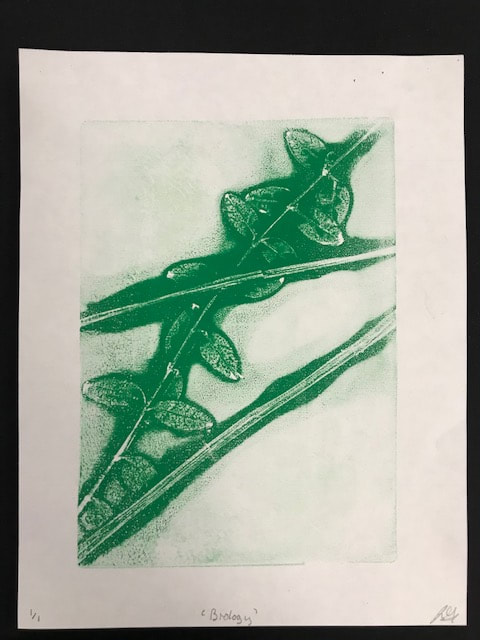
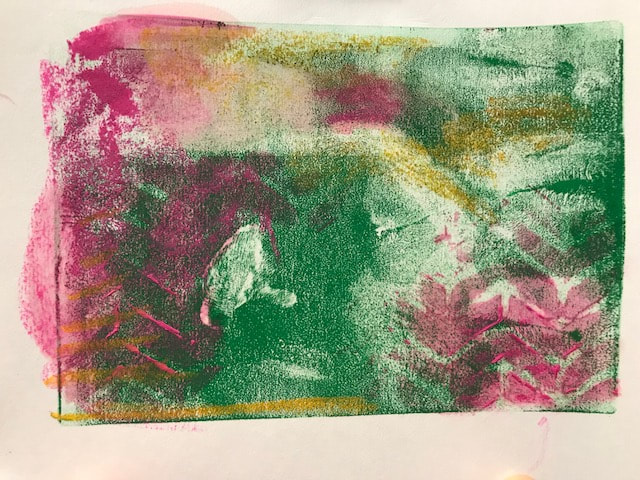
Finished Sustained Investigations

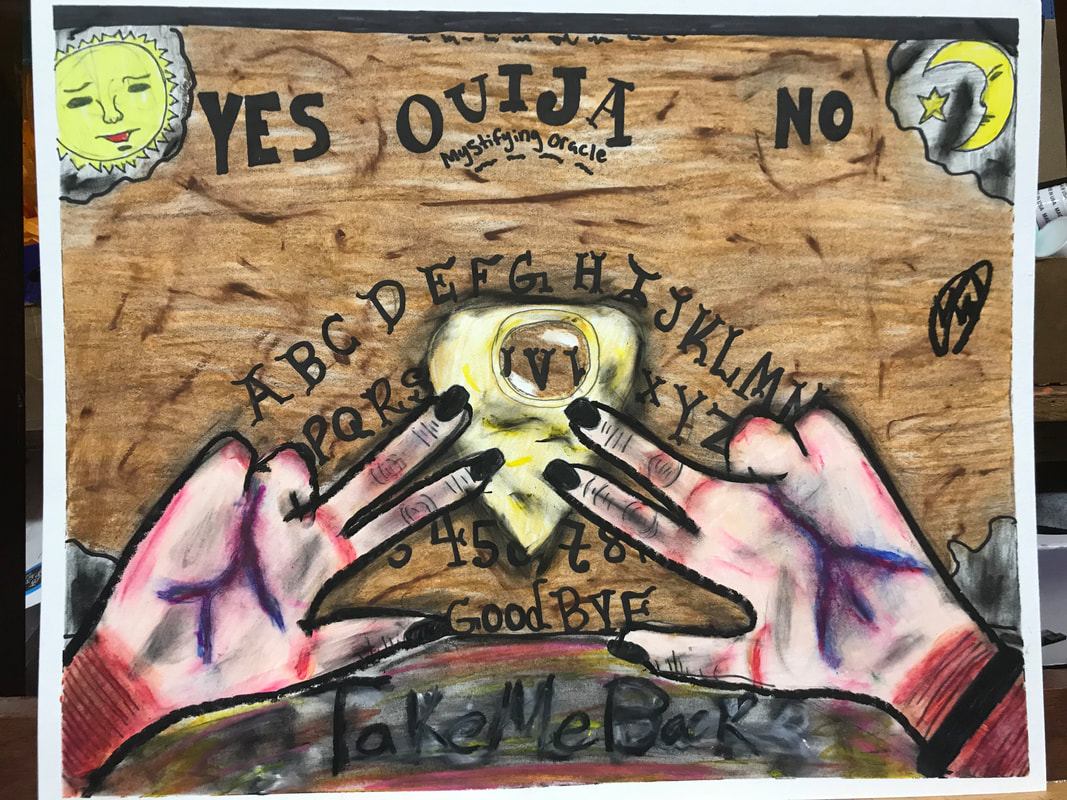
|
SEMESTER FINAL
Photos you need
LT: I can work on a sustained investigation creating several pieces of art all related to one topic demonstrating growth, experimentation and student-voice. |
| ||
SEMESTER 2
Figure Drawing

2D ADVANCED Project- FIGURE "DRAWING" ON CLAY
- Create 2-3 linear drawings of figures, using weighted contour lines. Use something DARK like India ink, pen or Sharpie
- Photocopy your drawings, make 2 copies of each and try enlarging some of them
- Create a clay slab and paint on the slab with underglaze
- Use the photo litho on clay process
- should I carve back into my clay?
- should my clay stay flat?
- should I add any other glazes
- should I add any textures with textured glazes?
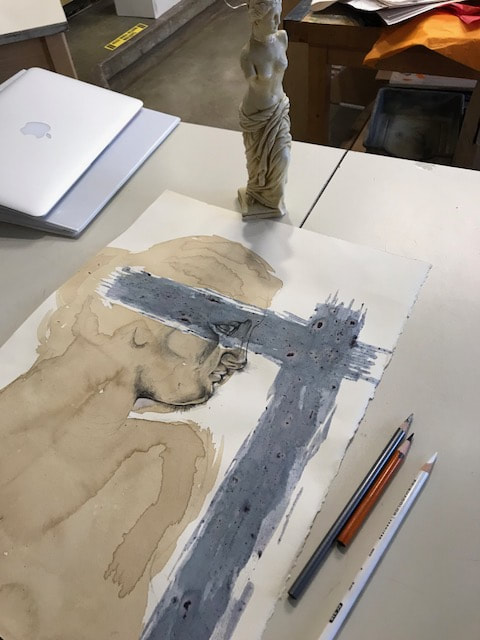
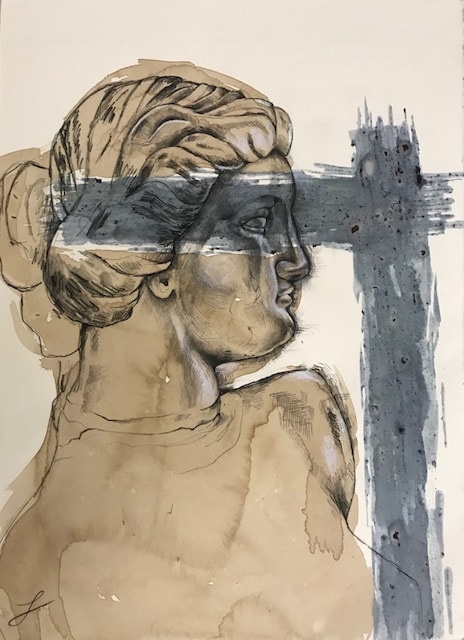
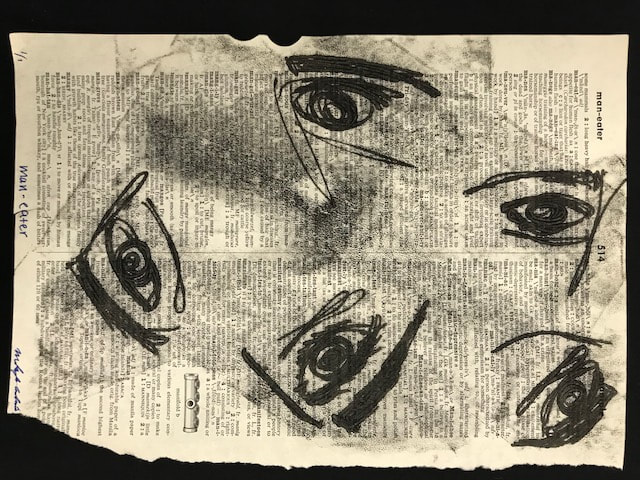
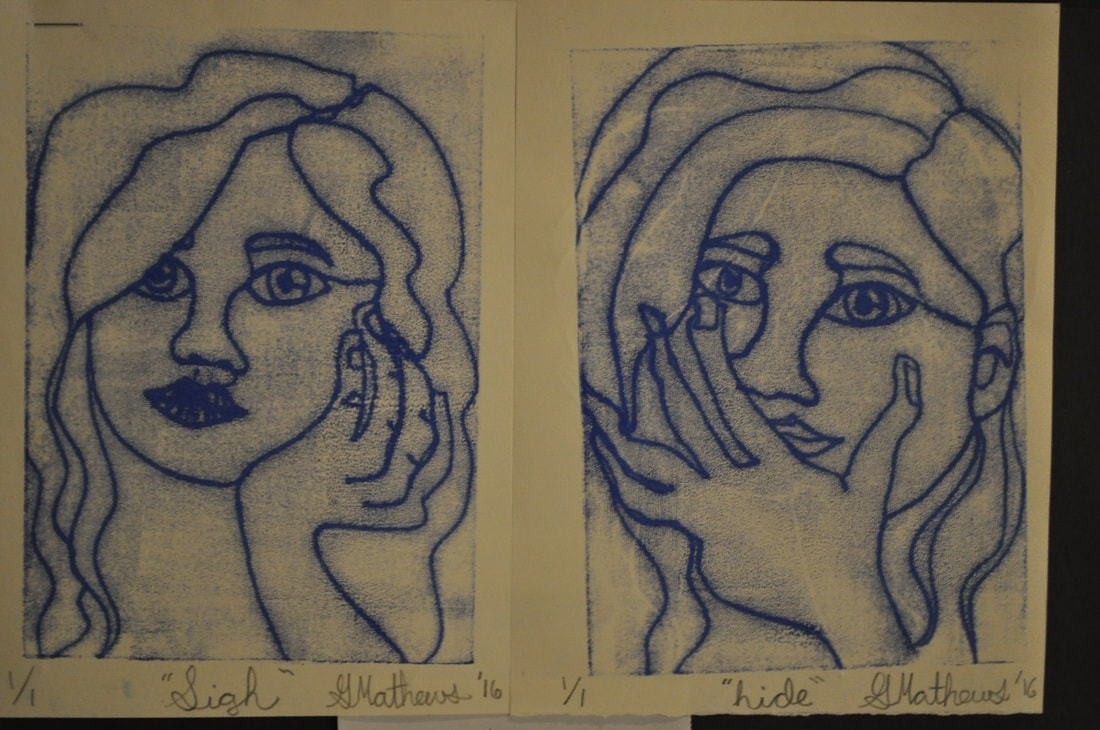
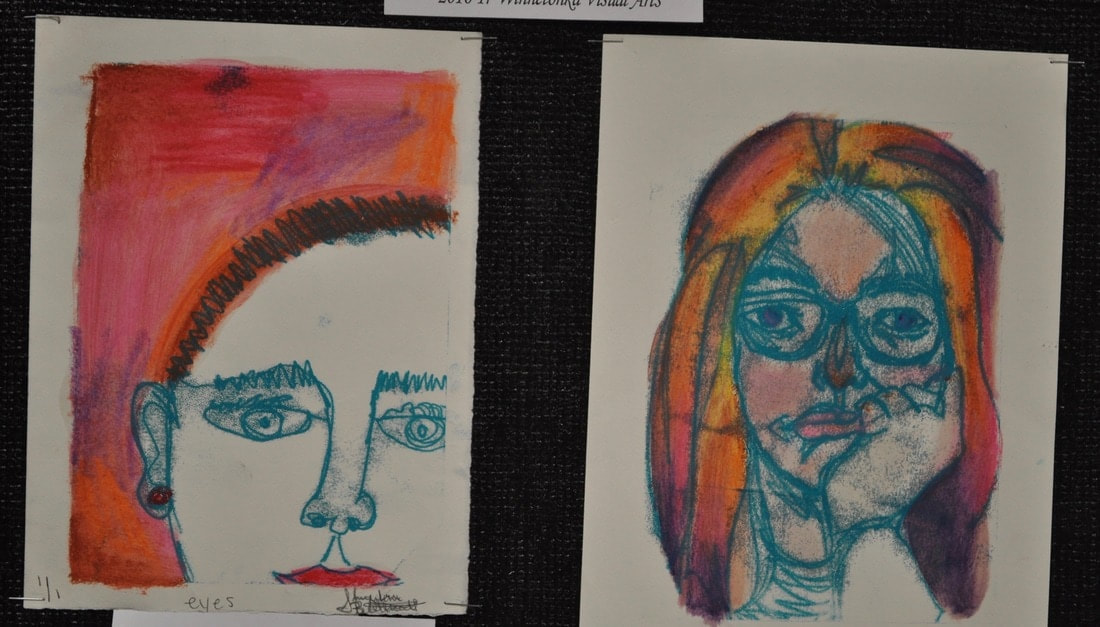
Portraiture
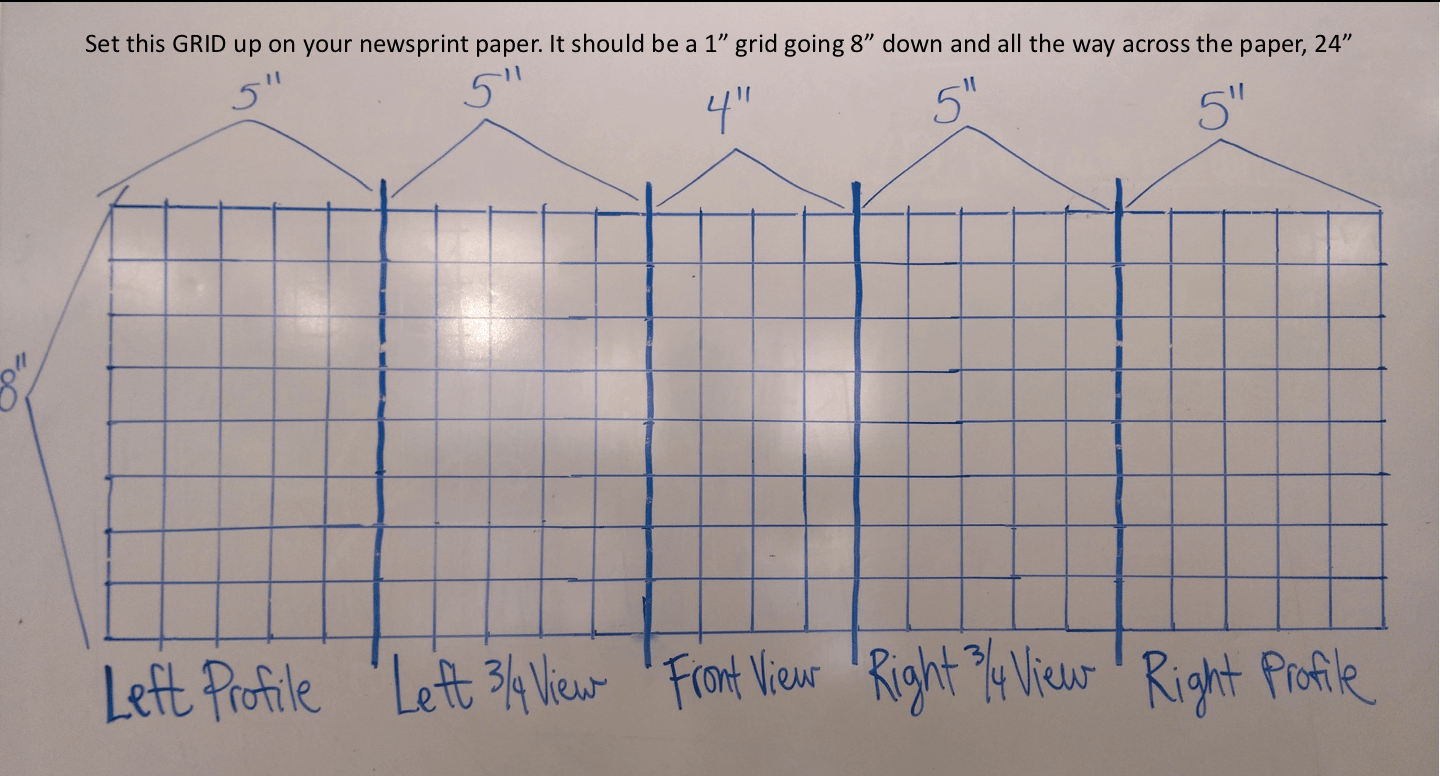
EQ: How can I draw a proportionally correct face from five different views? LT: I can draw a face from 5 different views using a grid.
- Use the PP's below to draw the right profile, right 3/4th's and front view of a face
- Using that knowledge, now draw the left 3/4th's view and left profile
- Practice drawing facial features in your SB using the handouts AND A MIRROR
|
|
Use a mirror to practice facial features in SB
| ||||||||||
LT: I can create three different portraits, profile view, 3/4th's view and straight on view
- Work in groups of three to get all of the portraits sketched. Take a photo of your model in case you need to add more to your drawing.
- Make 3 photocopies of each of your drawings
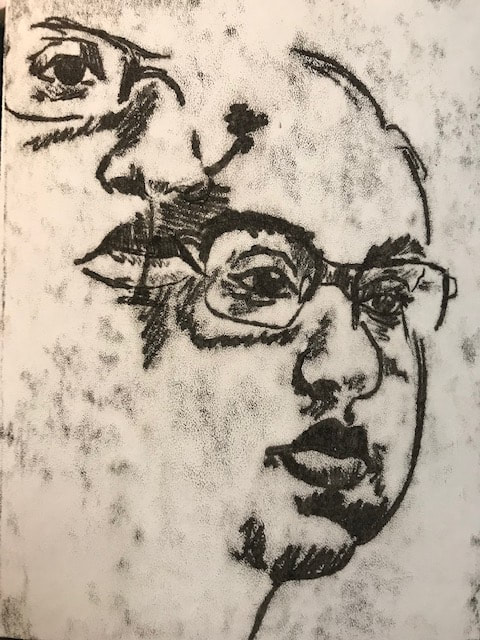
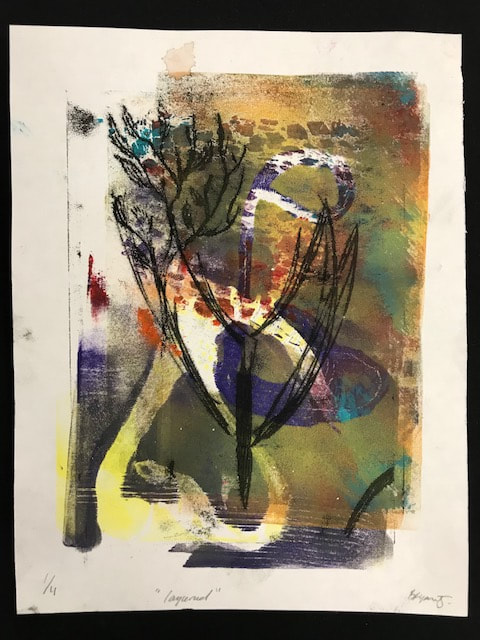
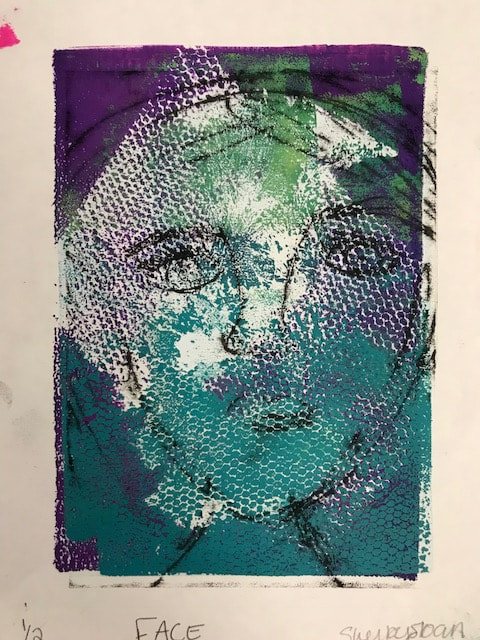
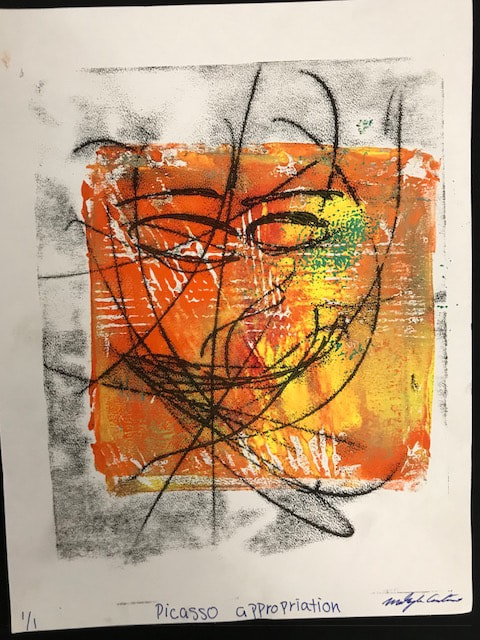
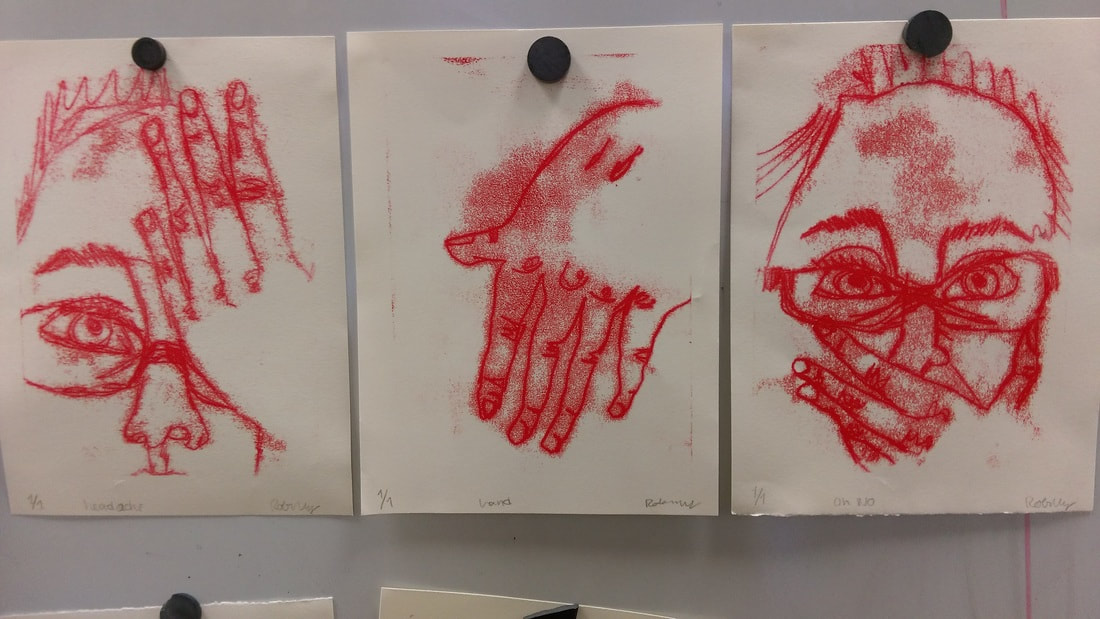
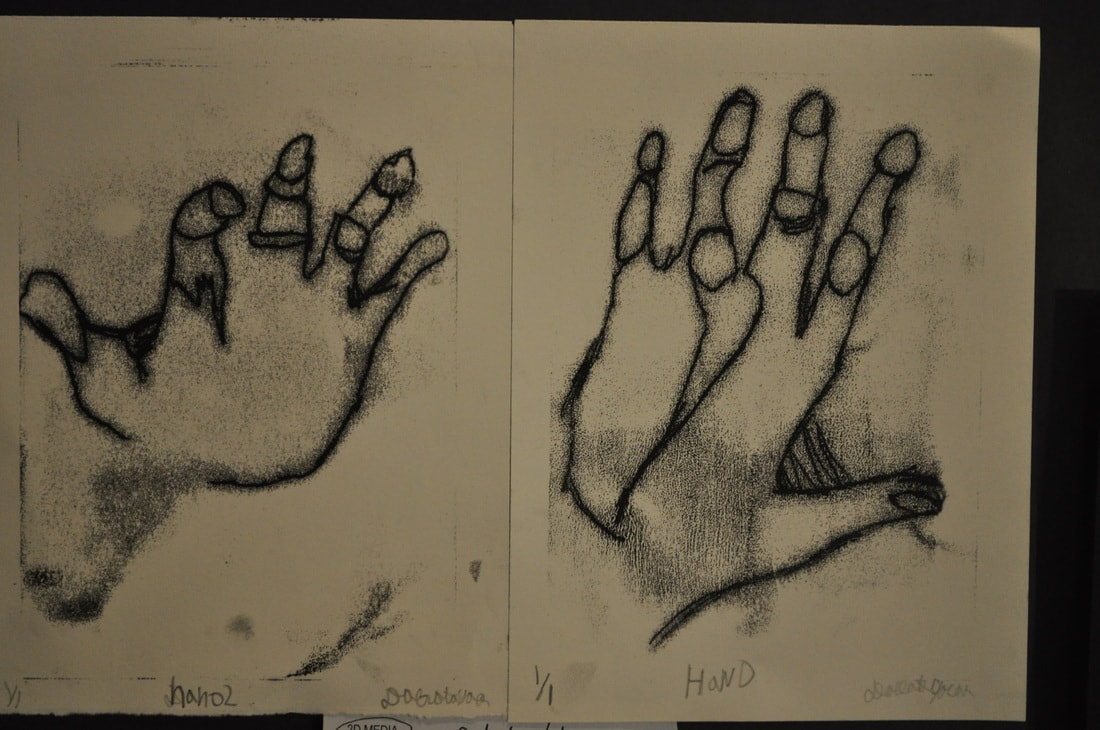
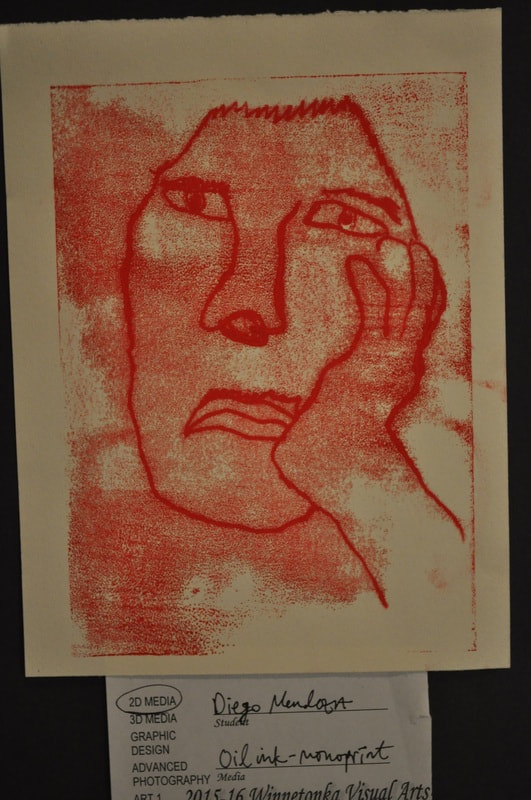
- Using the mono printing process, create a positive & negative print of one of the portraits. (If you miss the demo, watch the Chad videos below.)


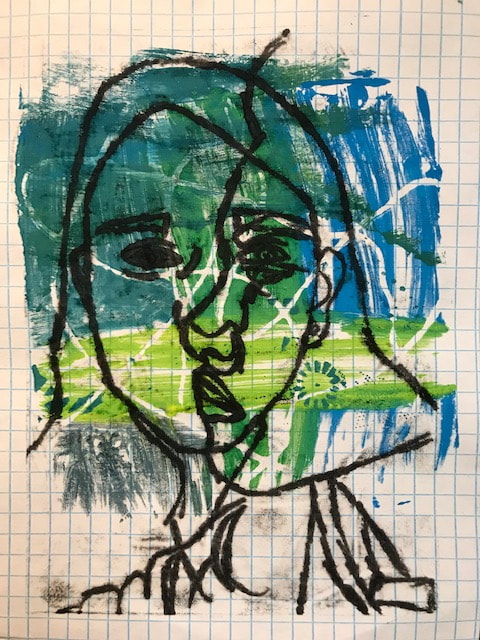
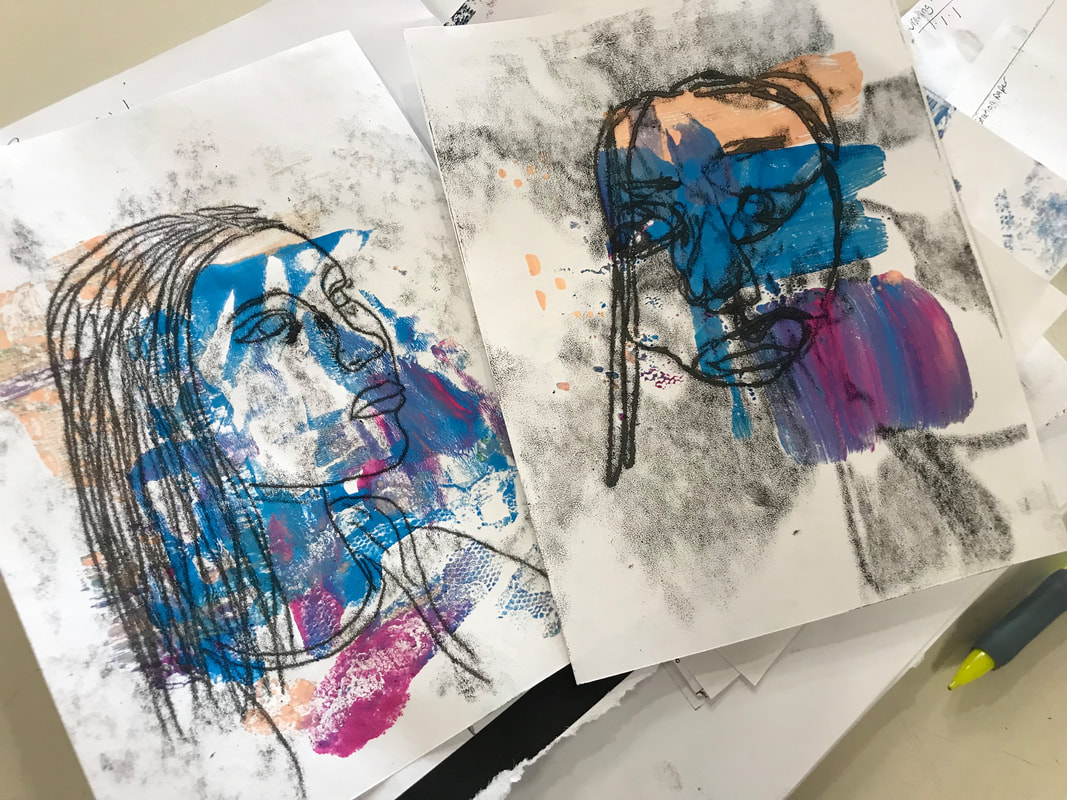
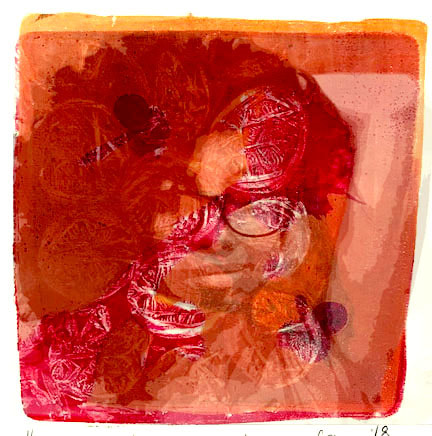
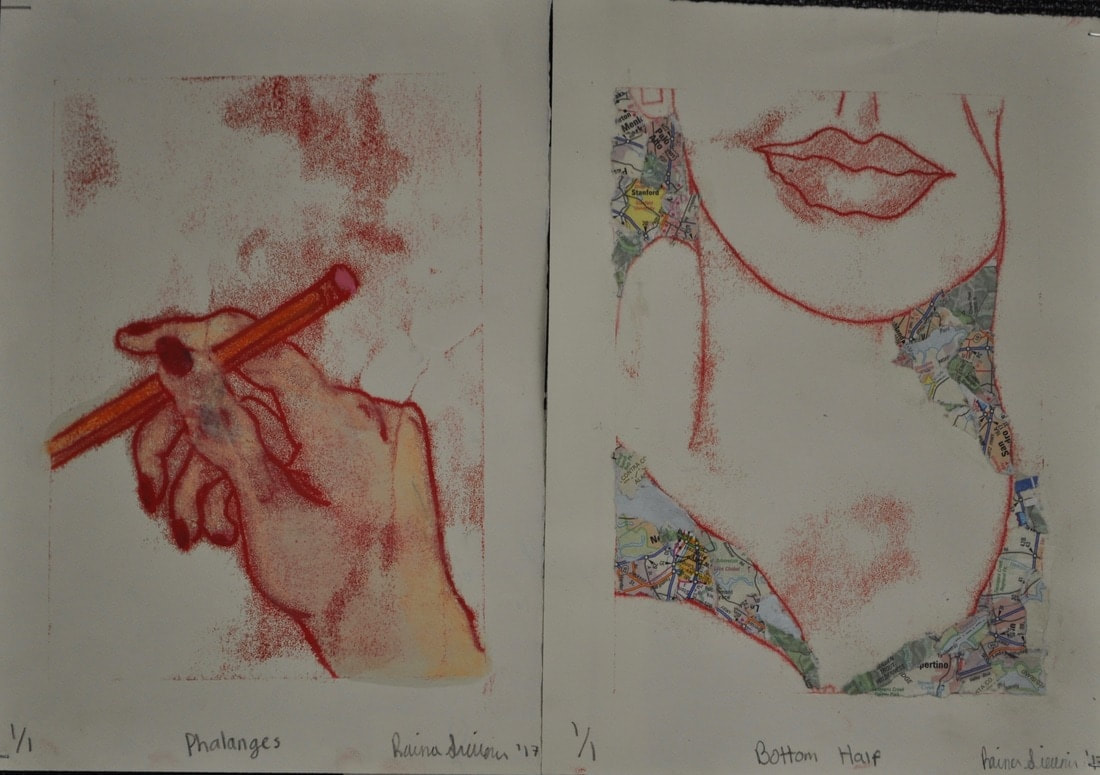
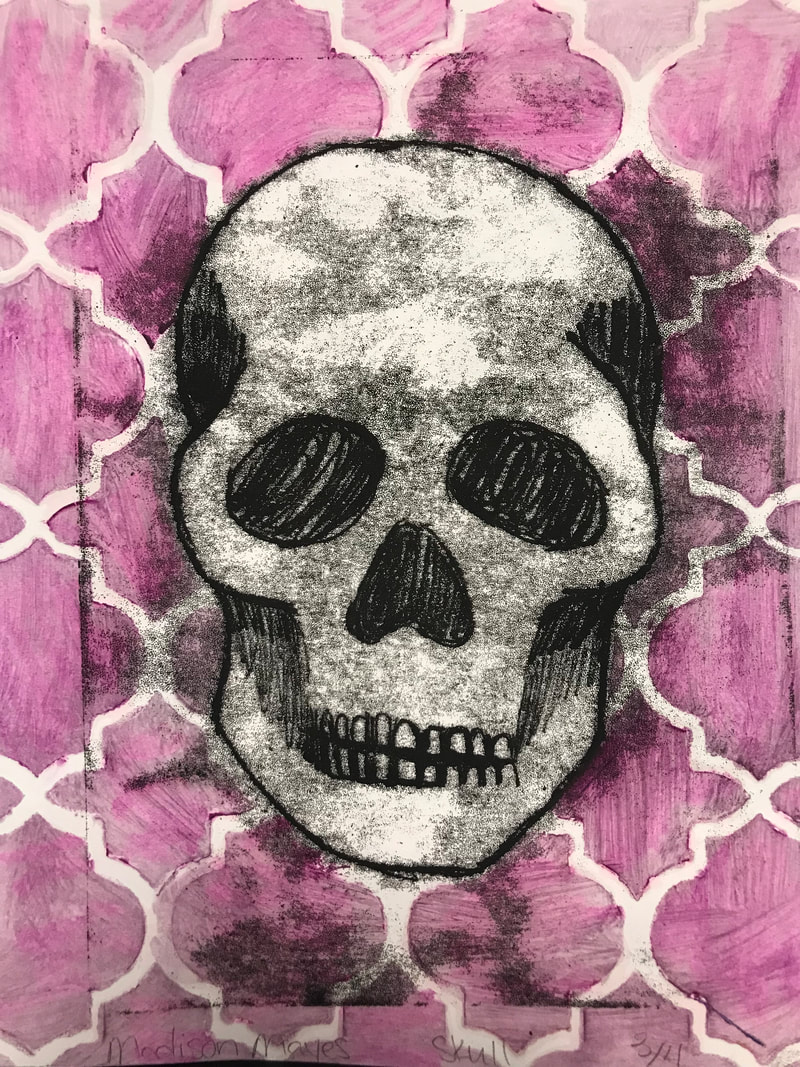
EQ: How can I enhance the background of my portrait? LT: I can create several different backgrounds for my portraits
- Choose three of the following techniques to help enhance your portrait prints.
- tissue paper stain
- gelatin printing
- citra-solv magazine pages, stencils
- watercolor drips, using a straw
- kwik sticks
- oil pastels, liquin and stencils
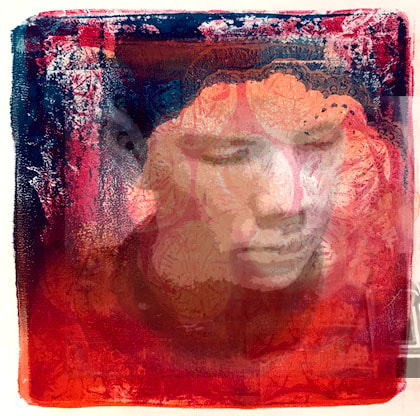
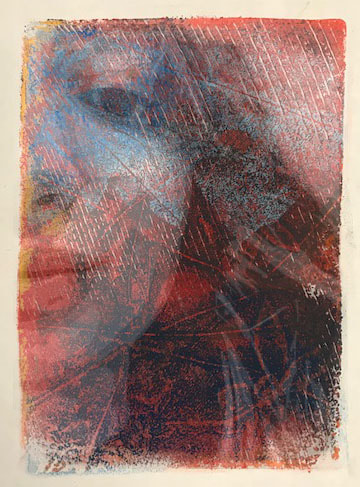
EQ: How can I unify the portrait and the background together to create a balanced work of art? LT: I can depict three different views of the face using the mono printing method with something happening in the background.
- Assessment
- The mark-making in the background is not distracting to the portrait
- The composition feels balanced and not too empty
- The proportions of the face are accurately depicted
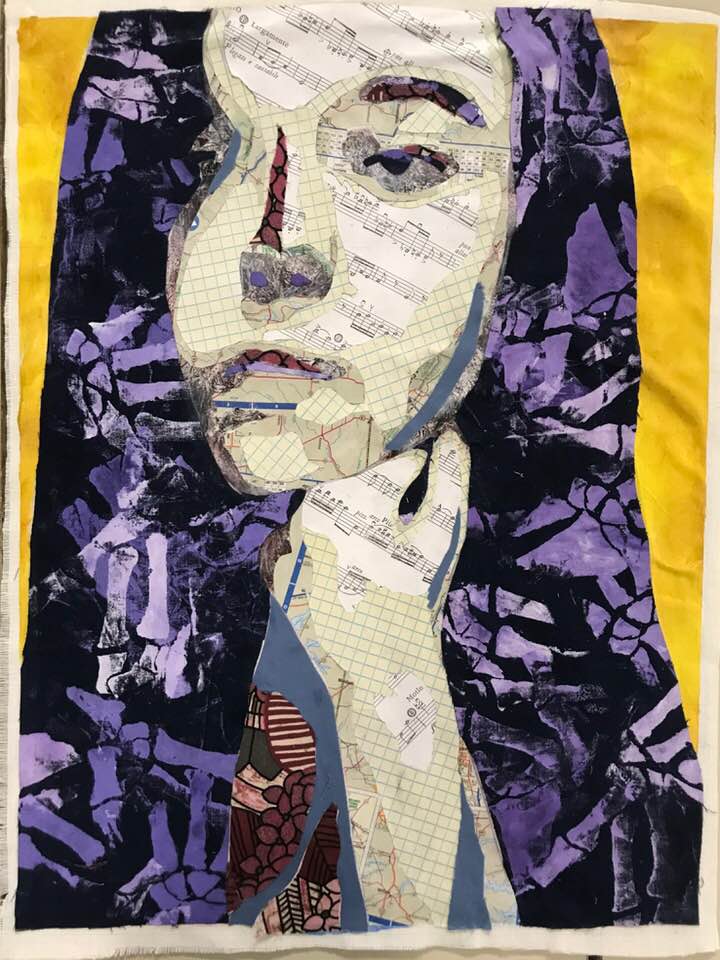
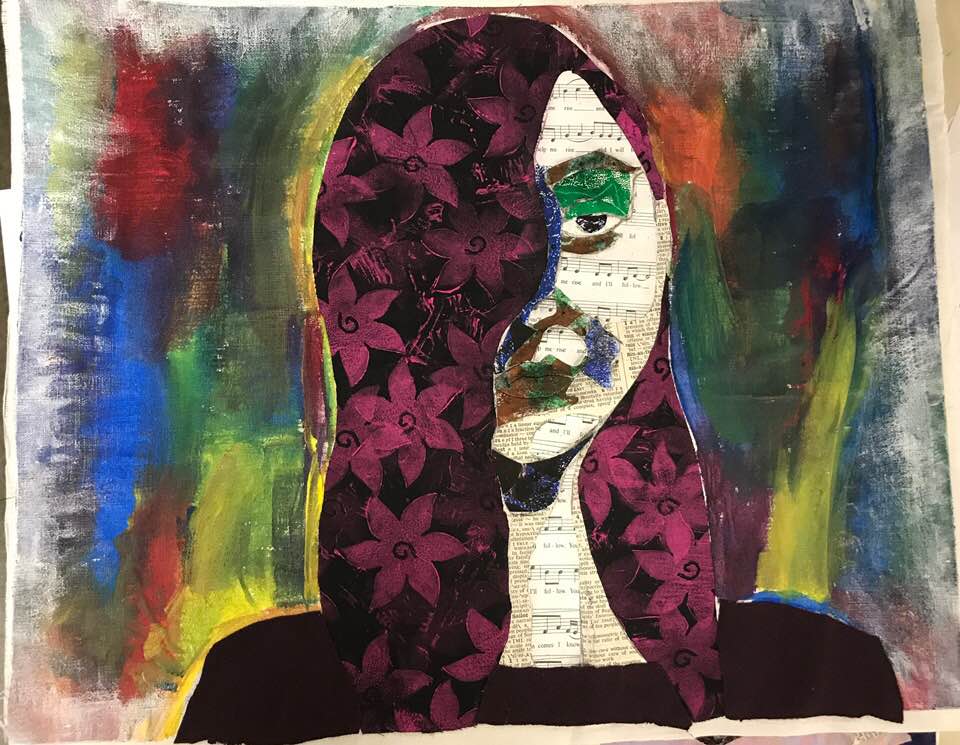
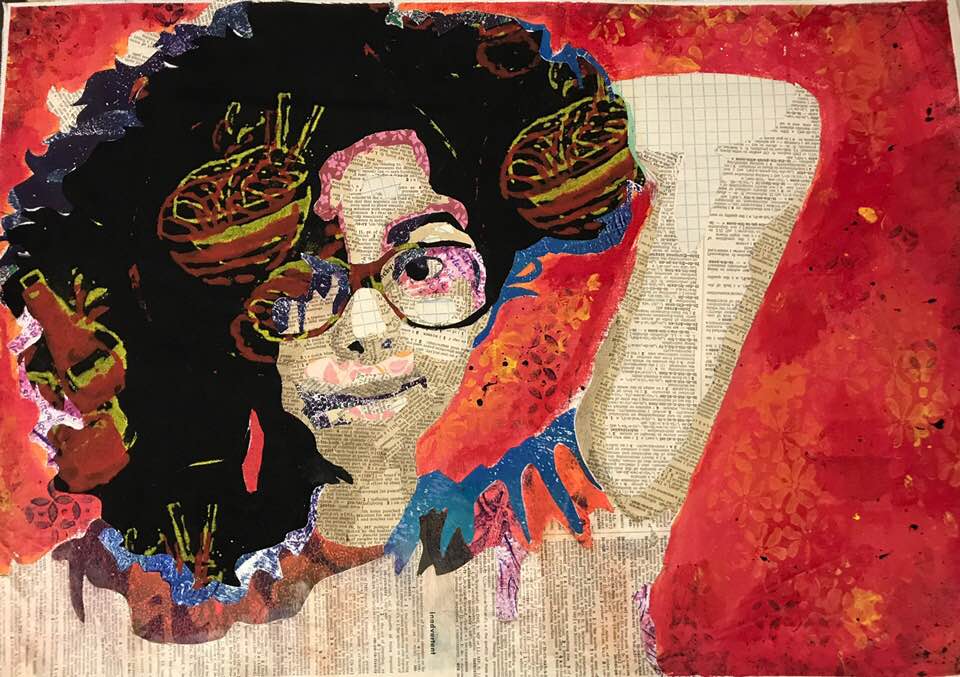
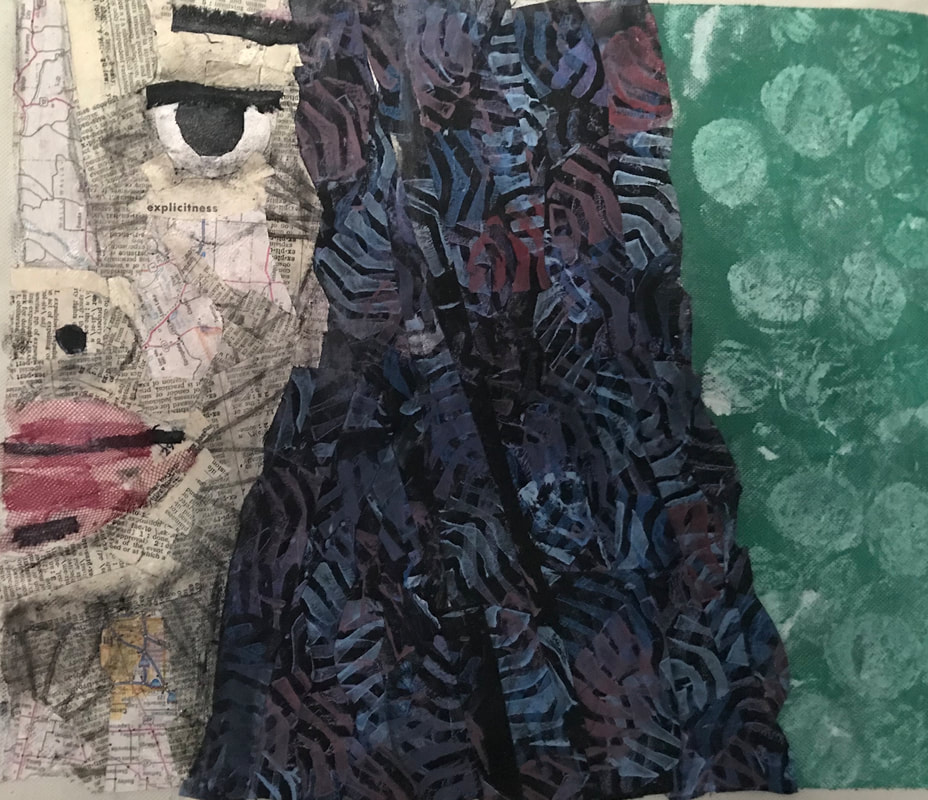
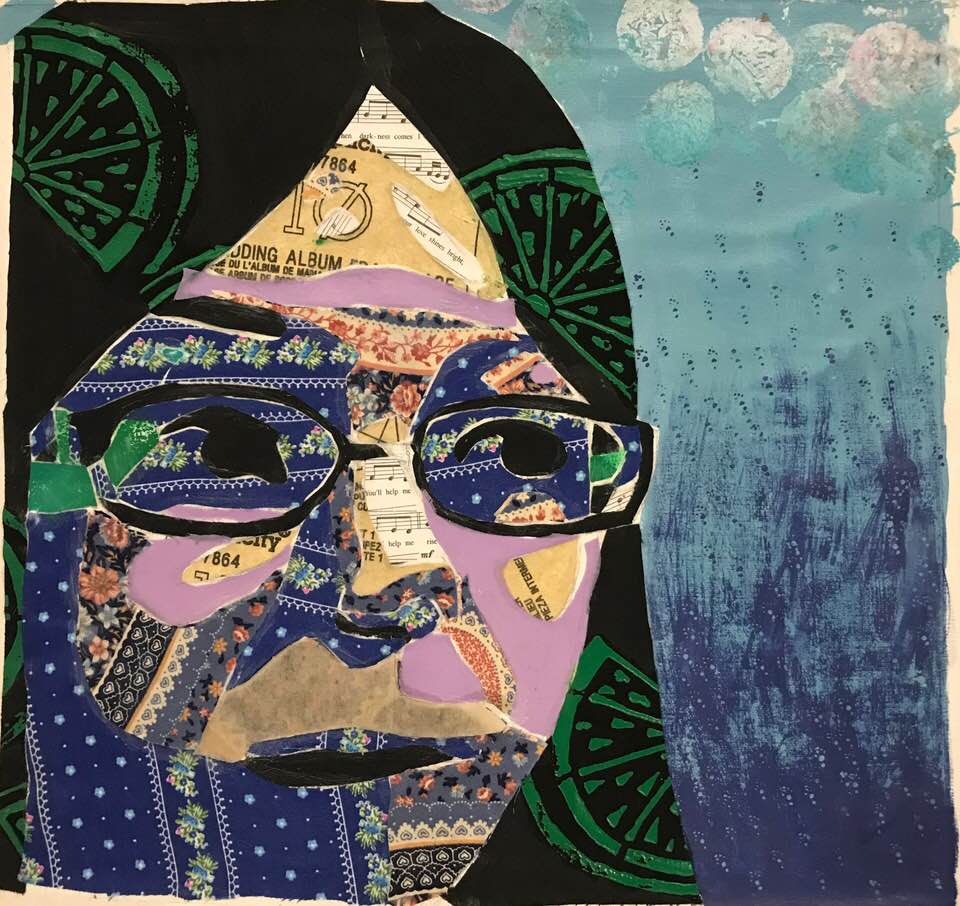
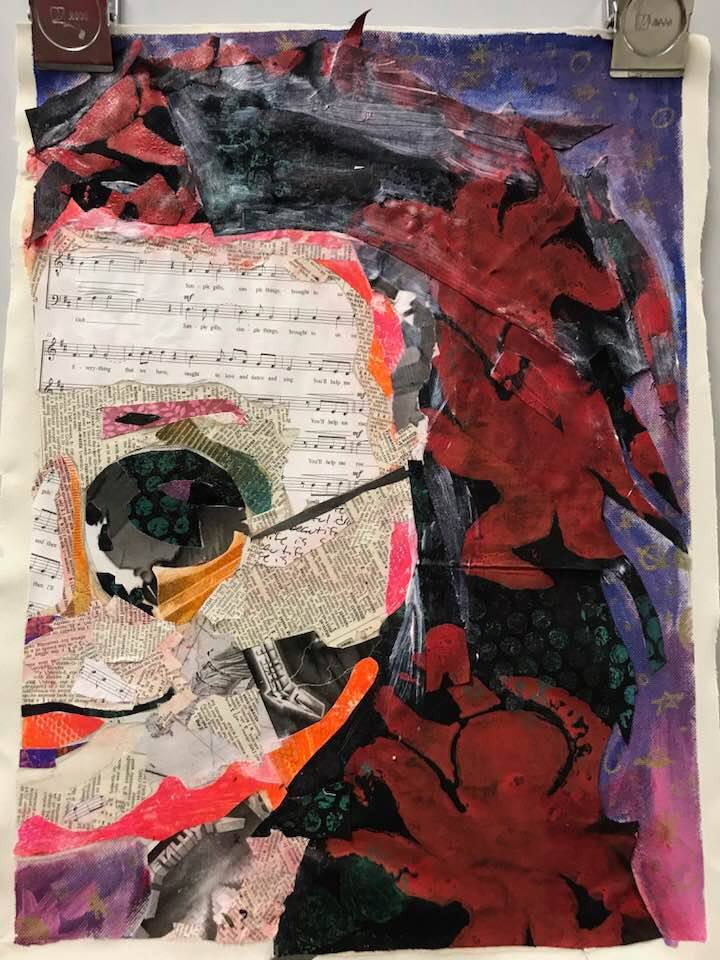
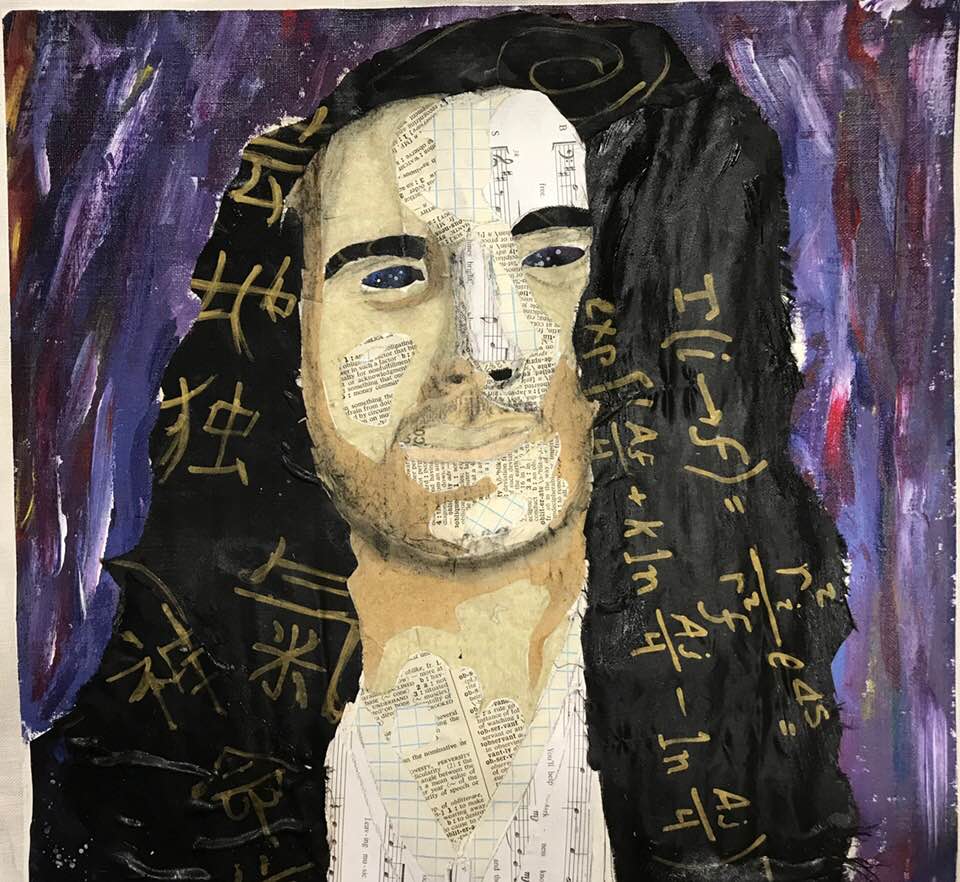
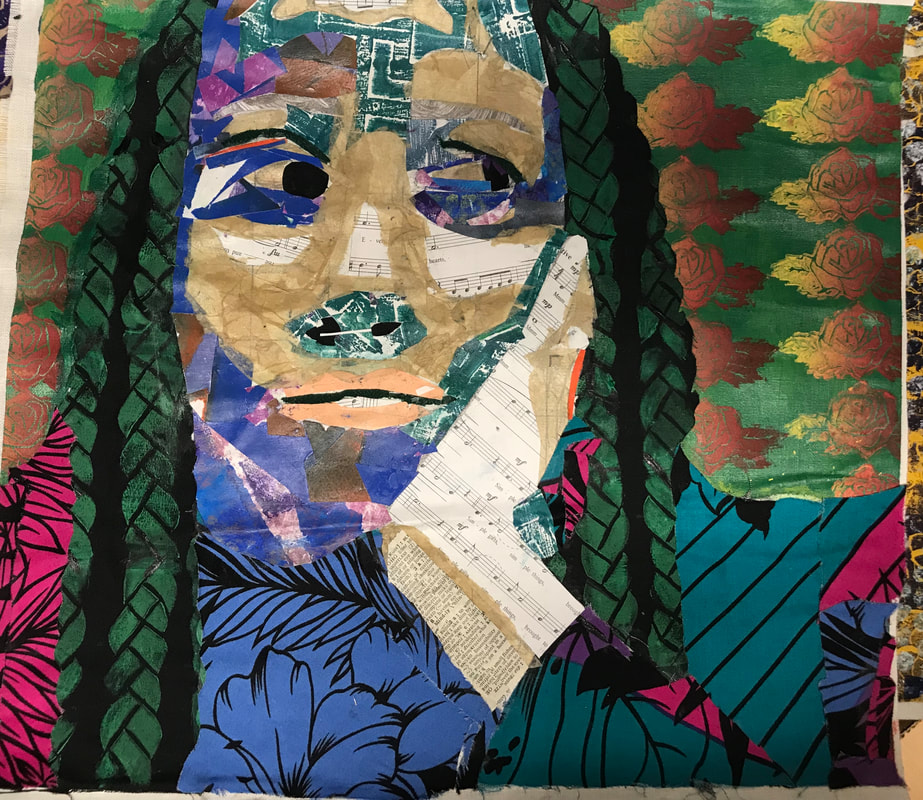
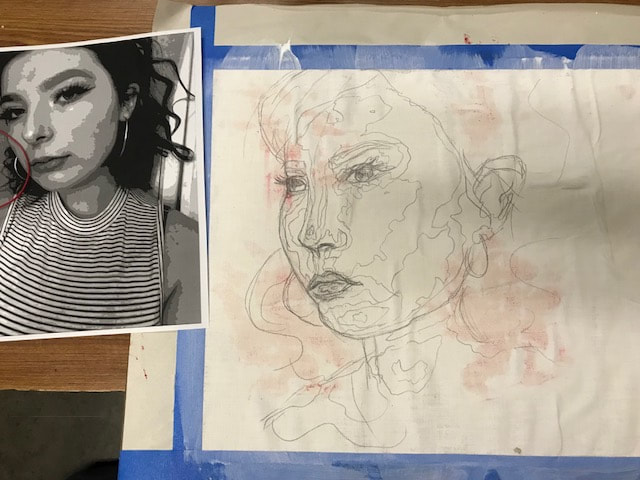
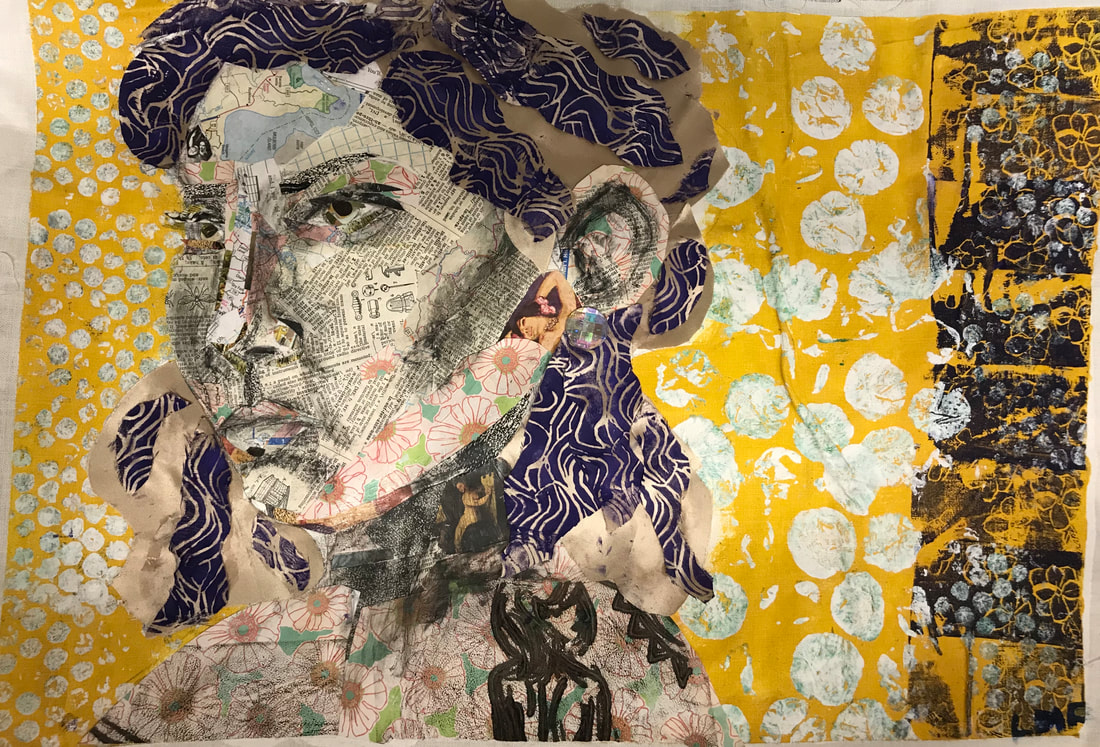
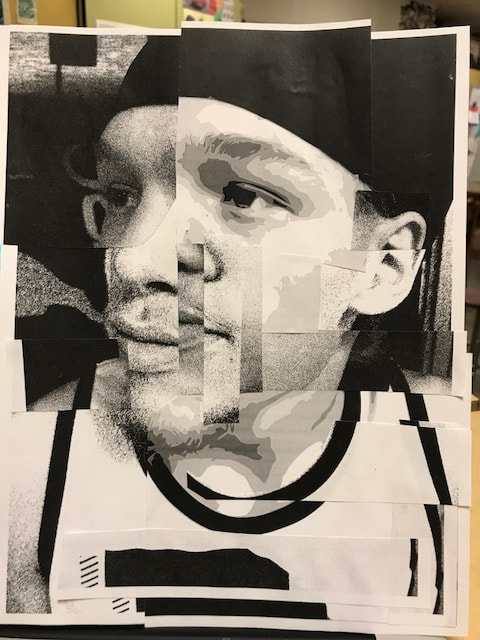
8. Collaged Self Portraits |
| ||
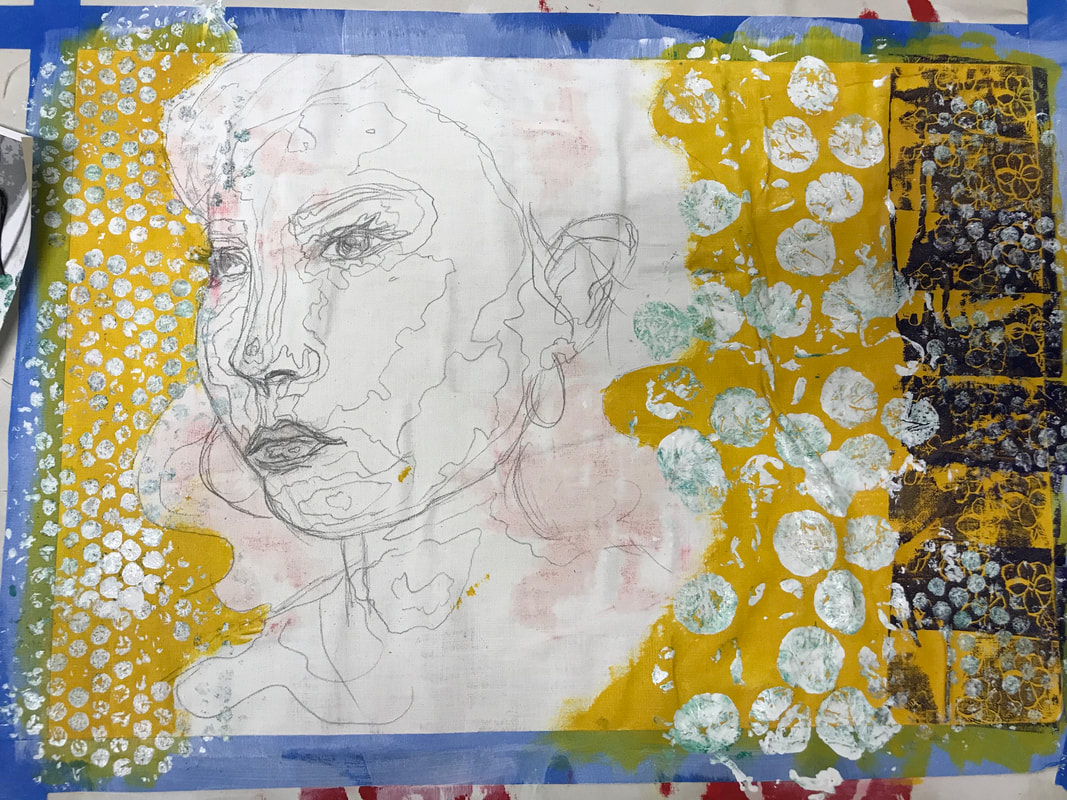
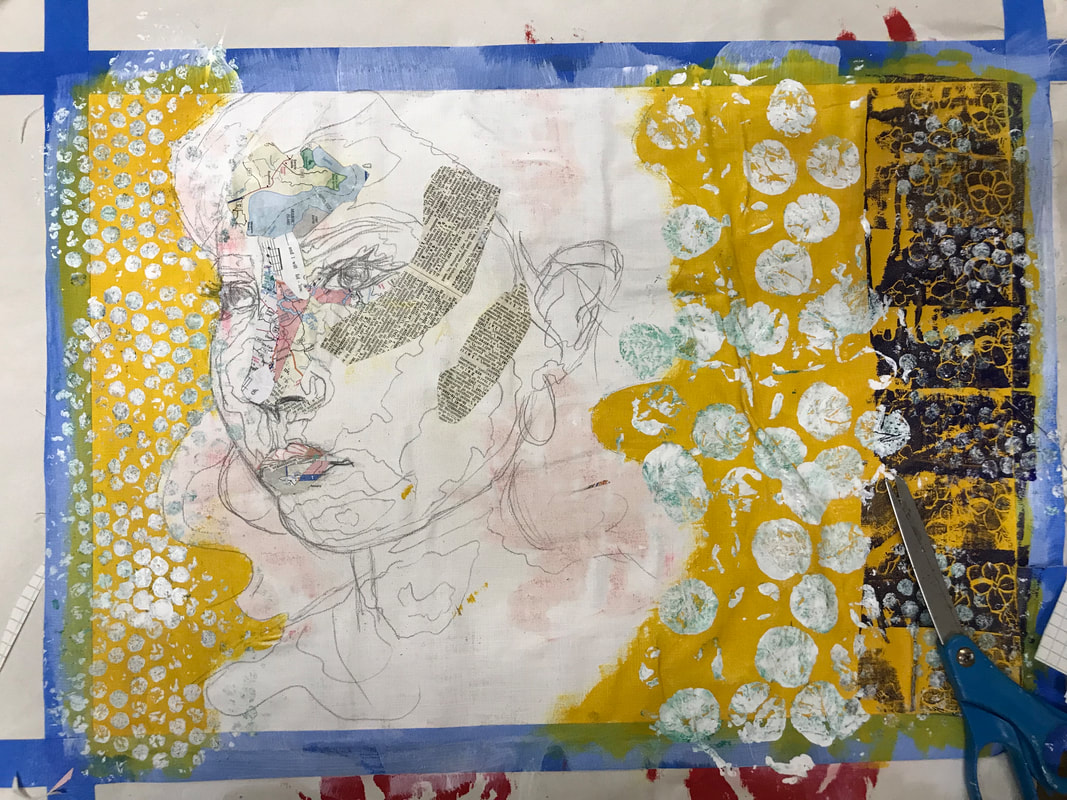
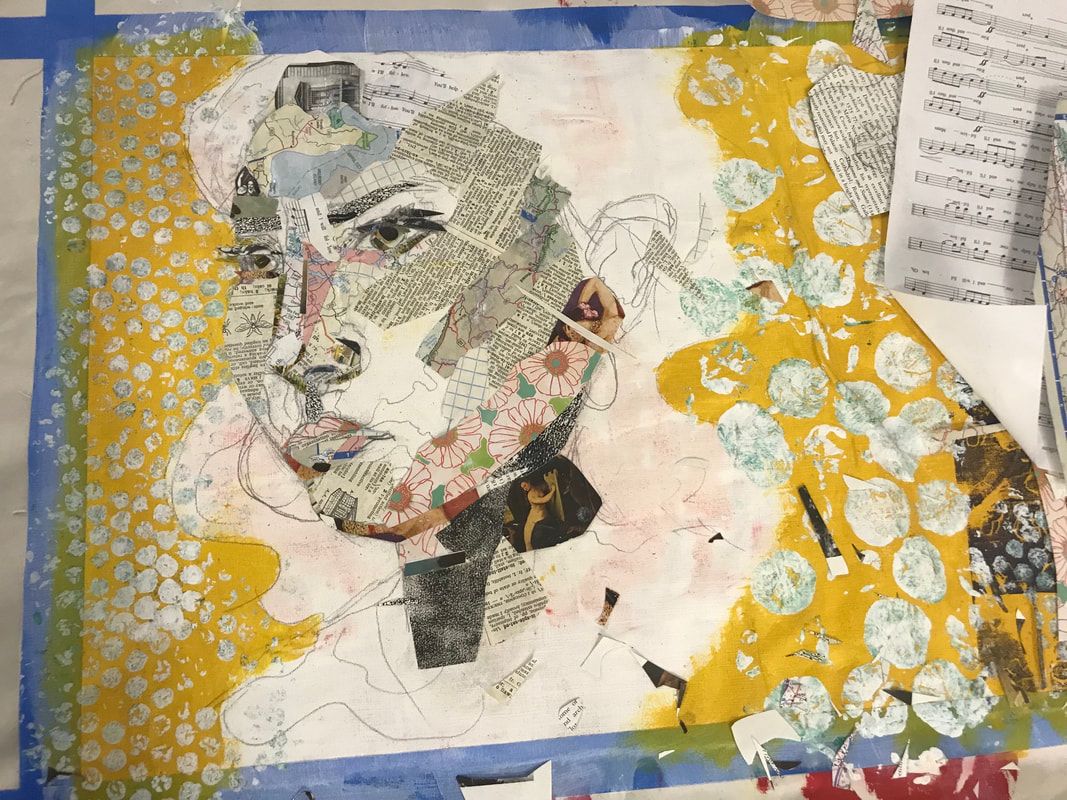
EQ: How can I collage a face?
LT: I can create a face out of collaging different materials, including my own printing on fabric.
STEP 1: Take a self-portrait photograph cropping your face somewhere
STEP 2: Prepare your canvas with gesso
LT: I can create a face out of collaging different materials, including my own printing on fabric.
STEP 1: Take a self-portrait photograph cropping your face somewhere
STEP 2: Prepare your canvas with gesso

Progress Check- Write in your sketchbook about your progress with this project
- How much have you gotten done so far?
- What are you struggling with the most? Why do you think this is so difficult?
- What do you plan on doing in the background? What color will you paint? What will you do on top of the paint- write, print, stamp, dry brush, stencils, etc.)
- What stamp do you plan on carving for you printed element?- Draw this out!!
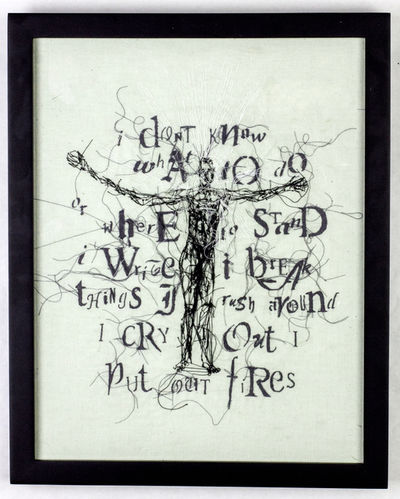
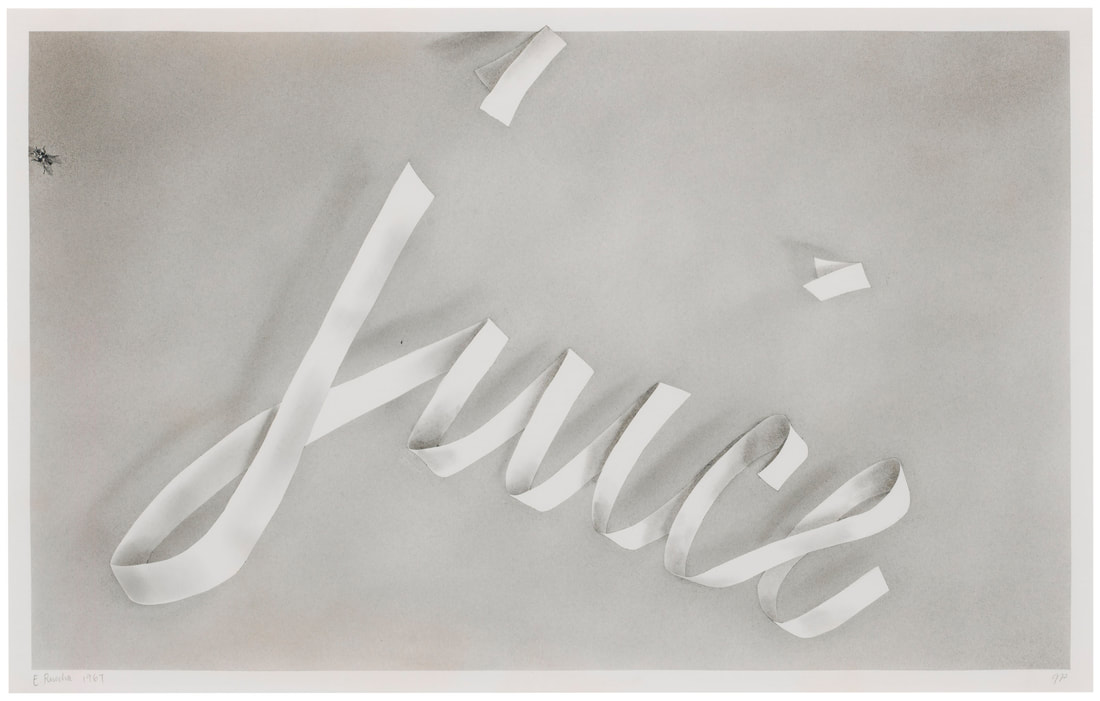
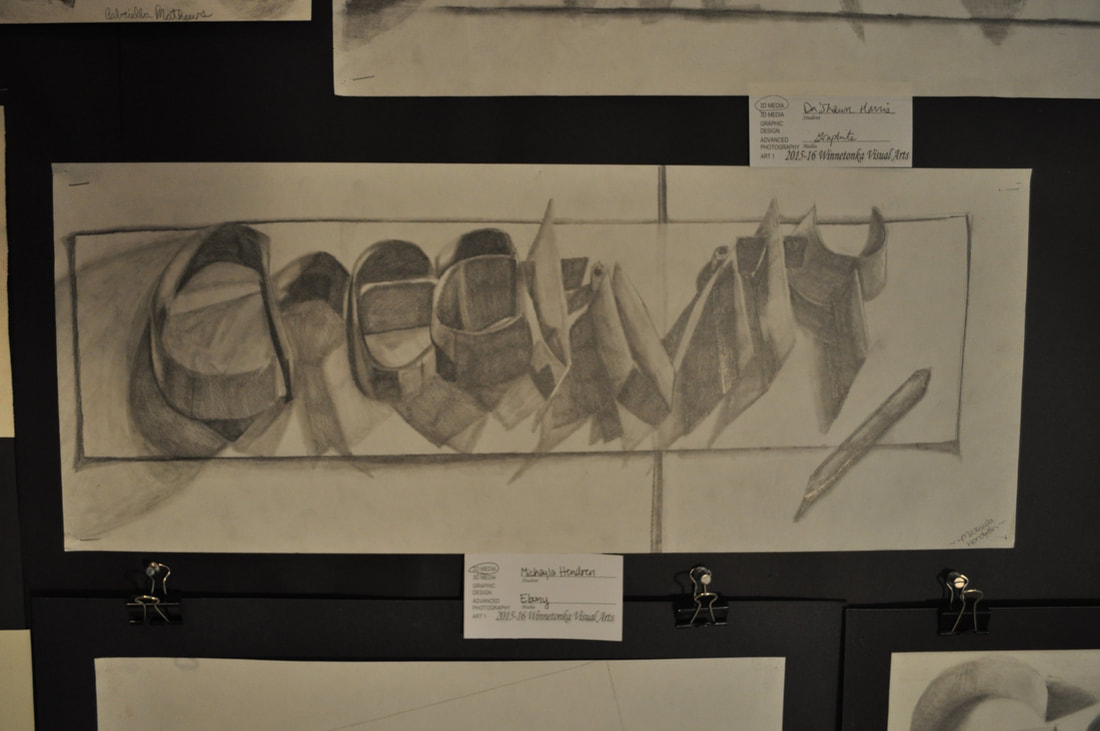
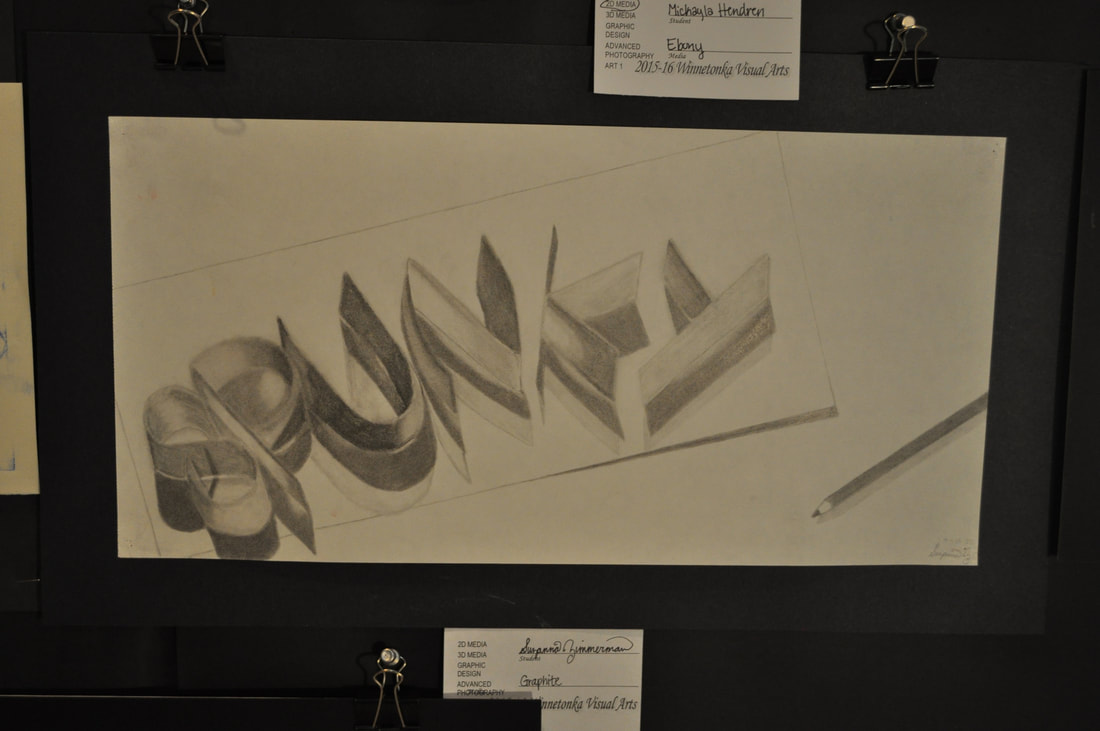
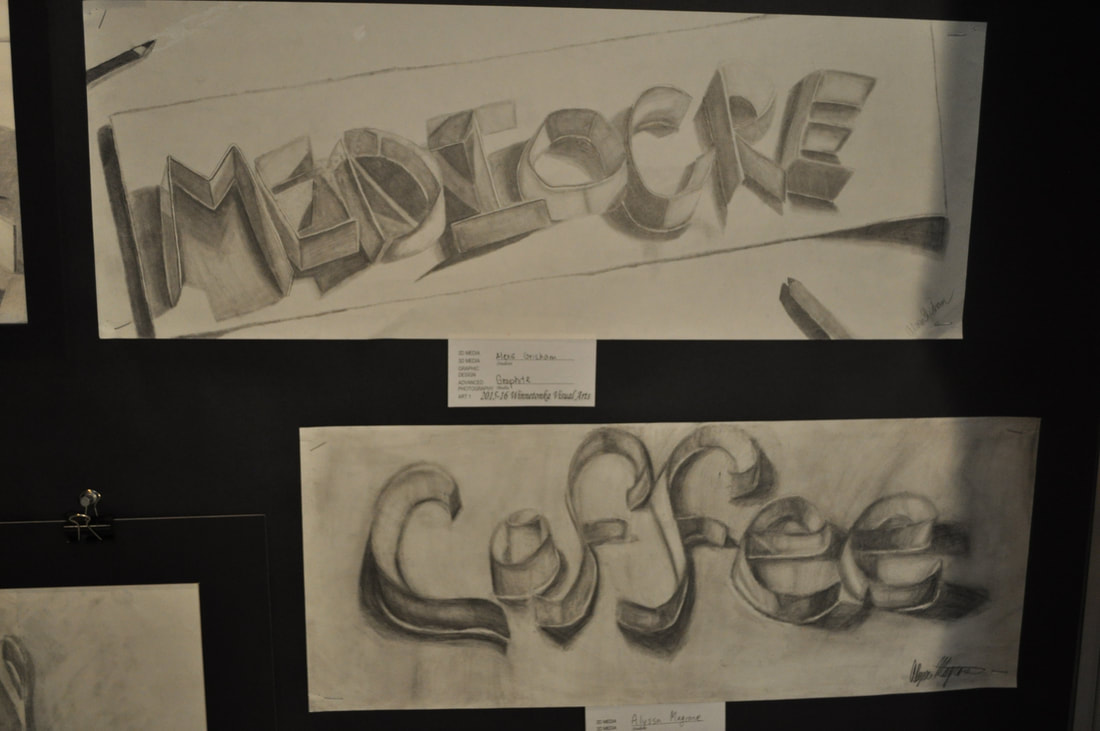
Ed Ruscha- WORD Drawing
|
| ||
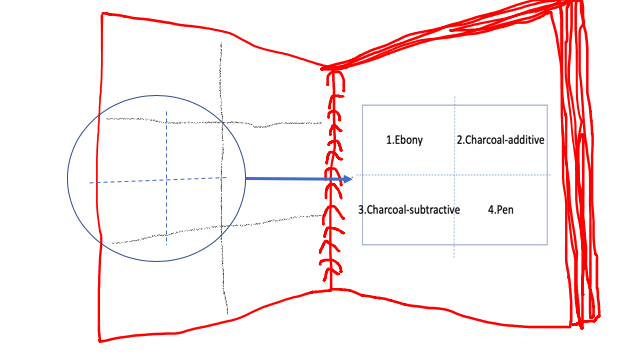
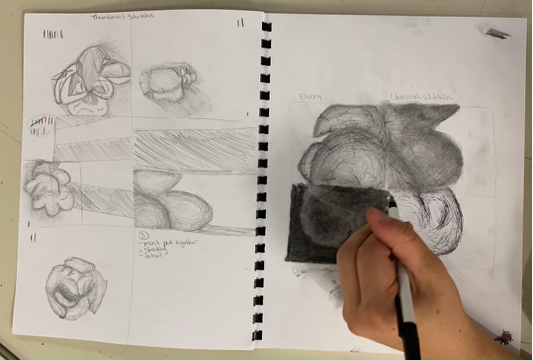
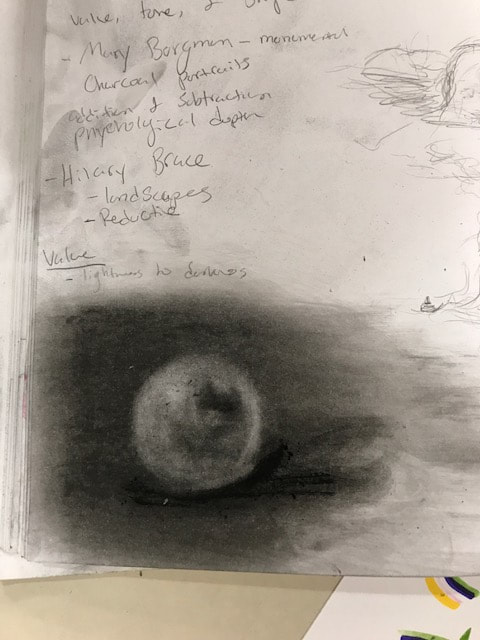
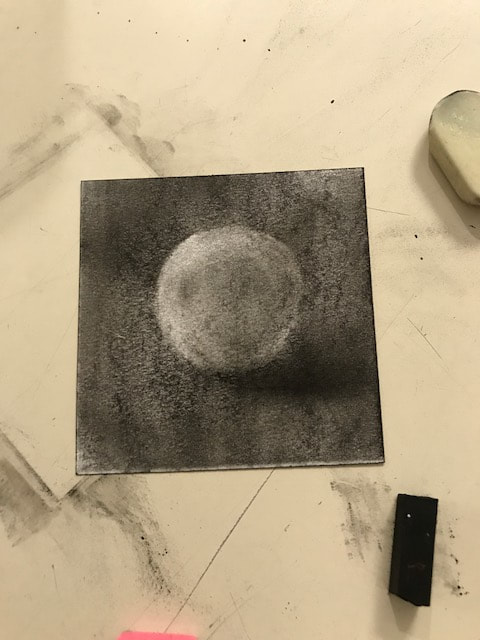
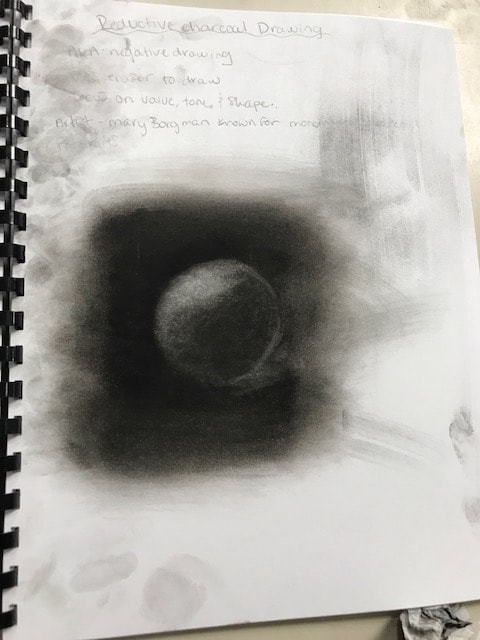
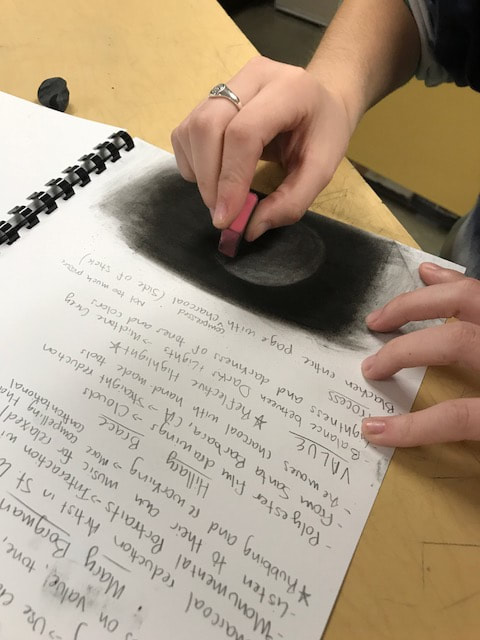
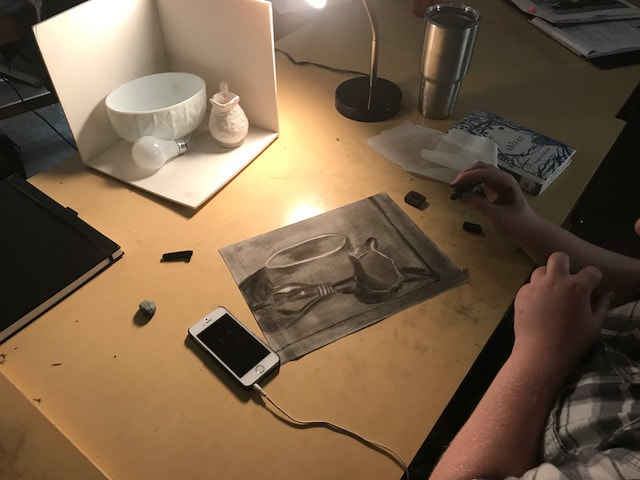
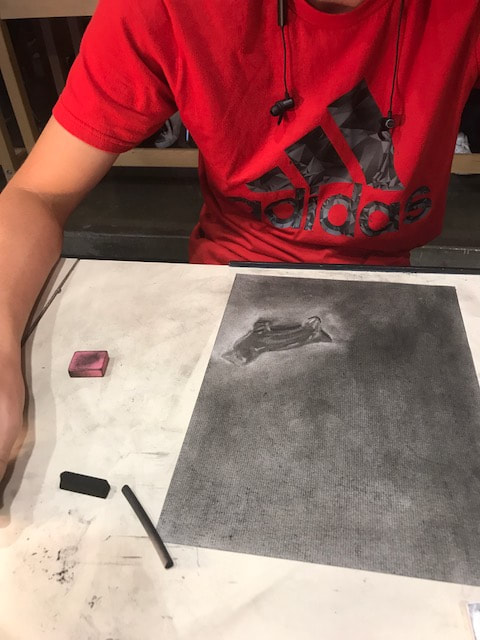
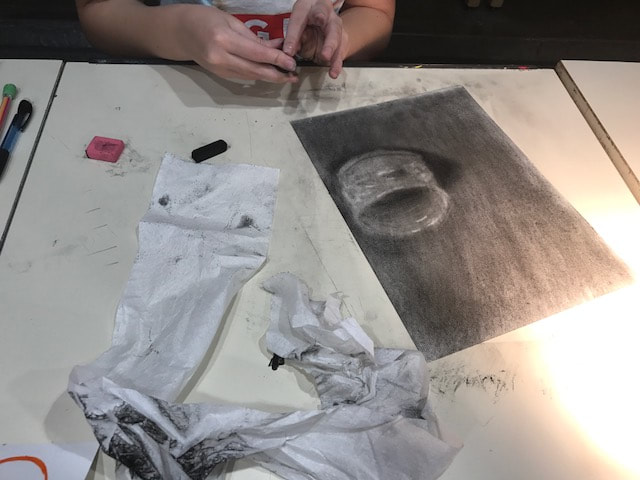
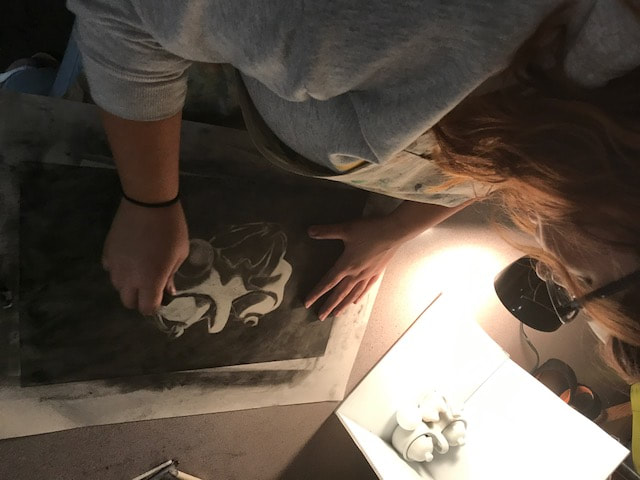
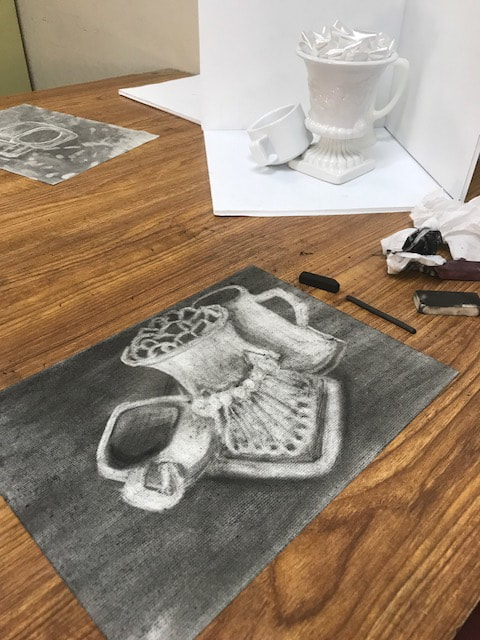
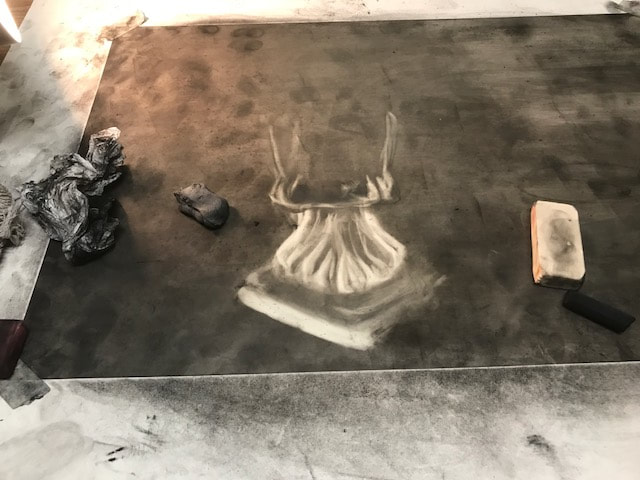
Reductive Charcoal
Practice drawing a sphere in your sketchbook with the reductive method.
|
| ||
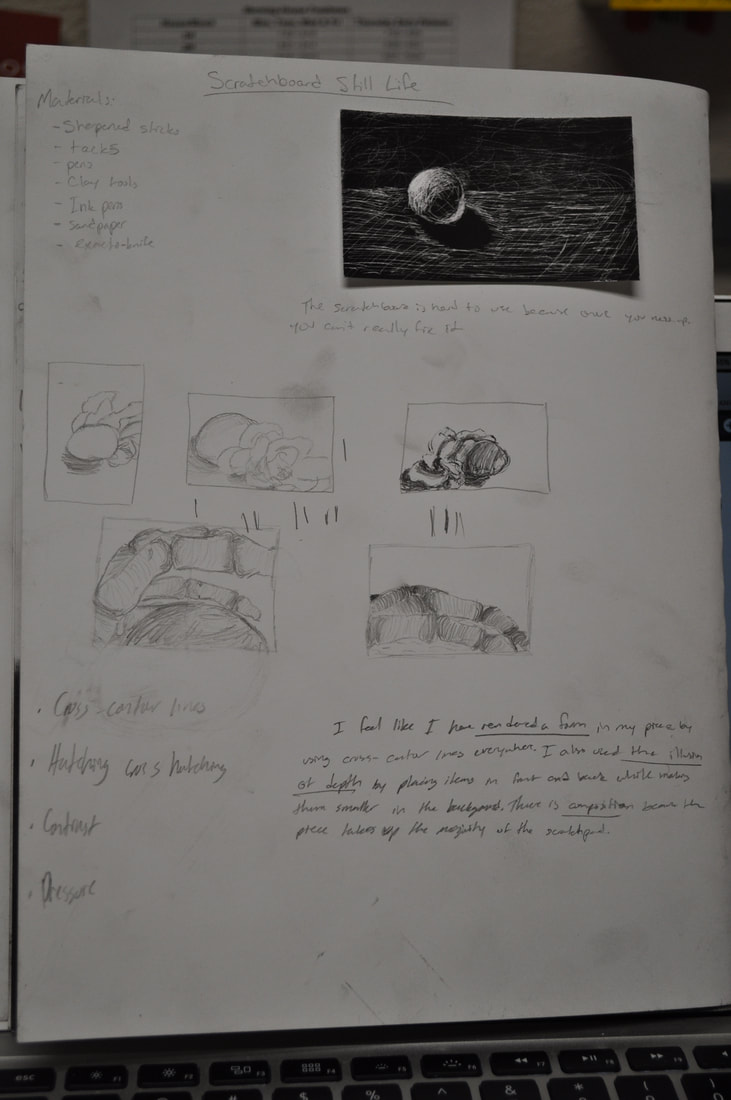
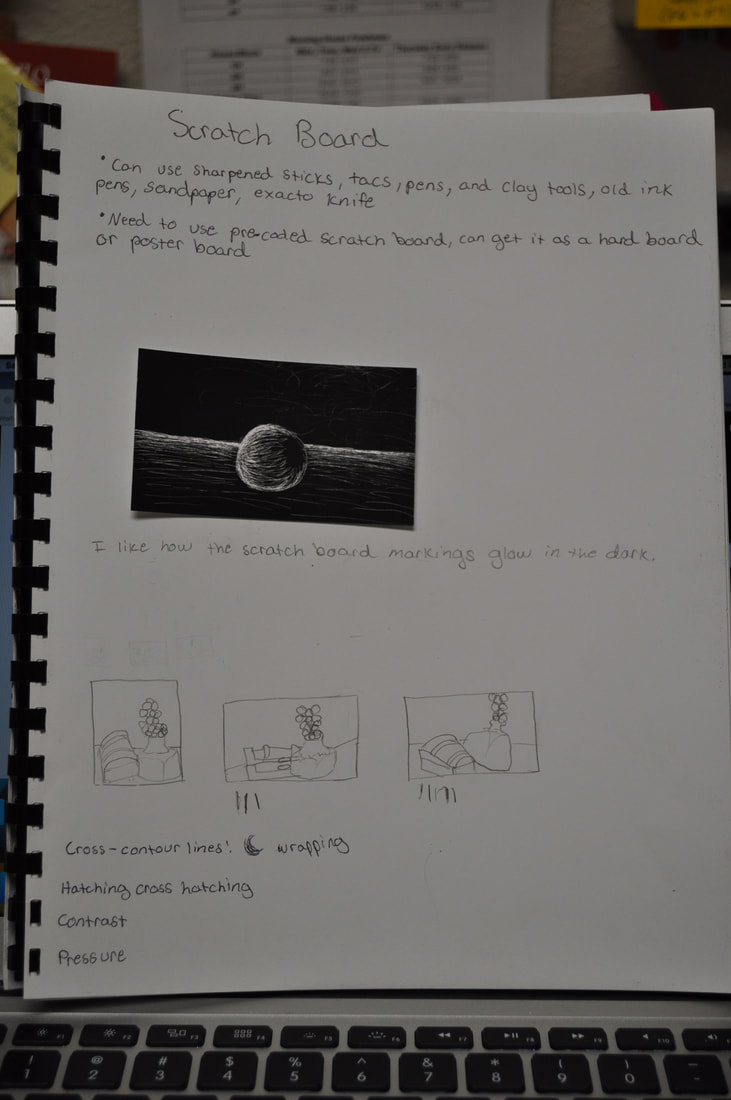
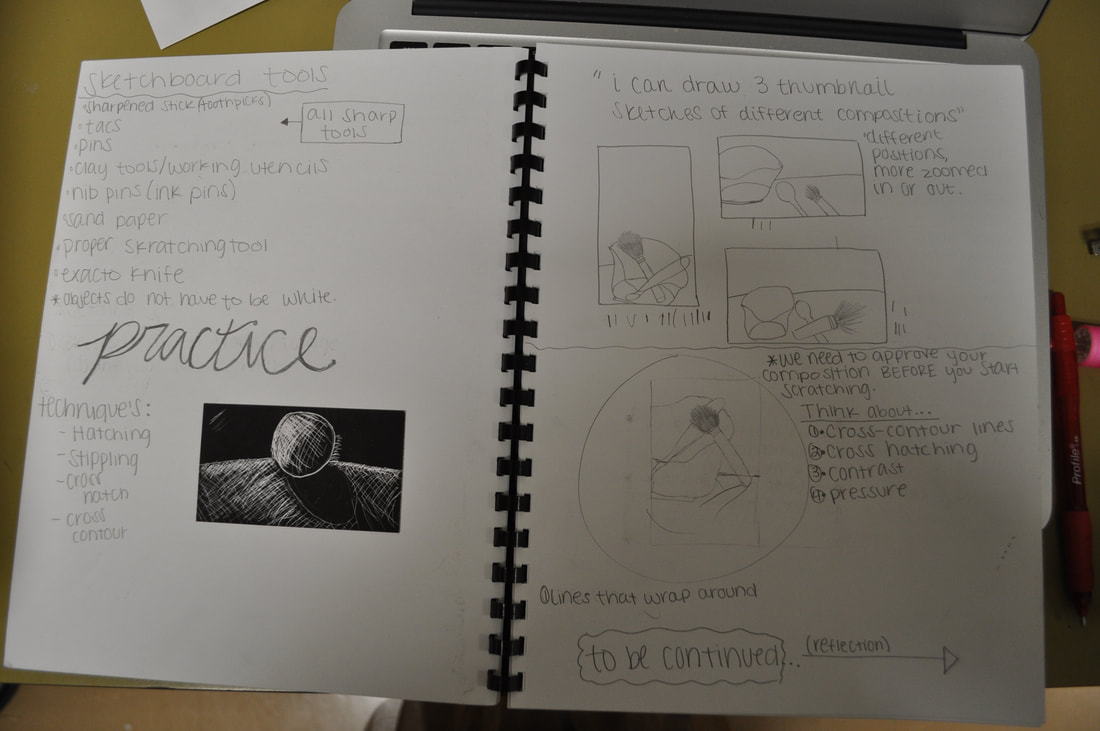
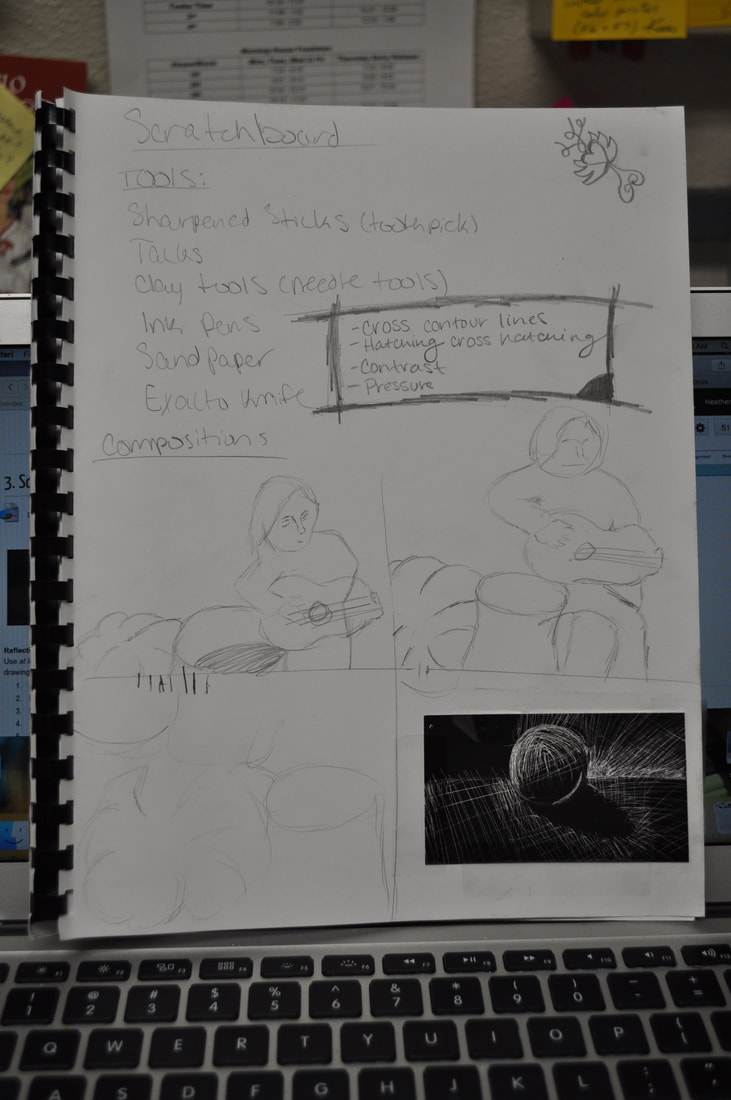
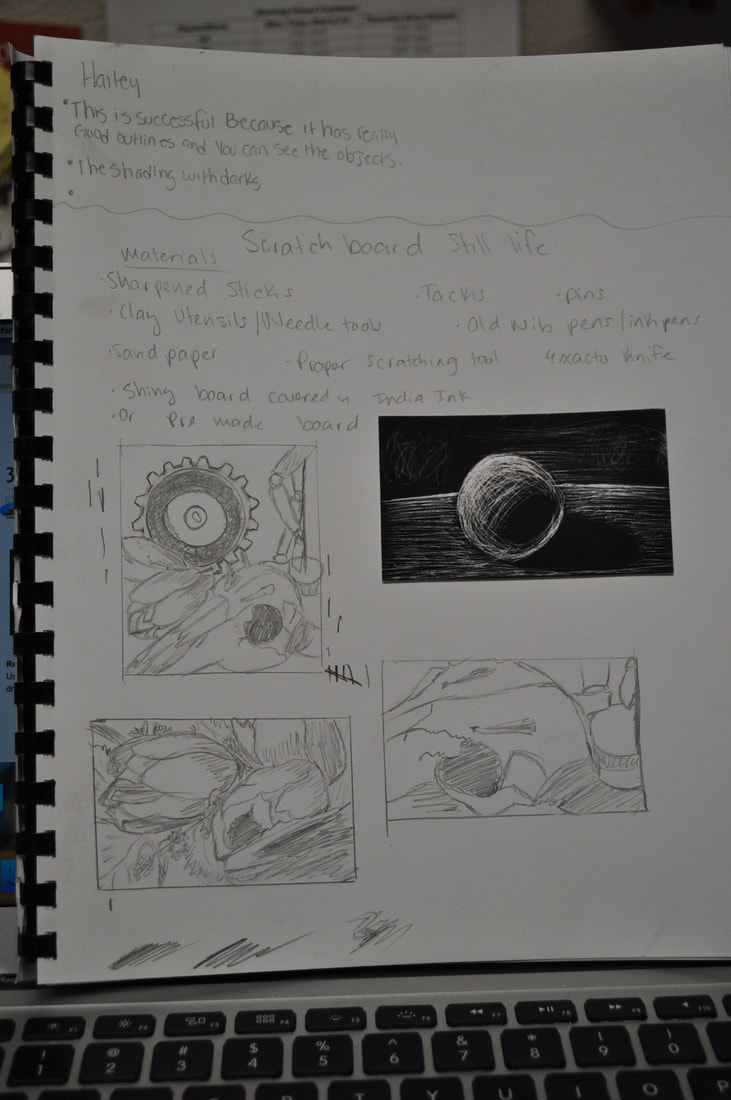
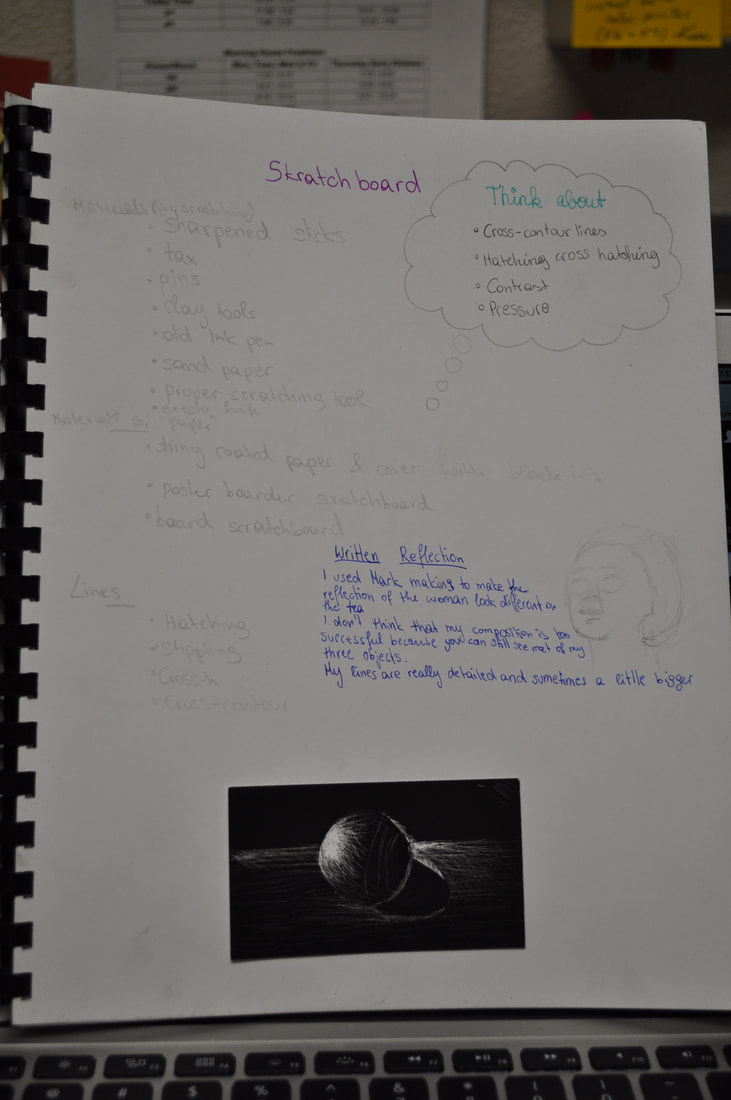
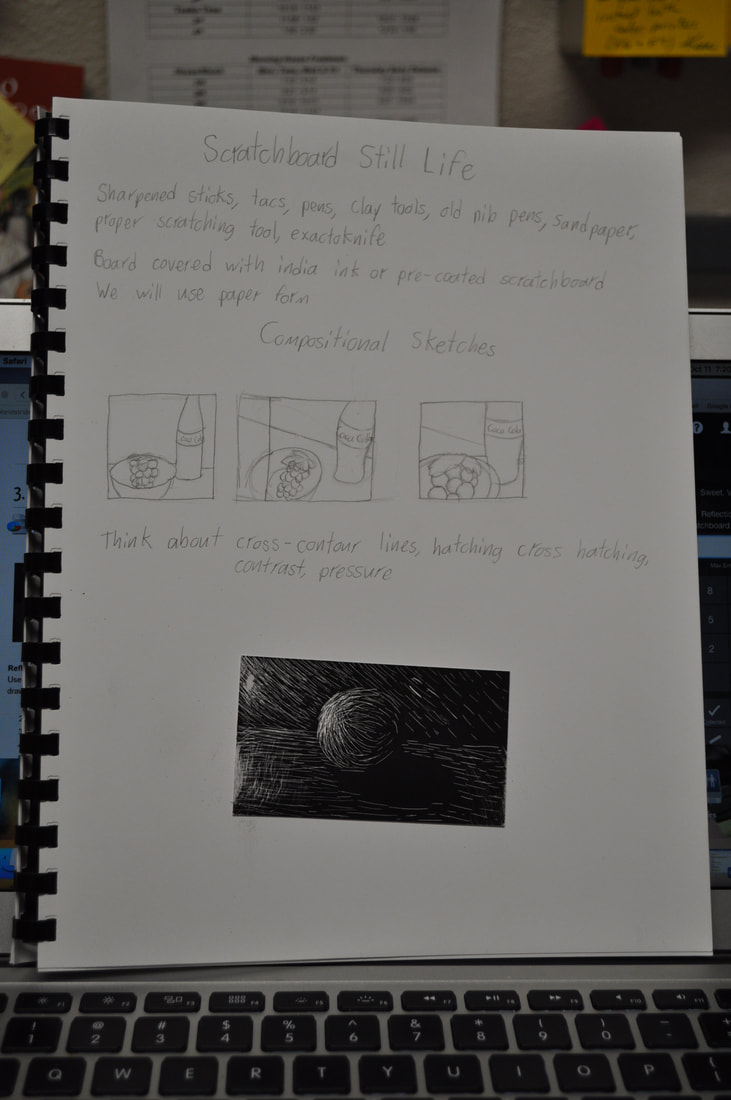
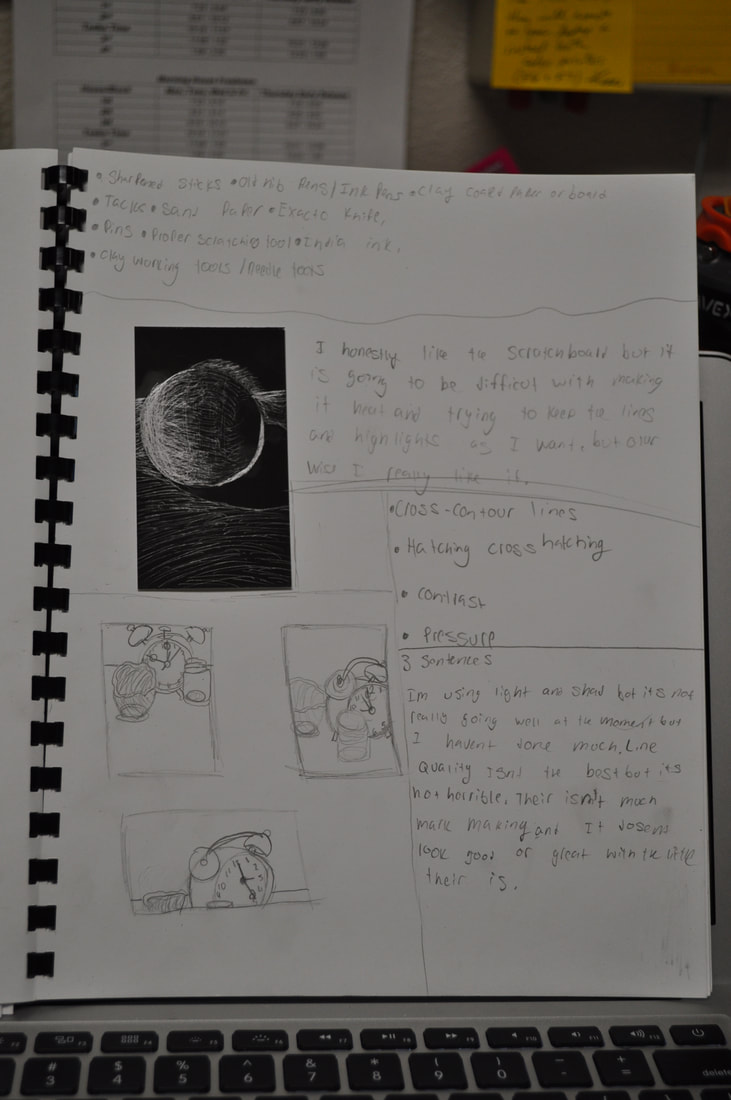
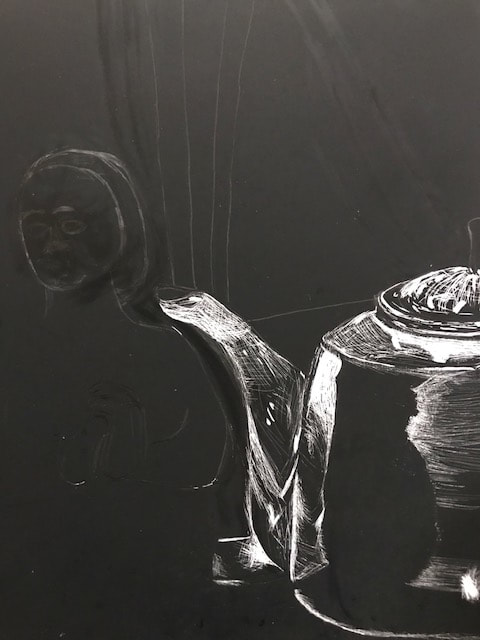
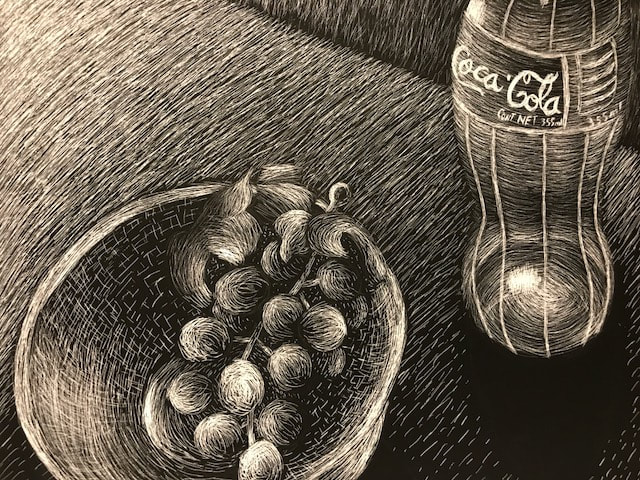
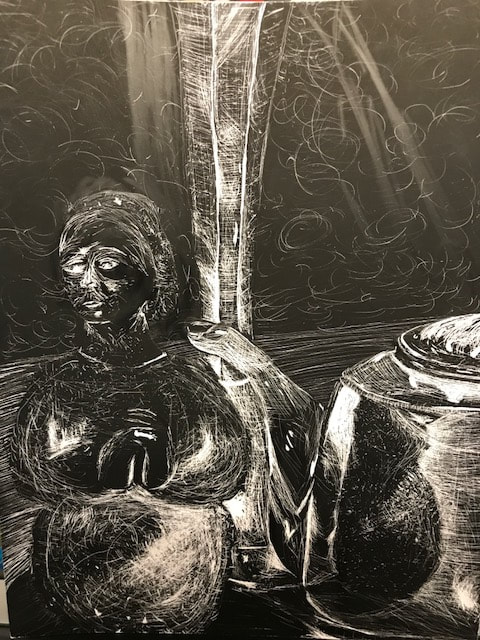
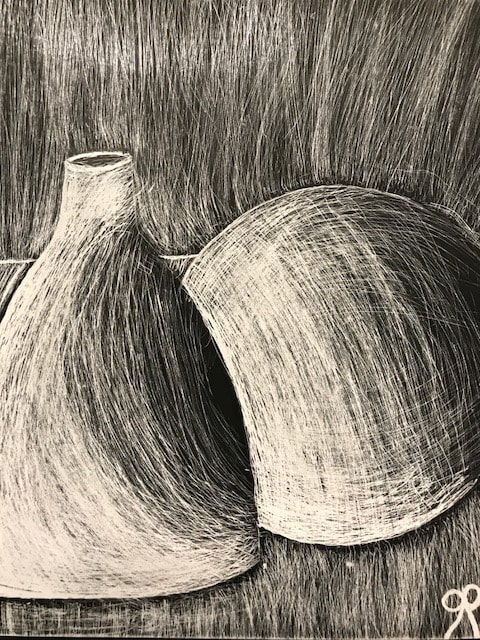
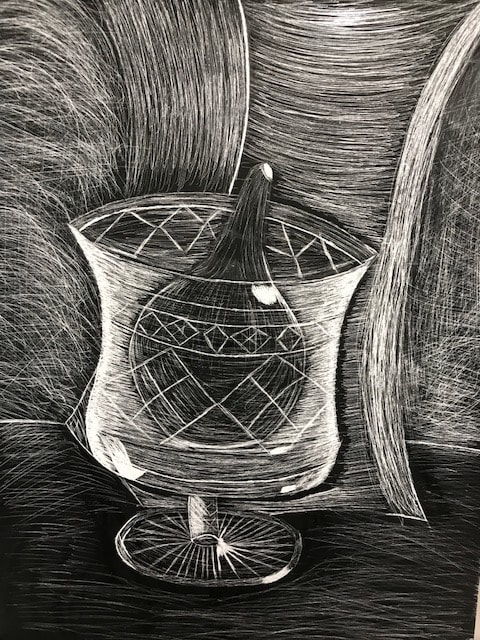
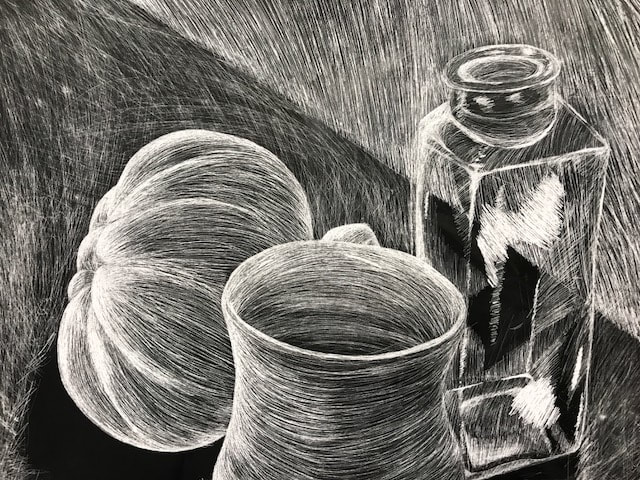
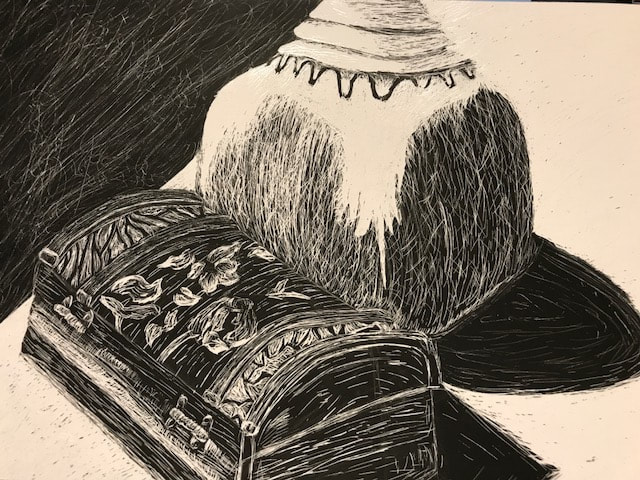
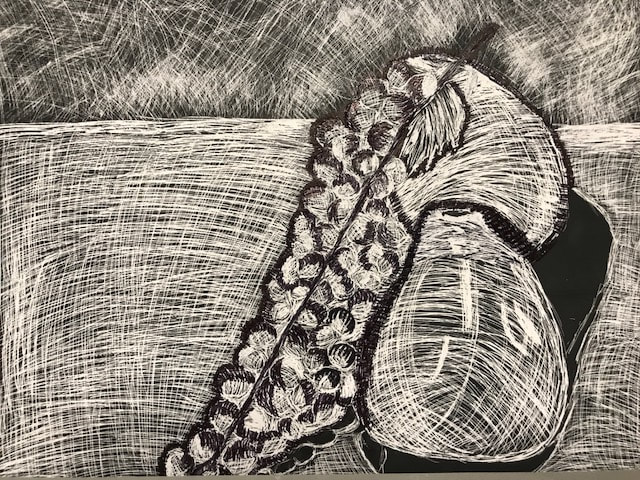
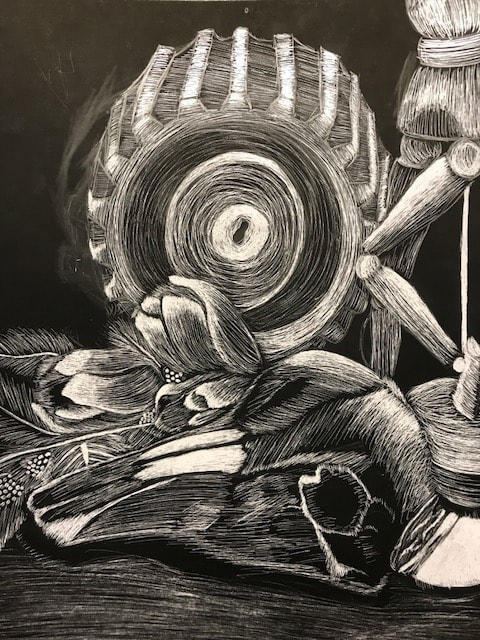
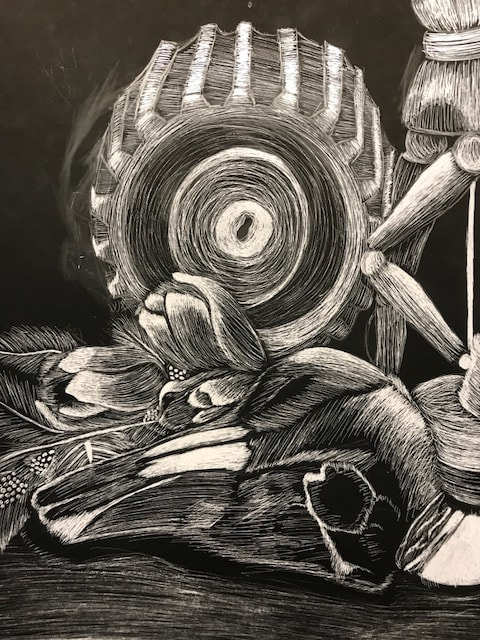
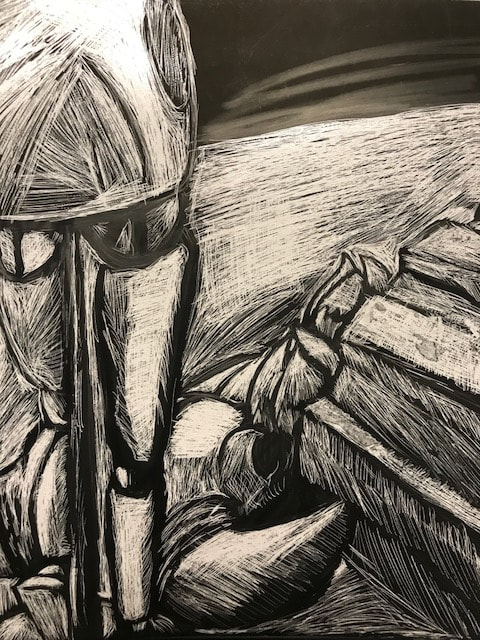
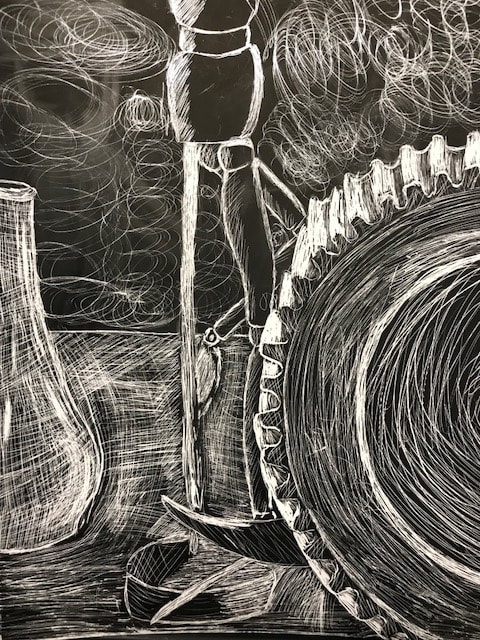
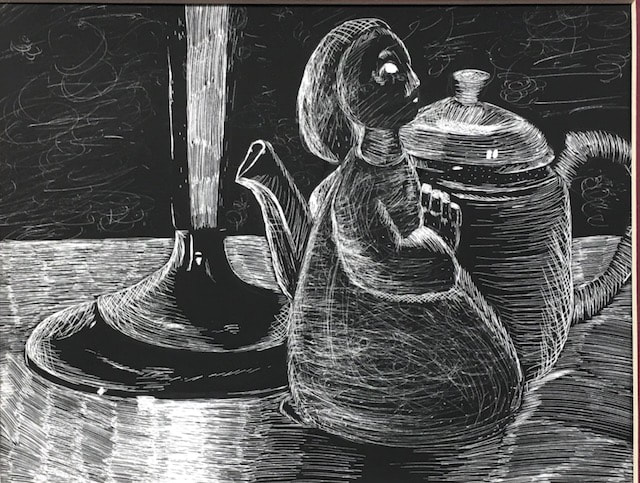
Scratchboard
| scratchboard.pptx |
|
|
|

|
Reflection on Scratchboard in your sketchbook
Use at least three of the following AP Studio Art concepts in your reflection on either your finished piece or the process of planning or creating your scratchboard drawing. You can talk about what you enjoyed, disliked, what you're proud of or what needs work. At least three sentences should be used.
|
|

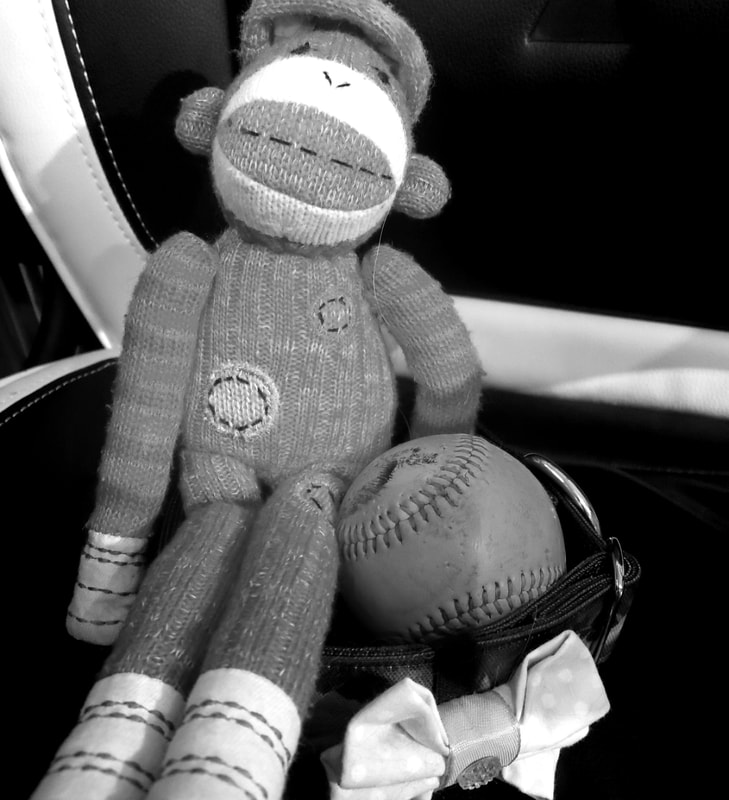
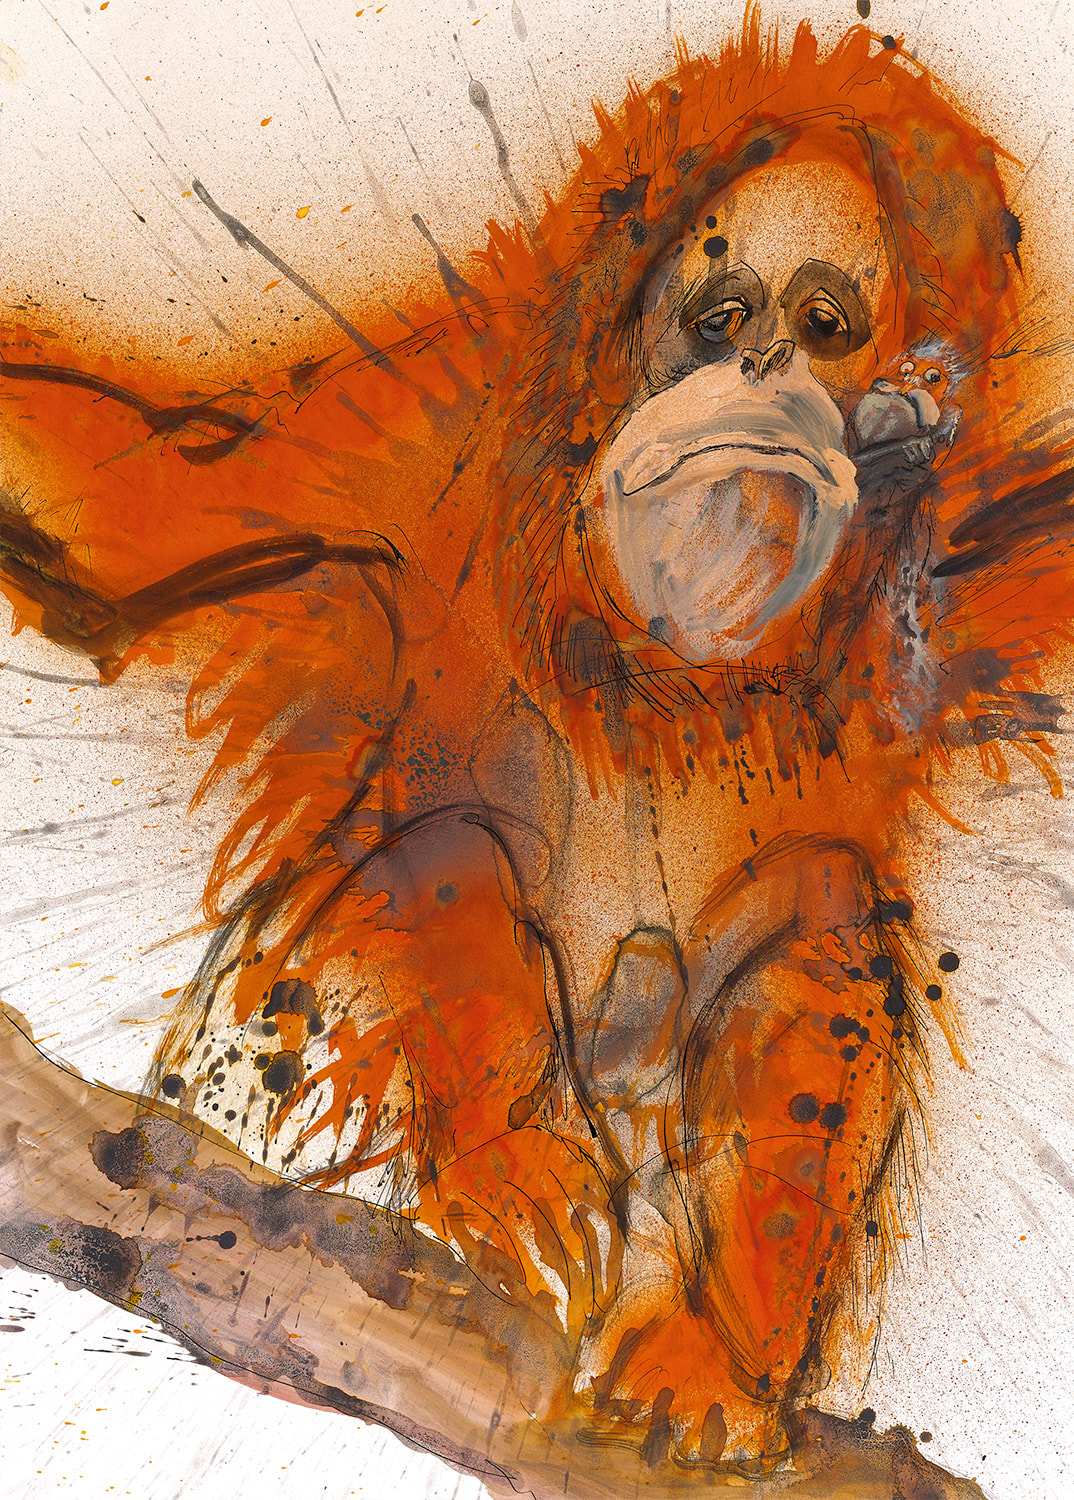
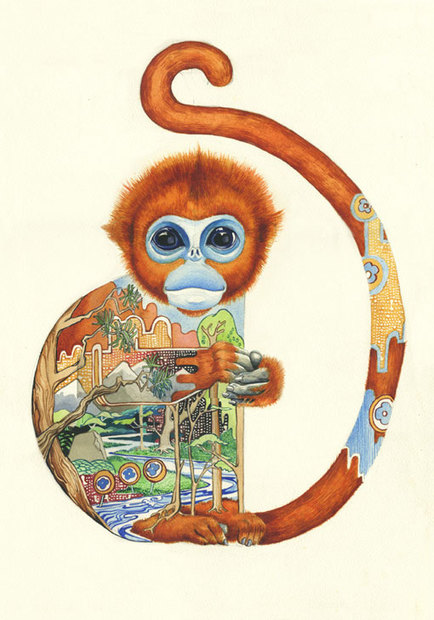
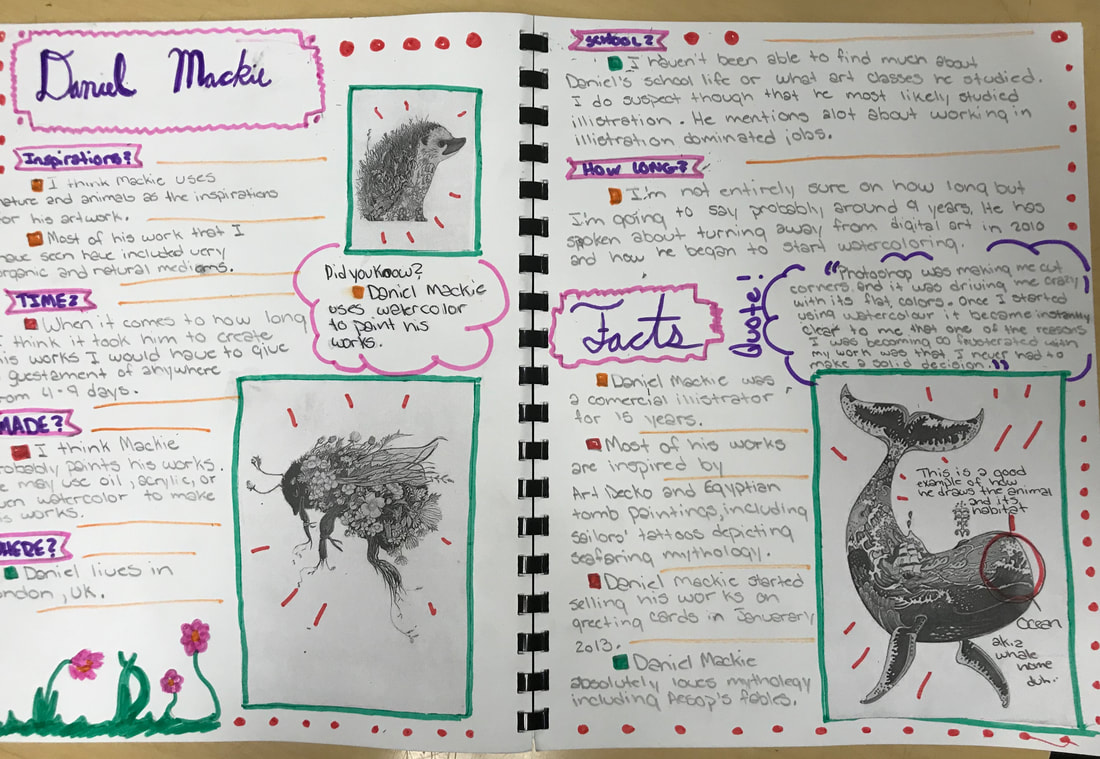
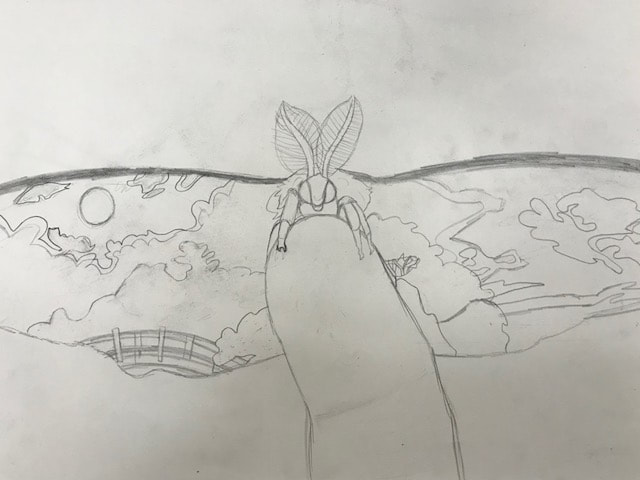
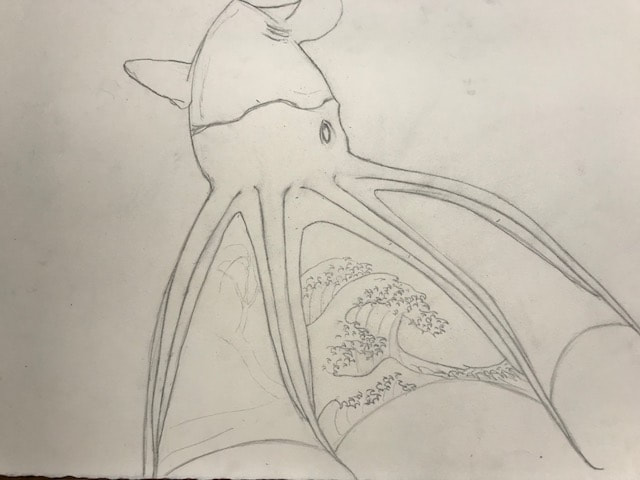
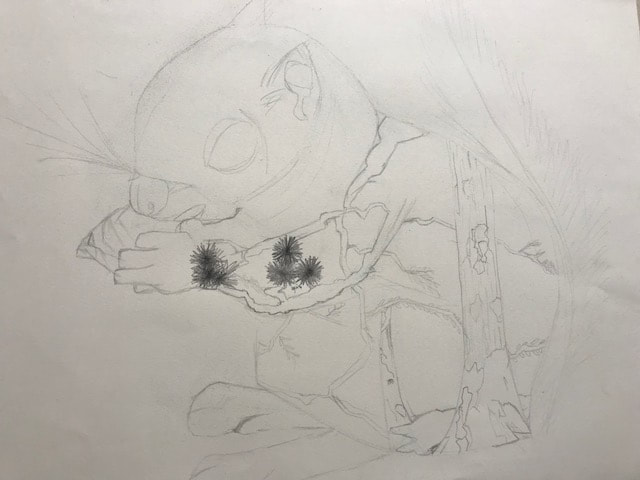
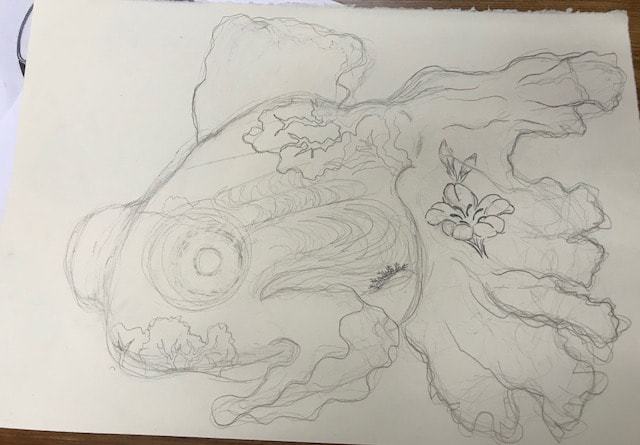
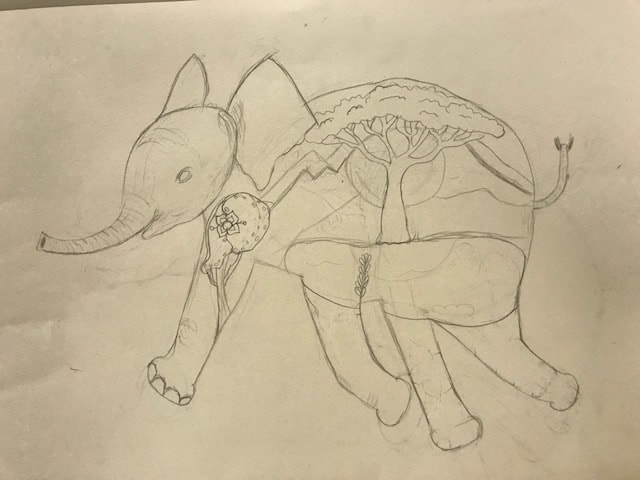
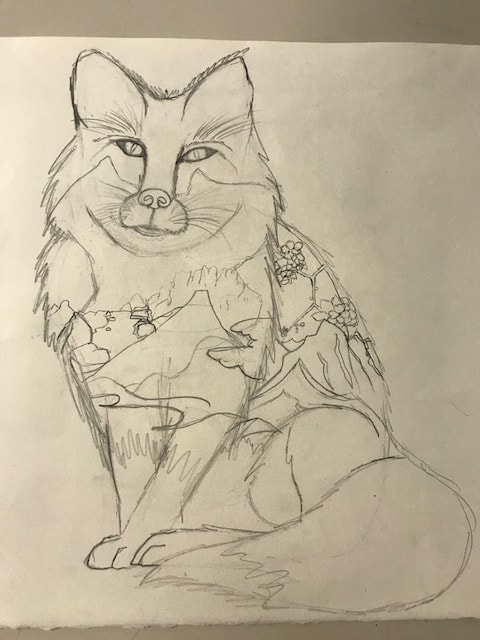
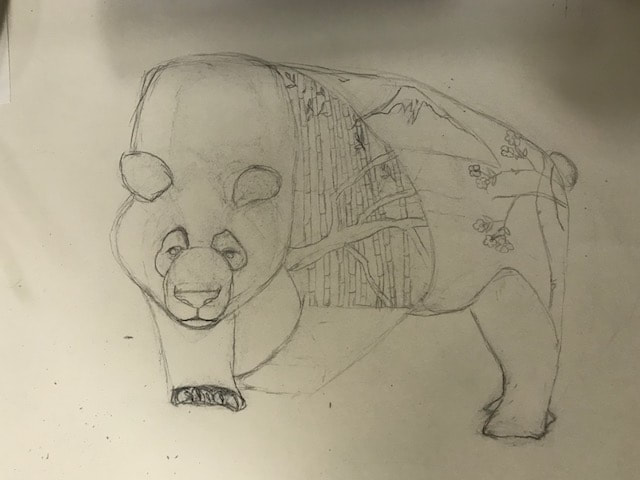
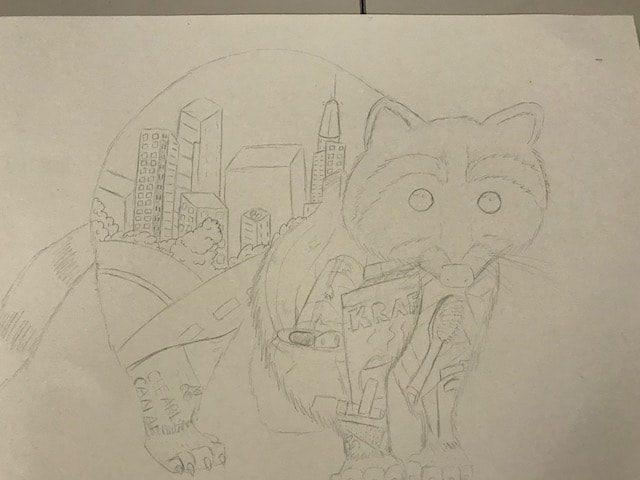
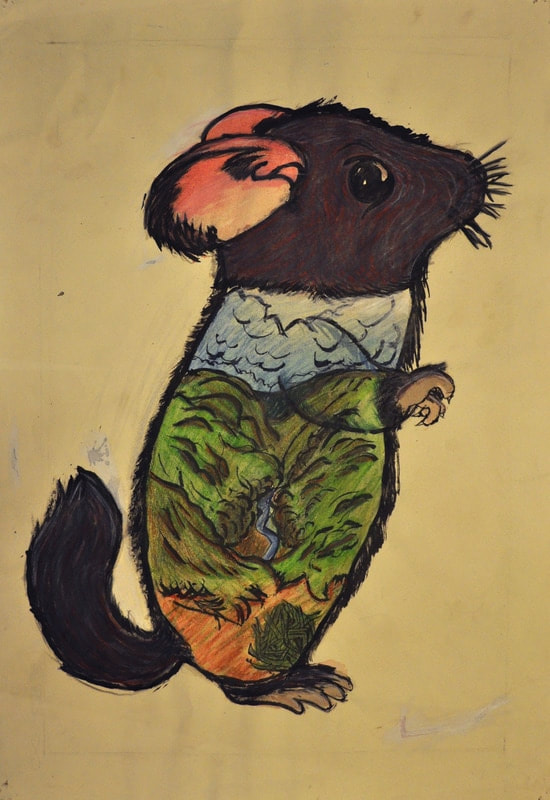
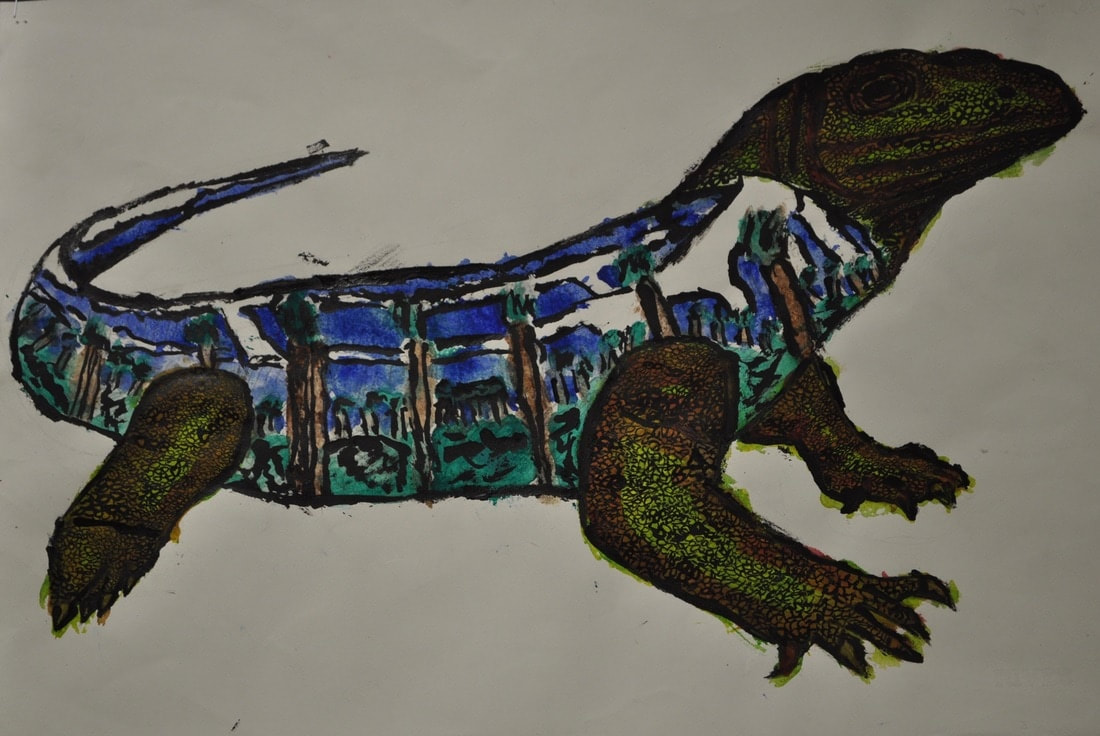
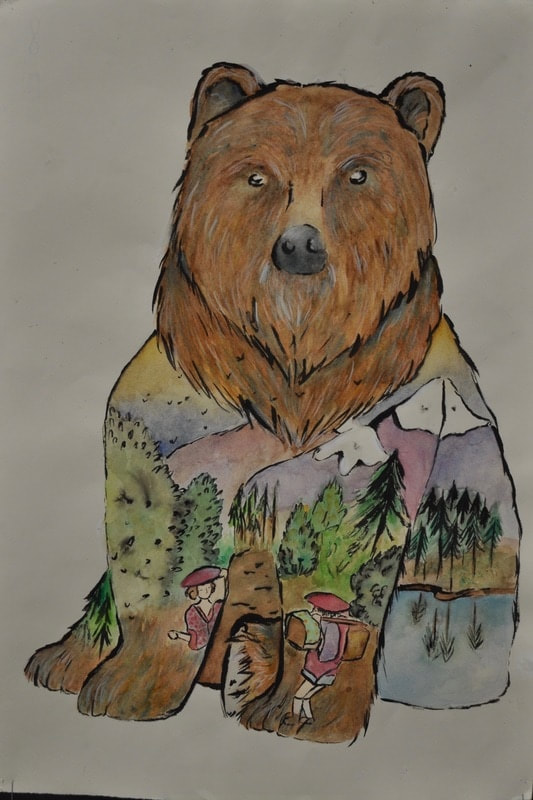
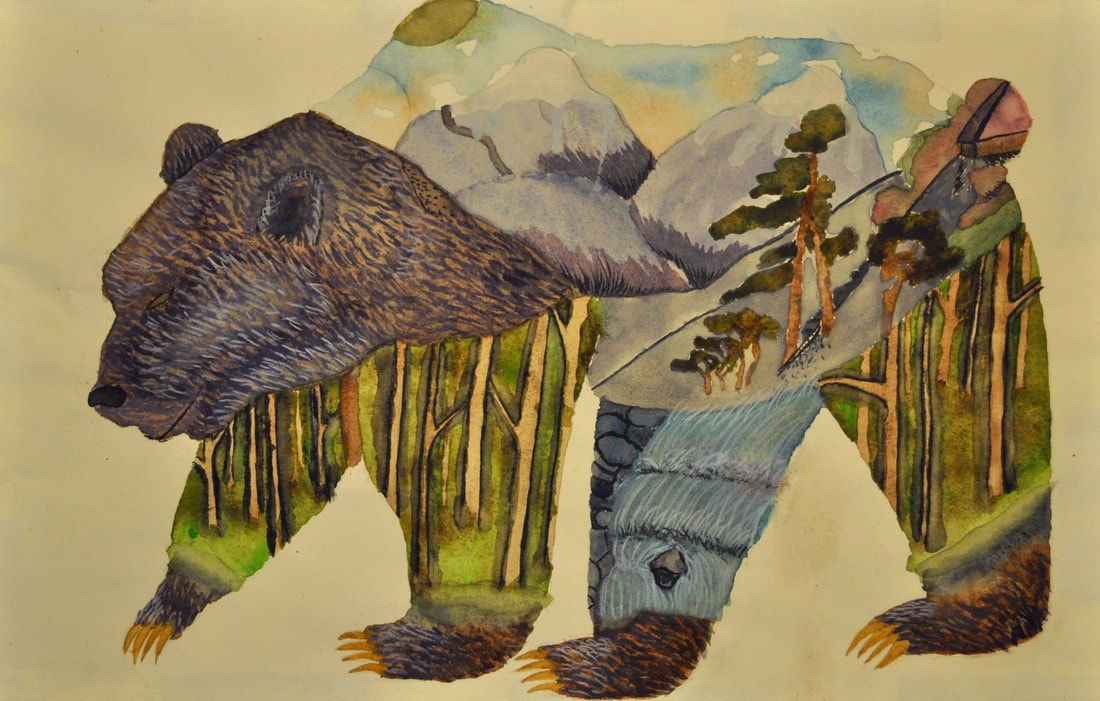
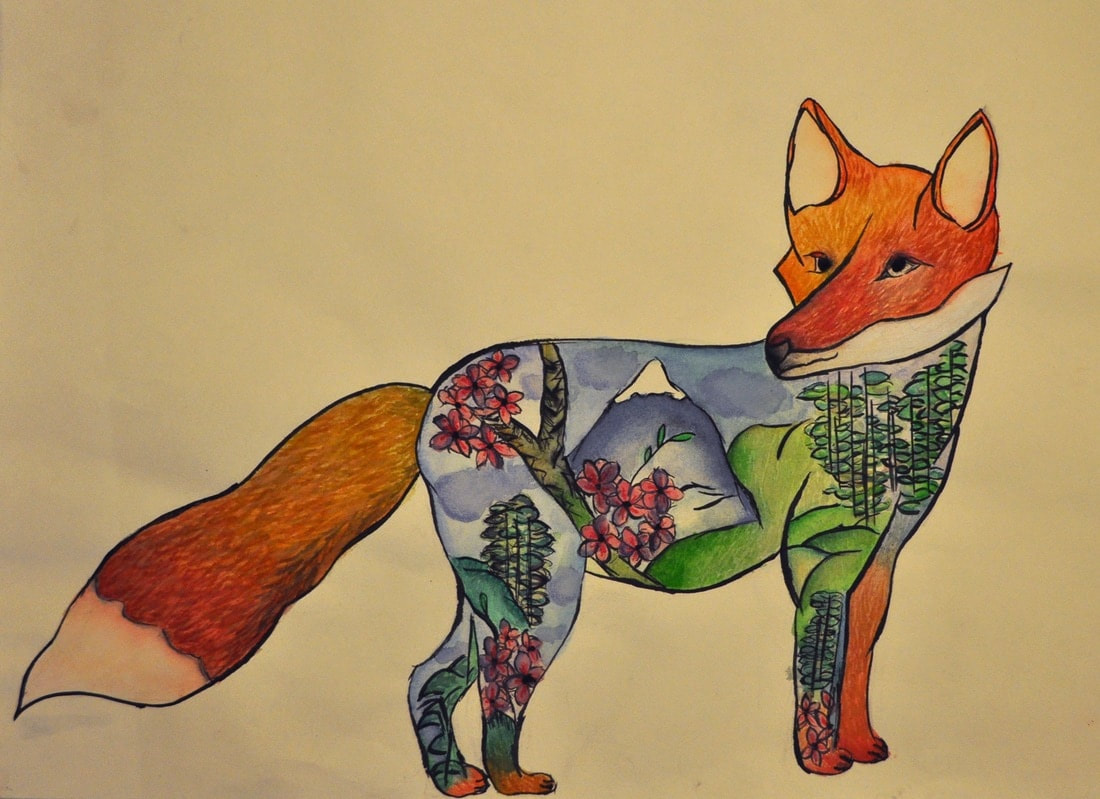
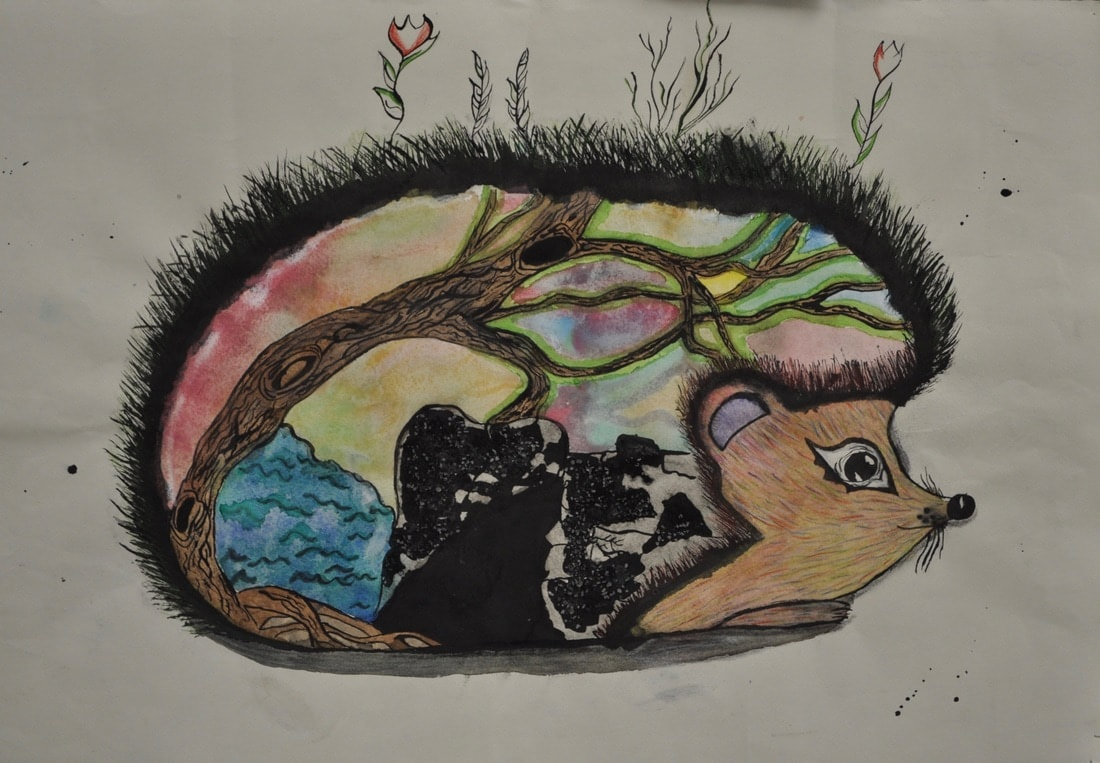
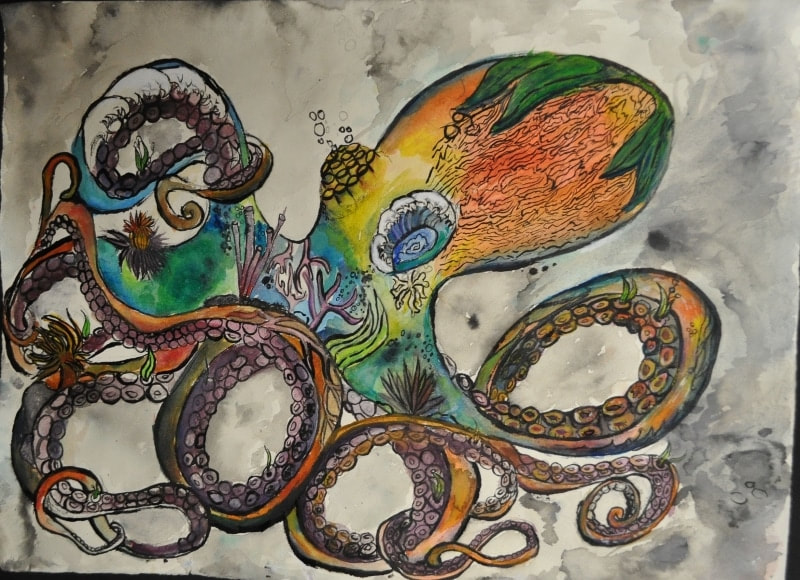
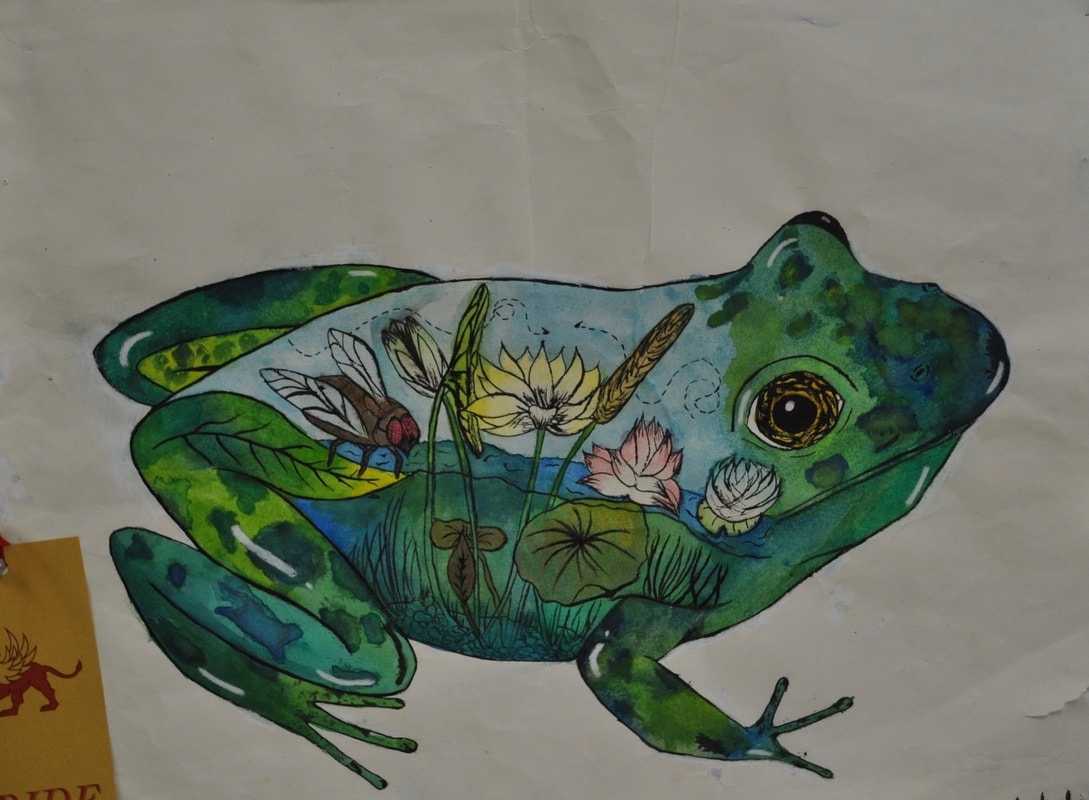
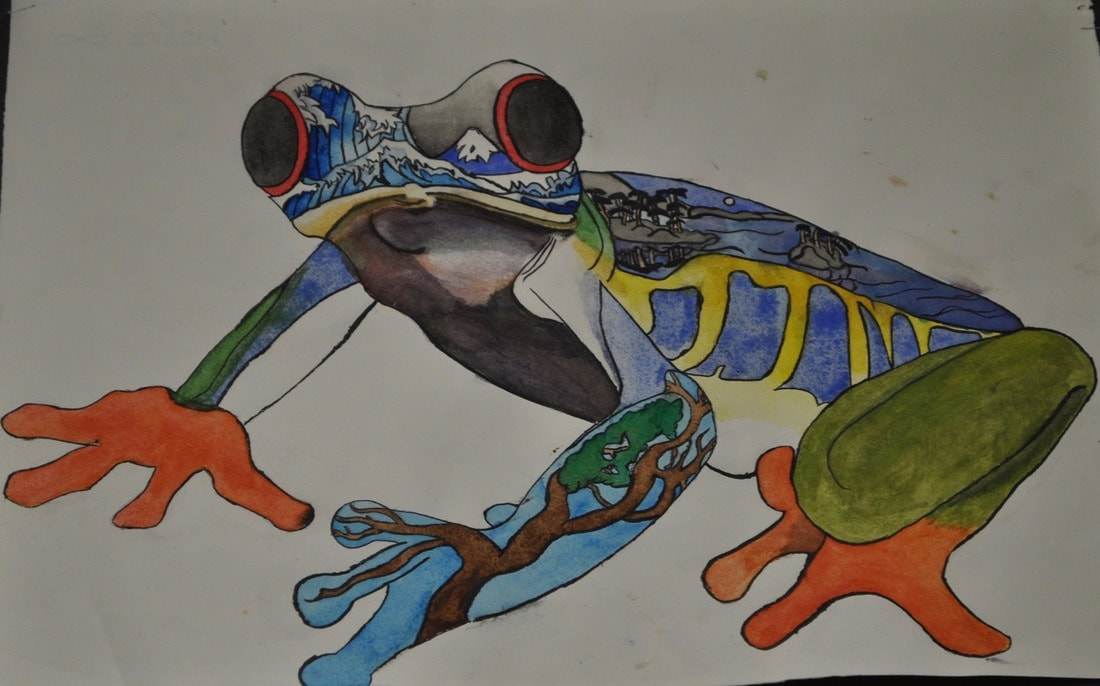
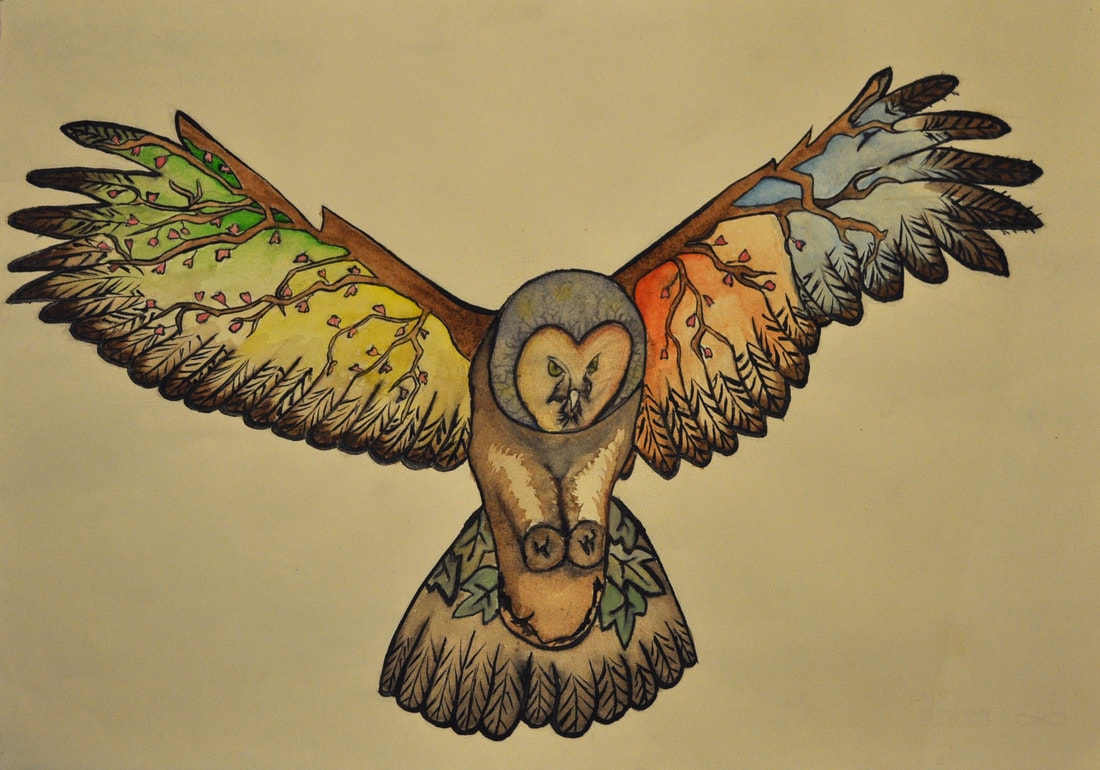
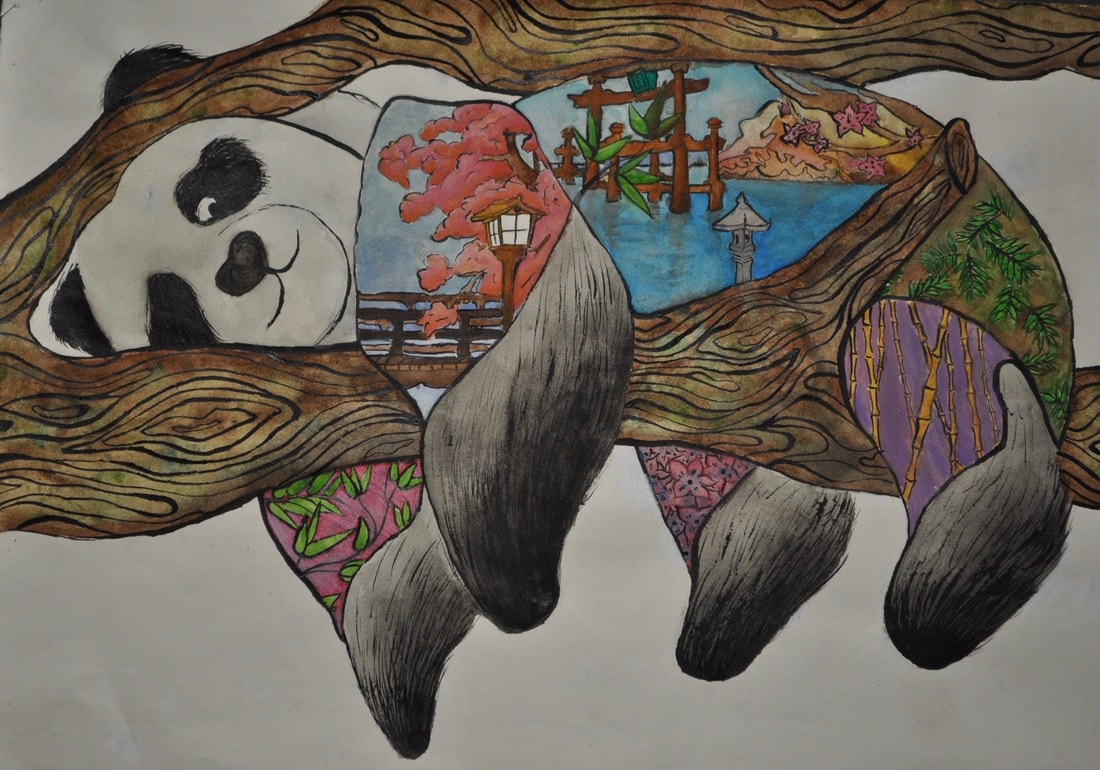
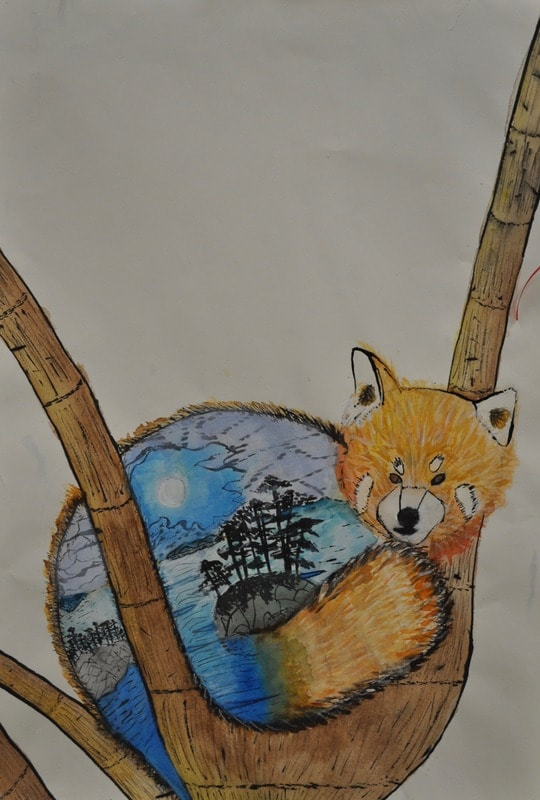
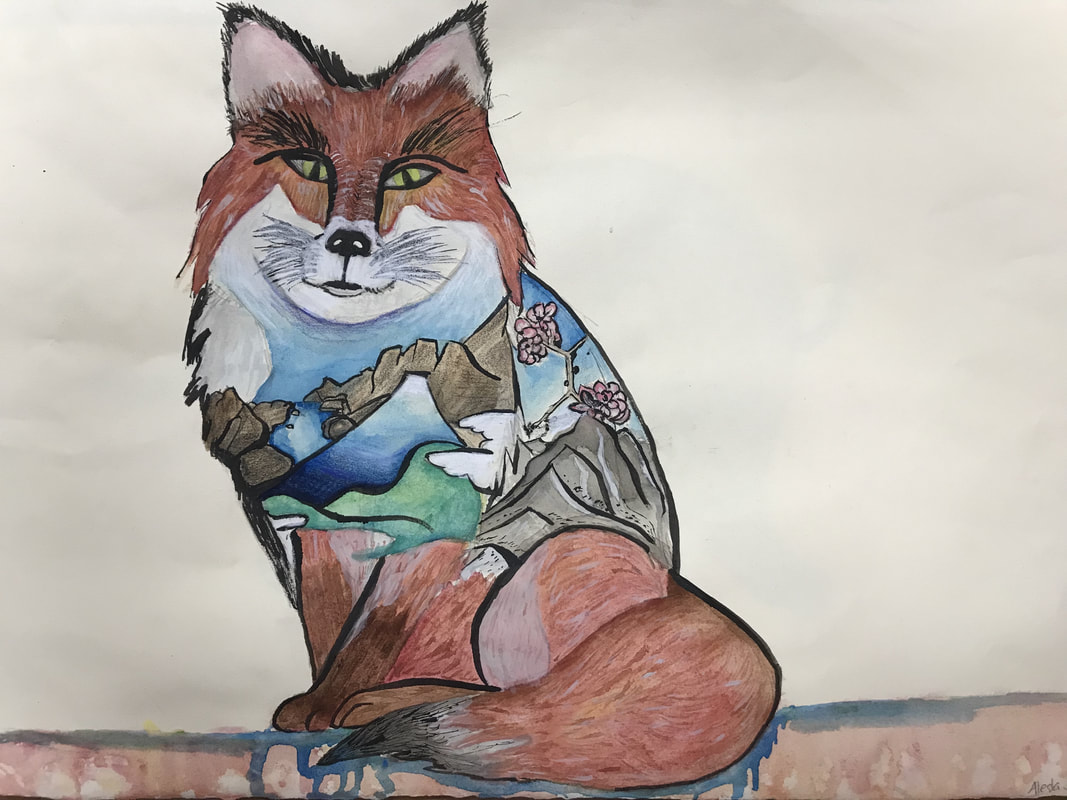
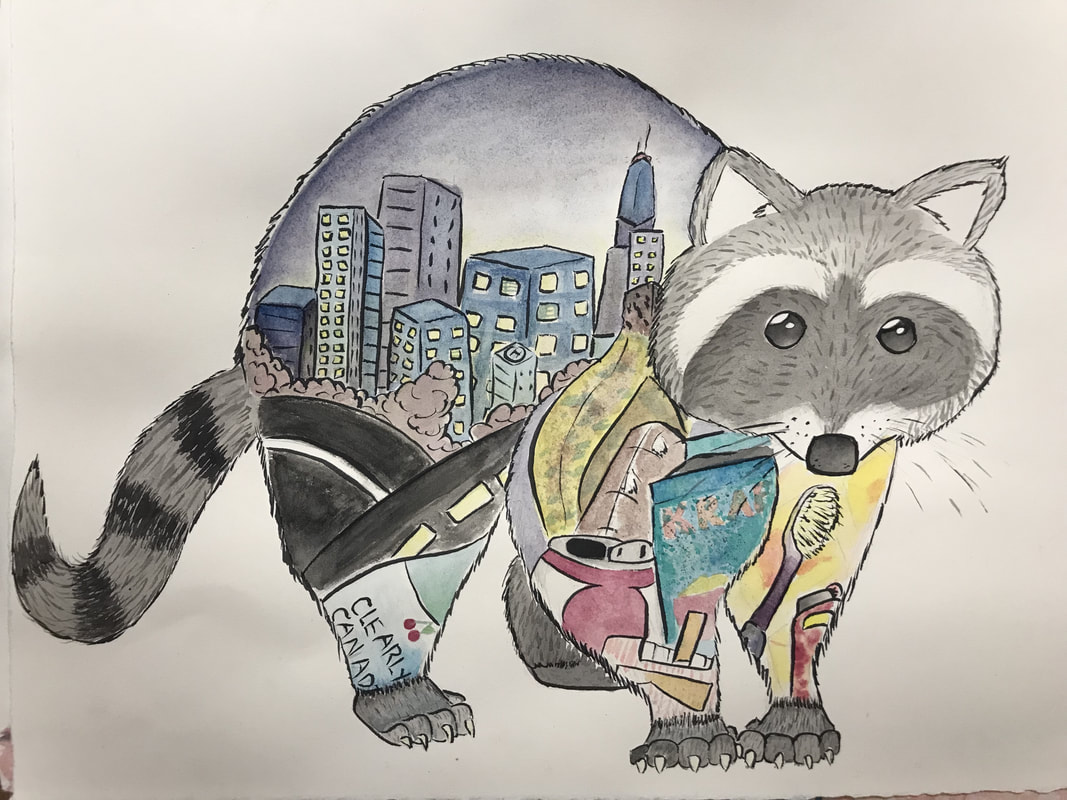
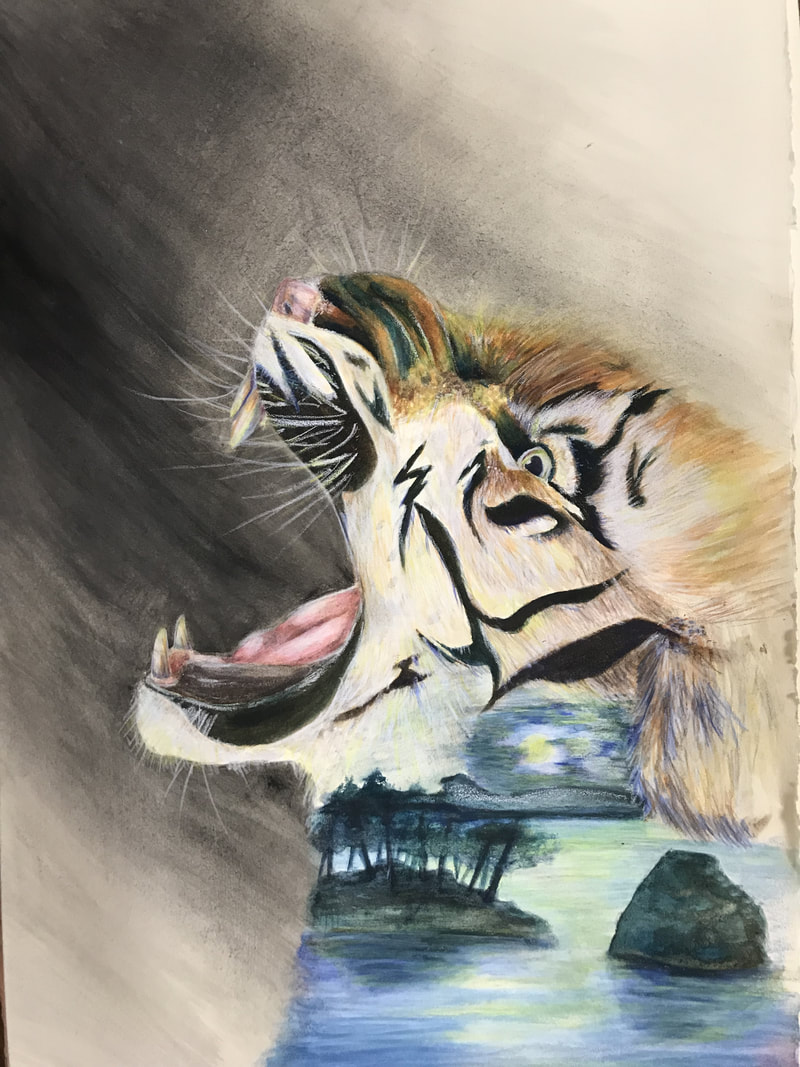
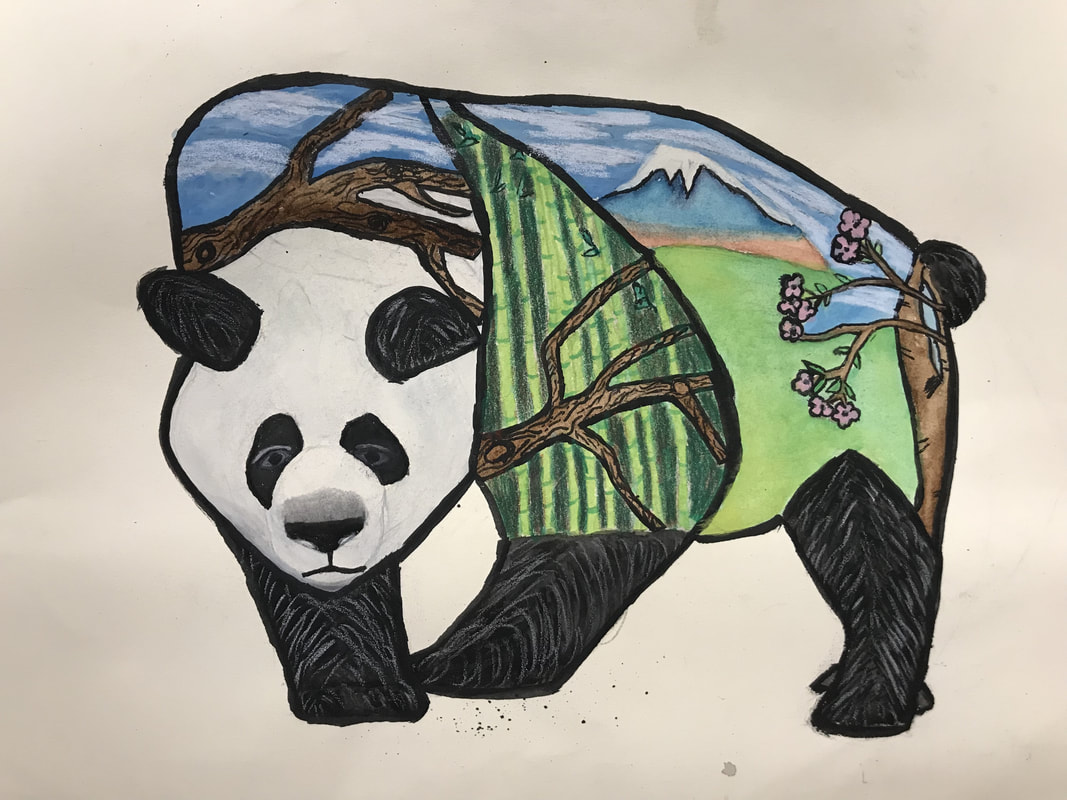
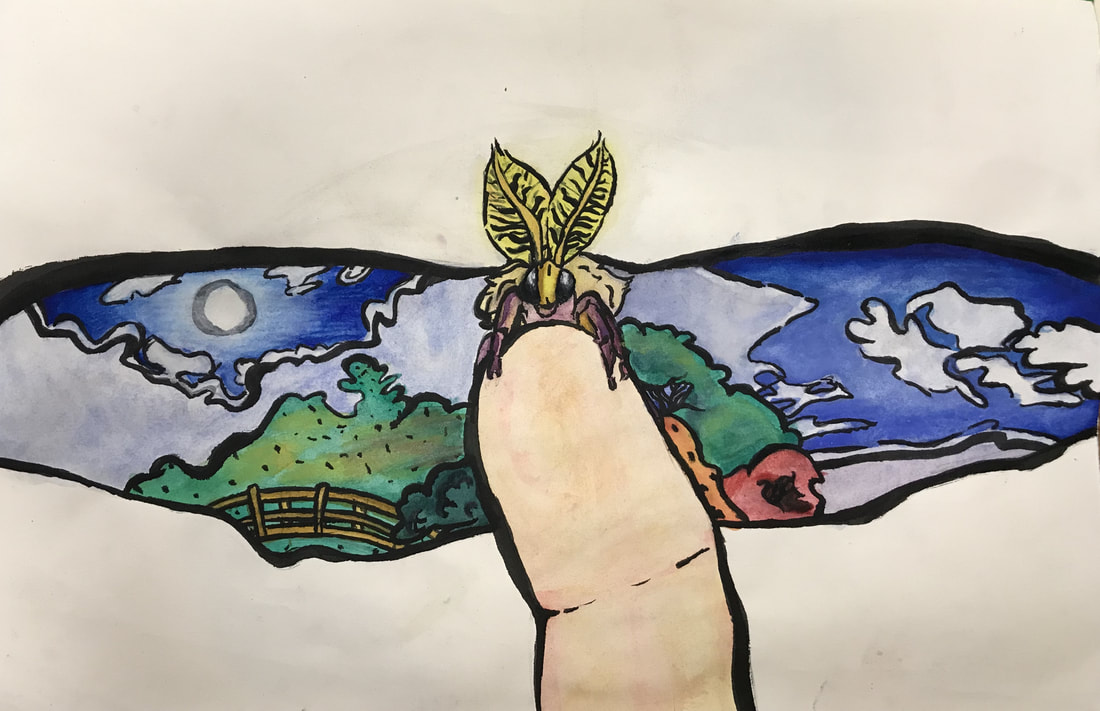
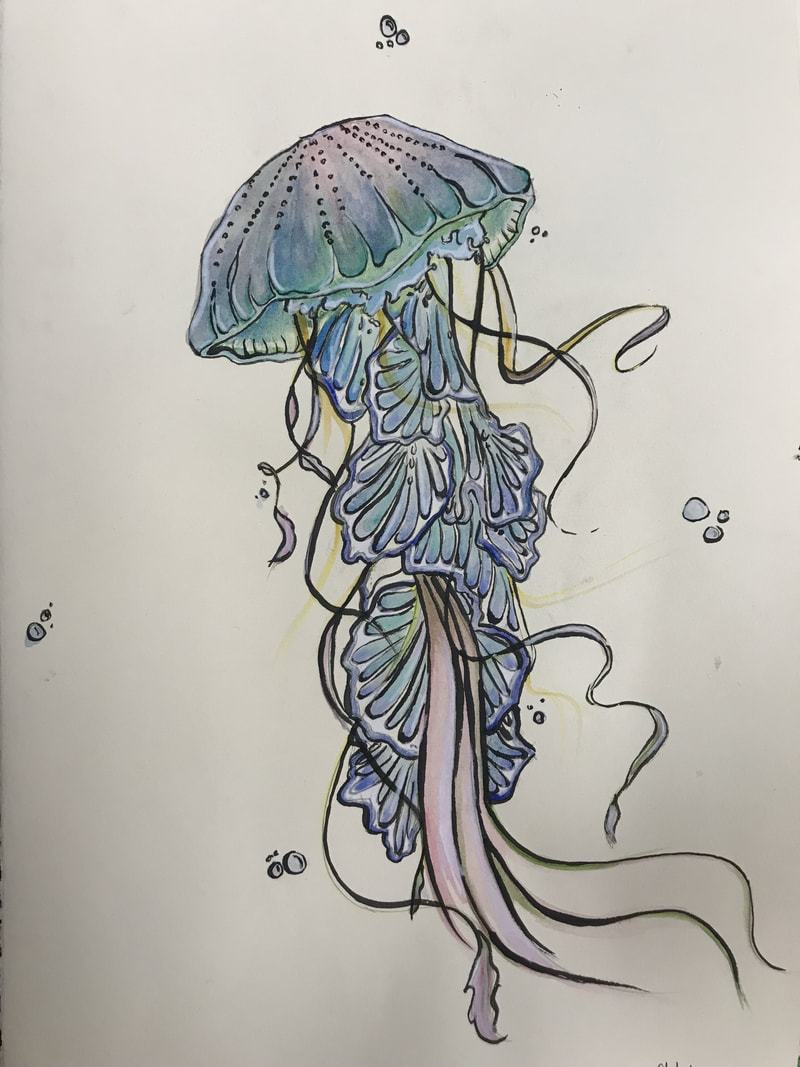
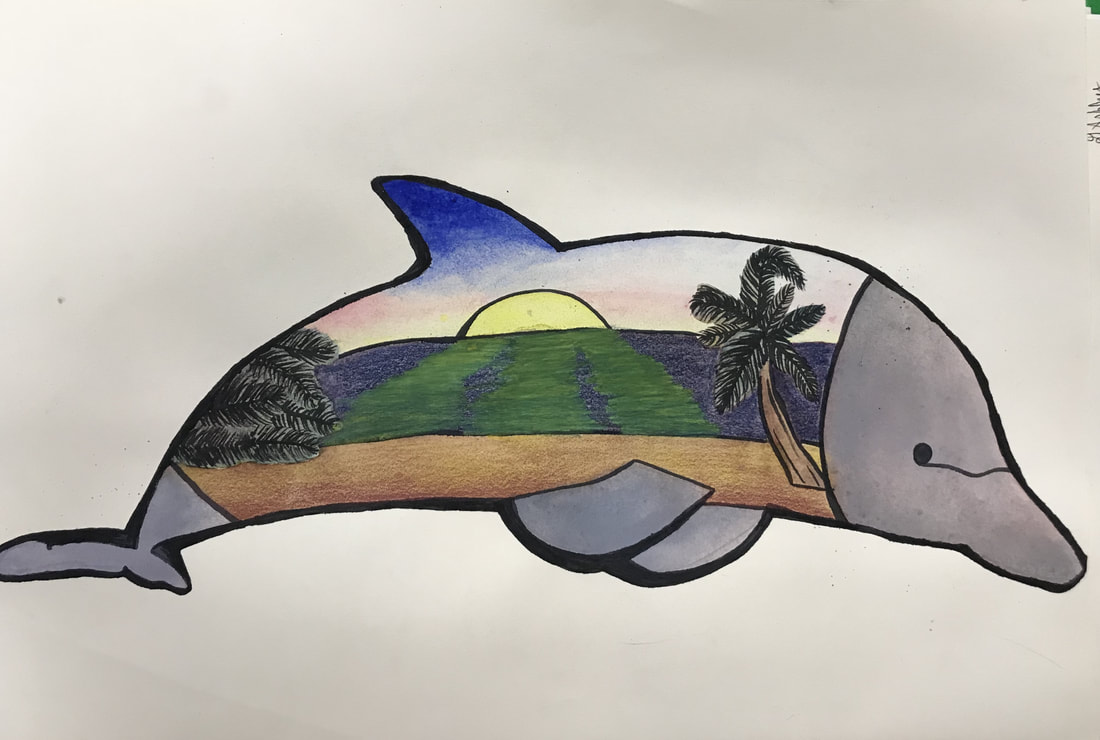
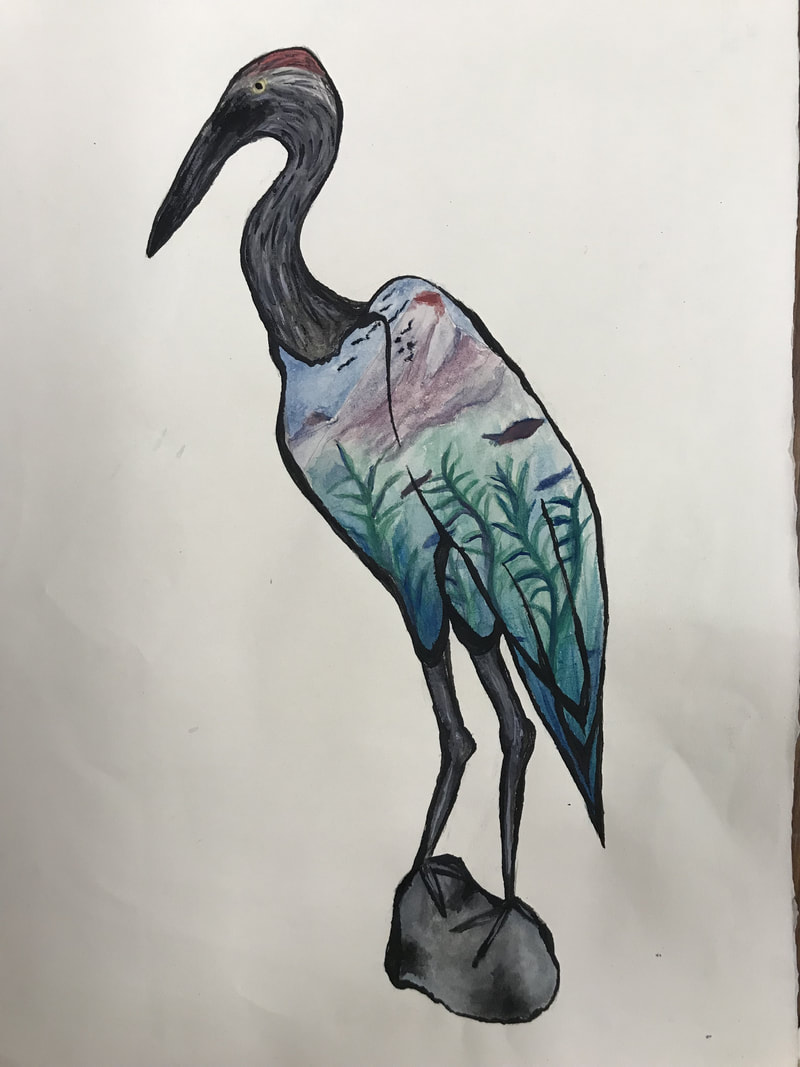
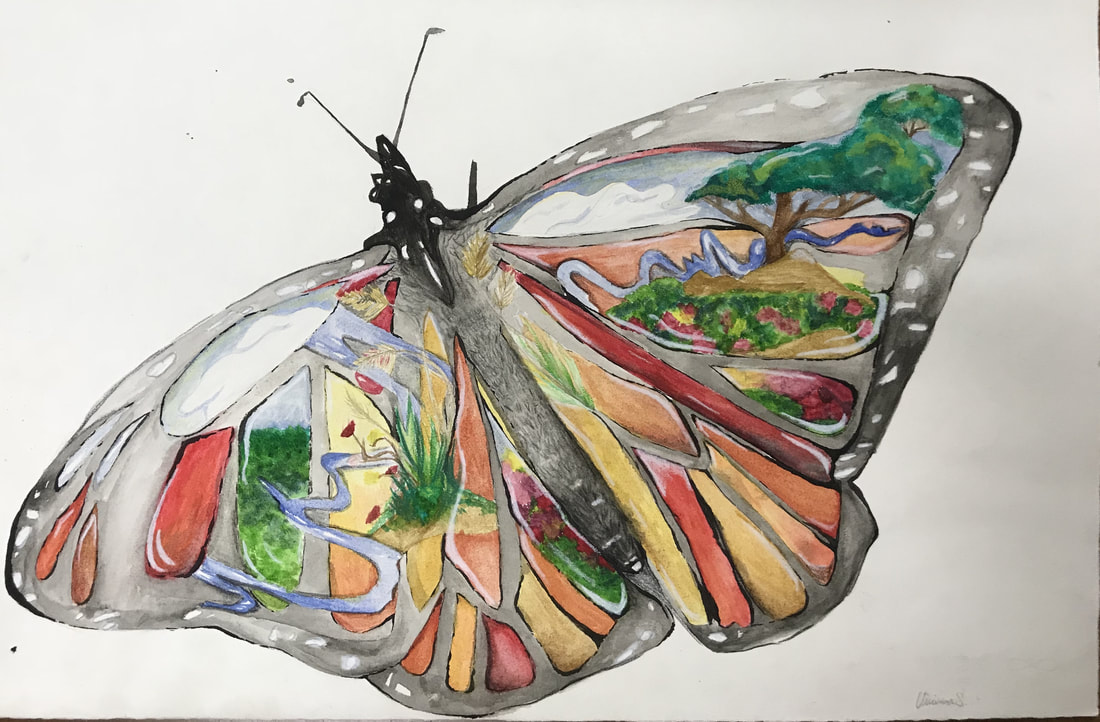
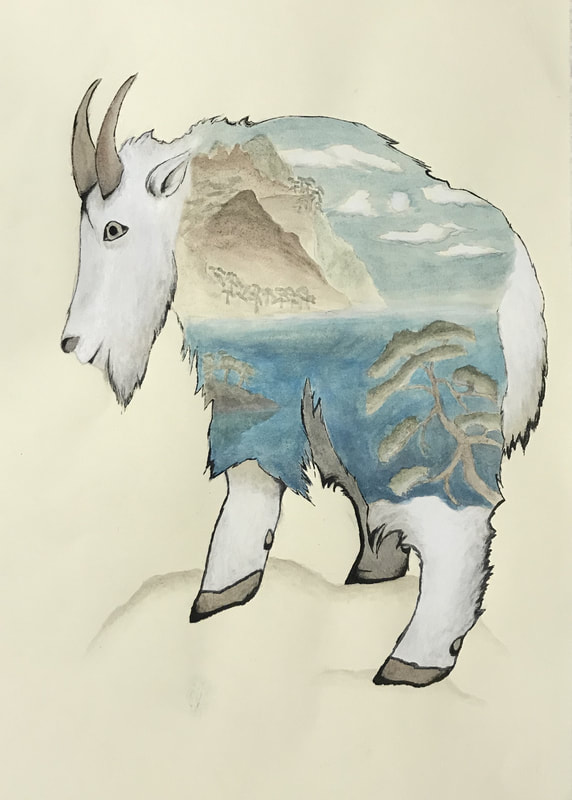
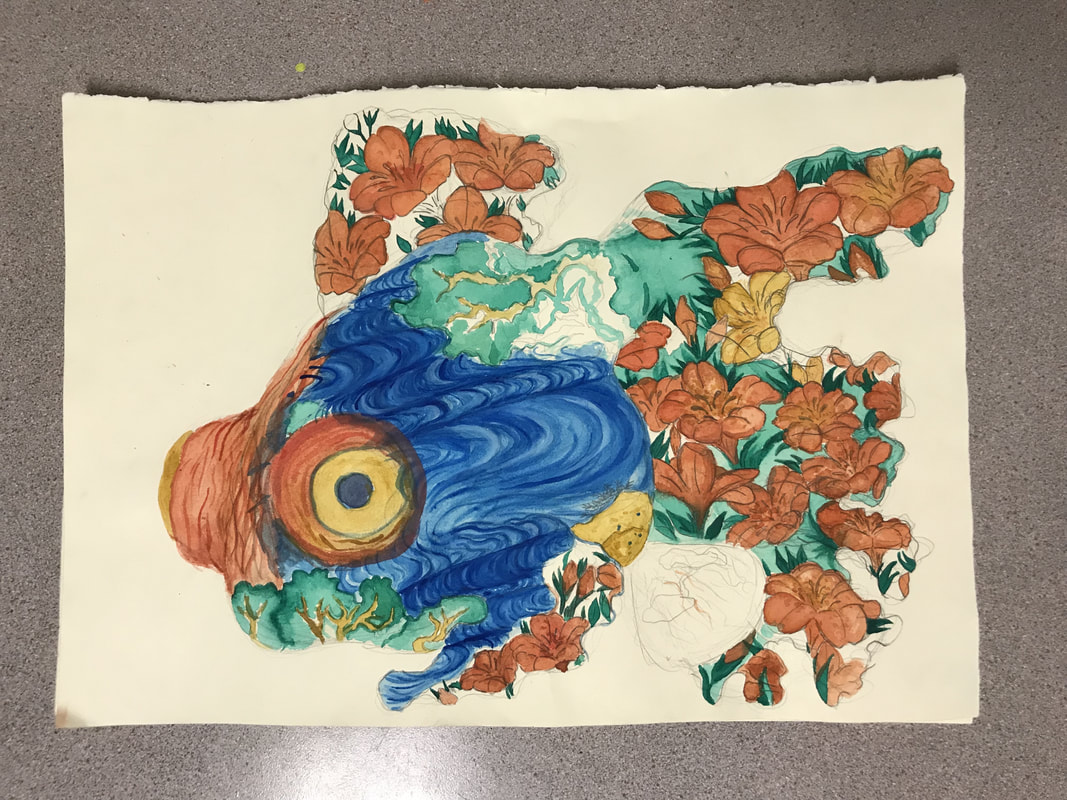
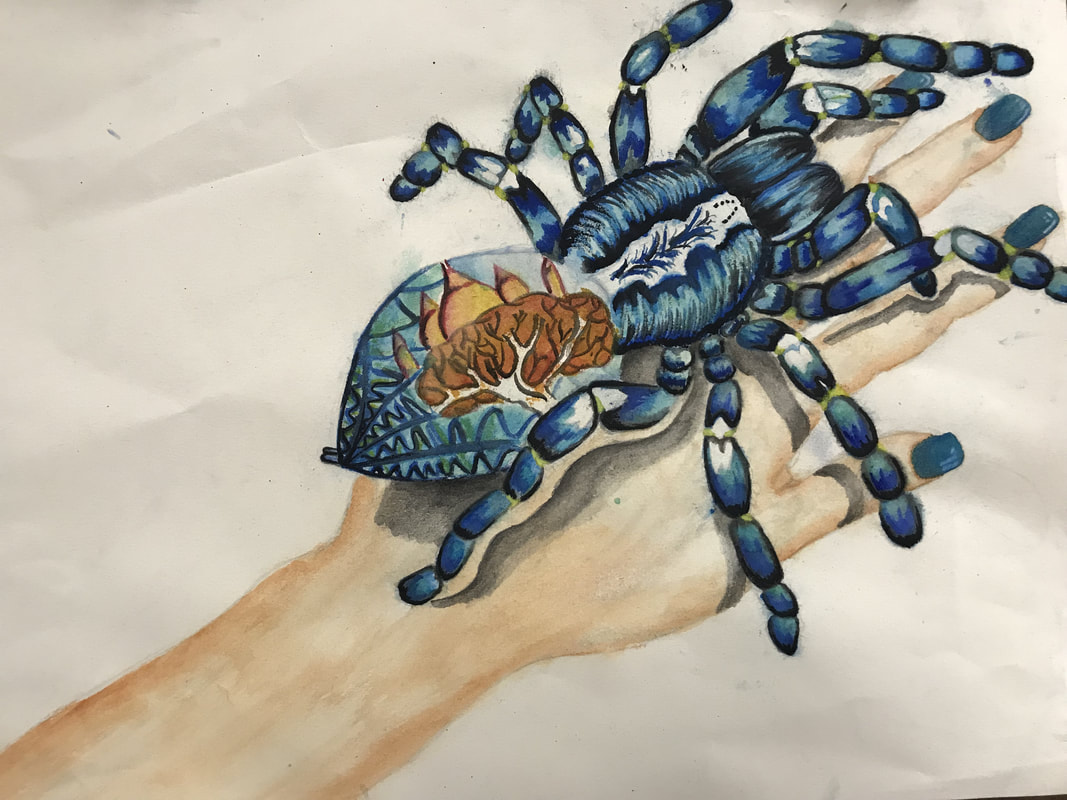
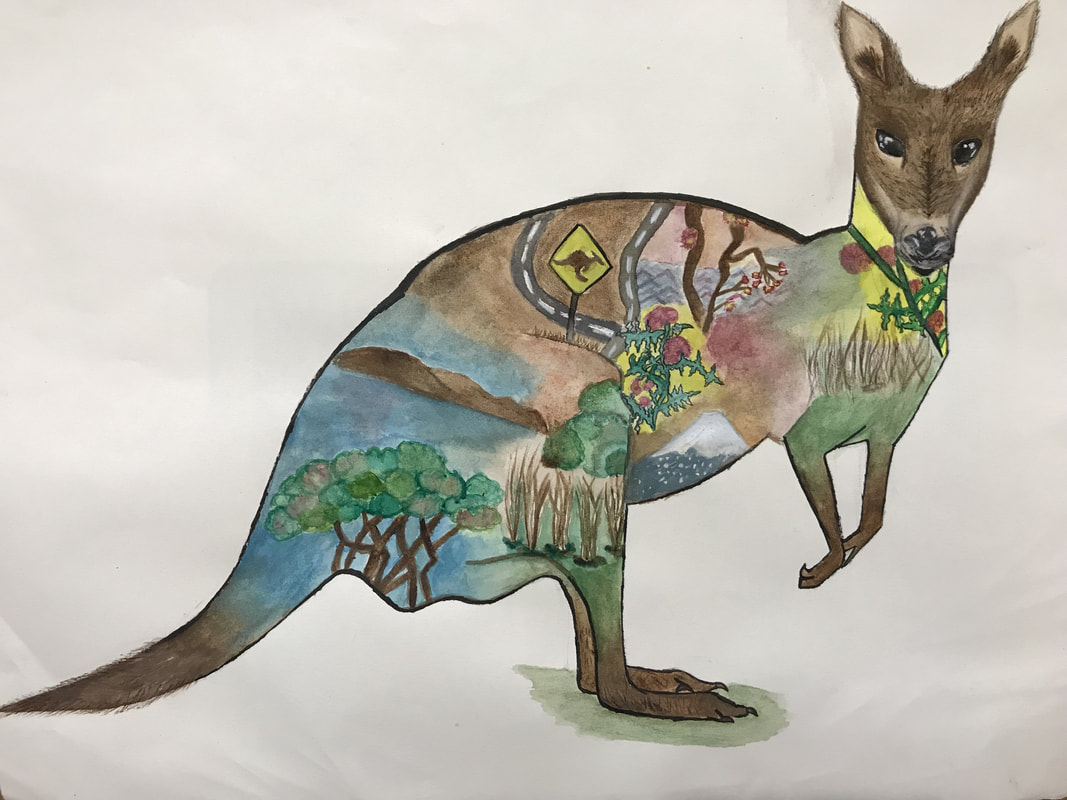
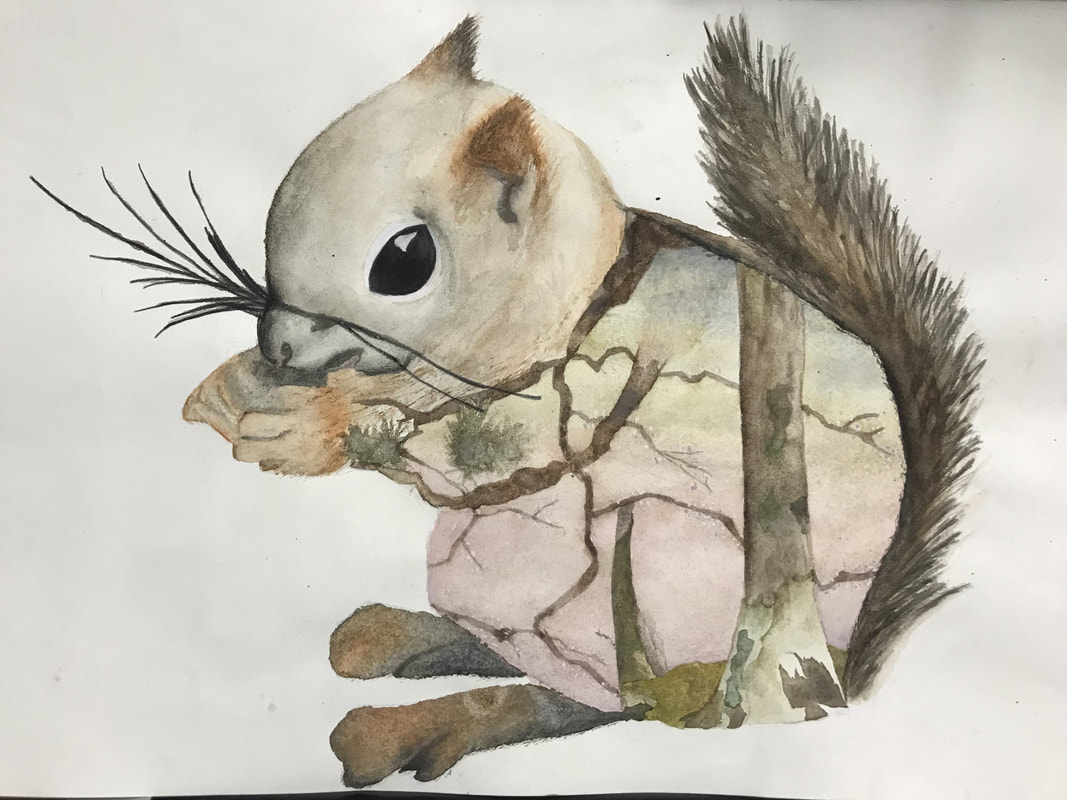
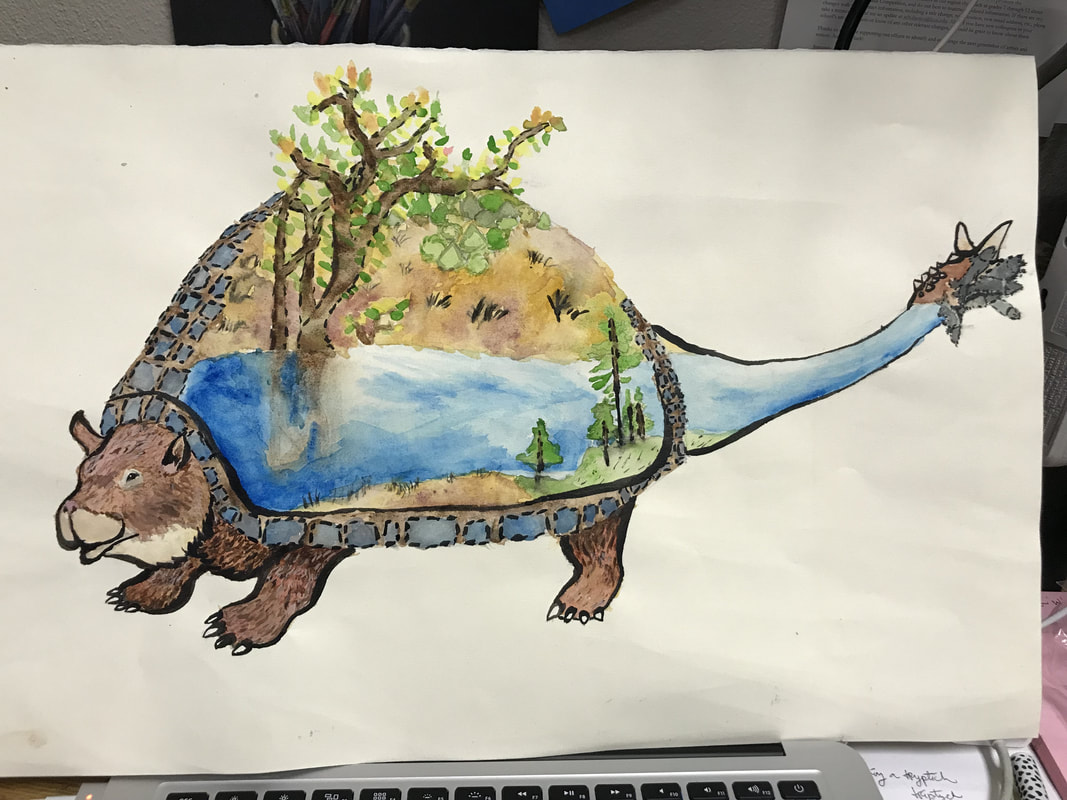
6. Mixed Media/Daniel MackieSTEP 1: Create a doubt-page spread/ research-page in your sketchbook using the following ideas and criteria
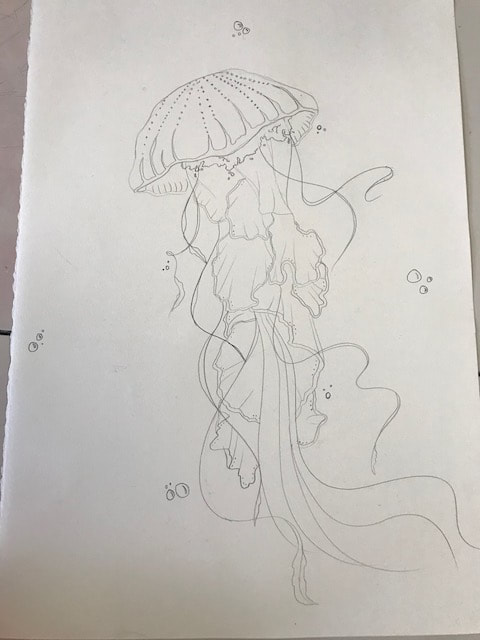
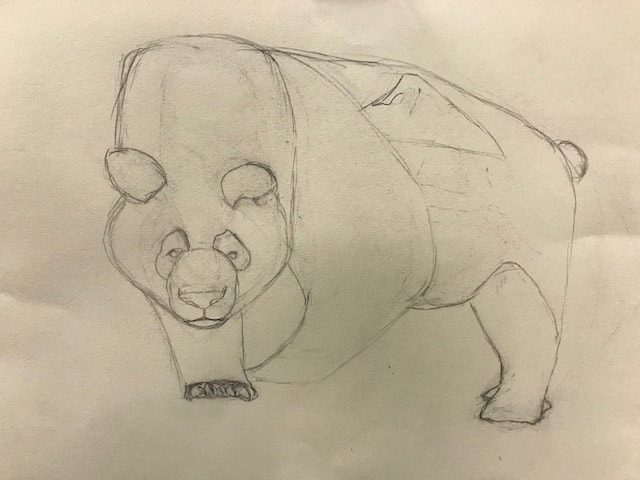
STEP 2: Draw a CONTOUR LINE DRAWING of your animal, large but staying on the paper (not going off the edges).
STEP 3: Work on tying the ukiyo-e artworks AND your animal's habitat into the composition inside your animal (but not the head, hands, feet or tail- just like the monkey to the right!!).
STEP 4: Watercolor practice, different techniques. Glue the watercolor paper into your sketchbook. Watch the video below and try to do this in your sketchbook.
STEP 5: Watercolor the entire animal, blending, bleeding and mixing all of your colors. The face, feet, hands and tail should be realistic to the animal.
STEP 6: Outline with India ink using WEIGHTED CONTOUR LINE & BROKEN LINE.
STEP 7: Go back on top of the watercolor with Prismacolor pencils. Add values and colors to darken, highlight or texturize what you already have.
|
| ||


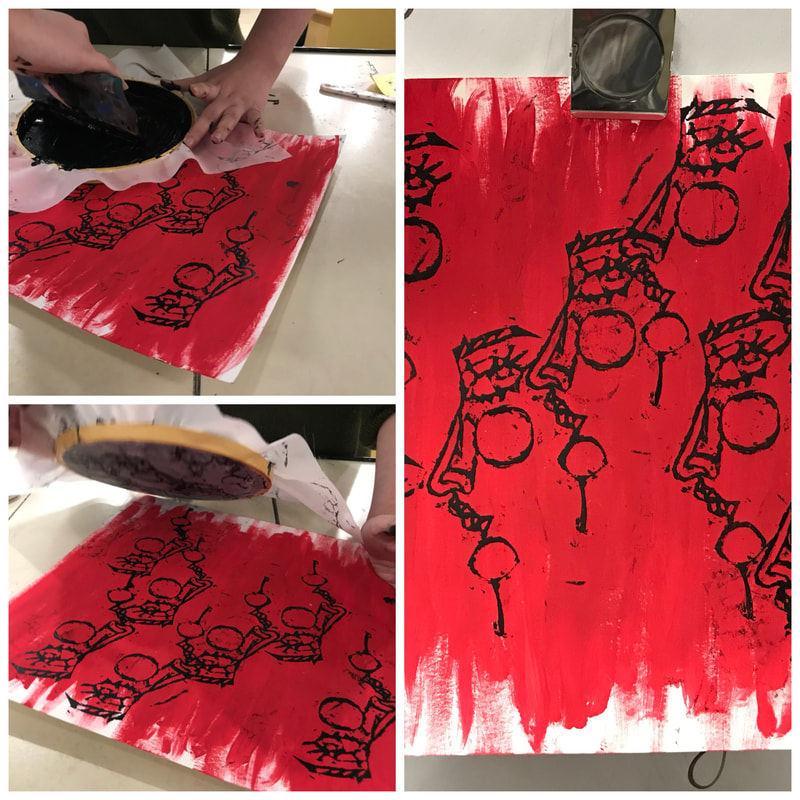
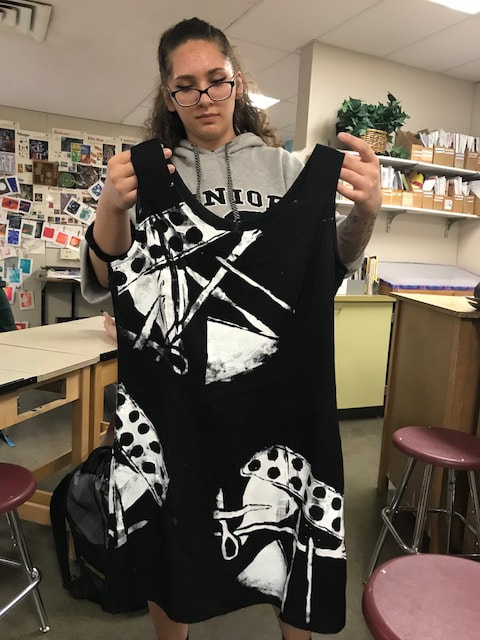
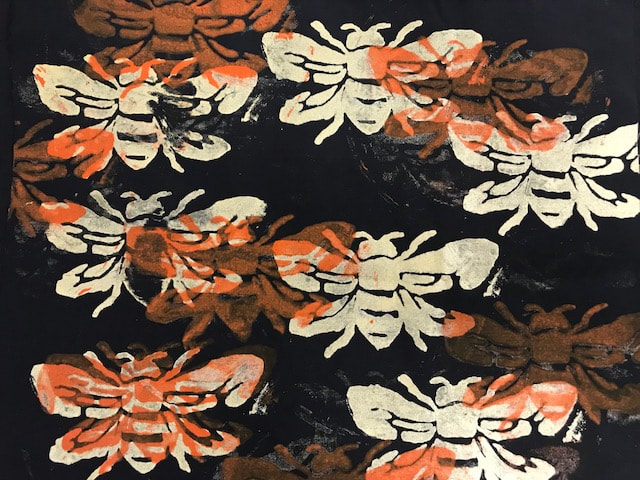
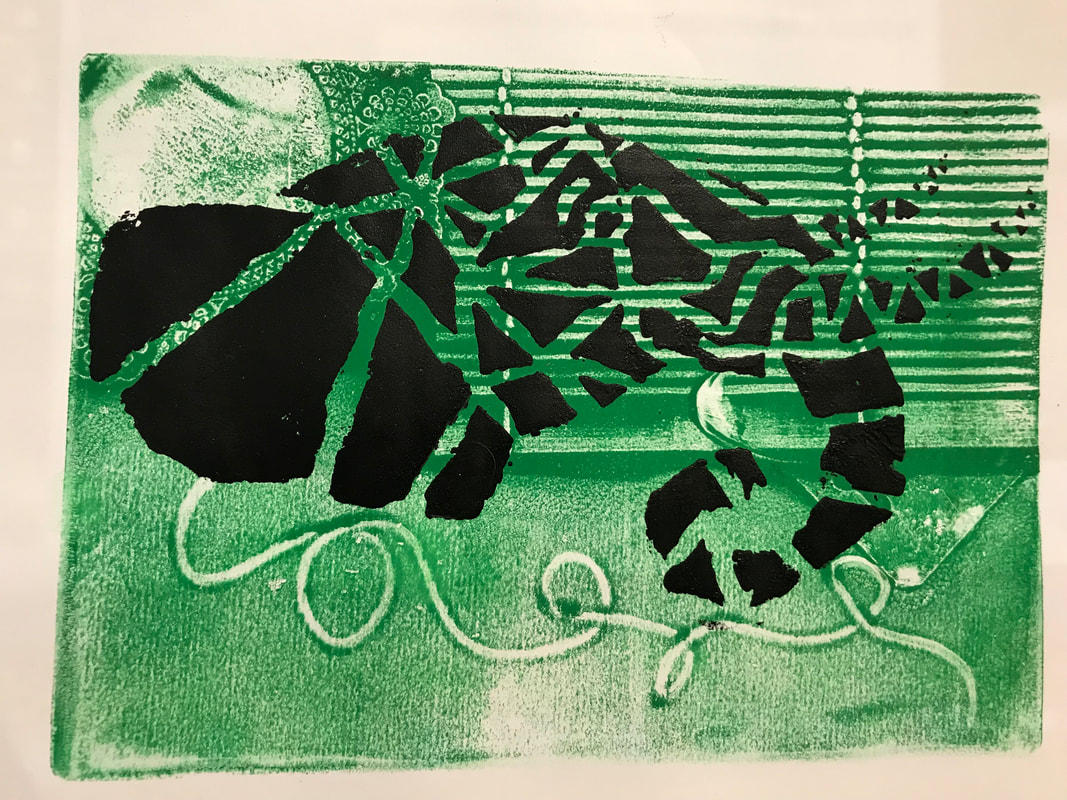
7. Reductive Printmaking
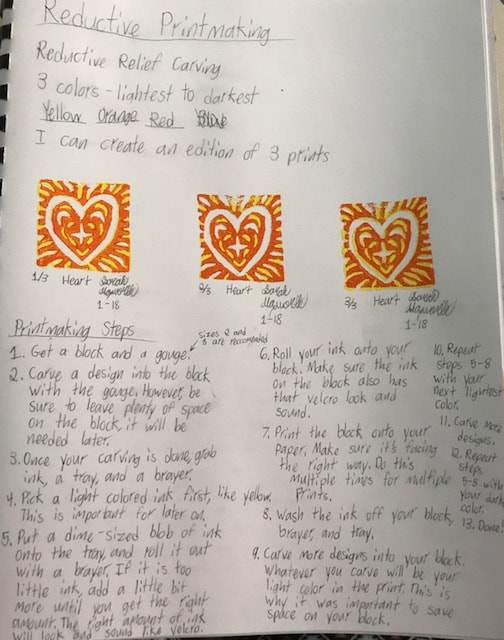
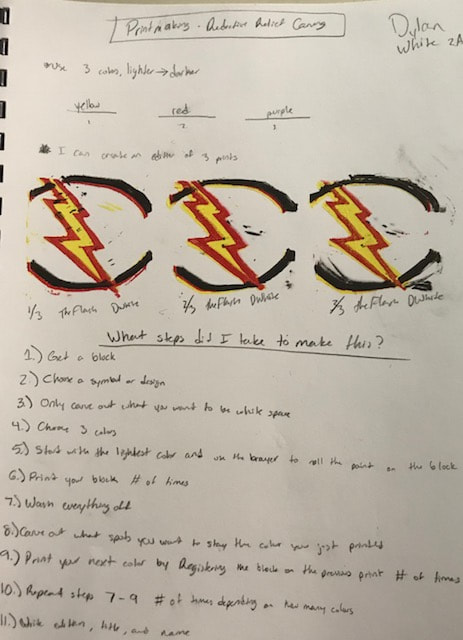
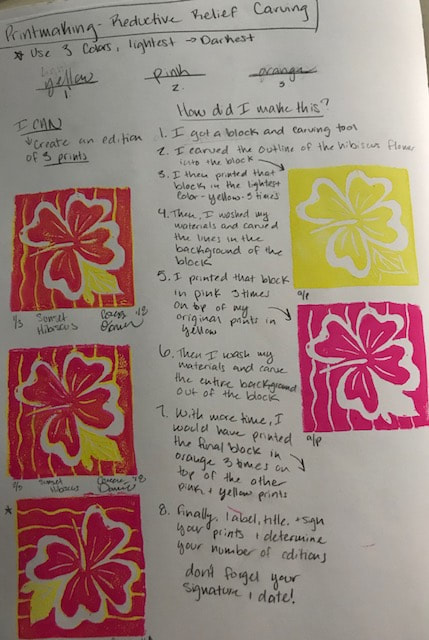
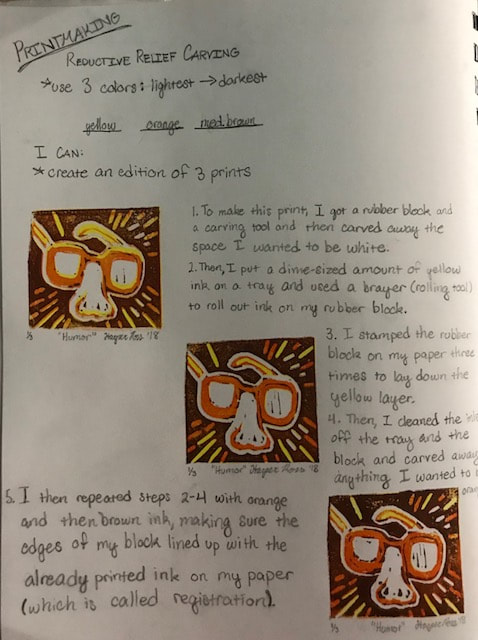
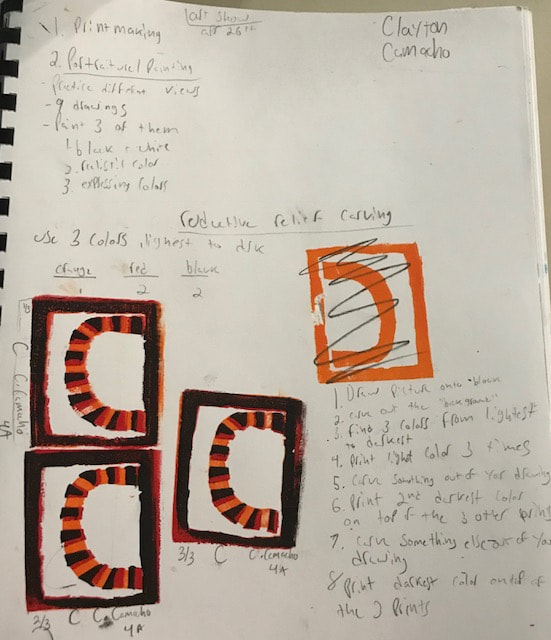
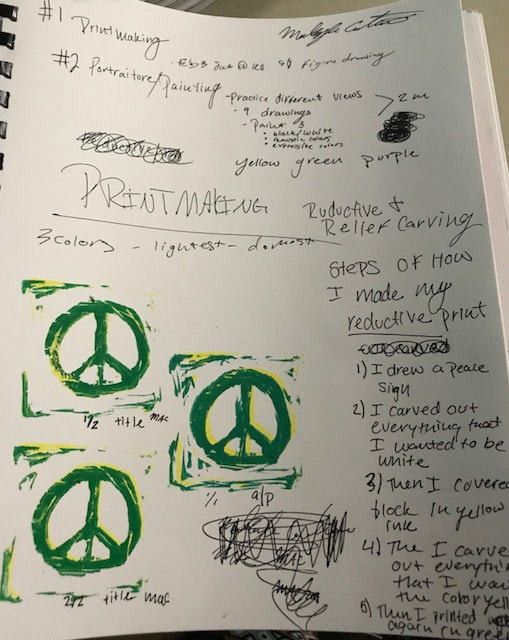
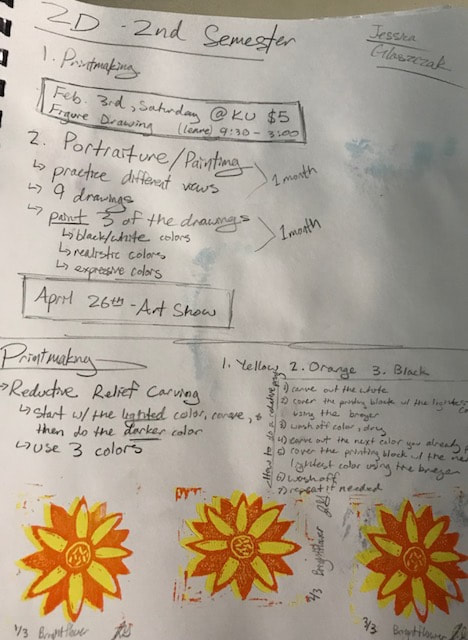
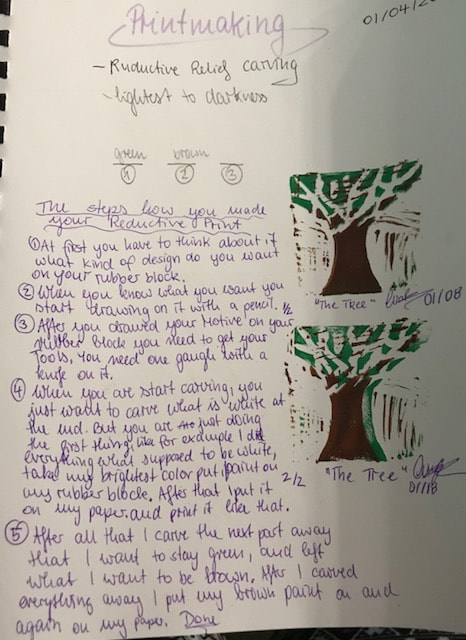
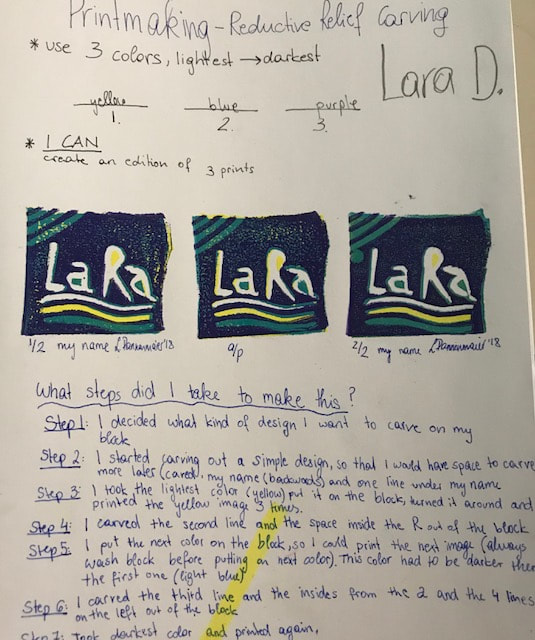
Select a composition from your Daniel Mackie animal to create a print of. You will be creating an edition of 5 reductive prints (one for Mrs. Sulzen to keep, one to be sold at the art-show and 1 to trade with someone in the class) using at least 3 colors PLUS black and white.
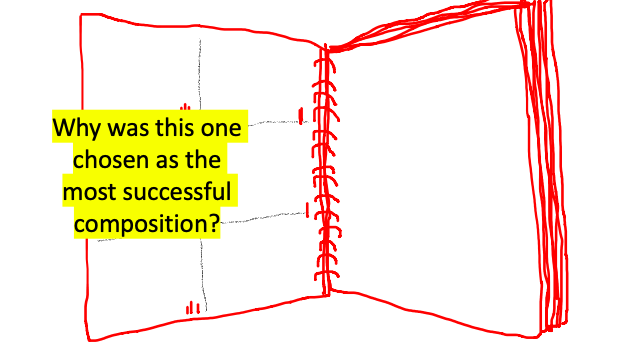
STEP 1: Select 2 compositions from your artwork for your print. Trace them both onto tracing paper- no shading- just lines! The class will vote on their favorite composition.
STEP 2: Cut a linoleum block to the size of your tracing paper. Transfer your drawing onto the block. CARVE OUT ONLY WHAT WILL BE WHITE.
STEP 3: Roll up your block with ink of the lightest color and print using the printing press 7 times (allowing 2 extras for mess up).
STEP 4: Carve out ONLY WHAT YOU WANT TO STAY THAT LIGHT COLOR. Then roll the block up with a darker color and print again 7 times using the printing press- trying for perfect registration!!!
STEP 5: CARVE OUT ONLY WHAT YOU WANT TO STAY THAT PREVIOUS COLOR! Roll up the block with the darkest color (not black) and repeat the printing process with perfect registration
STEP 6: Carve out more and whatever is left will be black. Roll the block up with black and repeat the printing process.
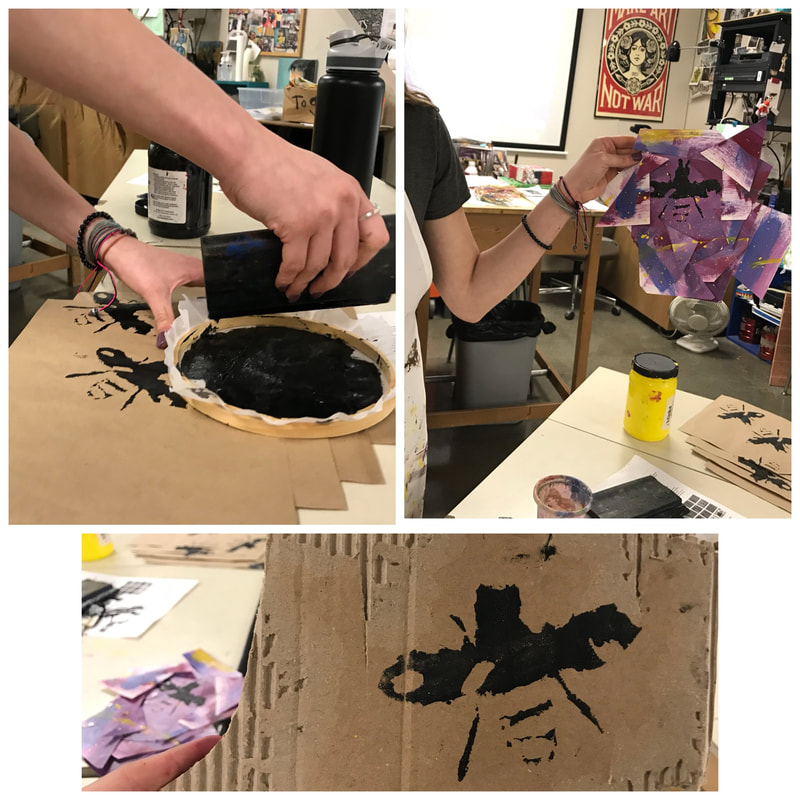
STEP 7: Prepare 3 different backgrounds (white gesso on brown paper, newspaper and tissue-paper colored paper). Print the black-only block on top of the prepared backgrounds.
STEP 8: Edition, title and sign all prints with a pencil and turn in!!
Optional- printing on fabric------------------ |
| |||
REFLECTION in Sketchbook:
- How did your prints turn out? (answer: "I think my prints...")
- What would you do differently if you were to do them again?
- What would you do the same?
|
2D Advanced Assignment (students who have done this already)
DAY 1
|
examples for 2D Advanced
|
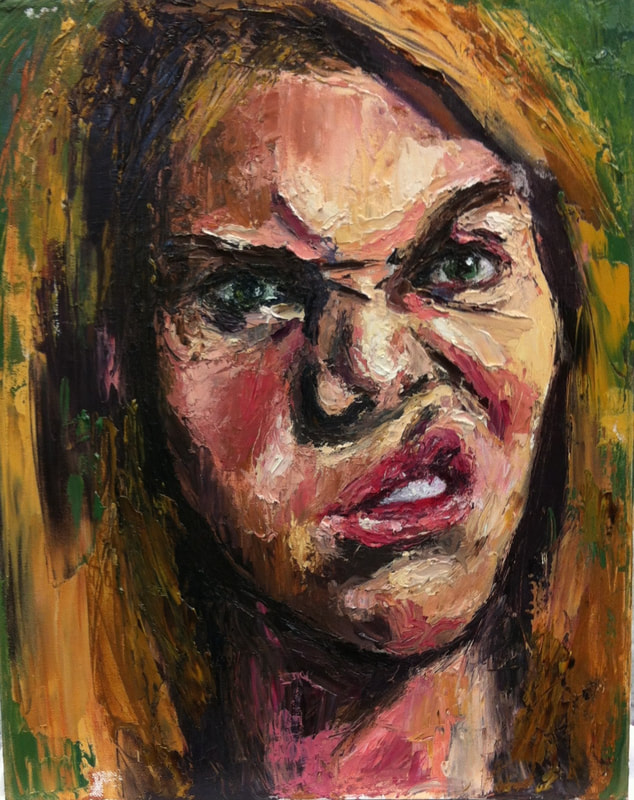
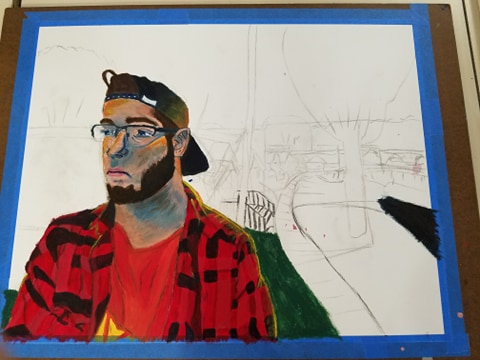
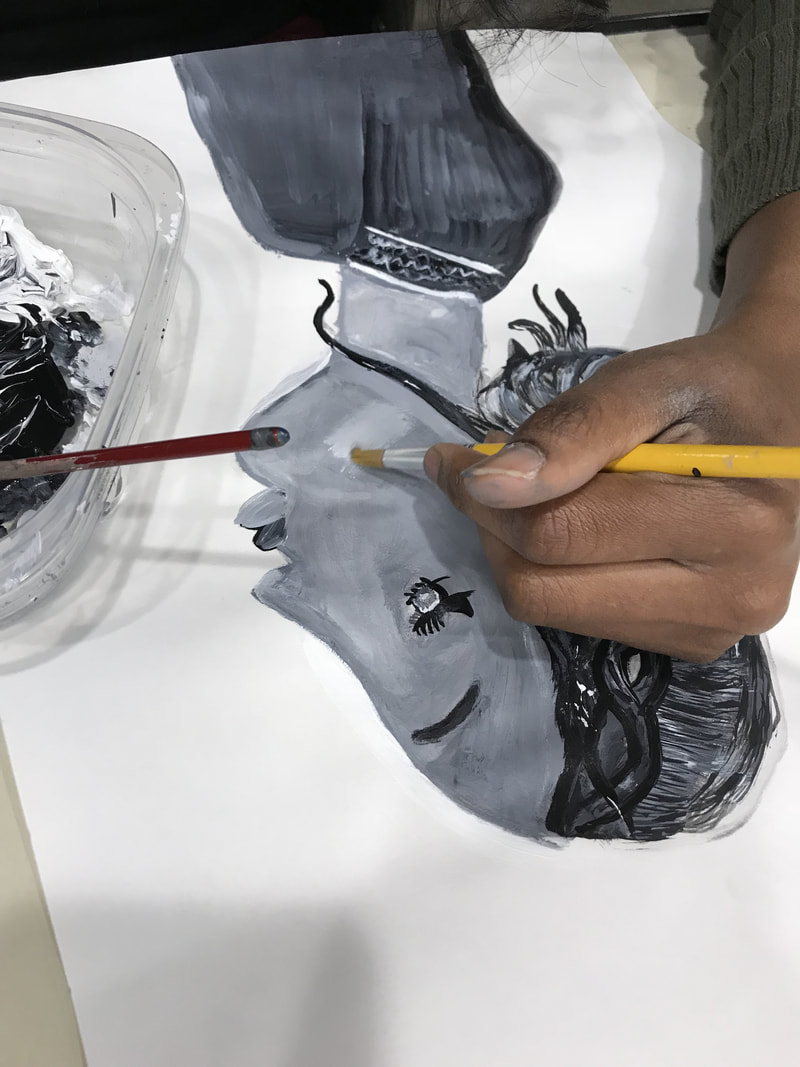
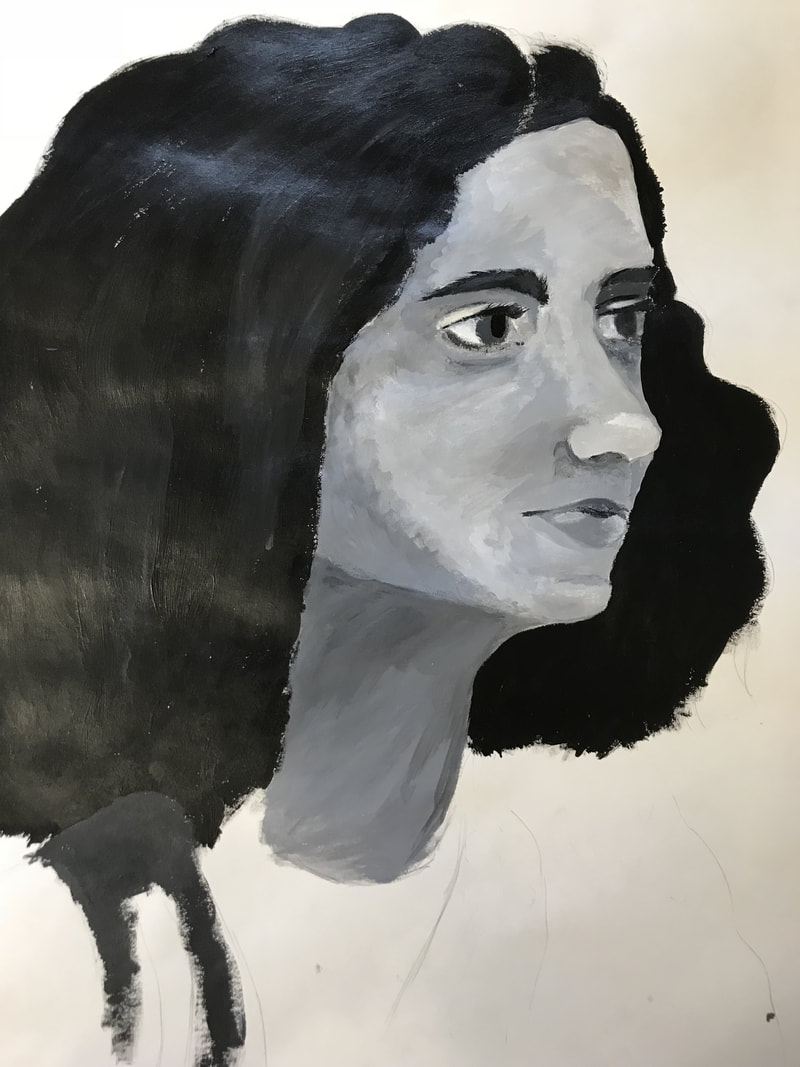
9. Portrait Painting with Acrylic
Using the portraits drawn in class, students will select one to paint black & white, one to paint naturalistic colors and one to paint with expressive colors.
1. BLACK & WHITE

2. NATURAL/REALISTIC COLOR
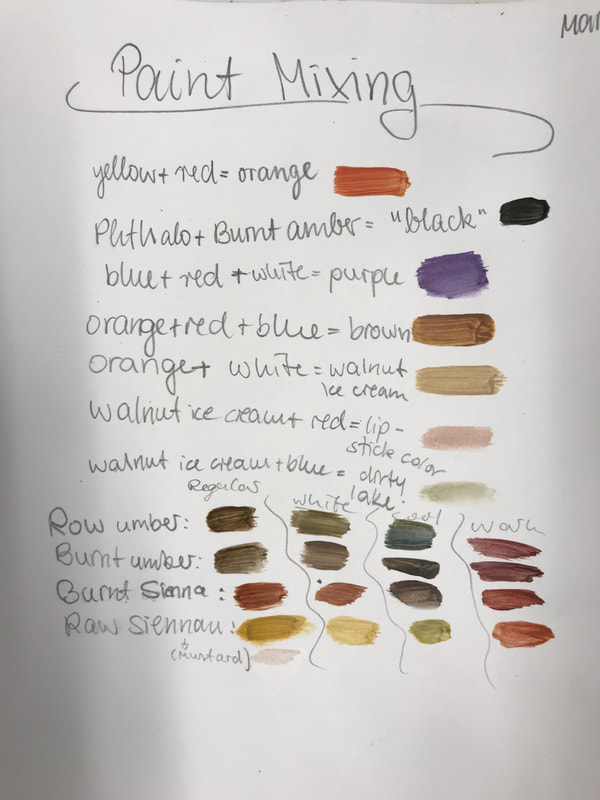
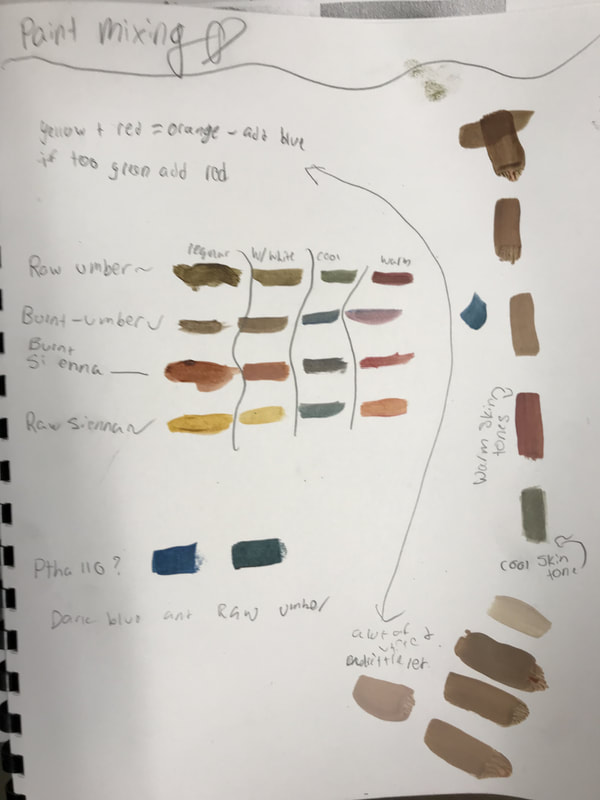
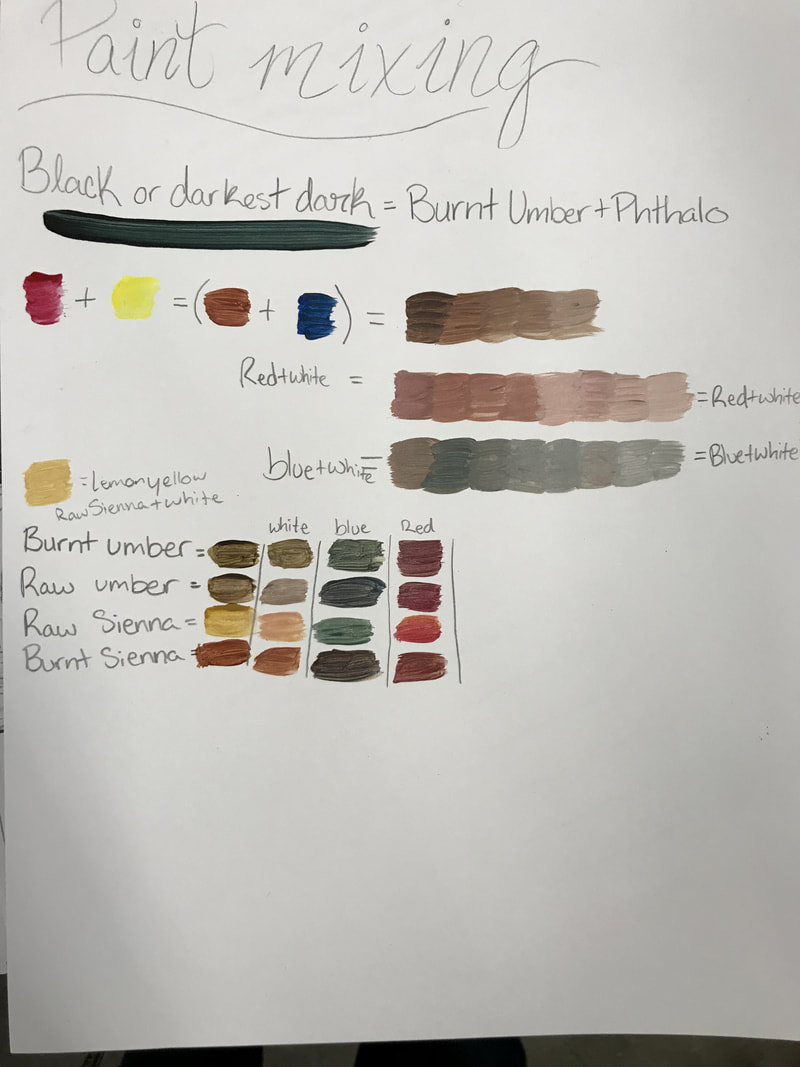
STEP 1: SET UP YOUR PAINTING PALETTE
- Clean the black paint out of your painting palette- NO BLACK PAINT for the next two paintings!
- Get a dime-quarter size amount of the following colors- Cobalt blue, Phthalo blue, red, yellow, white, 4 browns; Raw Umber, Burnt Umber, Raw Sienna & Burnt Sienna
- Make these colors, paint them in your sketchbook and write out how you made them
- Make a "black" by mixing a dark brown (either Burnt Umber or Raw Umber) with the dark blue/Phthalo
- What happens to that "black" when you tint it with white?
- Make a brown by first mixing an orange (yellow + a small amount of red) with a small amount of the light blue/Cobalt
- Gradually add white to your brown and paint a sample of each color
- Create a value range of warm skin tones by adding a tiny dab of red to your skin tone you made and gradually add white
- Create a value range of cool skin tones by adding a tiny dab of blue to your skin tone you made and gradually add white
- Try a sample out of each of the four browns; Raw Umber, Burnt Umber, Raw Sienna and Burnt Sienna. Write out the name of each of the brown next to the painted sample.
- Tint each of the browns with a tiny dab of white
- Create a cool version of the tinted browns (yes, all four) by adding Cobalt blue or Phthalo blue
- Create a warm version of the tinted browns (yes, all four) by adding a tiny bit of red
- Now look at the photo that you are choosing to paint. Where are the warm tones and where are the cool tones? Where are the highlights and where are the shadows?
- Try to mix a skin tone to match the color on your photo. Paint that color in your sketchbook and write out how you made it.
Use colors to express different tones/shades and feelings. Don't blend your brush strokes, leaving each color as it's own shape. Try experimenting with the palette knife
4. PAINTING TECHNIQUES FOR BACKGROUND
Choose three of the learned techniques to use on your three portrait paintings, in the background.
|
| ||||||||||||||||||||


5. REFLECTION
- What did you gain or learn from working on drawing and painting other people’s faces? This can’t be a negative thought- keep it positive!
- If you had to do something over again, what would you do differently, why would you choose that and how would you approach it differently?
| portrait_painting_gradesheet.docx |
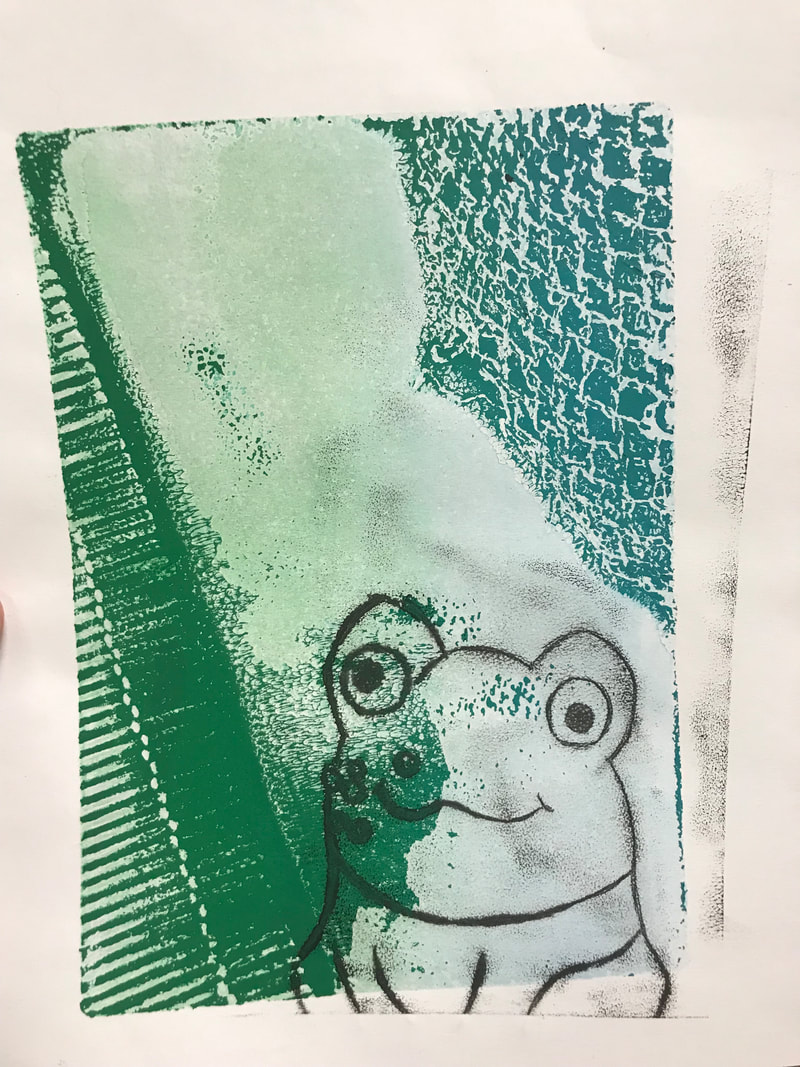
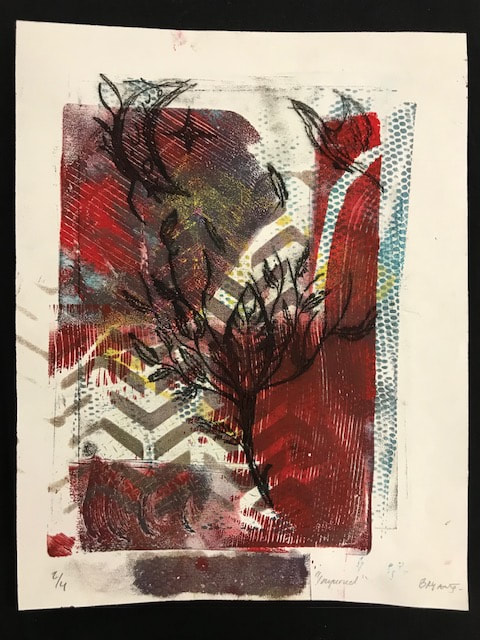
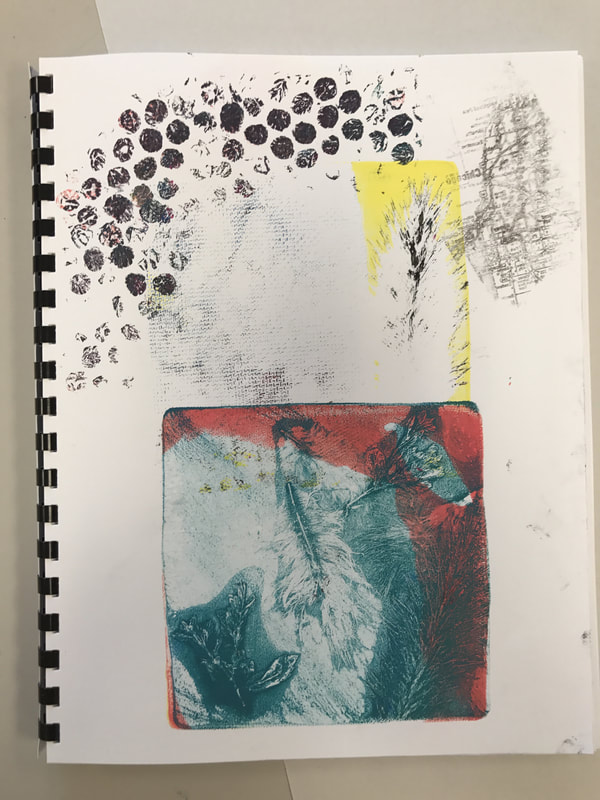
9. Experimental Printmaking Unit
|
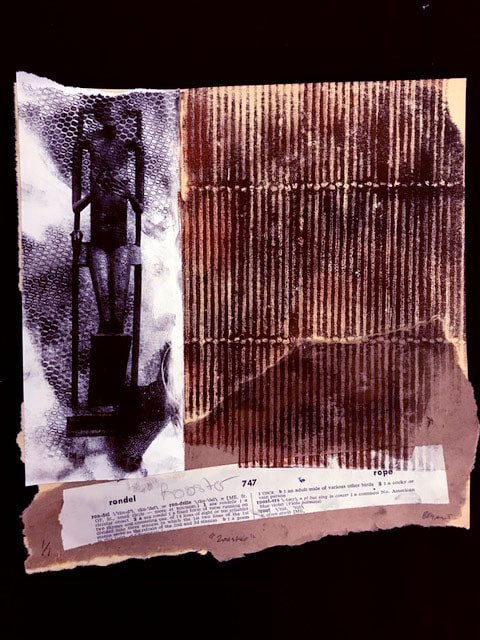
GROUP 1: SILKSCREEN
Examples of COMBINING printmaking techniques together |
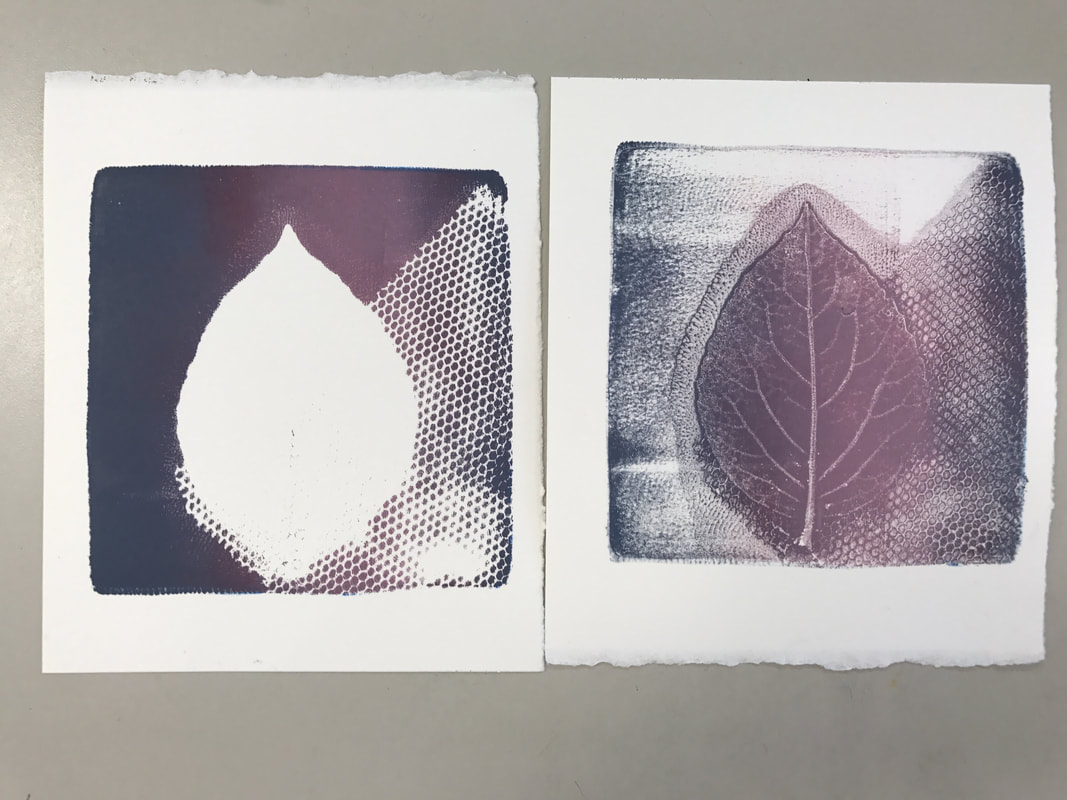
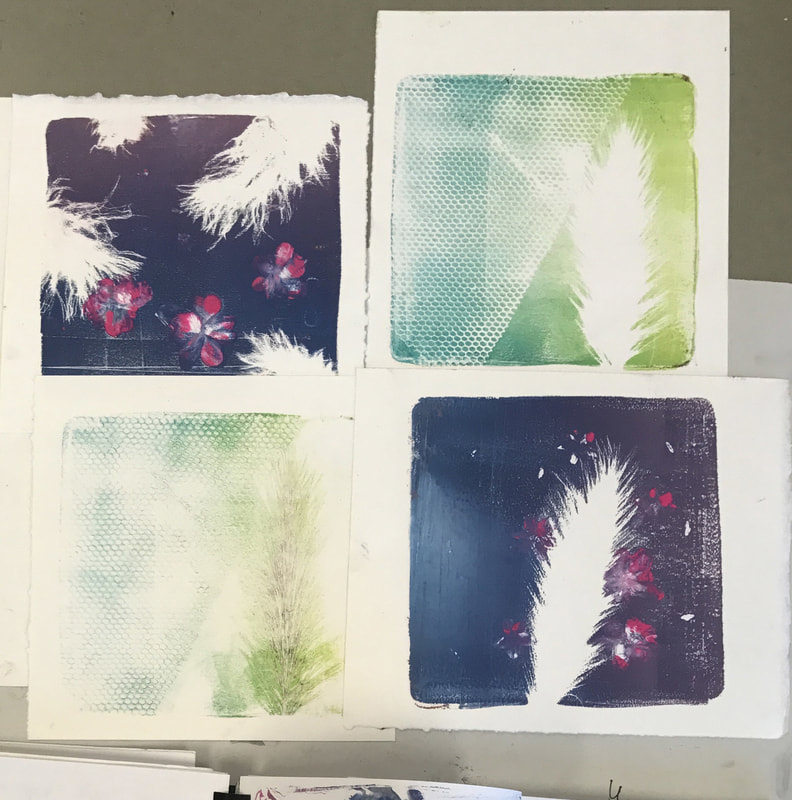
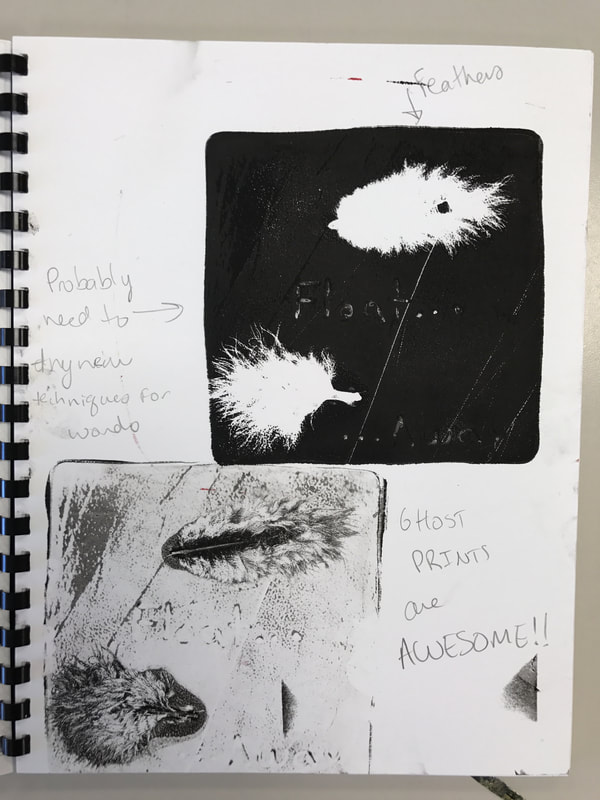
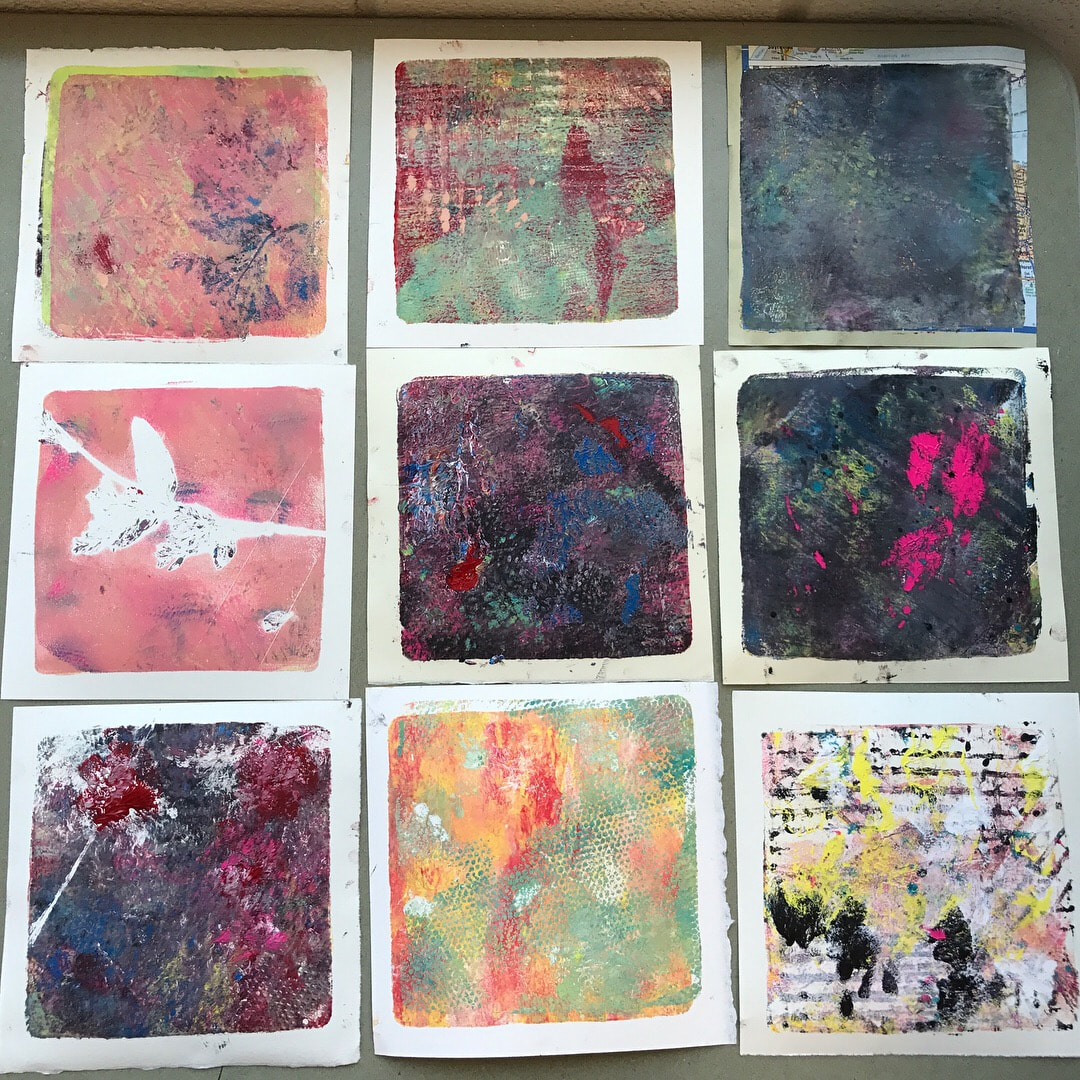
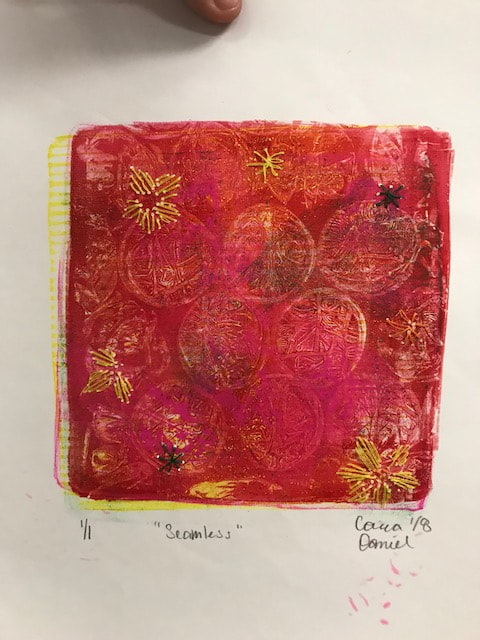
GROUP 2: GELATIN PRINT
WHEN YOU HAVE ALL OF YOUR PRINTS
4. Select one print to add oil pastel or pen into 5. Select one print to add other printmaking techniques on top of!! Digitally altered Gelatin Prints!! |
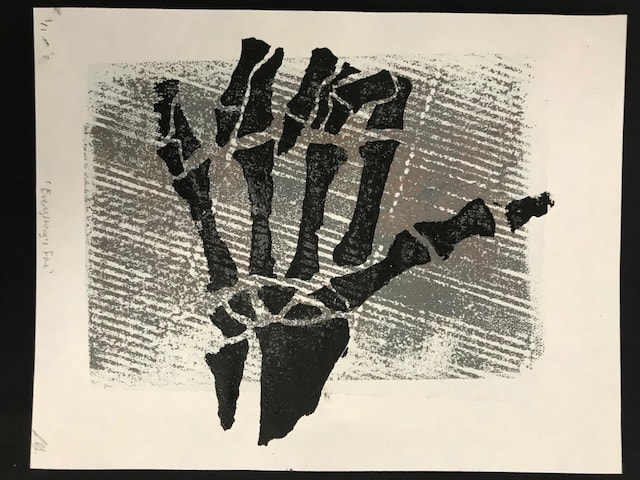
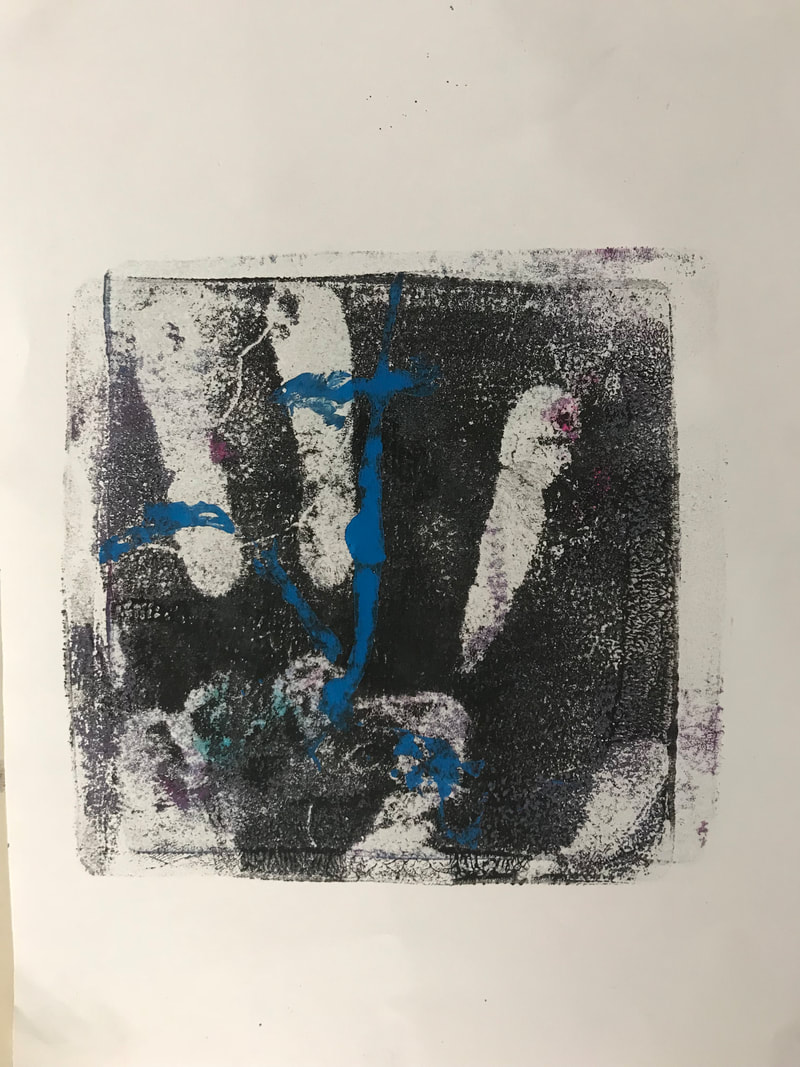
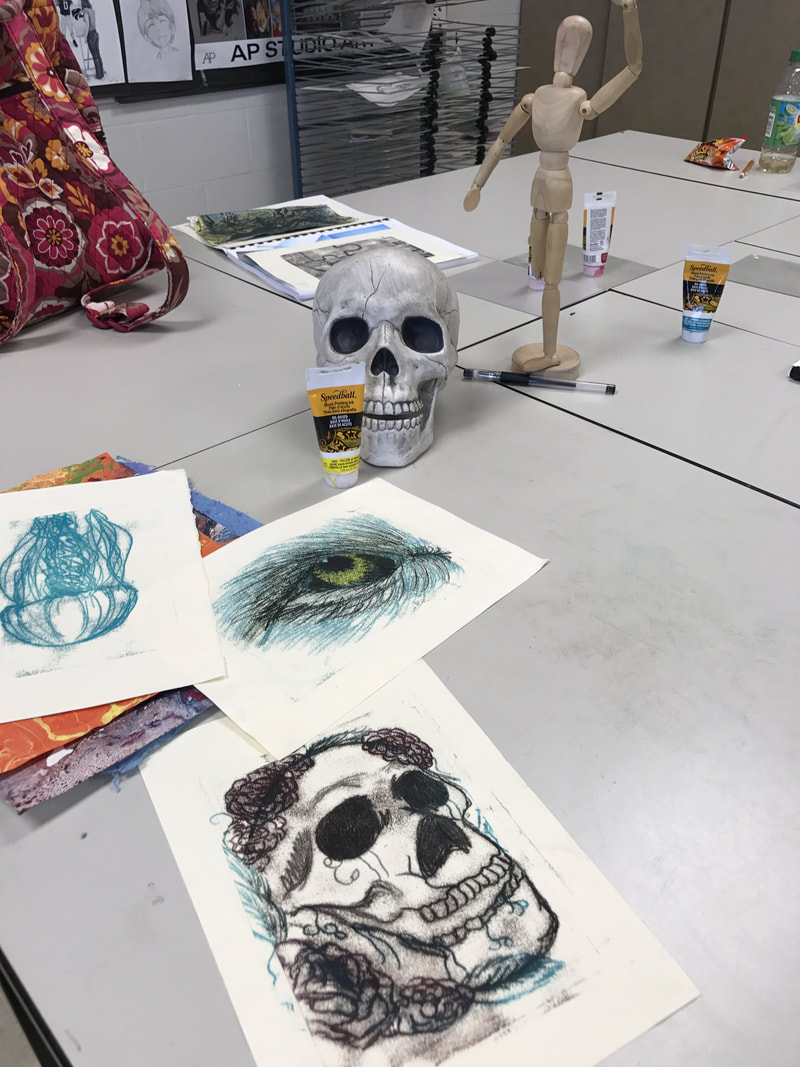
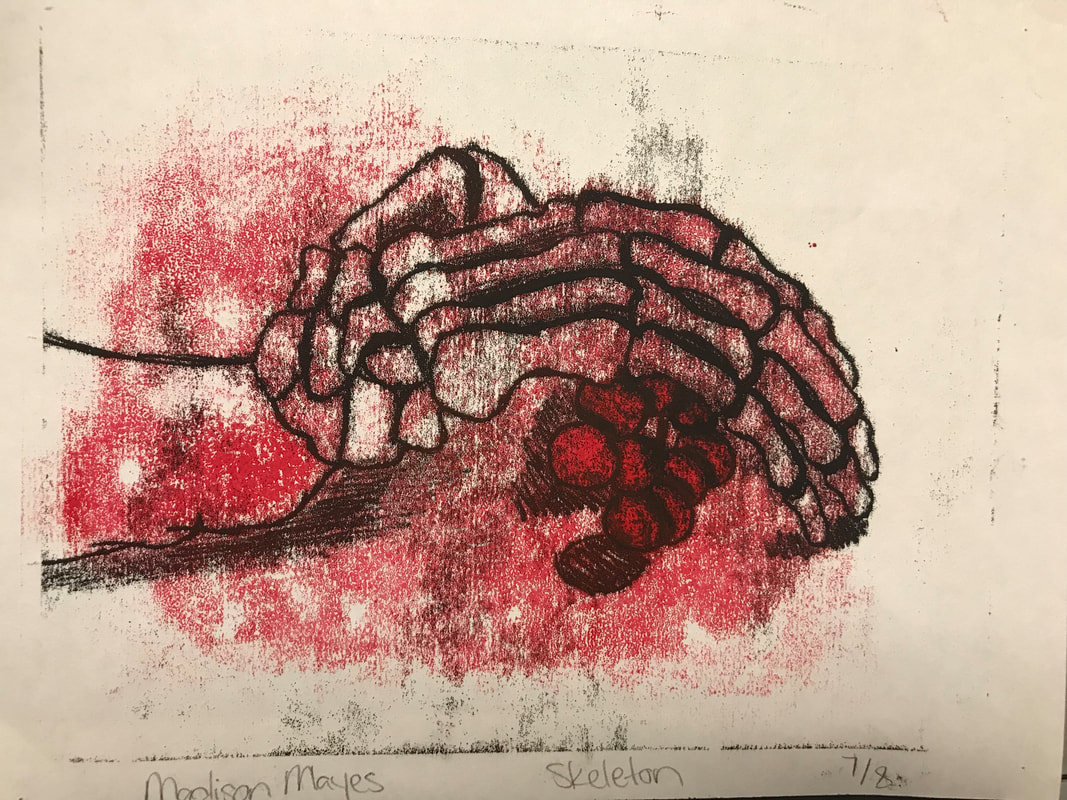
GROUP 3: MONOPRINT
WHEN YOU HAVE ALL OF YOUR PRINTS
4. Select one print to add oil pastel or pen into 5. Select one print to add other printmaking techniques on top of!! |


Using Different Types of Lines
|
Use 4 different types of lines together in one drawing with a felt-tip marker
|
|
|
#1. How to open your photo in Photoshop, turn it to black & white and alter the contrast
|
|
|
#5. Saving and printing
|
#6. How to add the stipple filter and print
|
How to assemble the collage
|
|
|
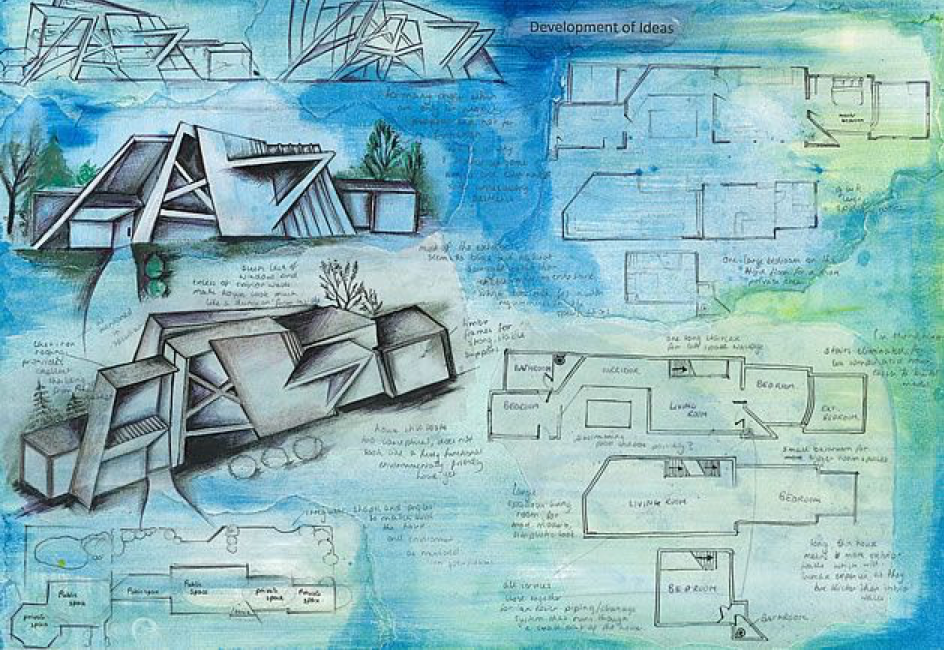
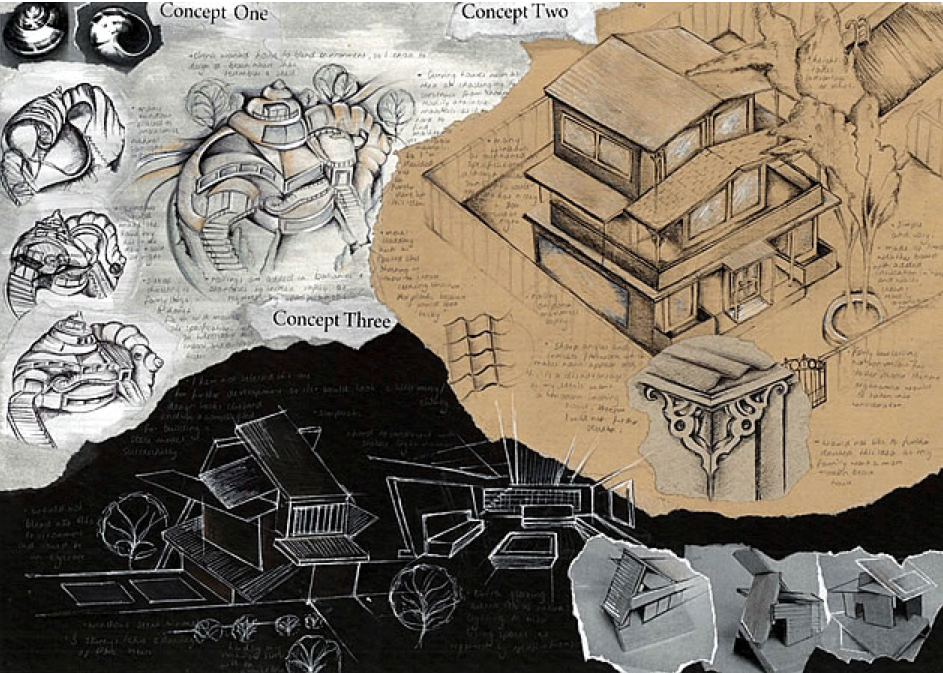
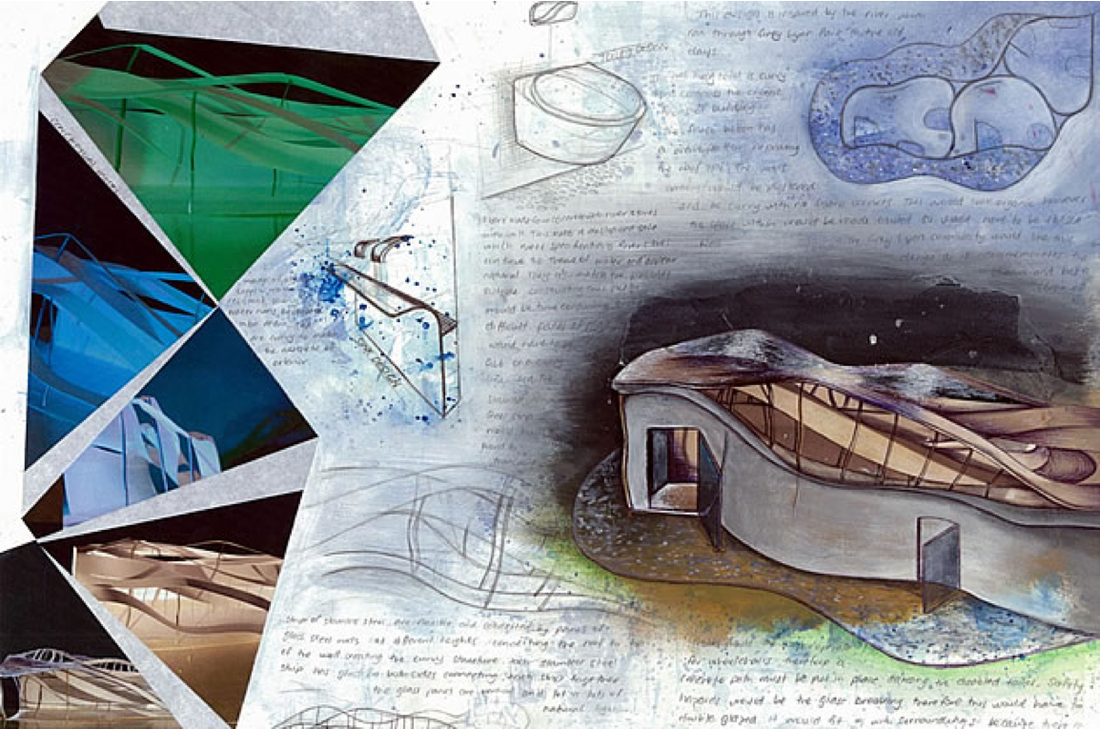
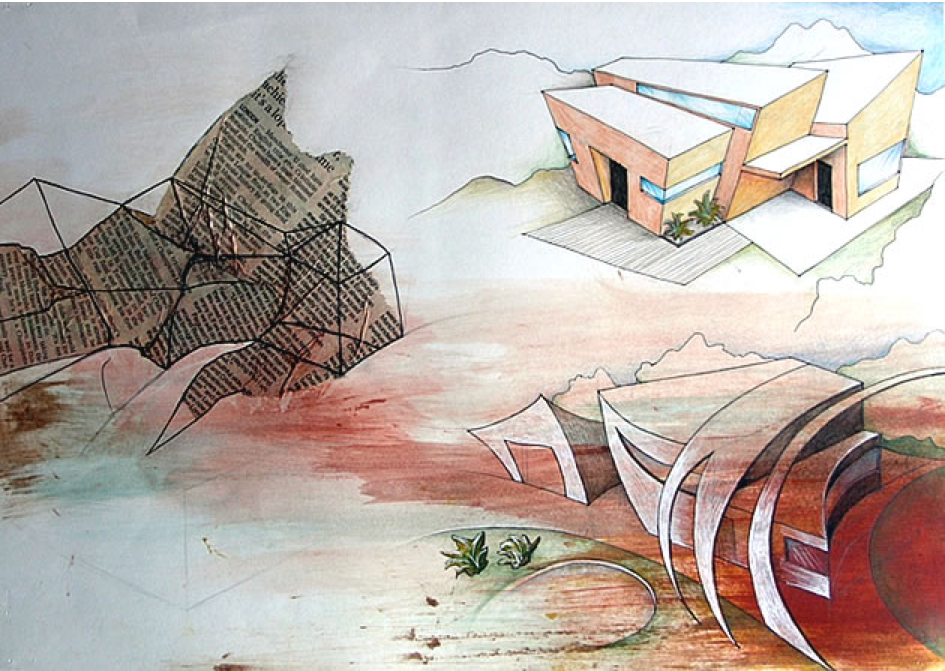
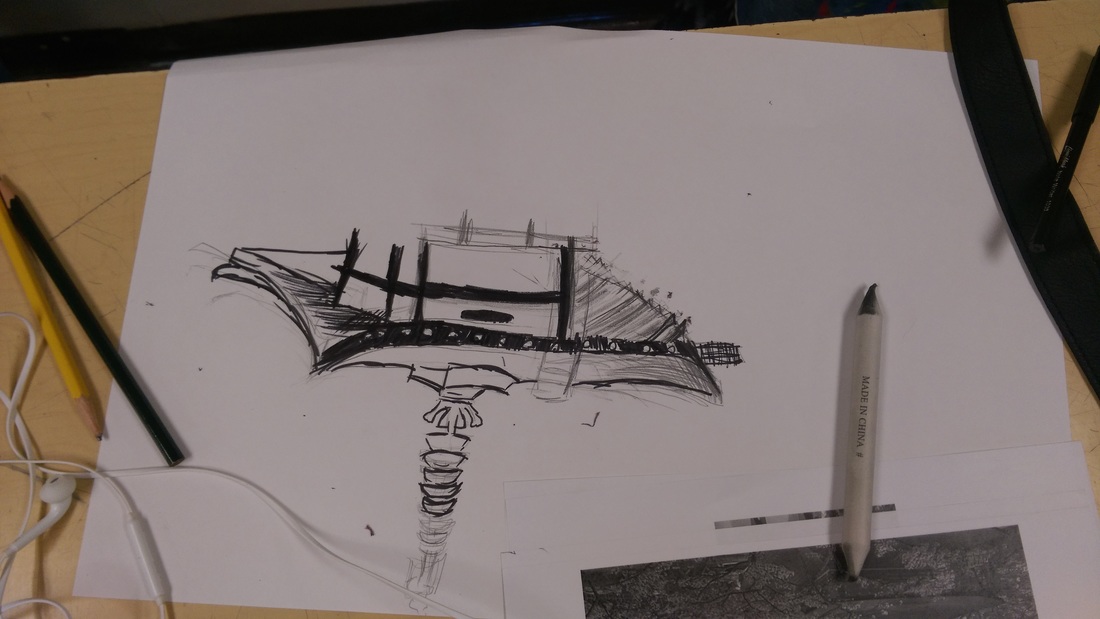
Architecture
Your challenge is to create a mixed media collage inspired by one piece of architecture. The finished piece should resemble what the architect's sketchbook page would have looked like (see examples below).
|
Your finished piece should have the following...
|
4. Oil pastel transfer
5. Complex shapes (entangles or patterns) 6. Complex forms (shaded shapes or "impossibles") 7. Good composition (play with overlapping and dissecting images) 8. Contrast- using black & white or colors |
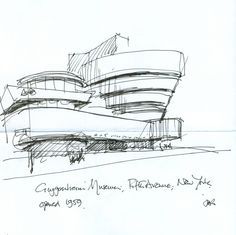
Sketch of the Guggenheim Museum
|
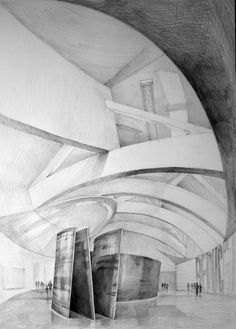
Shaded drawing of the inside of the Guggenheim Museum
|
Steps to create this...
STEP 1: Make a quick Powerpoint (PP) of three different architectural structures. On each page include the following information...
1.Where is it?
2.When was it built?
3.Who is the architect?
4.Why was it built?
5.Other interesting facts
EMAIL the finished PP to [email protected]
STEP 2: Print 2-3 images of your favorite building. Try to get one photo of the whole building and one of a detail.
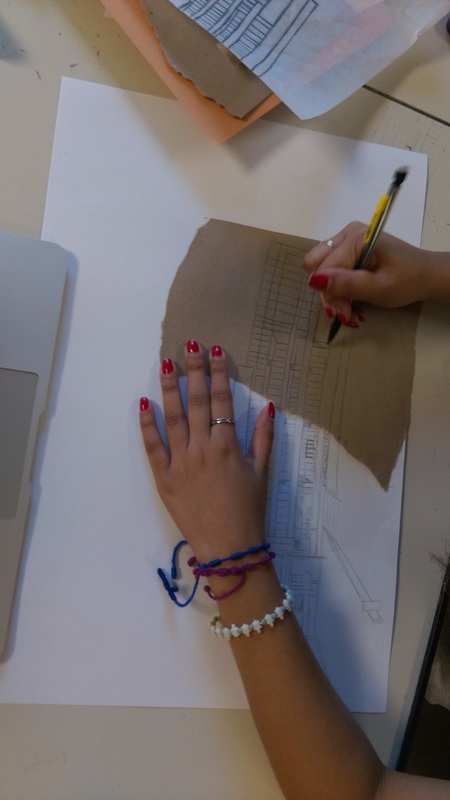
STEP 3: Create a "sketch" of your building, both photos!!
1.Where is it?
2.When was it built?
3.Who is the architect?
4.Why was it built?
5.Other interesting facts
EMAIL the finished PP to [email protected]
STEP 2: Print 2-3 images of your favorite building. Try to get one photo of the whole building and one of a detail.
STEP 3: Create a "sketch" of your building, both photos!!
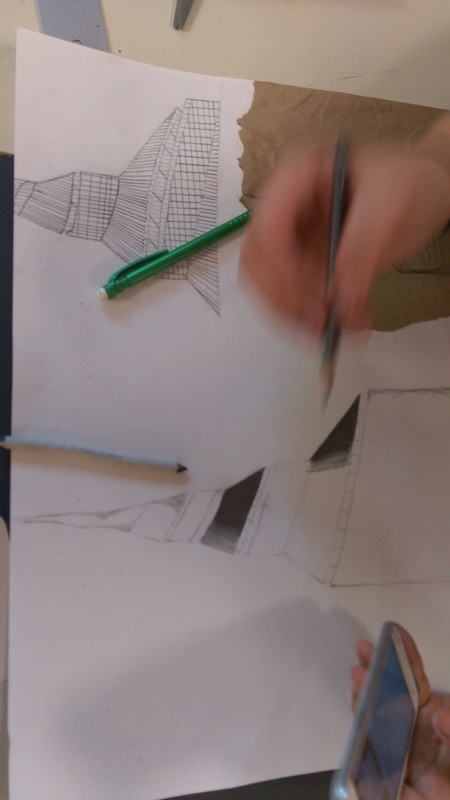
STEP 4: Create a shaded drawing of one of your architecture photos
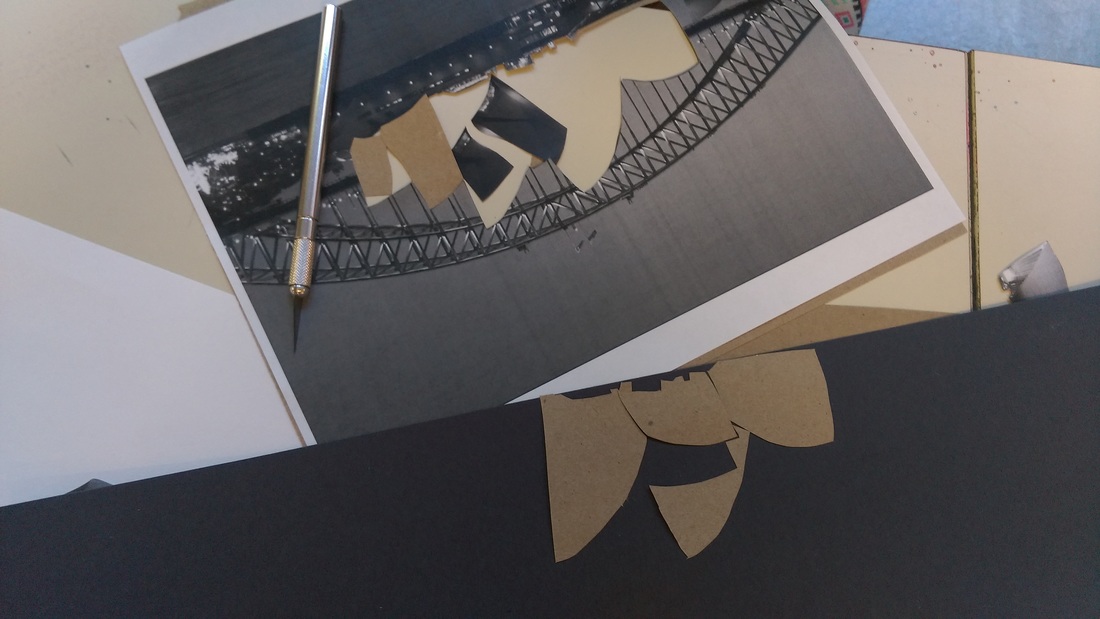
STEP 5: Create an oil pastel transfer (this can be of text/numbers or of your building)
STEP 6: Experiment with watercolor by blending some colors together and making some drips.
STEP 7: Click on the link below and pick a video to watch on how to draw an "impossible"
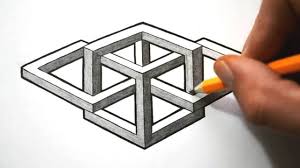
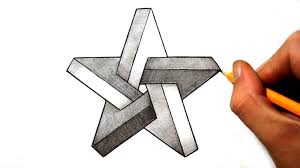
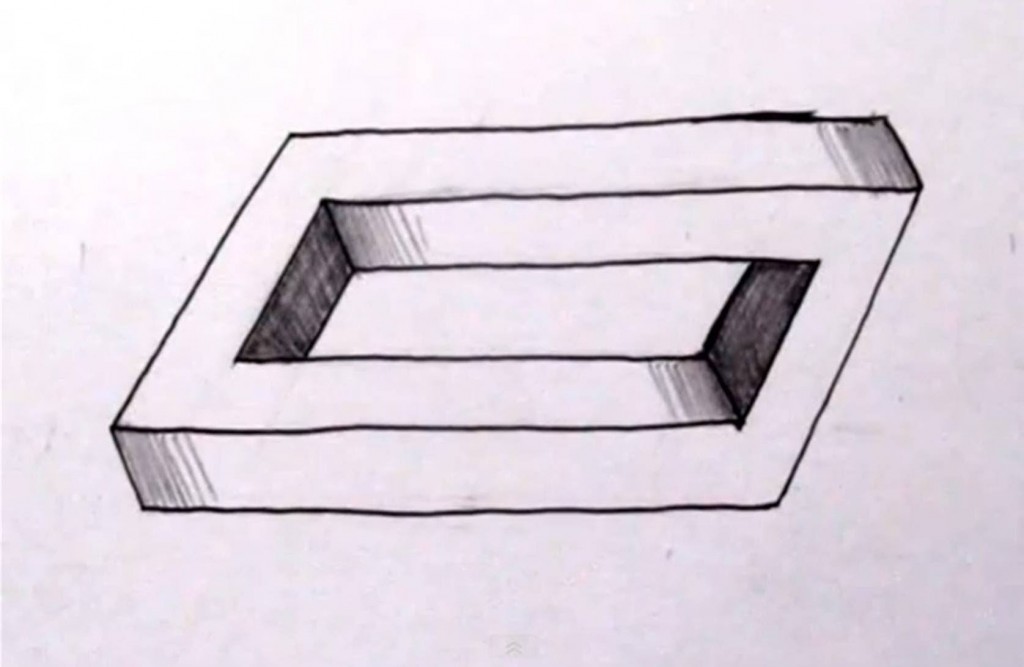
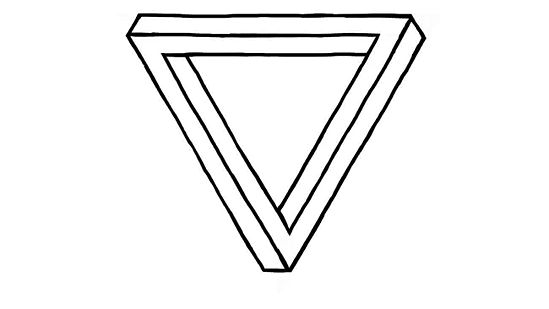
|
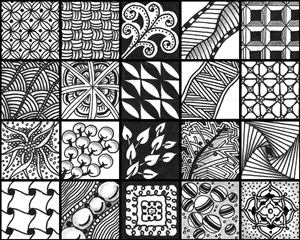
STEP 8: Zentangles is just a fancy word for doodling with patterns. Look up some zentangles or use the ones Mrs. Sulzen has printed out. Draw some zentangles on top of the watercolor, right next to the watercolor and create an oil pastel transfer of some.
STEP 9: Cut out everything that you have made and lay them out on brown, black or white paper. Try to create an interesting composition by overlapping images, dissecting images, having different colored backgrounds, adding more text, etc. STEP 10: Glue everything down |
|
|


9. American Regionalism/Painting
| thb.pptx |
10. Linoleum Printing
|
|
| 2d_curriculum_2019-20.pdf |
